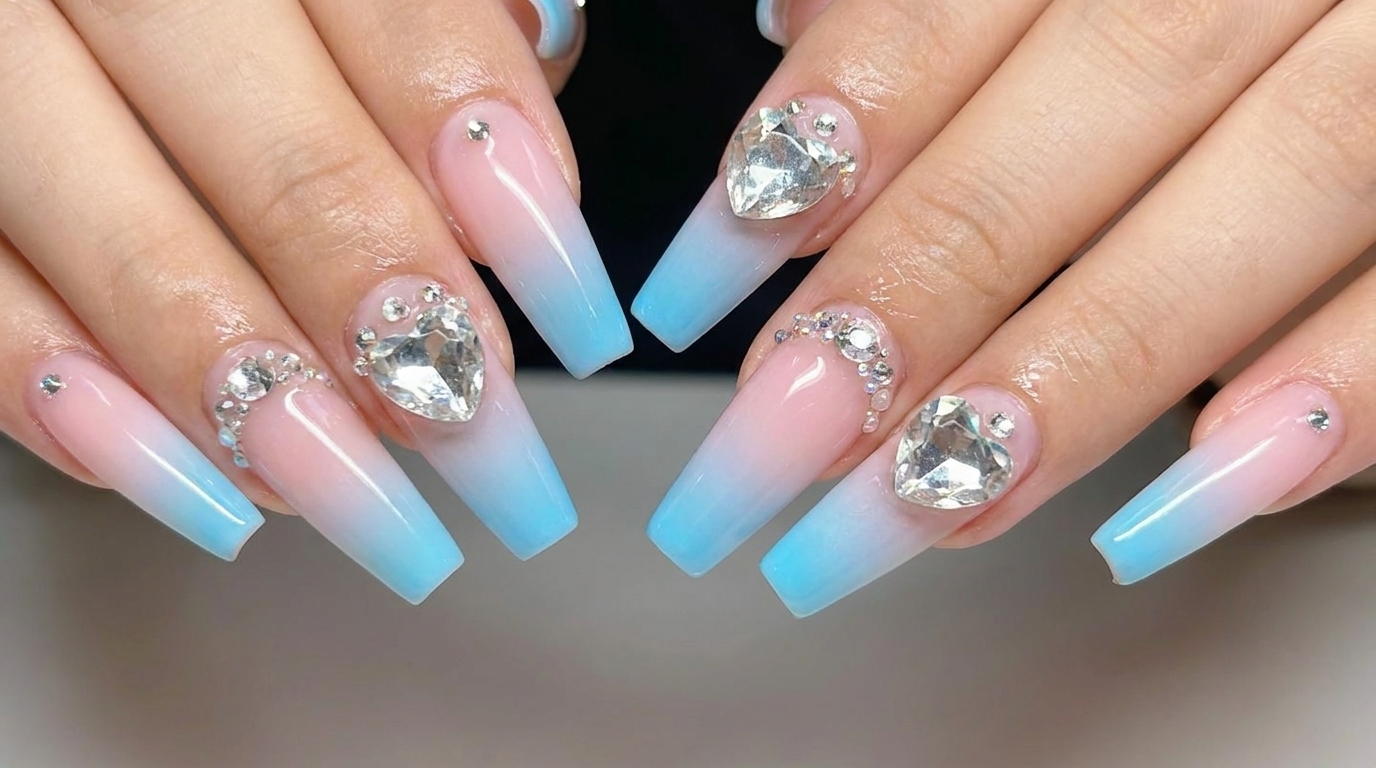
Pink and Blue Ombre Gradient Nails
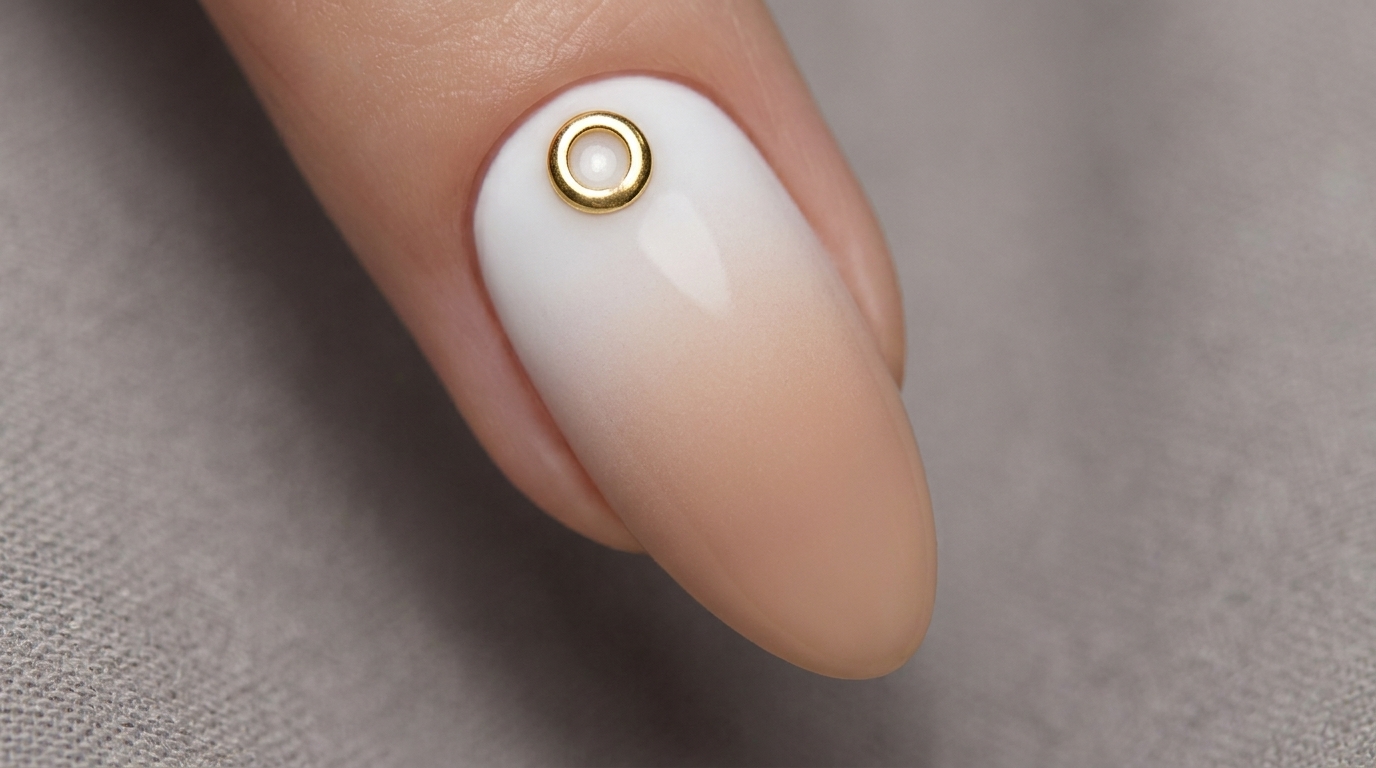
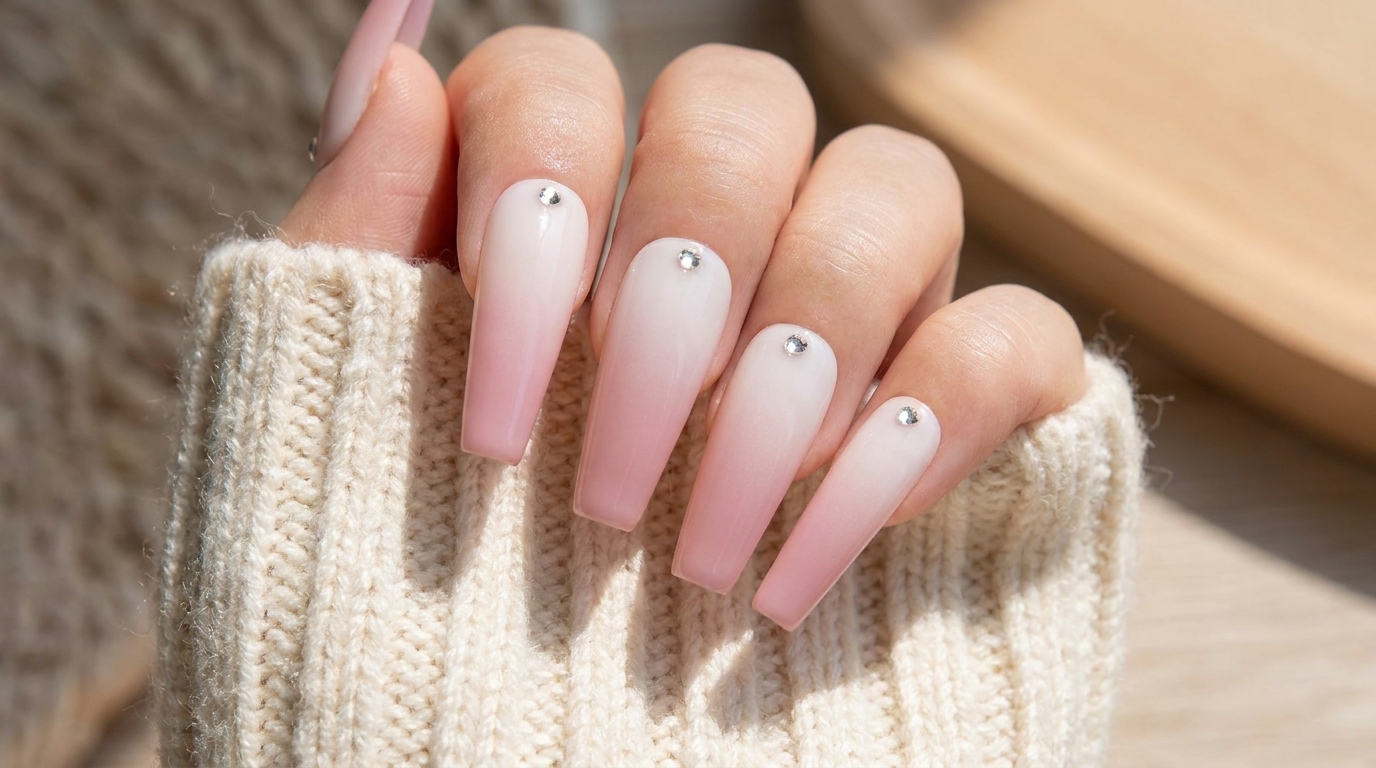
Rhinestone Accents
Create a dreamy pink and blue gradient look with this simple airbrush tutorial. Elevate your manicure with stunning heart-shaped rhinestones.
The pink and blue gradient is a timeless combination that offers a soft yet vibrant aesthetic. This look perfectly balances a delicate ombre transition with bold, eye-catching rhinestone embellishments for a sophisticated finish. By utilizing an airbrush technique, you can achieve a seamless and professional color blend right at home.
Steps
- 1Prepare the airbrush paint
Use a small wooden stick to thoroughly stir the pink airbrush paint inside the airbrush cup. Ensuring the paint is well-mixed is crucial for a consistent flow and a smooth gradient application. Stir gently to avoid creating air bubbles in the mixture.
Tip: If the paint appears too thick, add a few drops of airbrush thinner to reach the correct consistency before starting. - 2Test airflow and apply gradient
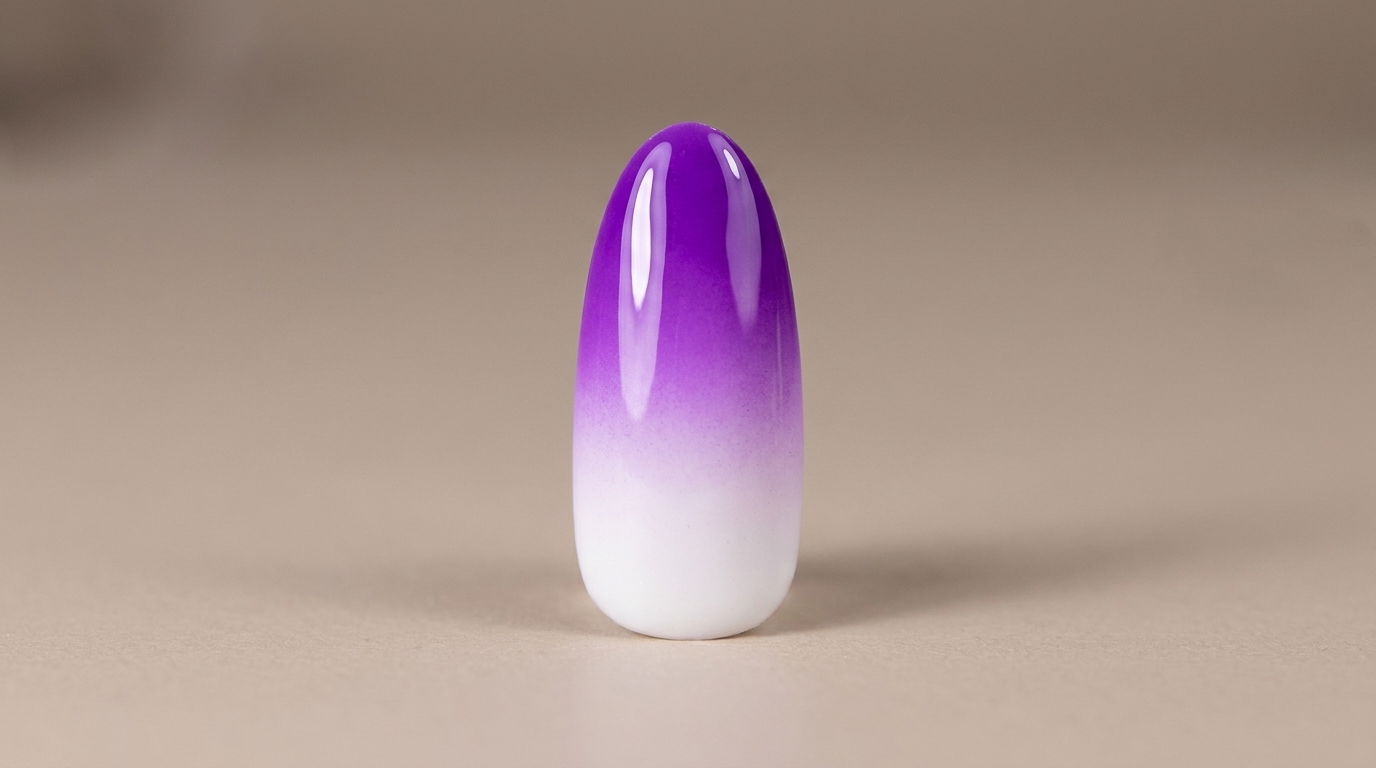
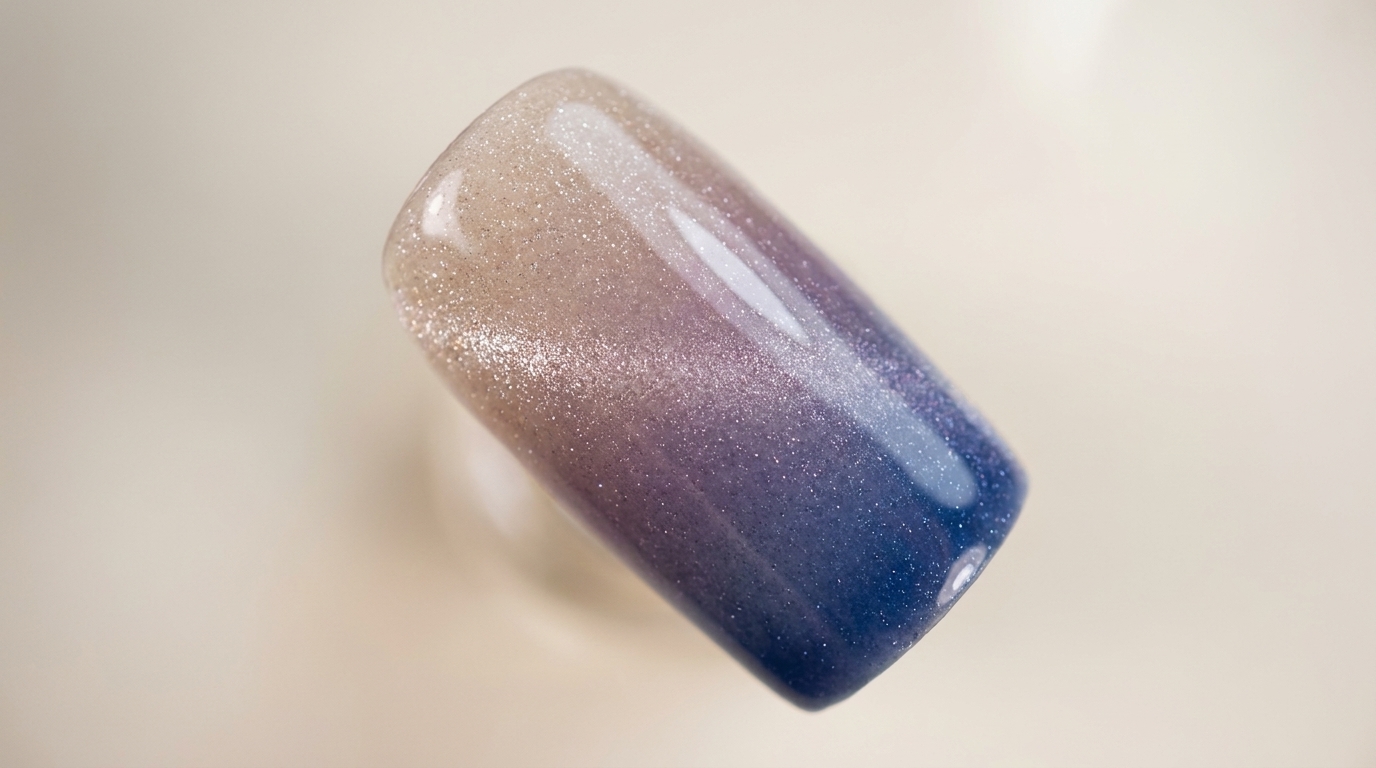
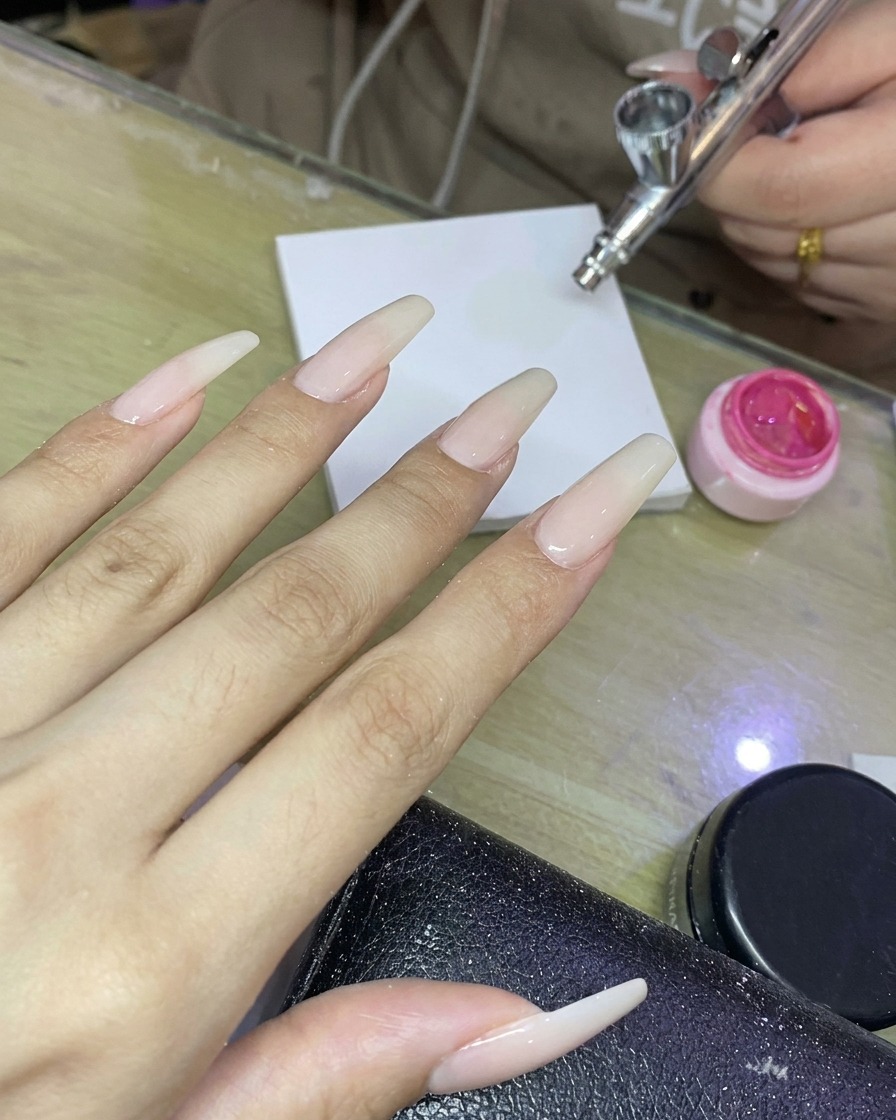
Before applying color to the nails, test the airbrush flow on a piece of practice paper to ensure the spray is even and consistent. Once verified, carefully airbrush a soft pink gradient onto the tips of the nails, keeping the tool at a steady distance for an even transition.
Tip: Hold the airbrush a few inches away from the nail to allow the mist to disperse, creating a soft and seamless ombre effect. - 3Build the pink ombre
Continue applying the pink gradient by layering light, controlled passes over the long nails. Focus the color towards the tips to deepen the saturation while keeping the base area sheer for a natural-looking ombre blend. Maintain steady, gentle pressure on the airbrush trigger.
Tip: Work in thin layers to build the intensity gradually, which prevents pooling and ensures a professional, smooth finish.