Airbrush Gradient Nails
Metallic Embellishments Tutorial
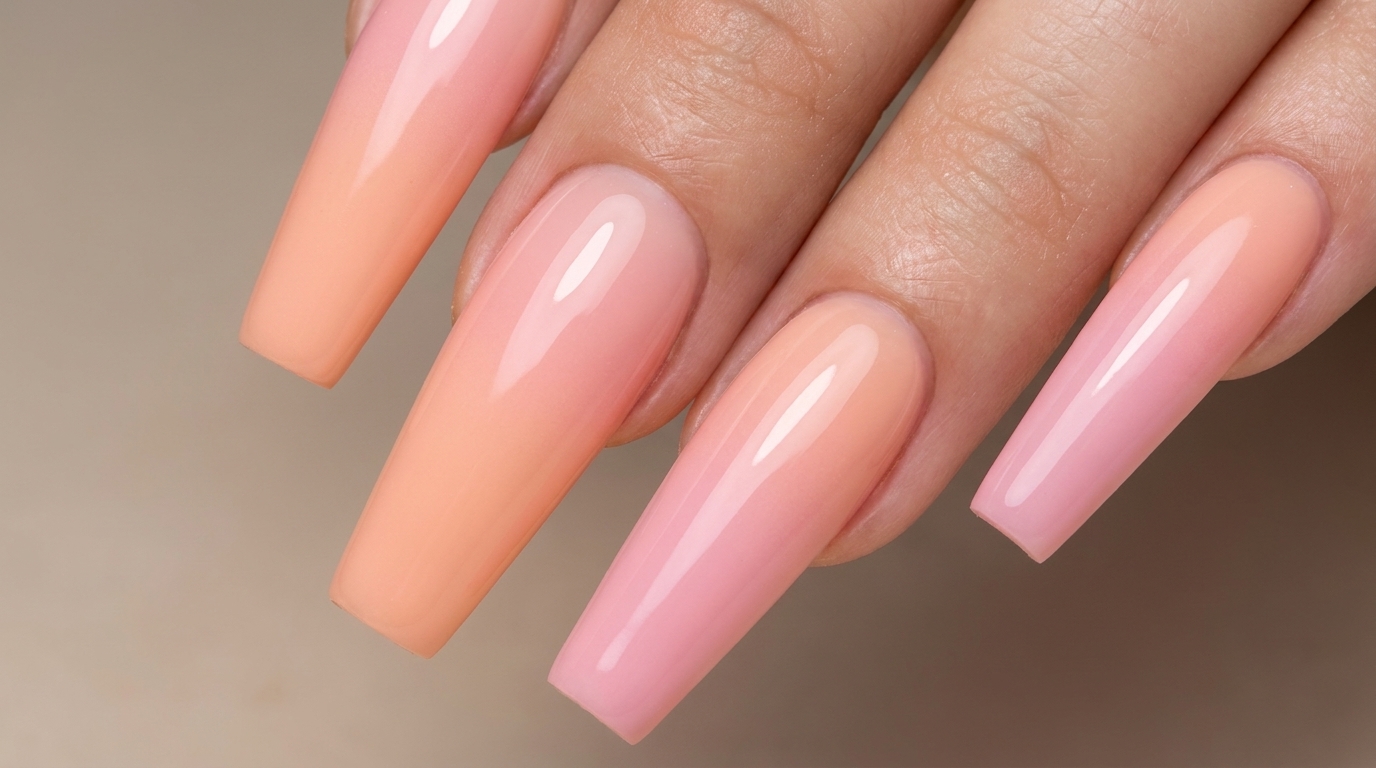
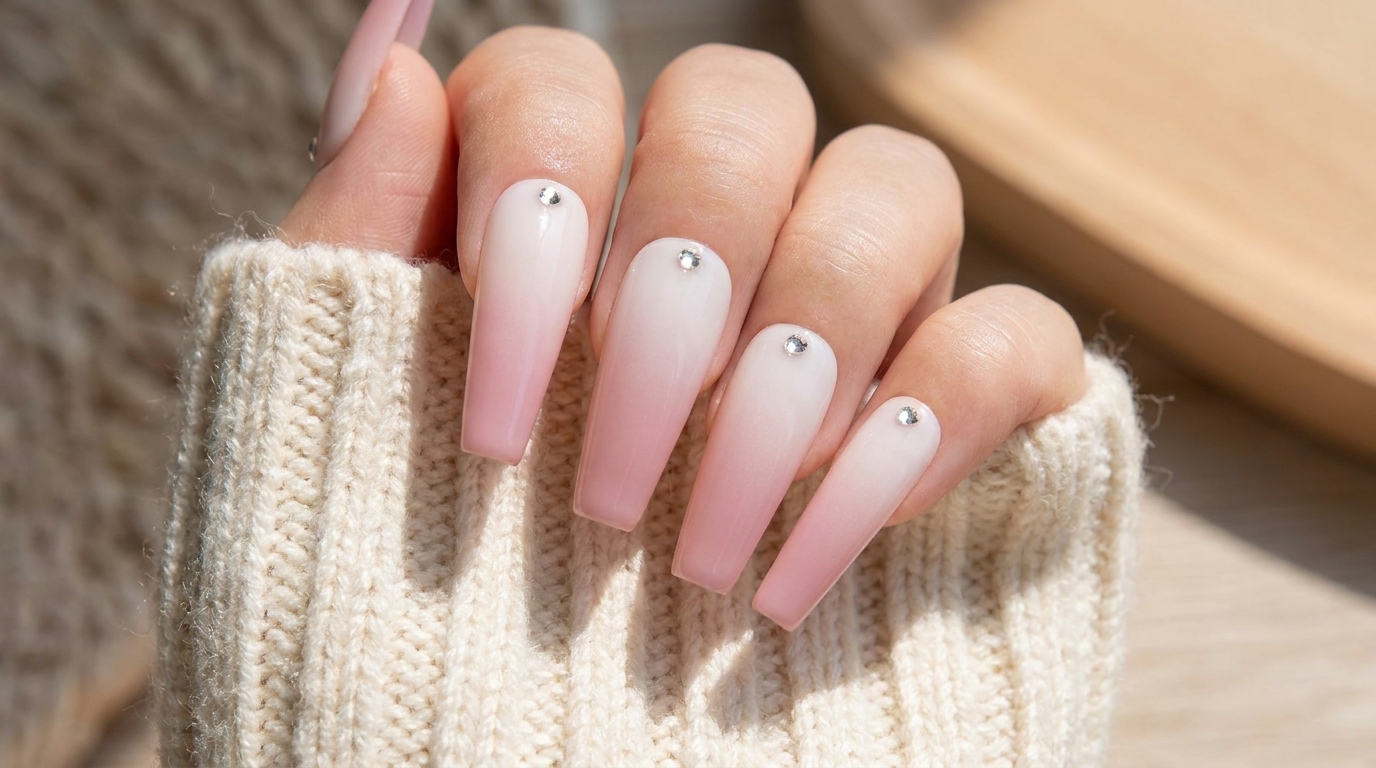
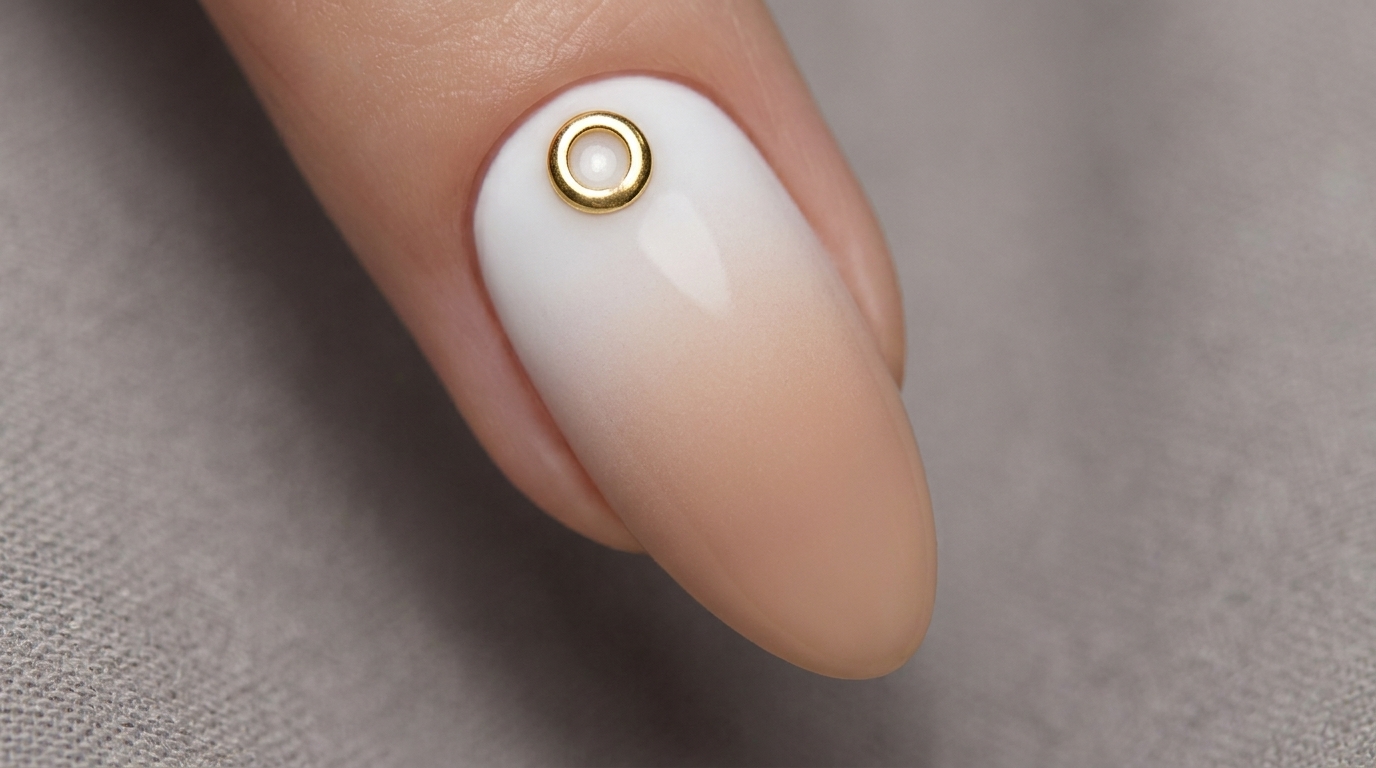
Create a sophisticated, seamless white-to-nude gradient with a touch of luxury. Follow this airbrush technique for a perfect, professional-grade finish.
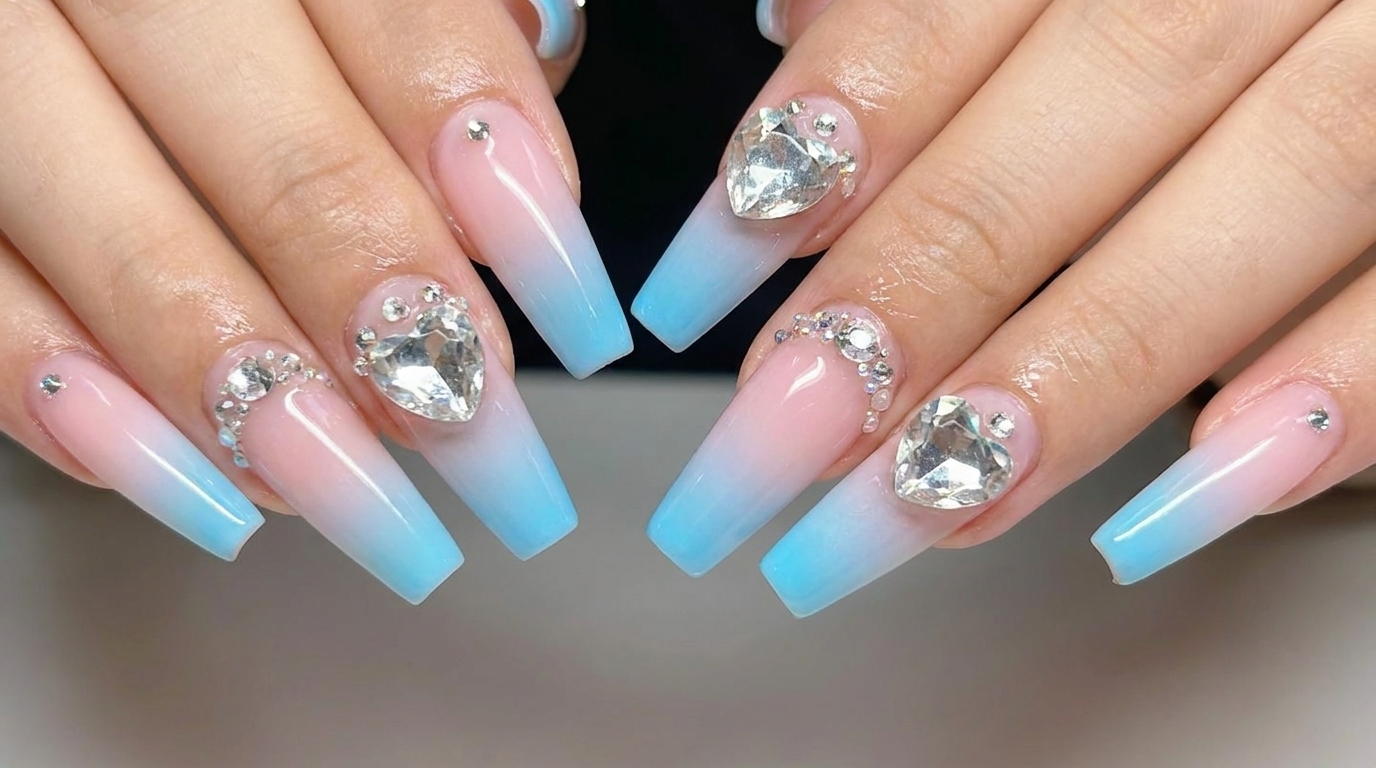
The airbrush gradient look offers a modern, editorial take on the classic ombre. By layering a soft nude tone over a crisp white base, you achieve a seamless transition that looks effortlessly chic. Adding a delicate metallic charm provides just the right amount of elegance to elevate the design from everyday to extraordinary.
Steps
- 1Apply white base layer
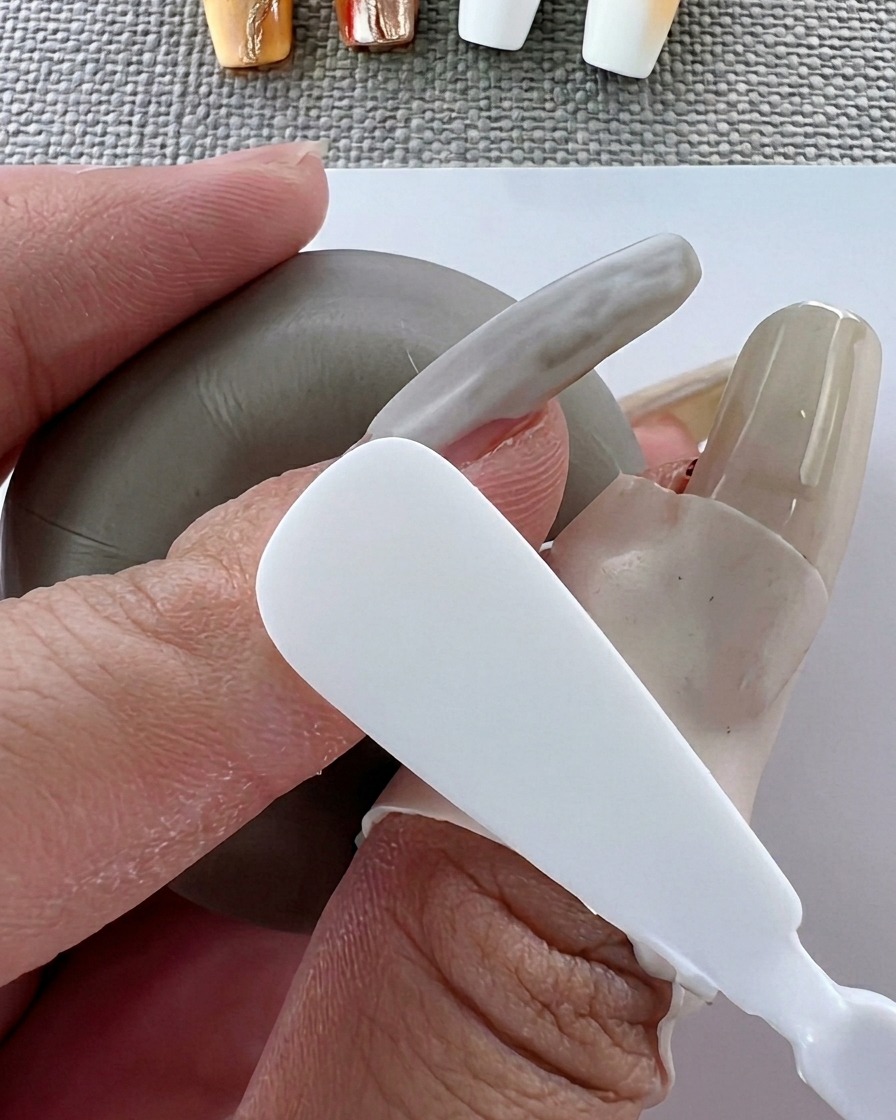
Apply a base layer of white gel polish to the nail. Ensure an even, smooth application, then cure under a UV lamp.
Tip: Apply in thin, controlled strokes to avoid bubbles or uneven thickness. - 2Cure the base layer
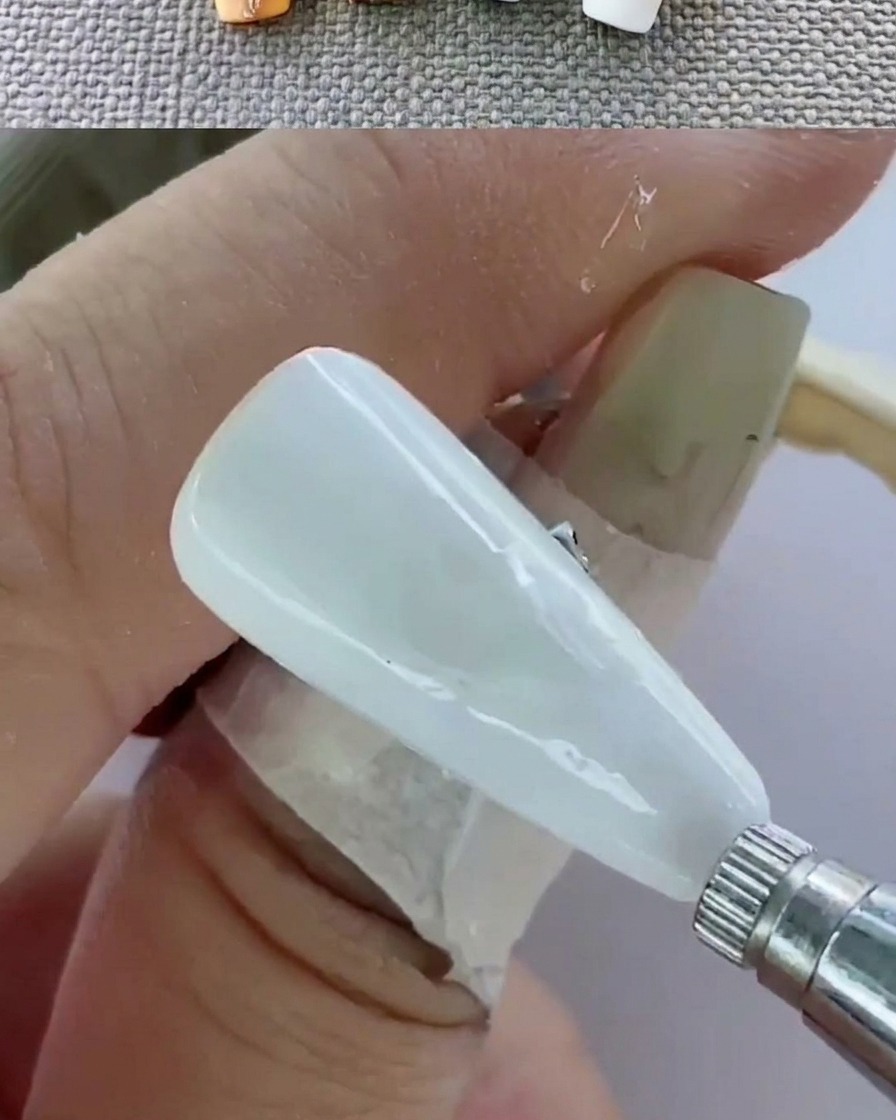
Place your finger inside the UV lamp and cure the white base layer for the recommended time until it is fully set.
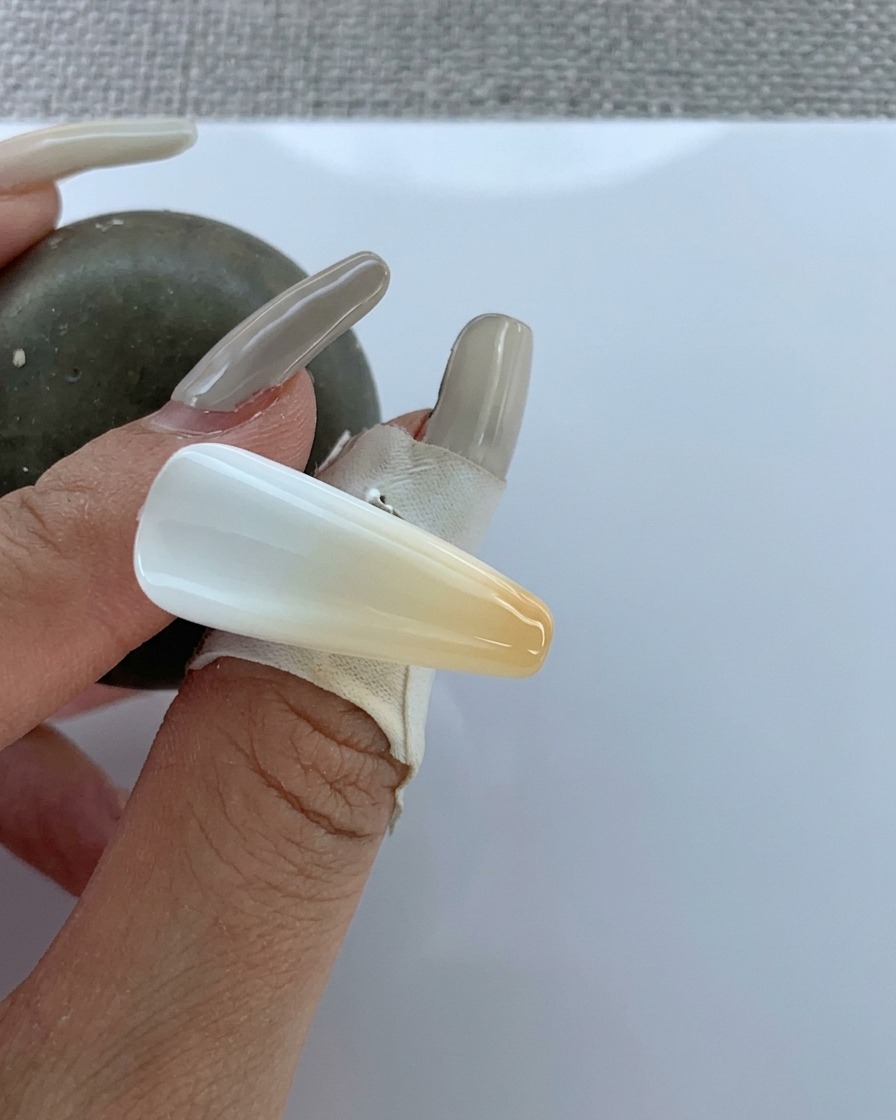
Tip: Ensure your finger is centered in the lamp to provide consistent exposure to all sides of the nail. - 3Apply airbrush gradient

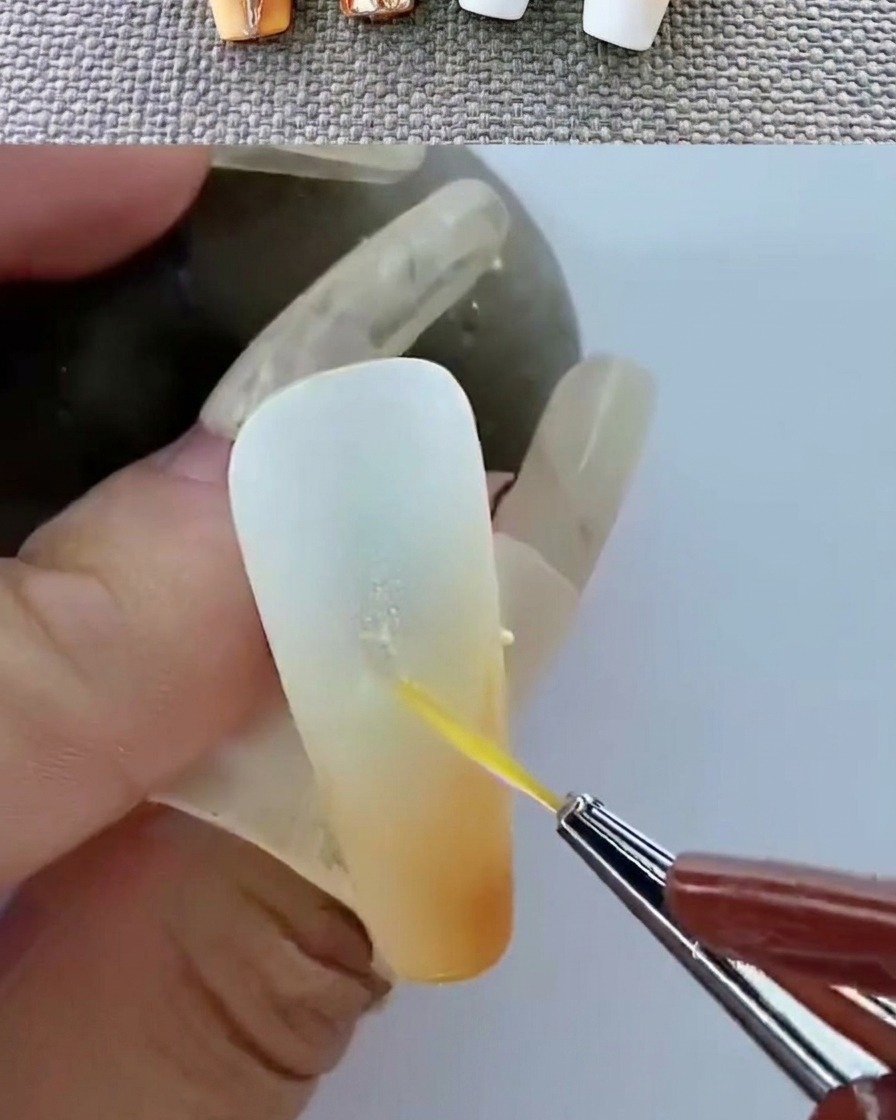
Using an airbrush machine, gently spray a warm-toned color onto the nail. Start from the tip and diffuse the color towards the middle to create a soft, seamless gradient effect.
Tip: Use light, pulsing sprays to build up the opacity gradually, which helps achieve a smoother transition. - 4Apply clear top coat
Apply a generous layer of clear top coat gel over the airbrushed gradient to protect the design and provide a glossy finish.
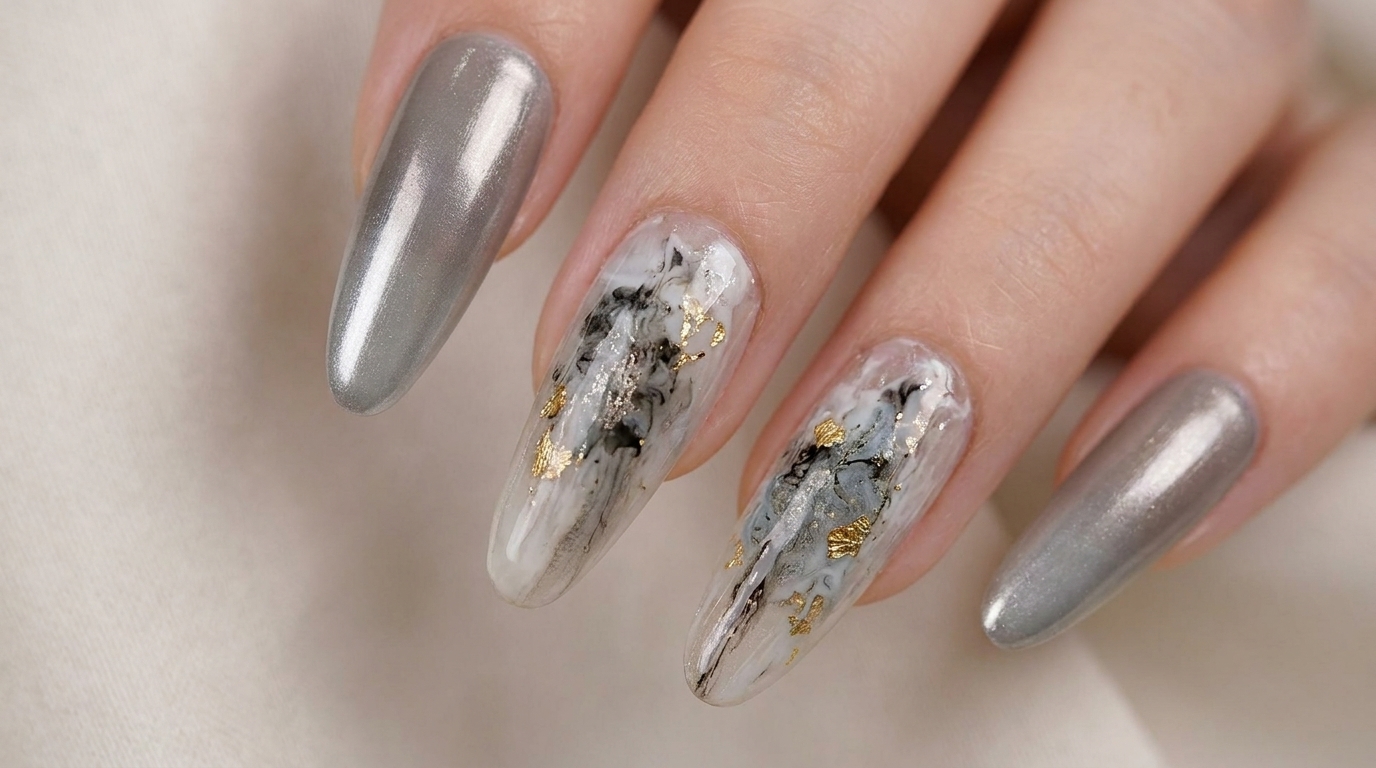
Tip: Ensure the top coat covers the entire surface to seal the edges and add longevity. - 5Add metallic embellishment
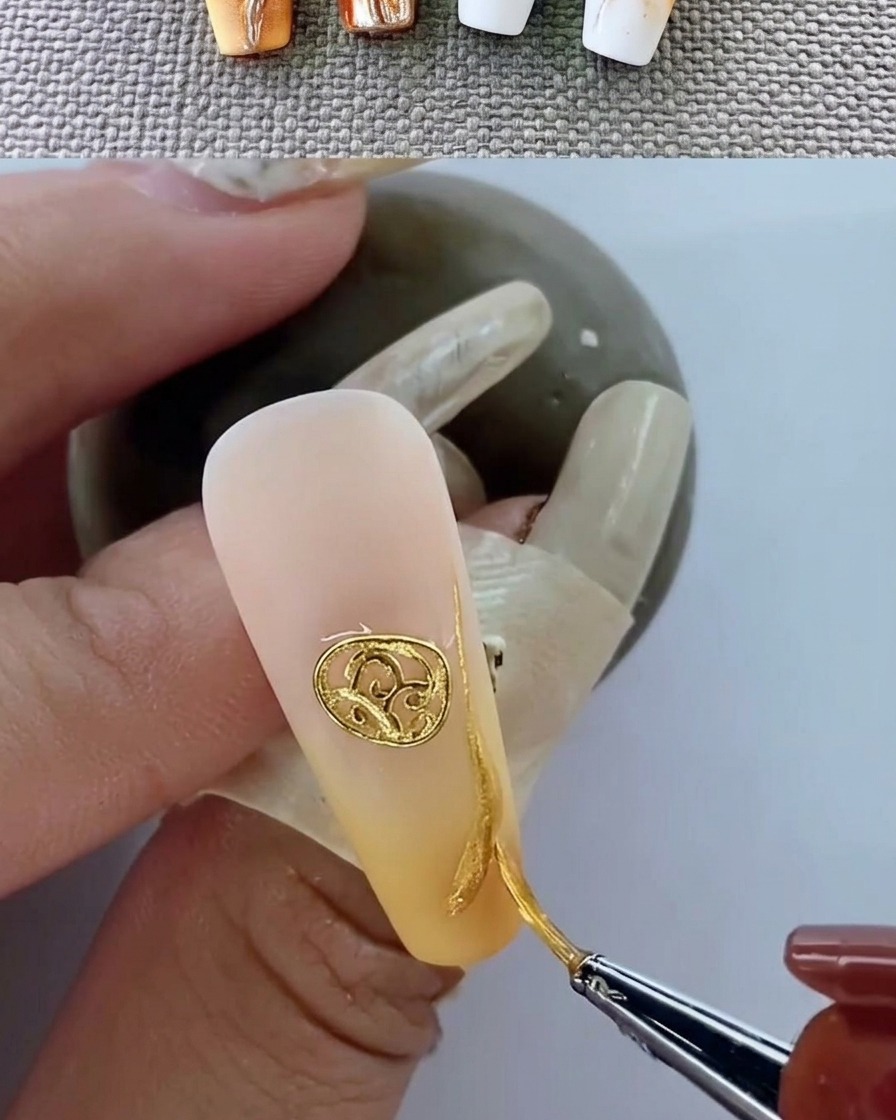
Using tweezers, carefully place the gold metal emblem onto the uncured top coat at the base of the nail. Press it down slightly to ensure it sits flush before curing.
Tip: Tweezers allow for precise placement; ensure the emblem is positioned exactly where you want it before it sets. - 6Cure the final design
Place the nail into the UV lamp one final time to cure the top coat and secure the metallic emblem in place.
Tip: Check that the emblem is fully encapsulated by the top coat to prevent snagging.