Grey-Purple Hand-Brushed Gradient French Nails
Rhinestones
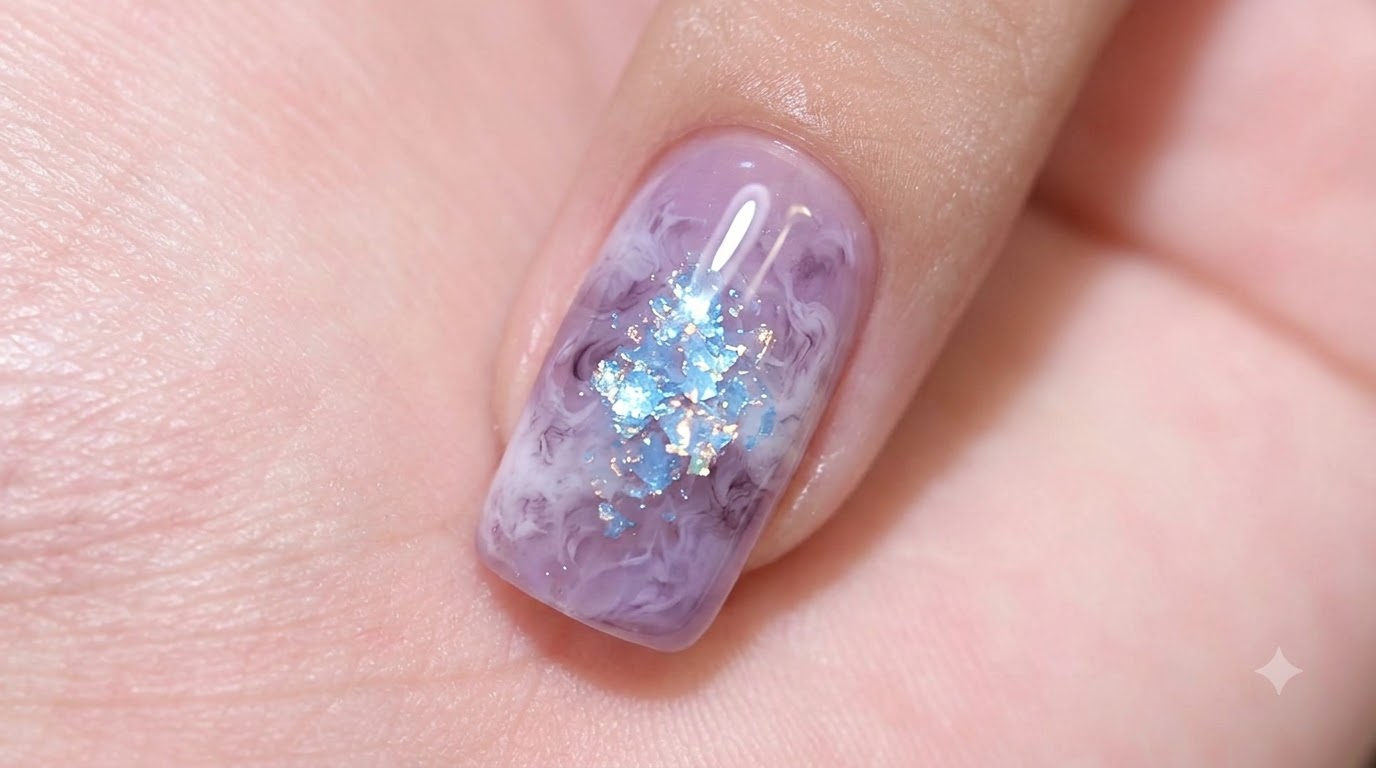
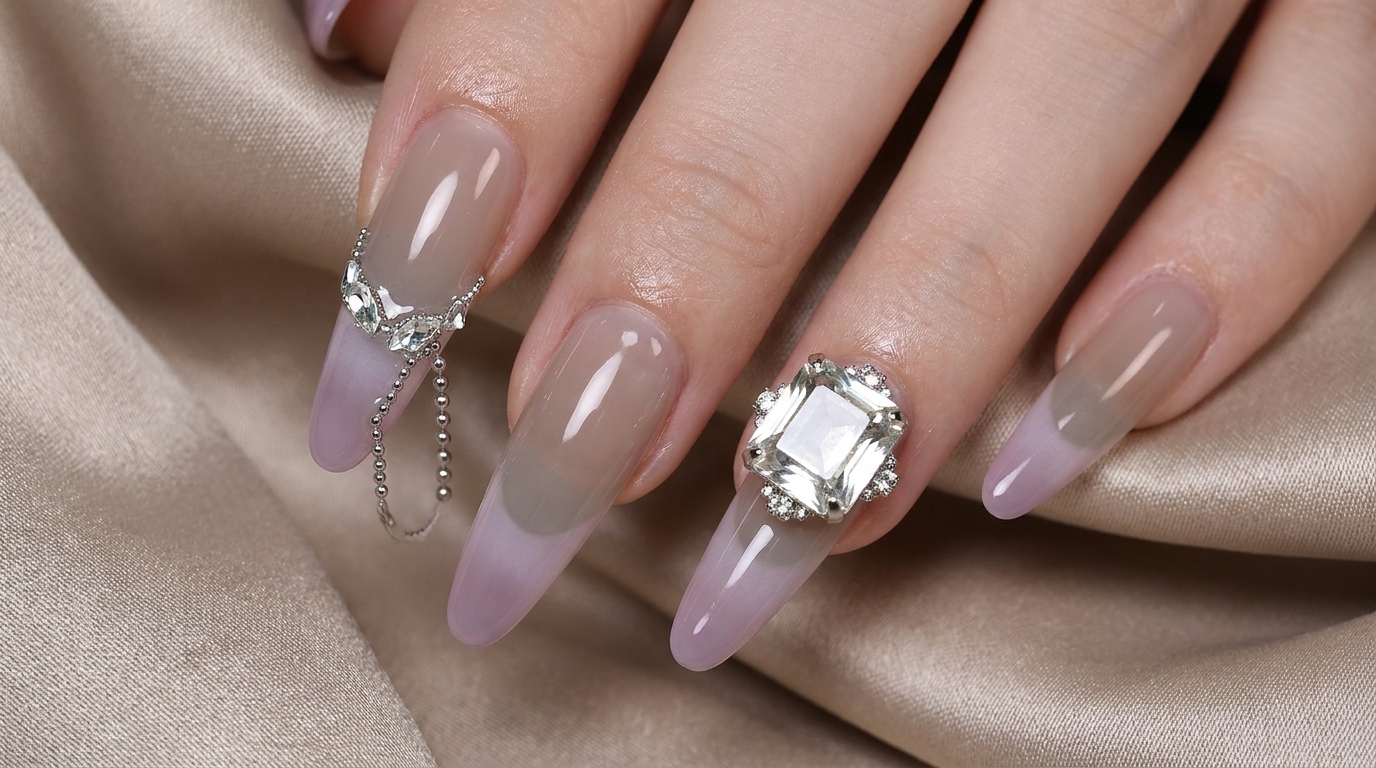
Create an ultra-gentle, skin-brightening gradient French manicure featuring a delicate grey-to-purple hand-brushed fade, sparkling rhinestones, and a chic steel bead dangle.
This sophisticated nail look combines a soft, translucent grey-purple gradient with intricate rhinestone details and metallic accents. Perfect for special occasions or elevated everyday wear, the design uses a sponge-tapped base and hand-brushed color blending to achieve a seamless, high-end salon finish.
Steps
- 1Shape the nails into a long oval
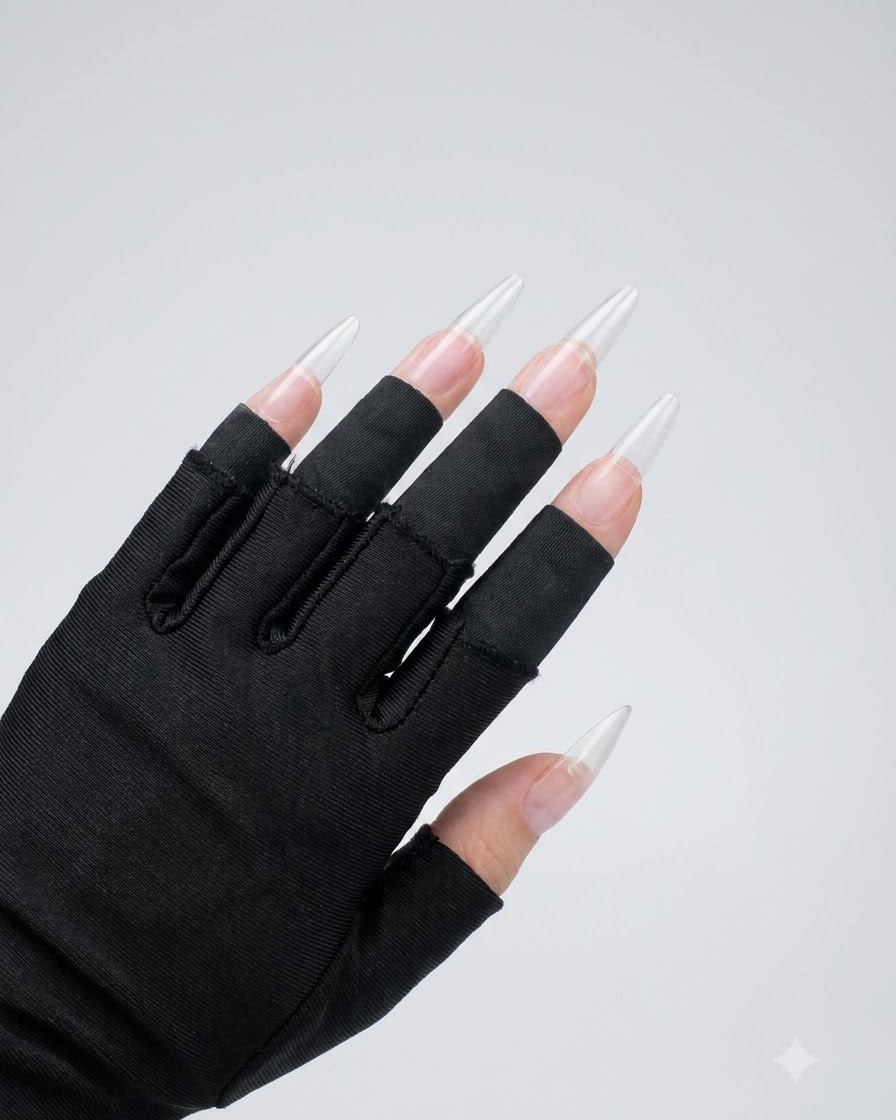
Shape each nail into a clean, elongated oval using a nail file to set the foundation for the entire manicure. Ensure smooth edges and a consistent shape across all fingers before moving forward.
Tip: File gently around the stress points to avoid thinning the sidewalls too much. - 2Dispense nude grey gel onto a palette
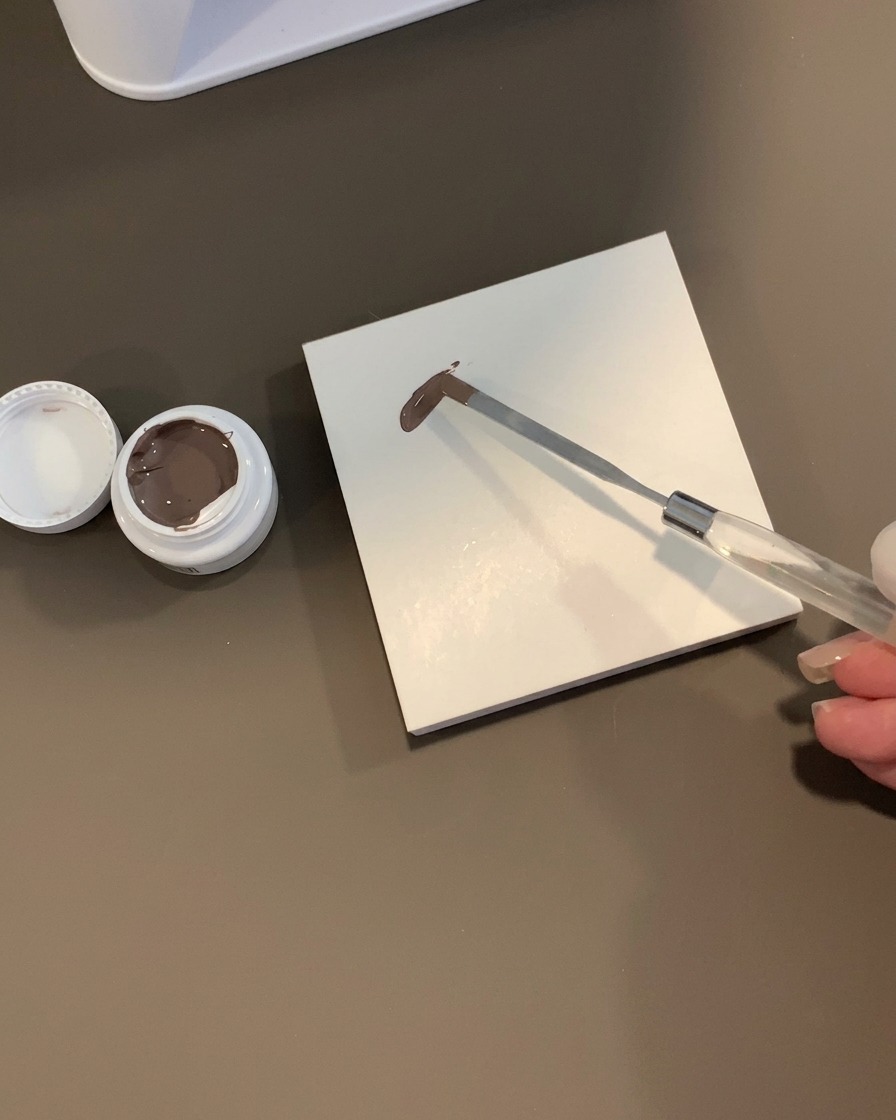
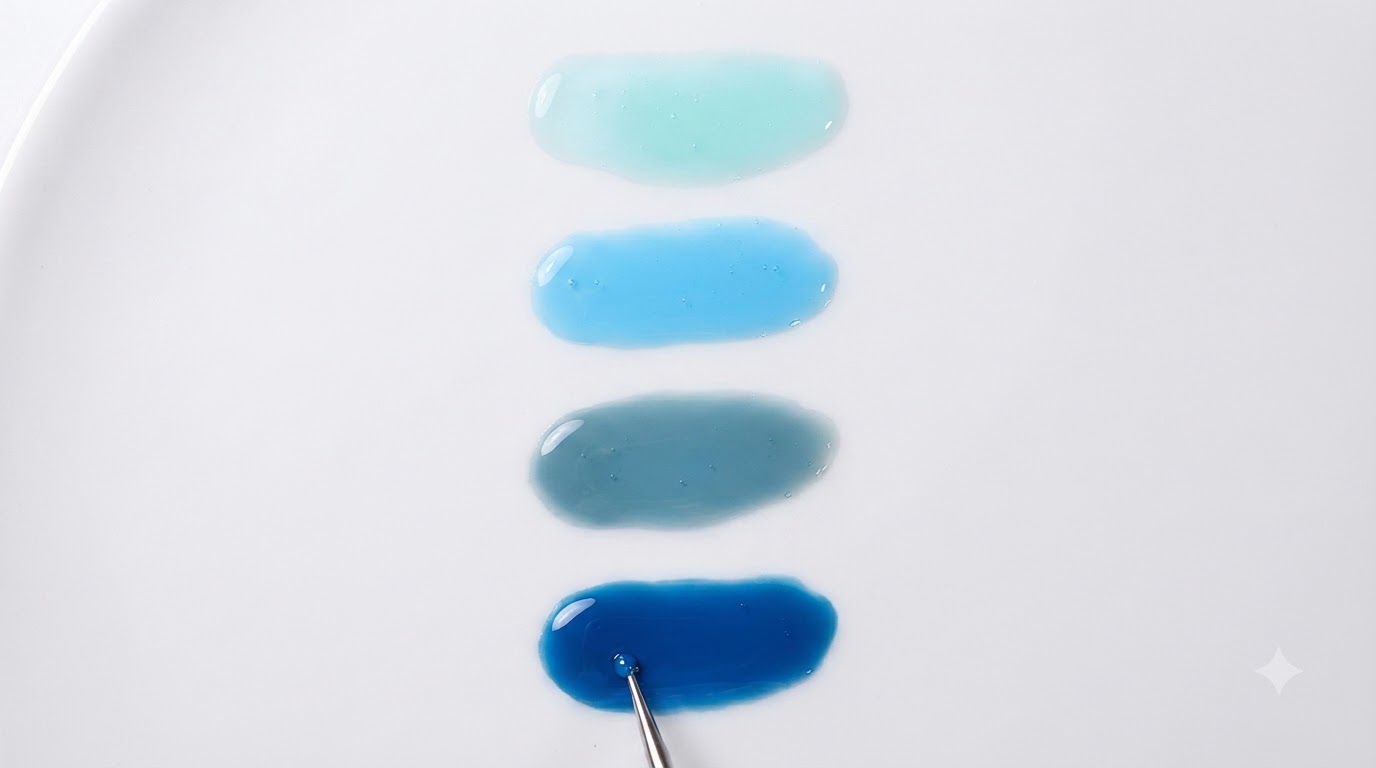
Take a metal spatula to scoop a small amount of nude grey tapping gel from the container and place it onto a clean mixing palette. This makes it easy to pick up product with your tool for the upcoming sponge application.
Tip: Only dispense a small amount at a time to prevent the gel from collecting dust or curing prematurely under ambient light. - 3Load the sponge tool with gel
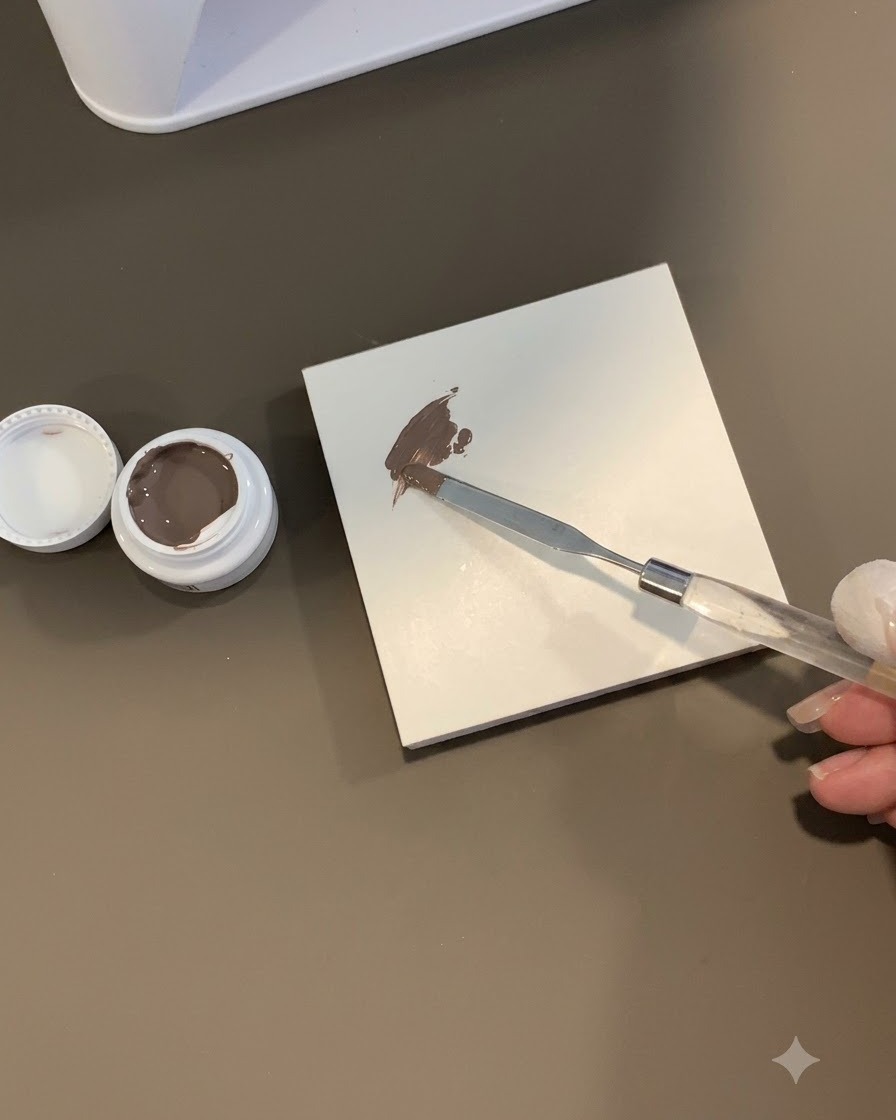
Gently press the sponge tool into the nude grey gel on the palette to evenly distribute a small amount onto the sponge surface. This preparation ensures a smooth, diffused application on the nail.
Tip: Tap off any excess product on a clean area of the palette so the layer remains thin and controlled. - 4Tap nude grey gel onto the nail
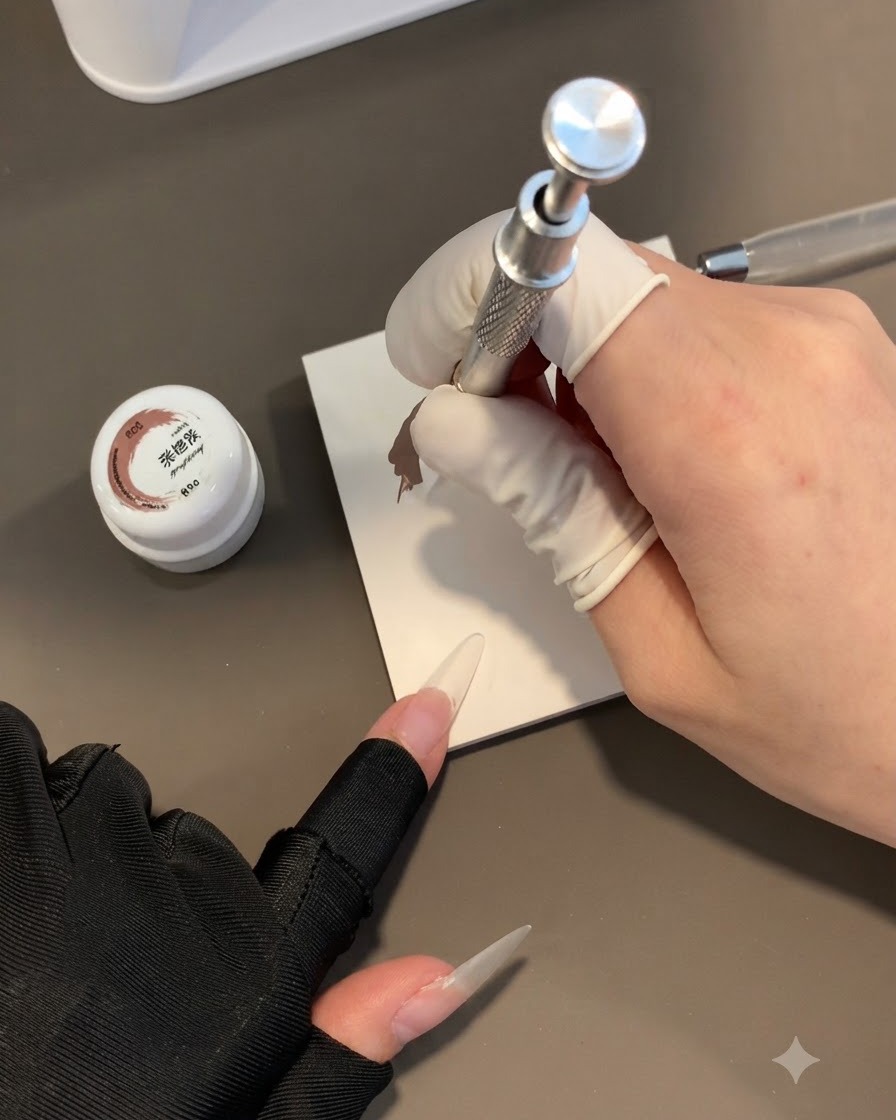
Lightly tap the sponge tool loaded with nude grey gel over the whole nail, focusing mainly on covering the free edge line. Do this across all five fingers to create a soft, blended base.
Tip: Use a light tapping motion rather than heavy pressing to keep the gradient texture airy and seamless. - 5Blend and smooth the base layer
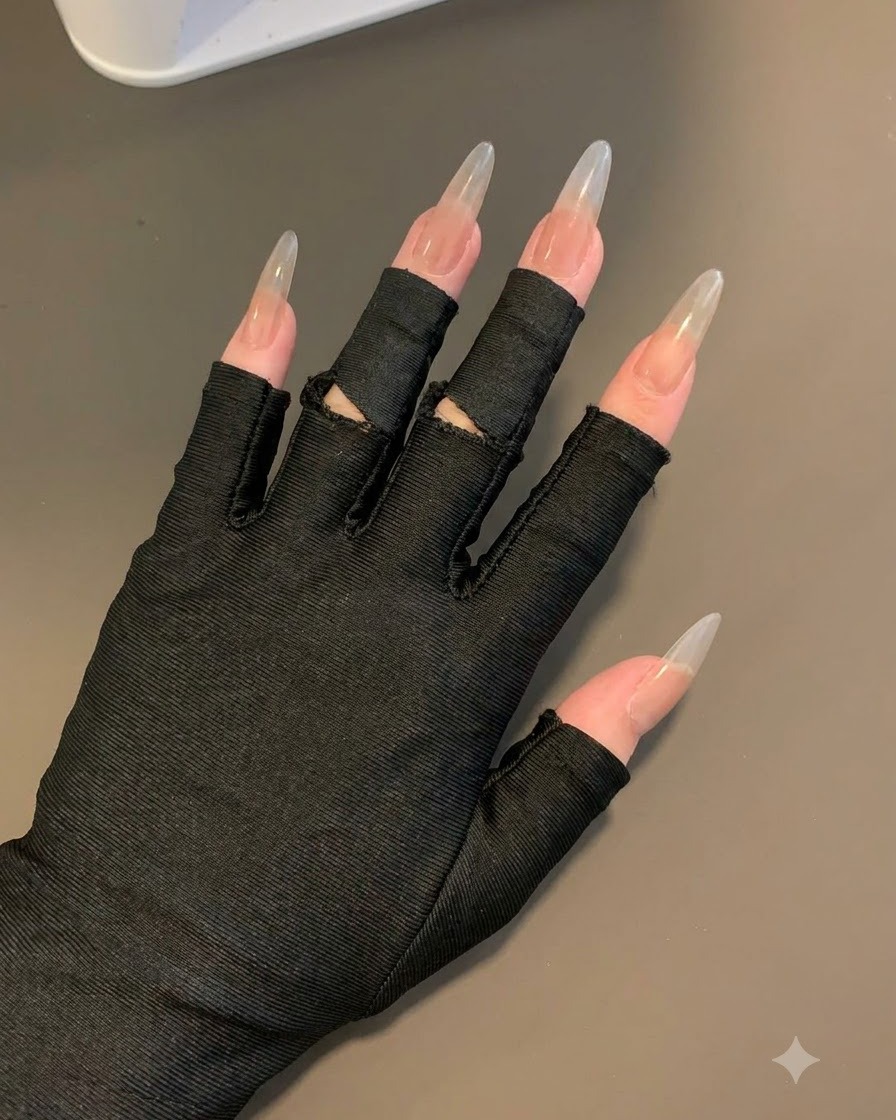
Lightly brush over the tip and back edge depending on your situation to soften any harsh lines. Just this blended base alone creates a gorgeous, subtle foundation for the design.
Tip: Keep strokes extremely light to avoid wiping away the tapped texture entirely. - 6Cure the grey base layer
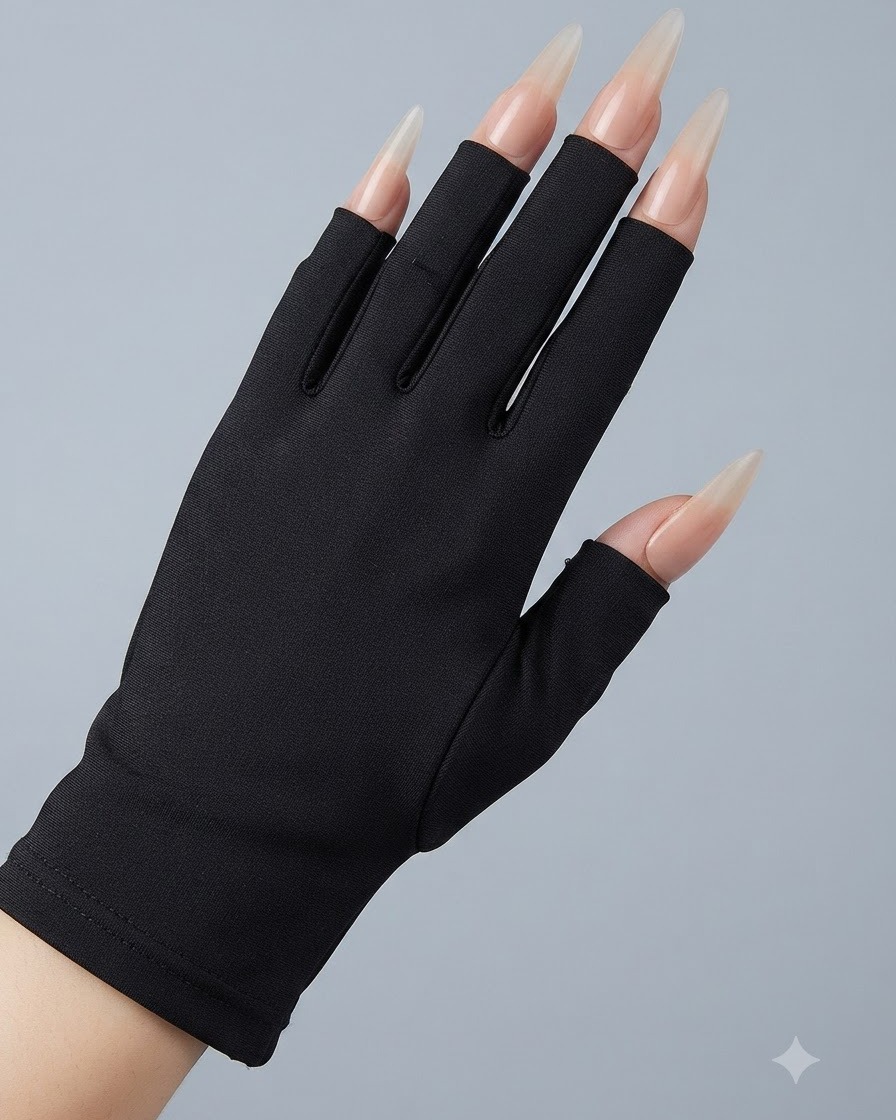
Place the hand under a UV or LED lamp and cure the grey base layer for 60 seconds to lock the pigment in place. Ensure all fingers are properly exposed to the light source.
Tip: Keep fingers flat and centered under the lamp for an even cure. - 7Encapsulate the base layer with clear gel
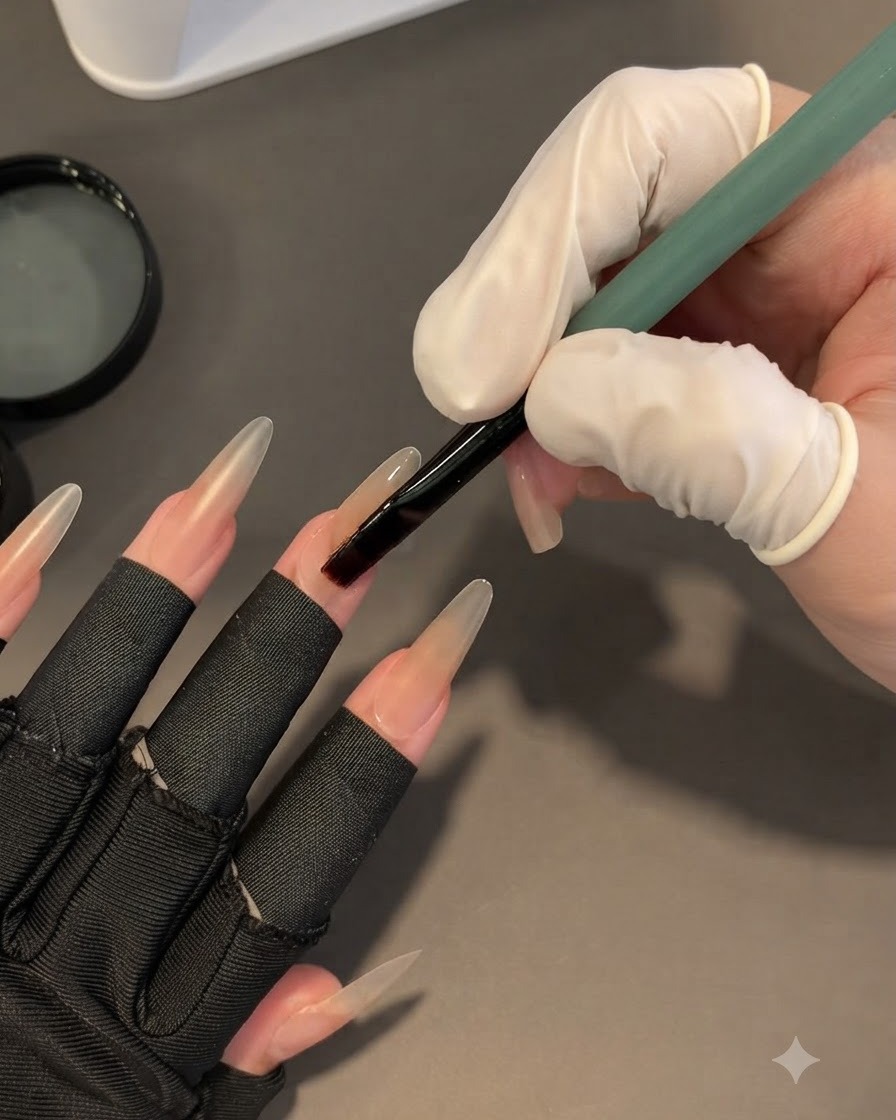
Apply a relatively thick clear base gel over the entire nail surface to encapsulate the tapped color layer, protecting it and preventing the tapped gel from being wiped off later. Ensure smooth and gentle coverage across all fingers.
Tip: Apply gently to avoid disturbing the underlying tapped gel design. - 8Cure the encapsulation layer
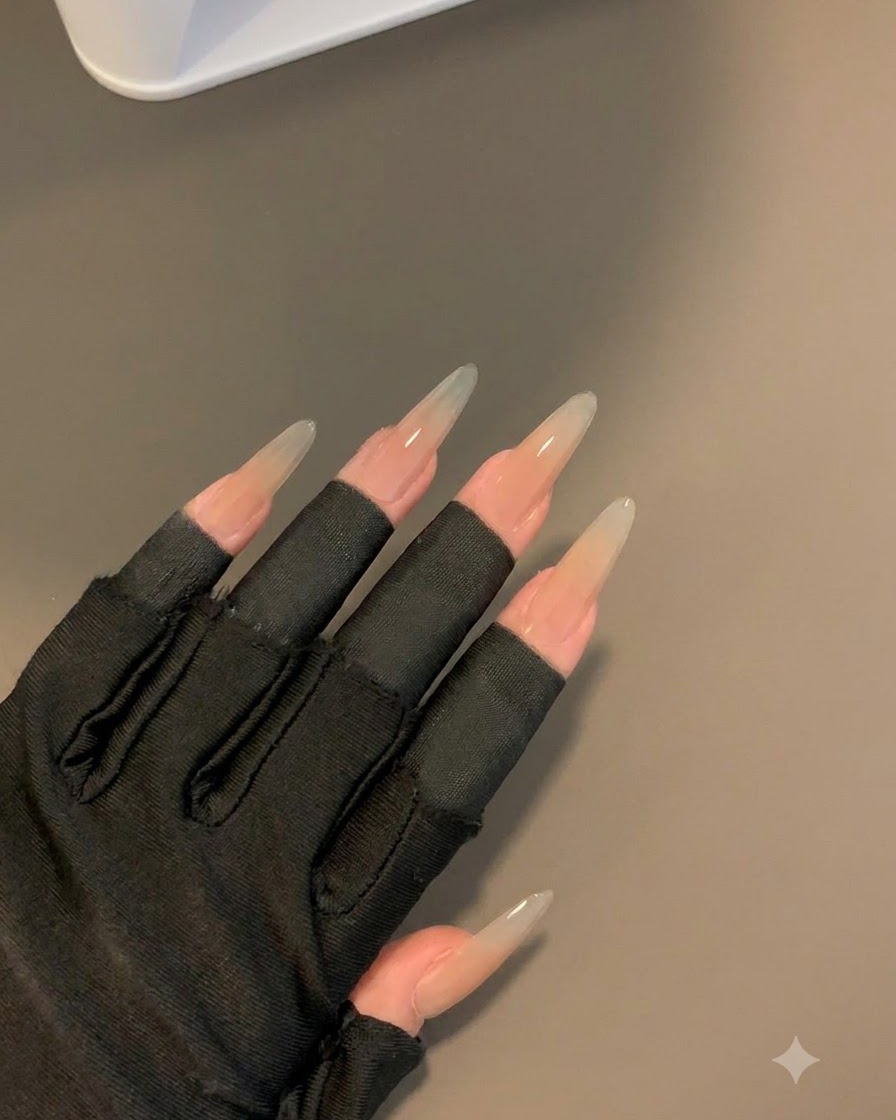
Place the hand under the UV or LED lamp and cure the encapsulated base layer for 30 seconds to lock in the product and prepare the surface for the next design step.
Tip: Ensure the hand is properly positioned under the lamp light source for even curing. - 9Apply sheer purple for gradient
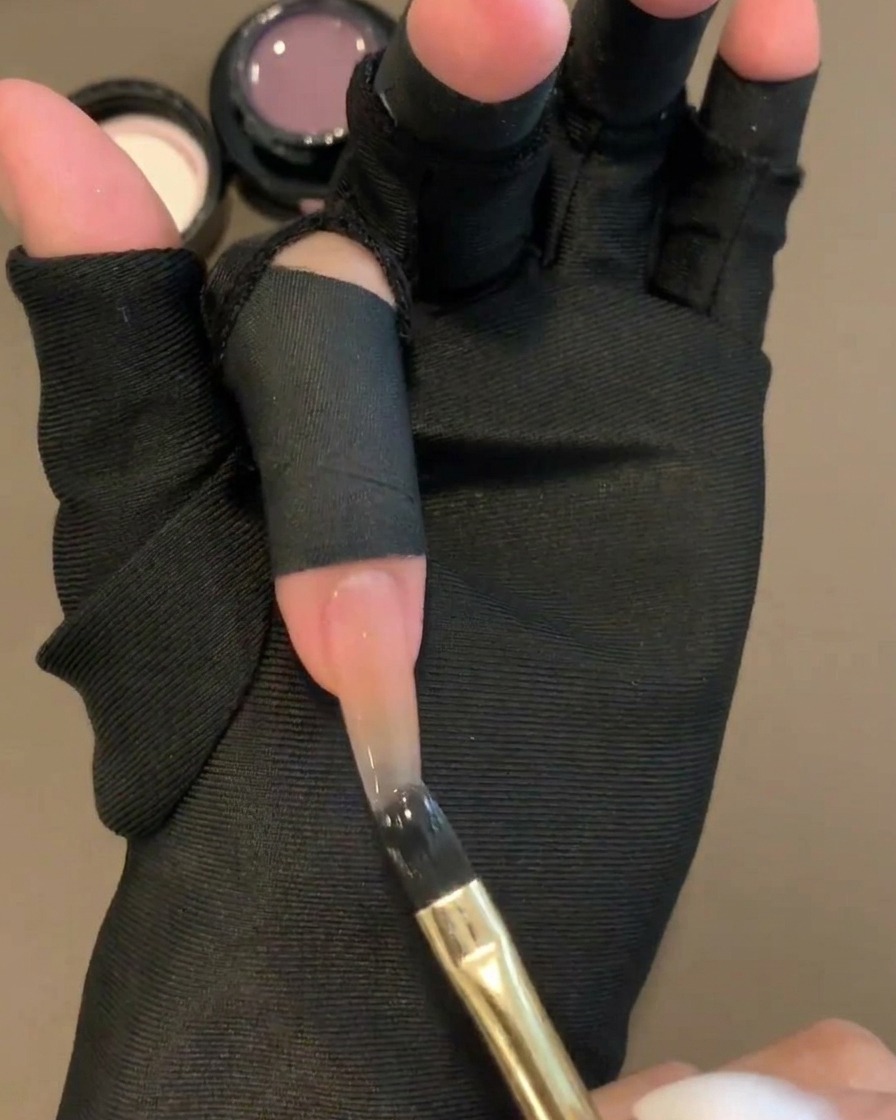
Take a sheer purple color gel and use a standard flat gel brush to fill in the color on the top half of the nail, laying the groundwork for a hand-brushed gradient effect.
Tip: Keep the brush application even on the upper portion of the nail to create a smooth transition zone. - 10Prepare the blending brush
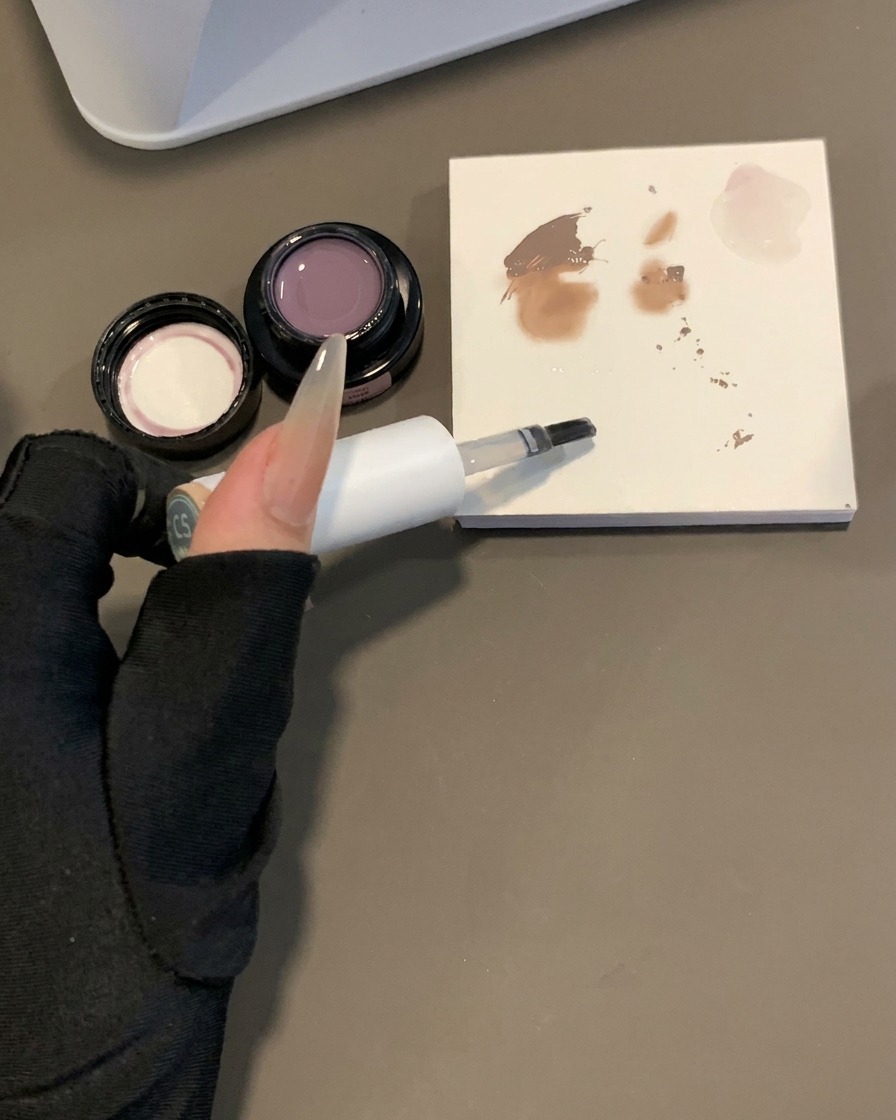
Take a little clear base gel on your palette, moisten your brush with it, and lightly wipe off any excess. This prepared brush will be used to softly blend and pull the color edges.
Tip: Moistening the brush with base gel helps create a seamless, soft-focus blend without harsh lines. - 11Blend the purple gradient
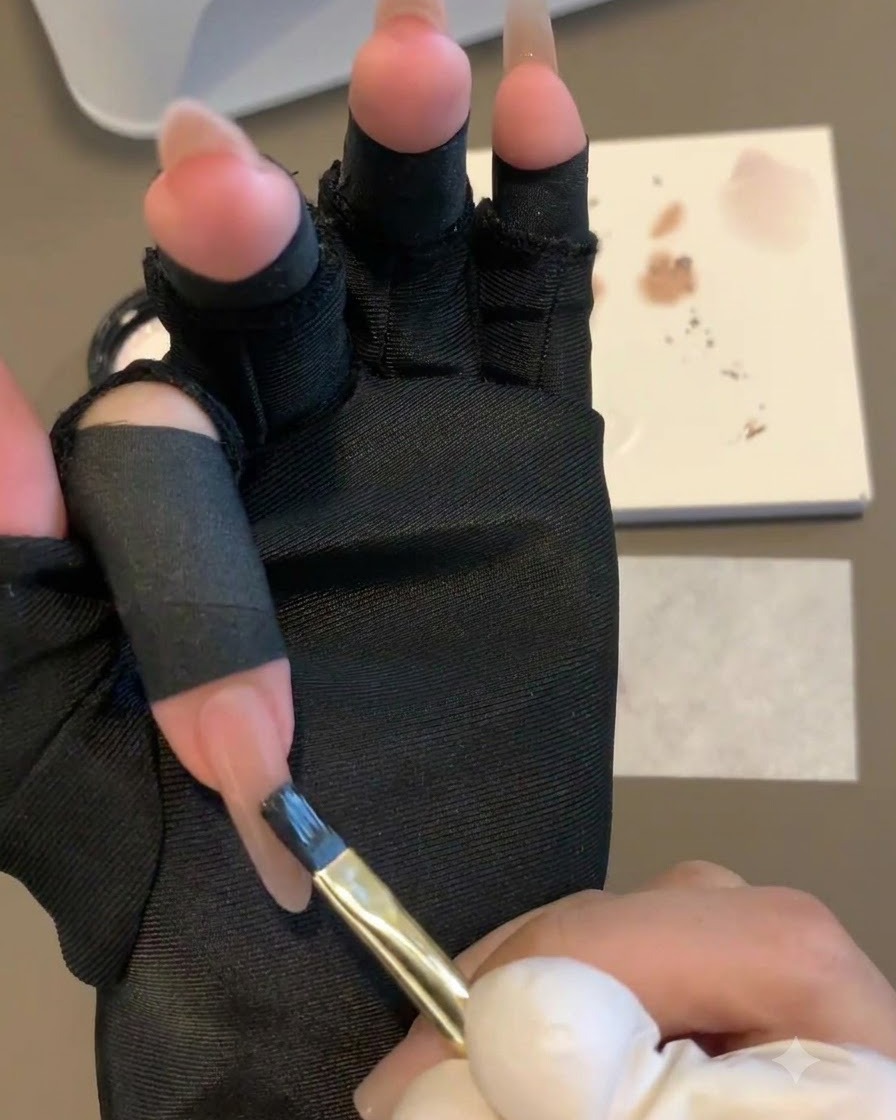
Starting from the blending edge of the purple gel, gently tap and pull upwards toward the cuticle area using the tapping and pulling technique. Keep the brush completely flat the whole time for a natural fade.
Tip: Maintain a flat brush position to ensure the gradient feathers out smoothly into a natural look. - 12Cure the first gradient layer
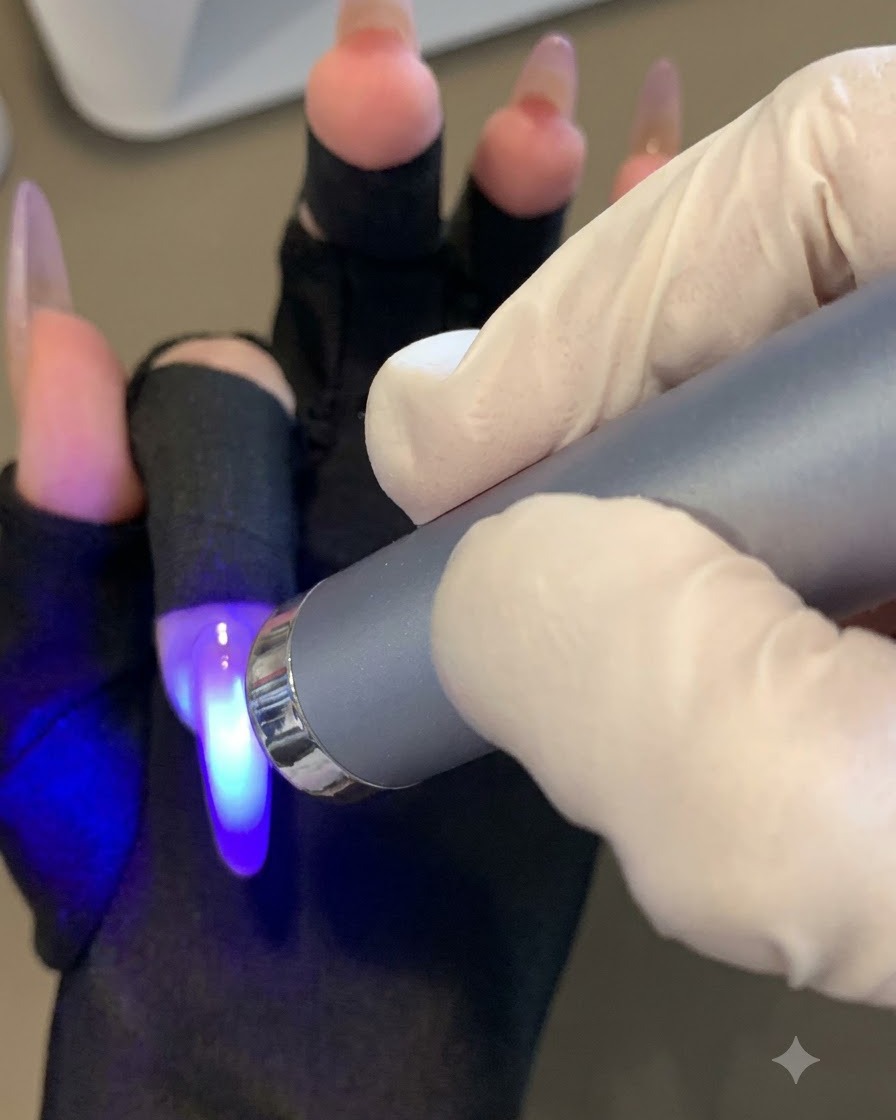
Place the hand under the UV or LED lamp to cure the first applied coat of the hand-brushed purple gradient before proceeding with additional layers.
Tip: Flash cure or fully cure according to your gel consistency to prevent shifting. - 13Apply a second layer of sheer purple gel to the tip
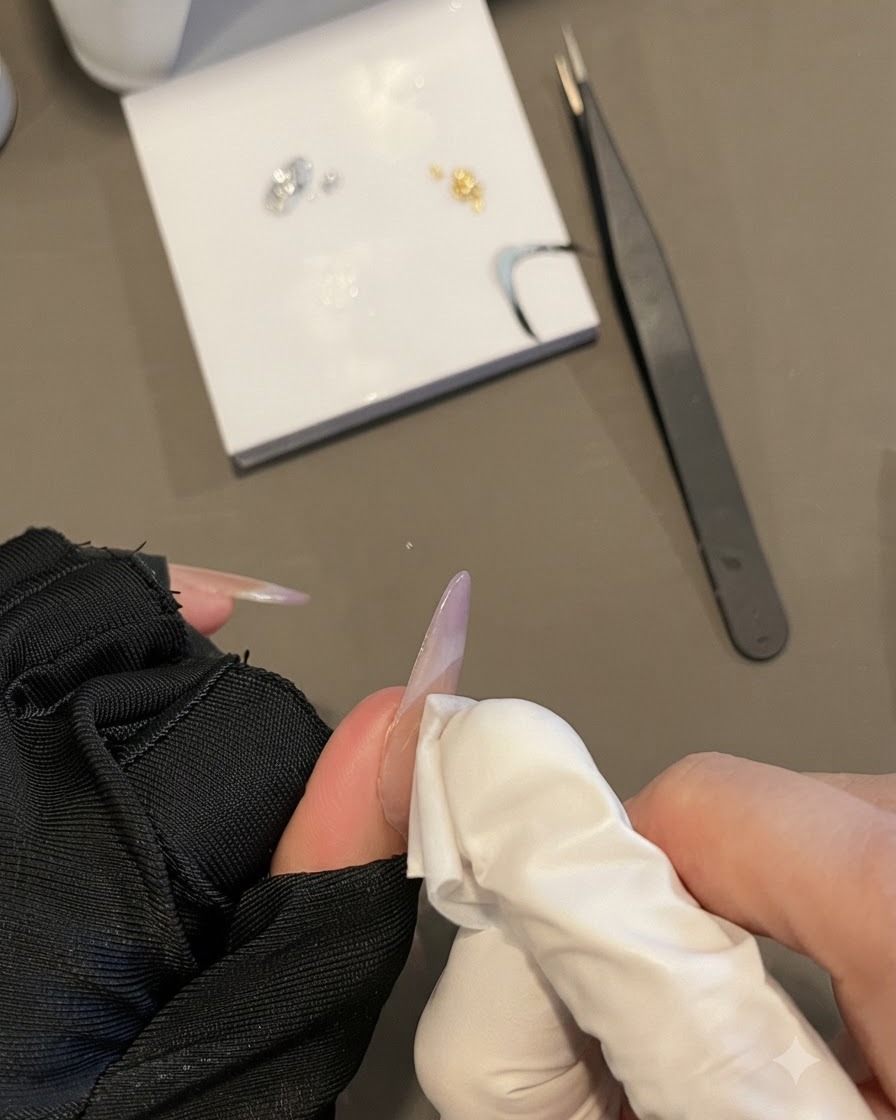
The nail tip is not saturated enough with the first coat, so we continue to add gel. After wiping off the color gel, dip into the base gel and use the same tapping and pulling method for another gradient to achieve a natural hand-brushed look.
Tip: Keep the brush flat the whole time while tapping and pulling upwards from the blending edge. - 14Blend the purple gradient with base gel
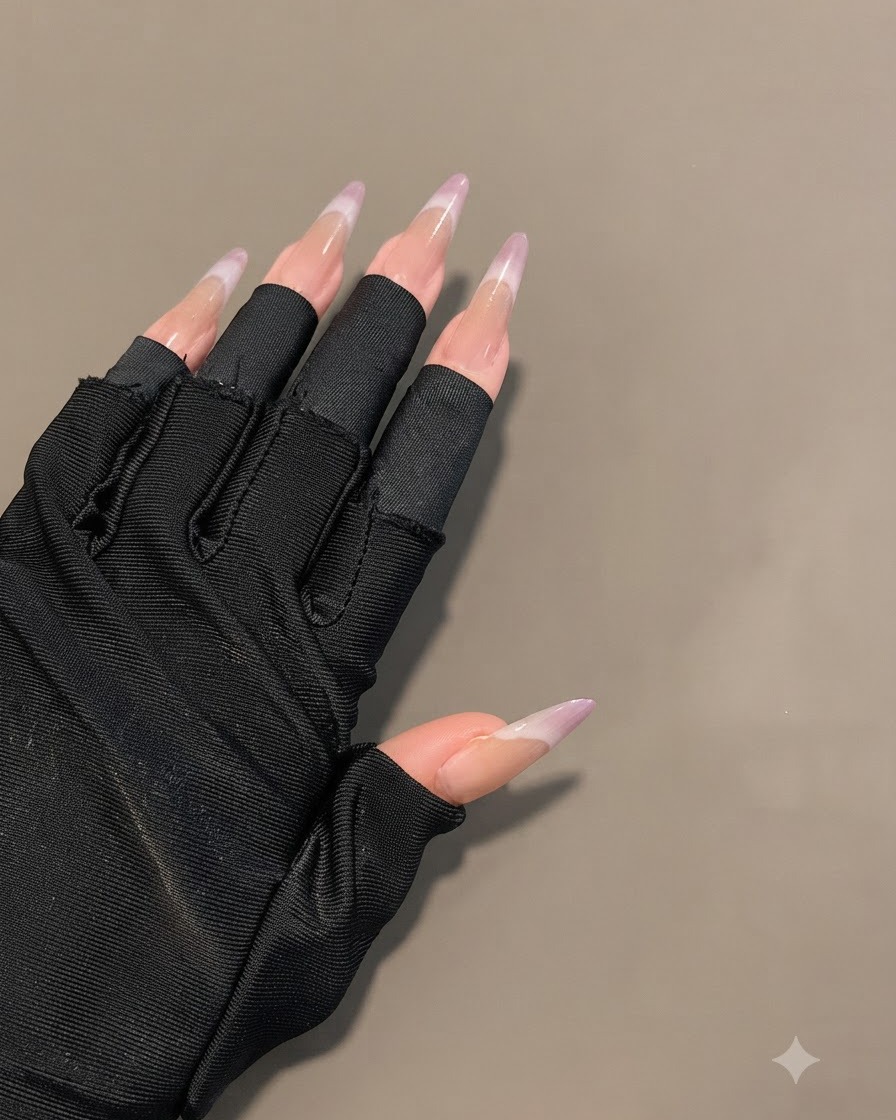
Take a small amount of clear base gel on your brush and use a gentle tapping and pulling motion from the blending edge upwards. Keep the brush flat the entire time to softly feather the purple pigment into the nude base, creating a seamless, natural-looking hand-brushed gradient across all fingers.
Tip: Keeping your brush completely flat prevents harsh lines and ensures a smooth, even transition. - 15Cure the purple gradient
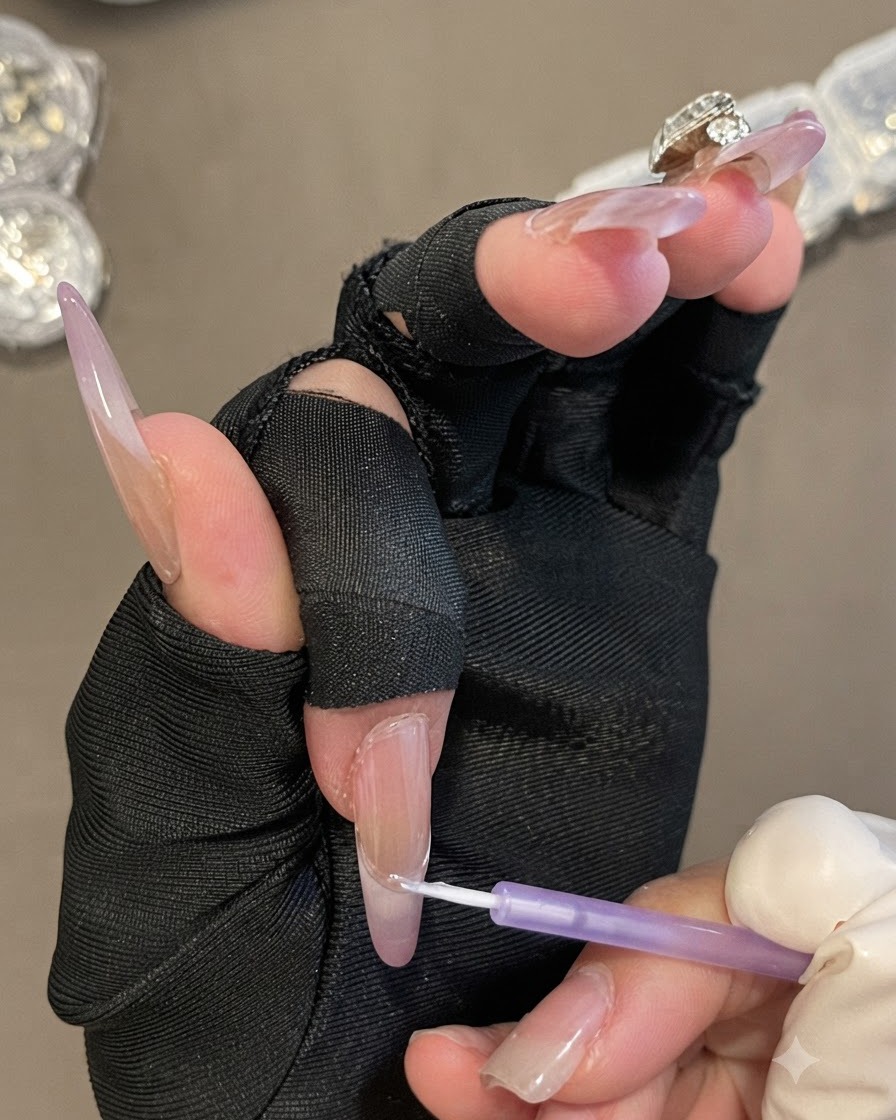
Place your hand inside the UV or LED curing lamp and cure the completed hand-brushed purple gradient for 30 seconds. This sets the color layers firmly in place before moving on to cleansing and surface prep for the next phase of the nail art.
Tip: Ensure your fingers are positioned evenly under the lamp lights to cure all nails thoroughly. - 16Wipe away the sticky inhibition layer
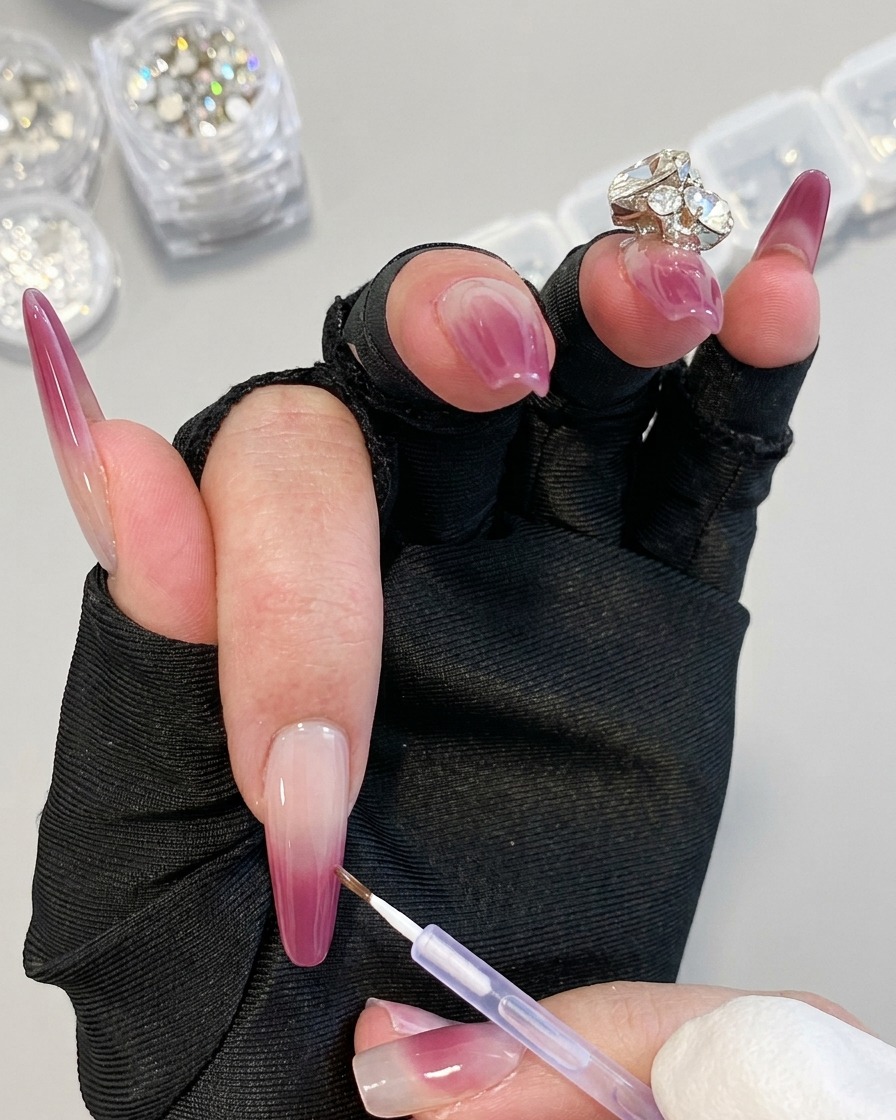
Take a lint-free wipe saturated with nail cleanser and thoroughly wipe down all five fingers to remove the sticky inhibition layer left behind after curing. This cleans the surface completely and prepares it for sticker placement and subsequent detailing.
Tip: Make sure the inhibition layer is completely removed so that stickers and decals adhere securely without slipping. - 17Apply French tip guide stickers
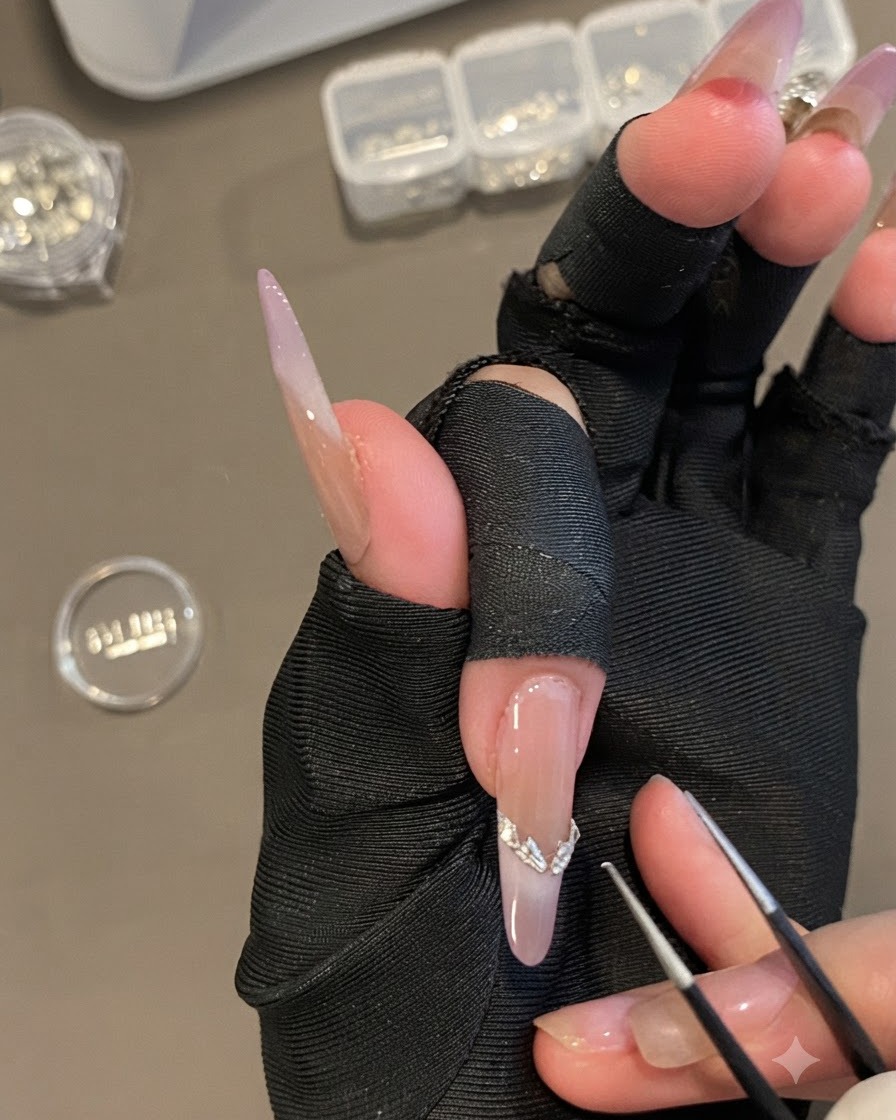
Using fine precision tweezers, carefully pick up curved French tip guide stickers and apply them across all five fingers to mark your placement lines. These guides help structure the reverse gradient effect cleanly and evenly across the nails.
Tip: Press down firmly along the edges of the sticker to prevent any gel from bleeding underneath during application. - 18Create reverse white gradient with sponge
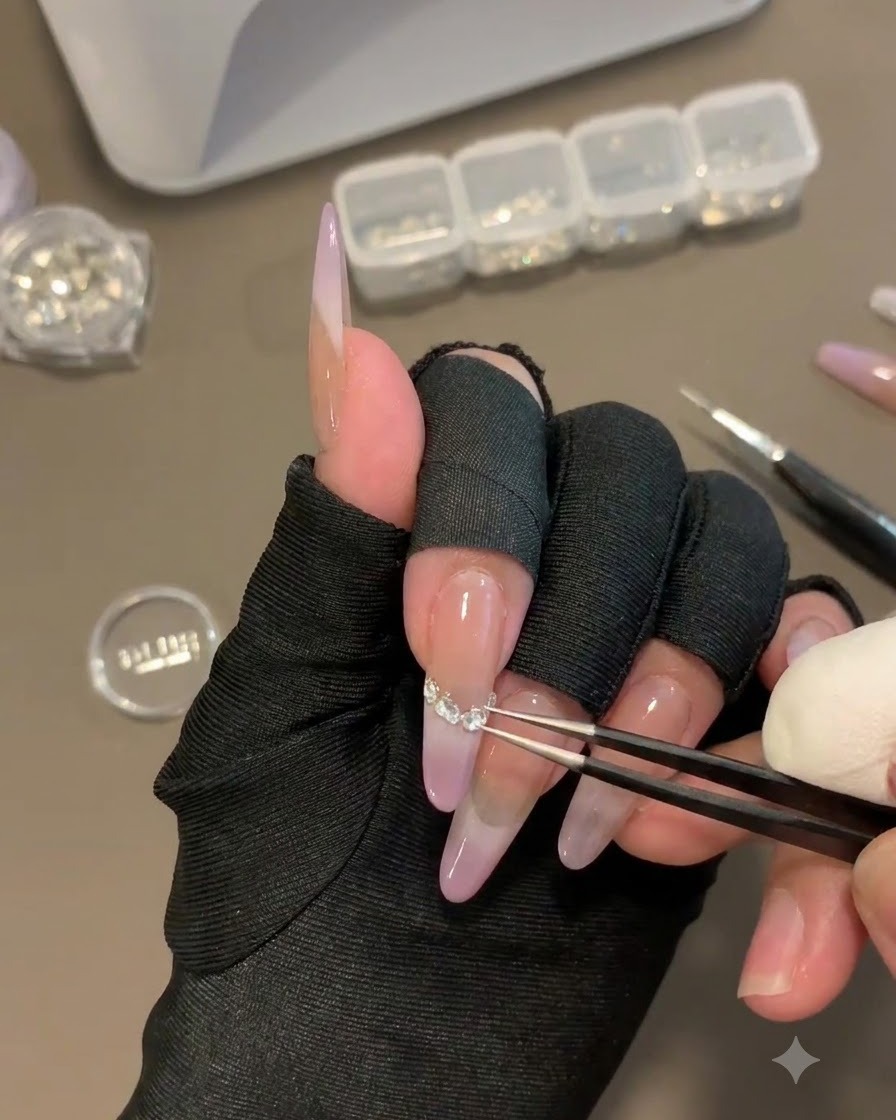
Tap white gel onto the designated area using your tool to create a reverse gradient effect, making sure the white gradient fades away completely at the tip. Check your details carefully and clean up any excess gel tapped outside the guidelines before curing.
Tip: Keep the tapping motion light and airy so the white color fades out seamlessly into nothingness at the edge. - 19Prepare steel beads and magnet tool
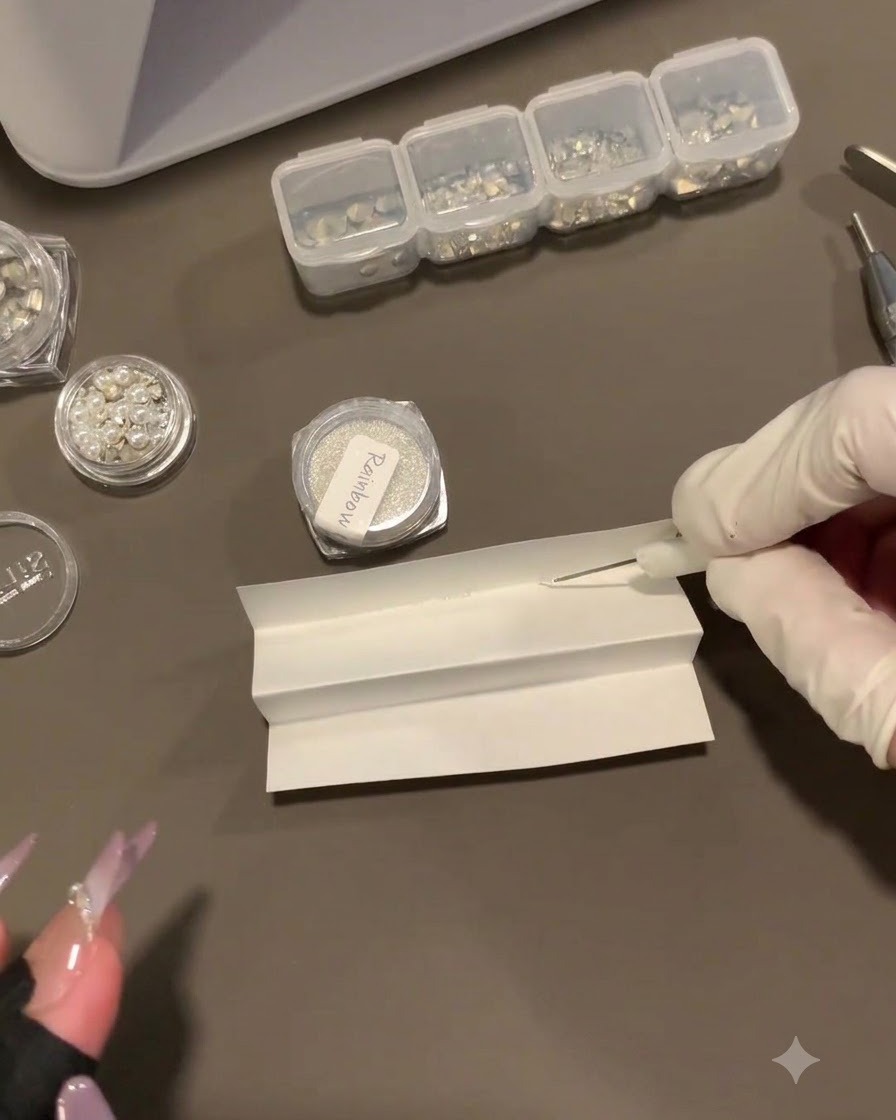
Prepare a folded piece of paper and use a magnet attached to a needle to pick up a continuous string of small steel beads. This method allows you to easily pick up and place the beads directly onto the nail design with precision, making the operation significantly more time-saving and simple.
Tip: Always choose small enough steel beads to keep intricate nail art looking delicate and refined. - 20Inspect the final rhinestone and bead design
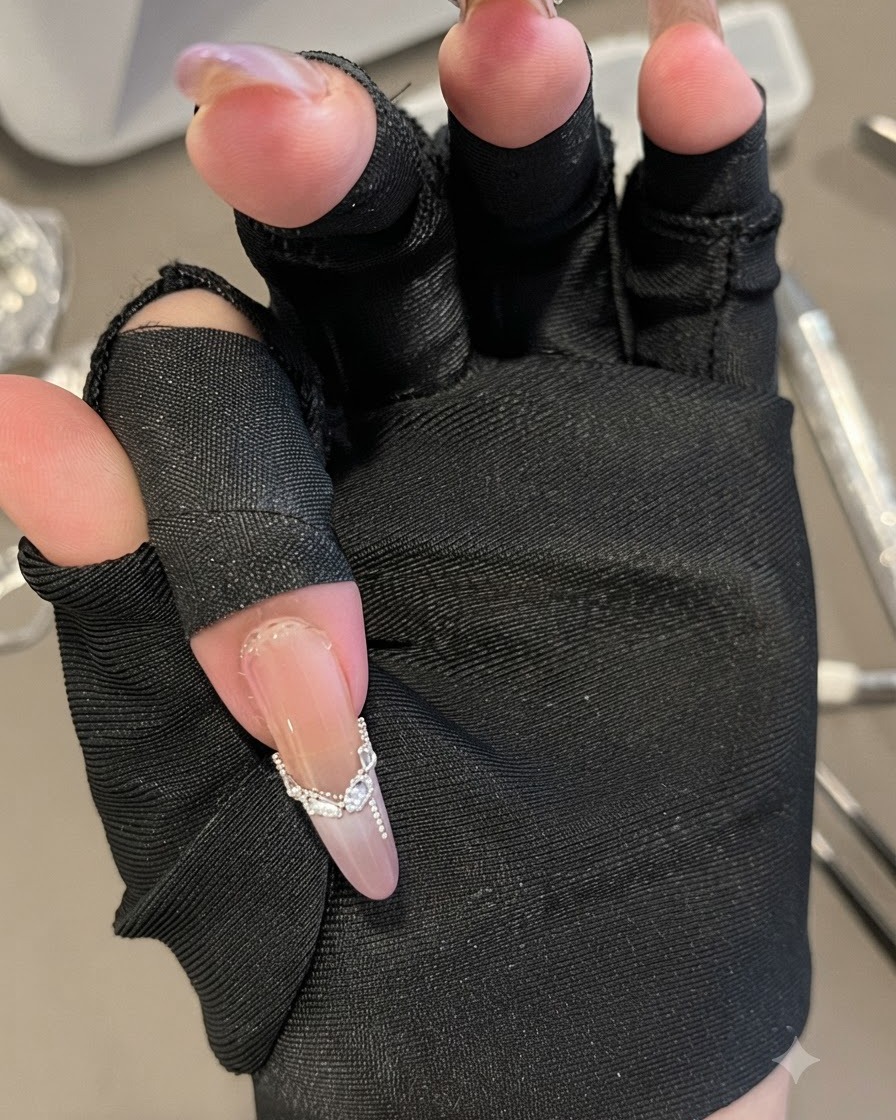
Review the completed nail art featuring a French tip gradient, structured rhinestone placement, and a delicate steel bead dangle. Use tweezers to adjust any misaligned elements, and ensure all gaps are securely filled with glue for a long-lasting, glossy finish.
Tip: Double-check that all steel beads and rhinestones are fully anchored in glue to prevent snagging or falling off.