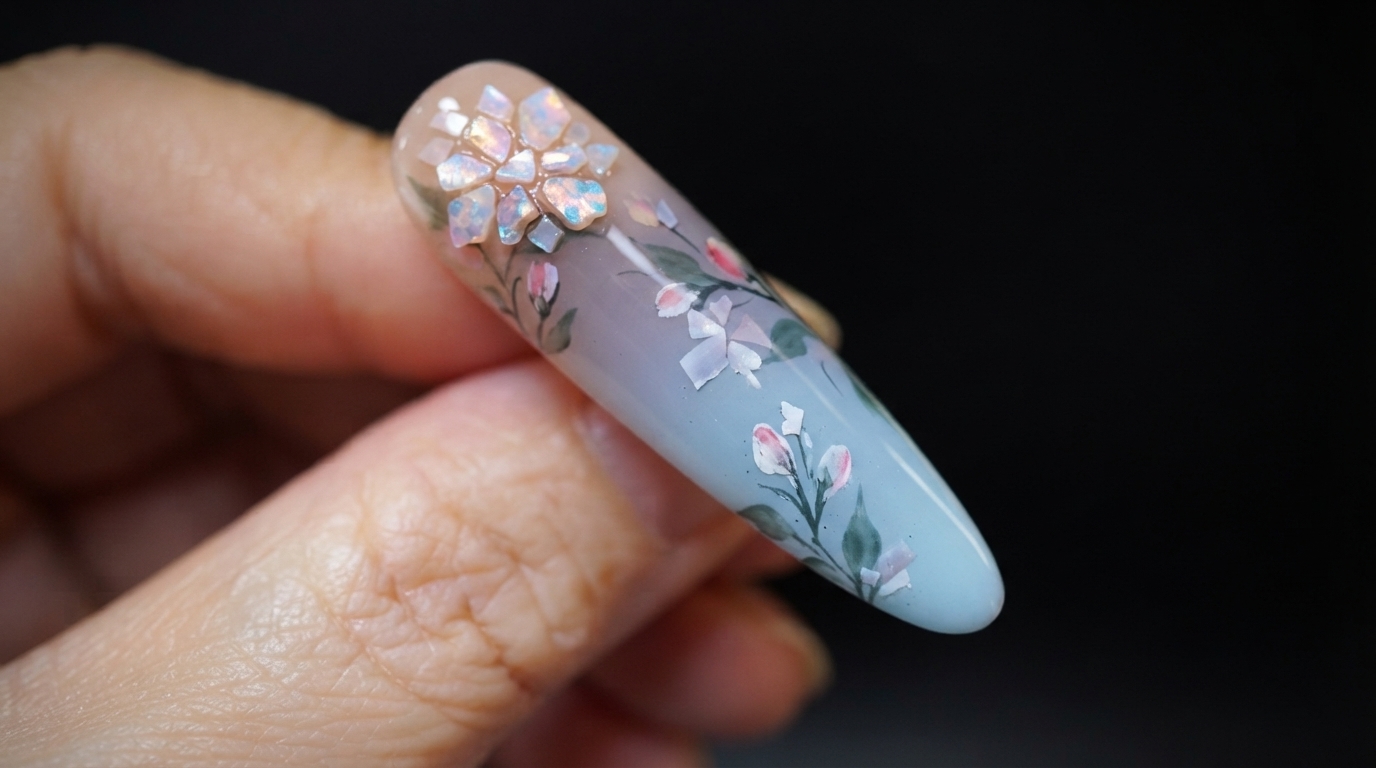
Purple Watercolor Smudge Nails — Ethereal Step-by-Step Tutorial
Create dreamy translucent purple watercolor smudge nails with embedded blue flakes and delicate smoky white veining using this step-by-step gel art guide.
Watercolor and marble nail art offer a mesmerizing, ethereal look that feels both modern and artistic. By layering sheer purple polish over sparkling iridescent flakes and adding soft smoky white veins, you can achieve a sophisticated multidimensional finish right at home.
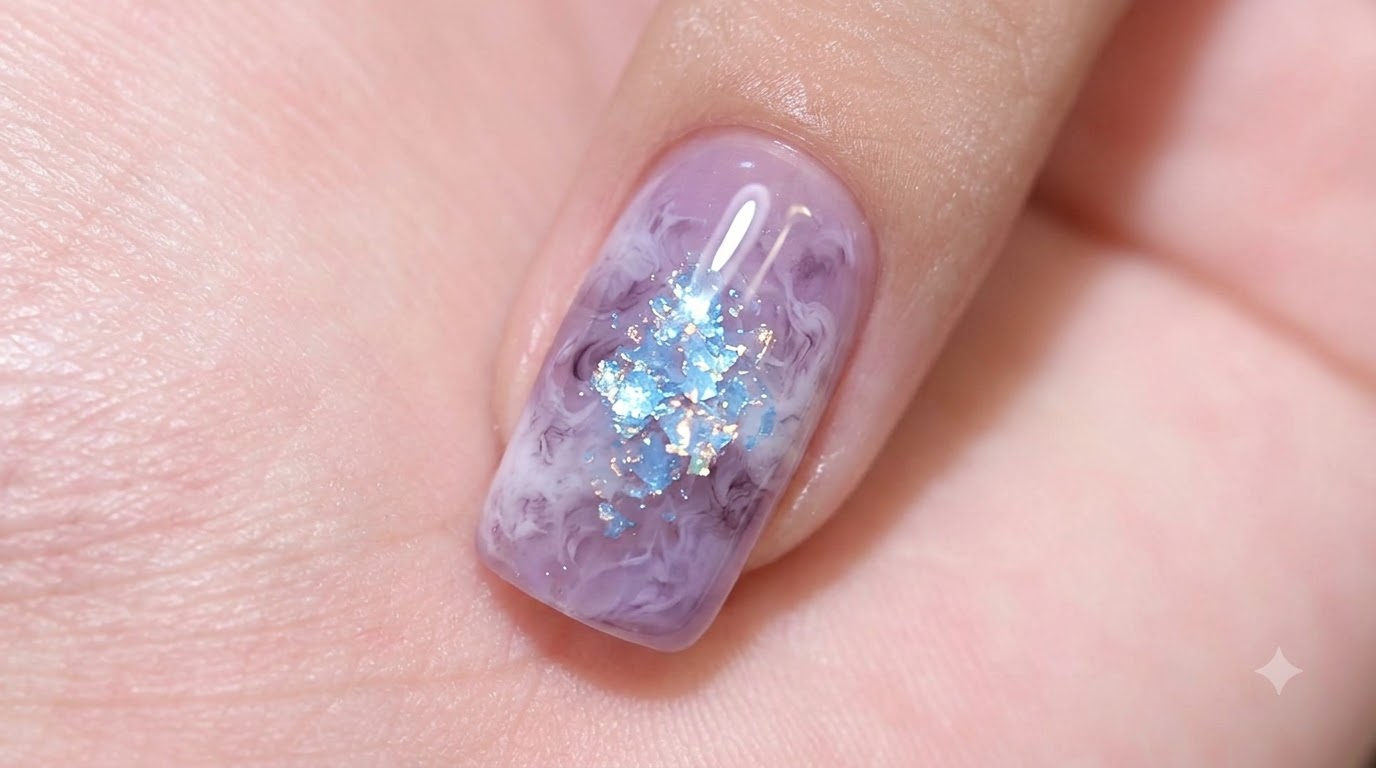
Steps
- 1Build the flake cluster
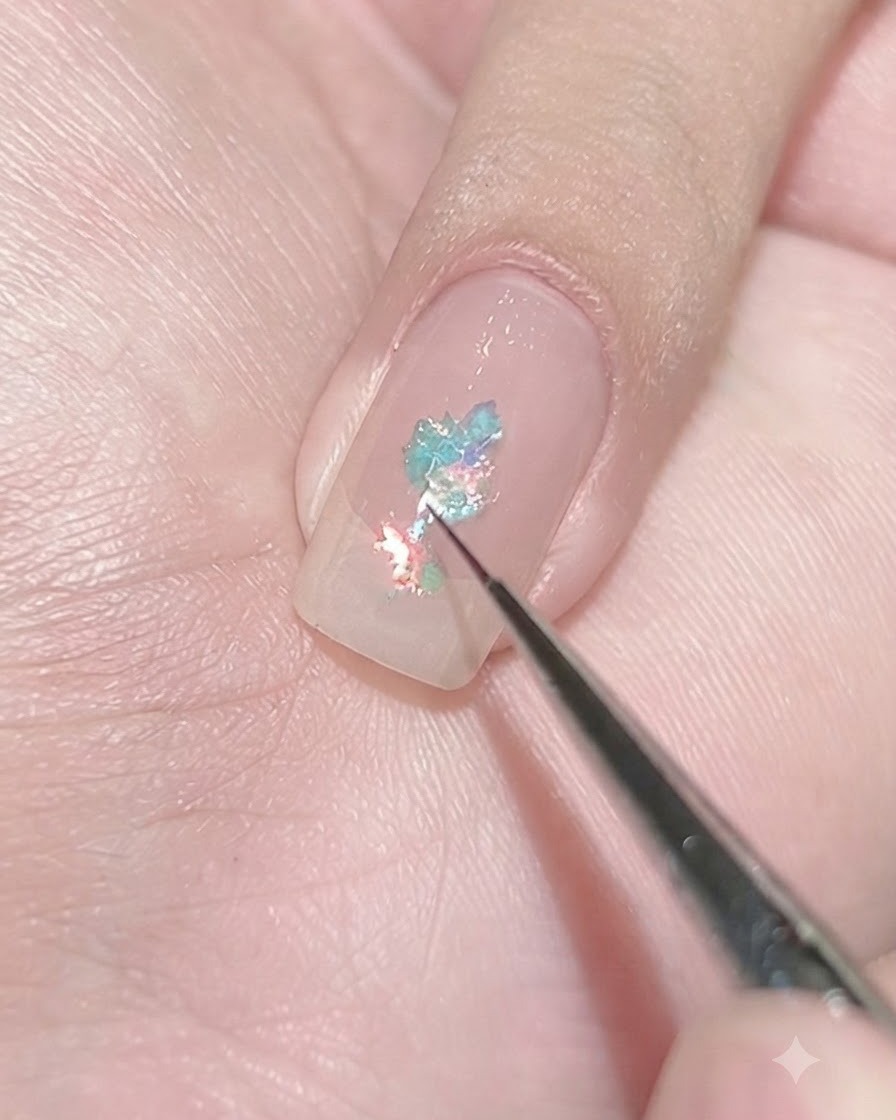
Using a fine liner brush, carefully place additional light blue flakes right next to the initial piece to form a dense, concentrated cluster on the nail surface. This layering adds dimension and depth to the abstract design, setting a vibrant base for the subsequent watercolor and marbling steps.
Tip: Keep the flakes clustered tightly together rather than spreading them across the entire nail to maintain a neat focal point. - 2Apply sheer purple polish
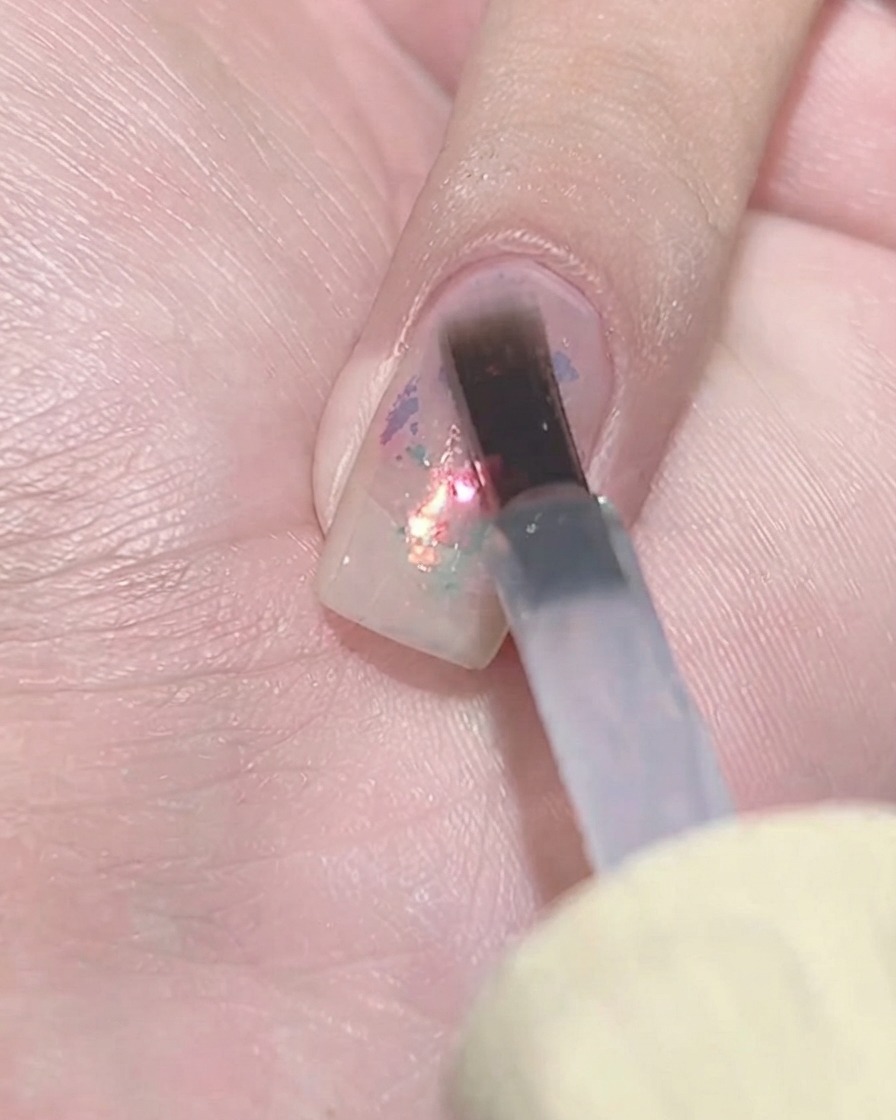
Take a flat gel brush and gently dab a translucent layer of sheer purple polish directly over the previously created flake cluster. This technique softens the appearance of the sharp edges underneath, diffusing the colors and giving the design a dreamy, watercolor-like depth.
Tip: Dab the polish on gently rather than brushing back and forth to avoid shifting or dragging the flakes out of position. - 3Diffuse the sheer purple
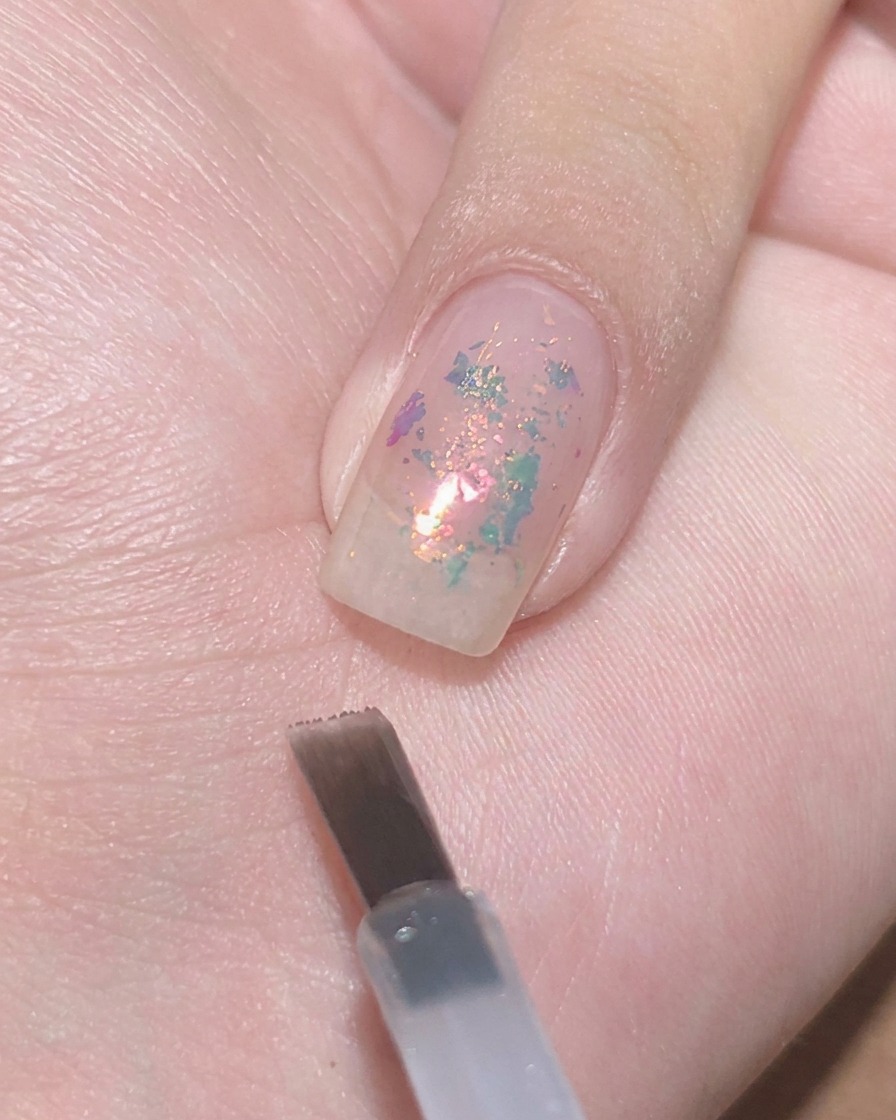
Using a flat gel brush, continue to dab and pat the sheer purple gel over and around the flakes. Lightly feather the edges to spread the color outward, creating a soft, diffused cloud-like shape that surrounds the iridescent cluster without completely covering it.
Tip: Work with a very light hand and use only the very tip of your flat brush to gently blend the edges, taking care not to move the flakes underneath. - 4Add dark purple accent dot
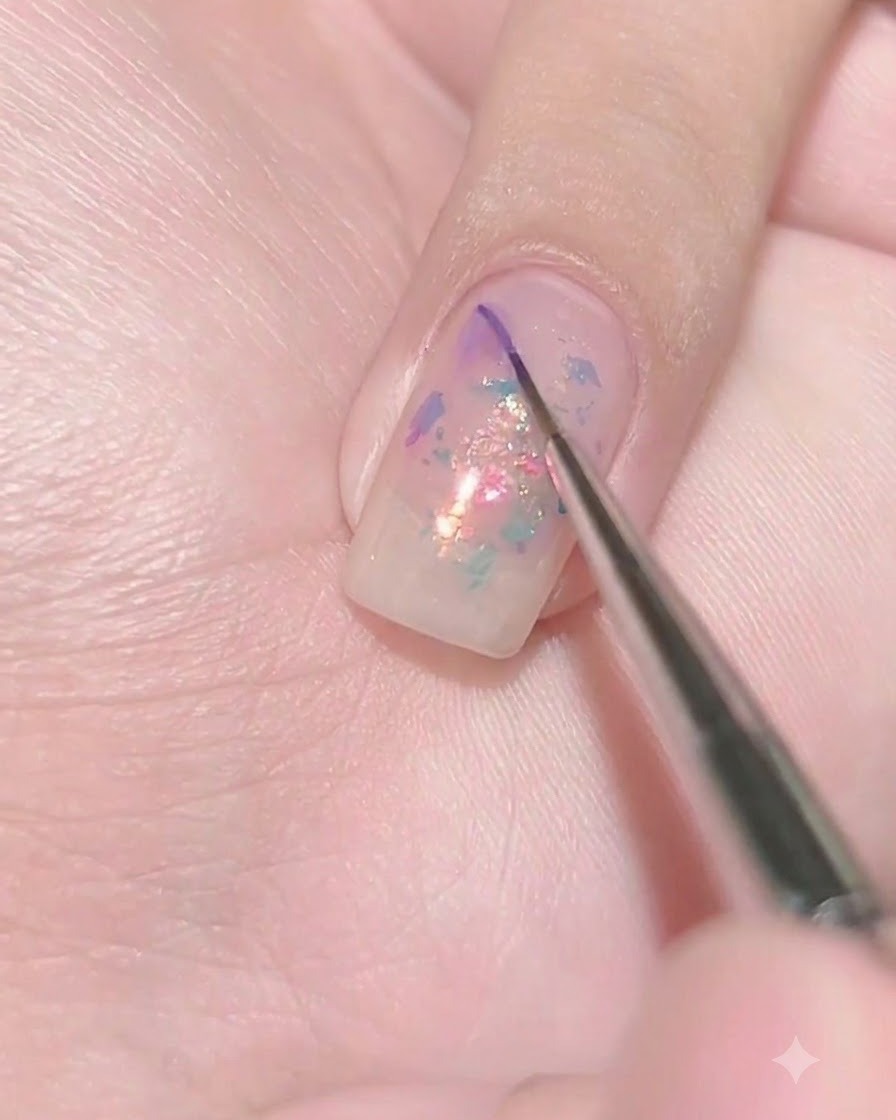
Load a fine liner brush with a small droplet of darker, more opaque purple gel and place it directly into the center of the still-wet sheer purple layer. This concentrated pigment will serve as the anchor for the upcoming blending and marbling process.
Tip: Use a minimal amount of gel on the tip of your brush to prevent the dot from becoming too large or overflowing. - 5Blend into a gradient smudge
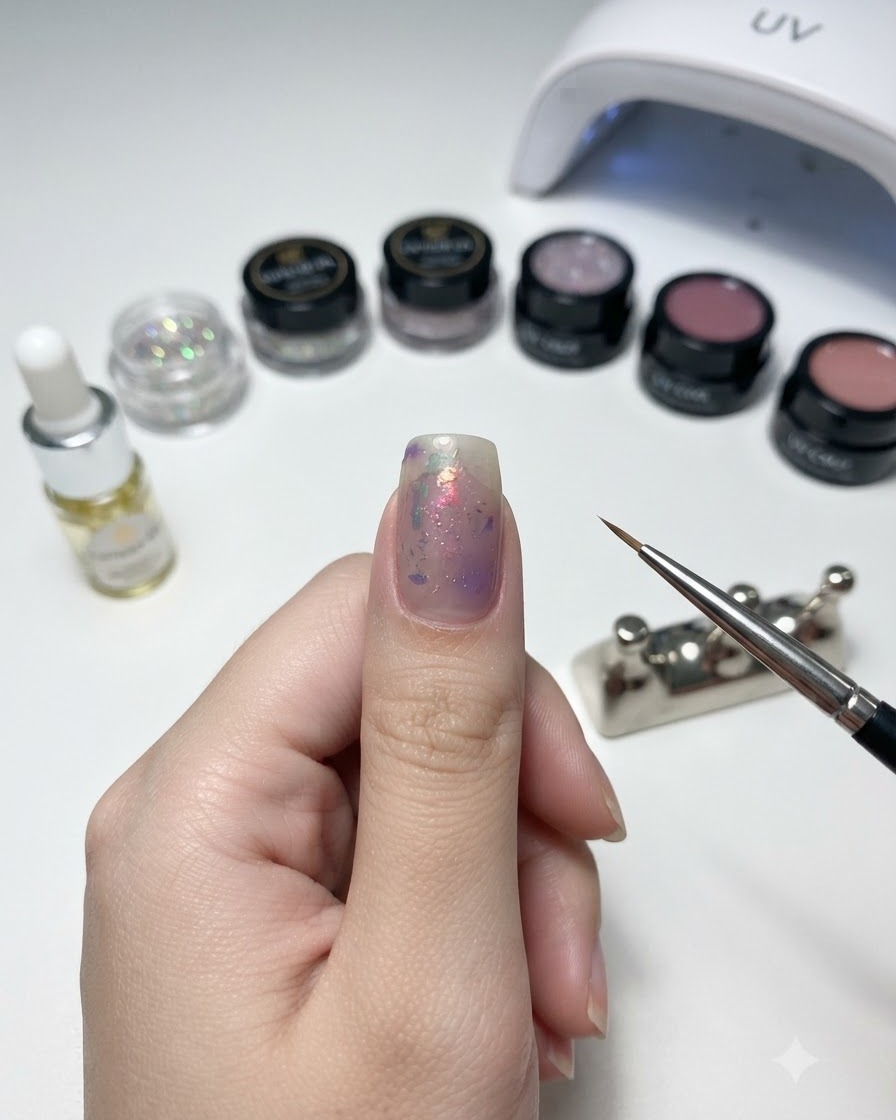
Using the fine liner brush, gently swirl and feather the dark purple dot outward into the surrounding wet polish to create a seamless gradient and watercolor smudge effect. This technique introduces organic movement and transitions across the nail canvas.
Tip: Lighten your hand pressure as you blend outward to ensure the edges fade softly into the background. - 6Draw a wavy white accent line
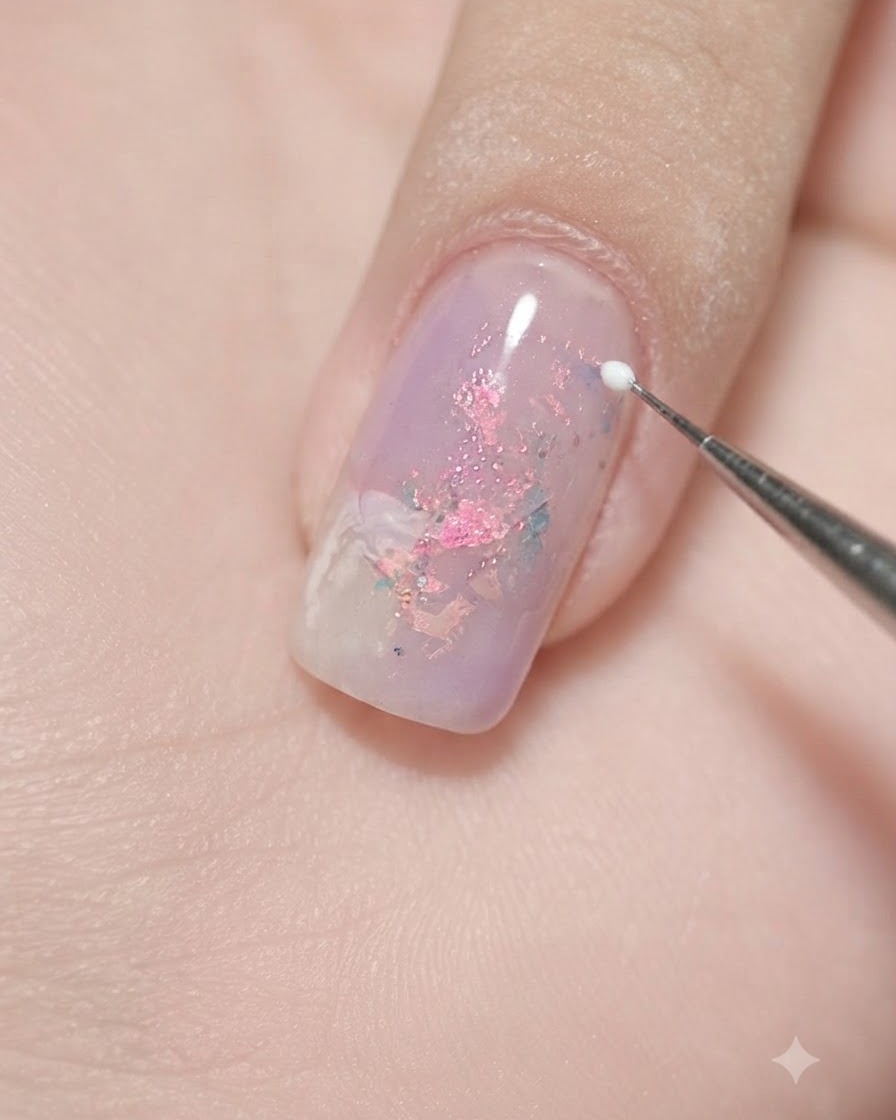
Dip the fine liner brush into opaque white gel and draw a delicate, sweeping wavy line across the purple marbled background. This high-contrast element cuts through the soft gradients, adding definition, elegance, and an artistic flair to the design.
Tip: Maintain a steady hand and guide the brush lightly along the surface to keep the line smooth and uniform in thickness. - 7Diffuse the white line for a smoky effect
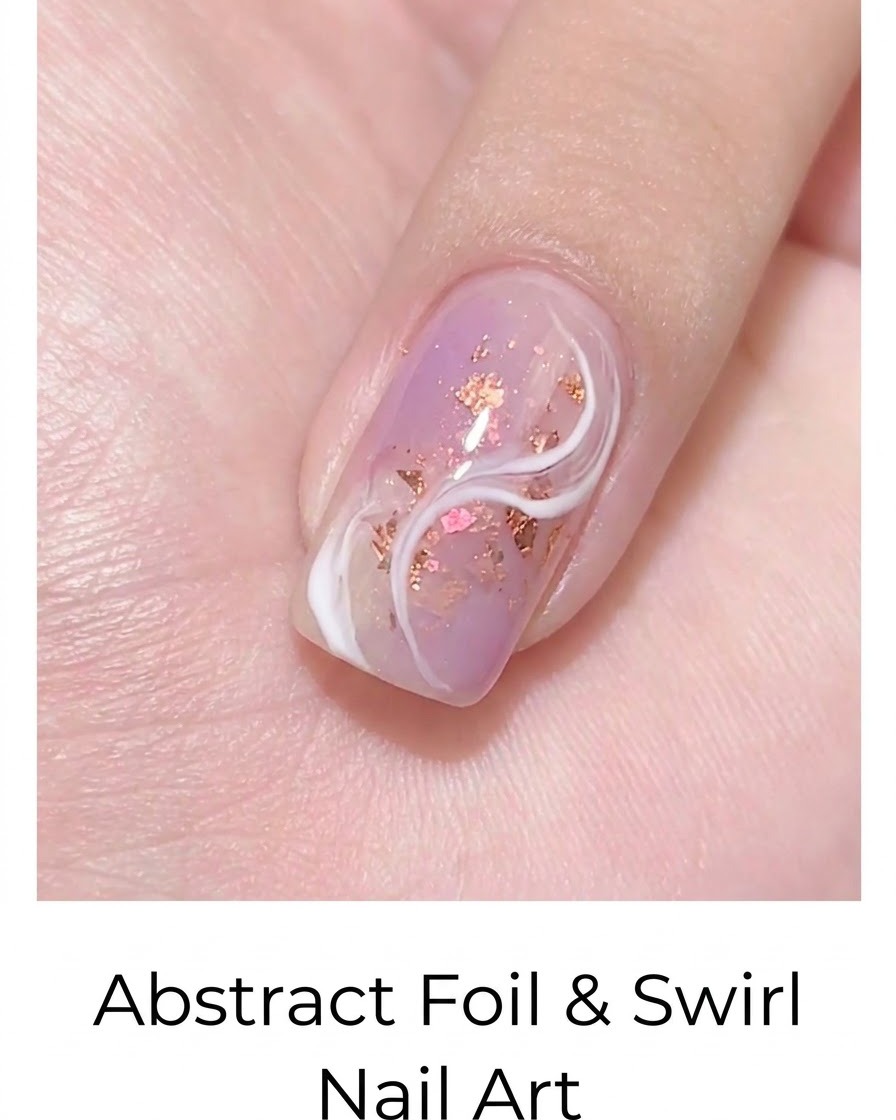
Lightly drag the clean tip of the liner brush along the edges of the freshly drawn white line to soften its borders. This gentle diffusion transforms the sharp line into a soft, smoky vein effect that blends harmoniously into the underlying marble texture.
Tip: Wipe your brush clean on a lint-free pad between strokes to avoid muddying the white pigment as you soften the edges. - 8Encapsulate and smooth the design
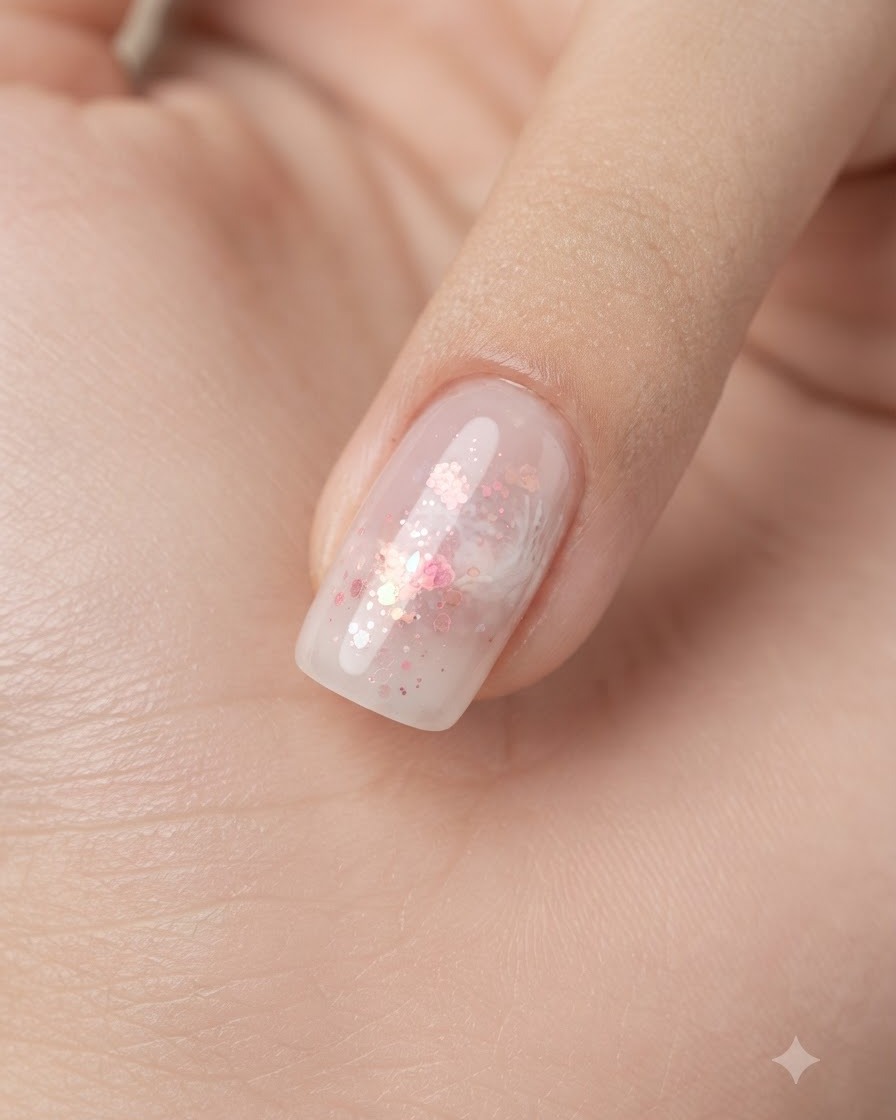
Using a clean flat brush, gently float a layer of clear gel over the nail surface to encapsulate the glitter and design elements. This step evens out any texture from the embedded pieces and creates a smooth, glassy foundation for the final finish.
Tip: Keep a light touch and let the gel float over the surface rather than pressing down, which can displace the glitter flakes.