Shell Floral Gradient Nail Art — Step-by-Step Tutorial
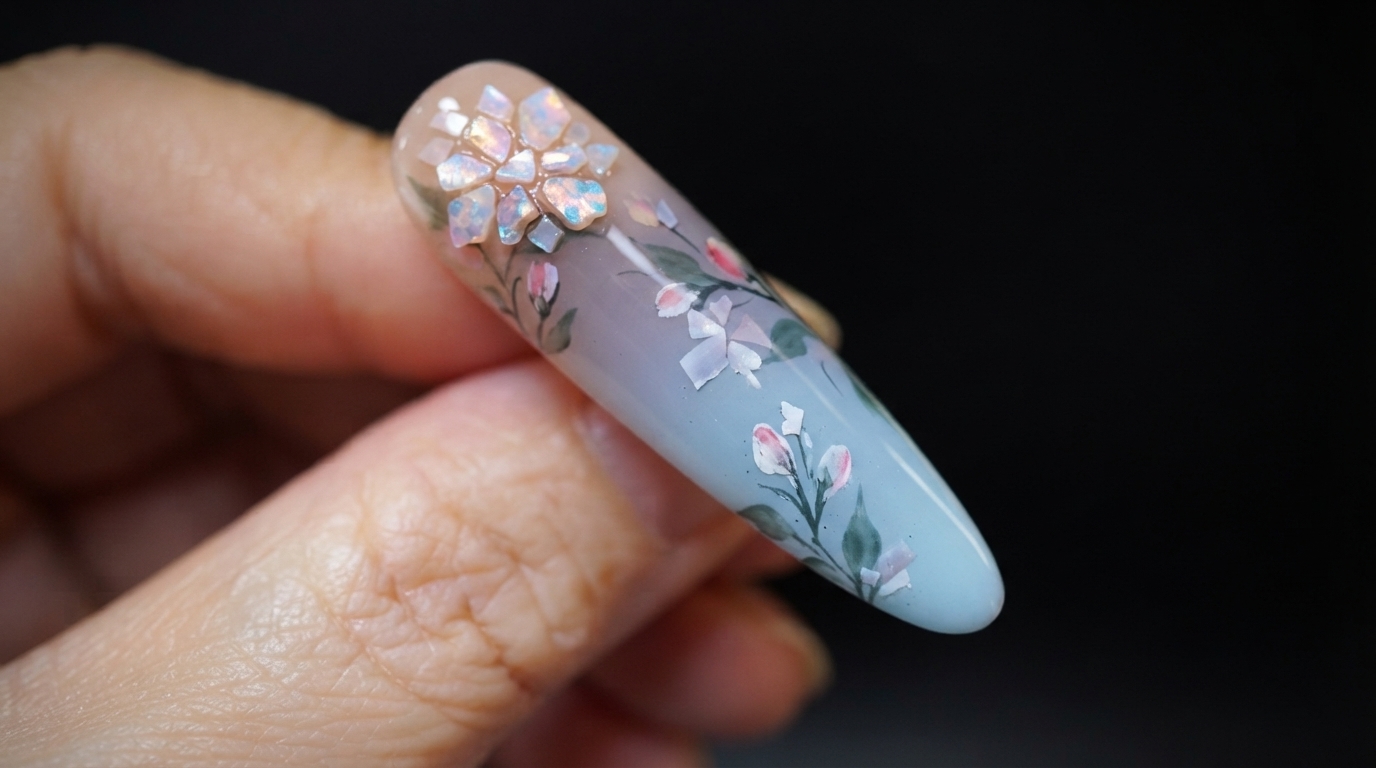
Create an exquisite shell floral gradient nail design featuring hand-painted botanical branches, delicate pink buds, and iridescent crushed shell clusters.
Combining a smooth blue and green color gradient with intricate hand-painted botanical elements and real crushed shell accents, this nail art design brings a sophisticated, blooming garden effect straight to your fingertips. Perfect for special occasions or whenever you want to showcase a detailed, high-fashion manicure.
Steps
- 1Apply blue and green gradient
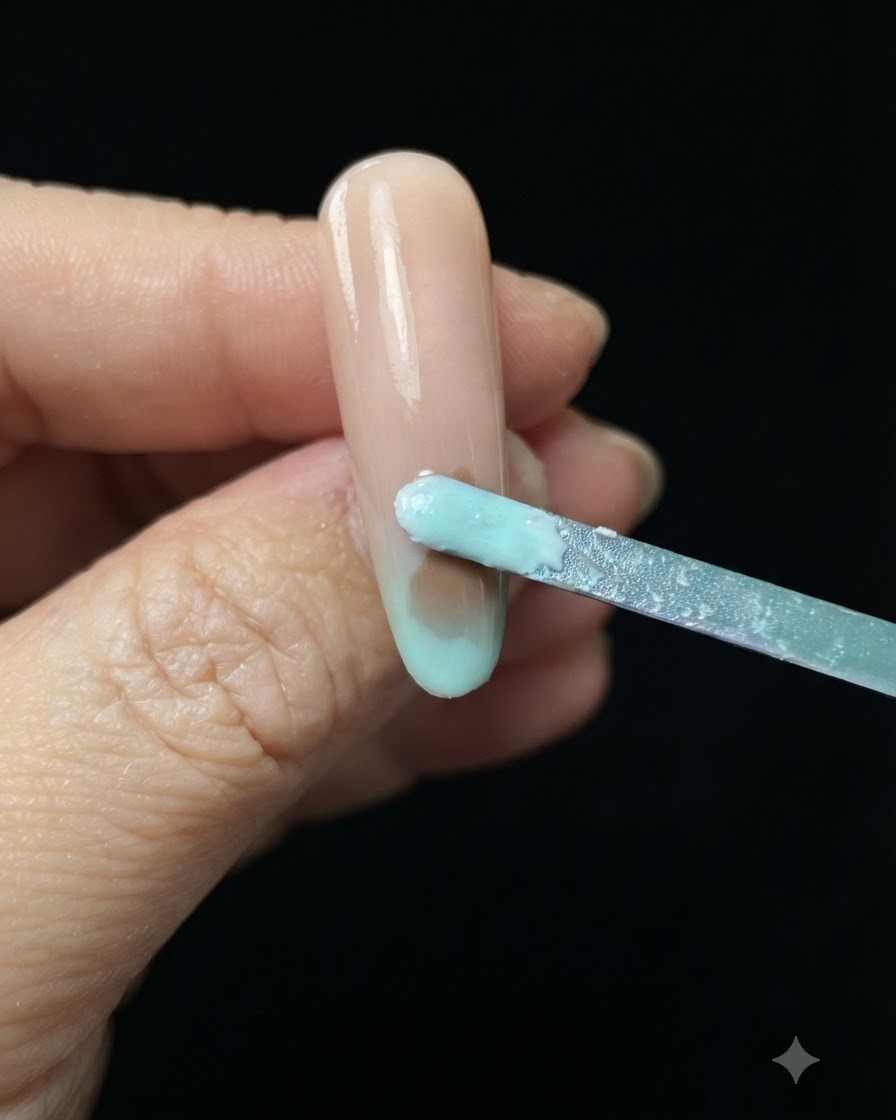
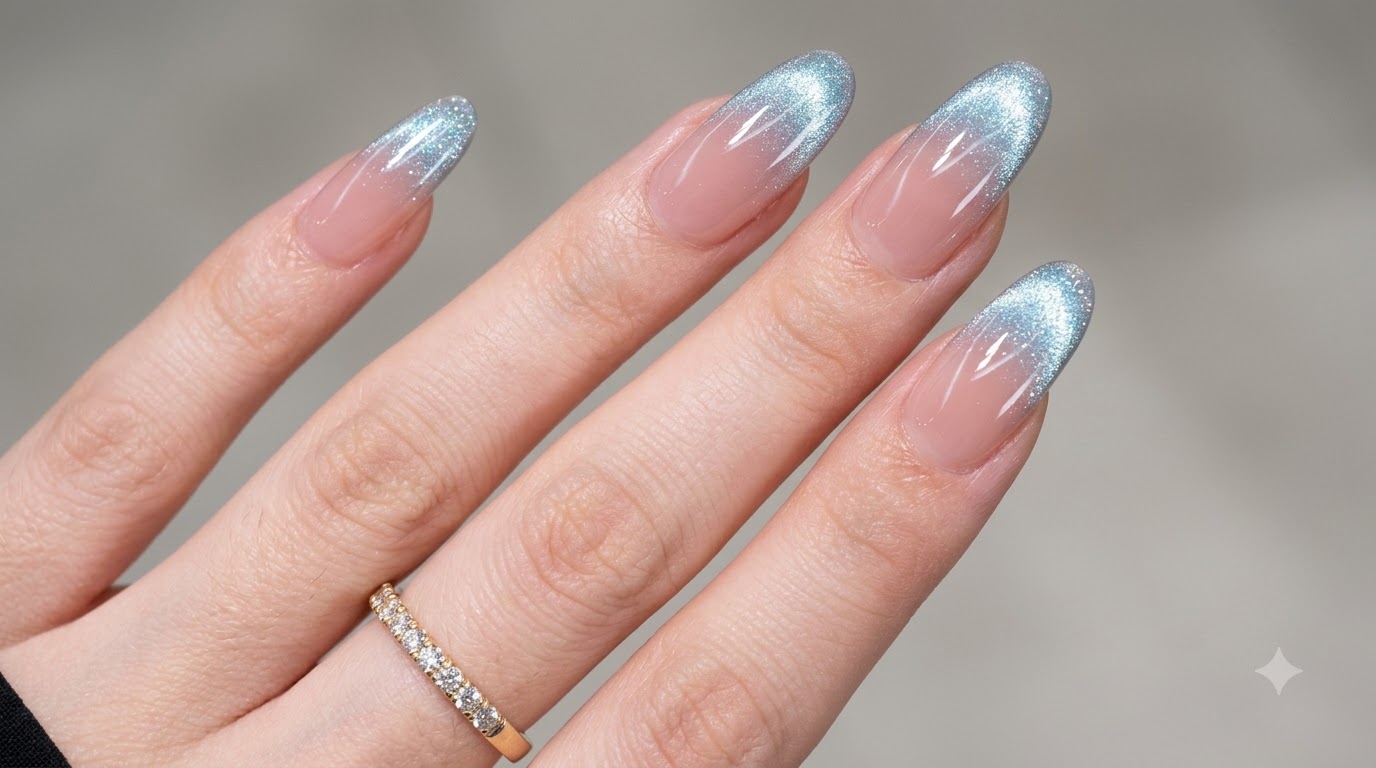
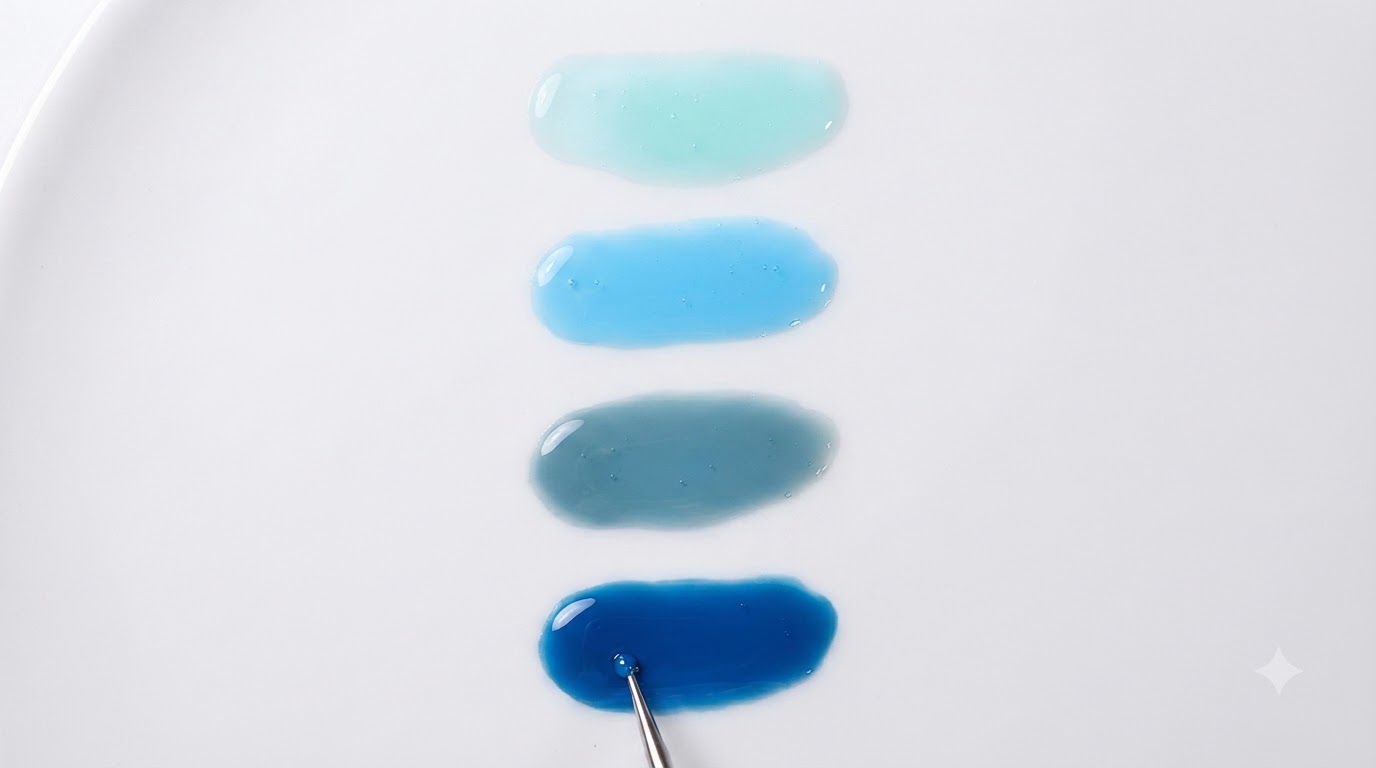
Take a makeup sponge and dab light blue and green gel polish onto the tip of the prepped nude nail to create a smooth, seamless color gradient.
Tip: Dab lightly and build up color gradually to avoid harsh lines or texture on the sponge. - 2Blend blue gradient
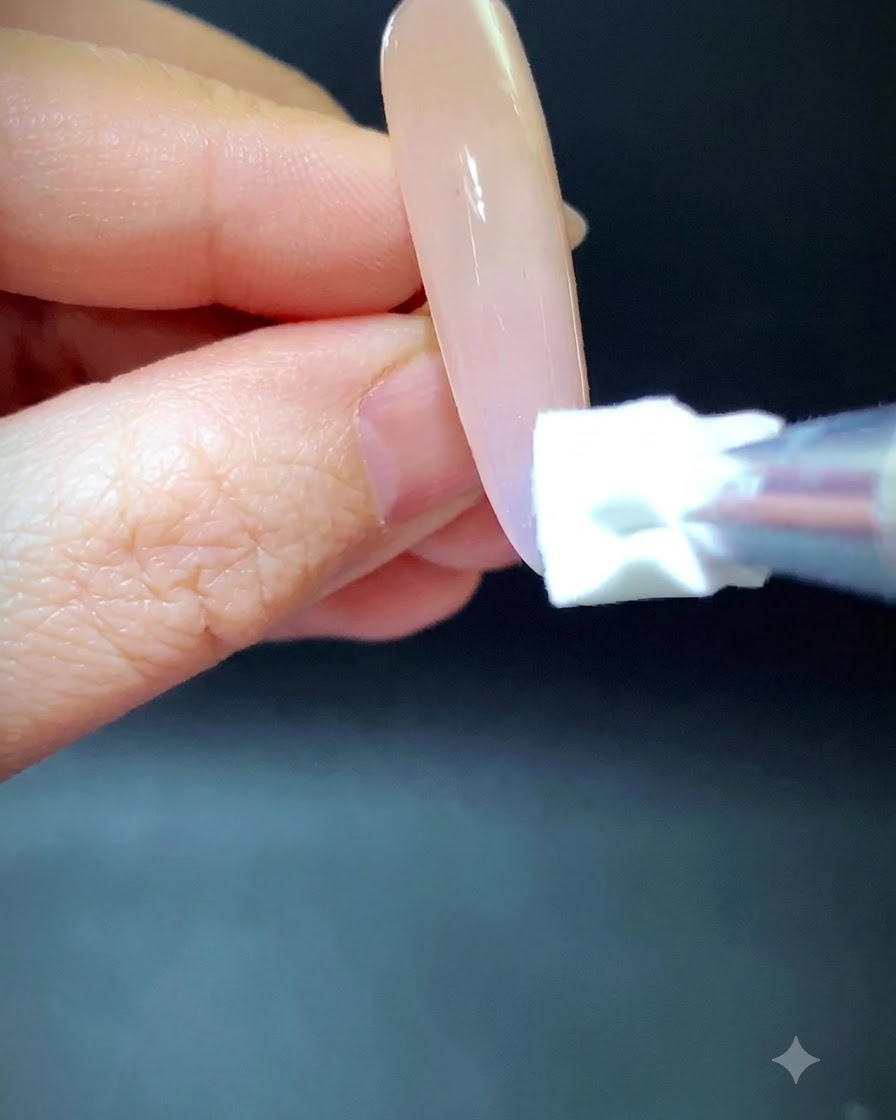
Continue dabbing the makeup sponge upward toward the cuticle area to seamlessly blend the blue and green gradient colors into the nude base layer. Build up the color intensity gradually with light dabbing motions until you achieve a smooth, smokey gradient effect without harsh lines.
Tip: Keep your dabbing pressure light to avoid creating streaks or patchiness in the gradient layer. - 3Paint the main branch
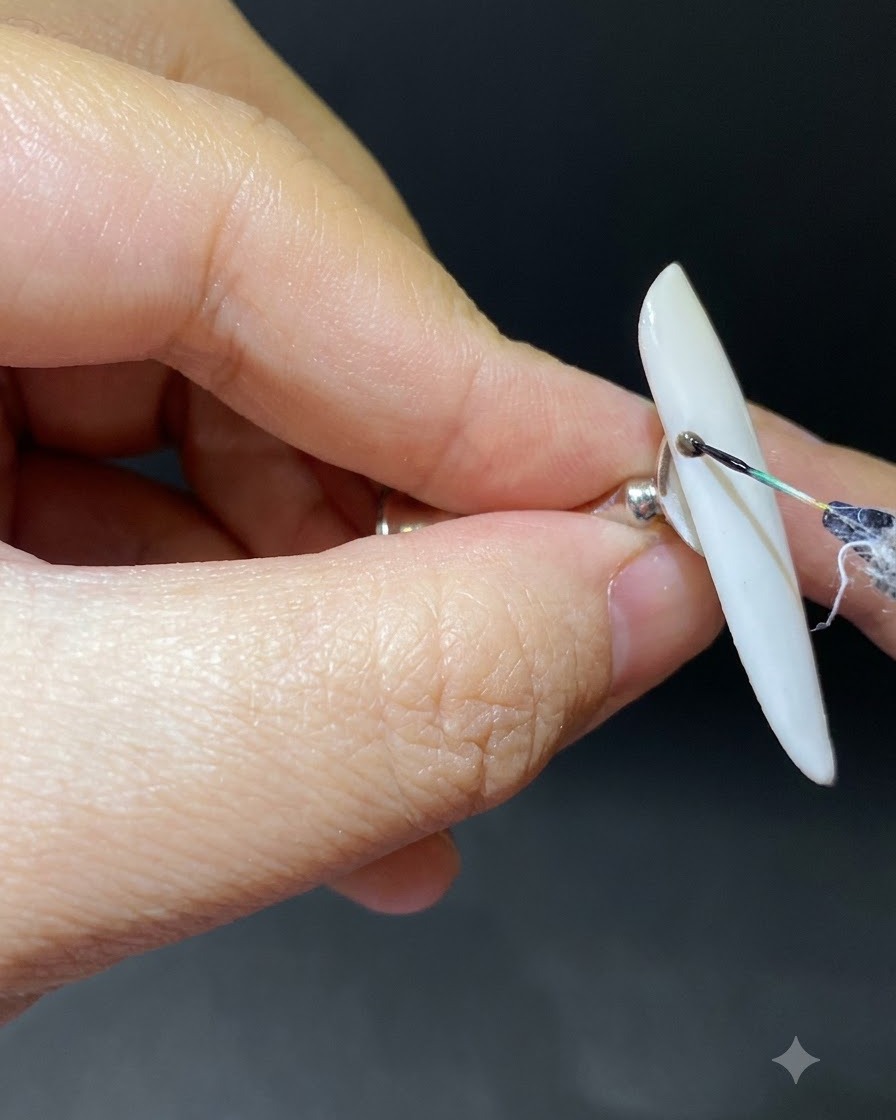
Dip a fine liner brush into a mixture of green and black gel, and carefully paint a thin, graceful, and curved main branch starting from the lower cuticle area and extending up the nail. Keep the stroke light and fluid to mimic natural plant stems.
Tip: Wipe excess gel off your liner brush before drawing to ensure the lines remain ultra-thin and crisp. - 4Paint side branches
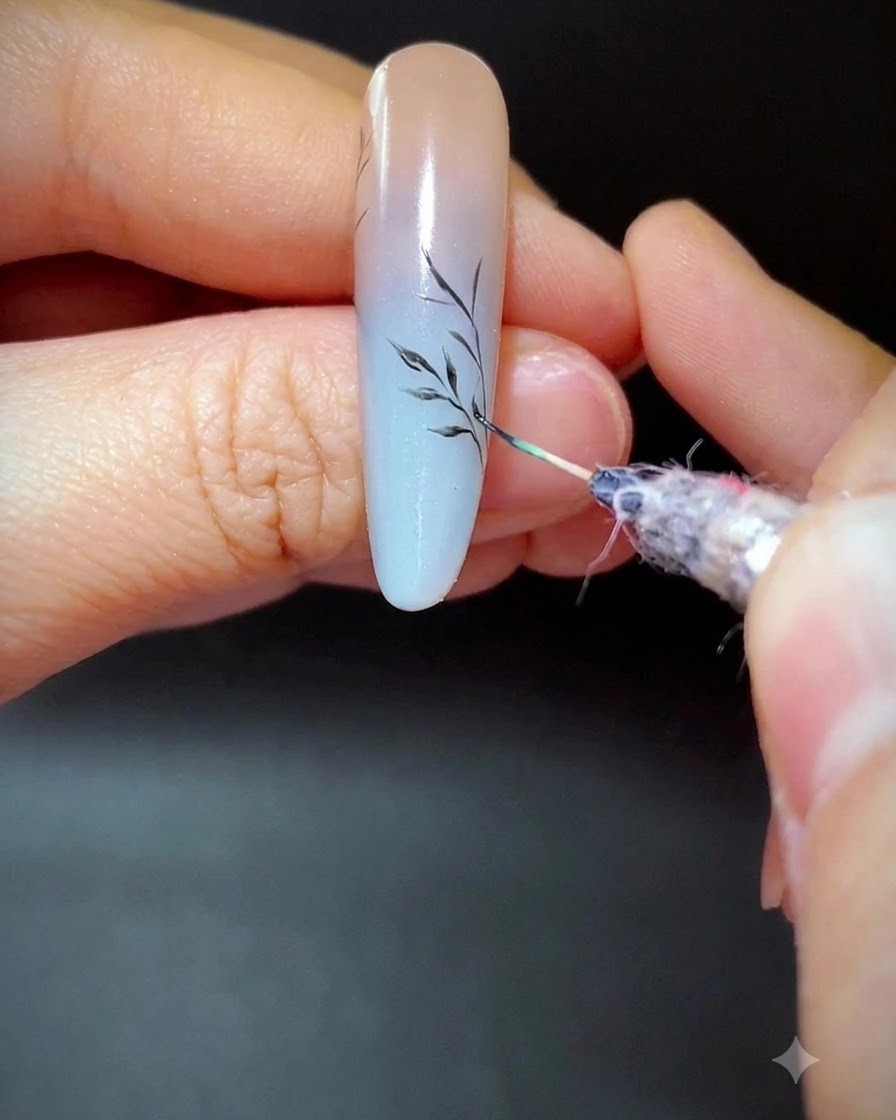
Using the fine liner brush with dark green gel, carefully paint smaller, delicate side branches growing outwards from the main stem.
Tip: Keep a light hand to ensure the lines remain thin and natural-looking. - 5Paint lower leaves
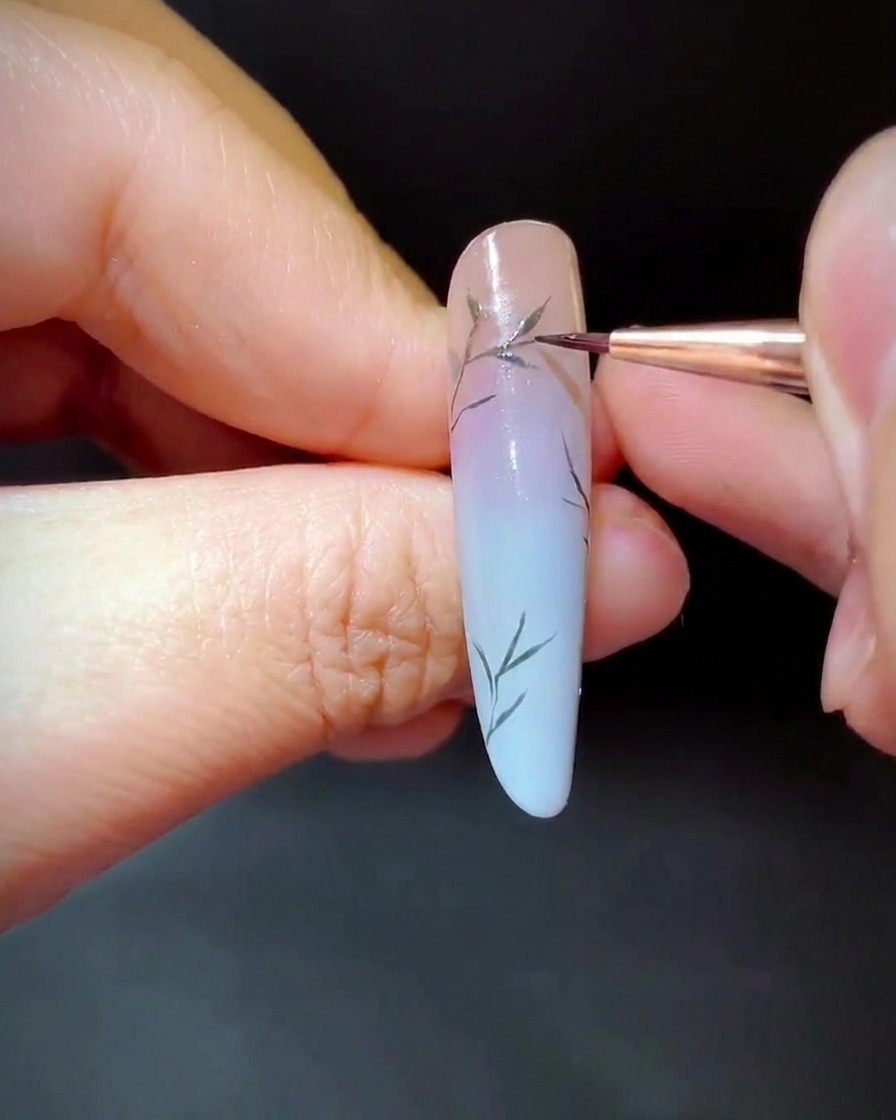
Switch to a small detailer brush and paint tiny green leaves along the lower sections of the previously painted branches.
Tip: Vary the size of the leaves slightly for a more realistic botanical appearance. - 6Paint upper leaves
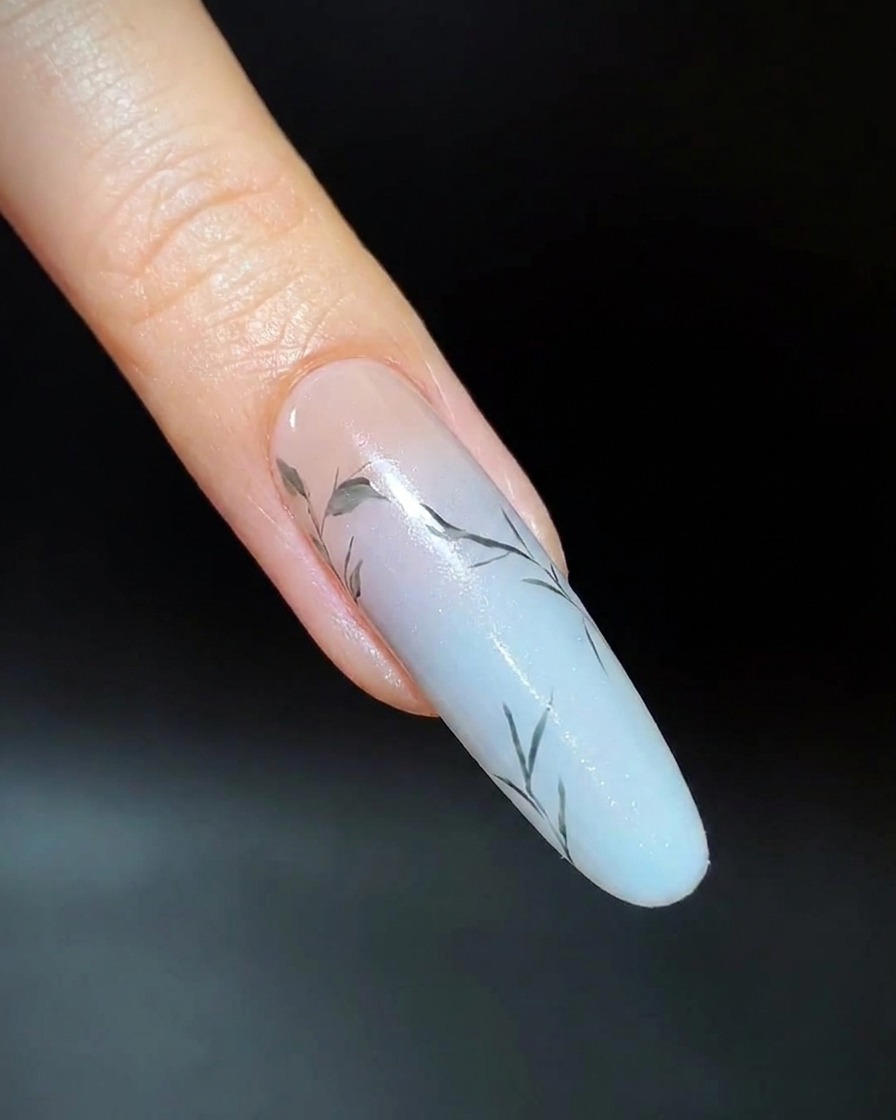
Continue painting small green leaves on the upper branches, ensuring they are evenly spaced to balance the overall design.
Tip: Check spacing from a distance to ensure the composition looks balanced across the nail. - 7Place the white flower buds
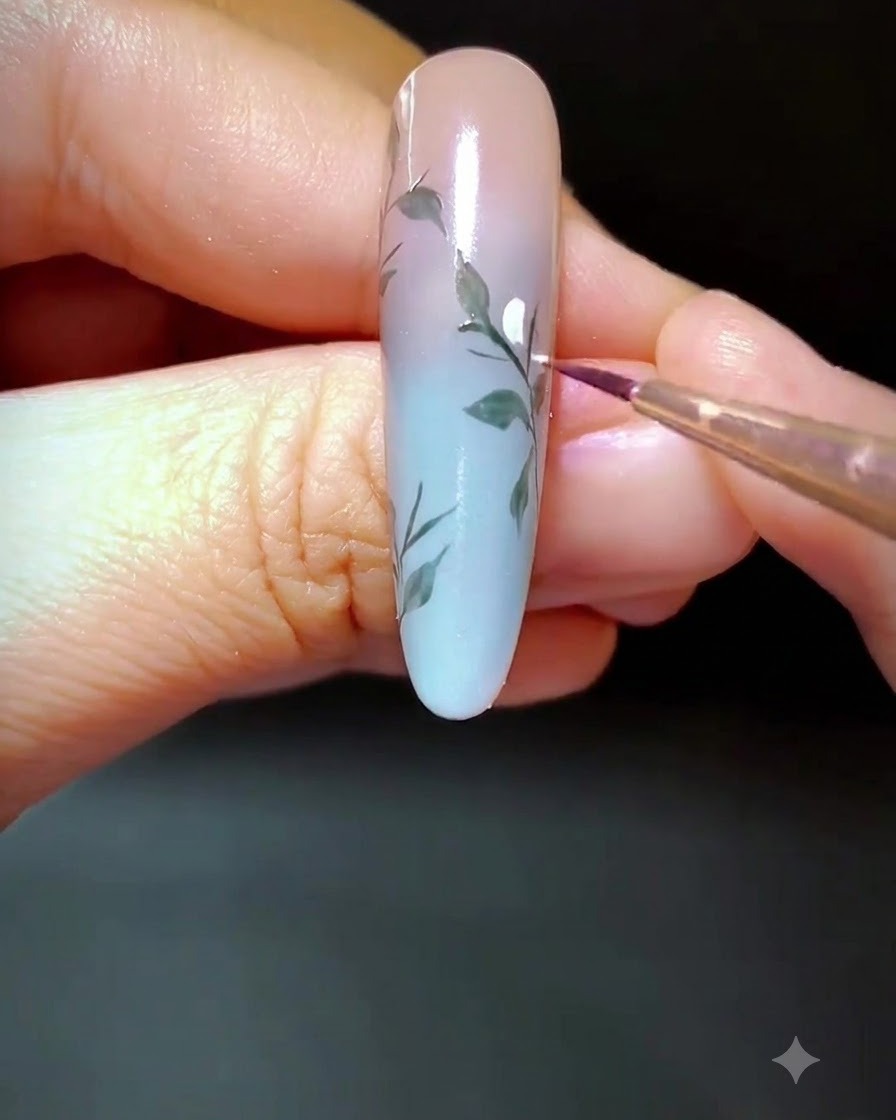
Using a fine detail brush, dab small dots of white gel directly along the painted green stems to outline where your flower buds will sit.
Tip: Keep the white dots compact and varied in size to look natural. - 8Color the flower buds pink
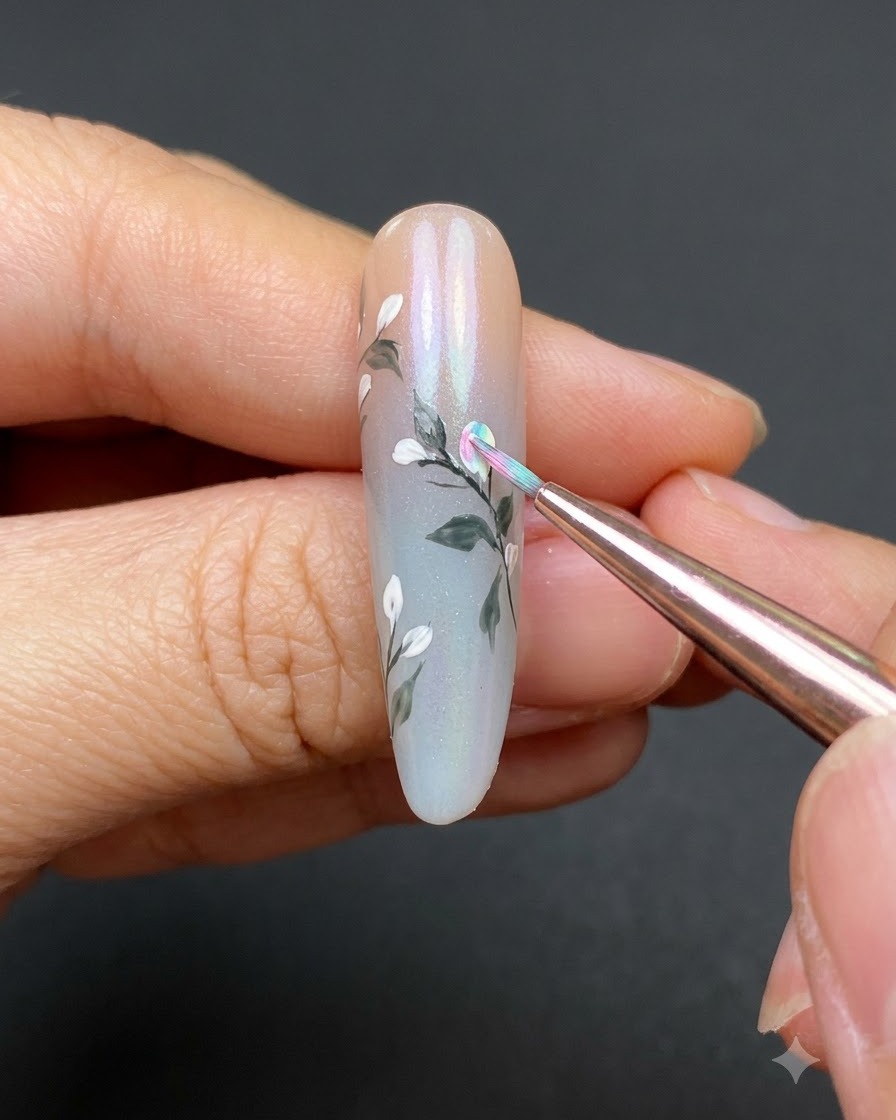
Mix a soft pink gel and carefully fill in the centers of the white flower buds to create a multi-dimensional, blooming effect.
Tip: Do not completely cover the white outline so it acts as a natural highlight. - 9Outline the flower buds
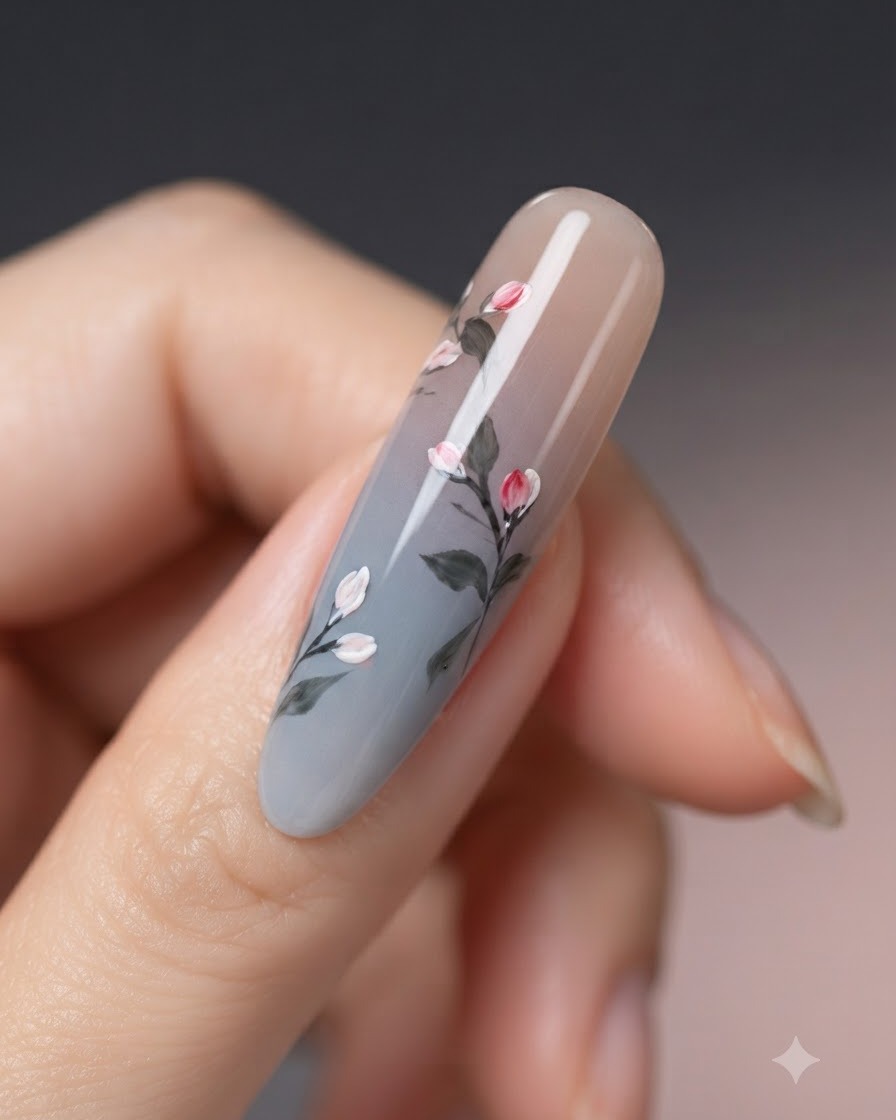
Take an ultra-fine liner brush loaded with dark gel and draw delicate outlines wrapping around the base and edges of the pink and white buds.
Tip: Use a light hand to keep the lines crisp and delicate. - 10Add wispy accent lines
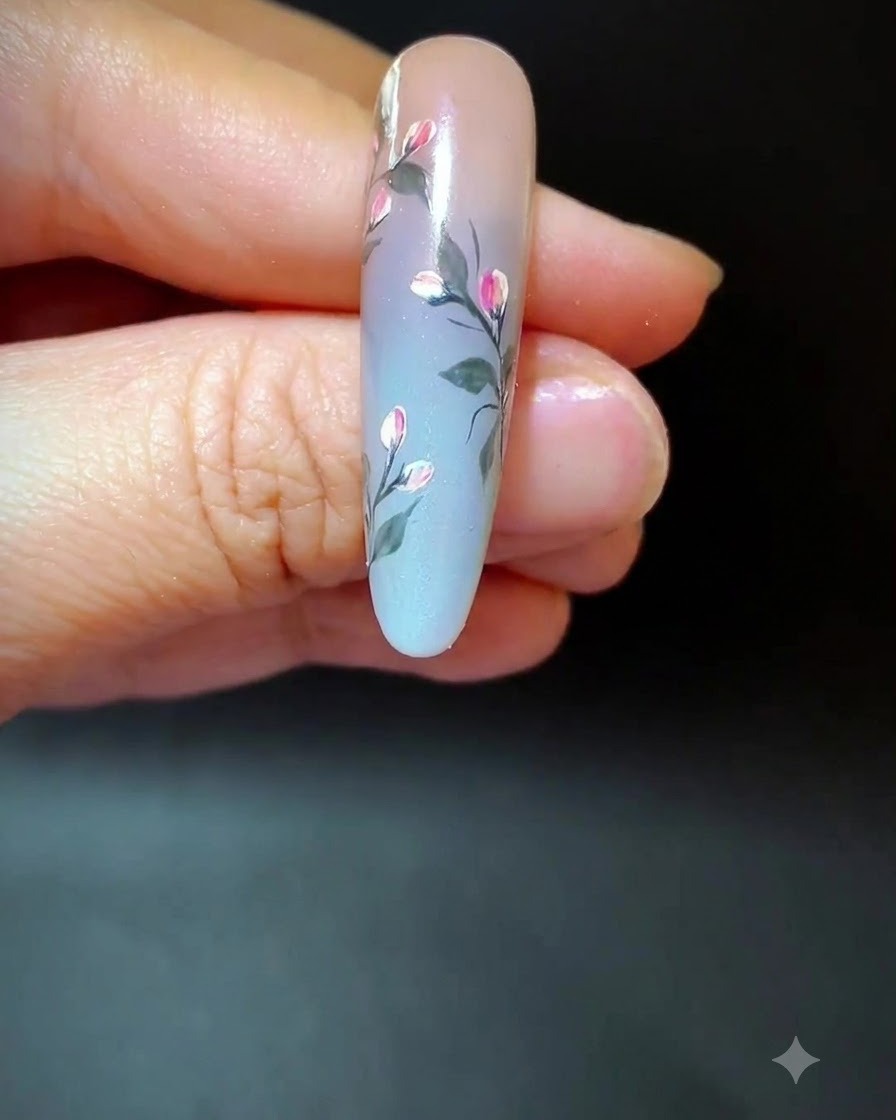
Draw several long, fine, detached lines across any empty areas of the gradient background to add balance and artistic flow to the nail.
Tip: Vary the length and curve of each line to create an organic look. - 11Apply reinforcement gel for shells
Apply a concentrated patch of clear reinforcement gel onto the upper portion of the nail near the cuticle where you plan to place your shell accents. Do not cure this gel yet, as it will serve as the adhesive base for holding the crushed glass pieces in place.
Tip: Apply just enough gel to anchor the pieces without letting it flood the surrounding cuticle or lateral folds. - 12Arrange crushed shell flowers
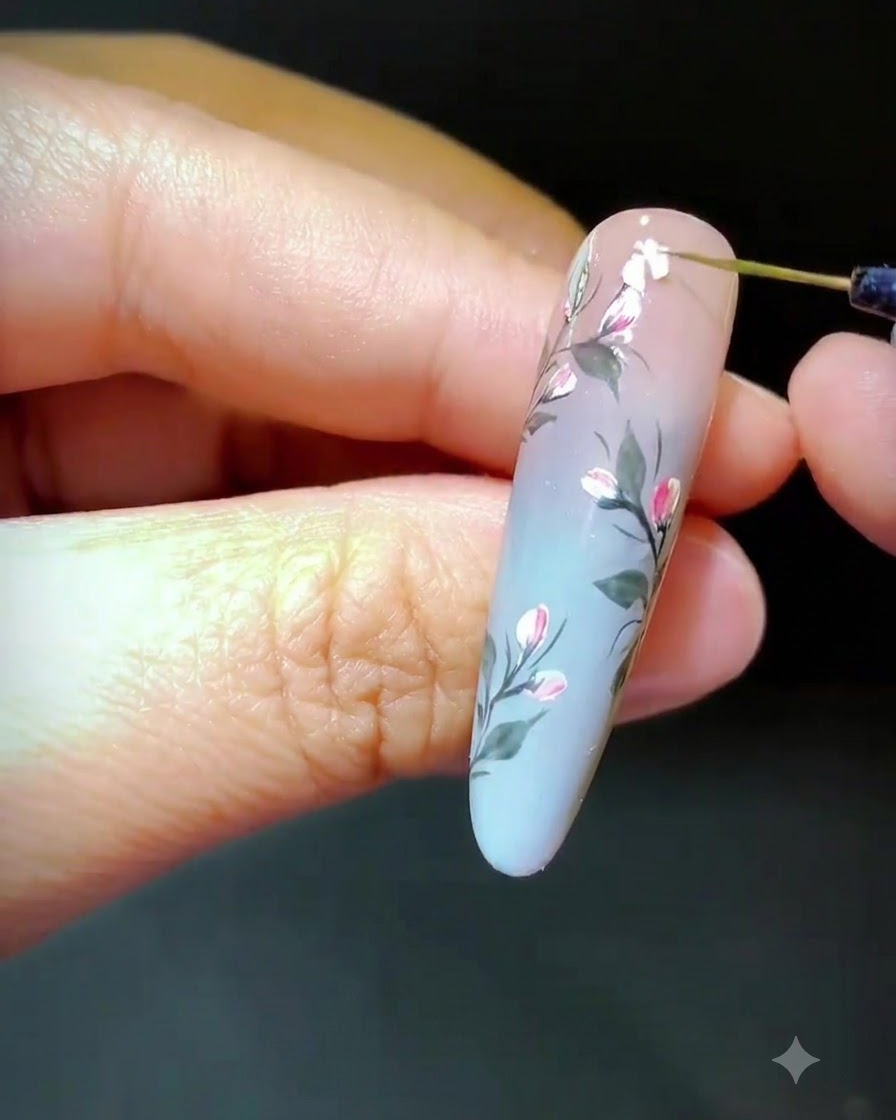
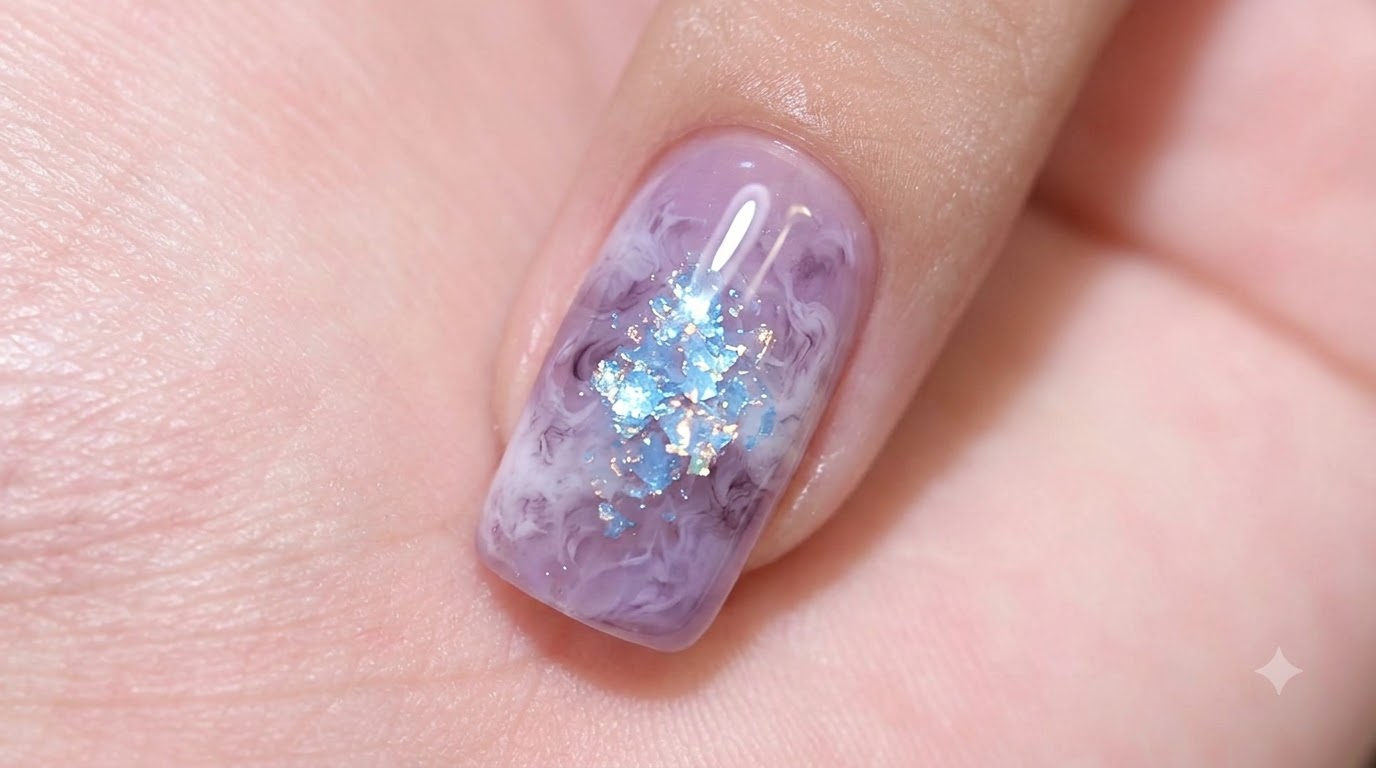
Using a fine dotting tool or precision tweezers, pick up irregular pieces of crushed shell and carefully arrange them onto the wet reinforcement gel to form an artistic flower cluster. Press them gently so they lay flat into the gel layer.
Tip: Arrange the larger shell shards as petals radiating outward from a central point to clearly define the flower shape. - 13Encapsulate design with gel
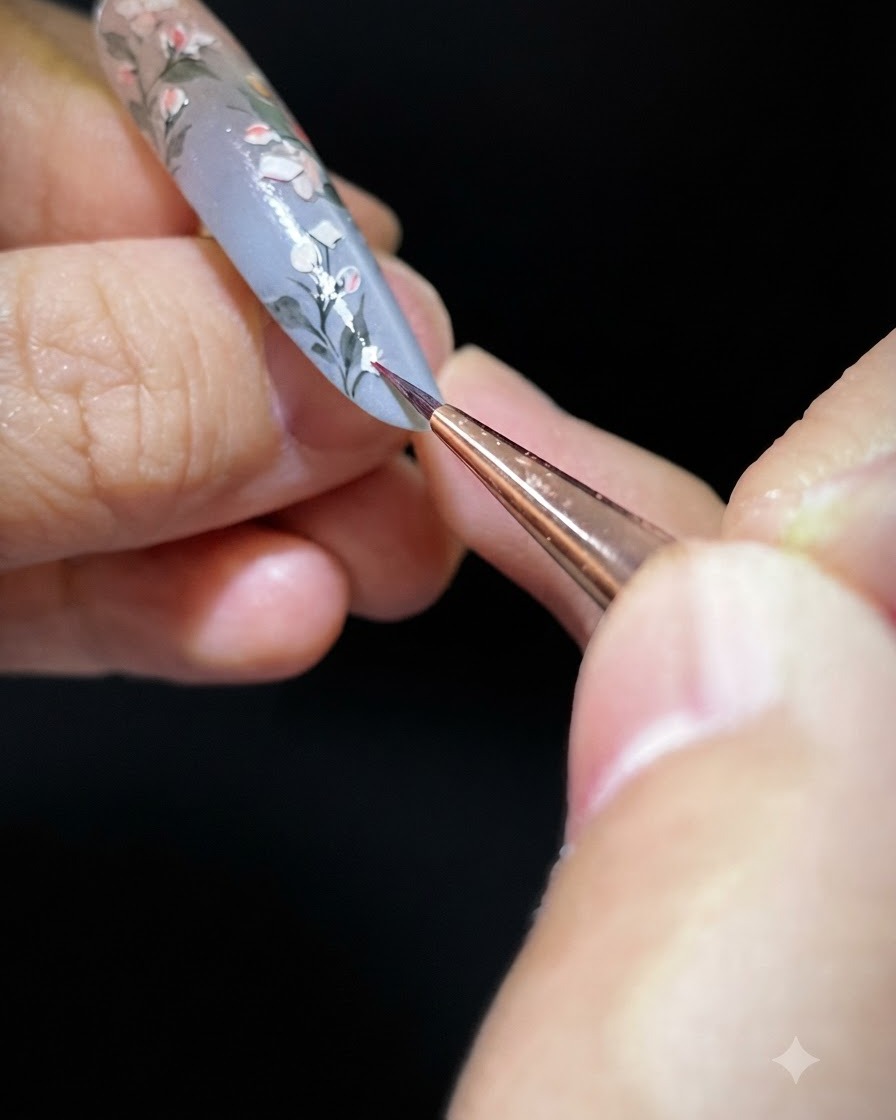
Brush a generous, even layer of clear reinforcement gel over the entire nail surface, completely covering the painted branches, flowers, and shell pieces. This step encapsulates all elements safely underneath and builds the necessary structural thickness.
Tip: Ensure the shell edges are fully covered by the gel so they do not catch or peel off after filing. - 14Buffer and smooth surface
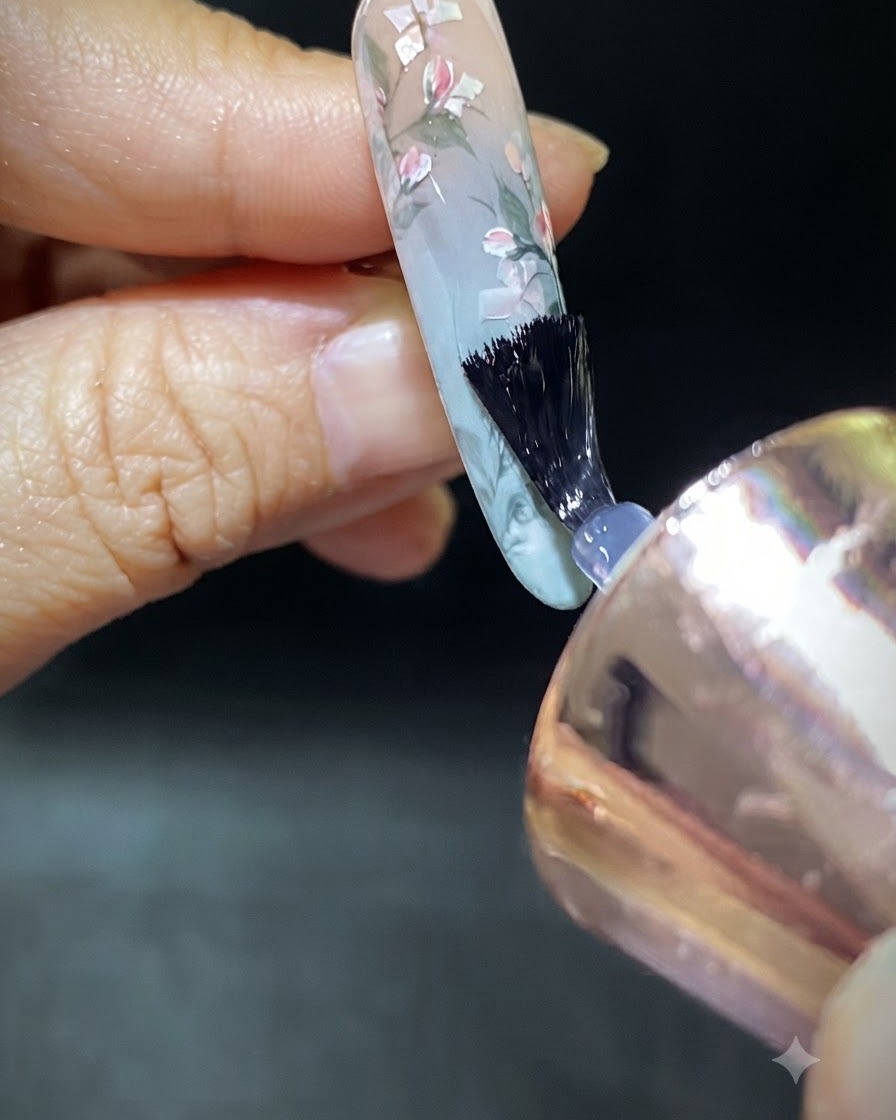
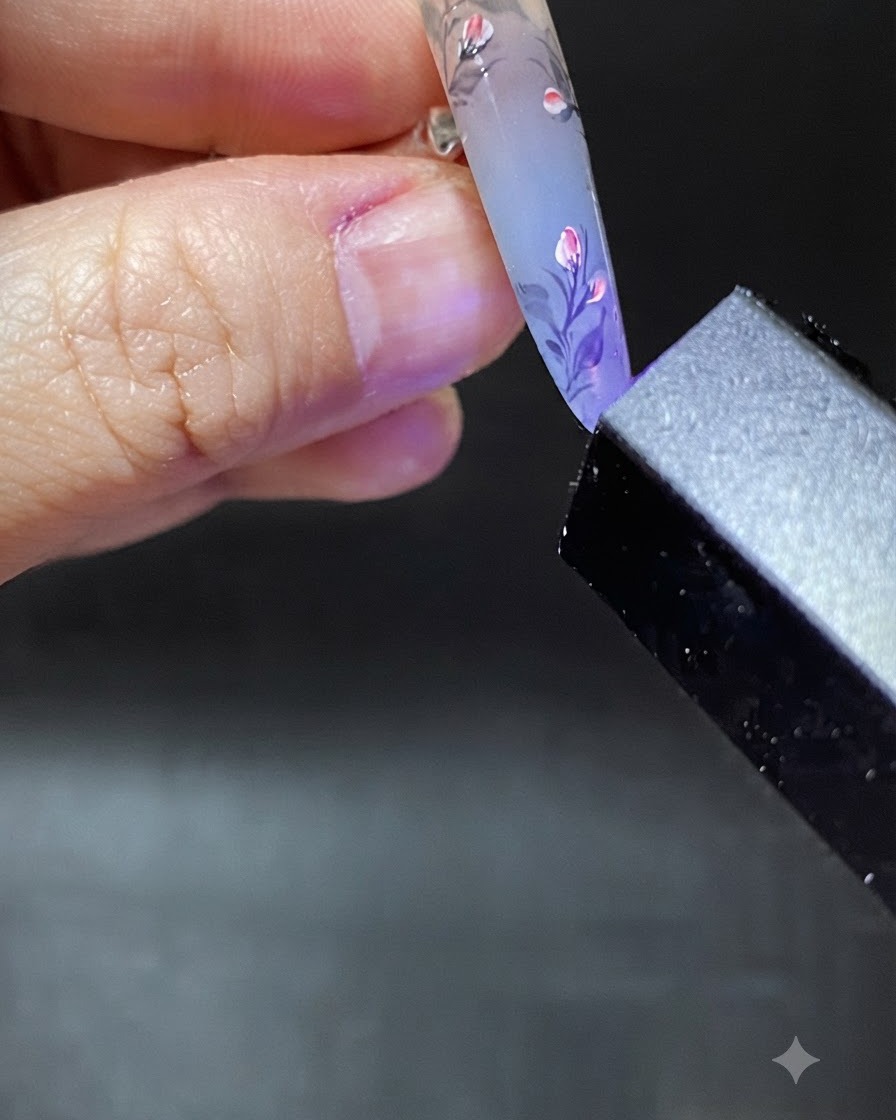
Wipe away the sticky inhibition layer from the cured gel using an alcohol wipe. Take a buffer block and gently sand the entire nail surface to level out any bumps from the embedded shells and create a perfectly smooth texture.
Tip: Buff gently over the shell areas to smooth them down without accidentally filing through the protective gel layer. - 15Cure final top coat
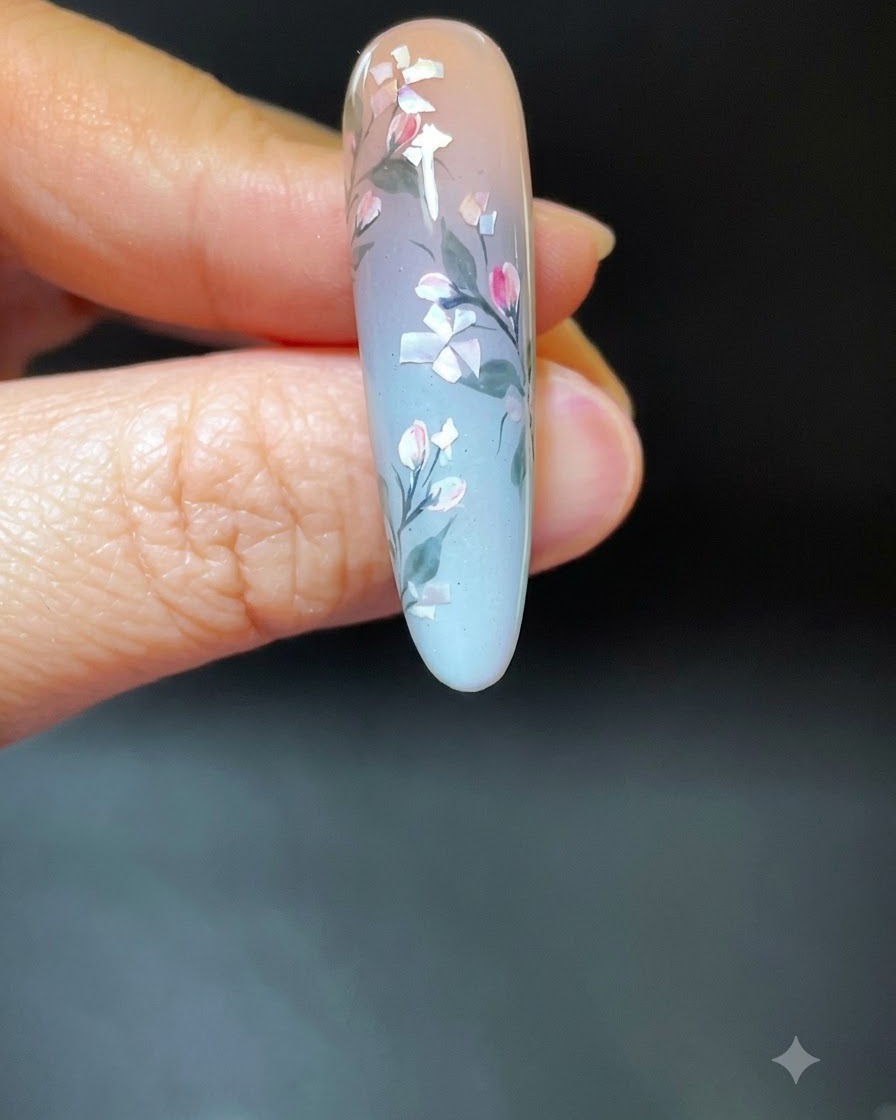
Place your hand under the UV or LED lamp to cure the final top coat. Ensure every nail is fully exposed to the light for the manufacturers recommended duration to lock in the glossy shine and protect your floral nail art.
Tip: Do not remove your hand early, as incomplete curing can lead to a dull finish or premature chipping.