Icy Blue Gradient Cat Eye Nails — Step-by-Step Tutorial
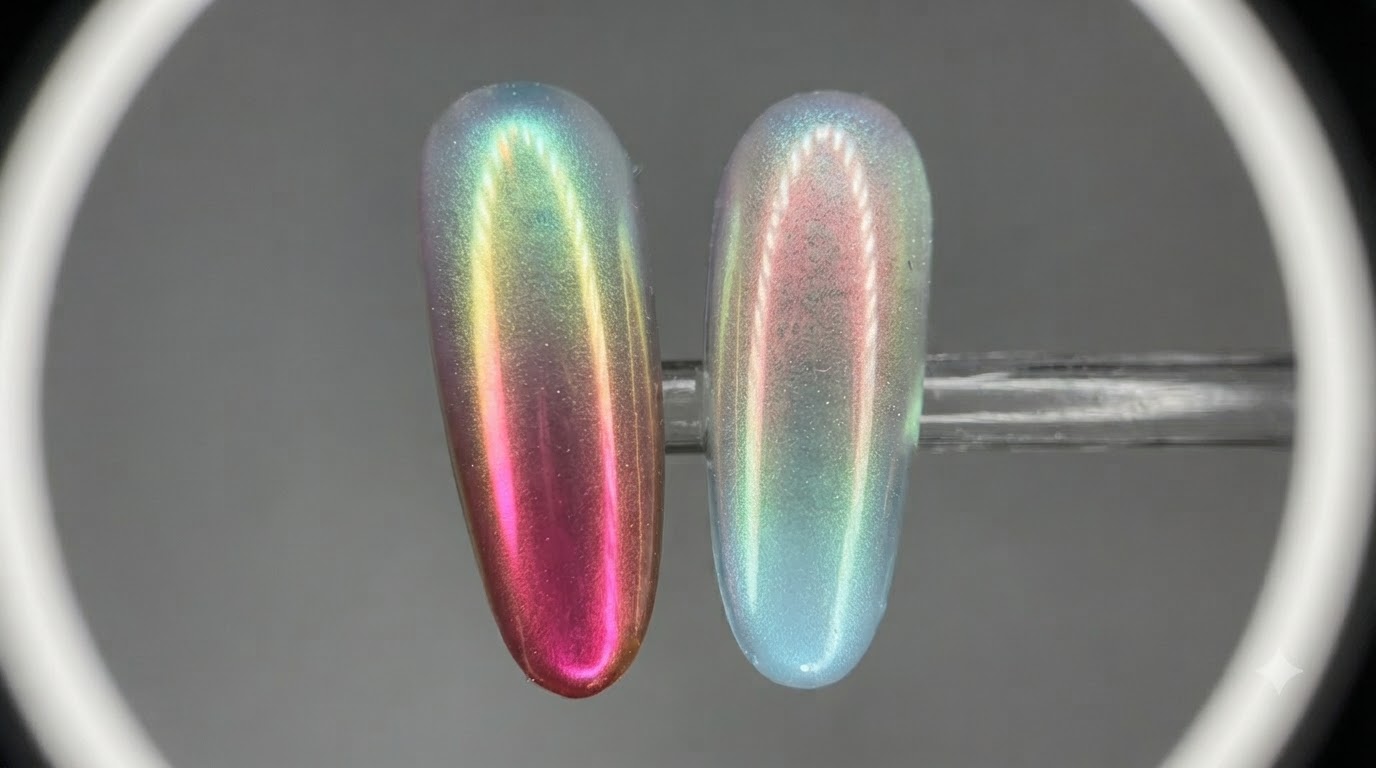
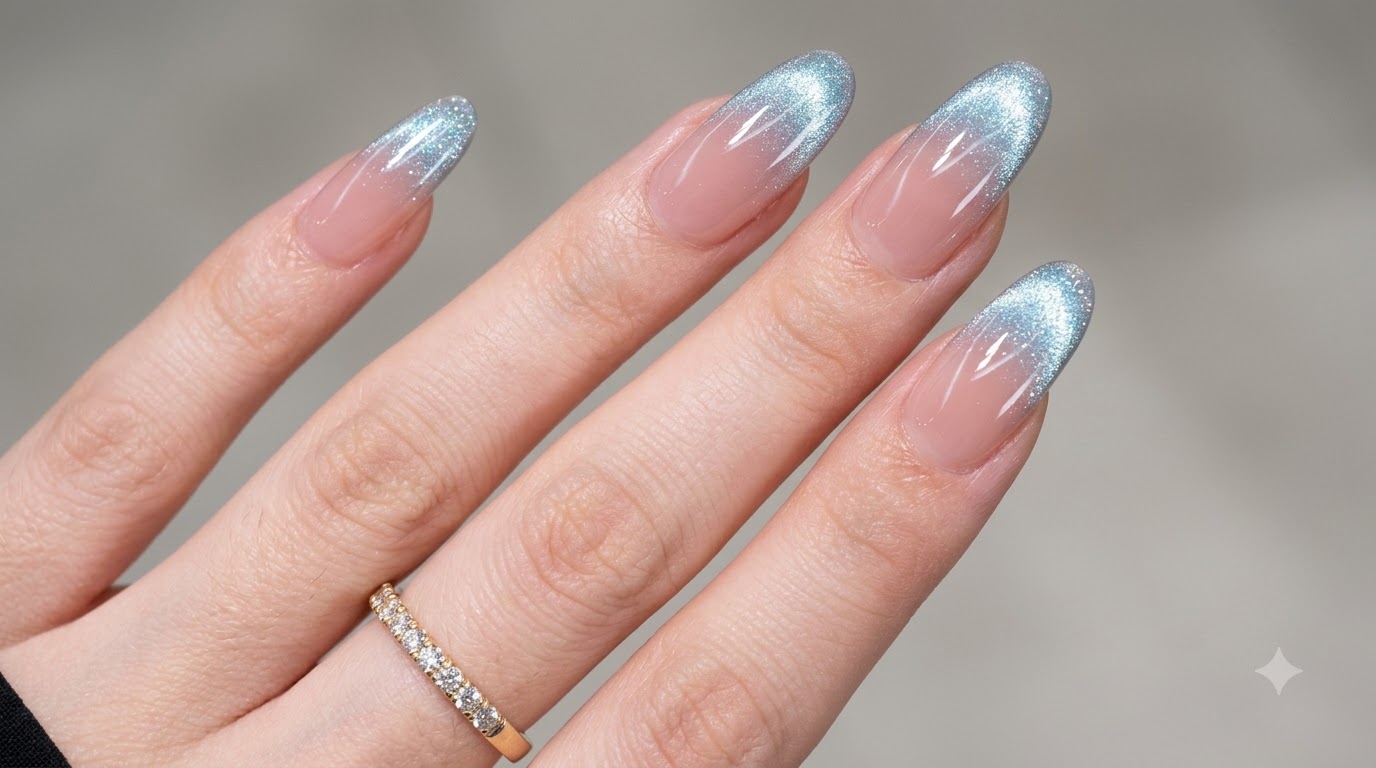
Create a mesmerizing icy blue magnetic cat eye finish over a sheer nude pink base with this easy, beginner-friendly gradient nail art tutorial.
Cat-eye nail art continues to captivate with its multidimensional, celestial shimmer, and this icy blue gradient look brings a refreshing twist to the trend. By pairing a soft nude pink blush base with a sharp, luminous blue magnetic tip, this design achieves an effortless balance of ethereal elegance and modern style. Whether you are prepping for a special occasion or simply love a high-shine finish, this step-by-step technique is surprisingly simple to master at home.
Steps
- 1Prep and buff the nail tip
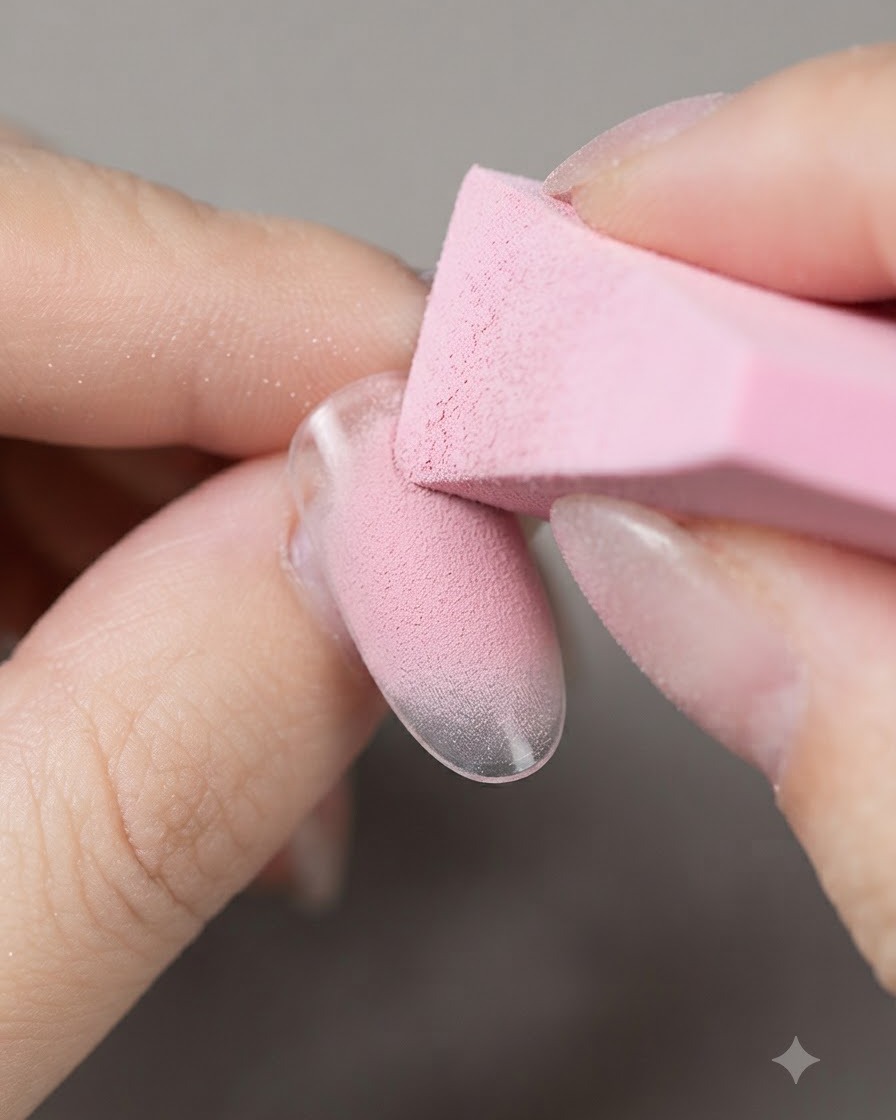
Gently prep and buff the surface of the clear practice nail tip using a pink sponge block. This removes the shine and creates a slightly textured surface, ensuring the gel products adhere securely for a long-lasting finish.
Tip: Be careful not to over-buff, which can thin out the nail tip unnecessarily. - 2Apply blush gel
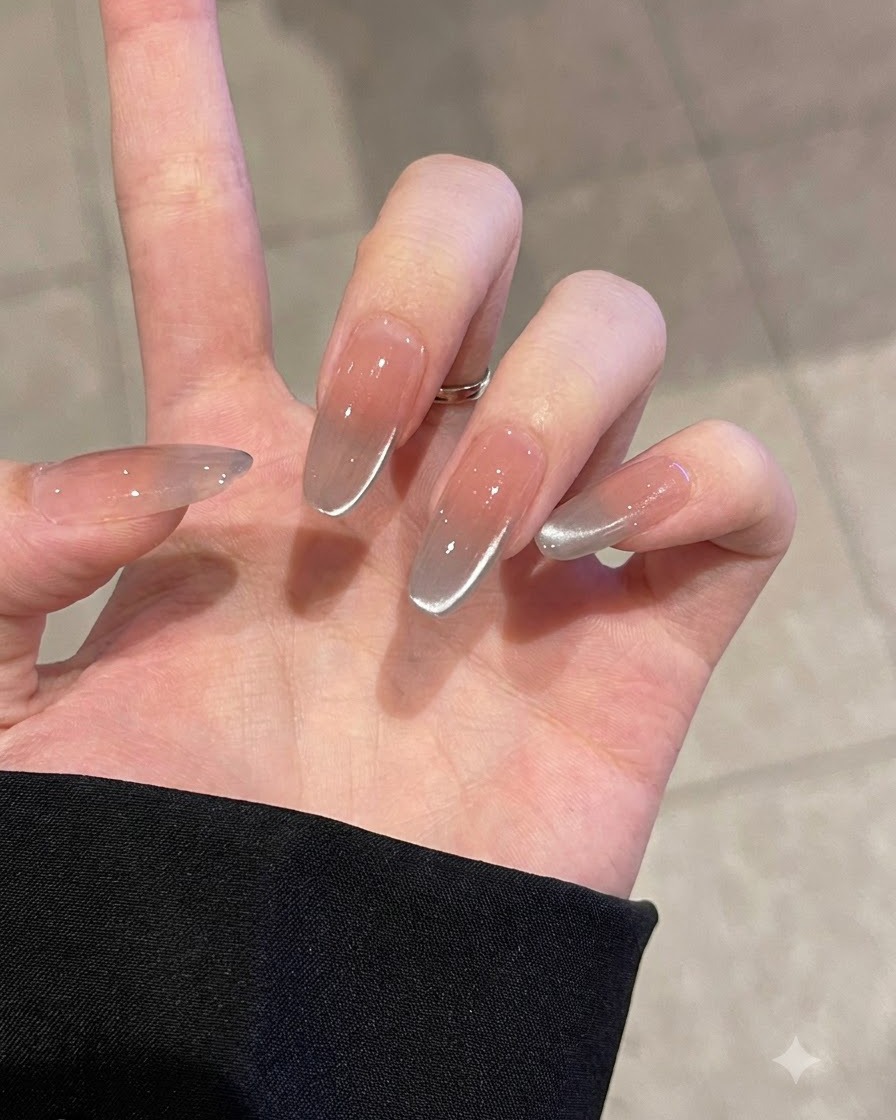
Dab a soft nude pink blush gel onto the center of the nail plate. Gently blend the edges outward to create a seamless, gradient blush effect that mimics a natural rosy glow.
Tip: Use a light hand when blending the edges to keep the concentration of color in the center of the nail. - 3Cure the blush gel
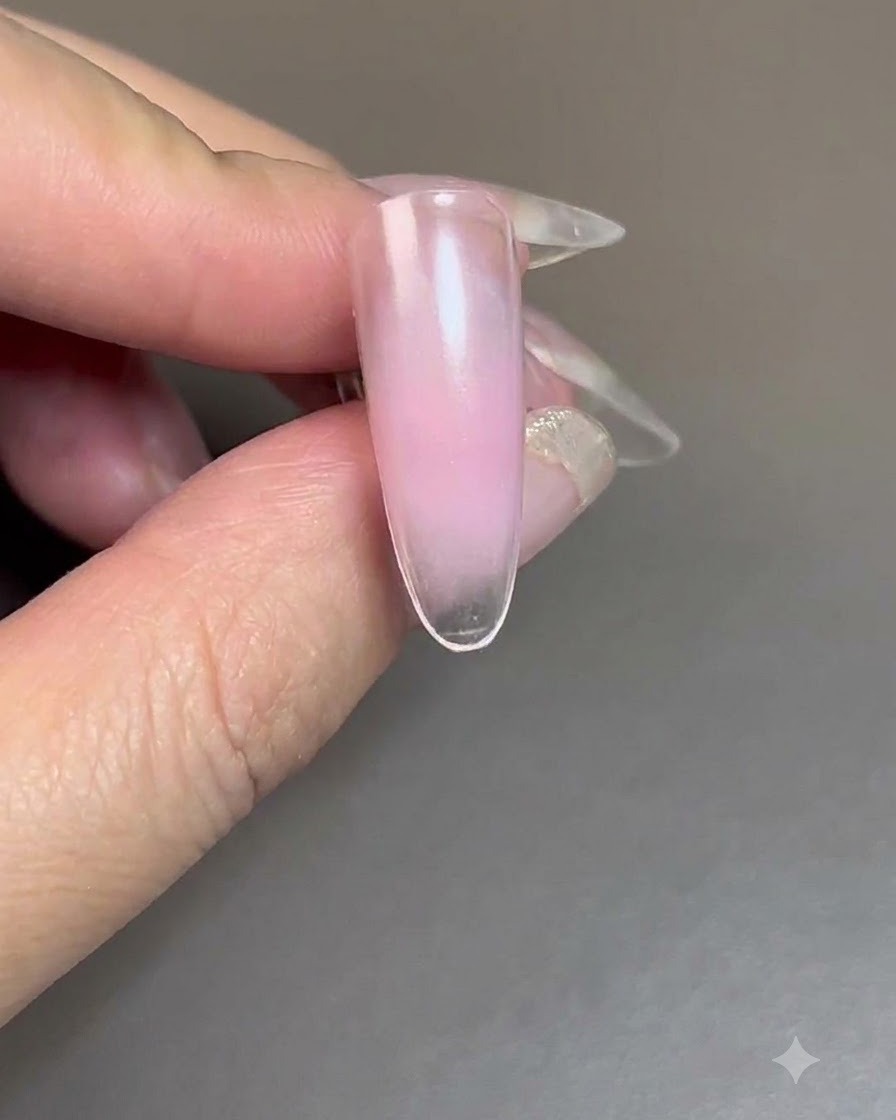
Place the nail under a UV/LED lamp to fully cure the first layer of blush gel. Follow the lamps specific timing instructions to ensure the gel sets completely before moving on to the next step.
Tip: Ensure the nail is positioned flat under the lamp so the light hits the entire surface evenly. - 4Apply sheer nude gel
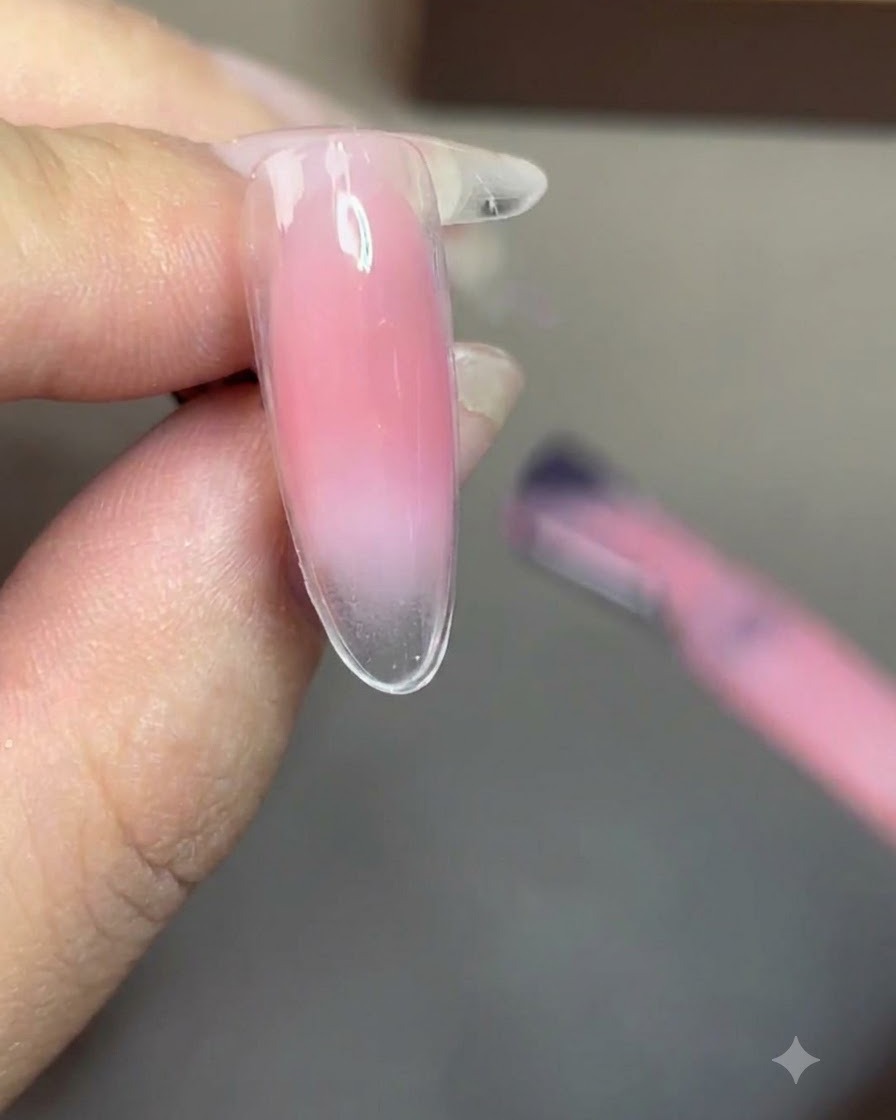
Brush a smooth, even layer of sheer nude gel across the entire nail. This layer softens the underlying blush effect, blending the colors and giving the overall look a warm, natural finish.
Tip: Keep this layer thin and even to avoid adding too much bulk to the nail. - 5Cure the sheer nude layer
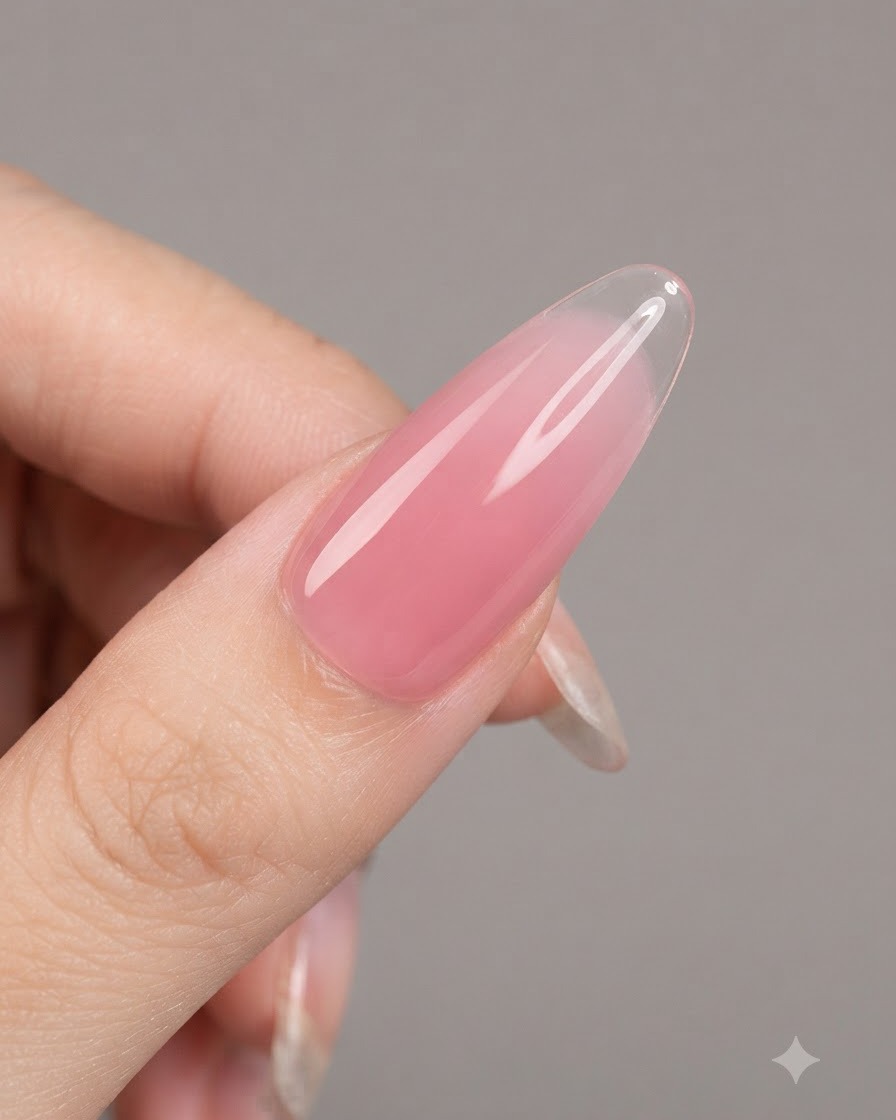
Cure the sheer nude gel layer under the UV/LED lamp. Make sure the curing process is complete to lock in the smooth, blended look and prepare the surface for the final design elements.
Tip: Do not wipe the nail after this cure unless your specific gel system requires you to remove the sticky layer. - 6Apply blue cat-eye gel
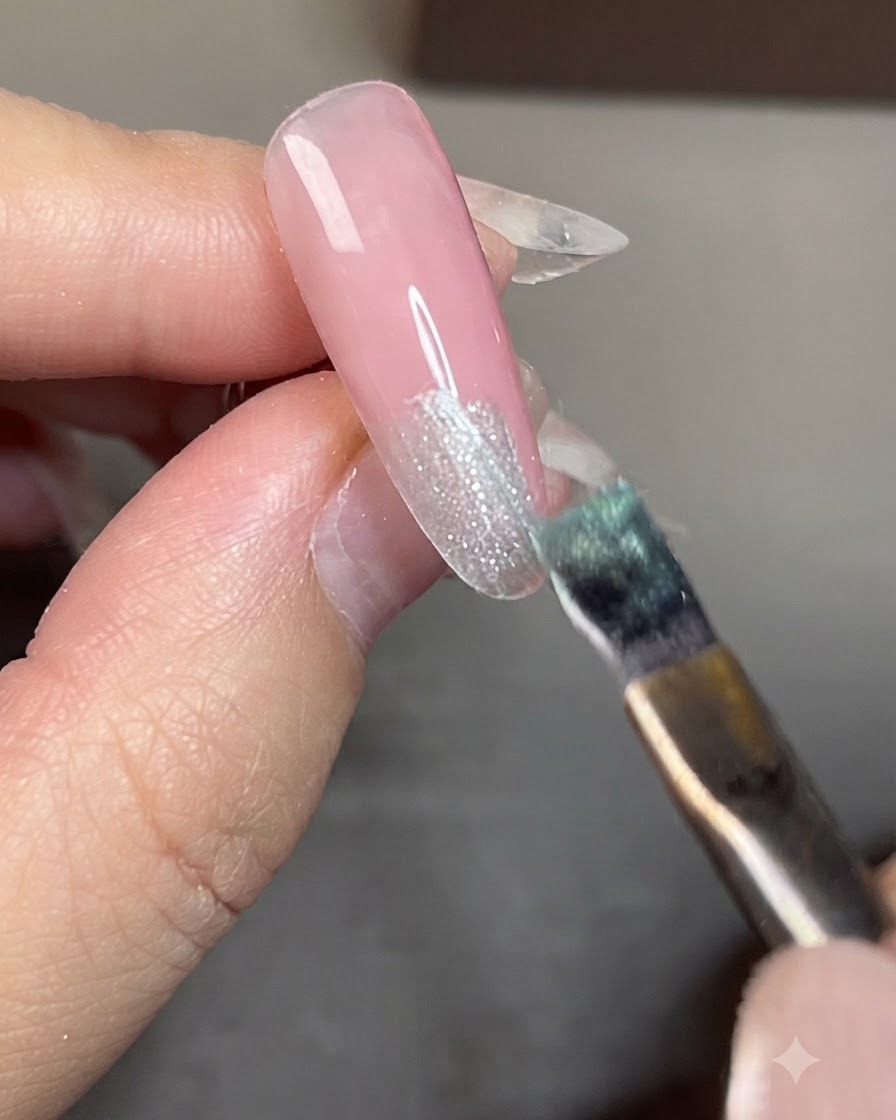
Apply a coat of blue cat-eye gel polish specifically to the tip portion of the nail. Use careful brush strokes to control the placement, setting up the magnetic particles for the upcoming cat-eye effect.
Tip: Work one nail at a time when using magnetic polishes to prevent the particles from shifting before curing. - 7Blend the gel transition
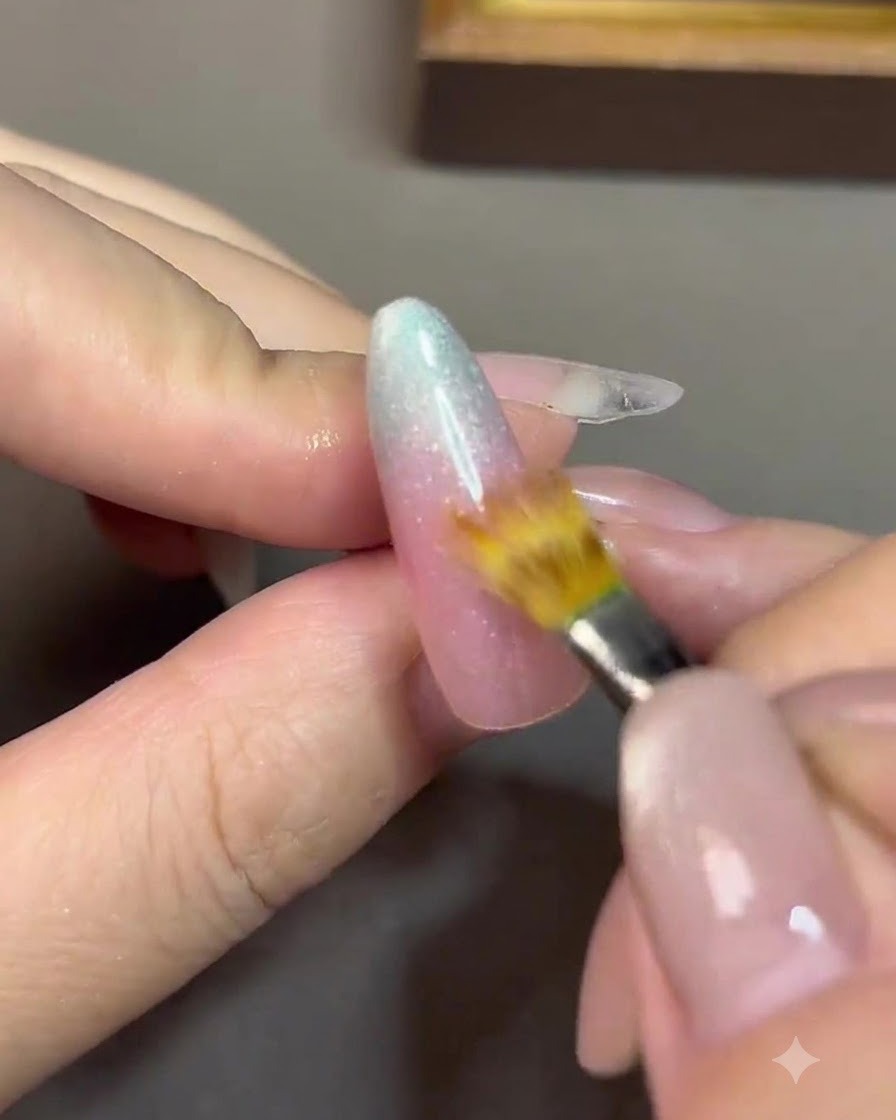
Take a fine detail brush and gently feather the line where the nude base and blue cat-eye gel meet to create a soft, seamless gradient transition.
Tip: Keep your hand light and steady to avoid wiping away too much product. - 8Concentrate cat-eye particles with magnet
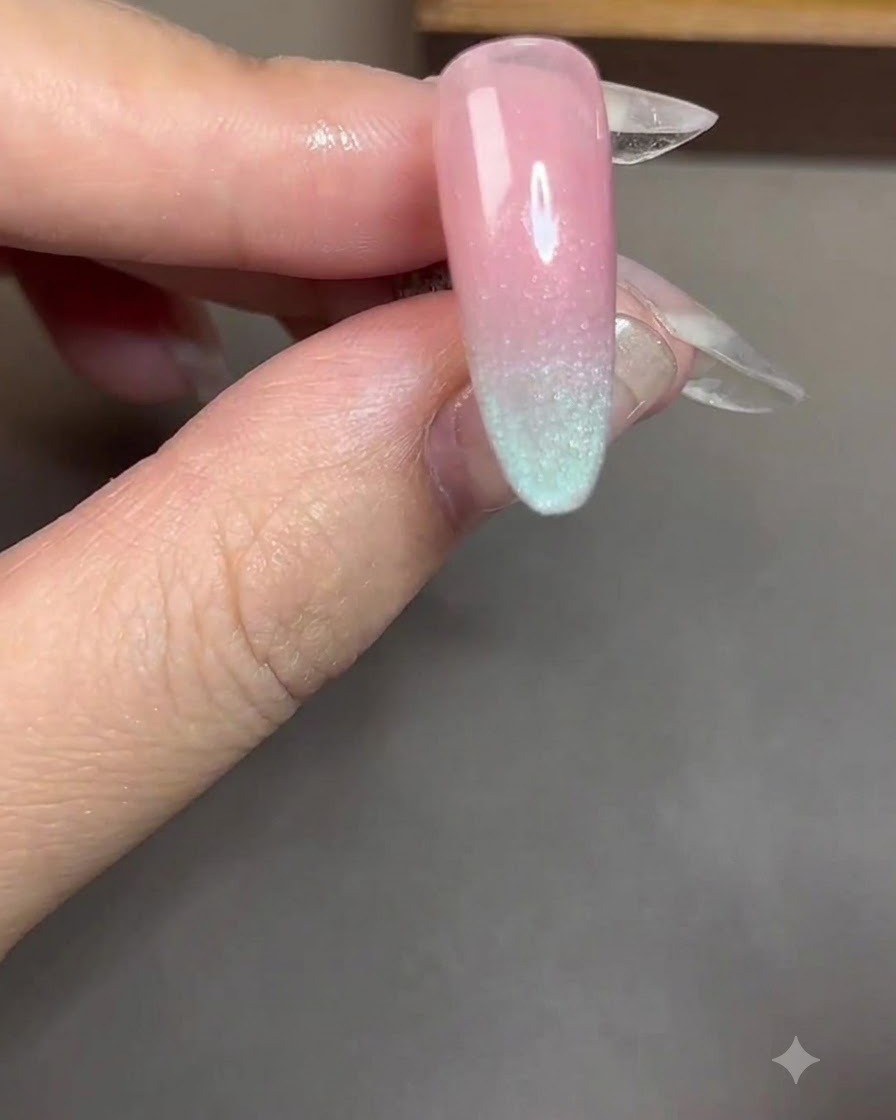
Hold a small cylindrical magnet parallel to the nail surface to gather and align the metallic particles within the cat-eye gel.
Tip: Keep the magnet close to the nail without touching the wet surface to ensure a sharp magnetic response. - 9Draw the light stripe
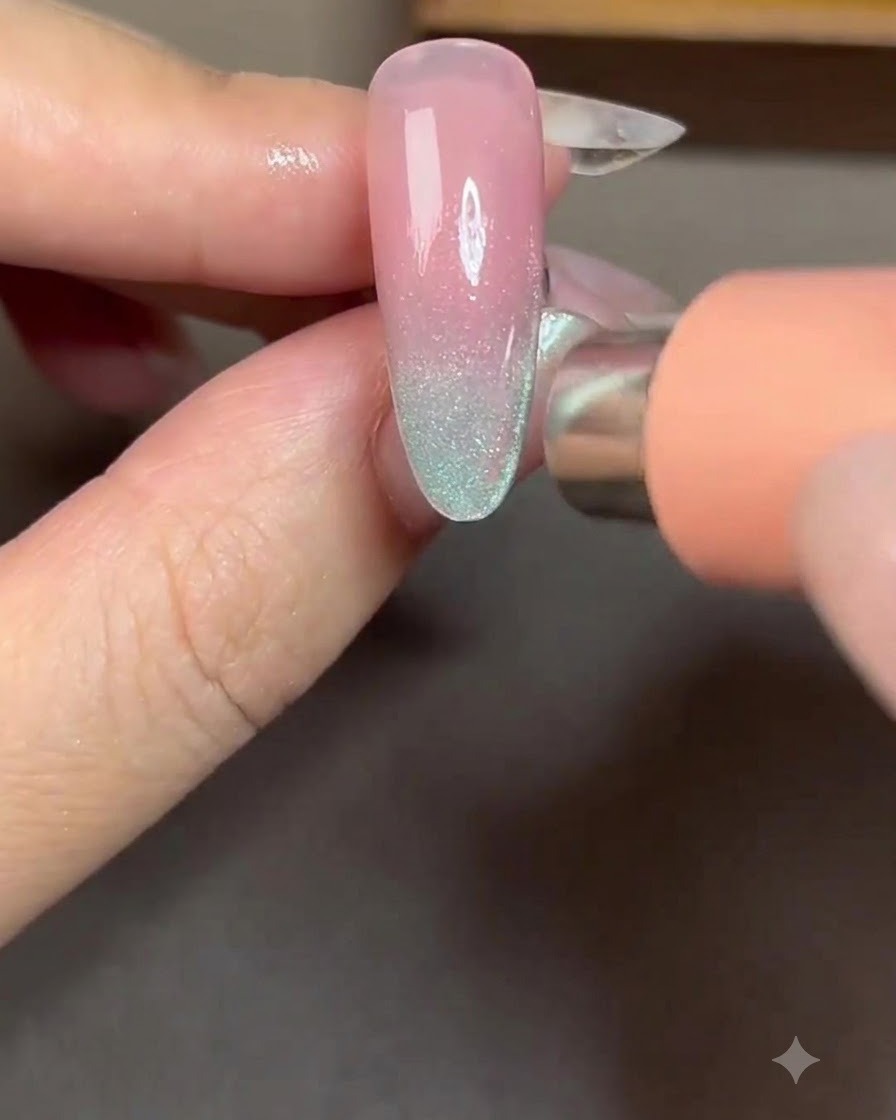
Shift the magnet toward the upper right side of the nail to pull the magnetic particles into a distinct, sharp line along the edge.
Tip: Watch the particles shift in real-time as you move the magnet to get the exact reflection angle you want. - 10Cure the cat-eye gel
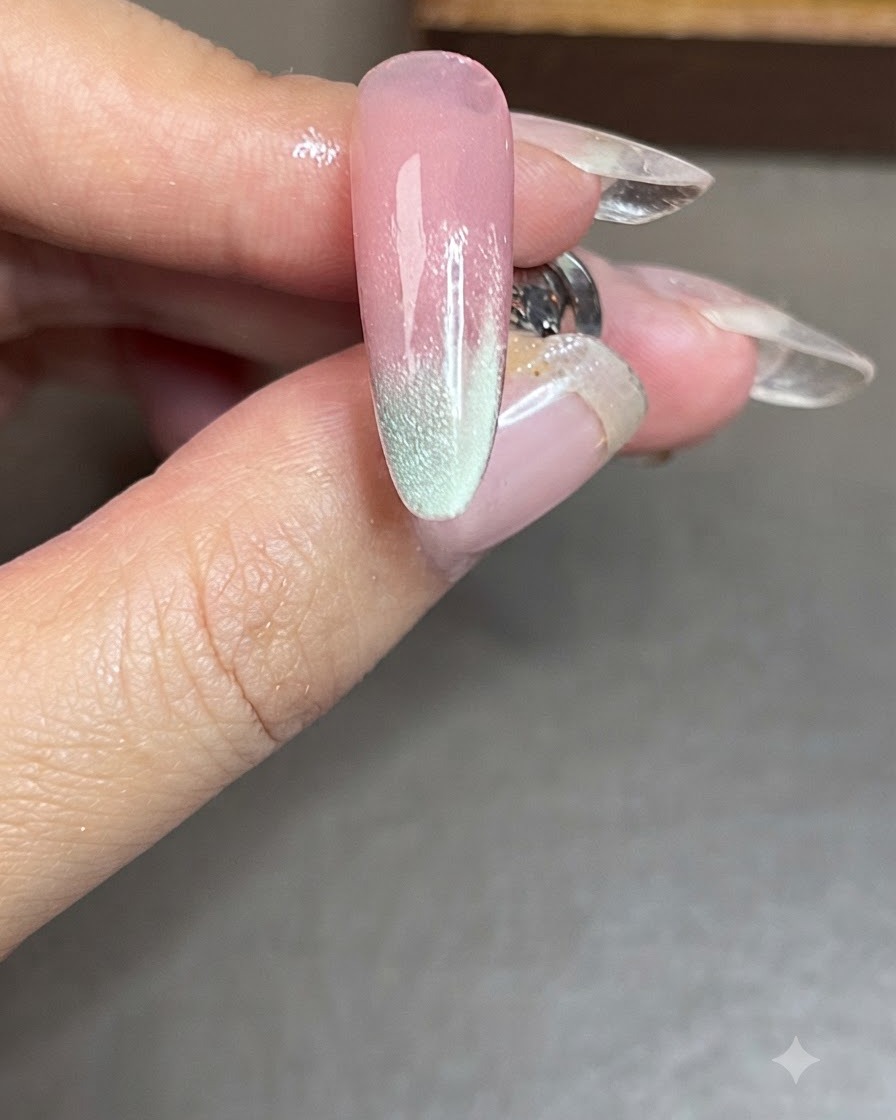
Place the hand under a UV or LED lamp to cure and lock the styled cat-eye pattern into place.
Tip: Ensure proper curing time so the magnetic particles do not shift before the top coat is applied. - 11Apply strengthening top coat
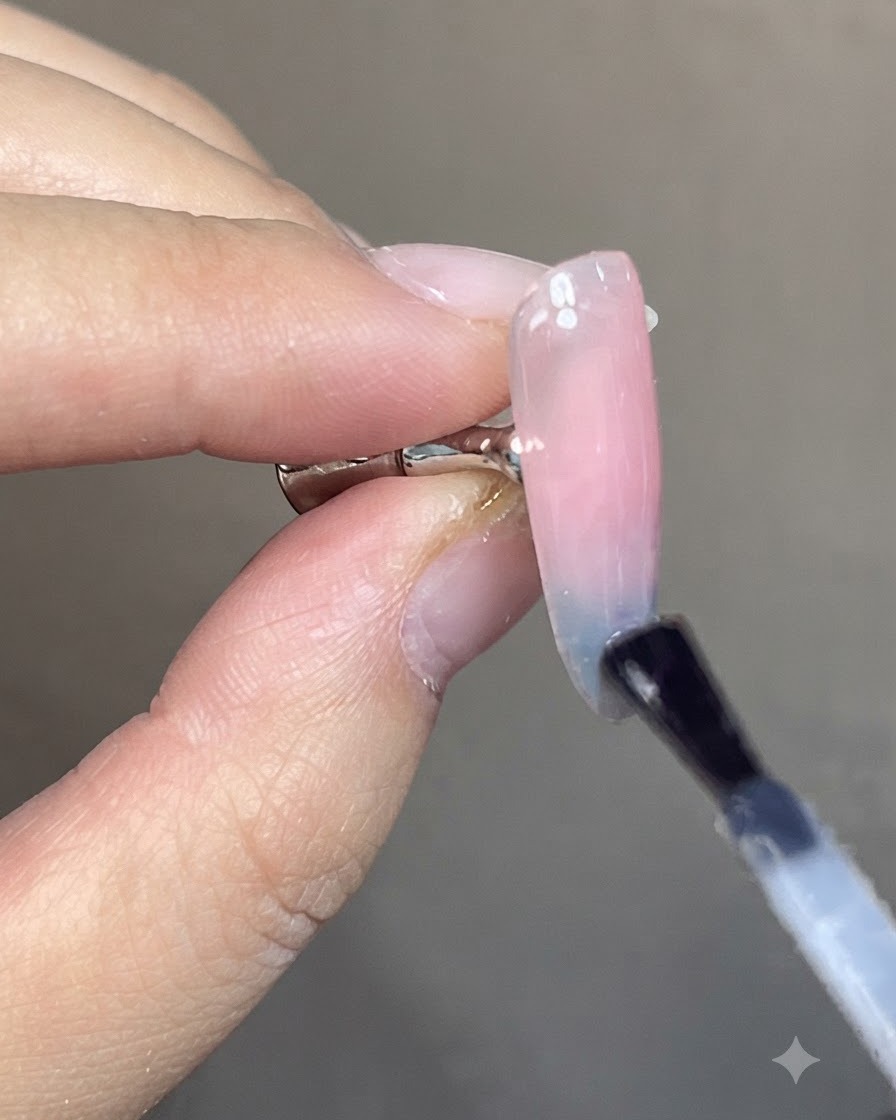
Apply a final layer of strengthening top coat over the entire nail surface and cap the free edge to thoroughly seal the cat-eye design and add lasting protection. Ensure even coverage without flooding the sidewalls, then cure under your lamp to lock in the glossy finish.
Tip: Capping the free edge with top coat prevents chipping and peeling at the tips, ensuring your manicure lasts longer.