Purple Punk Butterfly Gel Nails — Step-by-Step Tutorial
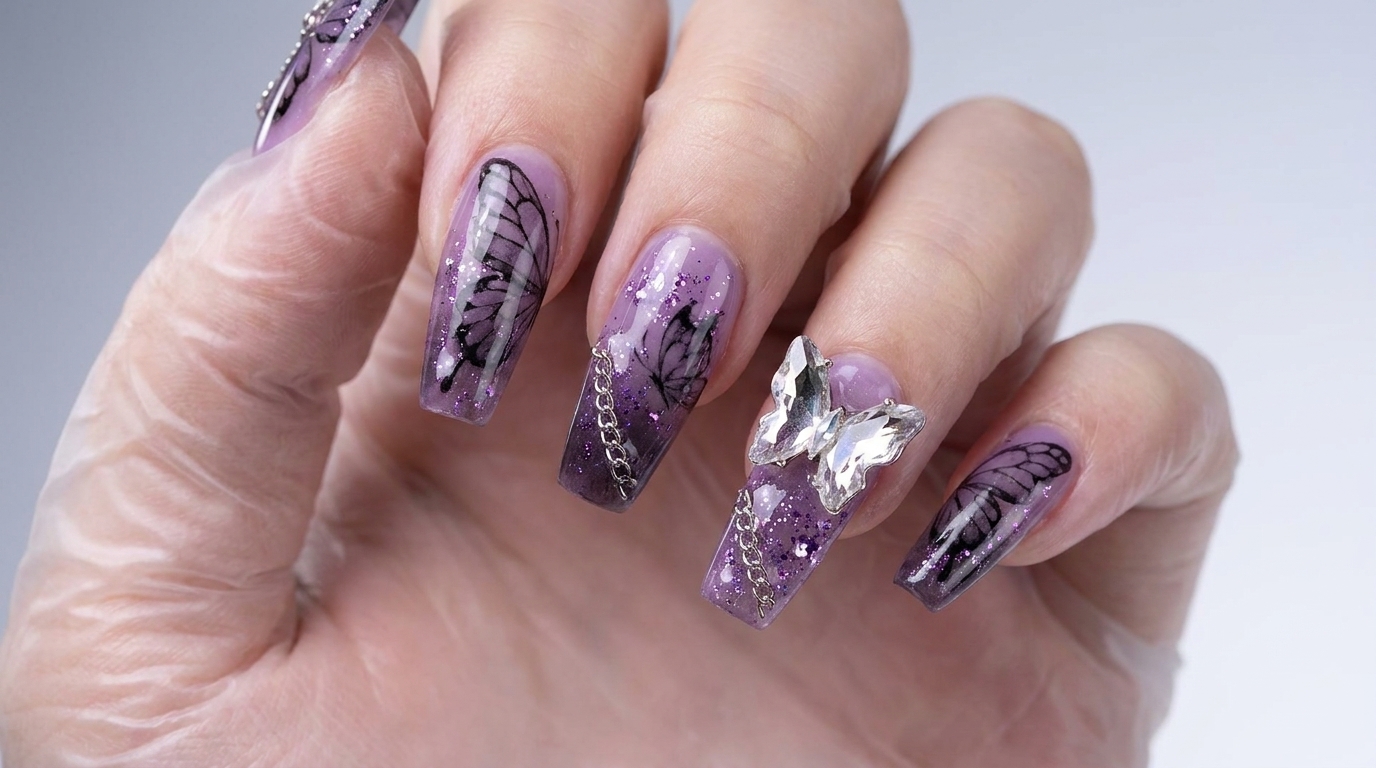
Create an edgy and high-end purple punk butterfly gel nail look featuring watercolor wings, metallic chains, and 3D crystal details inspired by Zhao Lusi's birthday look.
Embrace a bold yet ethereal aesthetic with this purple punk butterfly gel nail tutorial. Combining translucent gradient purple bases, delicate hand-painted watercolor butterfly silhouettes, and dramatic metal chain accents with 3D crystal charms, this design brings a high-fashion edge straight to your fingertips.
Steps
- 1Mix purple gel polish shades
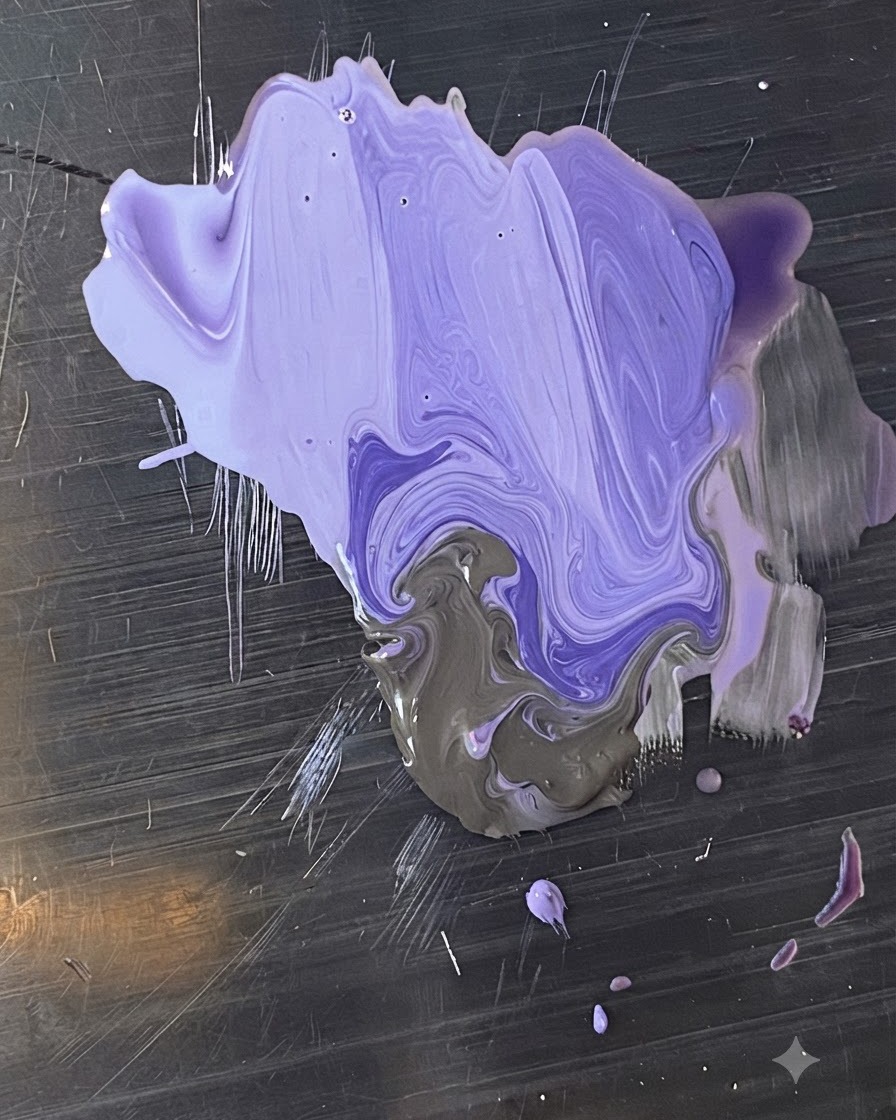
Dispense three different shades of purple gel polish onto a metal mixing palette. Use a fine nail art brush to blend and swirl the colors together to create custom tones and gradient transitions for your butterfly nail design.
Tip: Work near the edge of the palette to keep your workspace clean and prevent the gel from spreading too thin before application. - 2Apply light purple gradient base
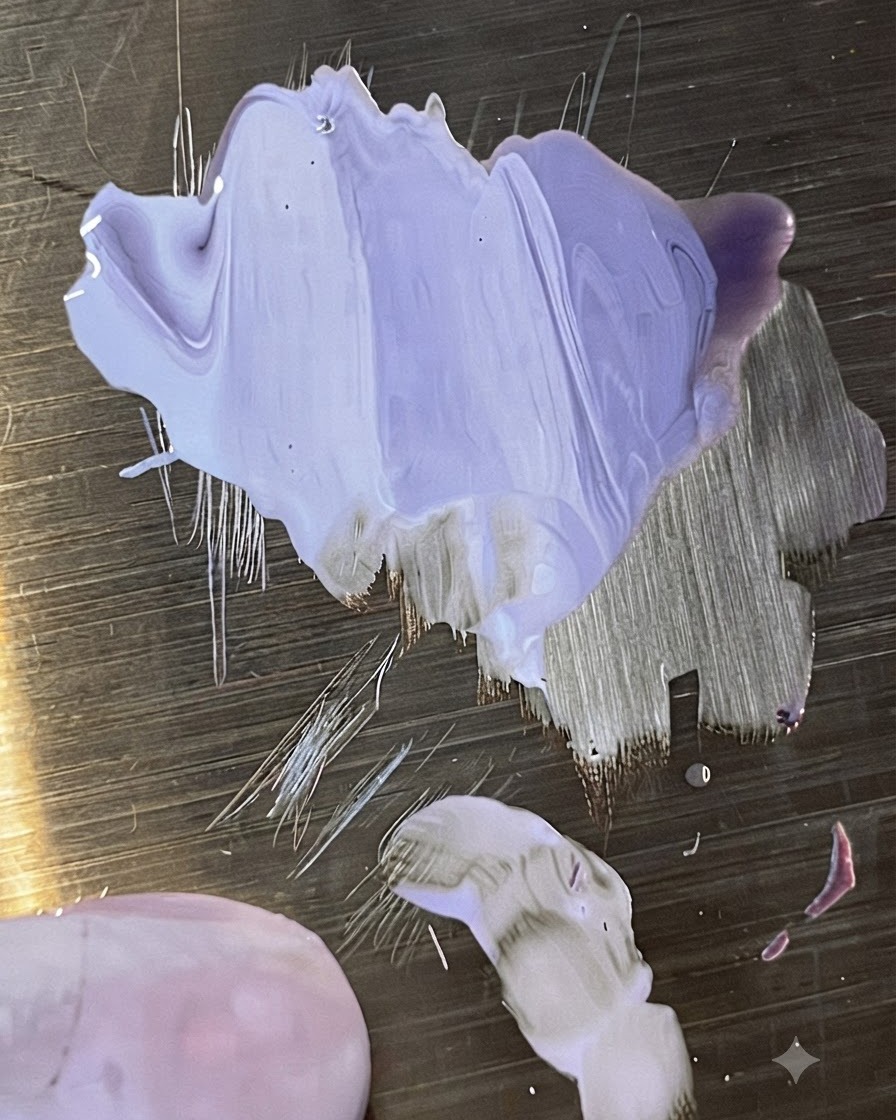
Apply a light purple base color onto a clear false nail tip, blending from light to dark to establish a soft gradient background effect. Ensure the transition is smooth across the nail surface before curing.
Tip: Keep strokes light and feather the edges where the shades meet to eliminate harsh lines. - 3Layer highlighter and purple glitter powder
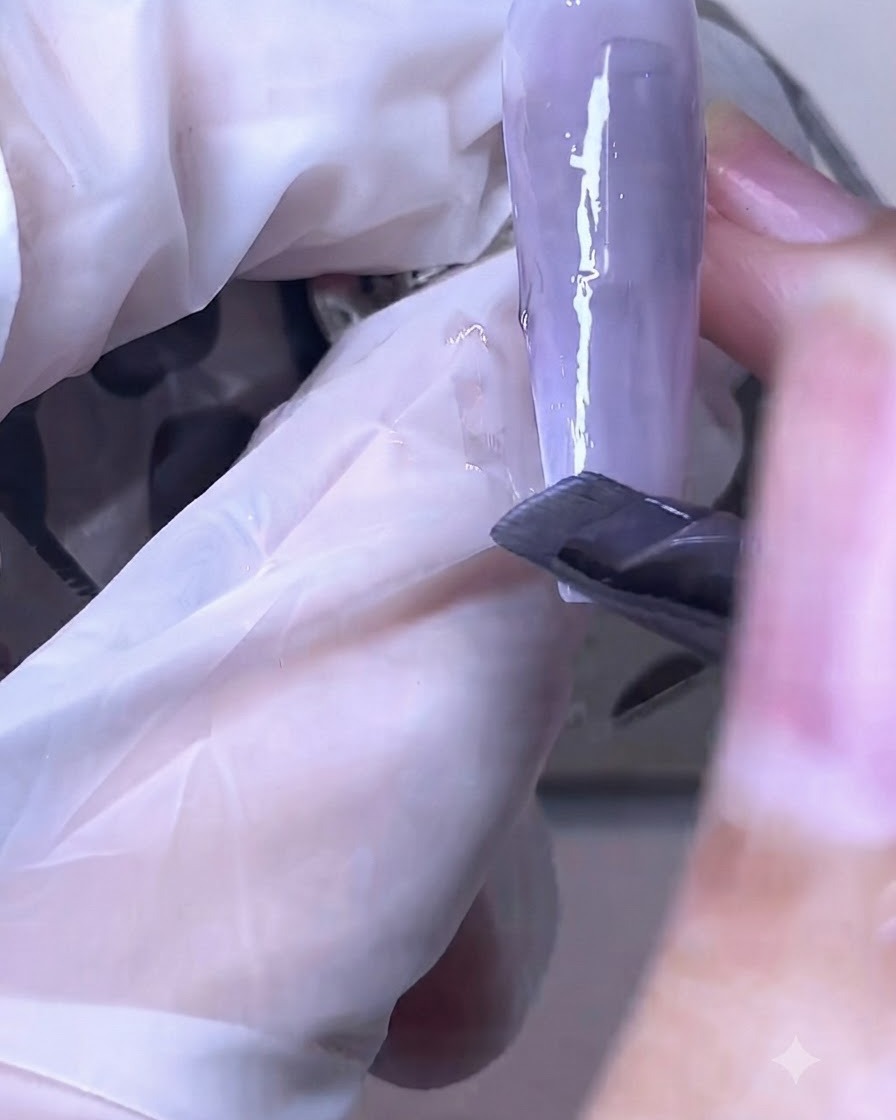
Take a fine brush and gently dab highlighter powder along with purple glitter powder directly onto the wet or tacky gradient nail surface. Distribute the sparkle more densely toward the upper portion while letting it fade out softly toward the tip to enhance dimension. Cure under the lamp once the placement looks balanced.
Tip: Tap off excess powder from your brush before applying to avoid heavy clumps and ensure a delicate, shimmering finish. - 4Apply matte top coat layer
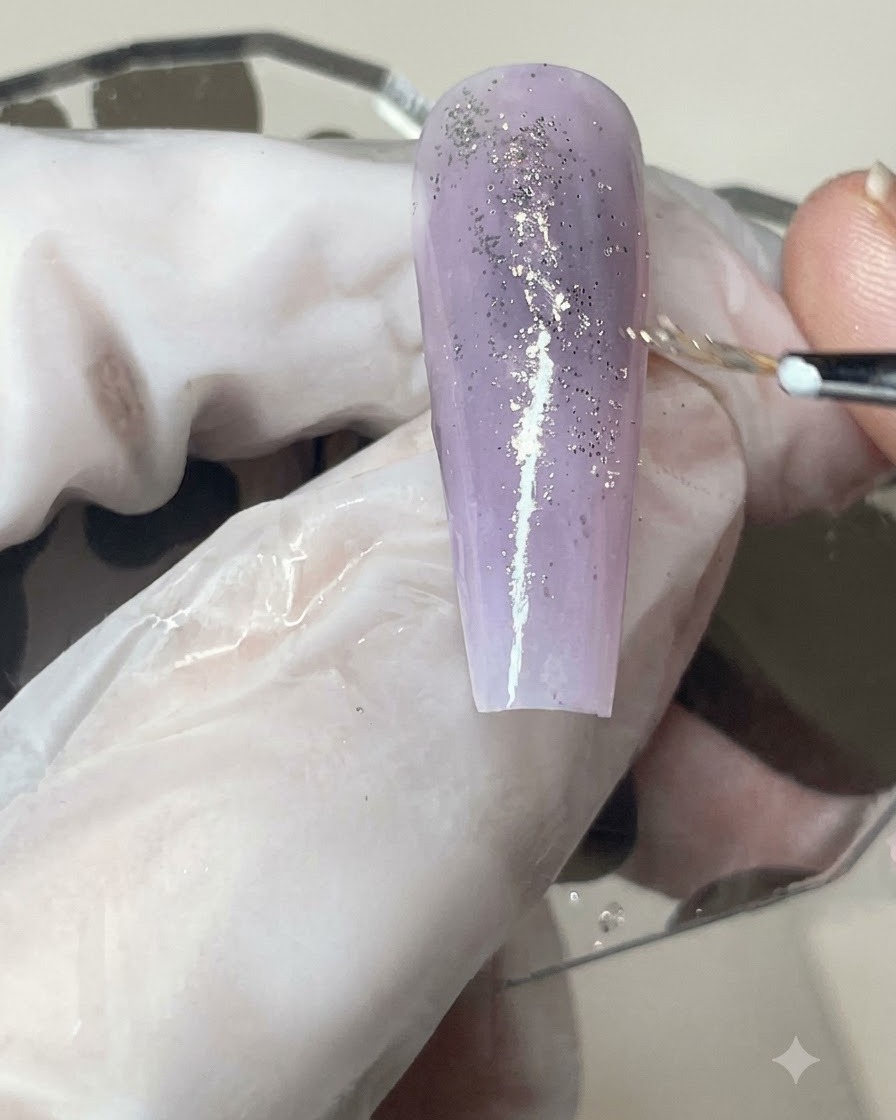
Brush an even layer of matte top coat over the entire decorated nail surface, ensuring complete coverage over the glitter and gradient background. Seal the free edge carefully to protect the design from chipping. Place the nail under your UV or LED lamp to cure completely.
Tip: Make sure the matte top coat is applied smoothly without streaks, as a patchy matte finish will dull the underlying glitter effect. - 5Paint butterfly wing outlines
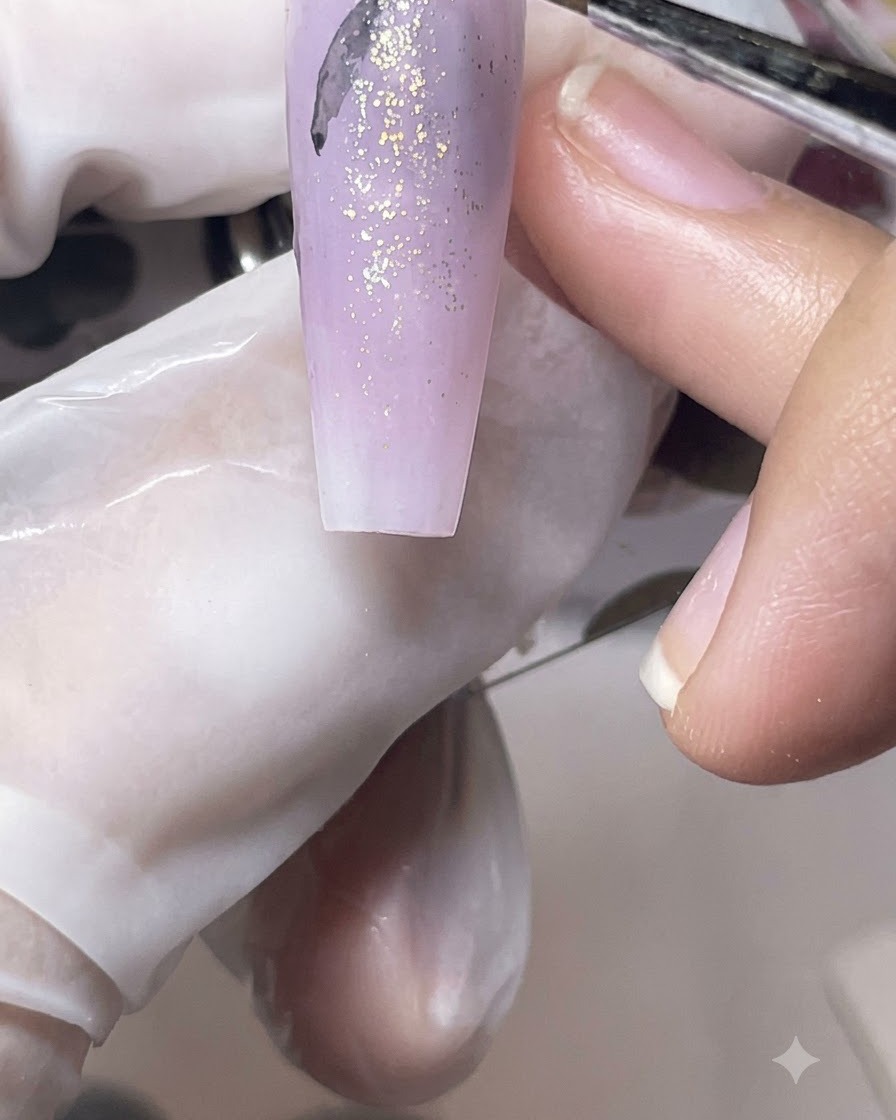
Dip a fine liner brush into black watercolor paint and carefully sketch the delicate silhouettes of a large butterfly and a smaller butterfly on the matte nail surface. Focus on drawing fine, graceful wing contours and body lines. Keep your strokes light and steady for a clean, elegant look.
Tip: Thin out your watercolor paint slightly with water so the lines flow smoothly from the brush without dragging or clumping. - 6Blend butterfly tails and soften details
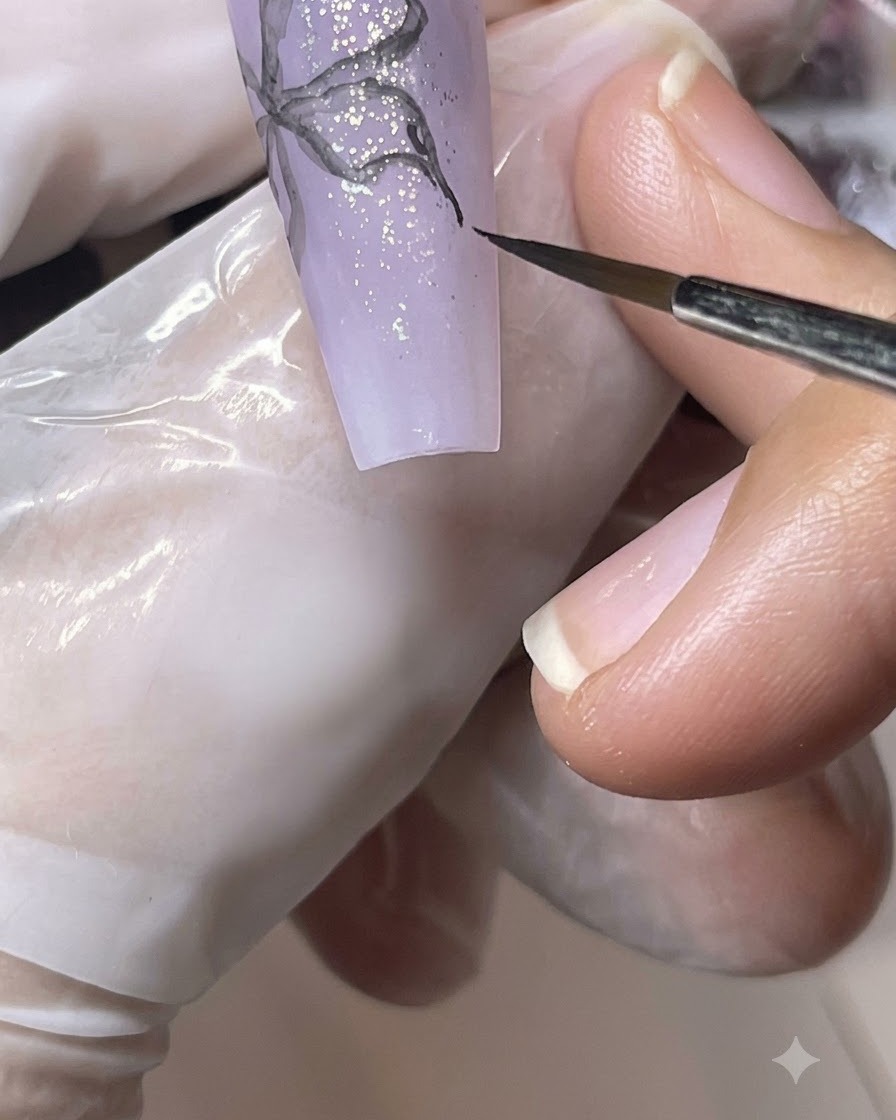
Using a clean damp brush with a touch of water, gently pull and feather out the black paint along the butterfly tails to create a soft, blended watercolor effect. Diffuse harsh edges where necessary to give the wings a dreamy, ethereal appearance. Cure or let dry thoroughly before moving to the next step.
Tip: Dab your damp brush on a lint-free wipe first to remove excess water so it doesnt bleed uncontrollably into the matte surface. - 7Paint butterfly wing veins
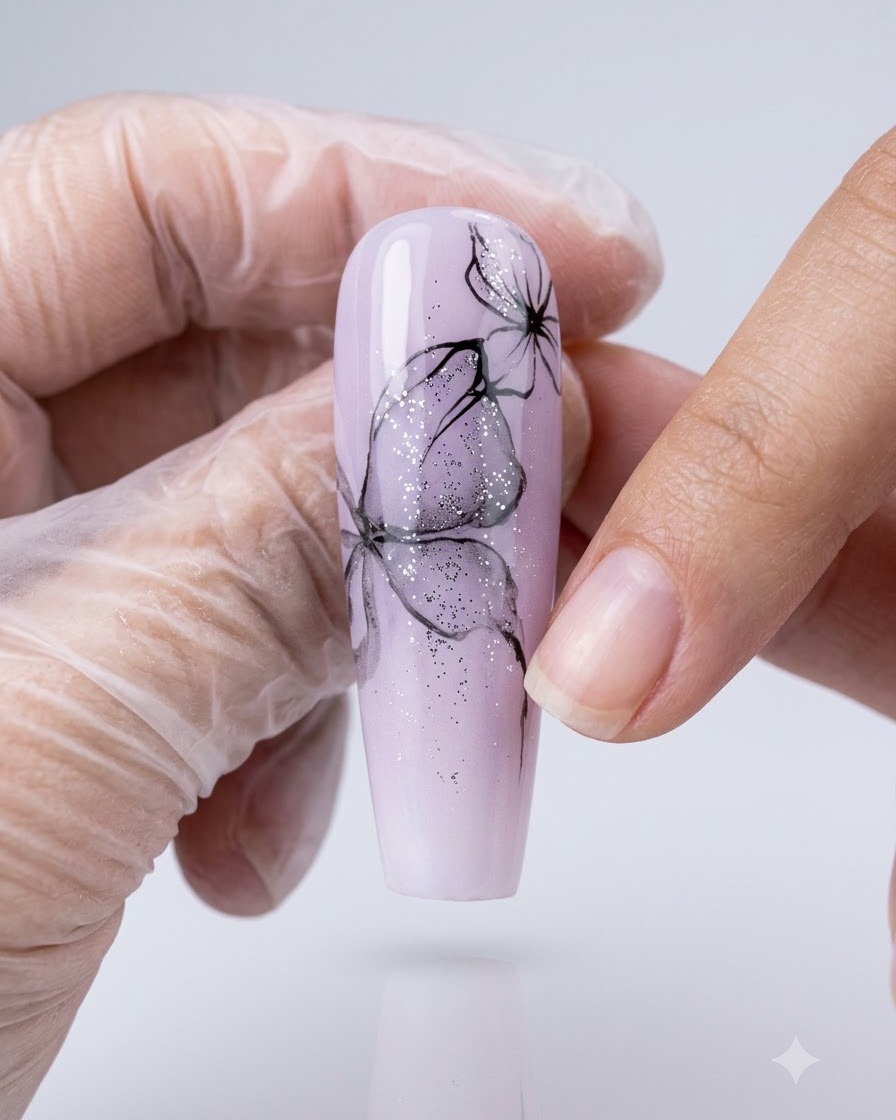
Using a fine liner brush and thinned black gel, paint delicate lines to form the veins and detailed texture of the butterfly wings with soft, controlled strokes. Add scattered micro-glitter particles over the wings for added dimension.
Tip: Hold the brush lightly and use just the tip to keep the lines as thin and intricate as possible. - 8Define butterfly body and blend gradients
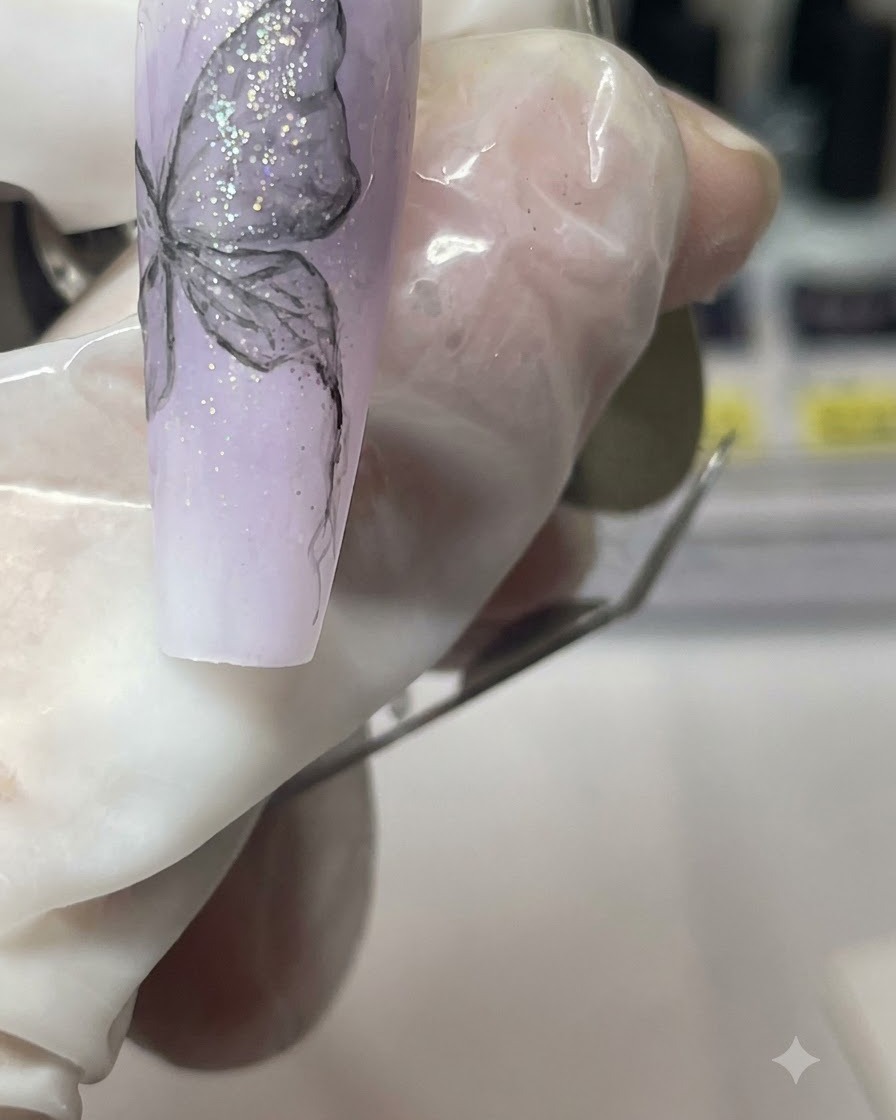
Apply a darker pigment locally along the butterfly body structure to create depth and contrast. Carefully blend the gradients into the surrounding blank areas of the nail to maintain a soft, ethereal look.
Tip: Build the dark color in thin layers so you dont overwhelm the delicate background gradient. - 9Seal nail edges with base glue
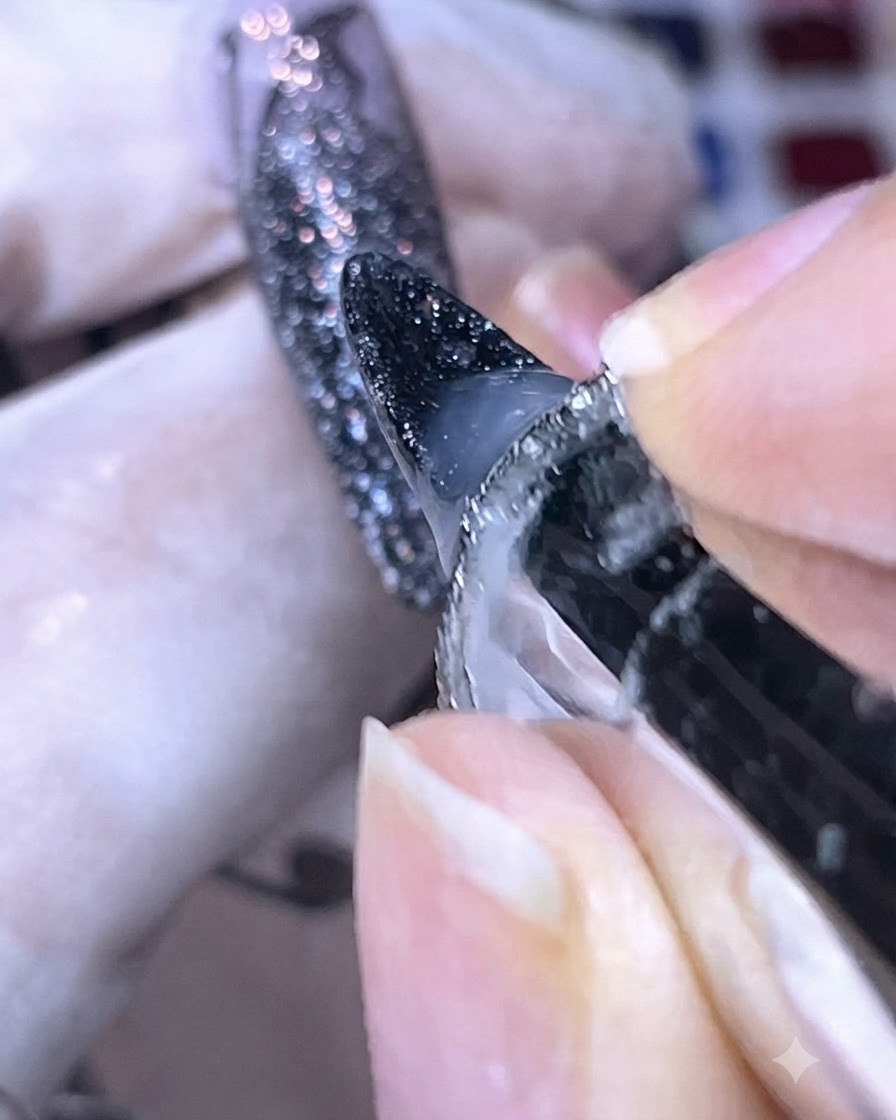
Apply base glue or clear builder gel carefully around the perimeter edges of the nail to thoroughly wrap and seal the design. This prevents chipping and ensures long-lasting wear for the manicure.
Tip: Cap the free edge completely to lock in all layers of gel art. - 10Add fine details with wire gel
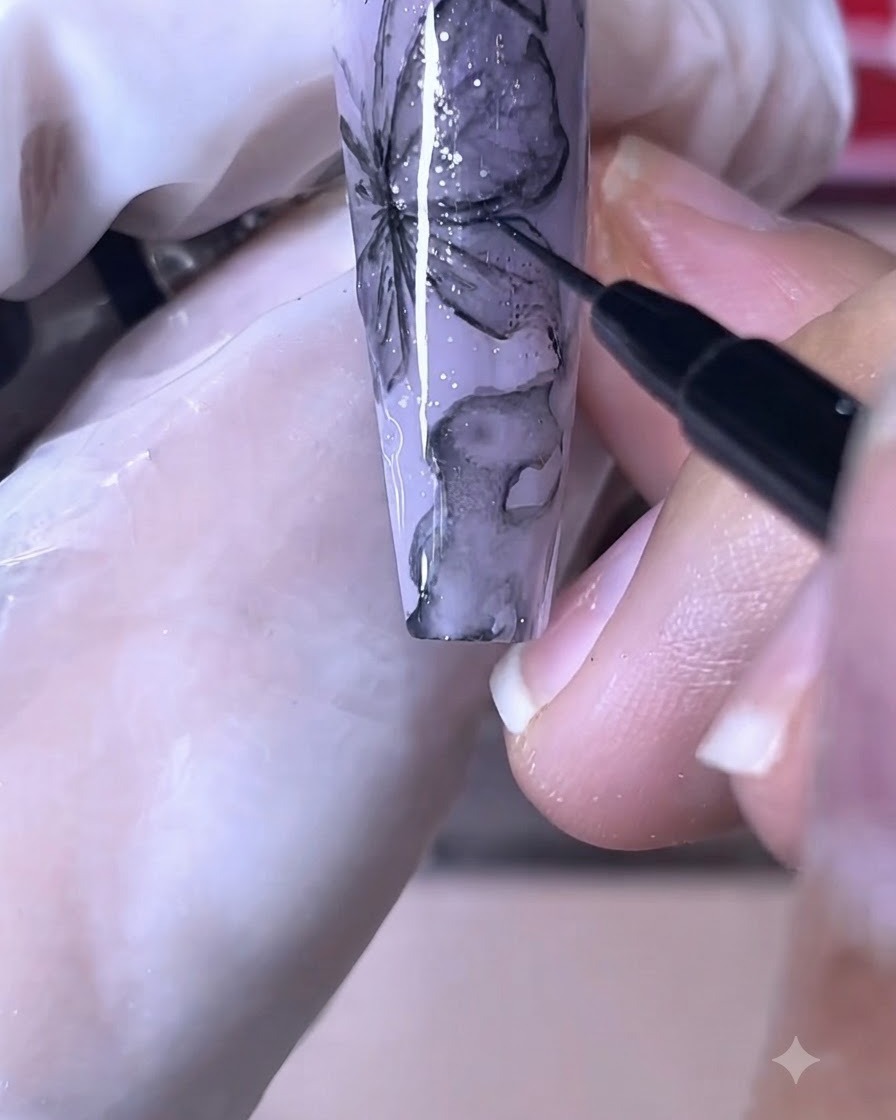
Take a specialized black drawing wire gel on a fine liner brush to outline and accentuate thin, deep lines over the butterfly wings. This technique sharpens the design and makes the intricate contours stand out clearly.
Tip: Draw with a steady, continuous motion to prevent the elastic wire gel from breaking mid-line. - 11Apply vintage steel bead chains
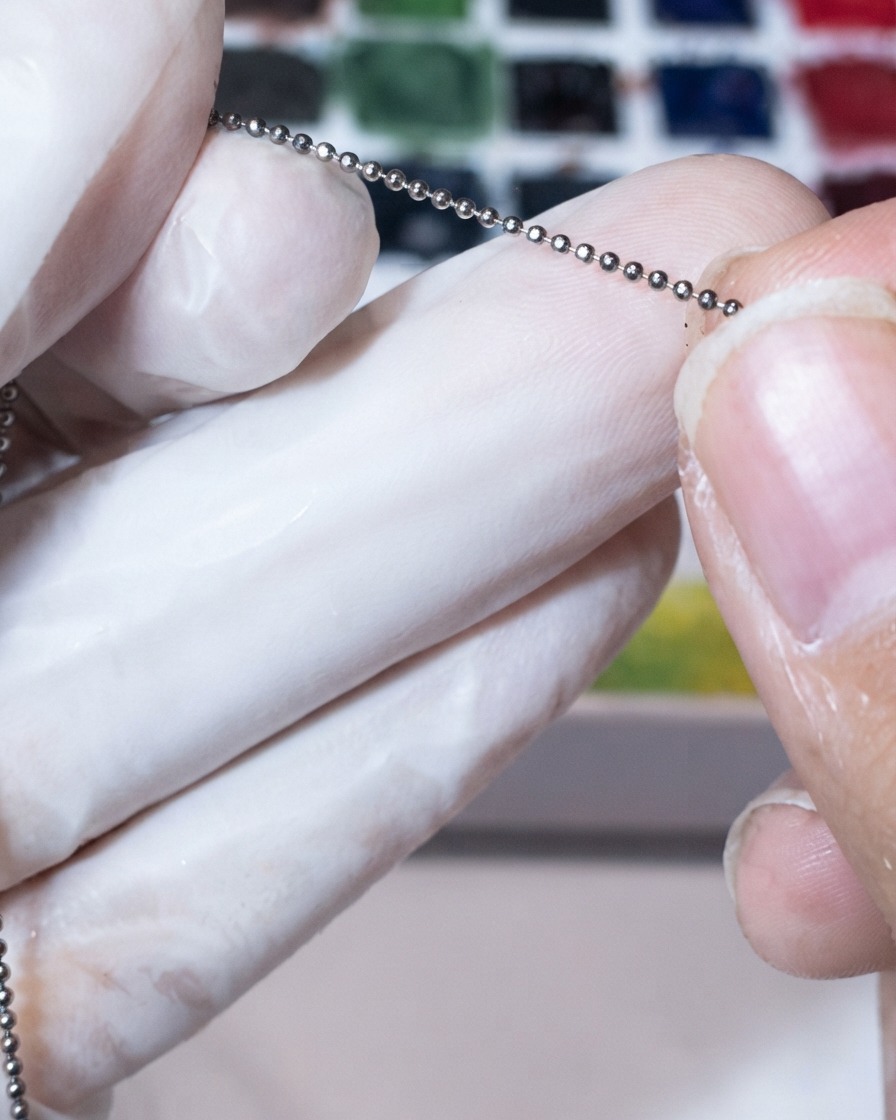
Apply vintage steel bead chains across the nail surface in intersecting diagonal lines to create an intricate, edgy framing effect. Secure the chains using a dab of thick gel or gel glue along the desired path, pressing them gently into place before curing. Ensure the ends are neatly trimmed so they dont catch on clothing or hair.
Tip: Use a silicone tool or tweezers to press the bead chain flush against the gel surface so it doesnt lift after curing. - 12Place purple rhinestones at chain intersections
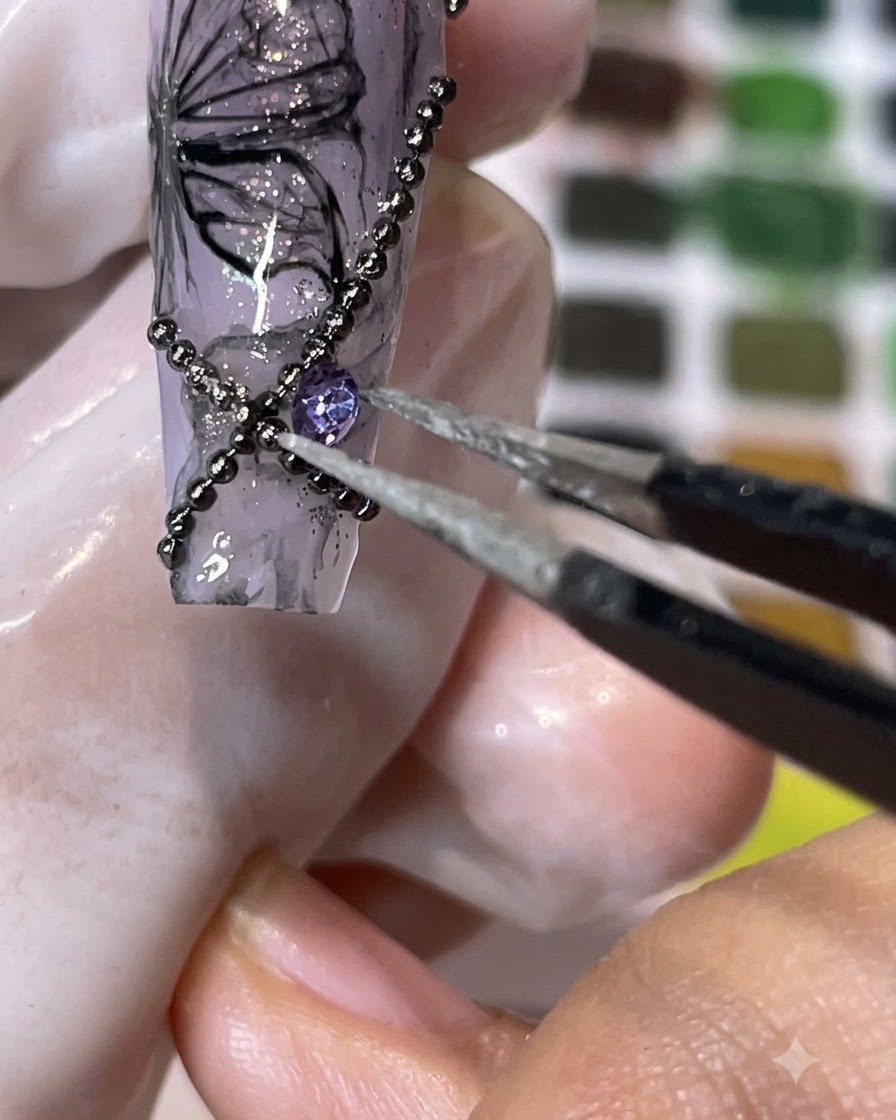
Using a pair of precision tweezers, pick up purple pointed-back rhinestones and place them directly at the intersections of the steel bead chains. Press them firmly into the uncured gel base before flash curing to secure the placement.
Tip: A dab of thick builder gel underneath the rhinestone will give it a stronger hold and prevent shifting before curing. - 13Paint fluid white ribbon waves on clear nail tip
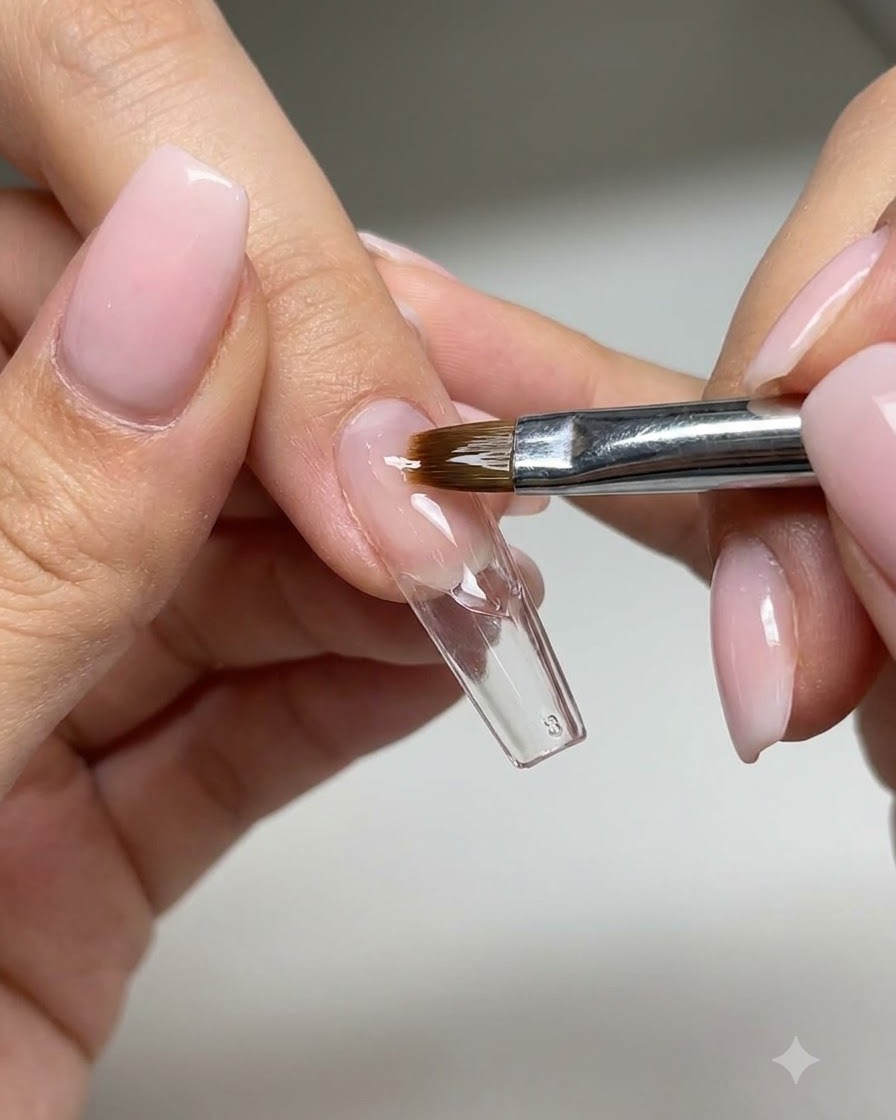
Start the second nail design by using white gel and a fine detail brush to paint fluid ribbon wave patterns across a clear nail tip. Keep the strokes smooth and dynamic to mimic the flowing movement of fabric.
Tip: Keep your brush strokes light and maintain a steady hand to create smooth, flowing wave lines without breaks. - 14Apply purple watercolor over the white ribbon pattern
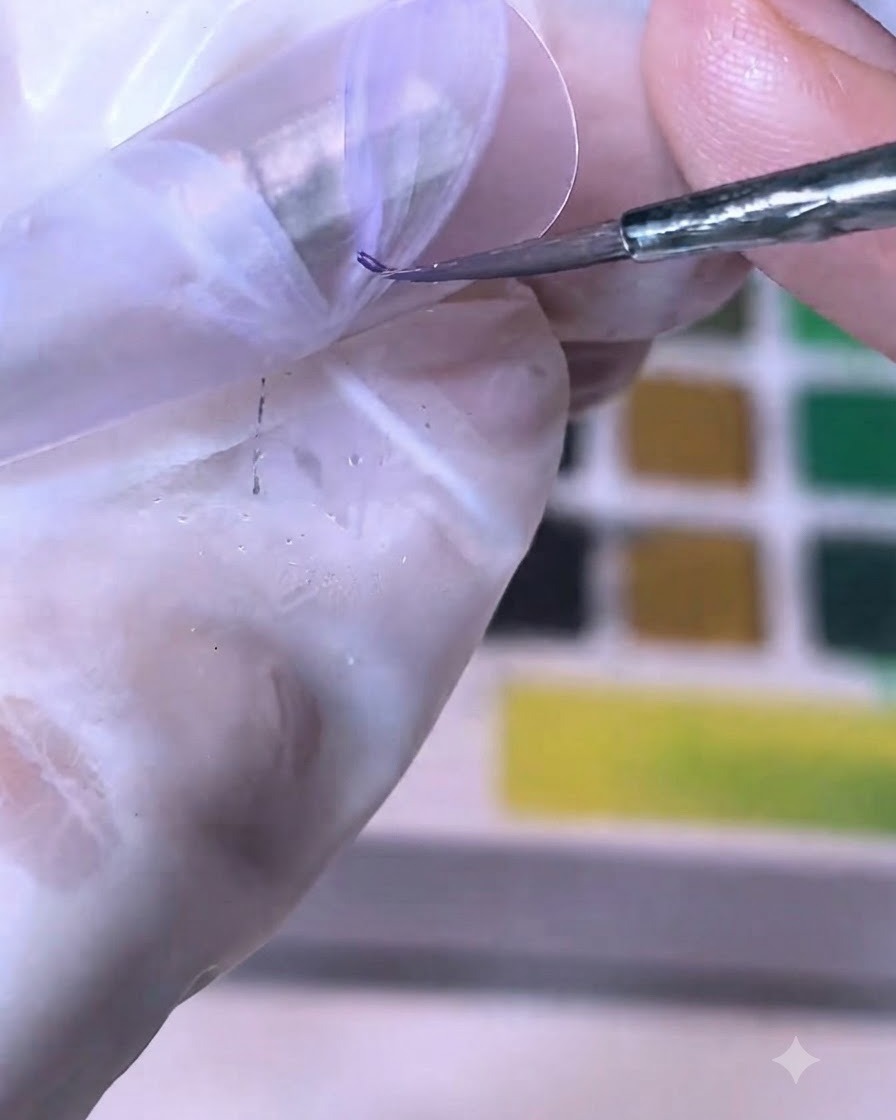
Apply purple watercolor paint over the dried white ribbon pattern to tint and color it. Allow the color to blend naturally across the textured lines for a soft, translucent artistic effect.
Tip: Control the amount of water on your brush to prevent the watercolor paint from pooling too heavily on the gel surface. - 15Add fine glitter specks to the purple wave pattern
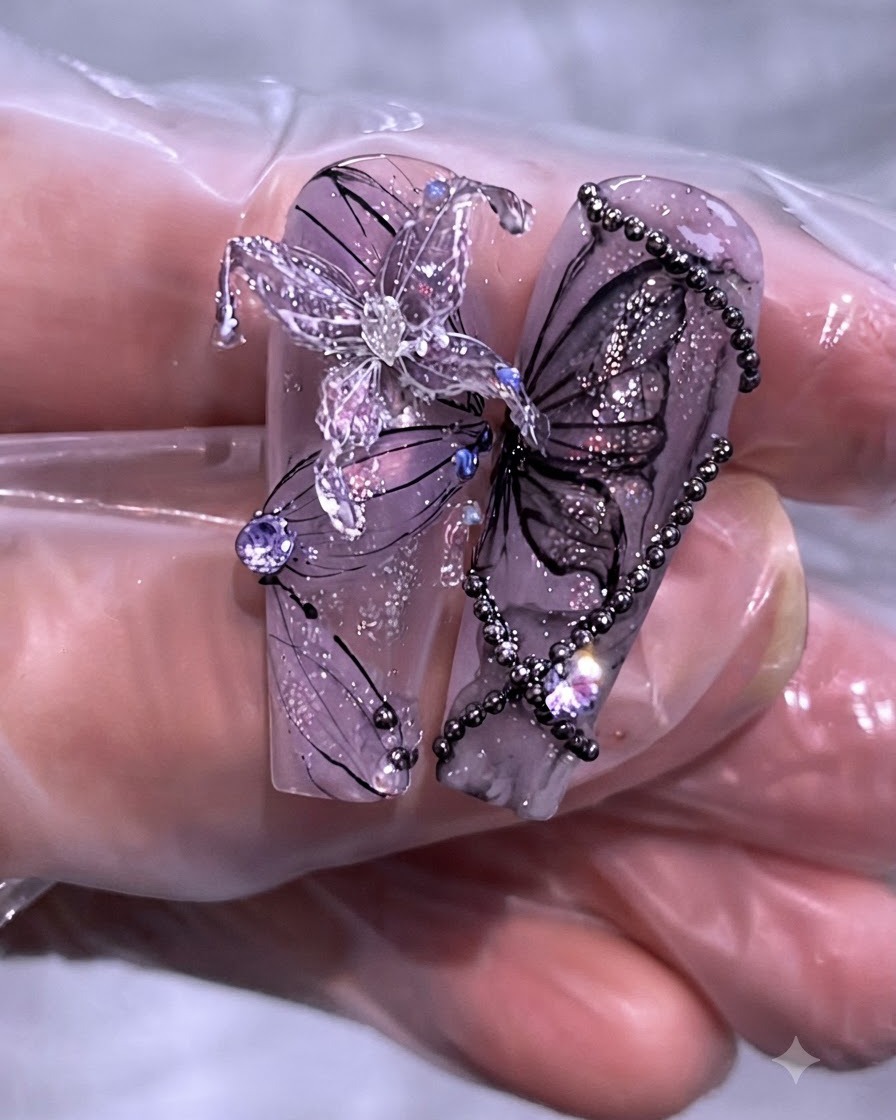
Add fine glitter specks and delicate accents onto the purple wave pattern using a fine liner brush. This adds subtle sparkle and dimension that catches the light across the translucent design.
Tip: Tap the brush lightly to scatter individual glitter specks rather than clumping them in one spot. - 16Draw fine black thread-like lines with wire gel
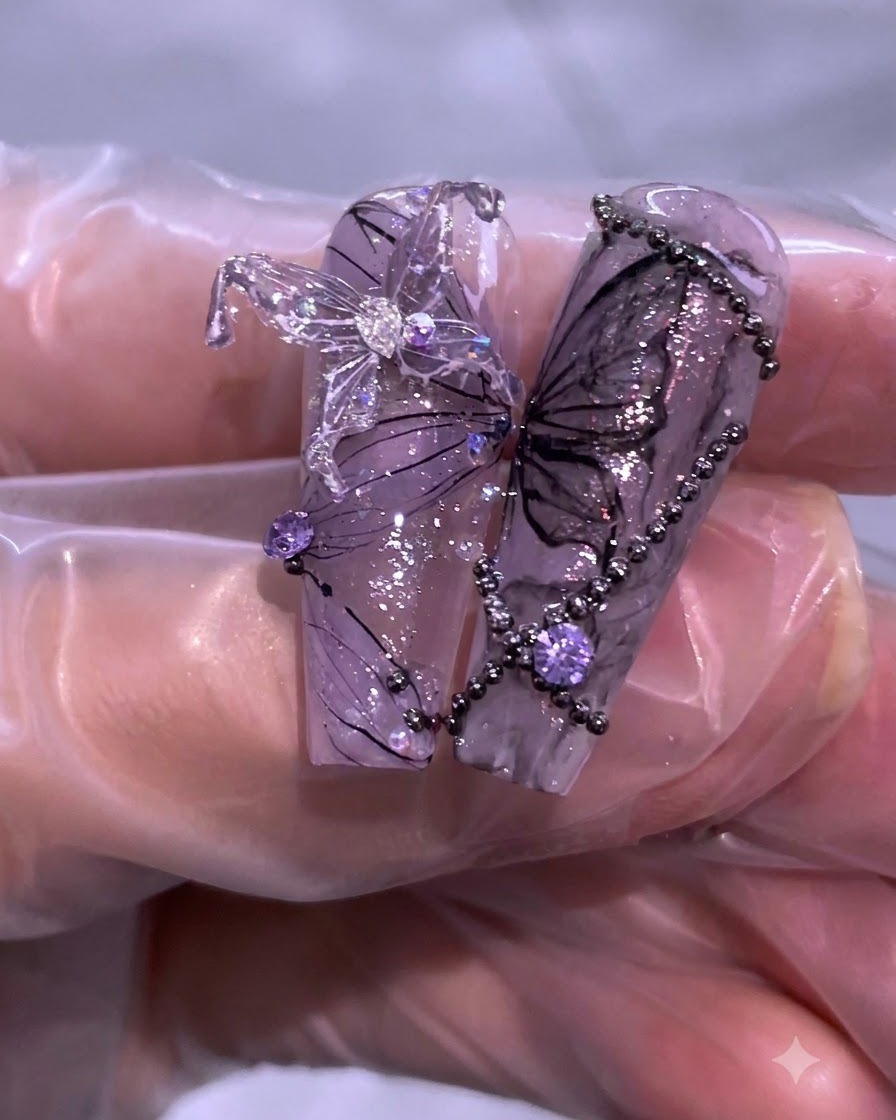
Draw fine black thread-like line patterns over the nail surface using drawing wire gel. Pull the gel carefully to create thin, web-like strands that complement the intricate butterfly and chain details.
Tip: Work quickly with drawing wire gel to avoid stringing in unwanted areas, and flash cure as needed to lock complex lines in place. - 17Create a 3D Crystal Butterfly Outline
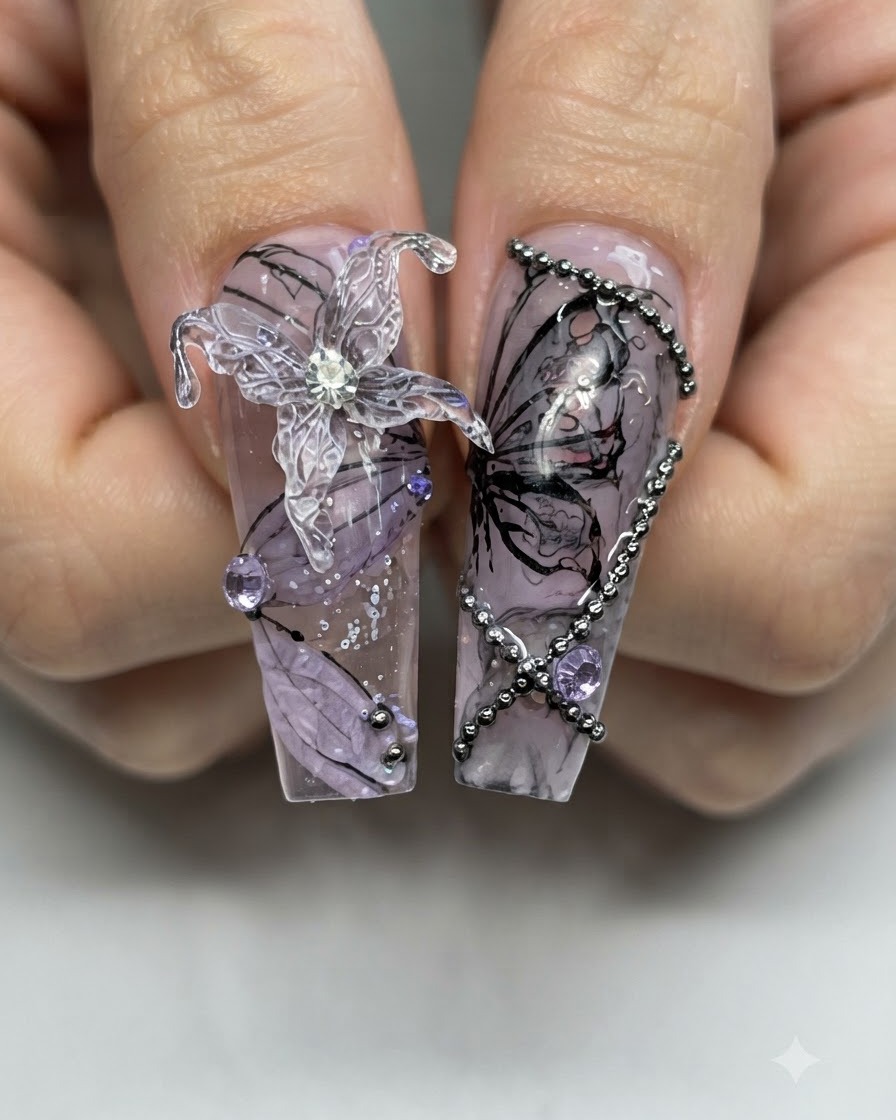
Using a fine liner brush and hard-style top coat gel, carefully paint the outline of a 3D butterfly on a non-stick release sheet. Make sure the lines have enough dimension and structure so that the butterfly holds its shape once cured.
Tip: Keep the lines consistent in thickness and use a high-viscosity hard gel to prevent spreading before curing.