Blue and Green Solid Gel Ombre and Glitter Accent Nail Tutorial
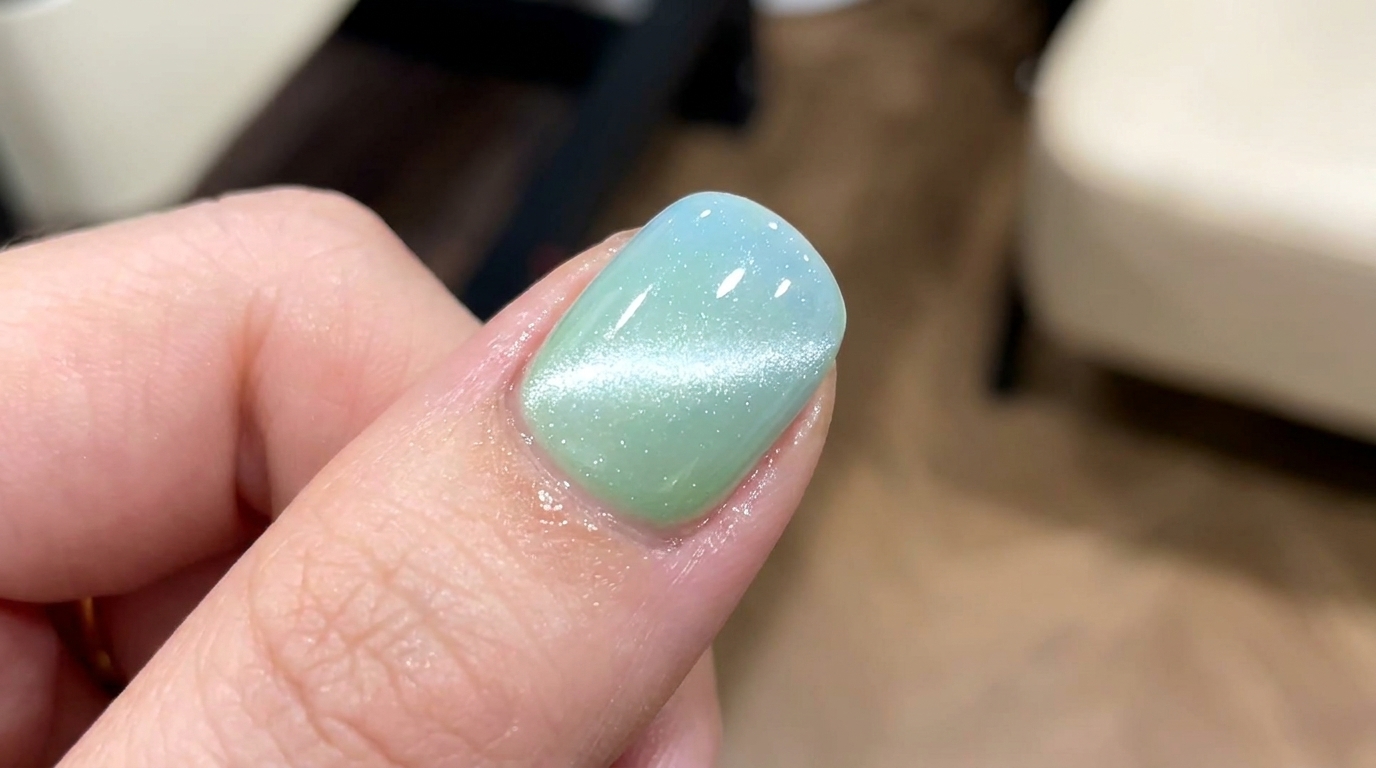
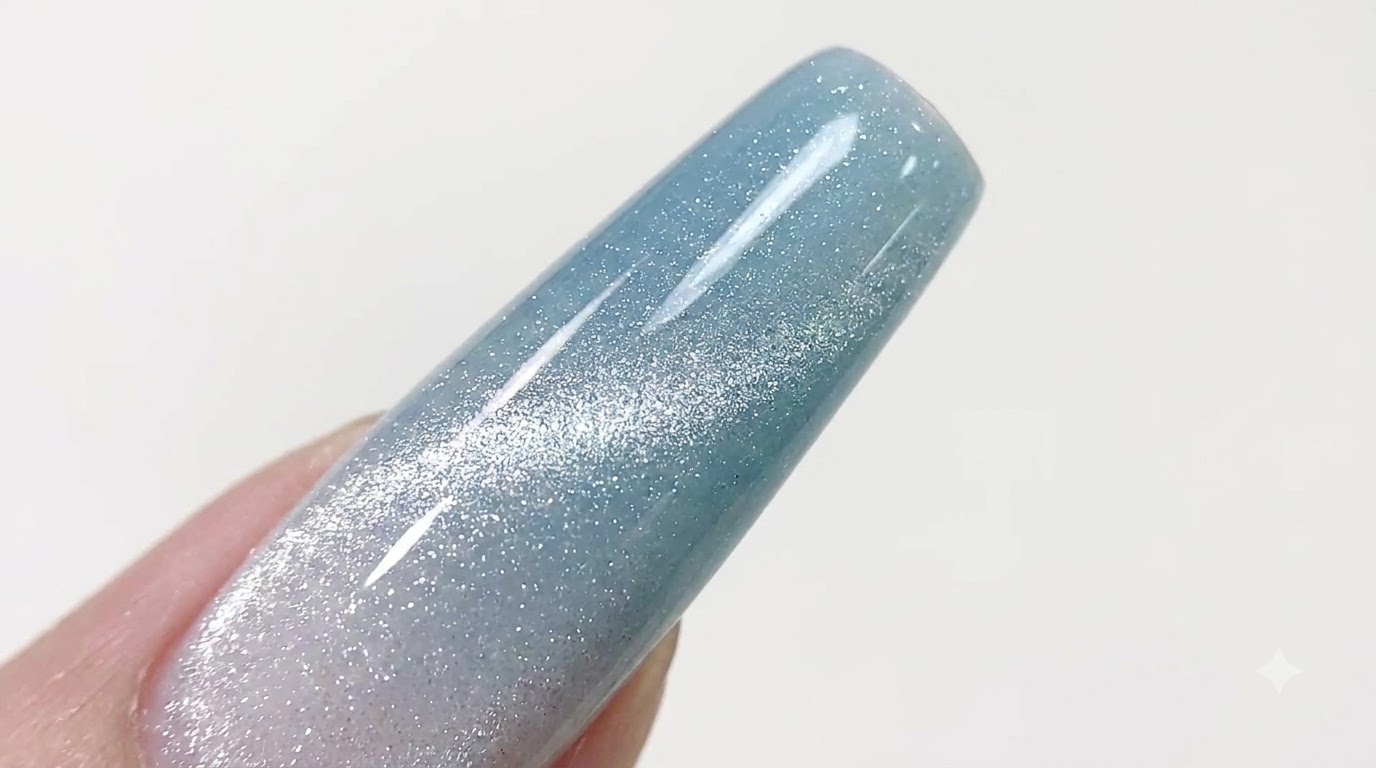
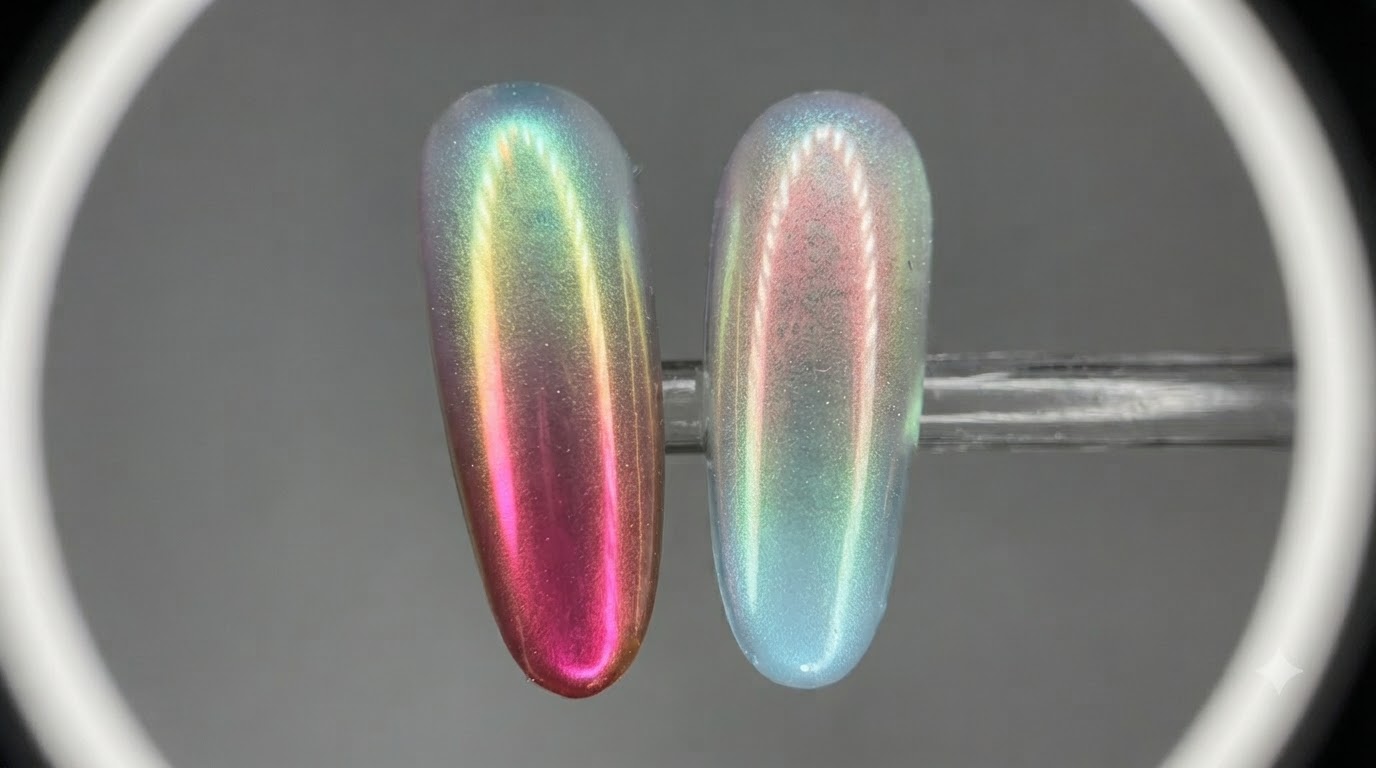
Learn how to create a stunning blue and green solid gel ombre with a sparkling glitter accent nail. This beginner-friendly tutorial uses a simple brush blending technique.
Solid gel polishes are incredibly forgiving for creating seamless ombre blends since they do not run or pool into the cuticles like traditional liquid gels. This fresh blue and green color combination paired with a high-shine holographic glitter accent nail gives a gorgeous, multidimensional look perfect for any season.
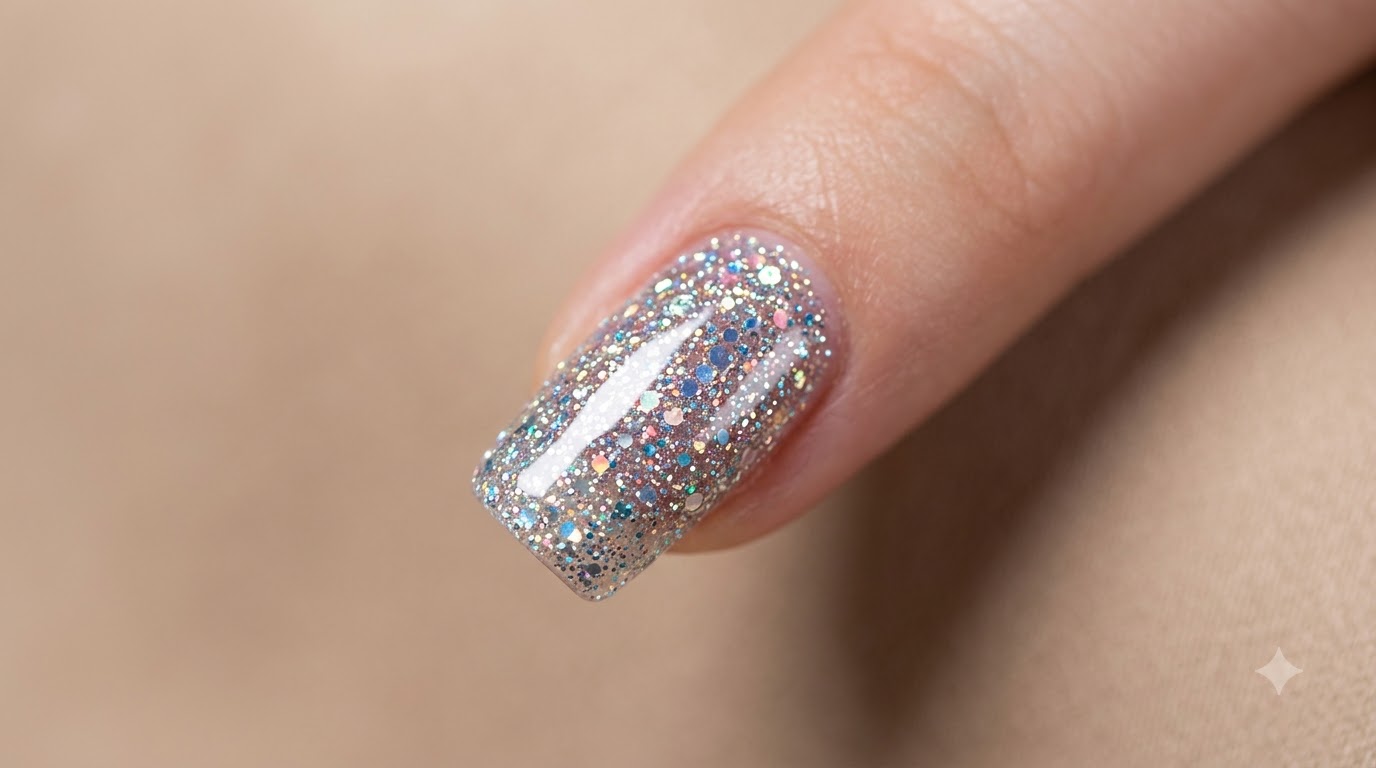
Steps
- 1Apply a layer of base coat
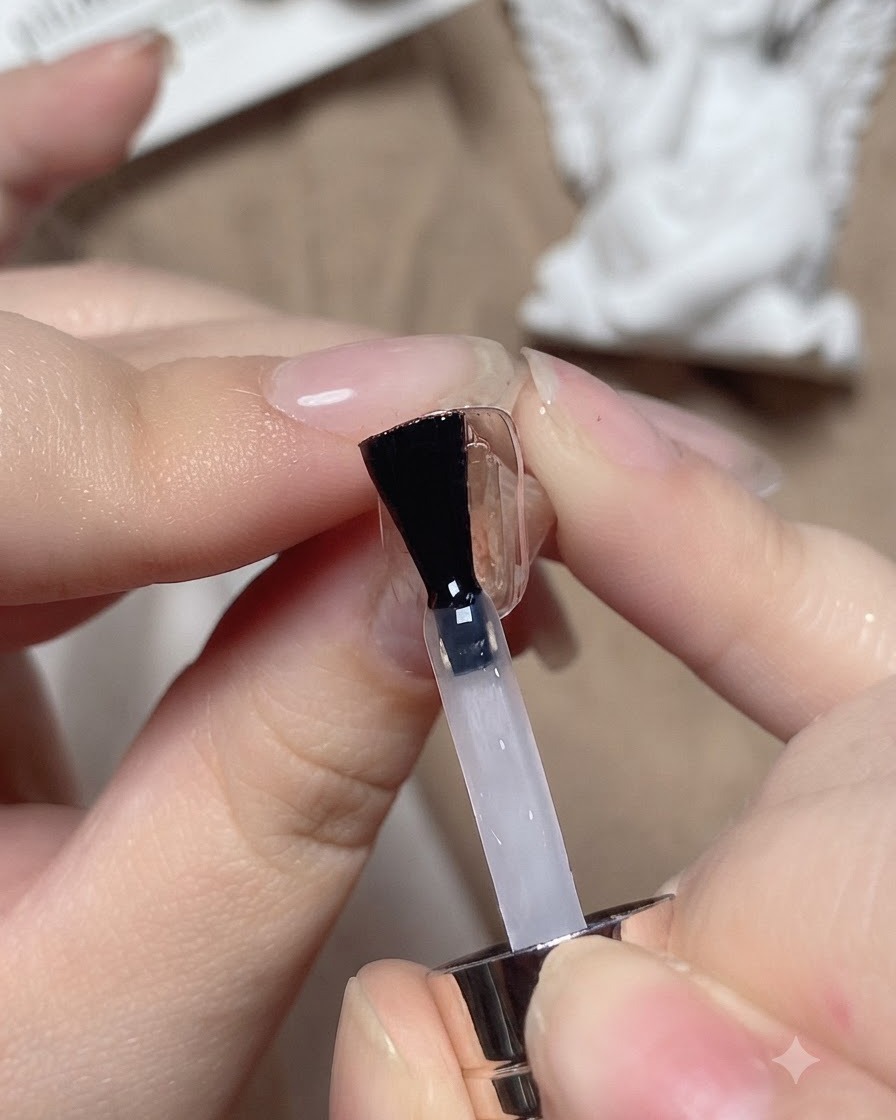
Brush a layer of base coat onto the clear practice nail plate using a nail brush, ensuring complete coverage. Make sure to prepare the surface properly so that subsequent gel layers adhere smoothly. Cure under the lamp for 60 to 120 seconds.
Tip: Apply an even, thin layer to prevent pooling around the edges. - 2Apply dual-color solid gels
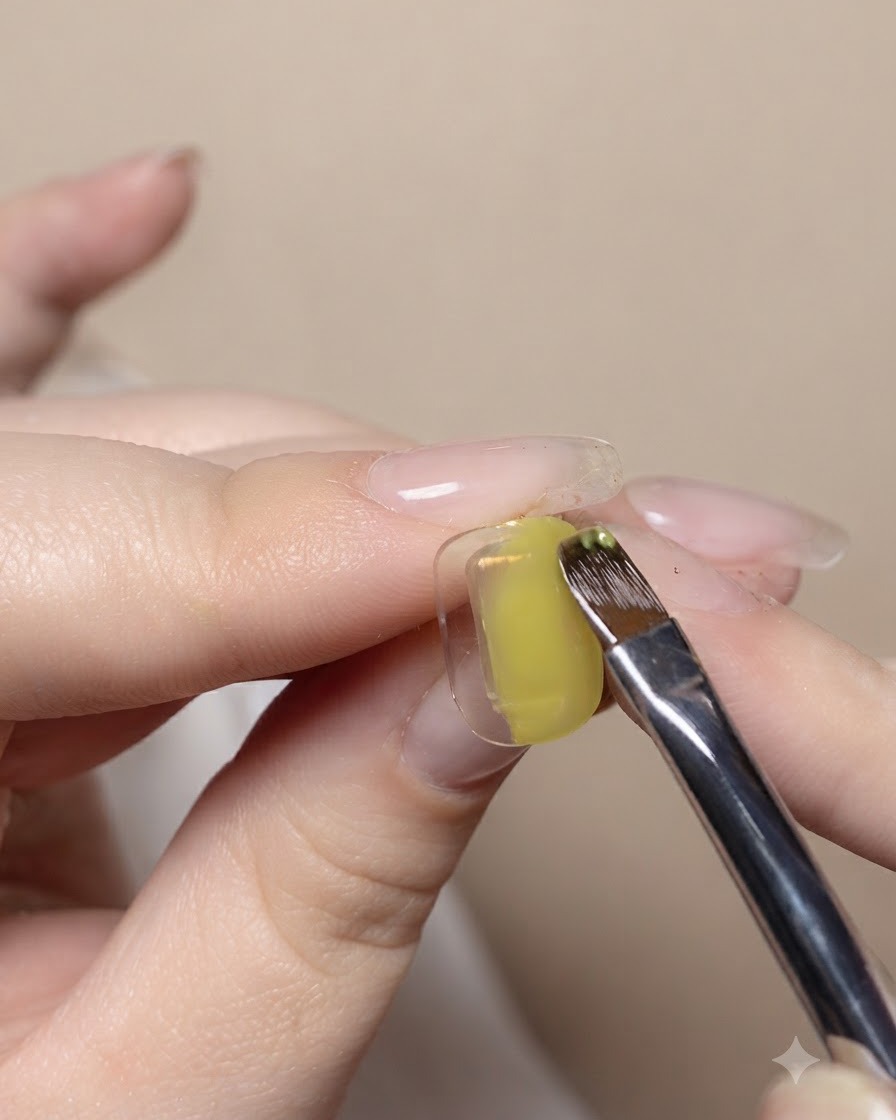
Apply After-Rain Spring Bamboo fruit green solid gel on one side of the nail plate and Ice Island denim blue solid gel on the other side, leaving it uncured. Keep the middle boundary ready for blending.
Tip: Wipe the brush clean after every step to avoid contaminating your gel colors. - 3Wipe the nail brush clean
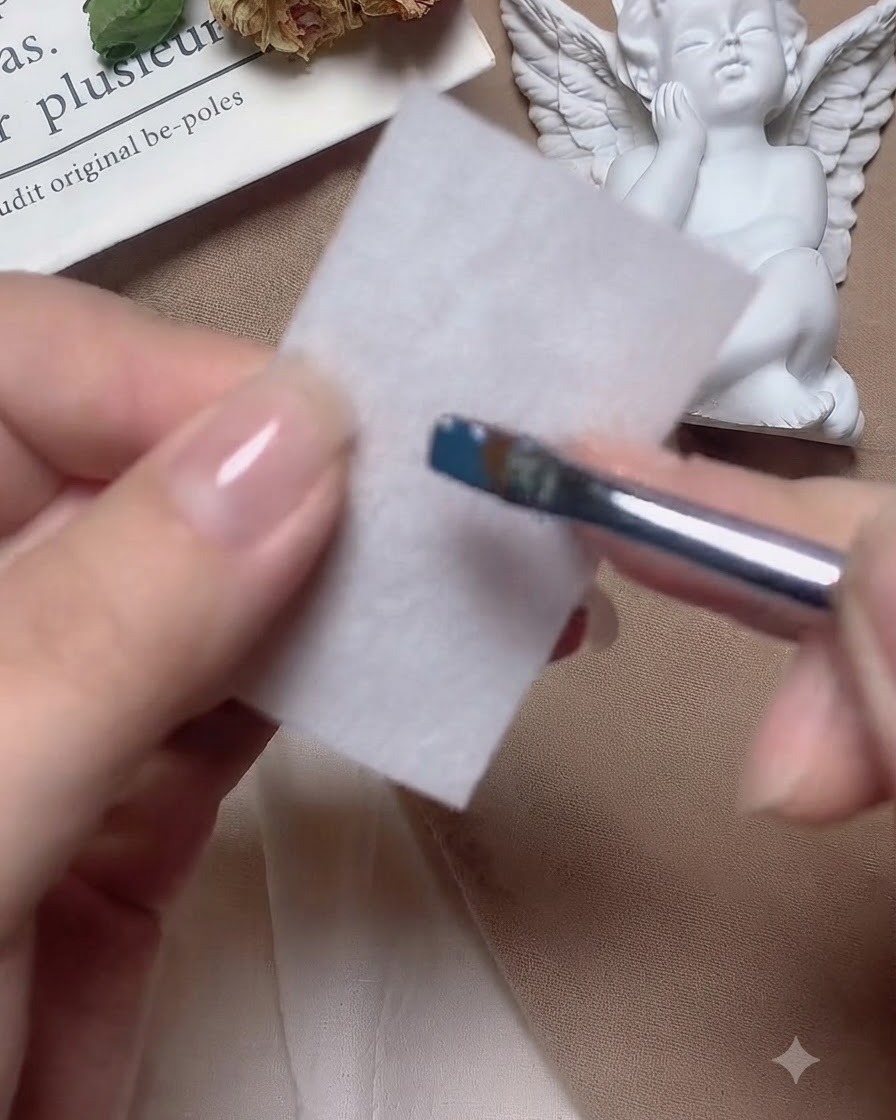
Wipe the nail brush clean thoroughly on a cleansing wipe to remove any lingering pigment or residue. This ensures your brush is pristine before moving on to the next blending and priming steps.
Tip: Always keep a cleansing wipe handy to maintain clean tools throughout your nail art process. - 4Prime and condition the brush
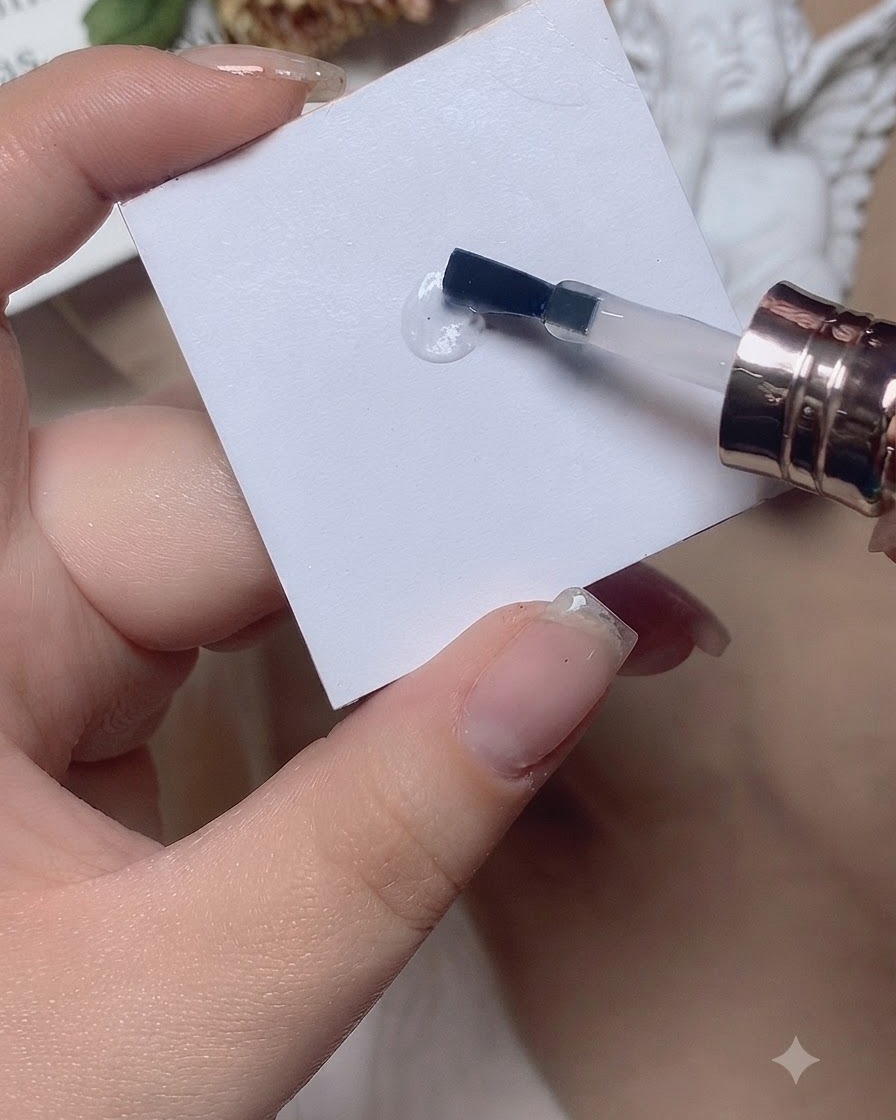
Take a small amount of base coat on a color palette, and stroke the brush back and forth to condition and prime it. This priming technique ensures smooth blending control.
Tip: Working the base coat into the bristles properly helps achieve a seamless gradient transition. - 5Blend colors horizontally
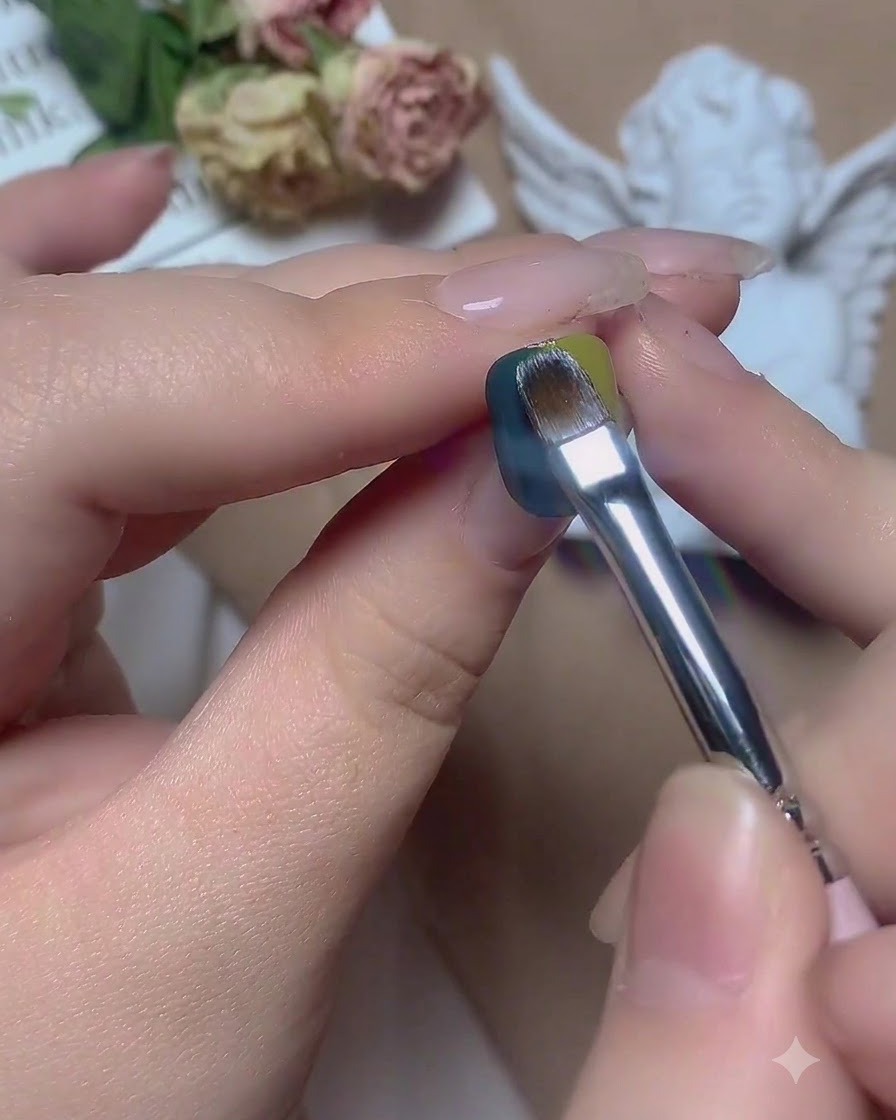
Slide the brush left and right horizontally between the green and blue gel sections to blend the colors together. This creates an initial soft fusion point between the two different solid gel shades.
Tip: Keep your hand steady and use gentle side-to-side motions to avoid muddying the colors. - 6Smooth the gradient vertically
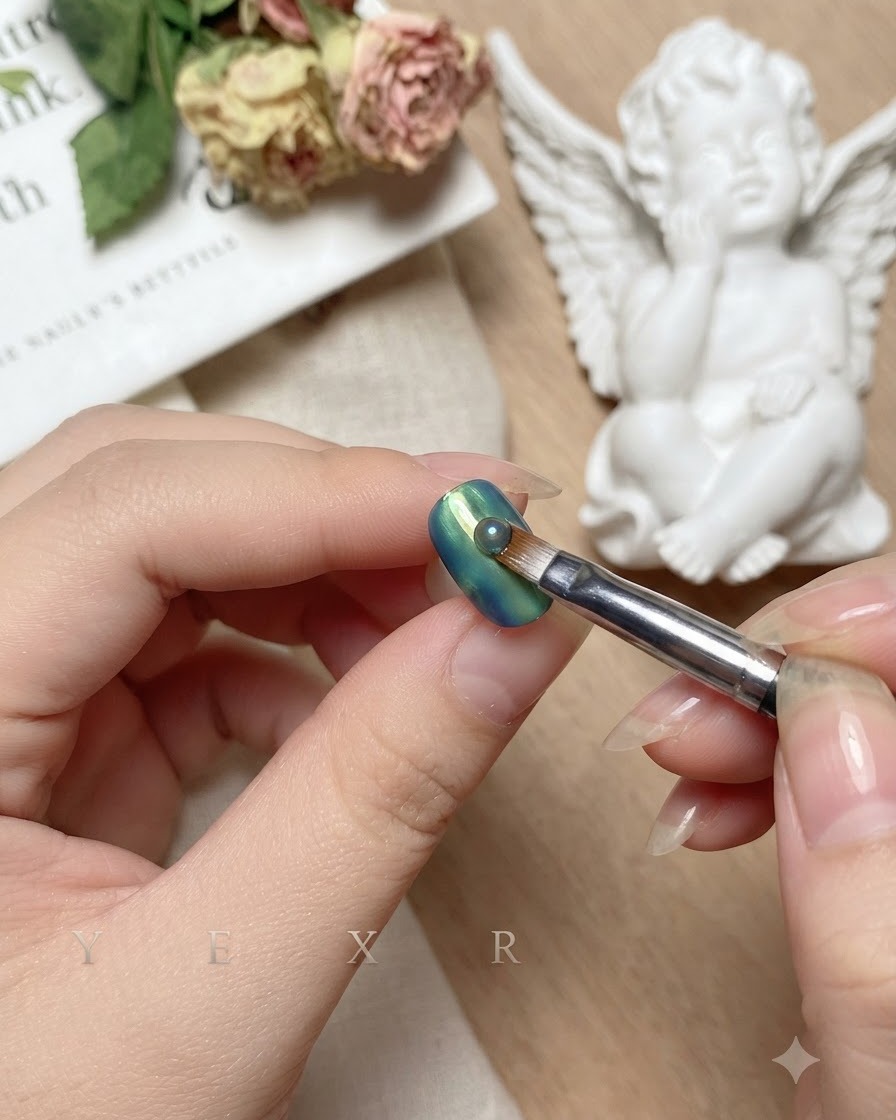
Brush vertically from top to bottom down the center of the nail, repeating the same method on both sides. This finalizes the smooth transition between the blue and green gradient.
Tip: Finish by applying a diamond top coat and curing it to lock in the dual-color gradient design. - 7Apply diamond top coat
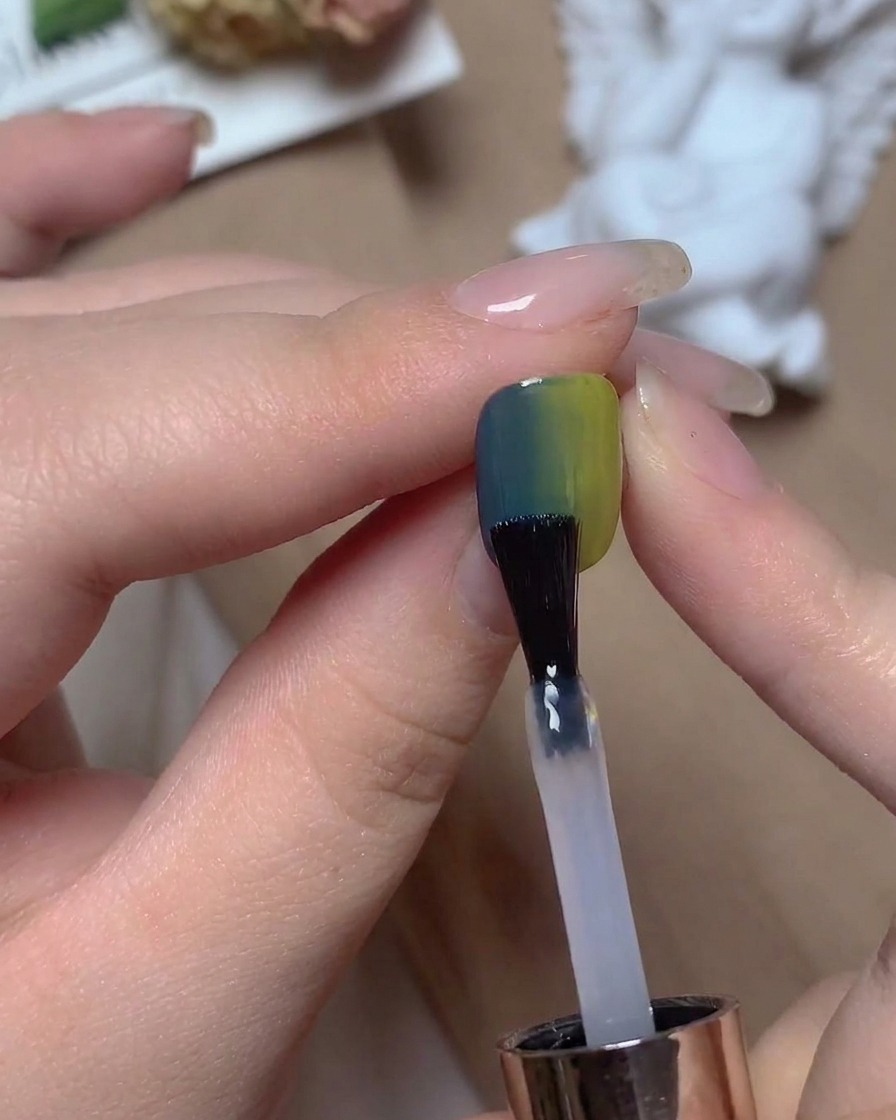
Apply a generous yet even layer of diamond top coat over the fully blended blue and green gradient design, ensuring complete coverage and sealing the edges to protect the art. Place the hand under the UV or LED lamp to cure, locking in the high-gloss shine and durability.
Tip: Cap the free edge carefully with top coat to prevent chipping and seal the gradient layers completely. - 8Apply base coat to accent nail
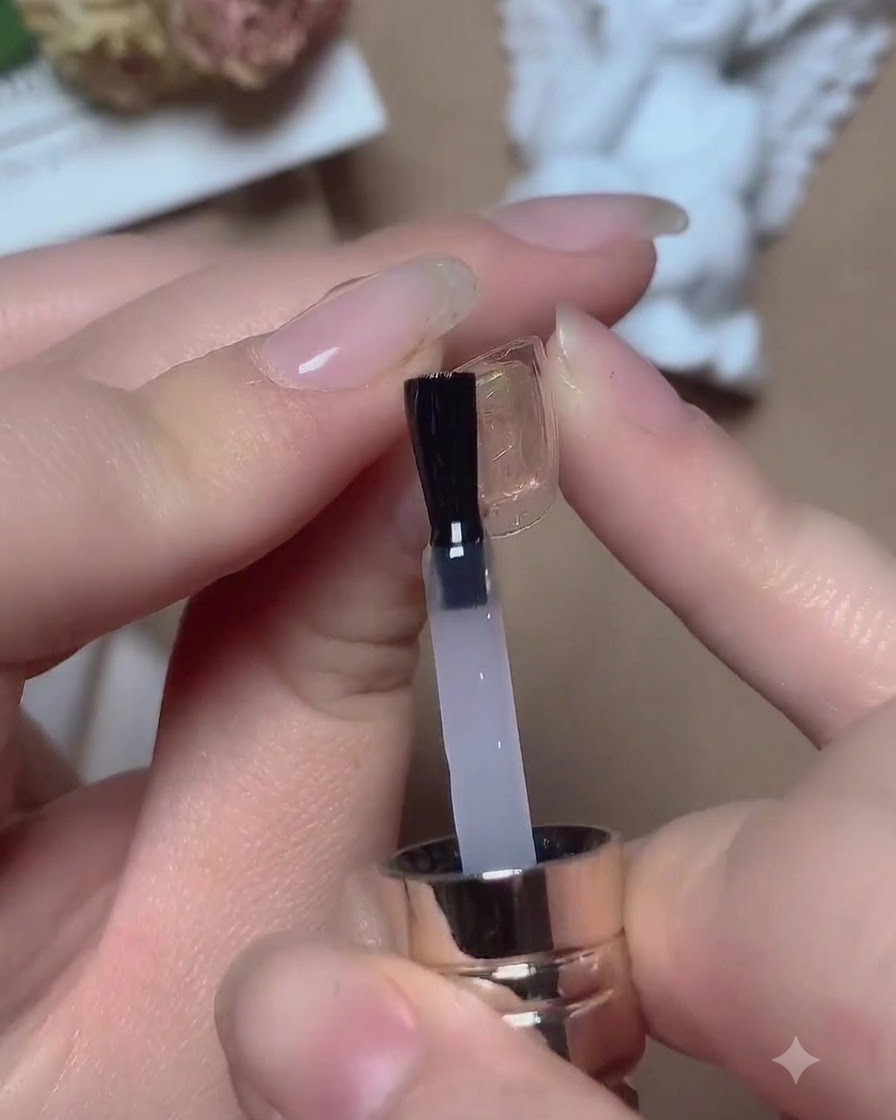
Select another prepped nail plate and apply a thin, even layer of gel base coat across the entire surface. Ensure clean edges without flooding the cuticles, then place the hand under the UV or LED lamp to cure according to product instructions.
Tip: Always apply a thin layer of base coat to ensure proper adhesion for the subsequent glitter gels. - 9Apply colorful glitter gel
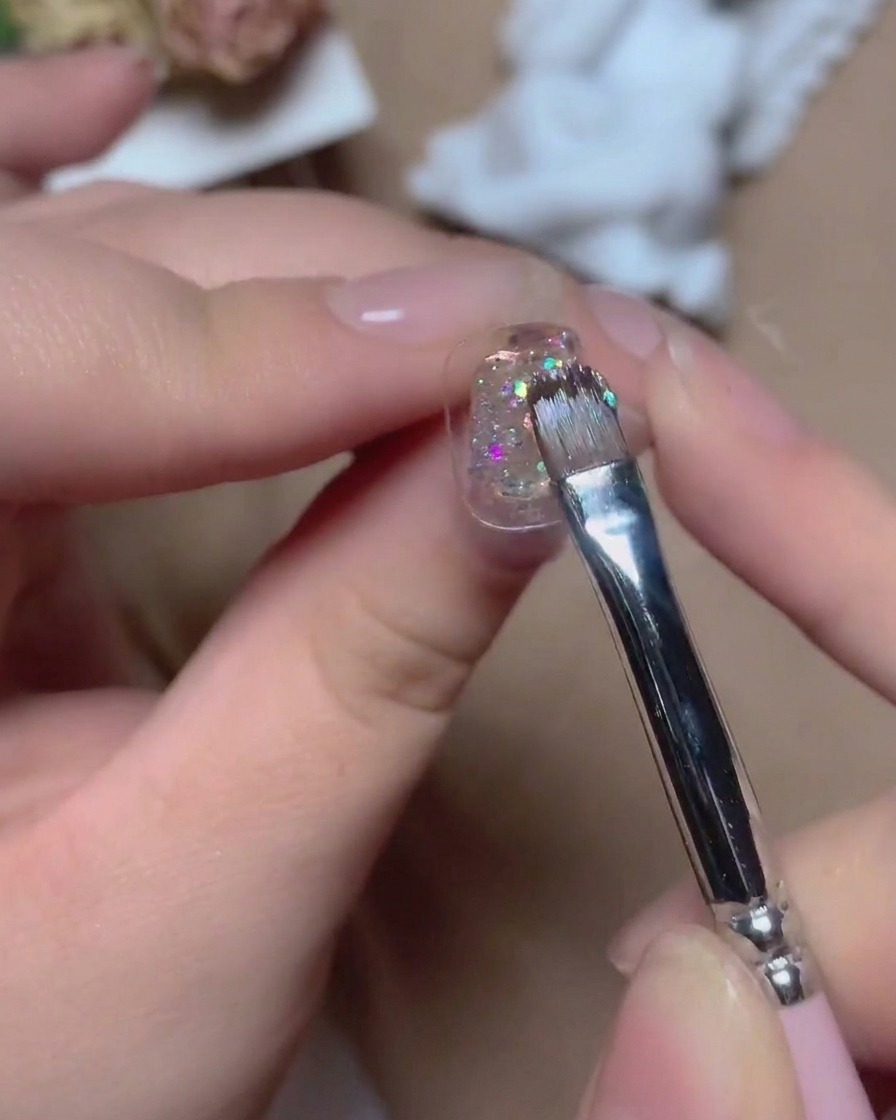
Take the colorful glitter gel from the Christmas Eve collection and apply an even layer across the prepped nail surface. If the initial application is sheer or uneven, apply a second coat to achieve full coverage opacity and a rich distribution of sparkles.
Tip: Stipple or dab the glitter gel gently to distribute the holographic flakes evenly across the nail. - 10Apply leveling top coat
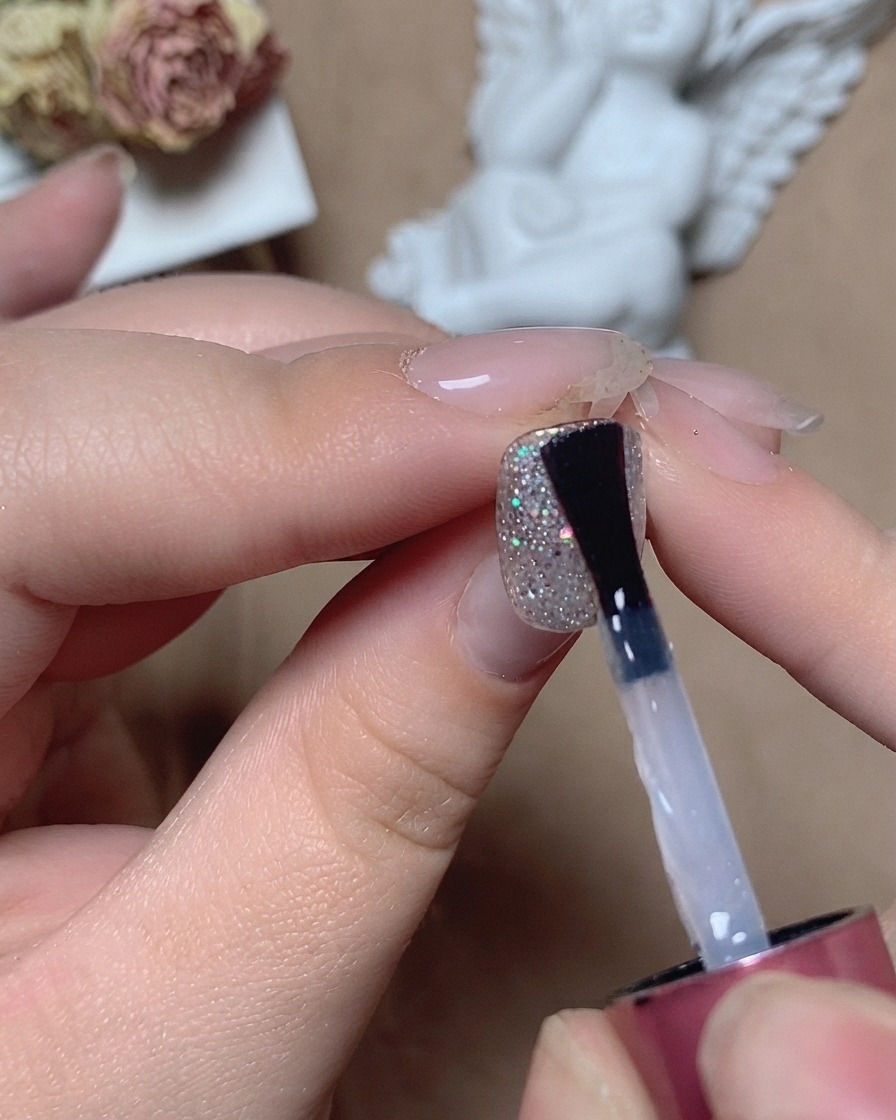
Apply a layer of leveling top coat over the textured glitter surface to fill in any uneven spots, create a smooth and even nail apex, and provide a brilliant protective finish. Cure thoroughly under the lamp to complete the manicure.
Tip: Leveling top coats help smooth out textured glitters instantly, giving a glass-like finish without bulk.