Fresh Blue-Green Gradient Aurora Cat-Eye Nails — Step-by-Step Tutorial
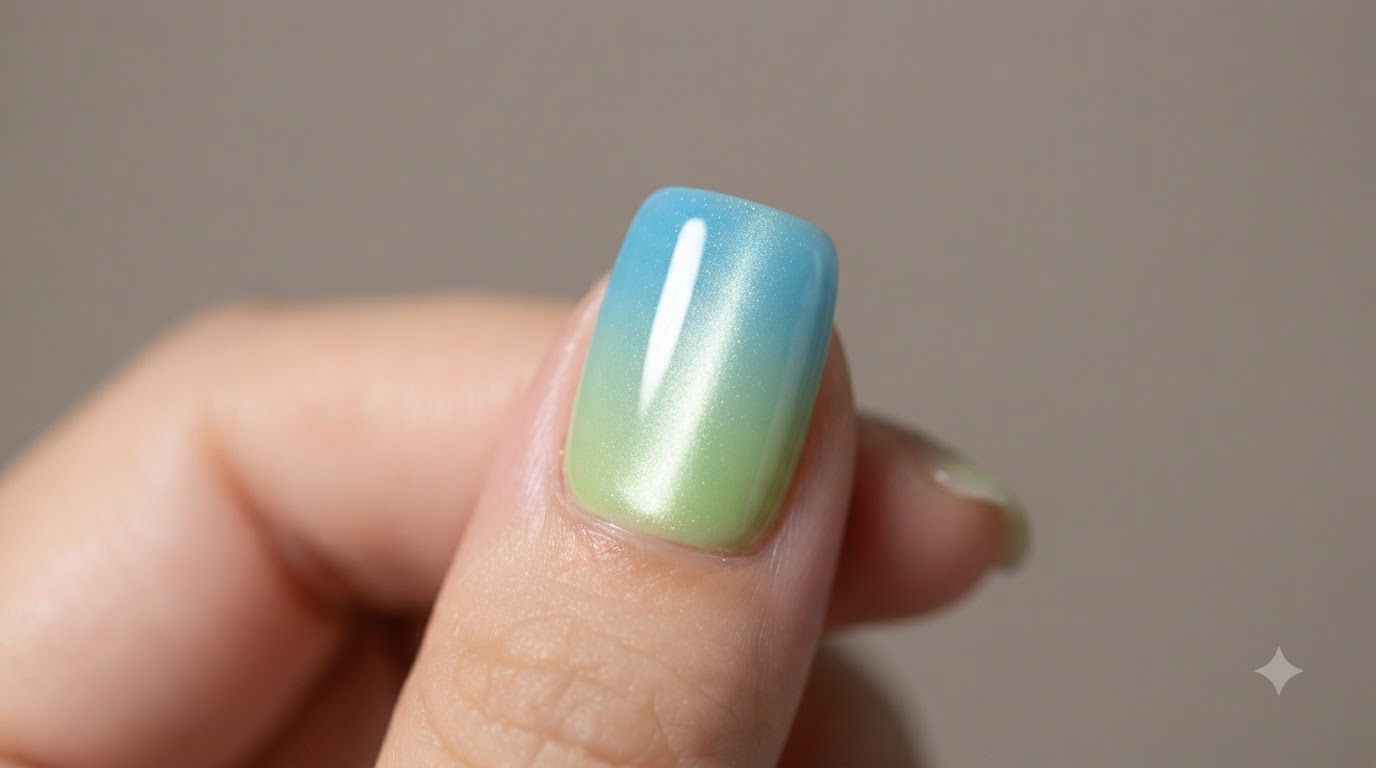
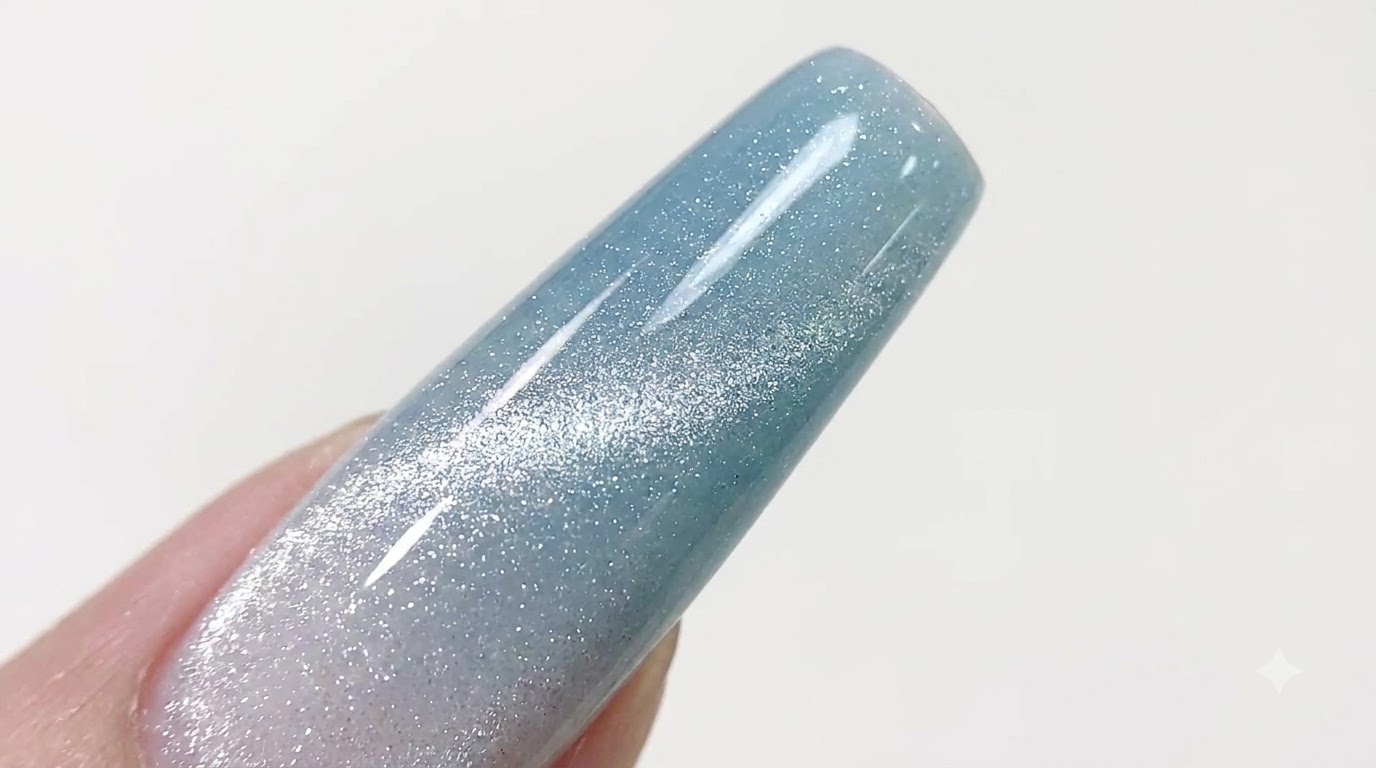
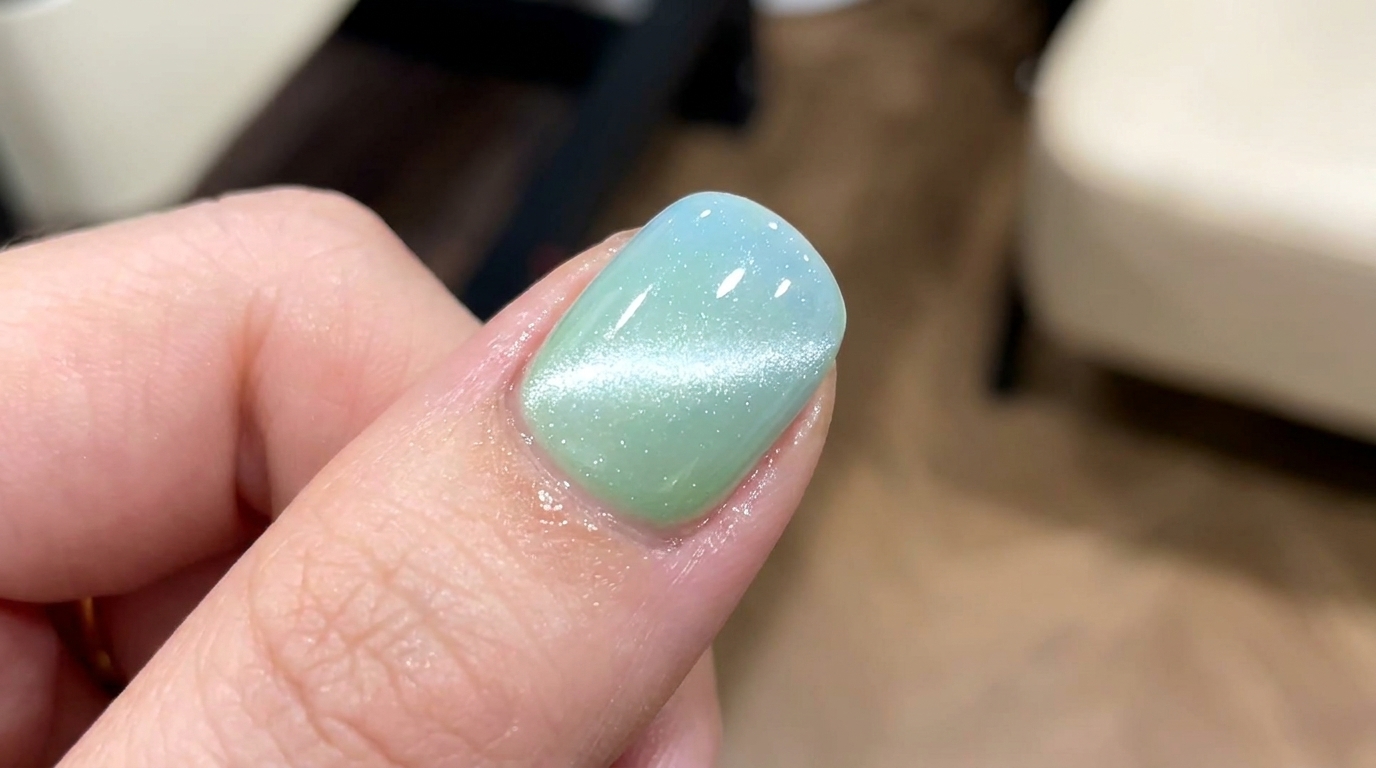
Master a dreamy blue-to-green pastel gradient topped with a luminous white cat-eye shimmer. This seamless aurora-inspired look requires a sponge and a magnet.
Capture the magic of the aurora borealis right at your fingertips with this fresh blue-green gradient design. The combination of a soft pastel ombre and a glowing magnetic cat-eye overlay creates a mesmerizing, glass-like finish that stirs the heart. It is the perfect look for making a subtle yet unforgettable statement, whether you are dressing up for a winter evening out or simply relaxing at home.
Steps
- 1Apply Mint Green Gel
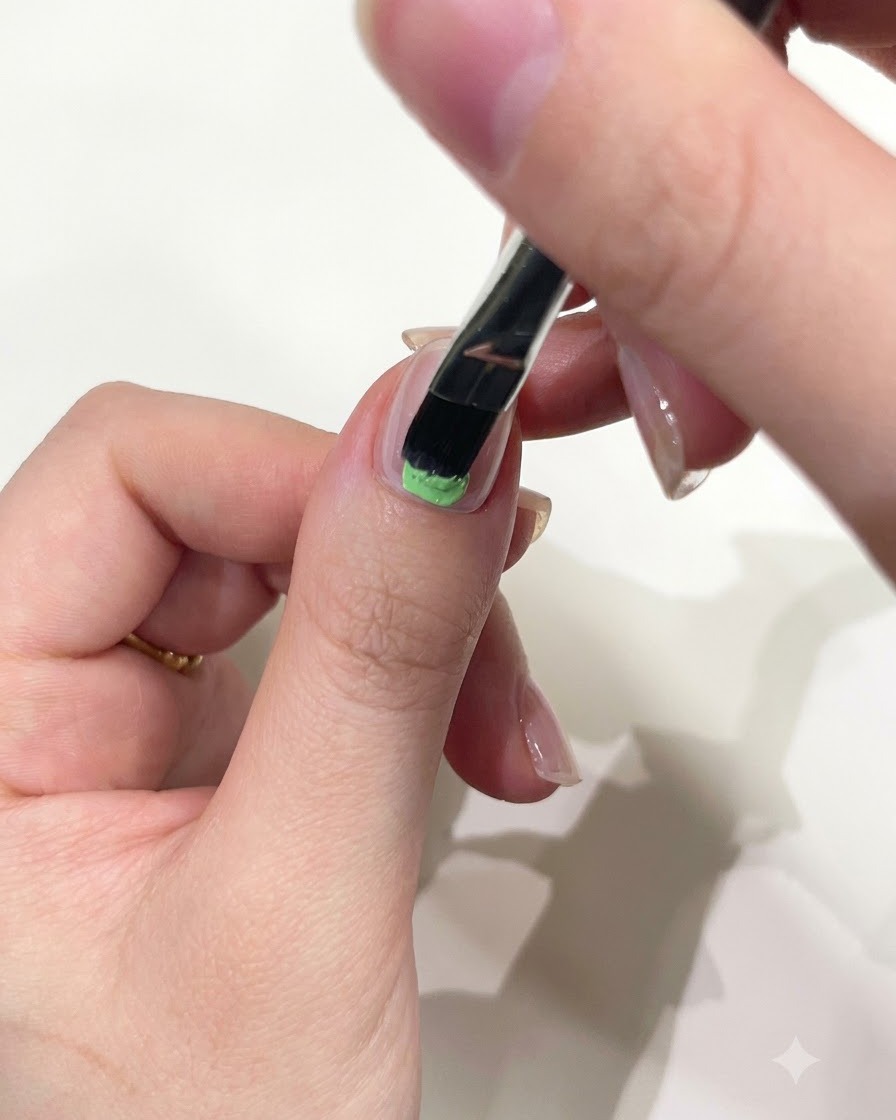
Using a flat gel brush, carefully apply the mint green solid gel to the cuticle area of the thumb. Ensure a smooth and even application, keeping the product focused on the bottom half of the nail while leaving a tiny margin near the skin.
Tip: Solid gels provide excellent control and do not self-level as quickly as traditional gels, making it easier to position the color exactly where you want it. - 2Diffuse the Green Gel
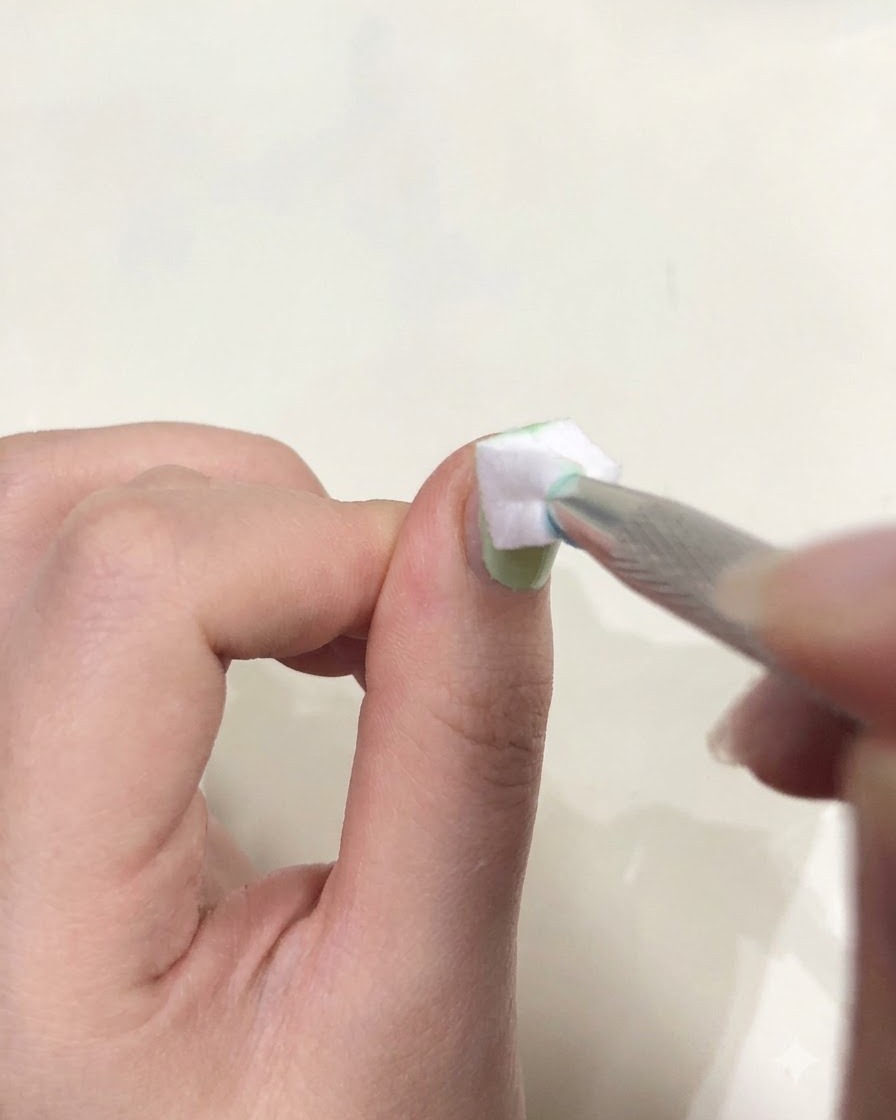
Using a pair of tweezers to hold a small white sponge square, gently dab the applied green gel to diffuse and blend it upwards toward the middle of the nail. This technique creates a soft, seamless gradient effect without harsh lines.
Tip: Use a light tapping motion rather than pressing down hard to keep the sponge texture from leaving marks in the gel. - 3Cure the Green Gel
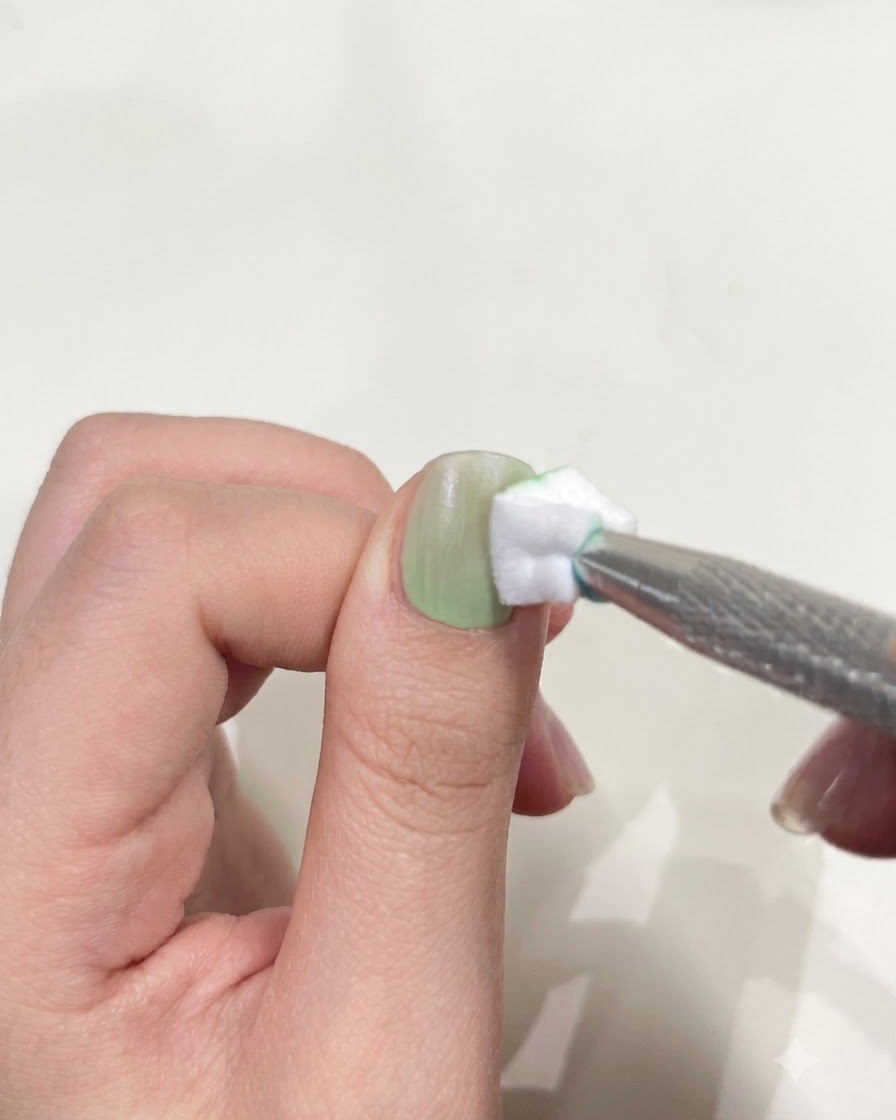
Place your thumb under a mini handheld UV/LED light to cure the newly diffused green gel layer. Holding a portable lamp close allows you to quickly set the gradient in place before it has a chance to shift or run.
Tip: Keep your finger steady directly under the light source to ensure even curing across the entire gradient area. - 4Apply Pastel Blue Gel
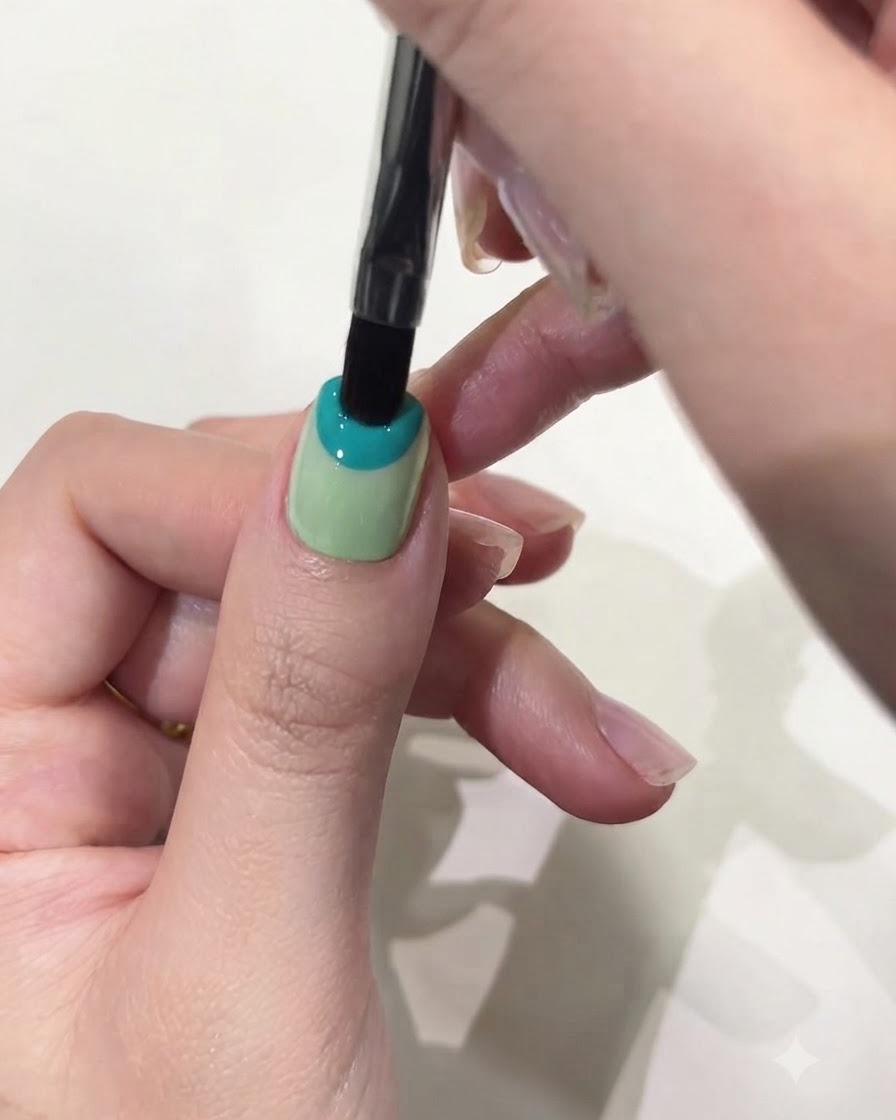
With a clean flat gel brush, apply the pastel blue solid gel to the free edge and tip half of the nail. Leave a slight gap between the blue gel and the previously diffused green gel to prepare for the blending process.
Tip: Always wipe your gel brush completely clean before picking up a new color to prevent muddying the shades before you are ready to blend. - 5Blend the Gradient
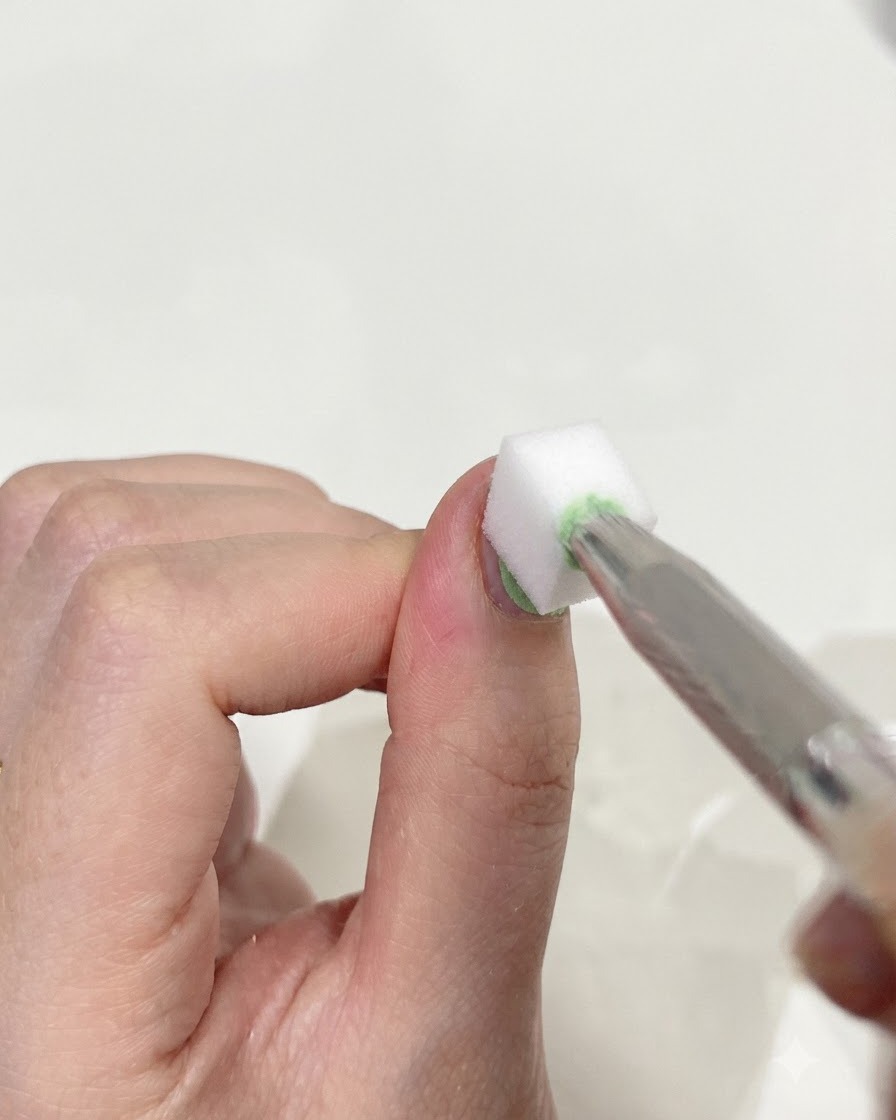
Take a fresh white sponge square using your tweezers and gently dab at the pastel blue gel. Work the sponge downwards with light tapping motions to diffuse the blue into the green, creating a soft, seamless ombre transition.
Tip: Use a very light, rapid tapping motion rather than dragging or pressing hard. This diffuses the pigment evenly without lifting the gel off the nail. - 6Cure the Gradient
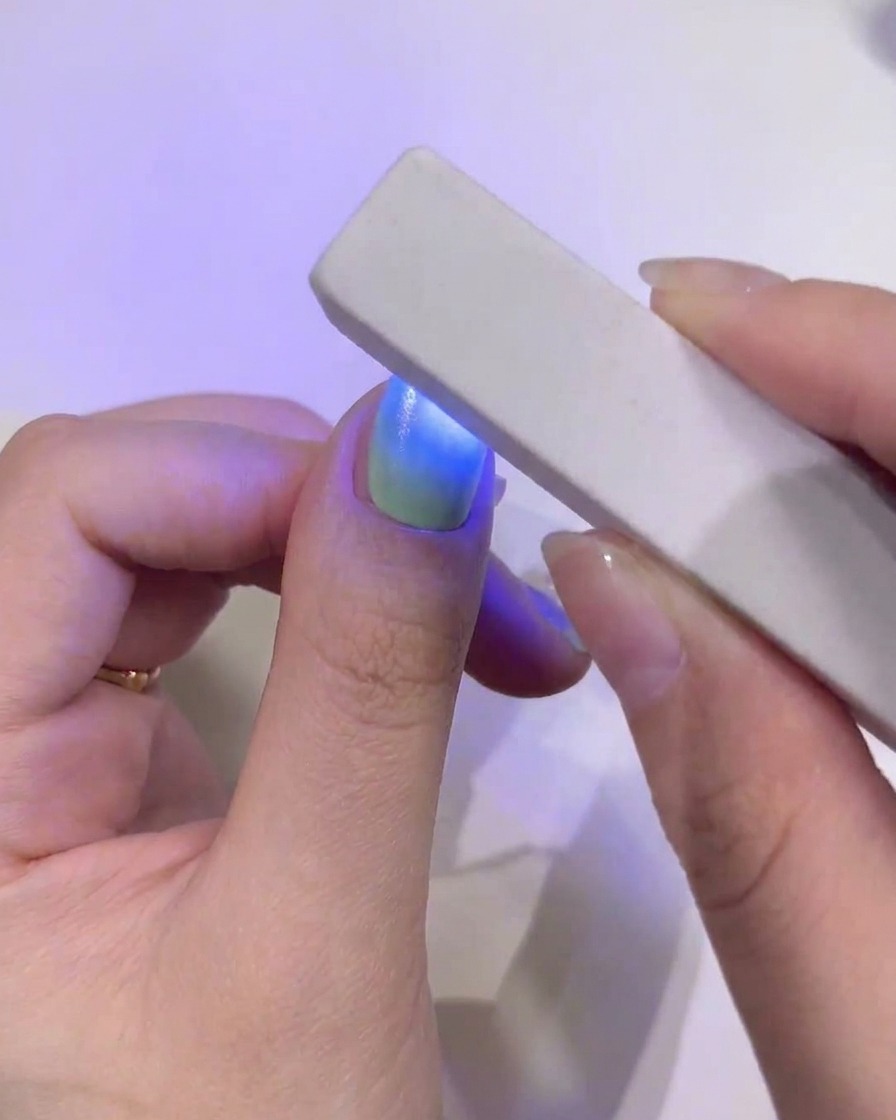
Once you have achieved the perfect seamless blend between the blue and green gels, place your thumb under a mini handheld UV/LED lamp. Cure the nail completely to lock the gradient design in place.
Tip: A mini handheld lamp is great for flash curing nail art quickly, preventing the gel from shifting or self-leveling out of place. - 7Apply Clear Builder Gel
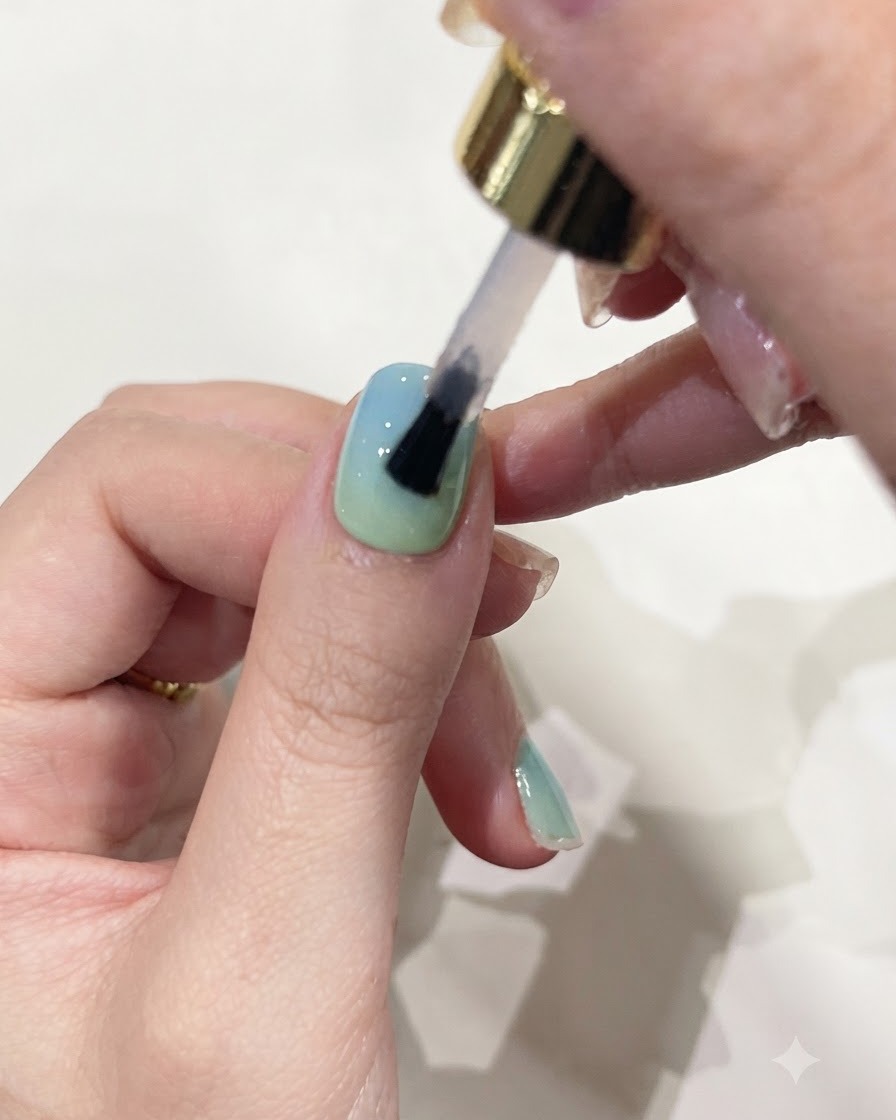
Brush a thin layer of clear reinforcement builder gel over the entire nail to encapsulate the gradient artwork and level out the nail surface. This adds strength and creates a smooth, glass-like foundation for subsequent layers.
Tip: Float the builder gel brush gently across the surface rather than pressing down to maintain an even, self-leveling thickness. - 8Apply White Cat-Eye Gel
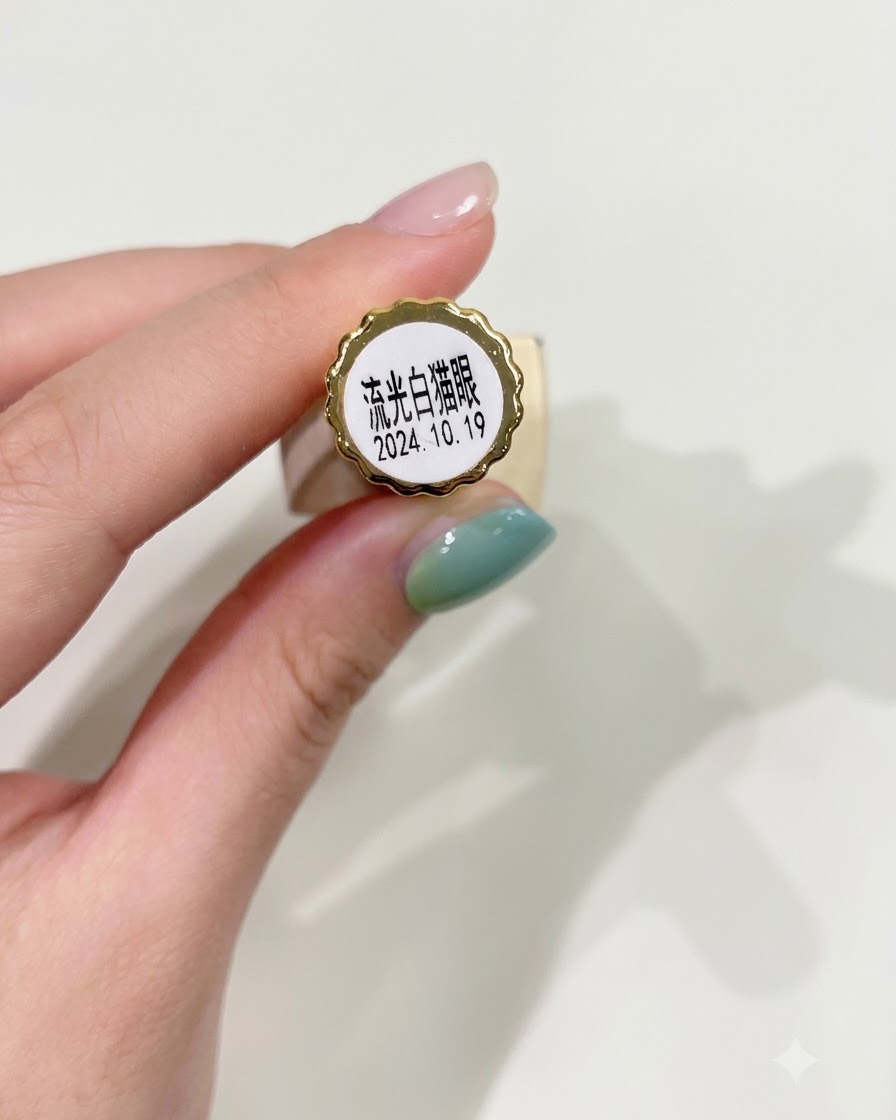
Apply an even, smooth coat of translucent flowing white cat-eye gel polish over the entire surface of each nail, making sure to cover the edges neatly without flooding the cuticles. This translucent layer serves as the luminous base that will interact with the magnetic particles in the next step.
Tip: Keep the coat uniform to ensure the cat-eye magnetic effect distributes evenly across the nail surface. - 9Magnetize the Cat-Eye Effect
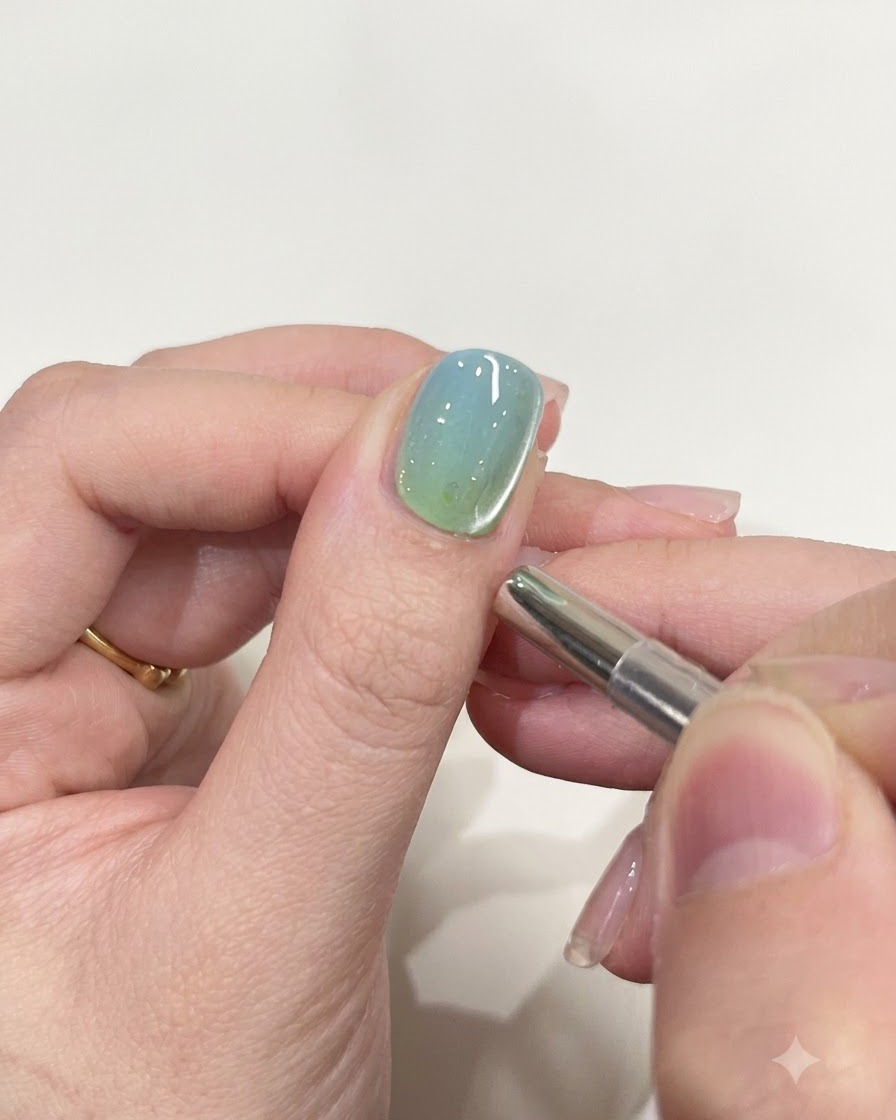
Hover a cylindrical magnetic tool closely around the tip and side edges of the nail to push the magnetic particles into place. This action creates a concentrated, glowing aurora-like band of light suspended within the translucent polish.
Tip: Hold the magnet steady for a few seconds without touching the wet gel surface to lock the magnetic particles into their sharp glowing pattern.