Ice Blue Gradient
Silver Cat Eye Nail Art — Step-by-Step Tutorial
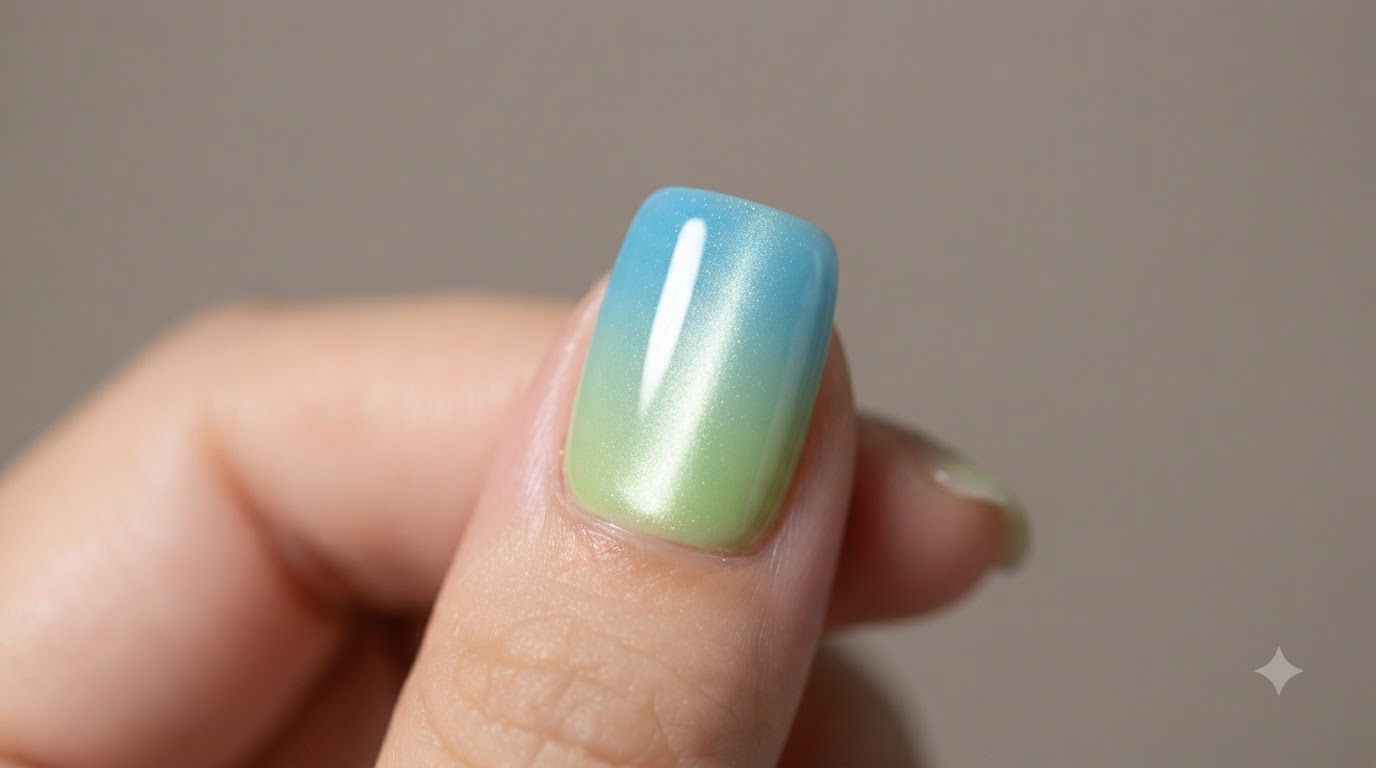
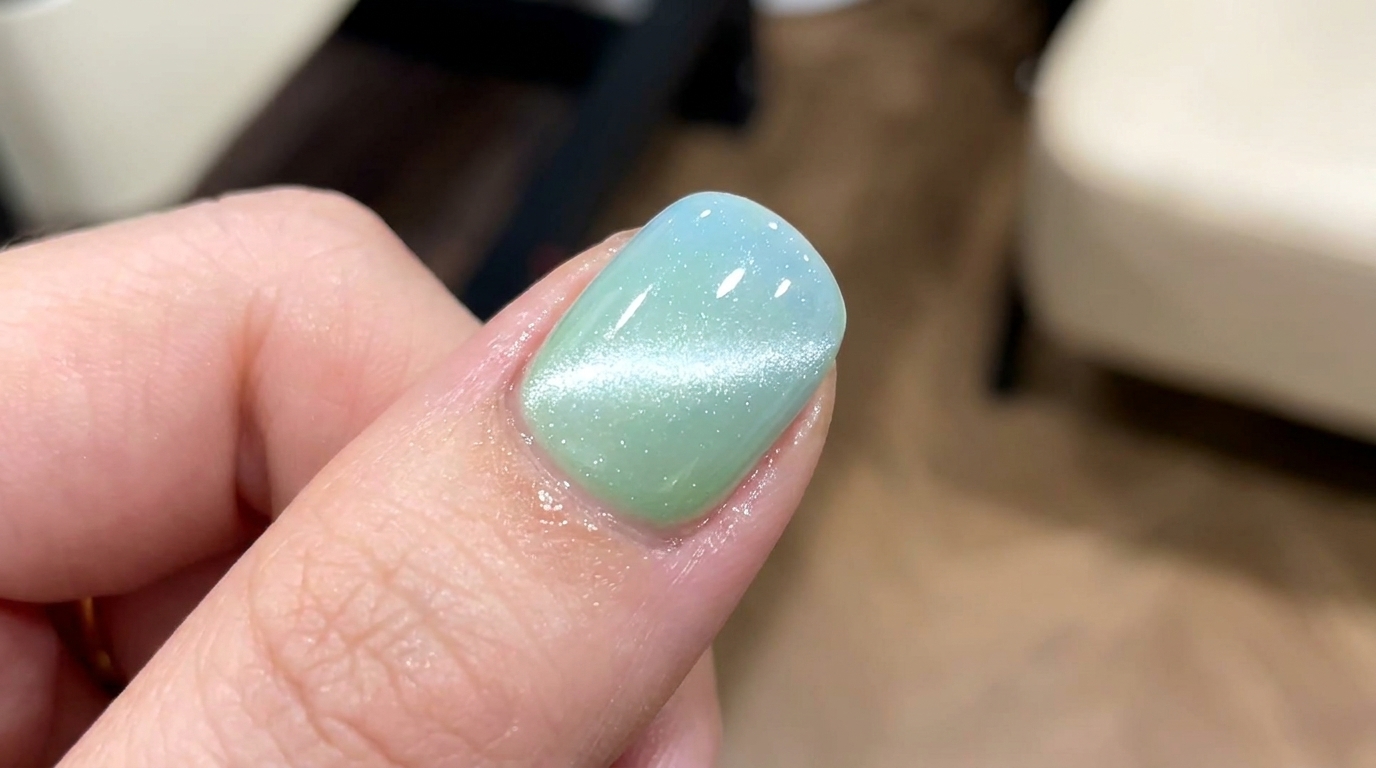
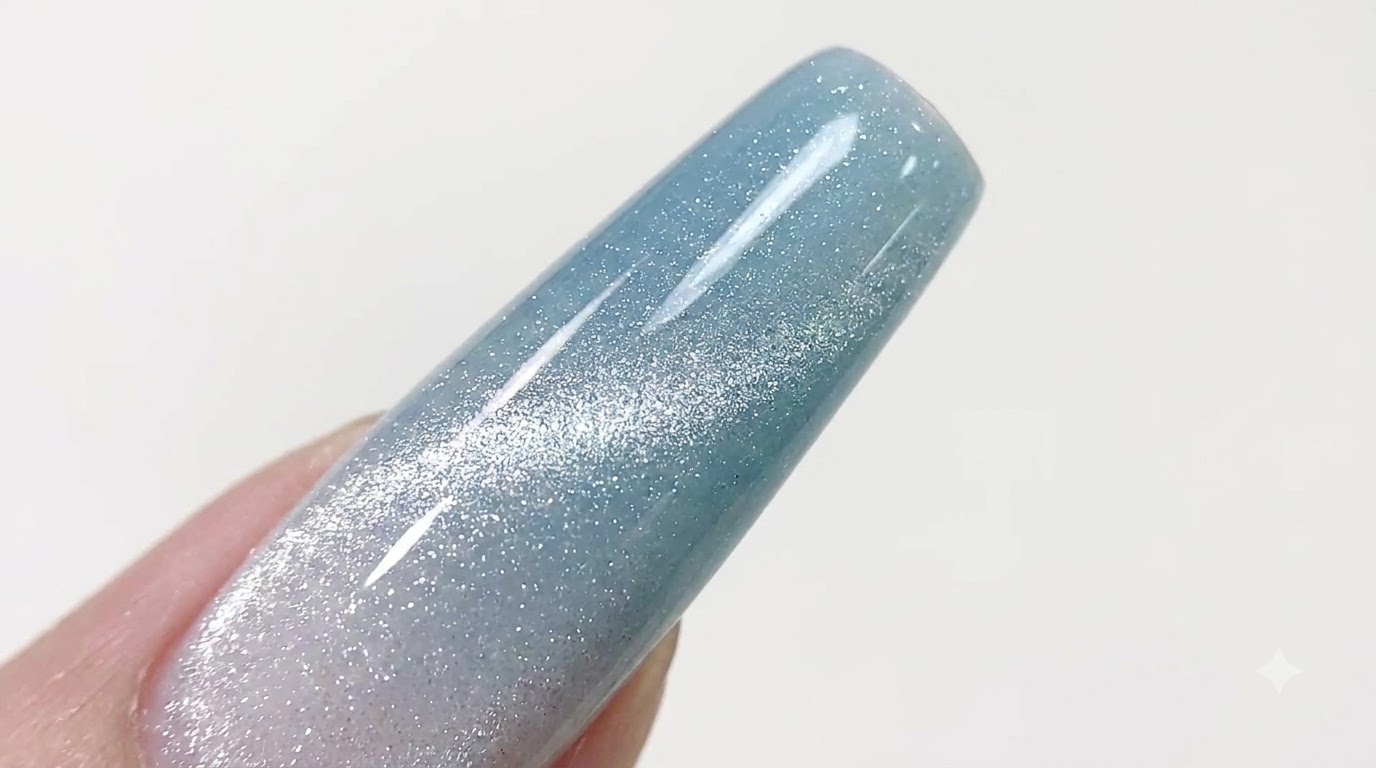
Create a breathtaking winter-inspired look with an ice blue gradient base and shimmering silver magnetic cat eye effect on long coffin nails.
Ice blue manicures combined with magnetic cat eye finishes bring an ethereal, frosty elegance to your fingertips. This tutorial guides you through blending a seamless gradient and manipulating metallic particles for a multi-dimensional glowing stripe.
Steps
- 1Apply gradient color using a sponge dabber
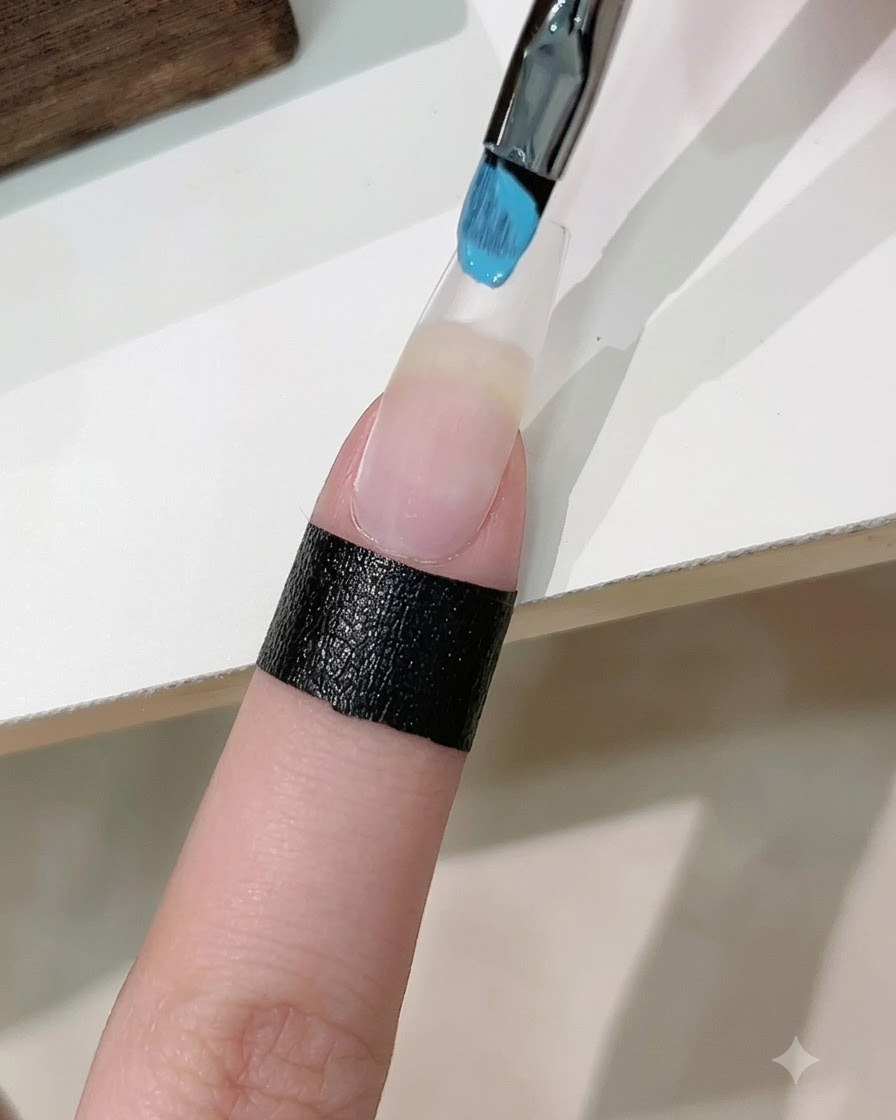
Apply blue and white gel polish onto a sponge dabber, then gently dab the colors onto the nail plate to create a smooth, blended gradient effect. Build up the coverage gradually with light dabbing motions until the desired opacity and color transition are achieved.
Tip: Use a gentle dabbing motion to avoid harsh lines and ensure a seamless blend between the blue and white shades. - 2Wipe and smooth the gradient layer
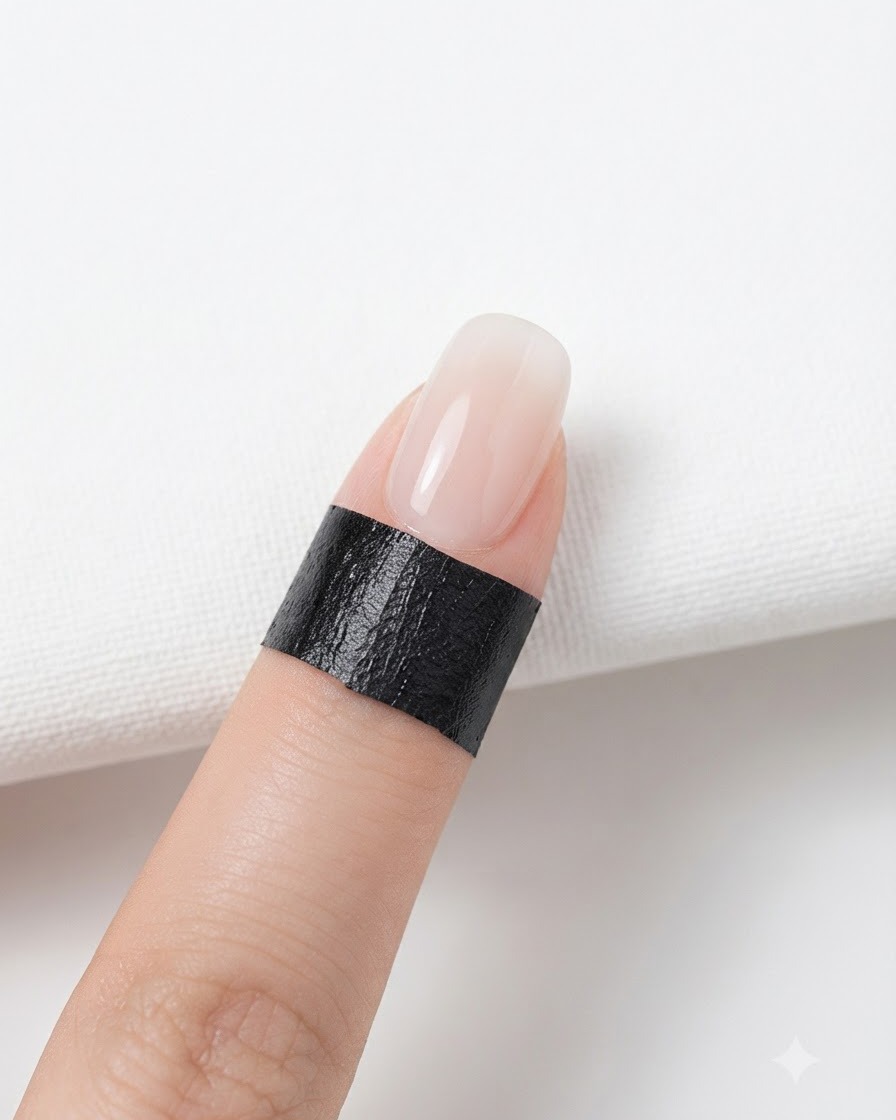
Gently wipe the surface of the nail with a cleansing wipe to smooth out any texture irregularities or excess residue from the gradient layer. This ensures an even foundation before moving on to the next protective gel coat.
Tip: Use a lint-free cleansing wipe and apply light pressure to avoid disturbing the underlying gradient color transition. - 3Apply clear reinforcing gel coat
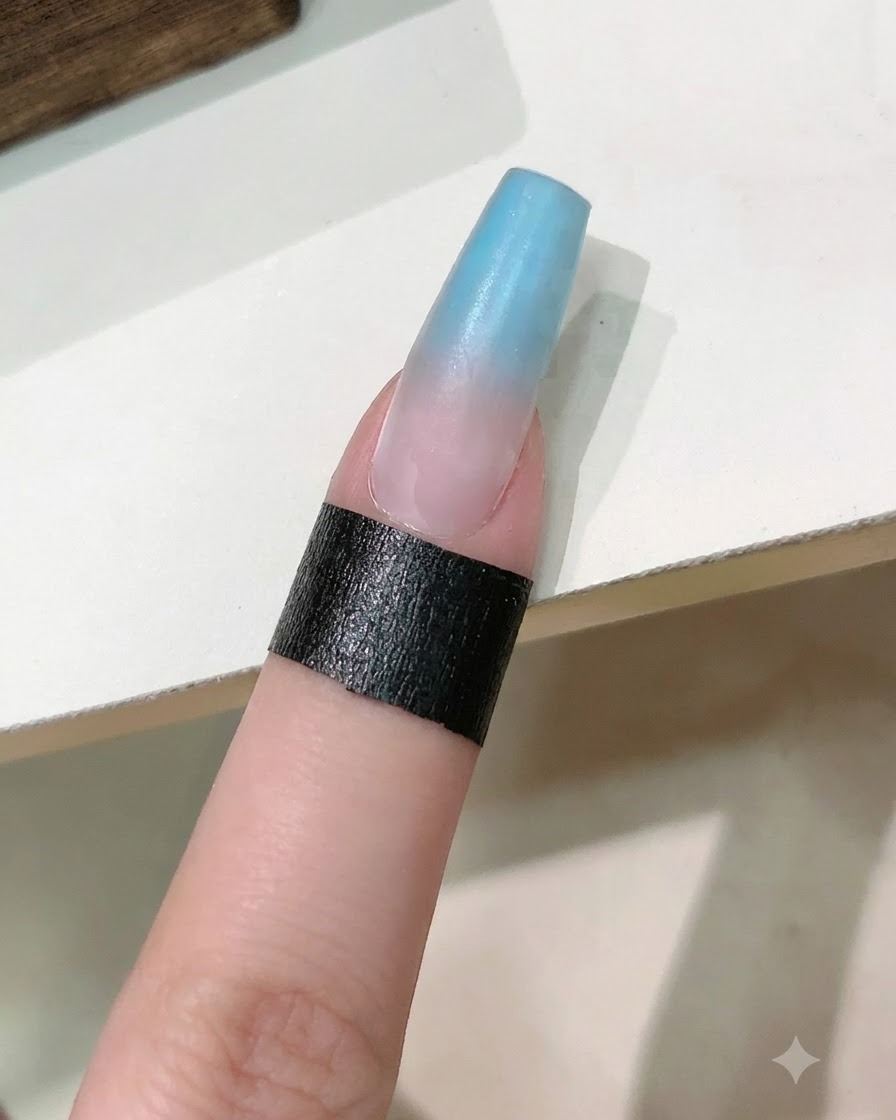
Using a professional brush, apply a clear reinforcing gel coat evenly over the entire gradient nail surface. This layer adds structural strength, protects the ombre design, and creates a smooth, plump surface for subsequent gel layers.
Tip: Cap the free edge of the nail with the reinforcing gel to prevent chipping and ensure long-lasting wear. - 4Cure the reinforcing gel layer
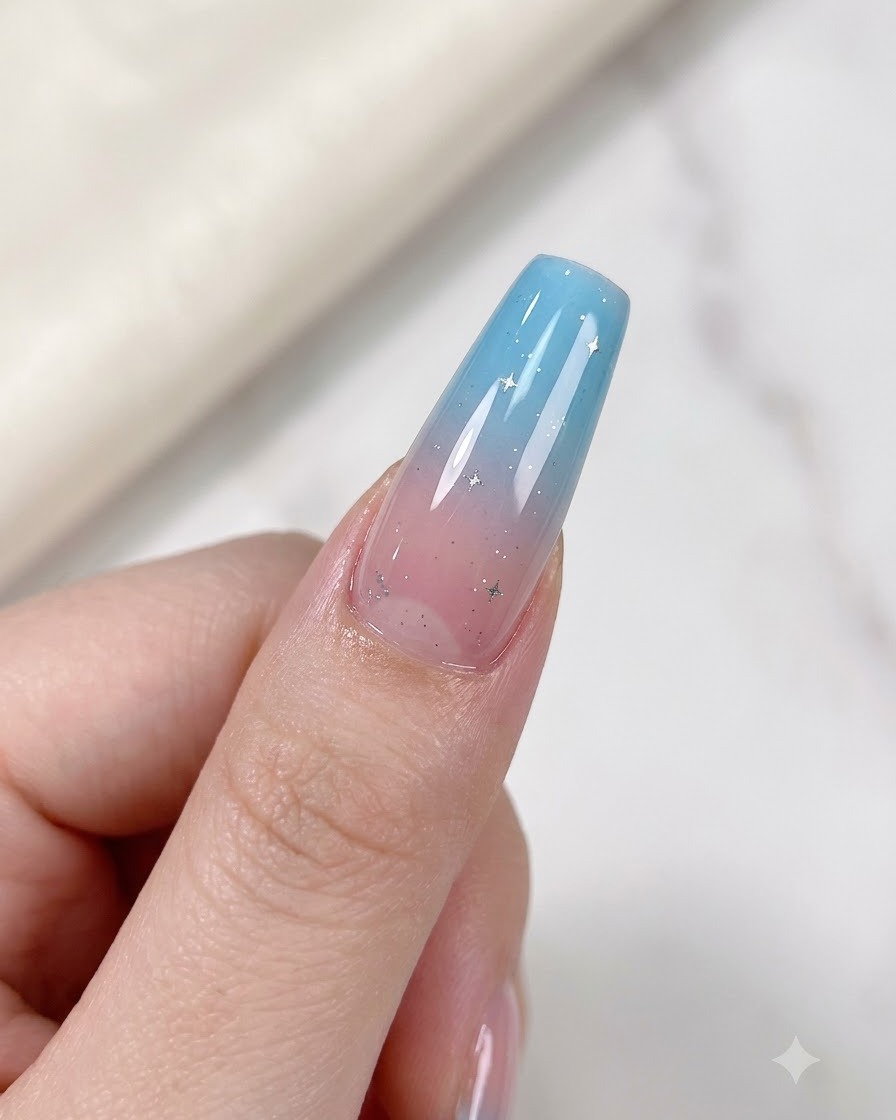
Position the finger securely under a UV or LED nail lamp to fully cure and harden the reinforcing gel layer. Follow the manufacturers recommended curing time to ensure the gel is completely set and properly bonded.
Tip: Ensure the hand is placed flat and centrally under the UV/LED lamp to achieve an even and complete cure across the entire nail. - 5Apply silver magnetic cat eye gel polish
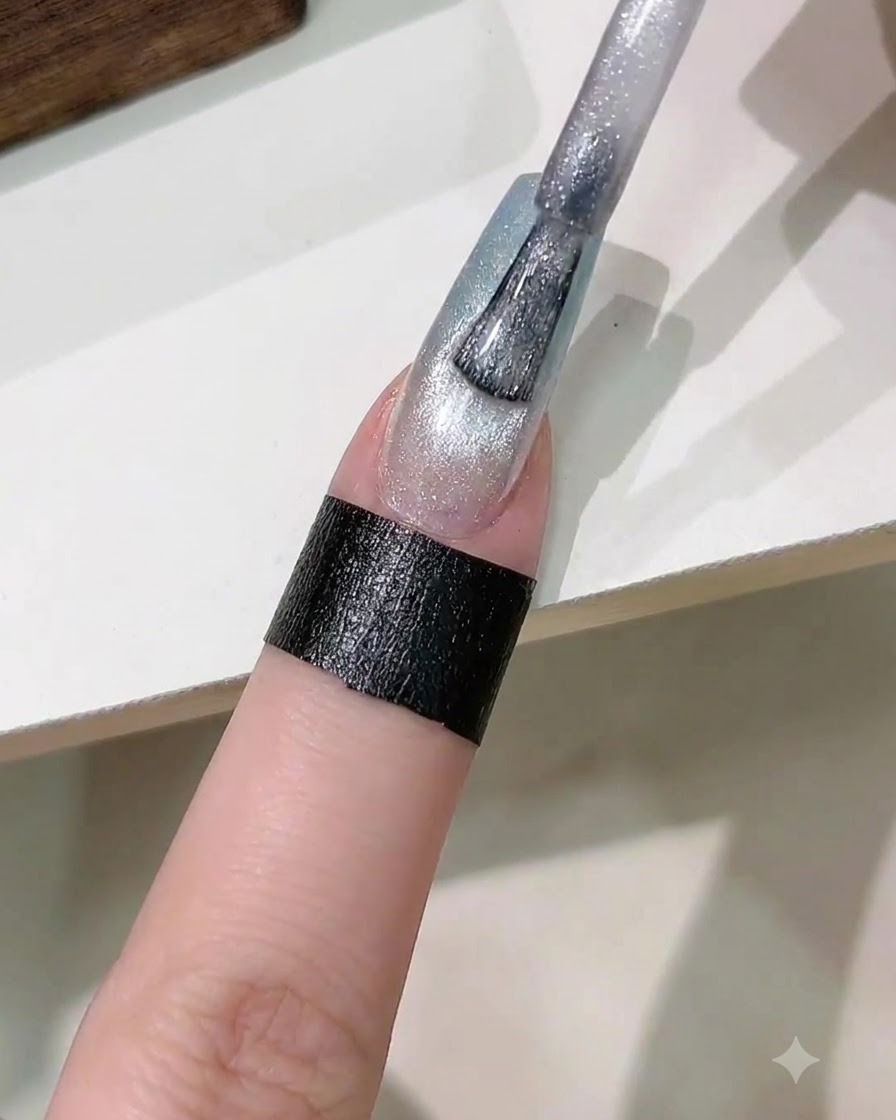
Apply an even layer of high-shine silver magnetic cat eye gel polish directly over the cured nail surface. The metallic shimmer particles suspended in the polish will respond to a magnet, allowing you to create a luminous, multi-dimensional optical effect.
Tip: Apply a smooth, consistent coat of magnetic polish to ensure the cat eye particles disperse evenly before magnetizing. - 6Create the glowing cat eye stripe
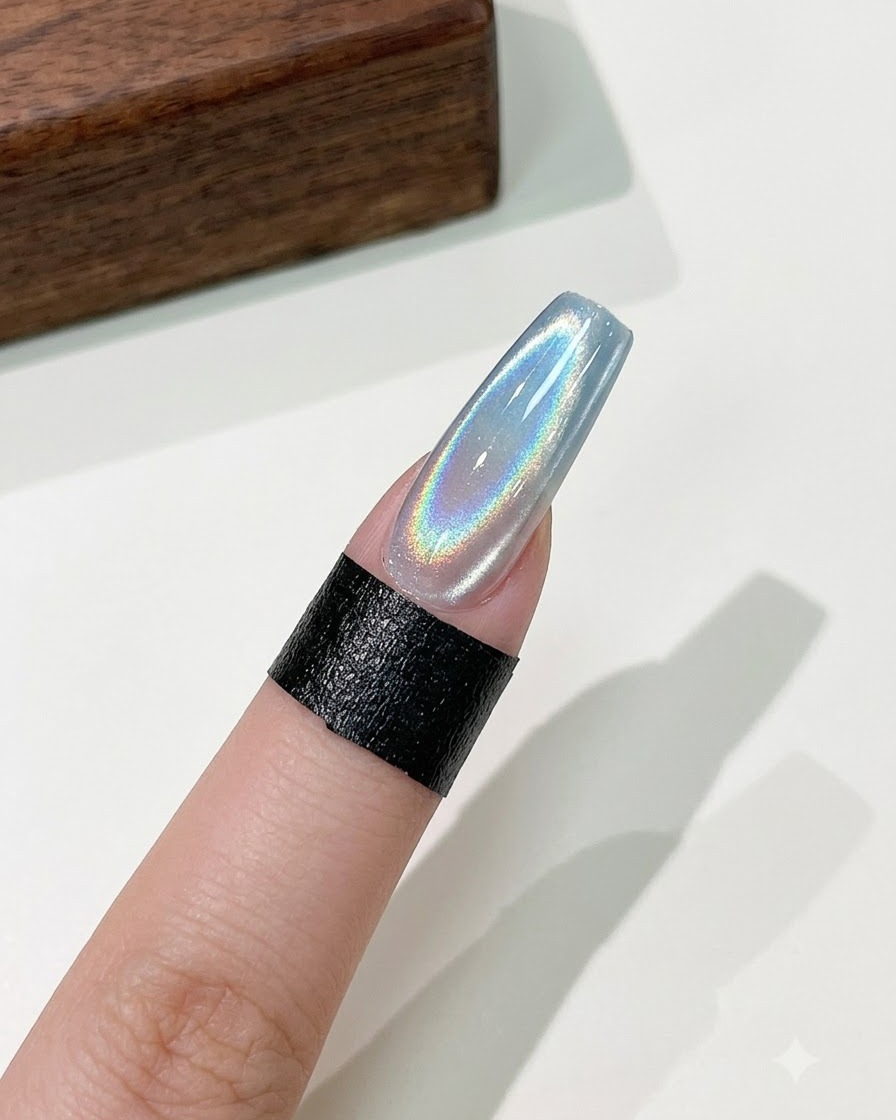
Hold a specialized magnetic wand closely over the uncured magnetic gel polish to pull and concentrate the metallic particles into a sharp, glowing stripe. Once the desired light-reflecting beam effect appears, immediately cure the nail under the lamp to lock the pattern in place.
Tip: Keep the magnetic wand steady and close to the nail without touching the wet polish surface to achieve a crisp, well-defined glowing stripe. - 7Cure the Cat Eye Design
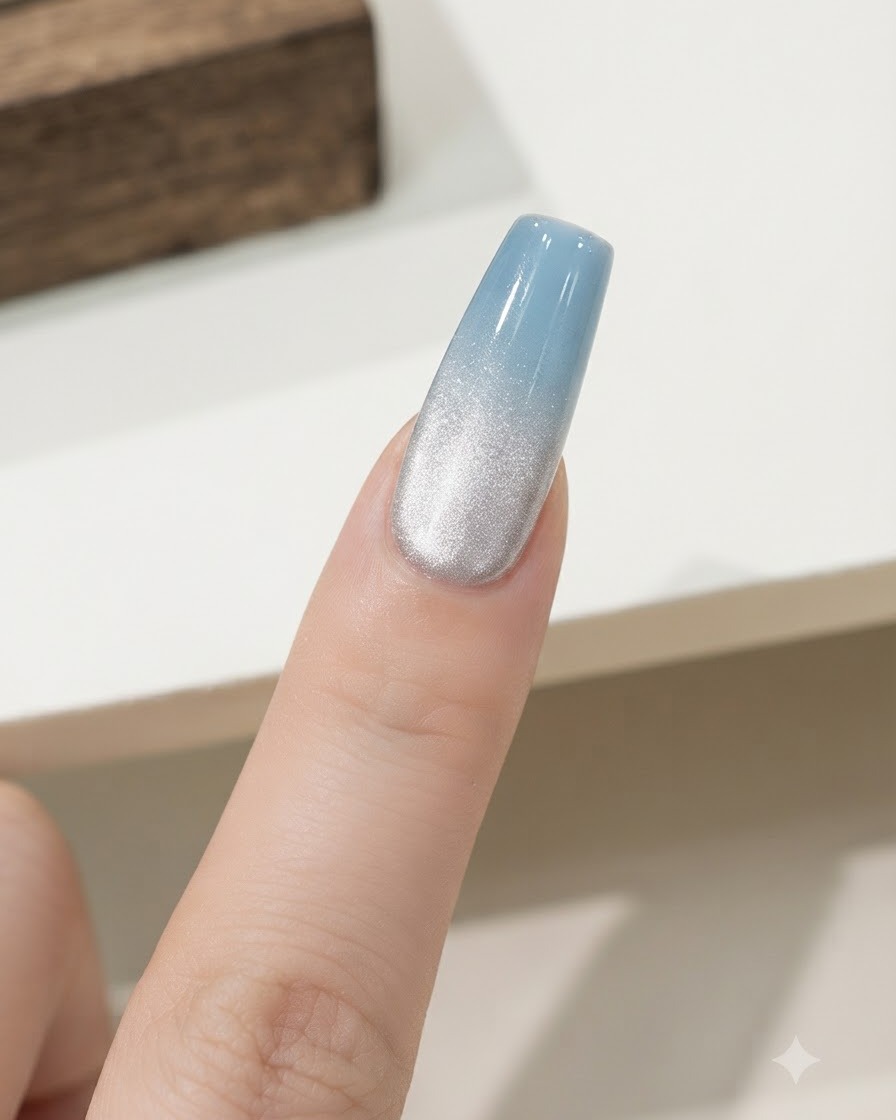
Place your finger under the UV or LED lamp to fully cure the magnetized cat eye gel design. Ensure your hand is positioned correctly inside the lamp so the light hits the entire nail surface evenly, locking the magnetic shimmer in place without shifting.
Tip: Keep your finger completely still while curing to prevent the magnetic particles from drifting before the gel sets. - 8Apply Final Top Coat
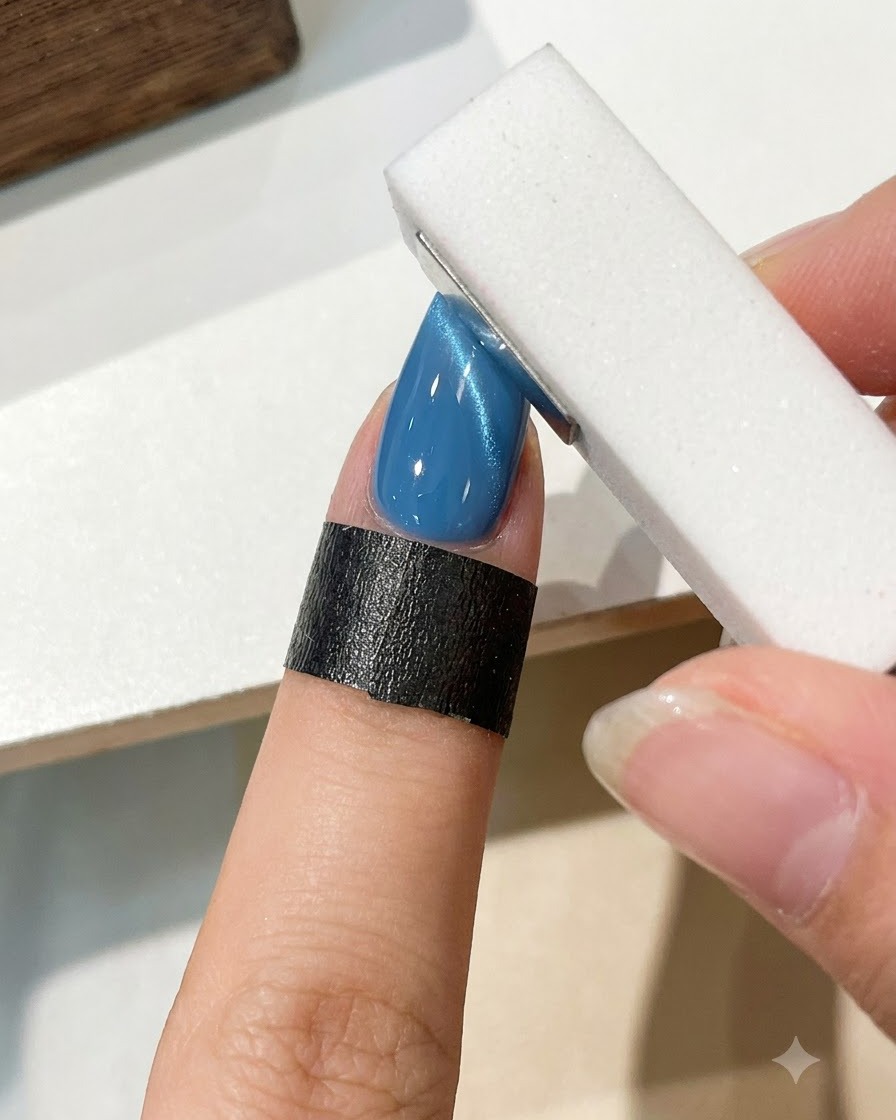
Apply a final sealing layer of glossy top coat over the cured cat eye nail design to ensure long-lasting protection and a brilliant shine. Carefully cap the free edge to seal the manicure and prevent any chipping or peeling over time.
Tip: Apply the top coat in smooth, light strokes to avoid disturbing the underlying cat eye finish.