Summer Blue
Green Gradient Magnetic Cat Eye Gel Nails — Step-by-Step Tutorial
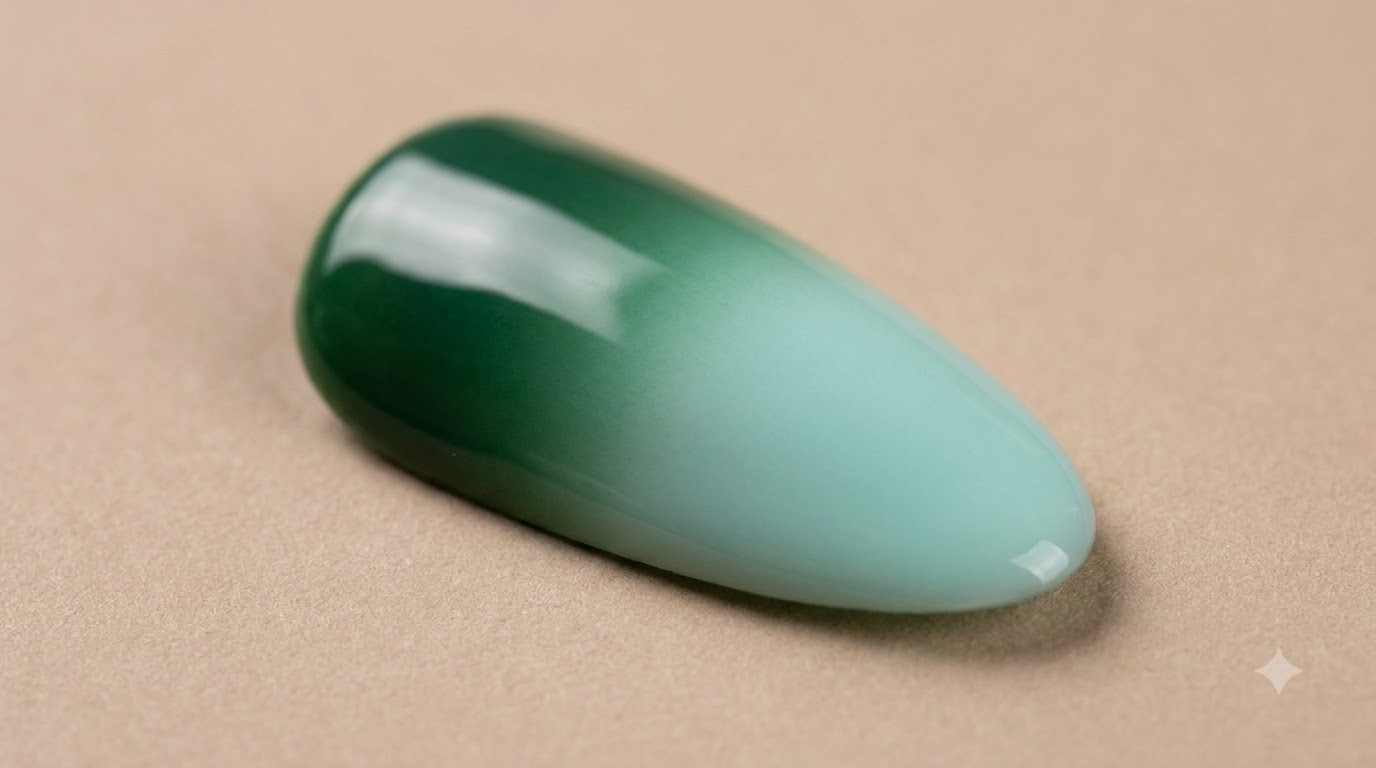
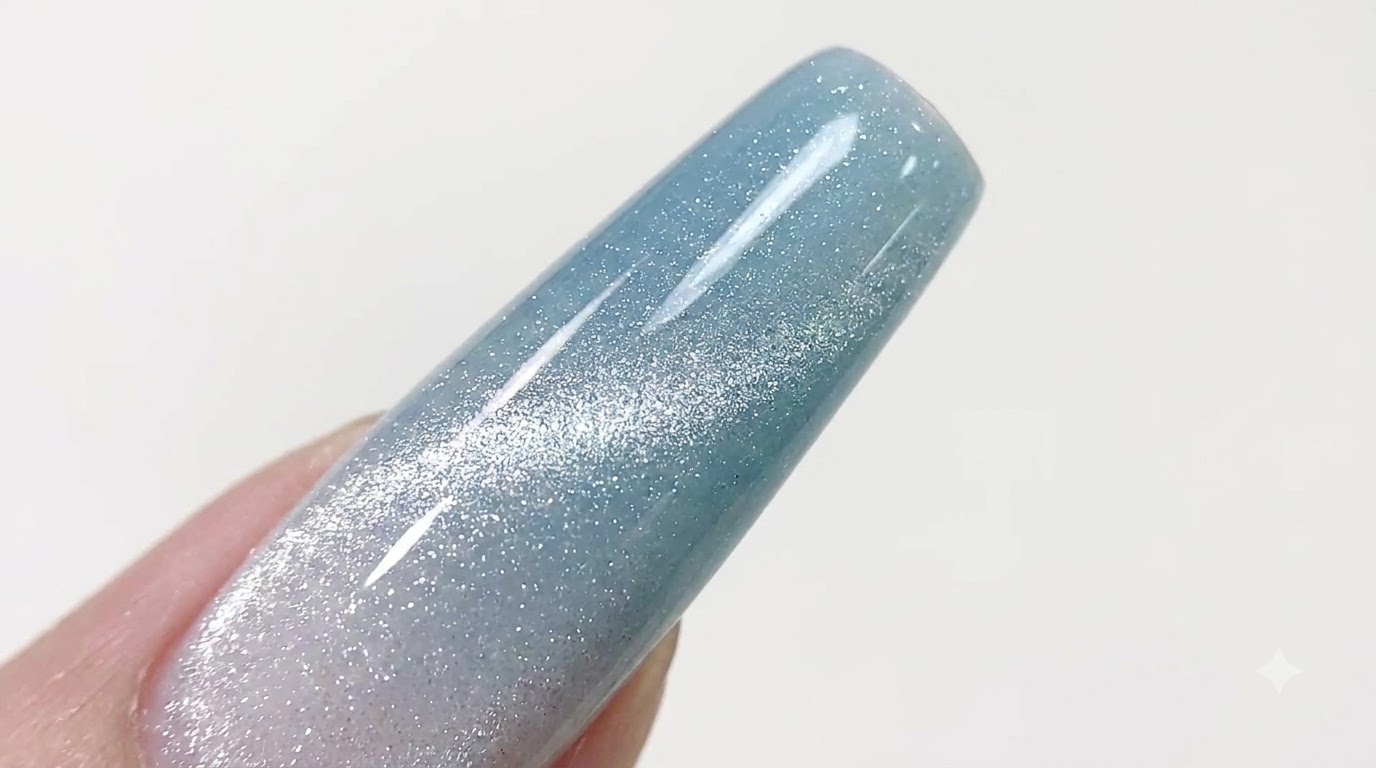
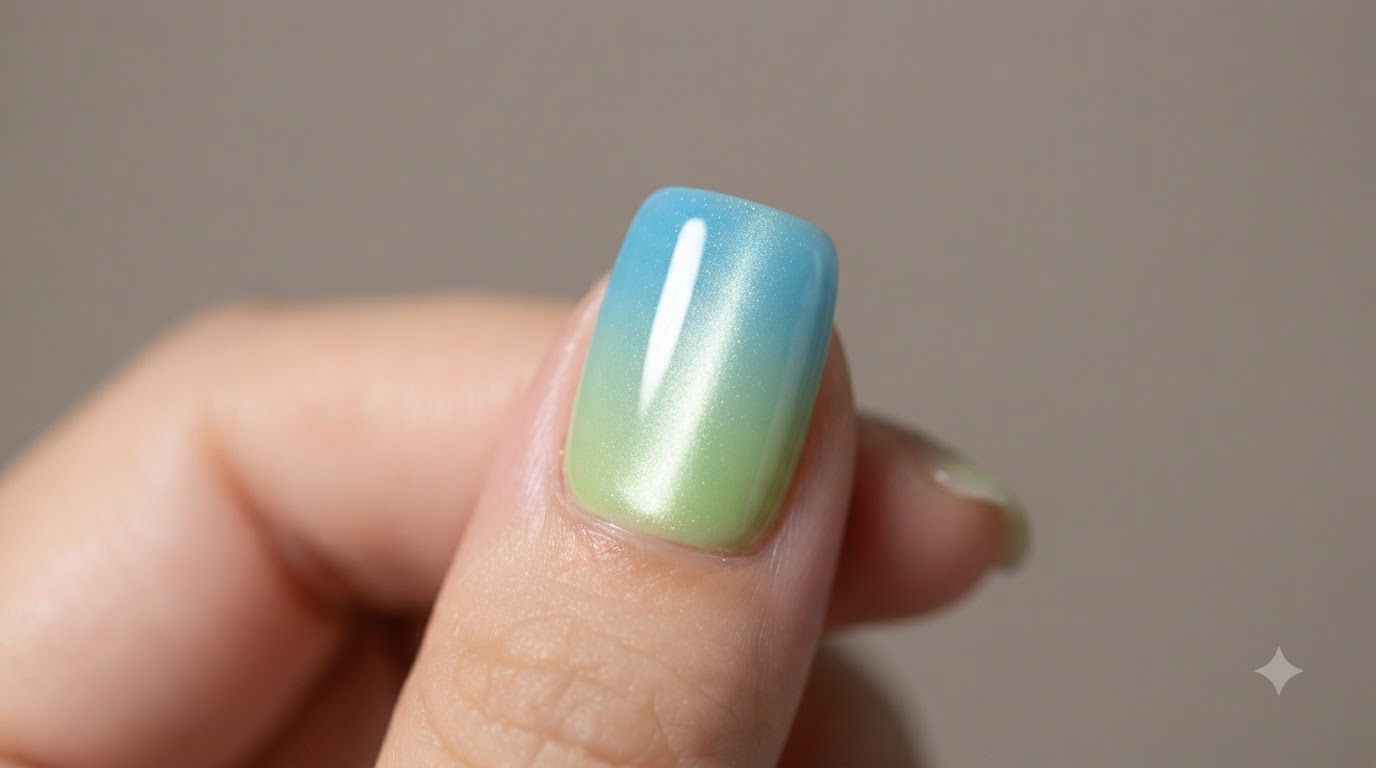
Create a vibrant summer blue and green gradient manicure featuring a mesmerizing magnetic cat eye glow and ultra-glossy finish.
Vibrant gradient nails paired with dimensional cat eye effects capture the playful energy of summer style. This detailed tutorial guides you through blending custom color zones and manipulating magnetic particles to achieve a luminous, professional-grade finish right at home.
Steps
- 1Apply milky green gel to the back edge
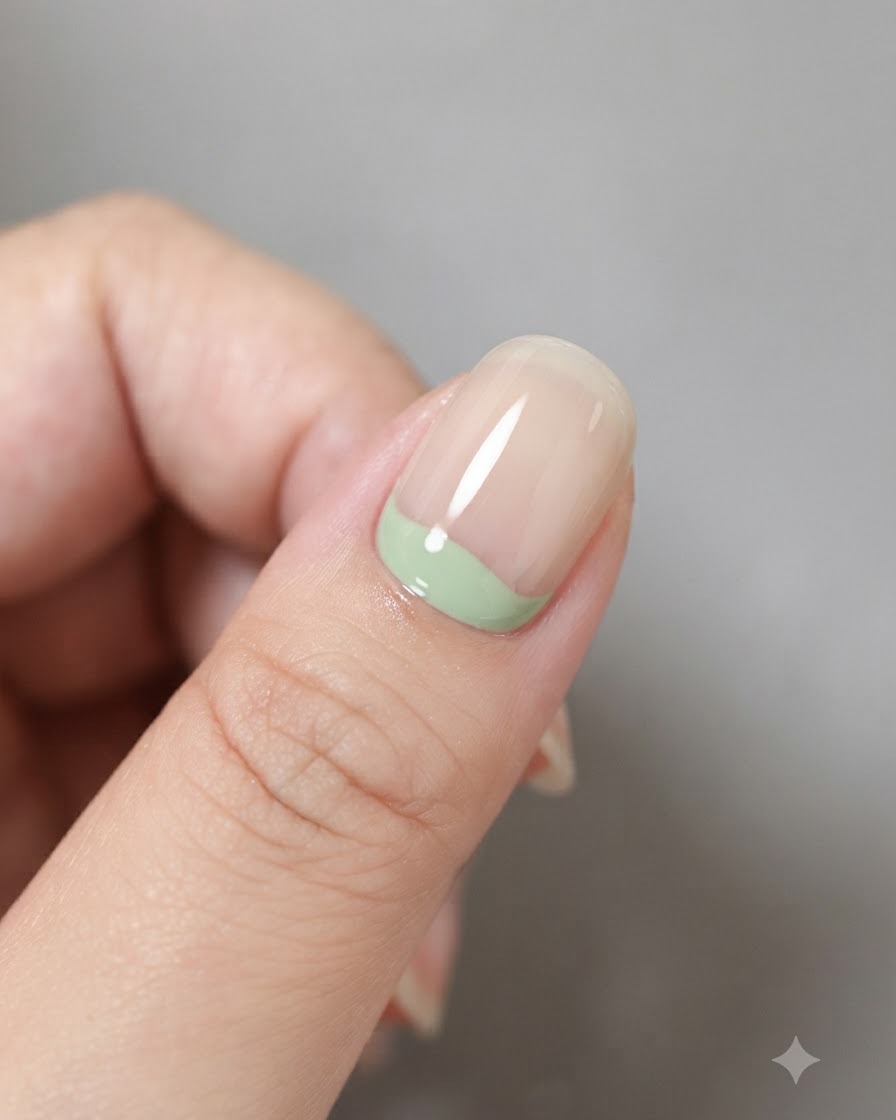
Apply a milky green gel to the back edge of the nail, covering approximately one third of the nail plate. Maintain a clean, curved boundary line to set up the gradient effect.
Tip: Keep the application edge neat and consistent to ensure smooth blending in the next step. - 2Blend the gel with a sponge
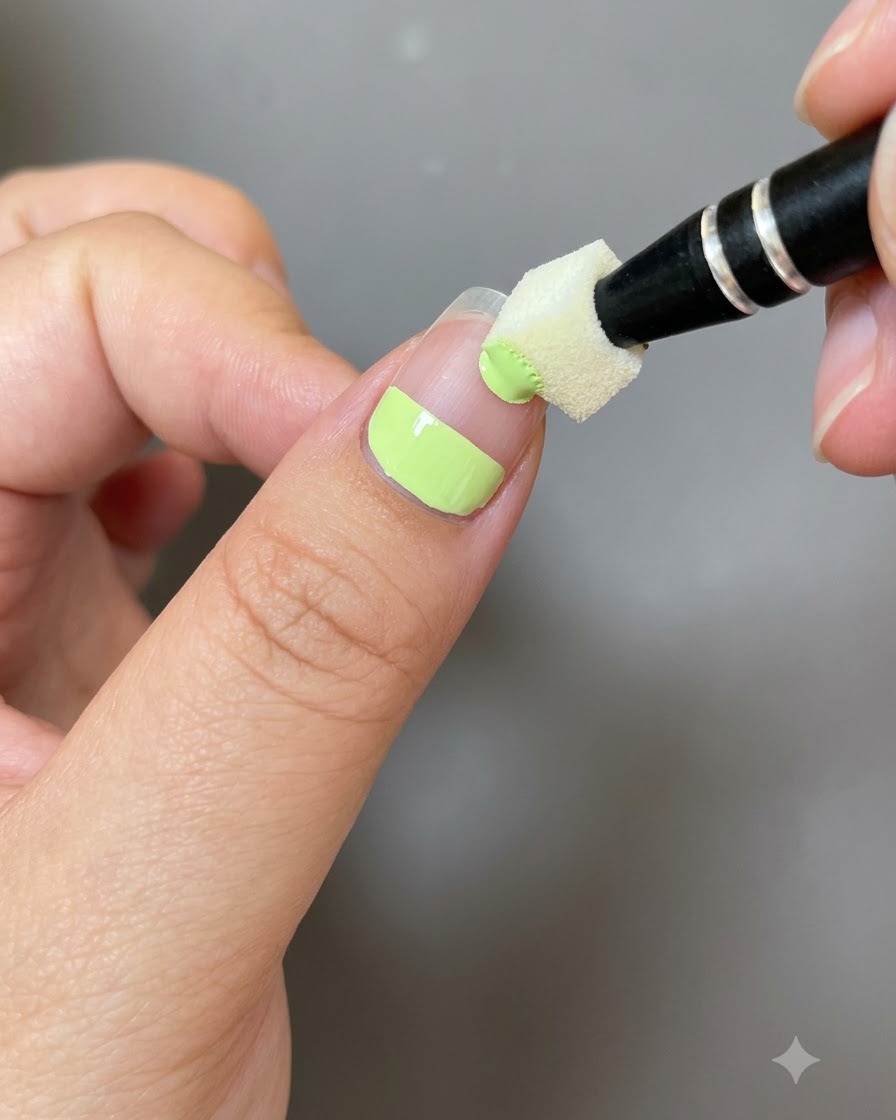
Take a small sponge tool and gently dab along the edge of the milky green gel to feather and blend it outward, creating a smooth transition across the nail plate.
Tip: Dab lightly to avoid creating uneven patches or bubbling in the gel layer. - 3Clean around the nail
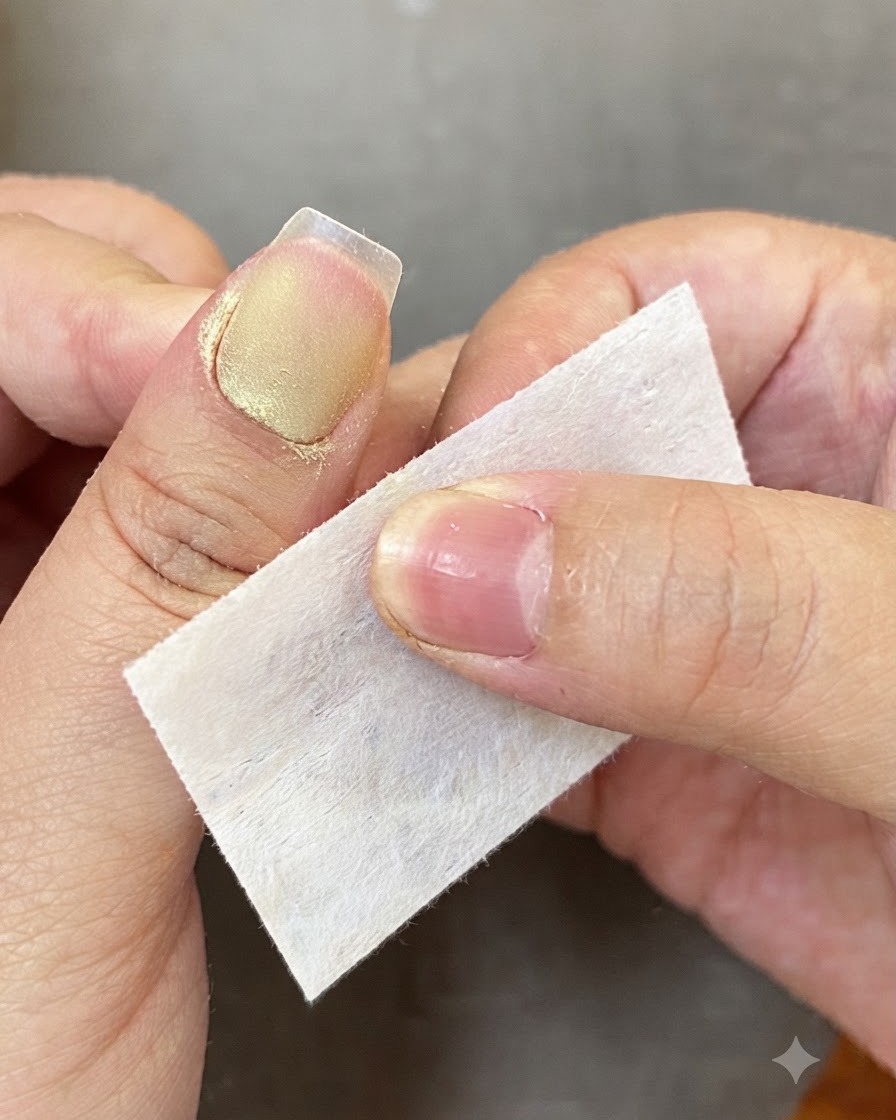
Use a cleanser wipe to gently remove any residue, dust, or stray pigment from the skin surrounding the nail plate. This ensures a clean workspace and prevents cured debris from sticking to the cuticles.
Tip: Make sure the wipe is lint-free to avoid leaving fuzz on your tacky gel surface. - 4Cure the gel under a lamp
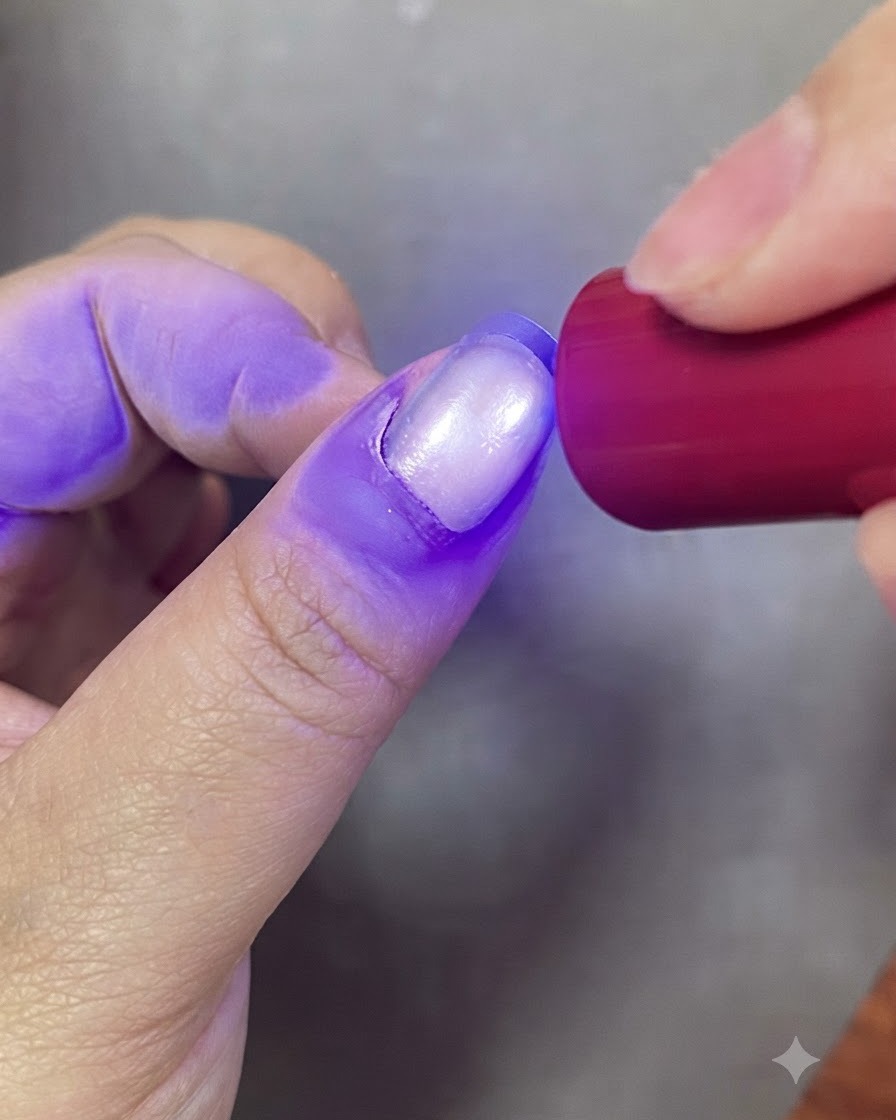
Place the hand under a UV or LED nail lamp and cure the applied gel layer thoroughly according to the product manufacturer instructions.
Tip: Ensure your finger is positioned directly under the light source for an even cure. - 5Apply light blue gel to the fingertip
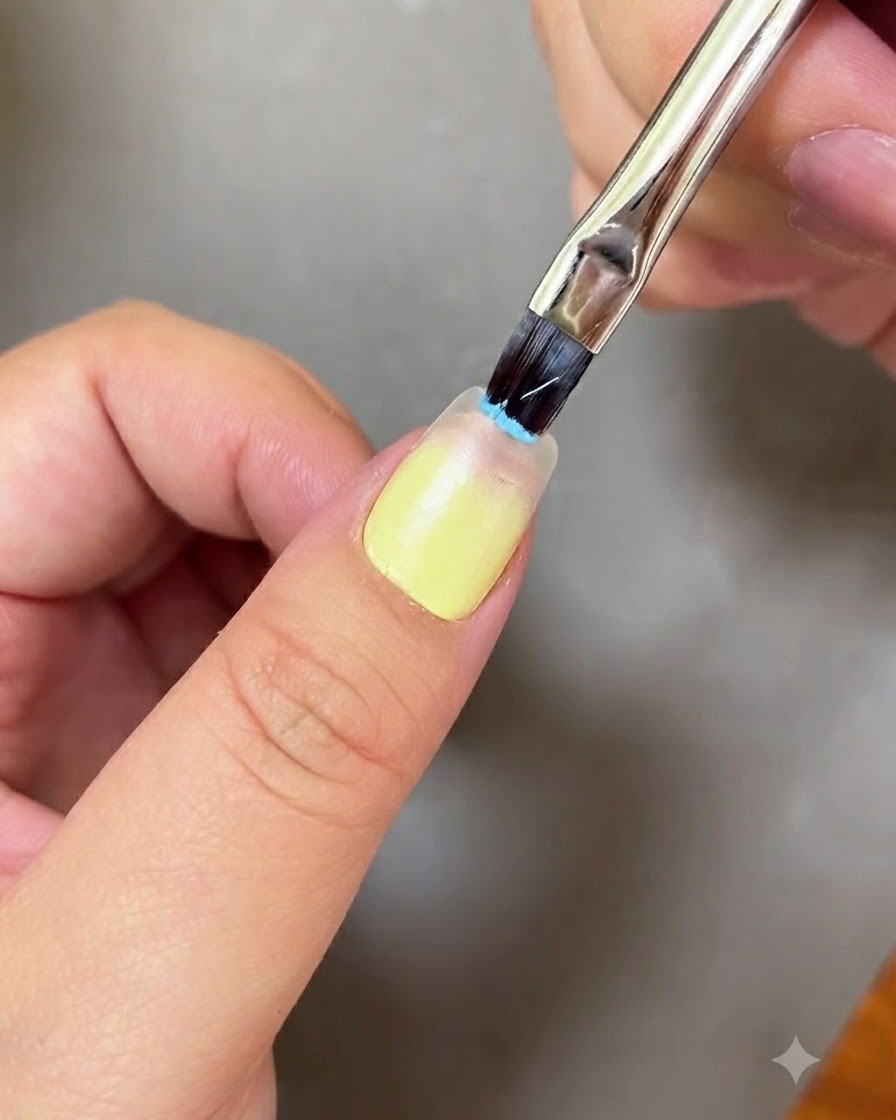
Using a fine nail art brush, apply a light blue gel color to the fingertip area, creating a contrasting tip section opposite the green base.
Tip: Apply a thin layer to prevent the gel from pooling near the free edge. - 6Dab backwards for a gradient transition
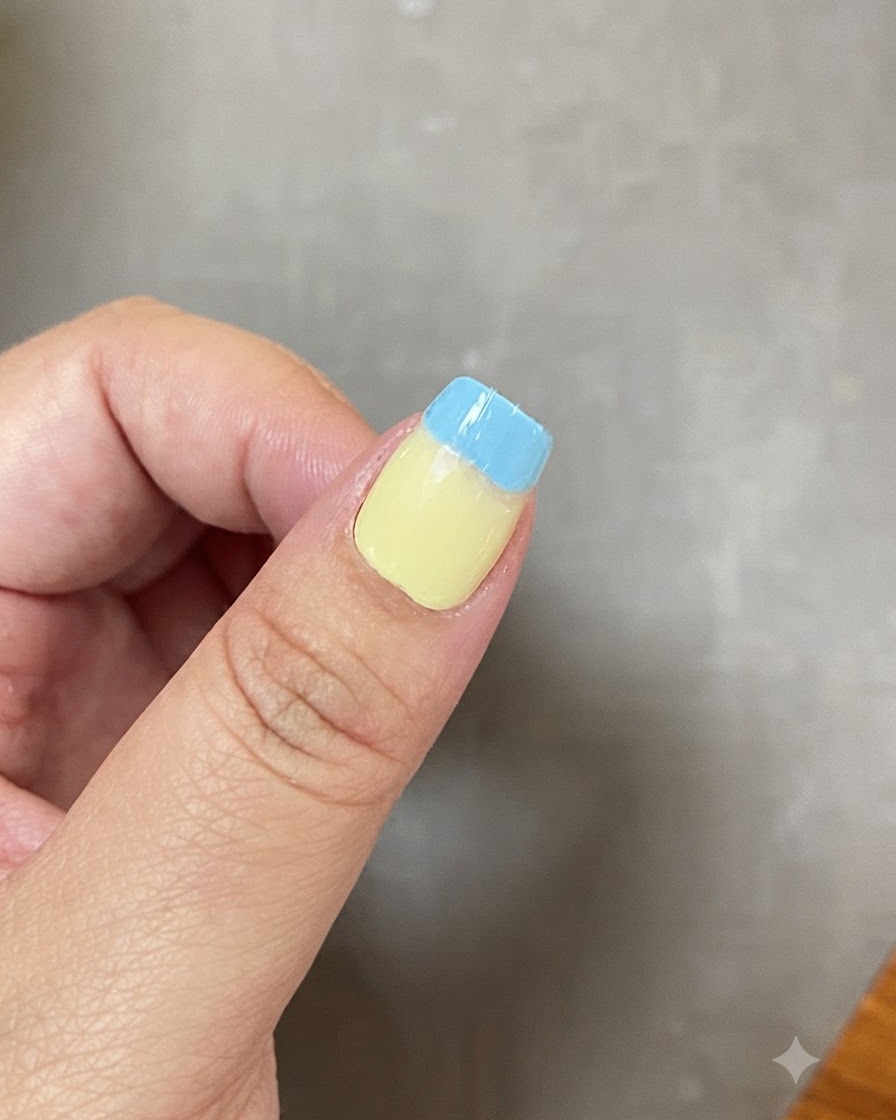
Take the small sponge and dab backwards from the blue tip toward the base, blending the colors together to form a seamless gradient transition.
Tip: Light tapping motions help merge the blue and green tones smoothly without harsh lines. - 7Cure gradient layer
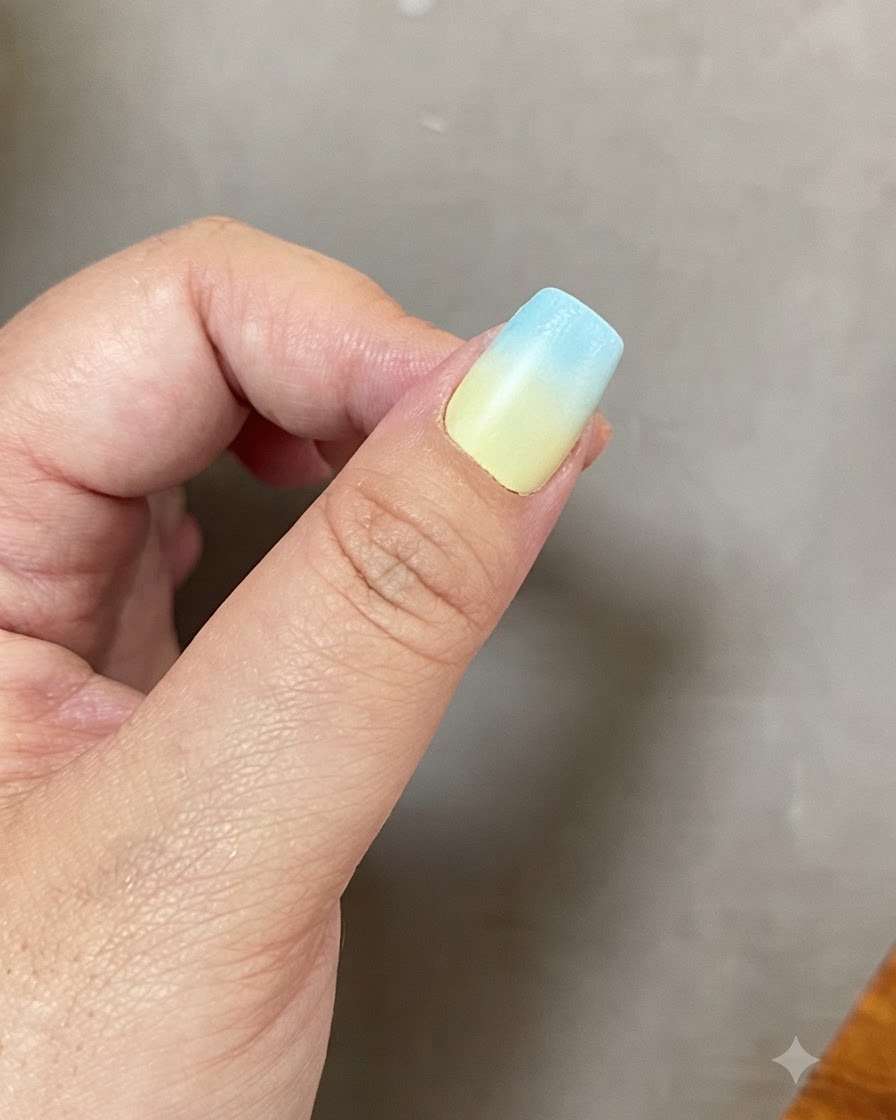
Place the finger inside the UV or LED lamp and cure the gradient color layer according to the gel product manufacturers instructions, typically for 30 to 60 seconds.
Tip: Ensure the hand is placed flat inside the lamp so light reaches the entire nail surface evenly. - 8Apply sparkling cat eye gel
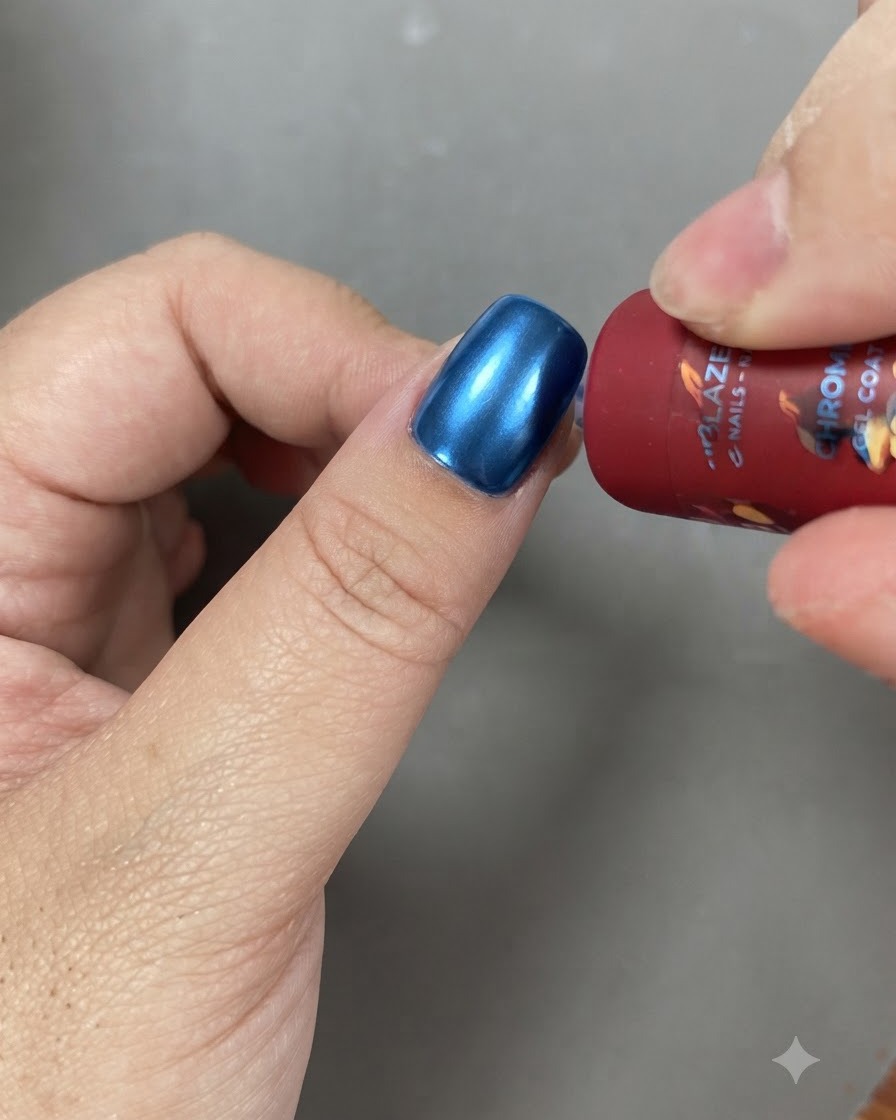
Apply a smooth, even layer of white sparkling cat eye gel directly over the cured gradient base. Do not cure this layer yet, as you will need the wet consistency to manipulate the magnetic particles.
Tip: Apply a medium-thin coat so the magnetic shimmer can move freely without pooling at the edges. - 9Position the magnet
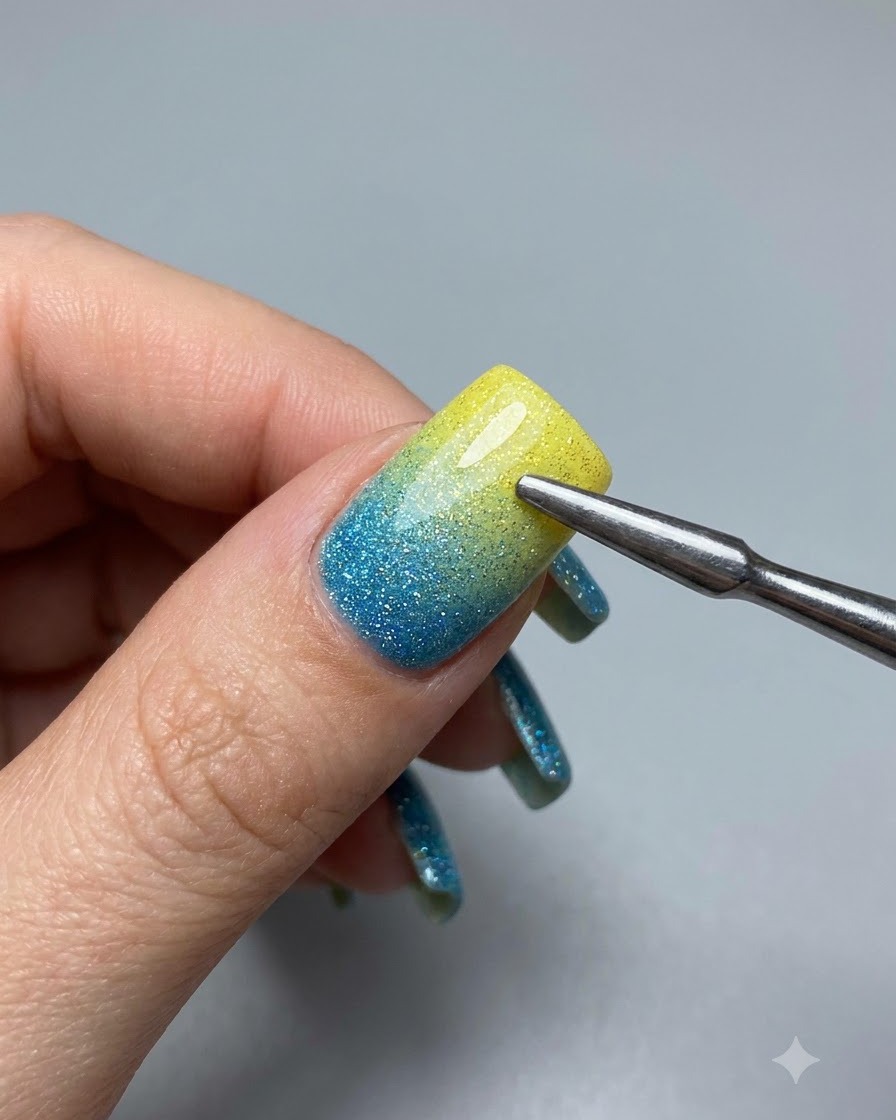
Hold the glass bead magnet close to the uncured cat eye gel without touching the surface. The magnetic field will begin drawing the reflective metallic particles together.
Tip: Keep a steady hand close to the nail to prevent accidental smudging of the wet gel coat. - 10Create wide light beam
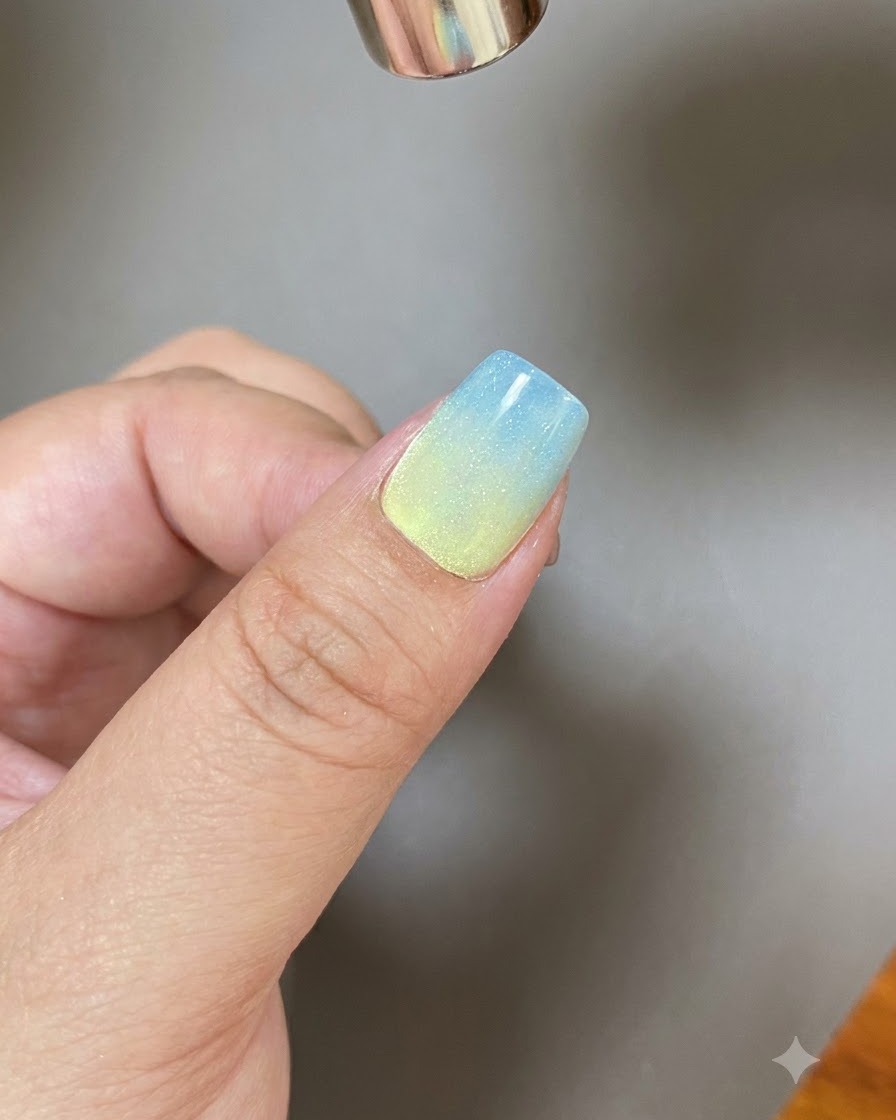
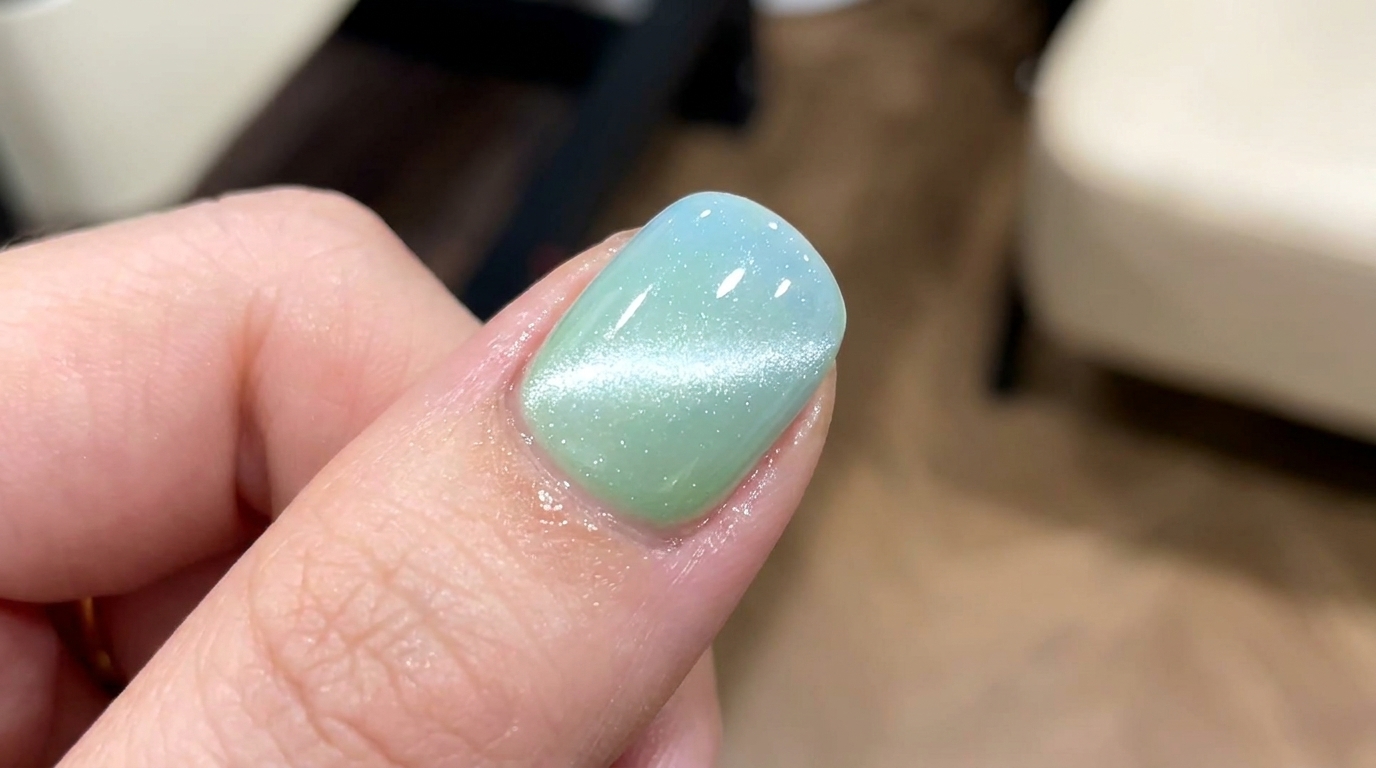
Hover and shift the magnet strategically to concentrate the magnetic particles, pulling out a wide, luminous beam of light across the center of the nail.
Tip: Watch the light shift in real time to get an even, glowing reflection before curing. - 11Form circular cat eye pattern
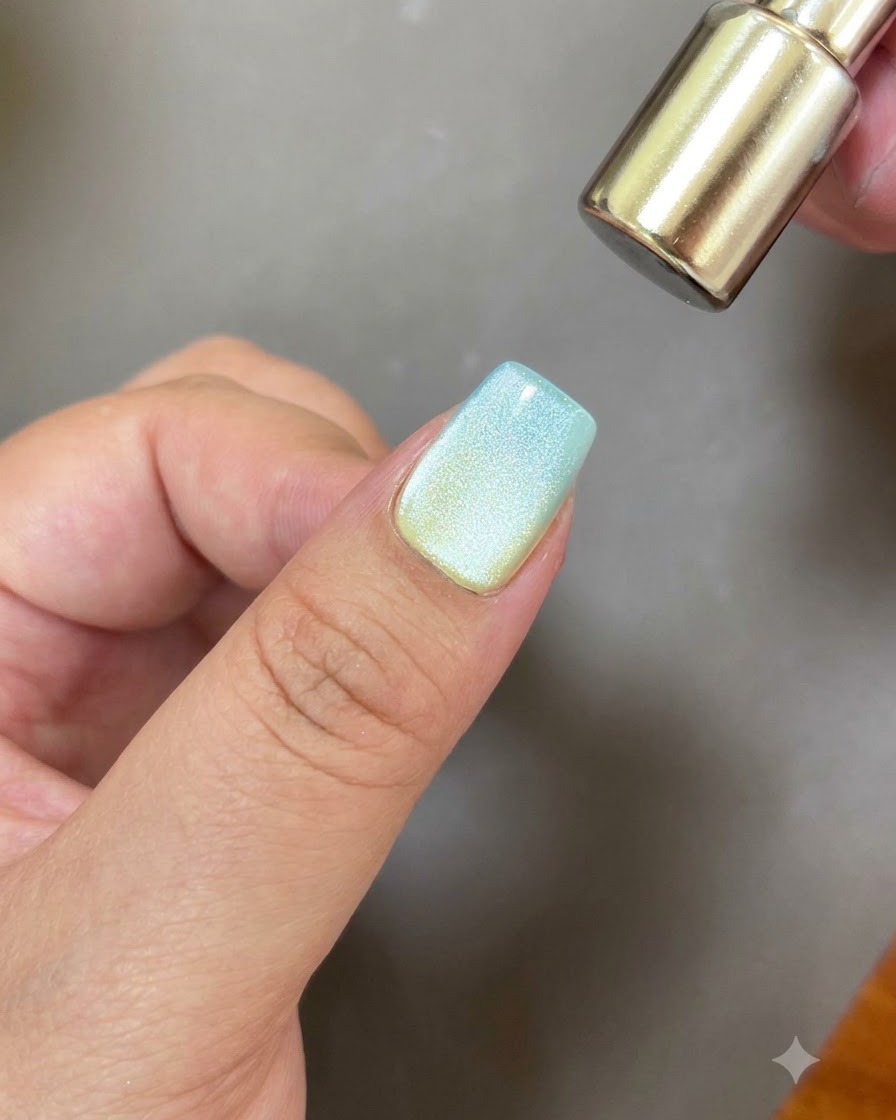
Use the rounded end of the magnet tool to guide the particles in a gentle circular motion, setting the final multi-dimensional cat eye pattern into place before immediately curing under the lamp.
Tip: Cure immediately after achieving your desired pattern so the magnetic shimmer does not disperse. - 12Cure cat eye gel
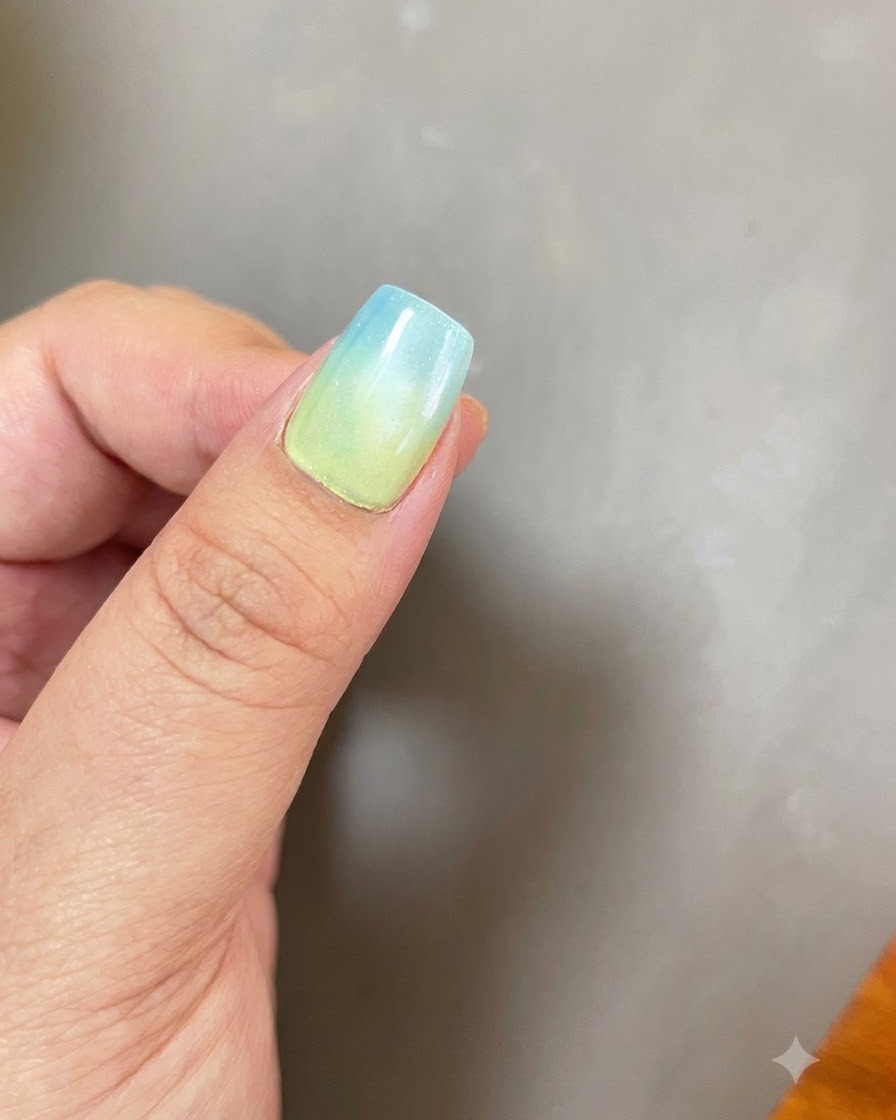
Place the nail under the UV or LED lamp to fully cure the white cat eye magnetic gel design. Ensure the hand is positioned correctly so the light reaches the entire nail surface evenly, locking the circular magnetic light effect in place.
Tip: Do not rush the curing process; an incomplete cure can cause the gel to wrinkle or wear off prematurely. - 13Apply top coat
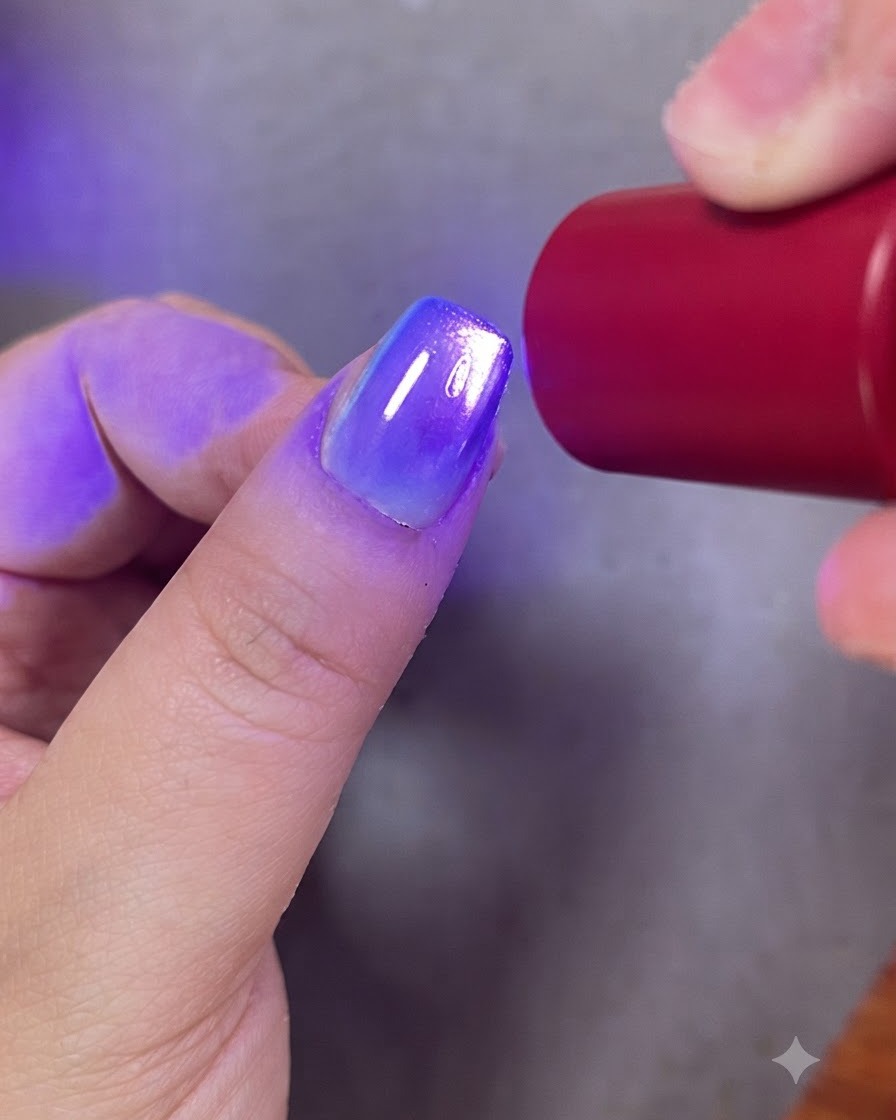
Apply a generous yet even layer of clear top coat over the entire nail surface. Carefully cap the free edge to protect the gradient and magnetic design from chipping, ensuring a high-gloss protective finish.
Tip: Always cap the tip of the nail with top coat to prevent premature peeling and extend the life of your manicure. - 14Cure final top coat
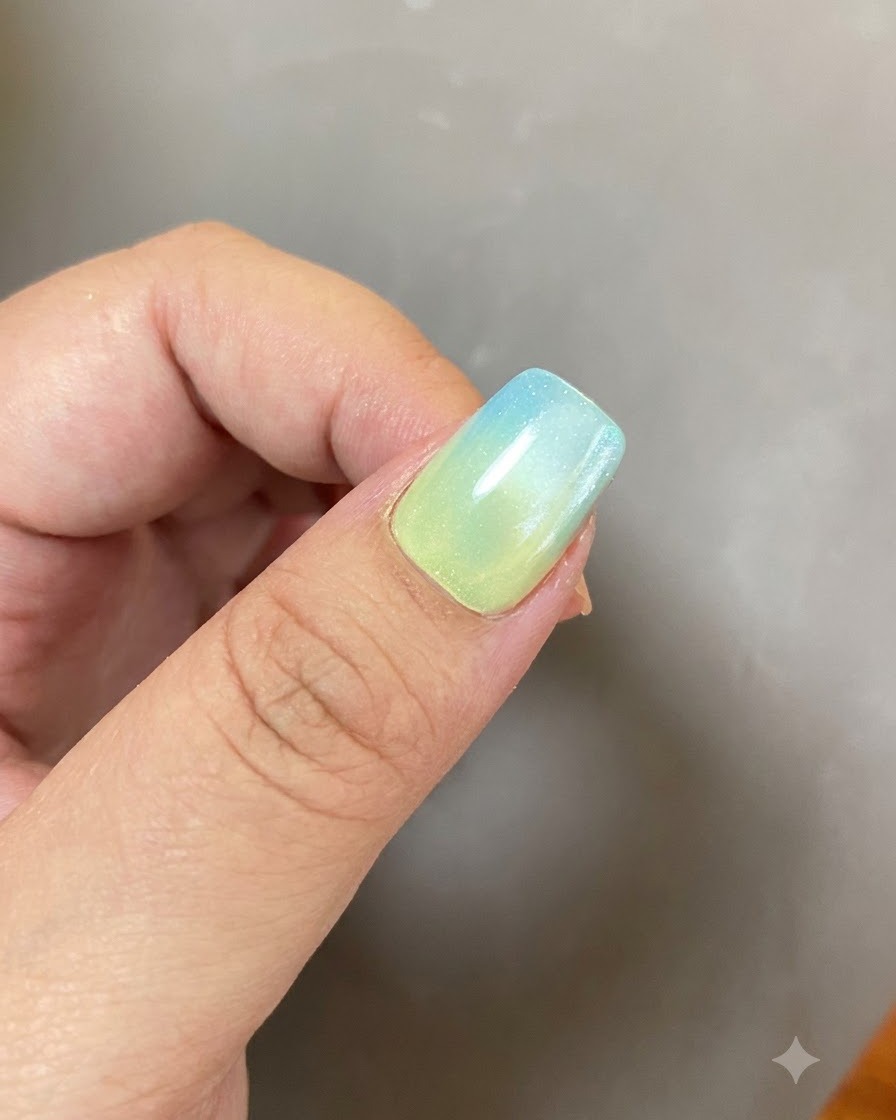
Cure the final top coat under the UV or LED lamp for the full recommended time to lock in shine and durability. Once cured, your multi-color gradient and magnetic cat eye manicure is completely finished and ready.
Tip: Make sure your lamp has clean bulbs and adequate power to ensure the top coat cures to a completely non-sticky, high-gloss shine.