Blue Diamond Galaxy Gradient Nails — Step-by-Step Gel Tutorial
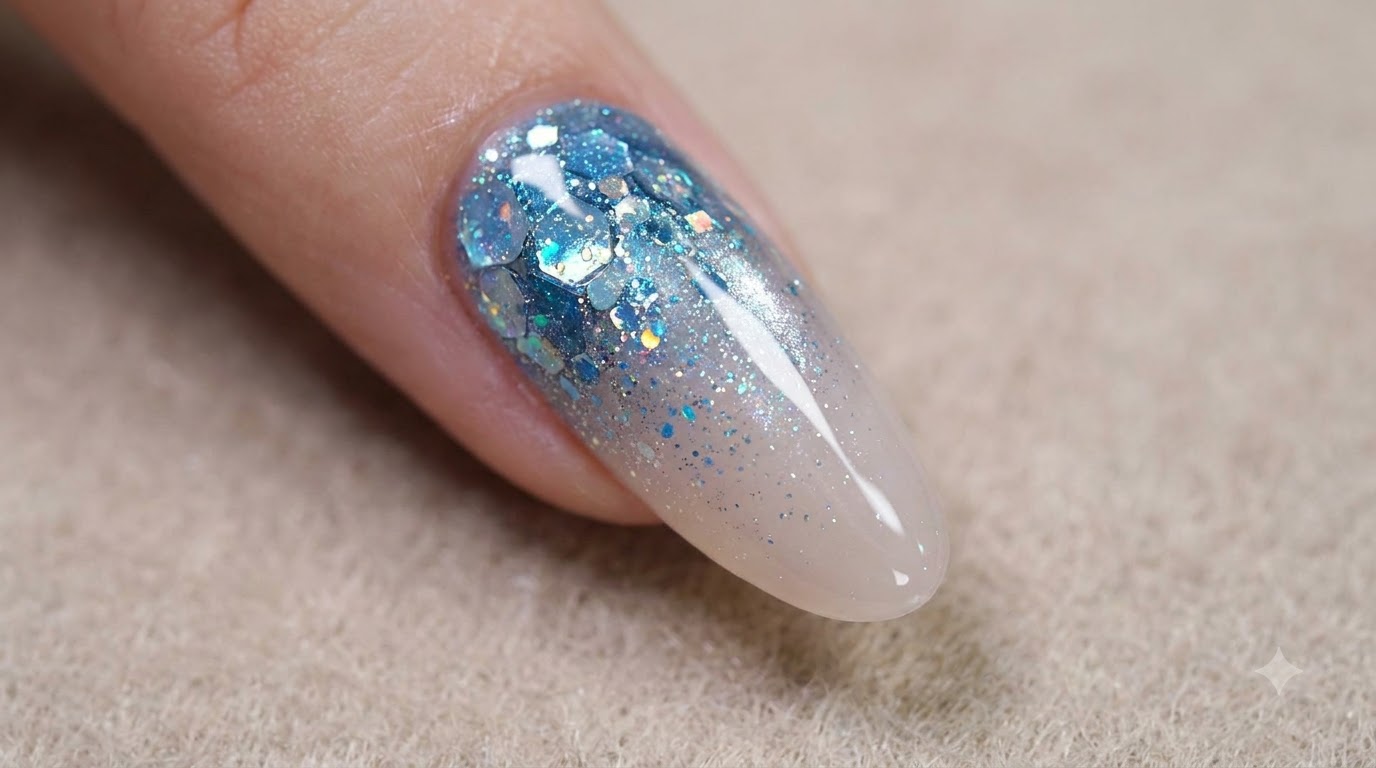
Create a mesmerizing galaxy effect with a milky nude base, magnetic cat-eye shimmer, and a cascading blue diamond glitter gradient.
Galactic nail art continues to captivate with its multidimensional depth and celestial sparkle. This look combines soft smoky tones, reactive cat-eye dimension, and rich blue crushed diamond glitter to create a stunning jewel-like gradient right at your fingertips.
Steps
- 1Apply and smooth the nude gel
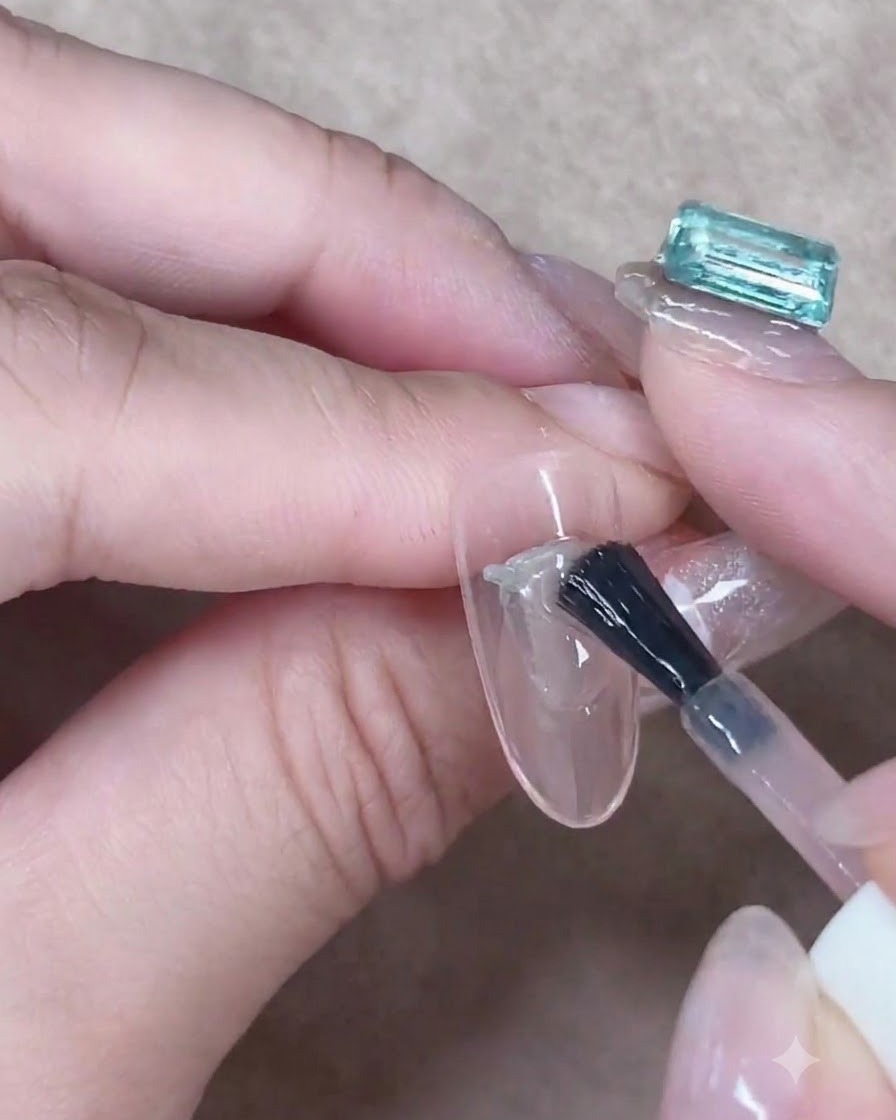
Continue brushing the nude gel smoothly down towards the free edge to ensure even, streak-free coverage. Take care to keep the layer thin and uniform, pulling the gel all the way across the nail plate without flooding the sidewalls. This builds a consistent foundation color for your design.
Tip: Keep your brush strokes light and parallel to prevent brush marks from showing in the translucent gel layer. - 2Diffuse the base with a makeup sponge
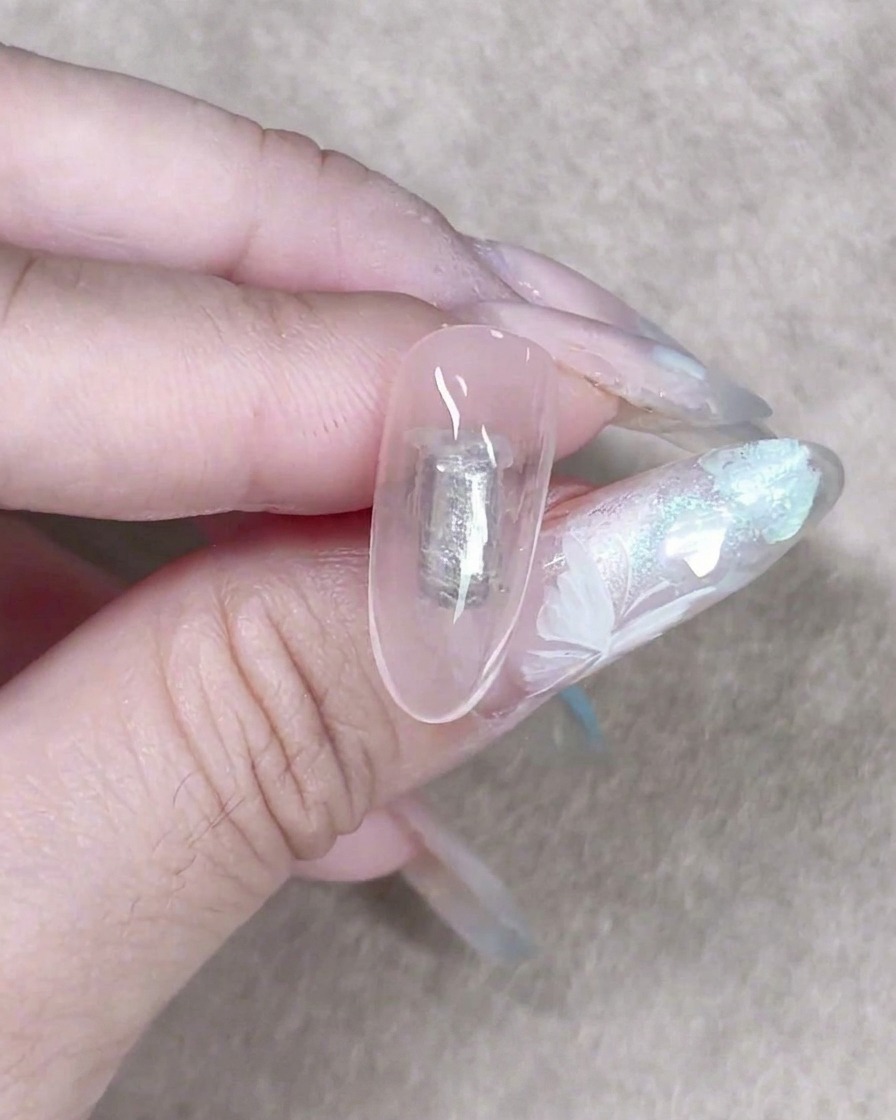
Use a small, angled makeup sponge to gently pat a sheer milky gel onto the nail bed to diffuse the base. This technique softens any harsh underlying lines and creates a cloudy, atmospheric background effect suitable for a galaxy or crystal style.
Tip: Gently dab rather than swipe to avoid creating bubbles or uneven texture on the wet gel surface. - 3Blend along sidewalls and cuticles
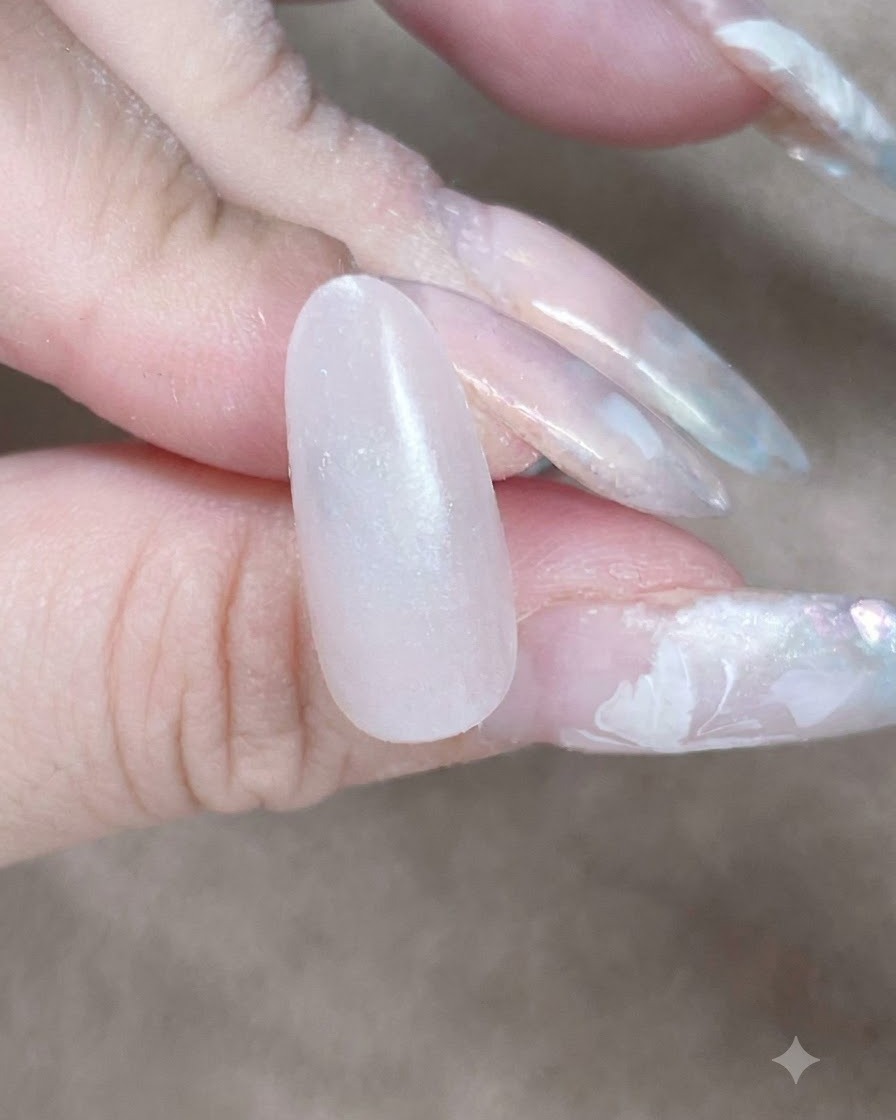
Dab the sponge repeatedly along the sidewalls and cuticle line to seamlessly blend the coverage layer. Ensuring a soft fade around the edges prevents harsh lines and gives the background a natural, diffused look before adding dimensional effects.
Tip: Use light, quick tapping motions to disperse the product evenly into the corners without creating excess buildup. - 4Activate the cat-eye magnetic gel
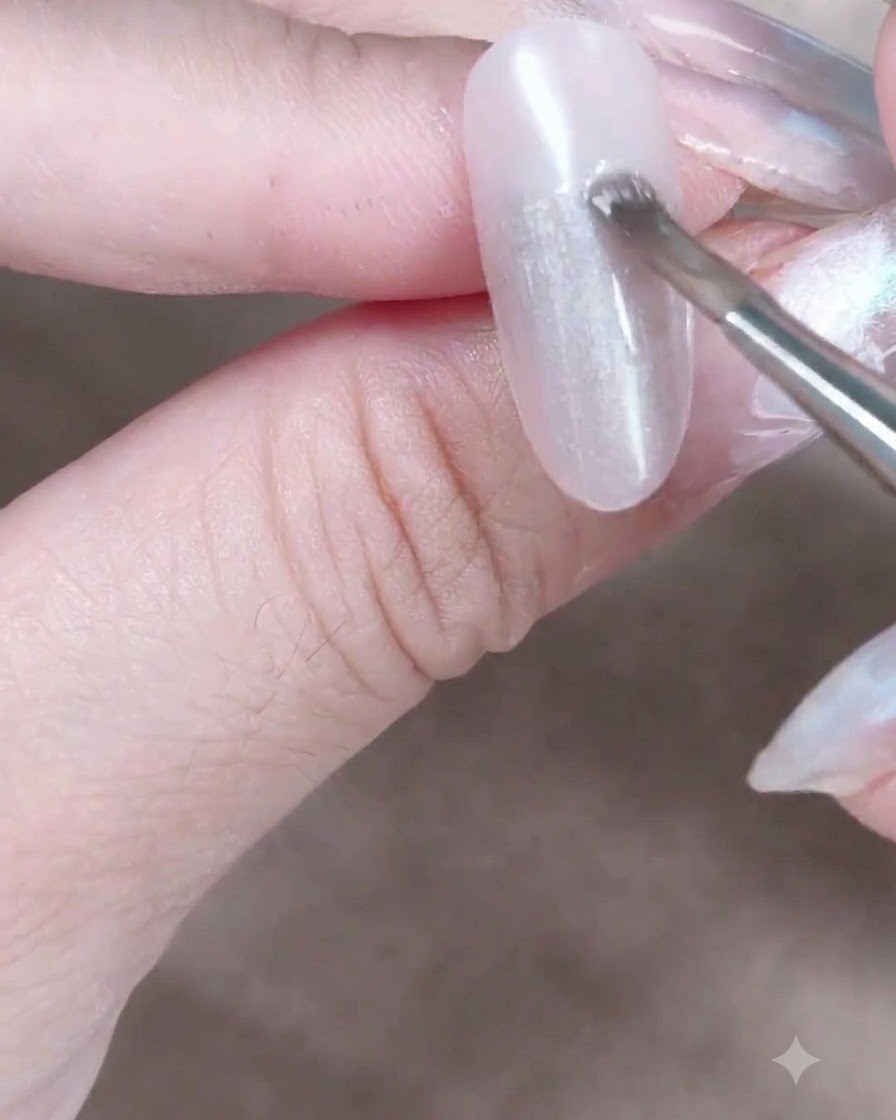
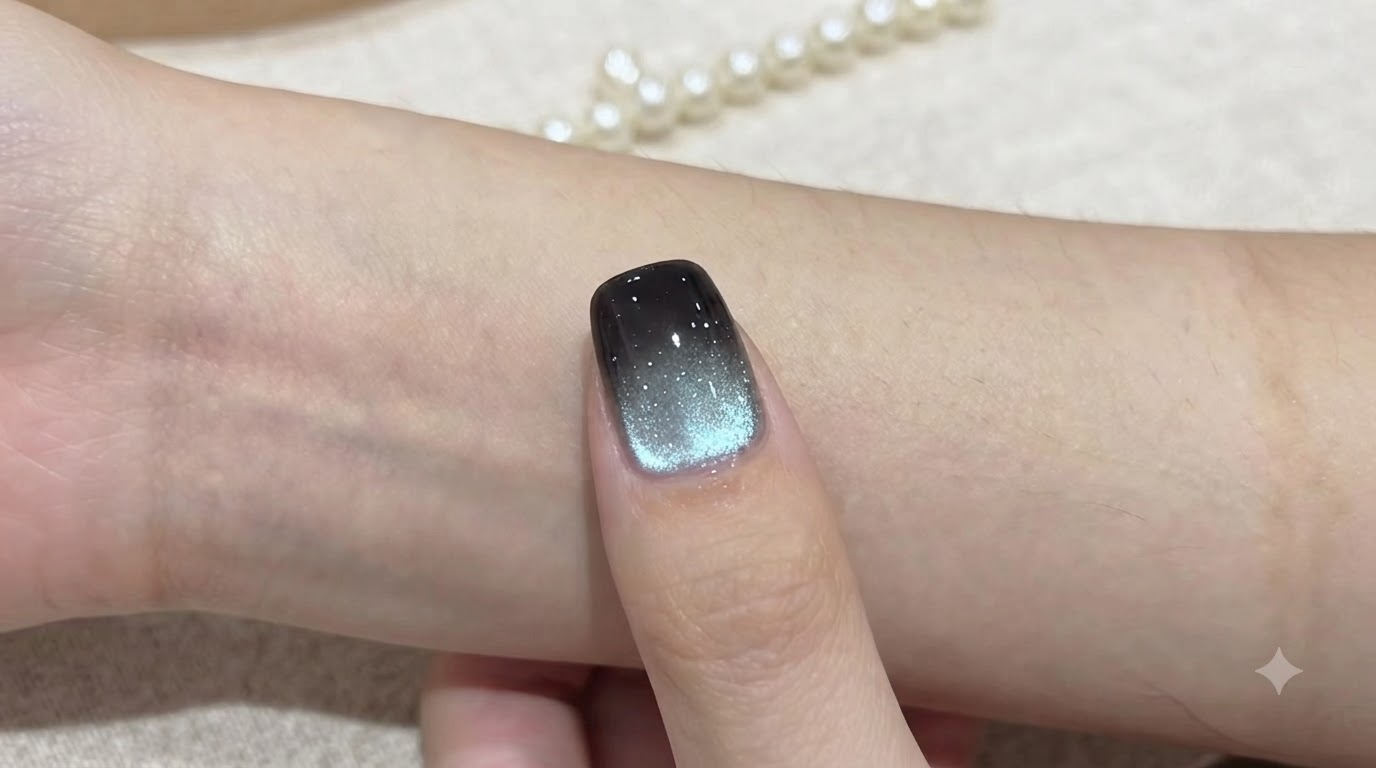
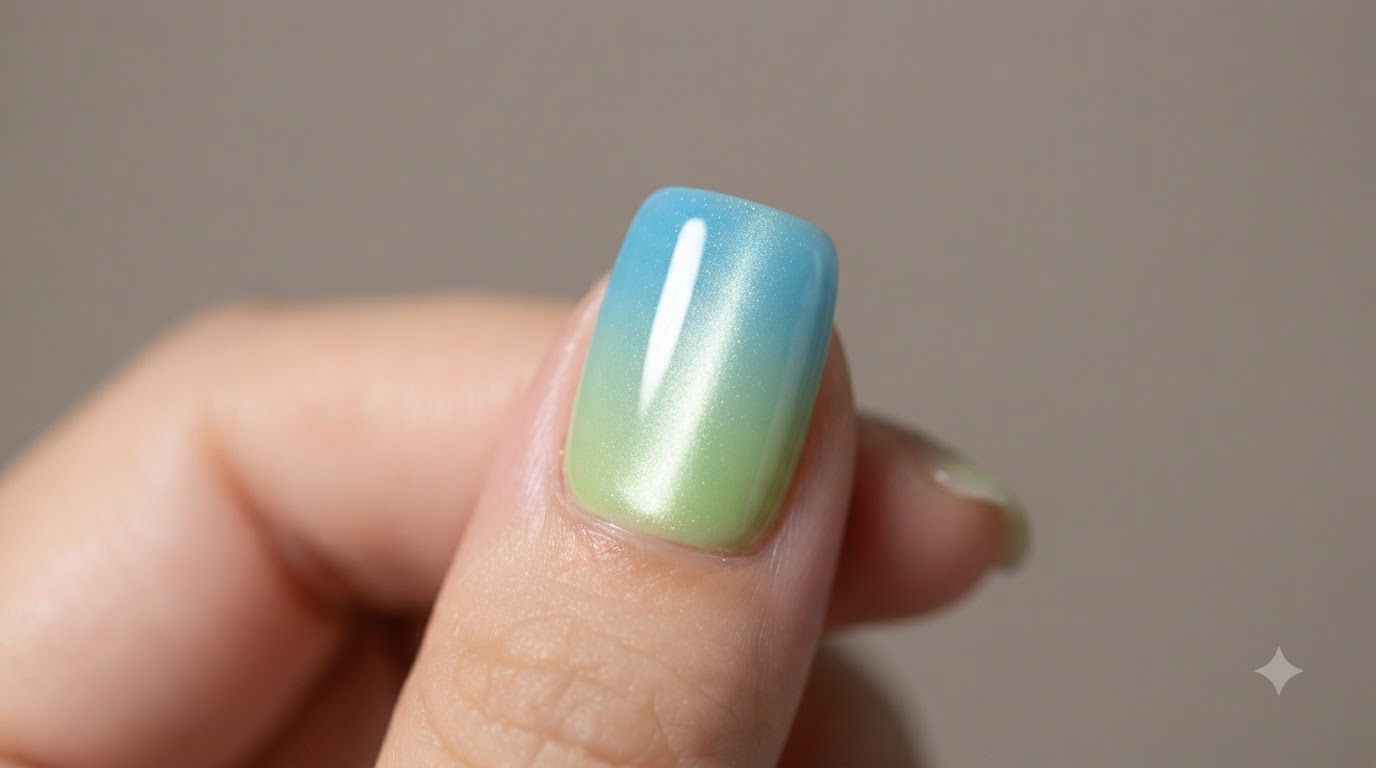
Hover a cylindrical magnet tool close to the wet cat-eye gel surface to activate the magnetic particles. Keep the magnet steady without touching the uncured polish to allow the metallic shimmer within the gel to shift and concentrate.
Tip: Hold the magnet steady for 5 to 10 seconds to ensure the magnetic particles fully react and form a crisp line or highlight. - 5Create the glass bead highlight
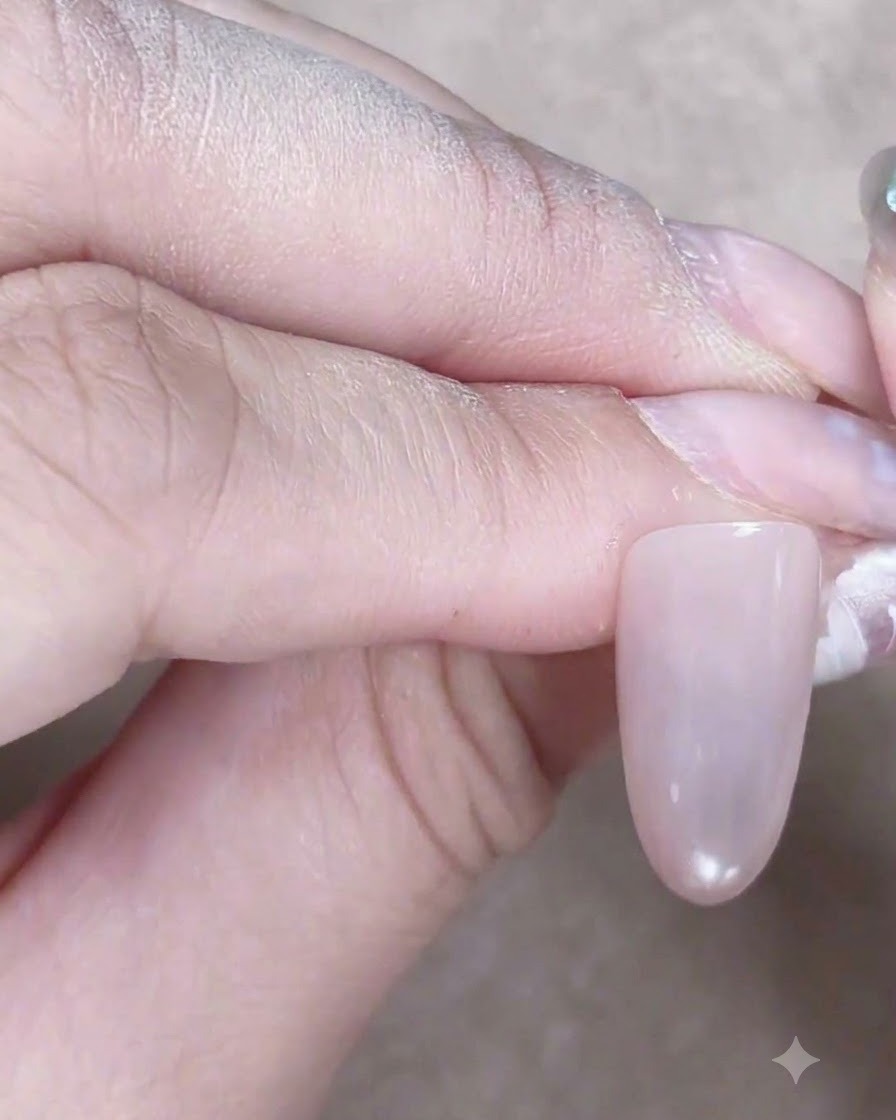
Adjust the angle of the magnet over the tip of the nail to push the shimmer into a centralized glass bead highlight. This precise manipulation gathers the magnetic pigment into a glowing, three-dimensional orb effect that resembles light passing through glass.
Tip: Small, subtle adjustments to the magnet angle dramatically change where the bright reflection point sits on the nail. - 6Apply crushed diamond gel and silver sequins
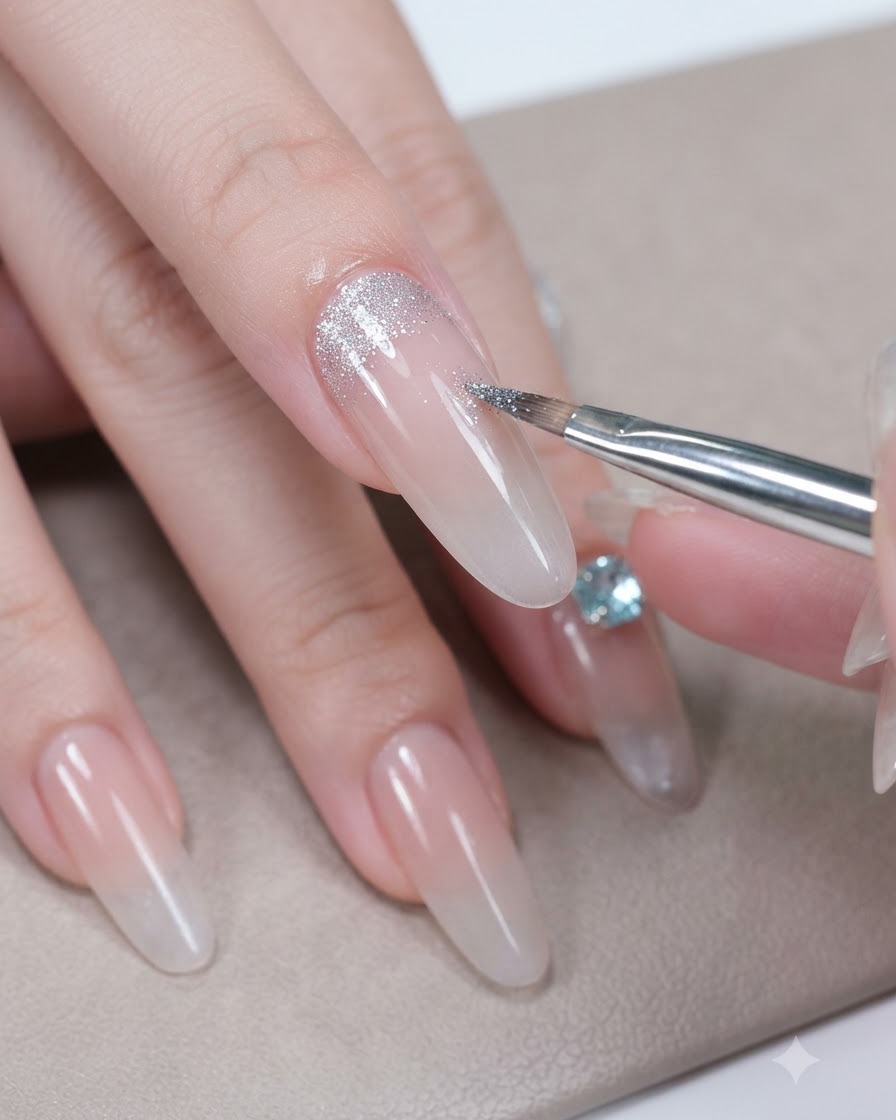
Use a flat gel brush to pick up crushed diamond gel and chunky silver sequins, placing the mixture near the cuticle. Position the dense cluster at the base of the nail so that you can fade it outward, mimicking sparkling stardust or celestial debris.
Tip: Pat the sequins flat into the gel layer to prevent them from sticking up or creating a bumpy surface under your top coat. - 7Fade silver glitter
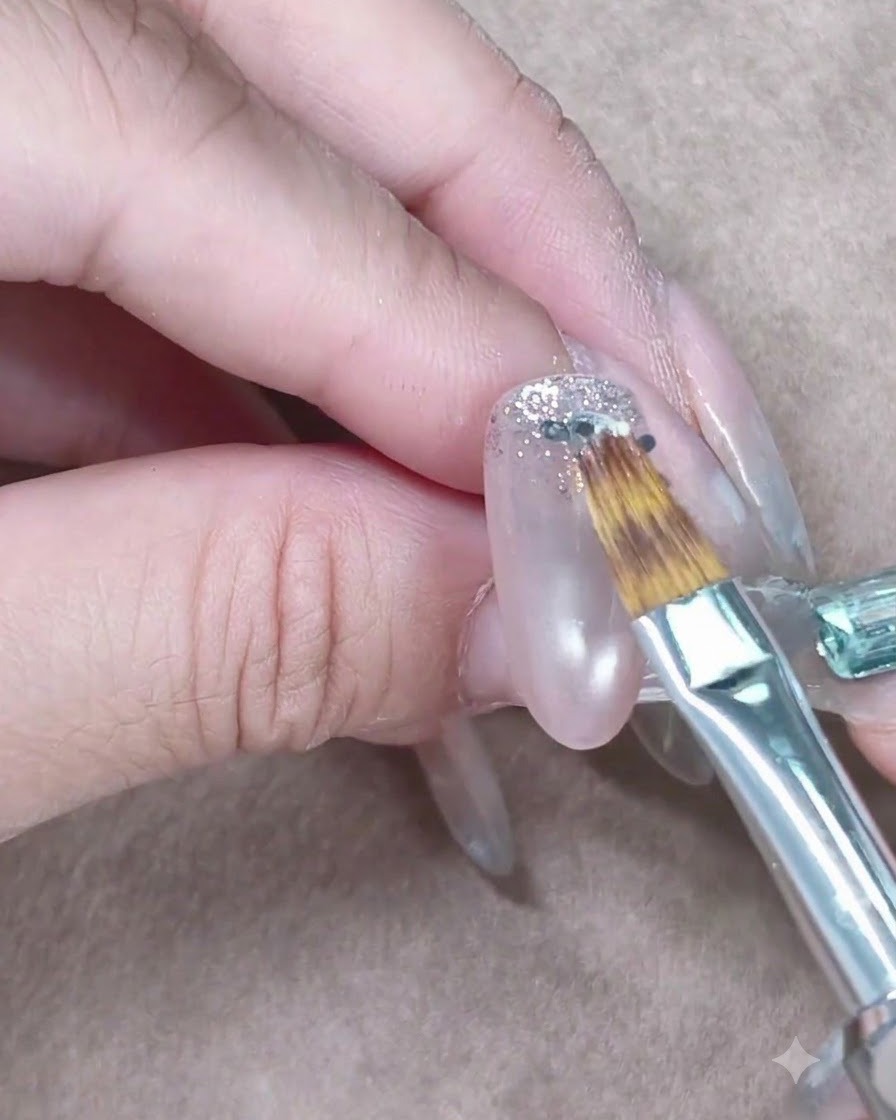
Using the corner of your brush, gently pull and feather the silver glitter particles downward toward the center of the nail. This creates a soft, diffused gradient effect starting from the cuticle.
Tip: Keep your touch light to ensure the glitter spreads evenly without clumping. - 8Apply translucent blue gel over sequins
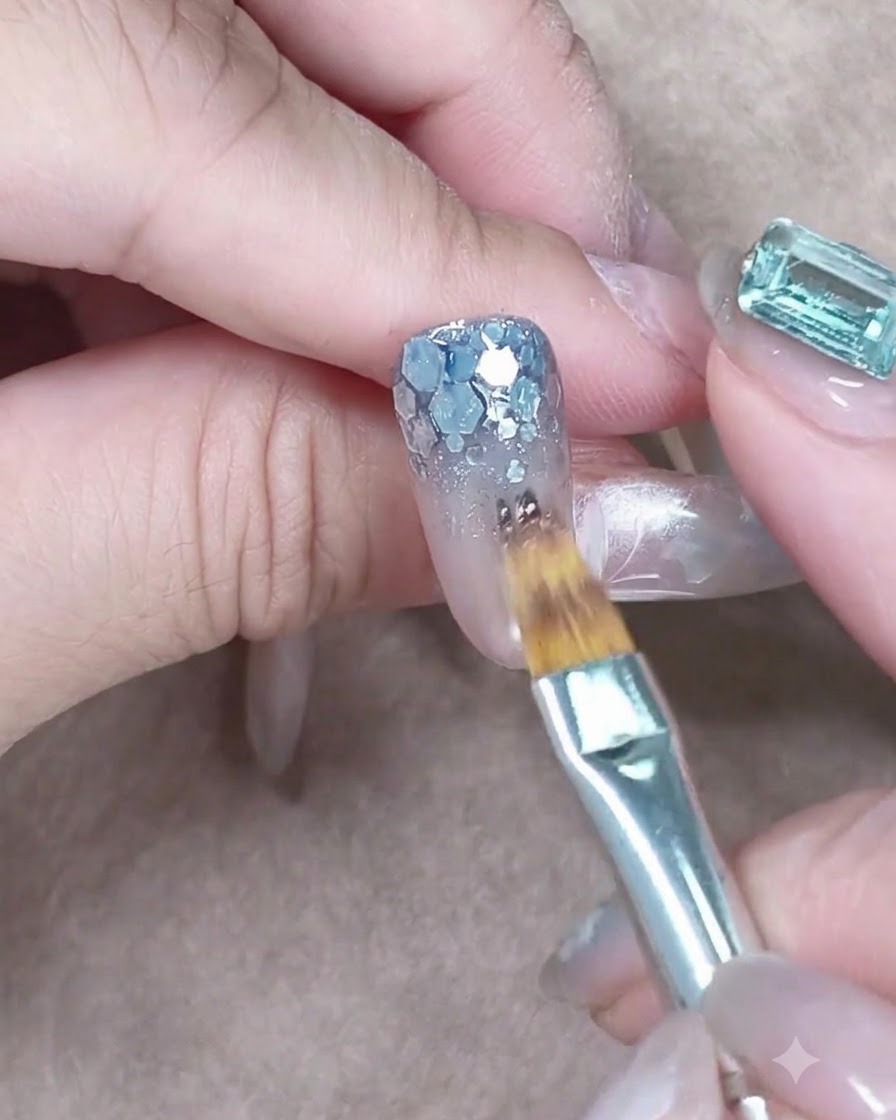
Pick up a sheer translucent blue gel using a flat brush and dab it generously directly over the chunky silver sequins concentrated near the cuticle area.
Tip: Dabbing rather than brushing helps keep the chunky sequins in place while tinting them. - 9Blend blue gel downward
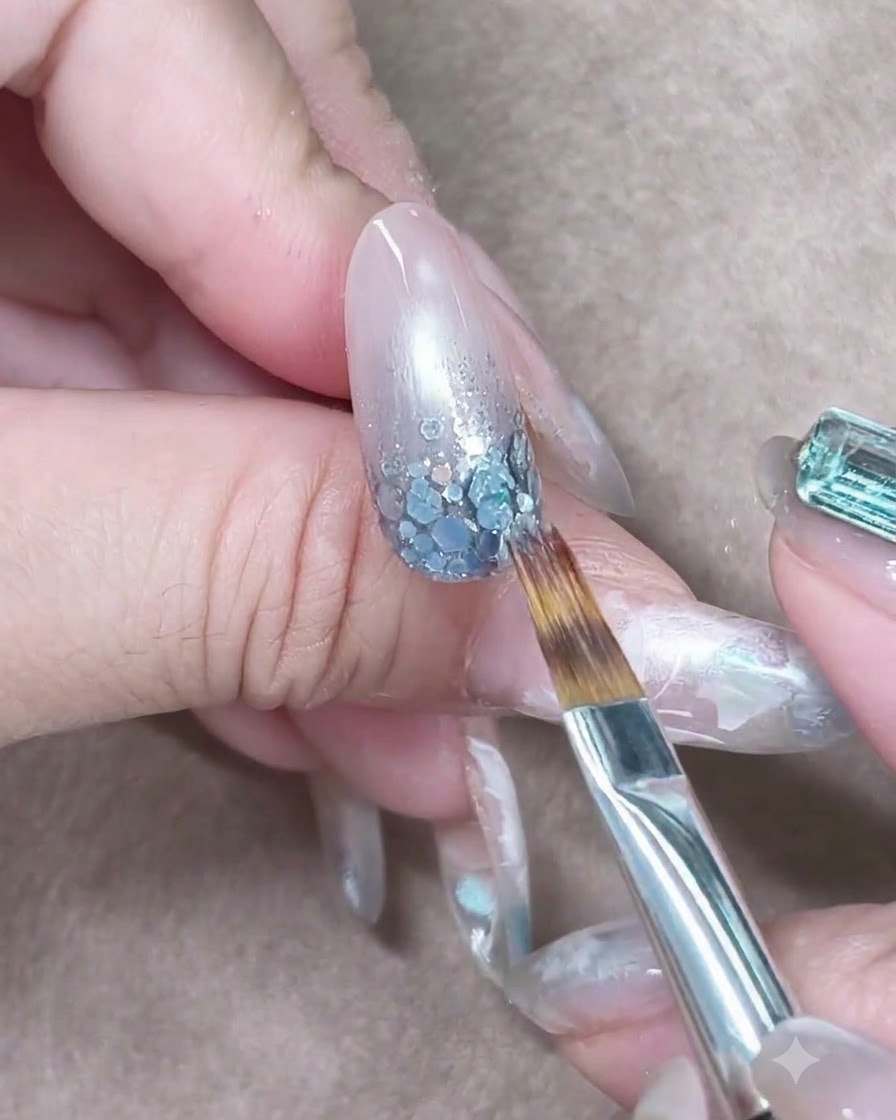
Lightly stroke the translucent blue gel down toward the middle of the nail. This tints the underlying glitter and seamlessly completes the rich blue gradient effect.
Tip: Blend smoothly toward the free edge to ensure a natural transition. - 10Apply clear builder gel
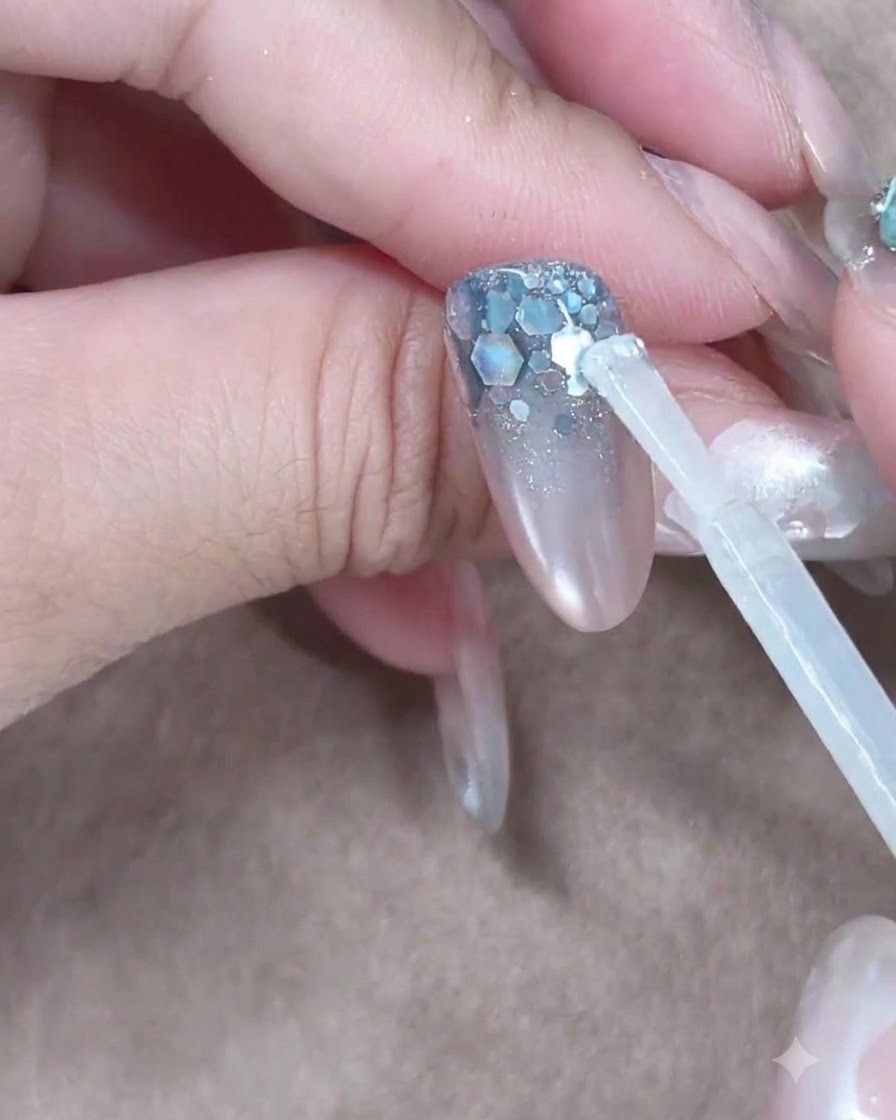
Apply a thick, generous bead of clear builder gel near the cuticle area. Gently guide and float the product down the center of the nail to encapsulate the design and add strength.
Tip: Allow the builder gel to self-level slightly before curing to ensure a smooth surface. - 11Self-level and build apex
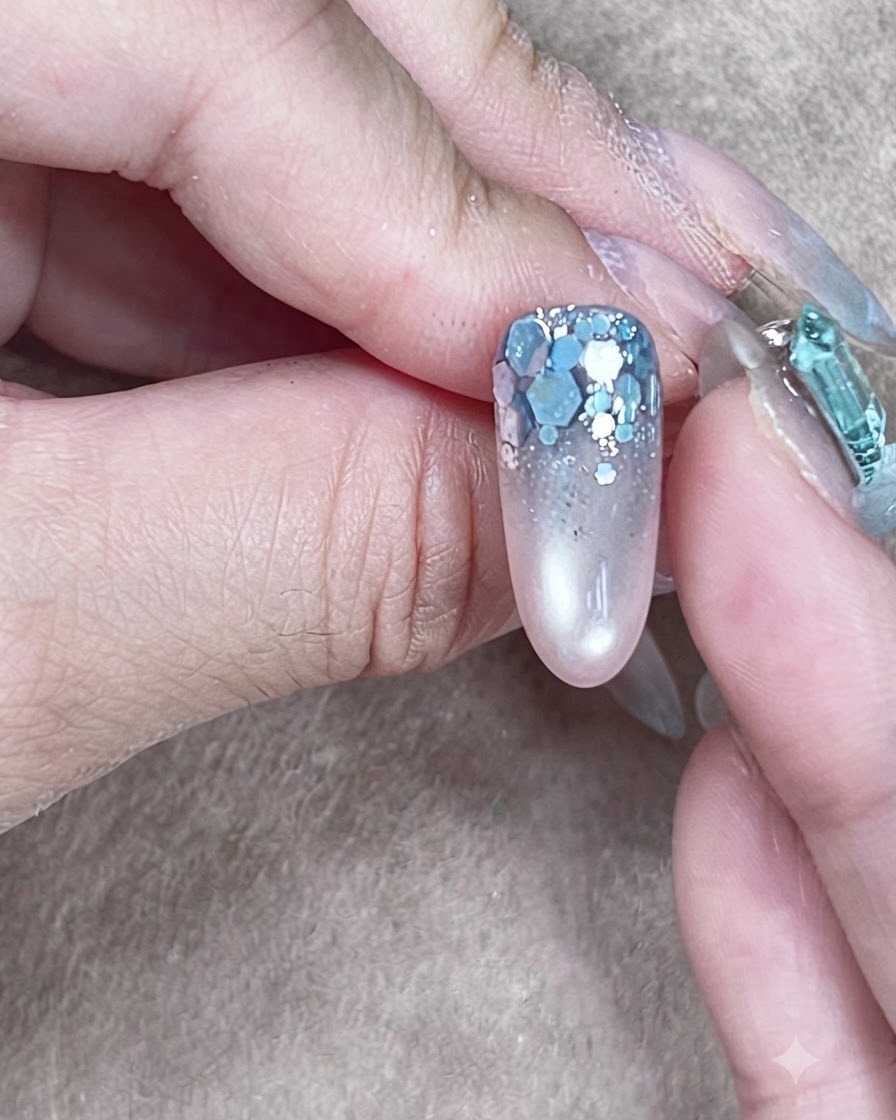
Use the brush to carefully guide and self-level the clear builder gel across the entire nail surface. Ensure the chunky glitter is completely encased and the proper structural apex is built.
Tip: Check the reflection in the gel surface to verify a smooth, even shape before curing.