Aquamarine Gradient Cat Eye Nails — Step-by-Step Gel Tutorial
Master the mesmerizing aquamarine gradient cat eye nail look. Learn how to blend a seamless black ombre tip and activate a luminous magnetic finish.
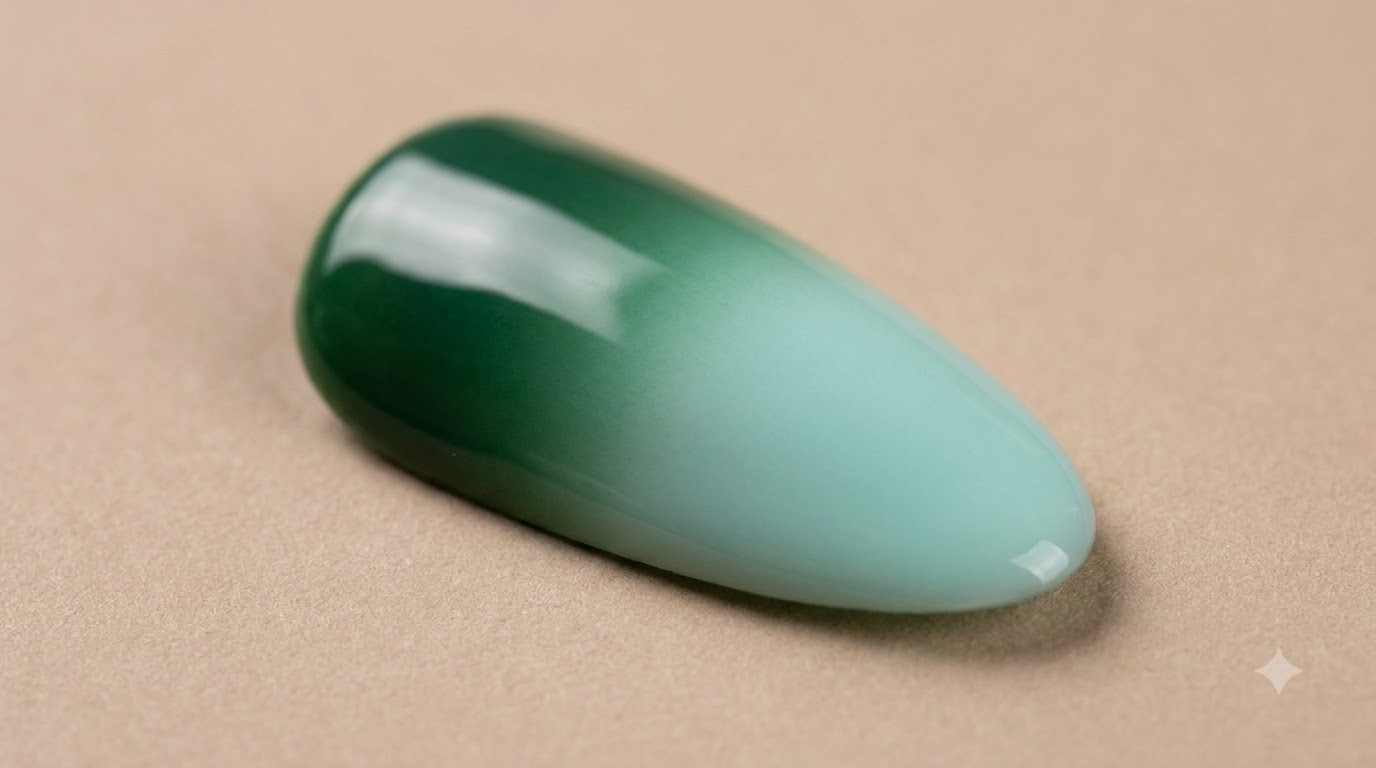
Magnetic cat eye gels offer endless possibilities for multidimensional nail art, especially when layered over a contrasting base. This aquamarine design pairs a dramatic black gradient tip with a luminous silver-blue magnetic top layer, creating an illusion of depth that shifts with every movement. Whether you are aiming for a starry night sky effect or an deep oceanic vibe, manipulating the magnetic particles with both spherical and cylindrical tools gives you complete control over the final reflection.
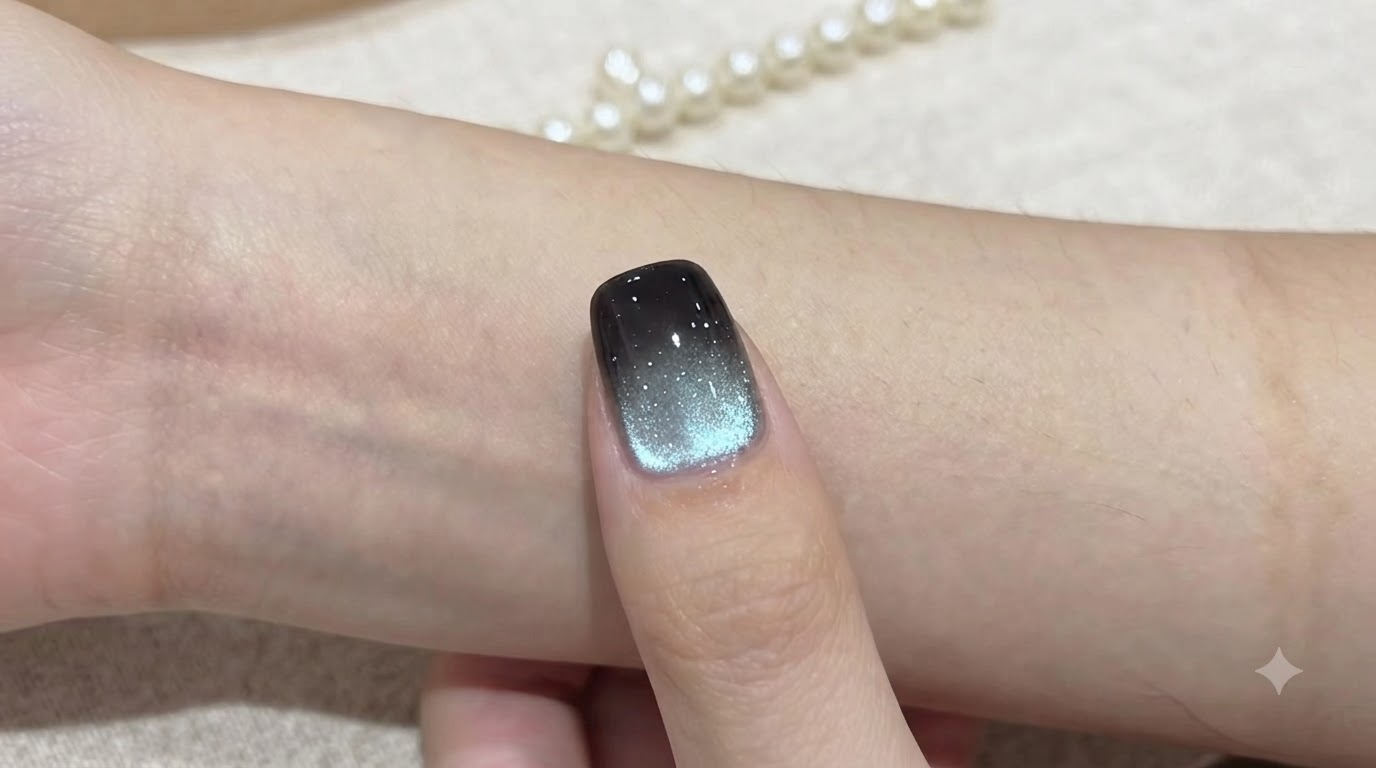
Steps
- 1Apply black gel to the free edge
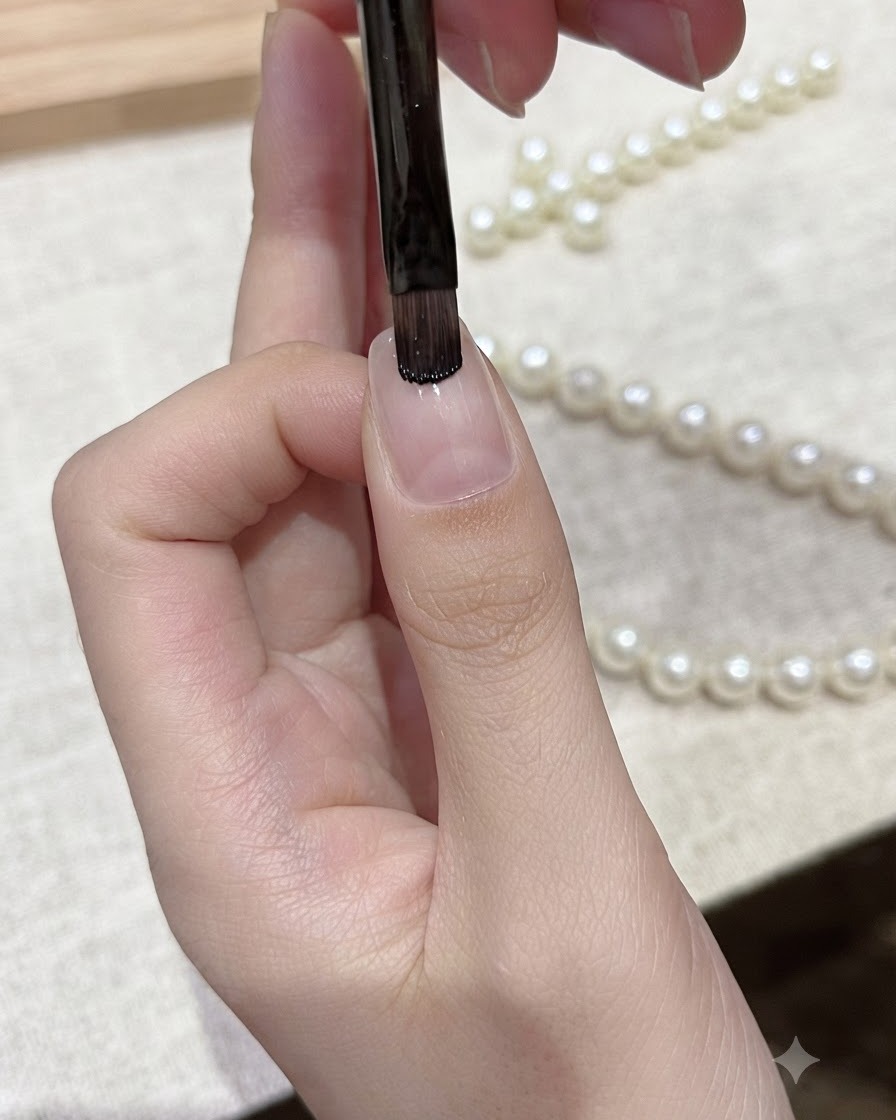
Using a flat gel brush, carefully apply a small amount of black gel polish directly onto the free edge of the thumb nail. Keep the application controlled and concentrated near the tip to prepare for creating a seamless gradient fade.
Tip: Use a light touch with the tip of the brush to prevent applying too much product at once, which makes blending harder. - 2Blend the gel gradient with a sponge
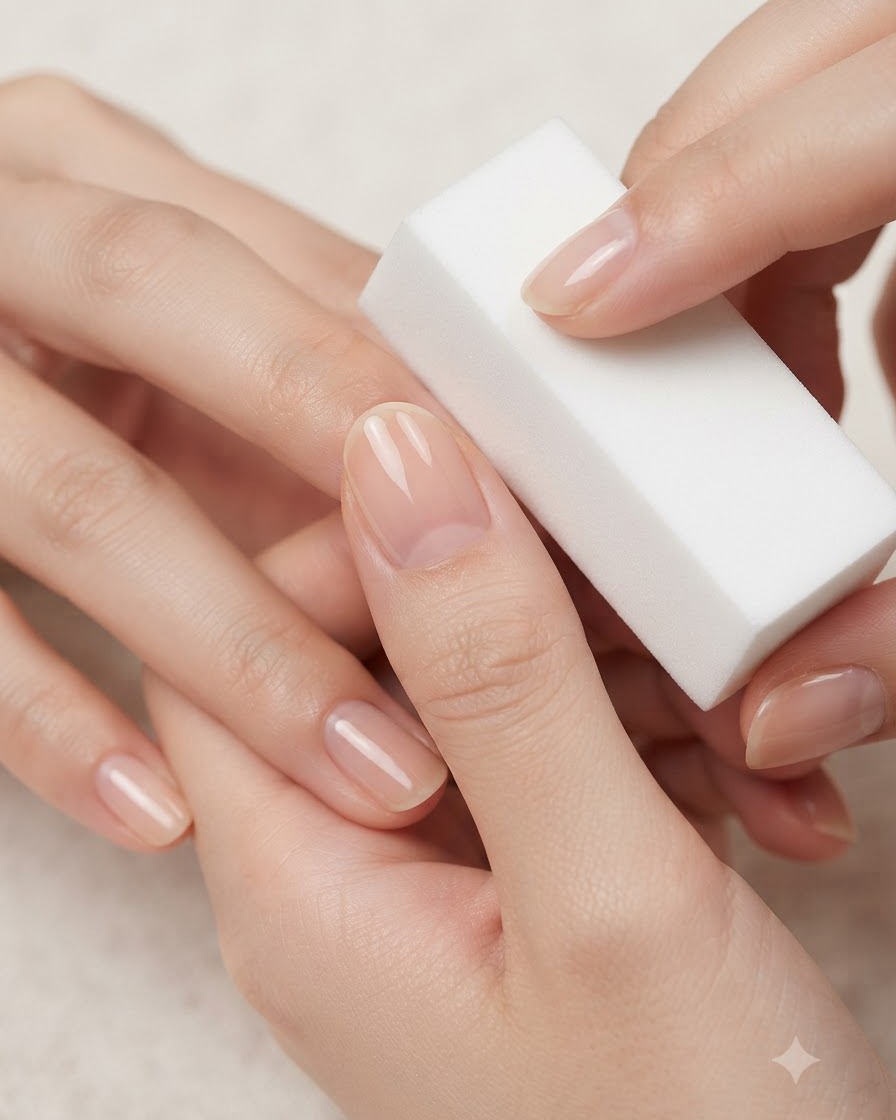
Gently dab the wet black gel polish using a white rectangular sponge block, working downwards toward the center of the nail plate. This stamping motion diffuses the harsh edge of the gel, creating a smooth and even gradient fade effect.
Tip: Dab lightly and consistently so you do not completely wipe away the pigment, but rather diffuse it softly. - 3Cure the gradient layer
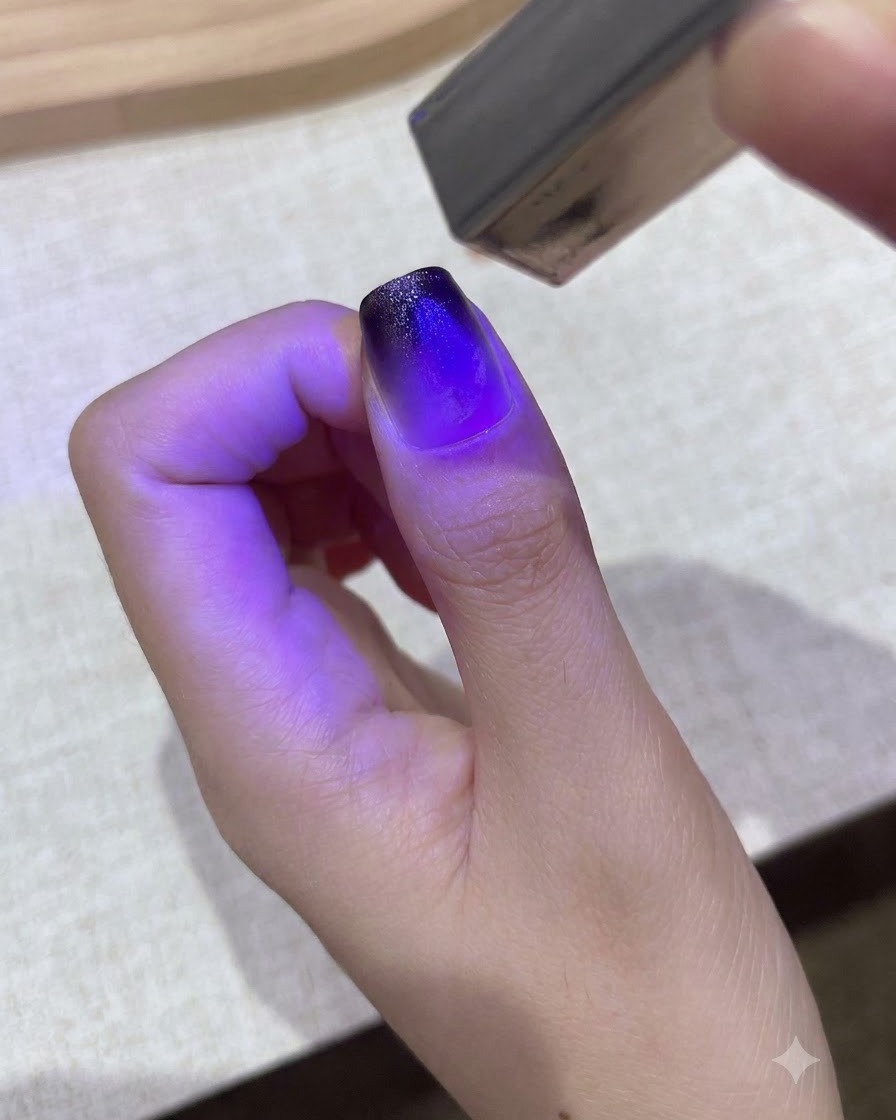
Place the thumb under a small, handheld purple UV/LED lamp to cure the blended black gel gradient. Flash cure the layer for a few seconds to lock the gradient in place and prevent it from shifting during subsequent steps.
Tip: Hold the portable lamp steady and close enough to ensure the entire gradient cures evenly without sliding. - 4Apply silver-blue magnetic gel polish
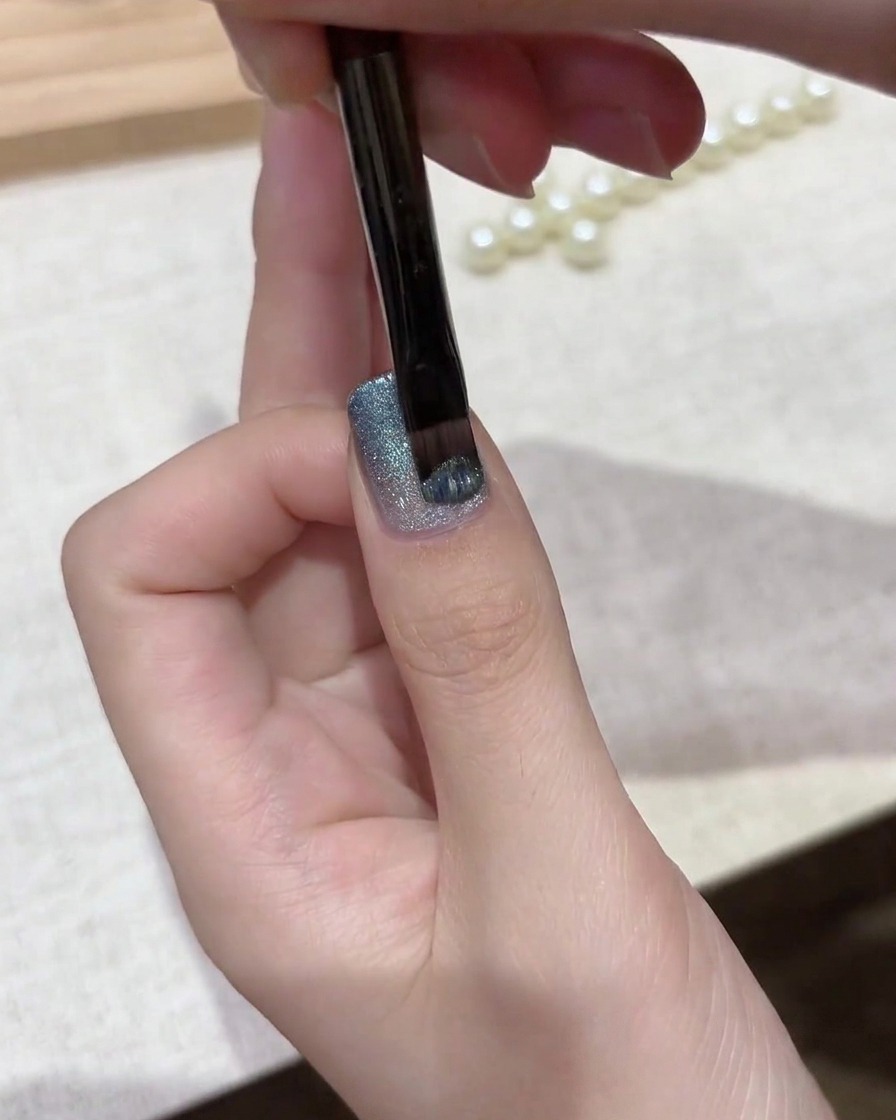
Brush a uniform and smooth layer of silver-blue magnetic cat eye gel polish over the entire surface of the nail, completely covering the underlying black gradient. Do not cure this layer yet, as you need the particles to remain mobile for the next step.
Tip: Ensure an even coat so the magnetic metallic particles distribute uniformly before using the magnet tools. - 5Shape magnetic particles with a spherical tool
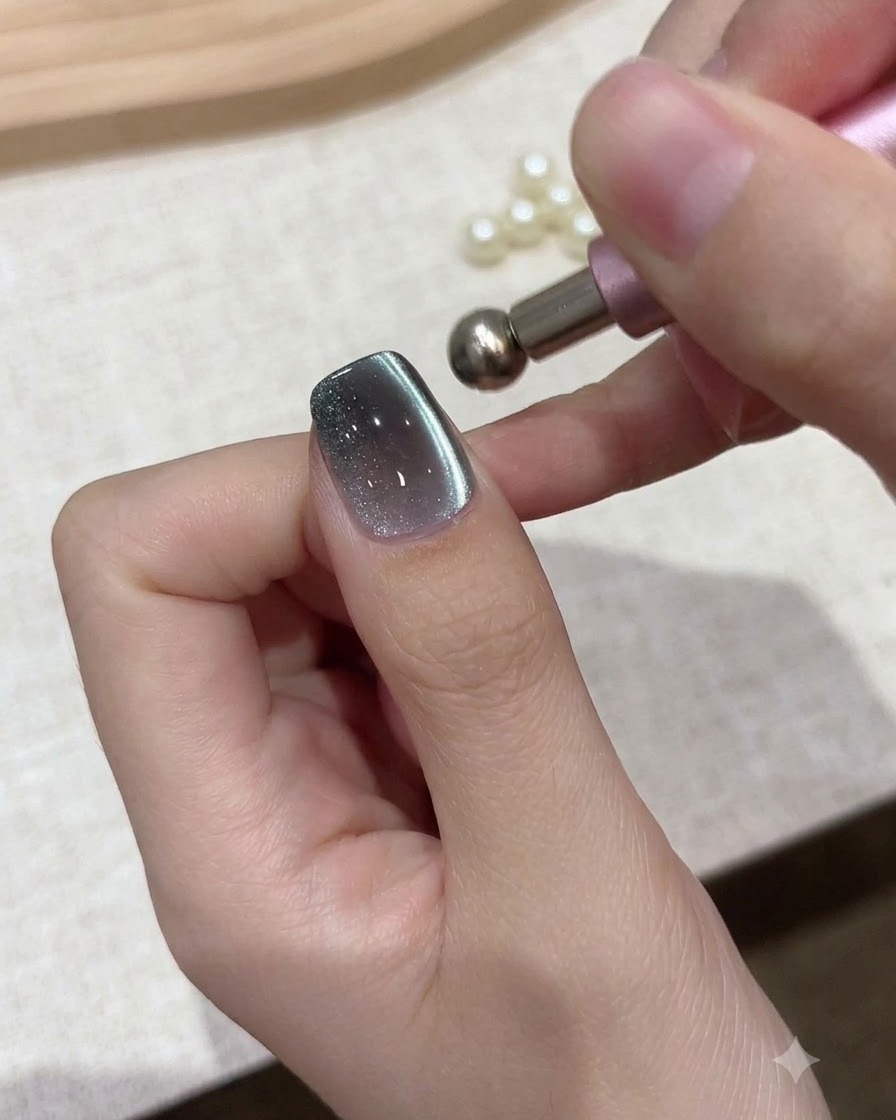
Hover a small spherical magnet tool closely near the cuticle area of the wet gel layer. The magnetic force will draw and gather the metallic particles toward the back, creating a concentrated cat-eye dimension and depth over the gradient.
Tip: Keep the magnet close to the surface without touching the wet polish to achieve a sharp, defined magnetic concentration. - 6Push shimmer upwards with a cylindrical magnet
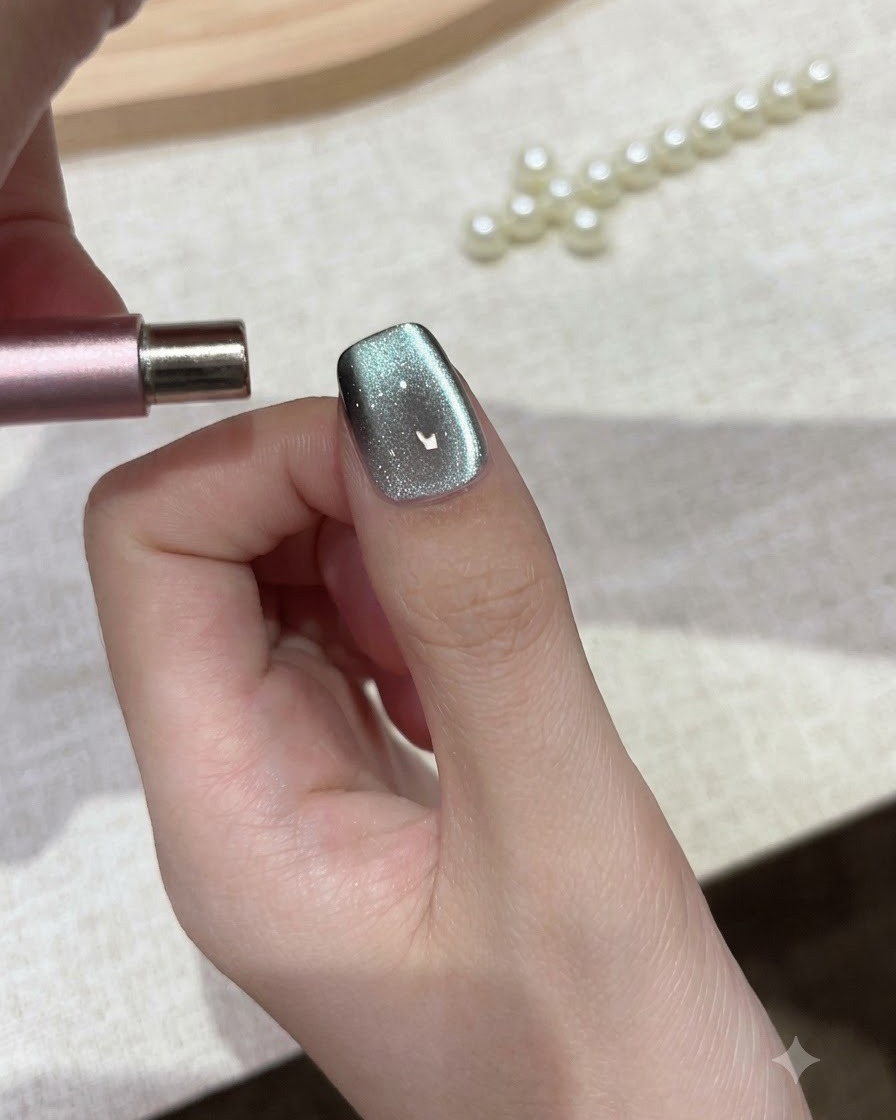
Hold a cylindrical magnet parallel across the tip of the nail to push the magnetic shimmer upwards and refine the light reflection. This final magnet placement creates a balanced, glowing cat-eye effect across the tip before curing.
Tip: Hold the magnet steady for a few seconds until the desired reflection line locks into place. - 7Position magnet on left sidewall
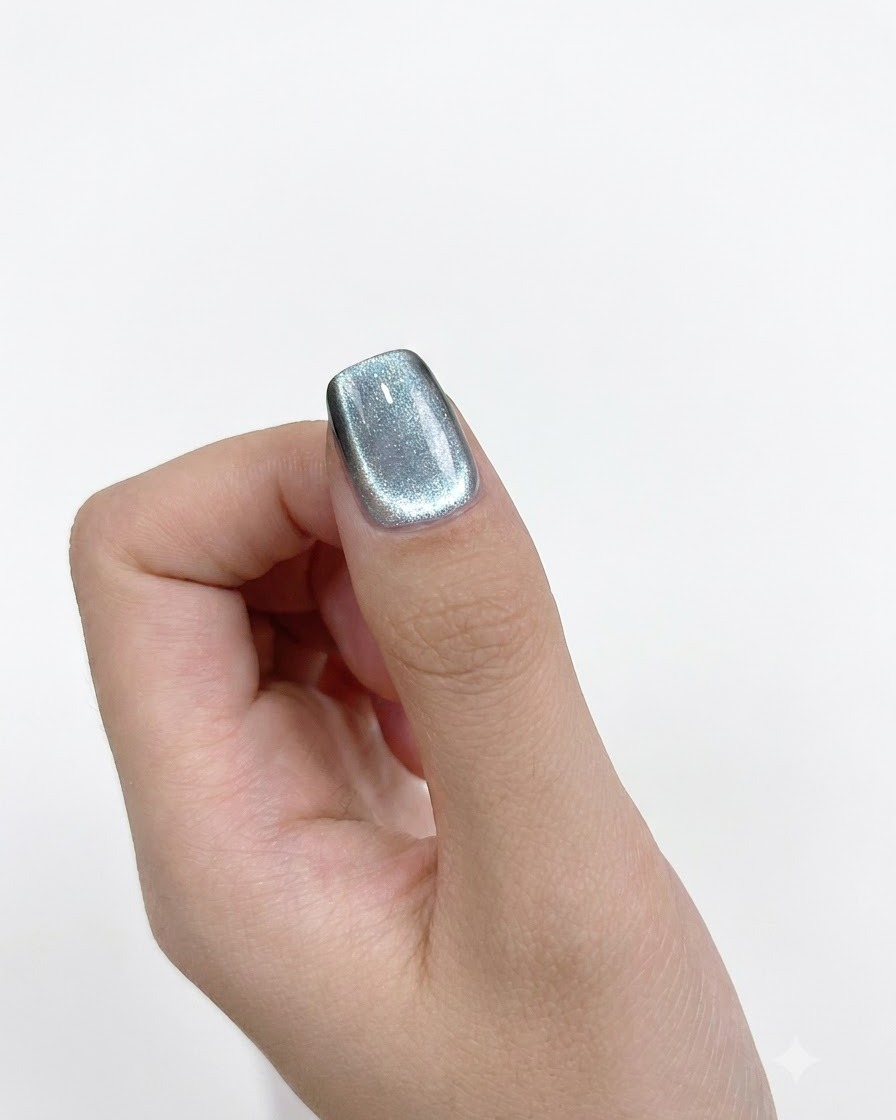
Hold the cylindrical magnet closely along the left sidewall of the nail immediately after applying the cat eye polish. Hold it steady for a few seconds to draw and concentrate the magnetic particles toward that side, creating a luminous dimensional effect.
Tip: Keep the magnet very close to the nail without touching the wet polish surface to avoid smudging. - 8Hover magnet on right sidewall
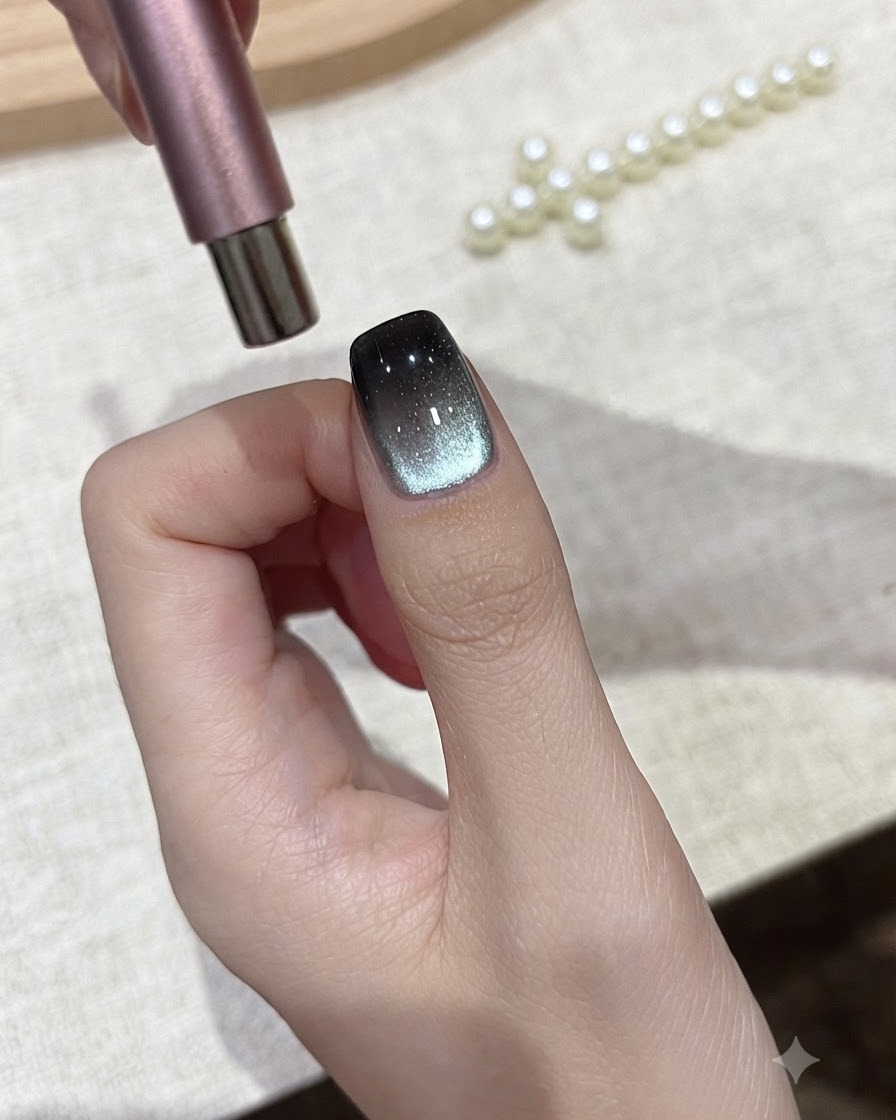
Carefully transition the cylindrical magnet over to the right sidewall of the nail. Hover it gently to push and shape the magnetic particles, establishing a crisp, glowing aquamarine cat eye band running vertically through the center.
Tip: Work quickly while the gel is still uncured and mobile to achieve a sharp and defined light reflection. - 9Apply glossy top coat
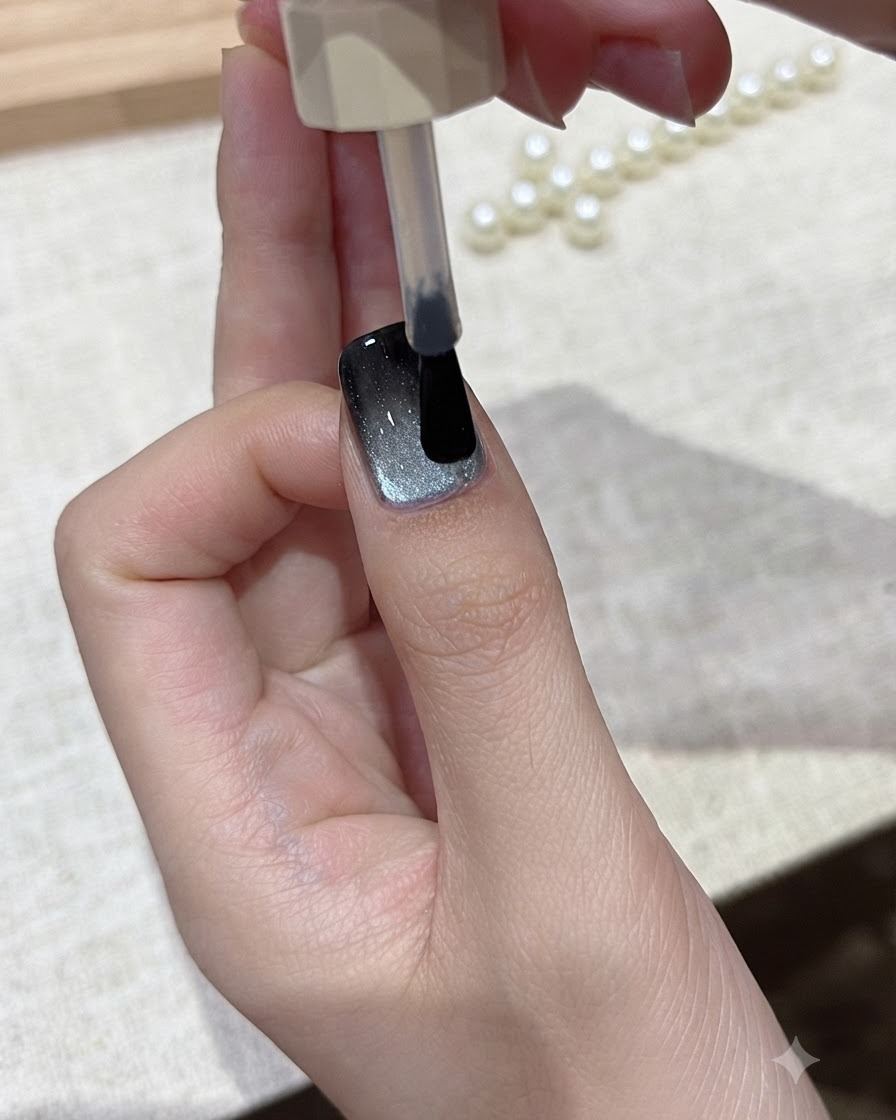
Apply a generous, even layer of clear glossy top coat starting smoothly from the cuticle area and pulling it down to seal the free edge. This locks in the cat eye design, adds deep refraction, and protects the manicure from chipping.
Tip: Always cap the free edge with top coat to secure the entire gel manicure and extend its wear time.