Romantic Blue-Purple Ocean Wave Smudge Nails — Step-by-Step Tutorial
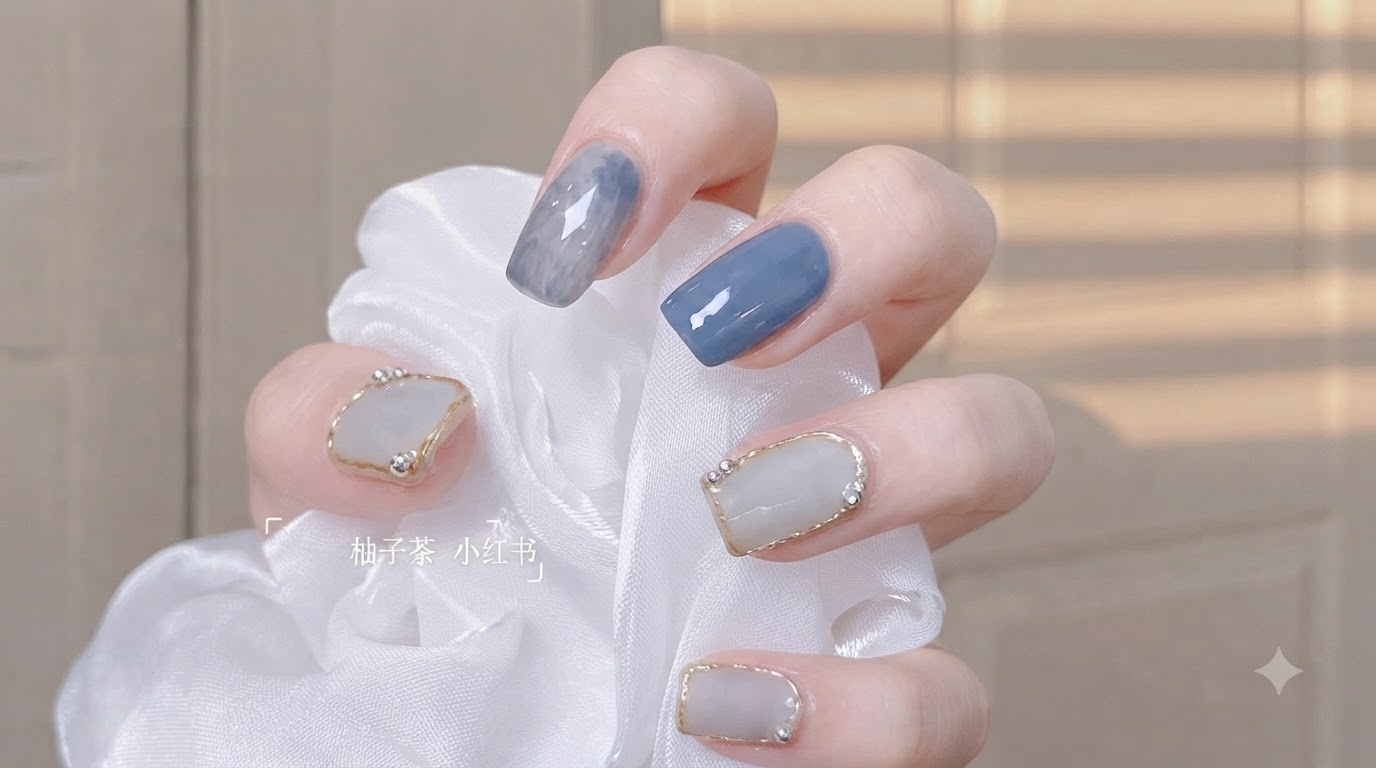
Create dreamy romantic blue-purple ocean wave smudge nails featuring custom color mixing, watercolor blooming effects, and raised gold chrome borders.
Ocean wave and marble smudge nails bring a touch of artistic elegance to your fingertips. By blending custom blue-purple and grey-blue shades with a delicate watercolor blooming effect, this tutorial guides you through crafting a sophisticated set complete with metallic textured borders.
Steps
- 1Prepare gel polish bottles and mixing palette
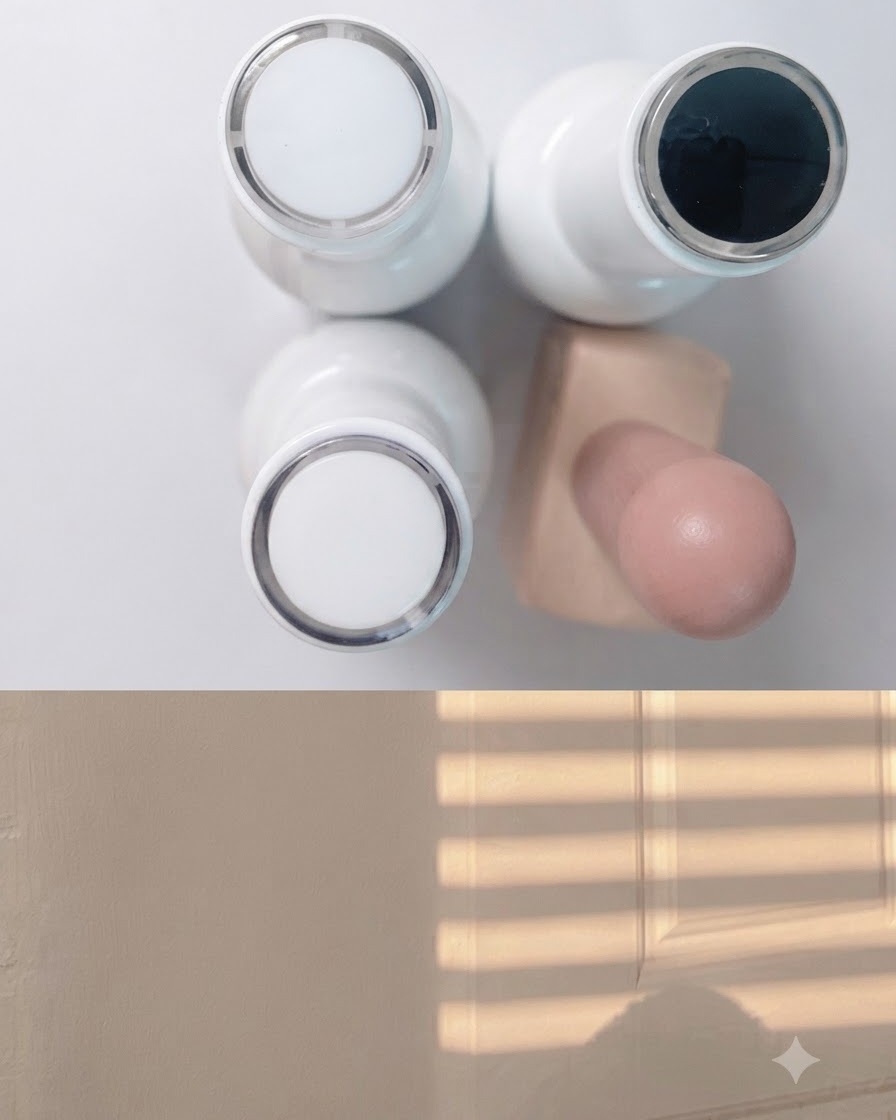
Gather the white, blue, and black gel polish bottles and place them next to your clean mixing palette on the workspace. Having all your primary colors and tools easily accessible streamlines the custom color mixing process for your nail art.
Tip: Organize your workspace before starting to prevent accidental spills and ensure a smooth workflow. - 2Mix blue and white gel
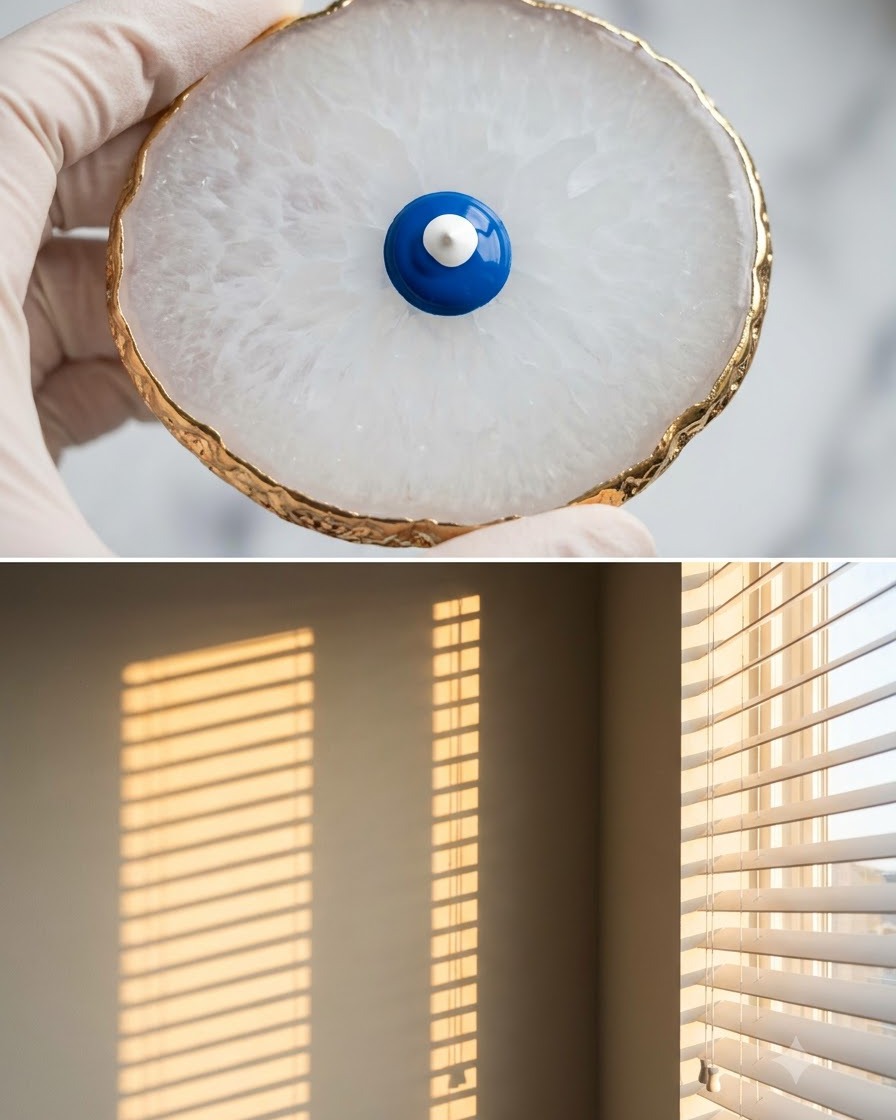
Dispense a dollop of vibrant blue gel onto your palette and place a small drop of white gel directly in the center. Use a dotting tool or mixing spatula to gently combine them, lowering the colors saturation to achieve a softer tone.
Tip: Add white gradually to the blue to avoid over-lightening your mixture on the first try. - 3Add black gel for blue-purple tone
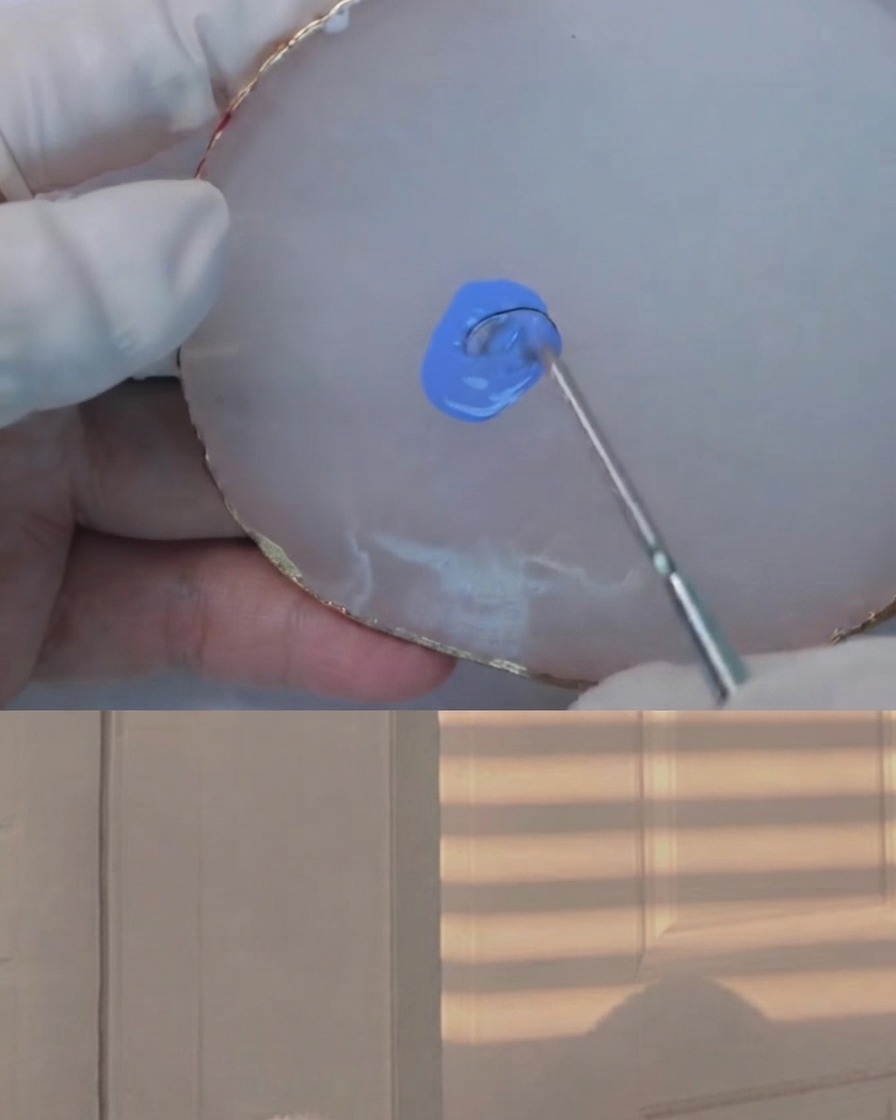
Take a microscopic amount of black gel and introduce it to your blended blue and white mixture. Thoroughly incorporate the black gel using your tool to shift the hue into a rich, customized blue-purple tone suitable for the middle finger.
Tip: Black gel is extremely potent; always start with a pinhead-sized amount and mix thoroughly before adding more. - 4Mix grey-blue base color
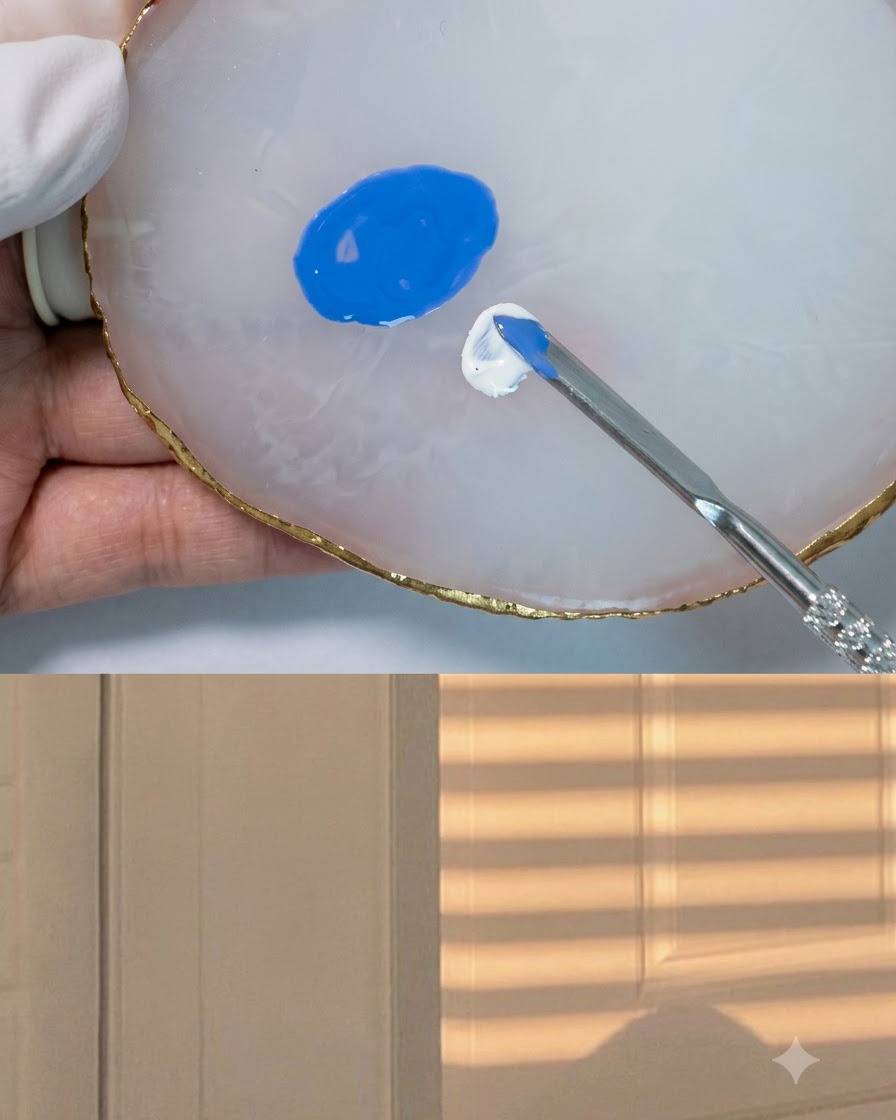
Take the leftover blue polish mixture on the palette and incorporate additional white gel. Mix them well until you achieve a smooth, lighter grey-blue shade designed for the index and pinky fingers.
Tip: Keep your color pools distinct on the palette to avoid accidentally contaminating your custom shades. - 5Mix solid light grey shade
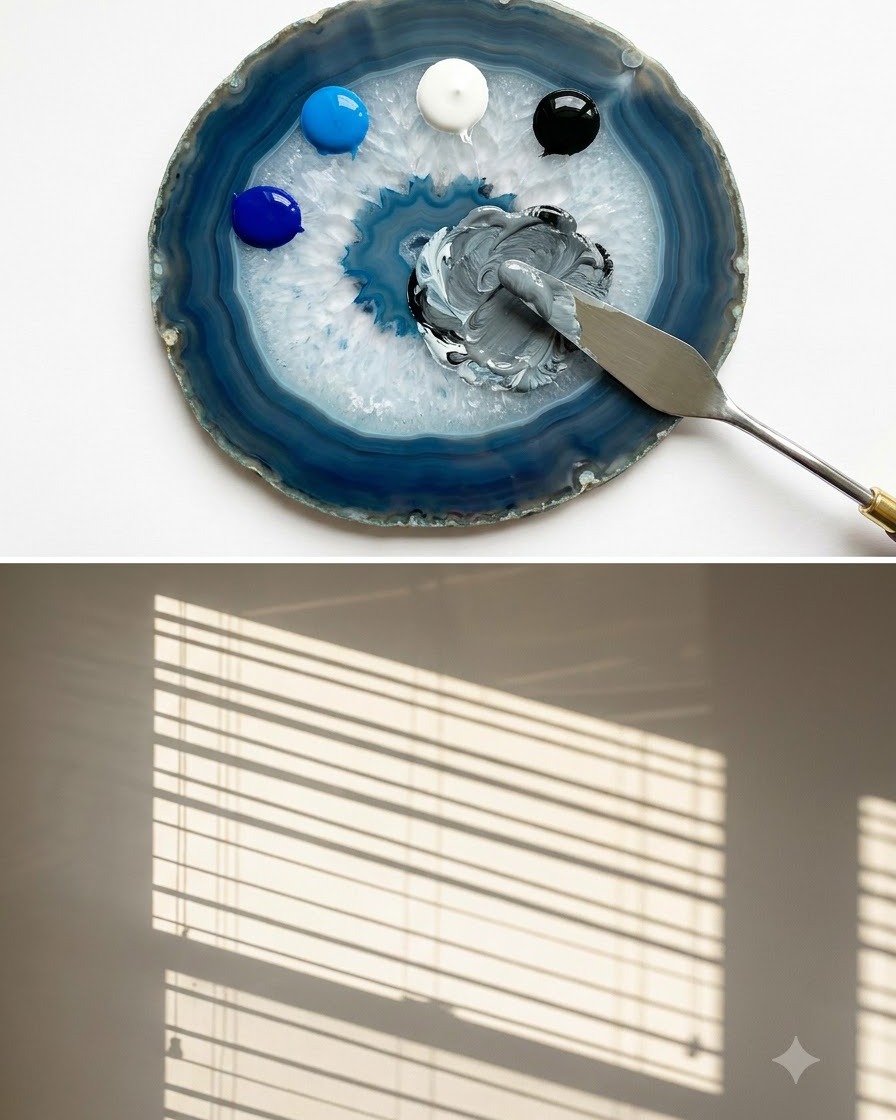
On a clean section of your palette, combine white and black gel in an approximate 6:1 ratio. Blend them continuously with your spatula until you produce a clean, solid light grey shade designated for the thumb and ring finger base.
Tip: Maintain the correct proportion to ensure the grey remains light and airy rather than dark charcoal. - 6Apply first coat of light grey
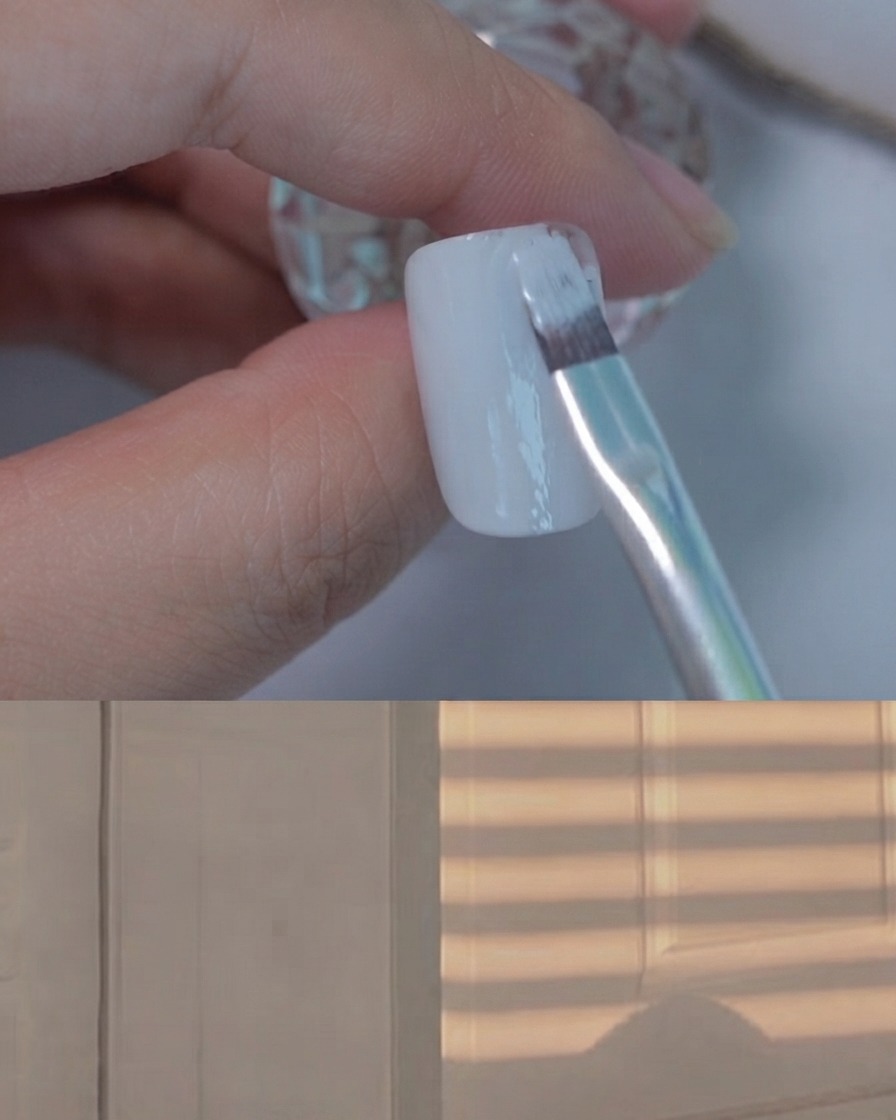
Using a flat gel brush, pick up a moderate amount of the custom light grey base color. Smoothly apply a thin, even first coat across the nail surface, taking care to cover the edges neatly before curing.
Tip: Apply thin, even strokes to prevent pooling or streaking in your light grey base layer. - 7Apply custom blue-purple gel
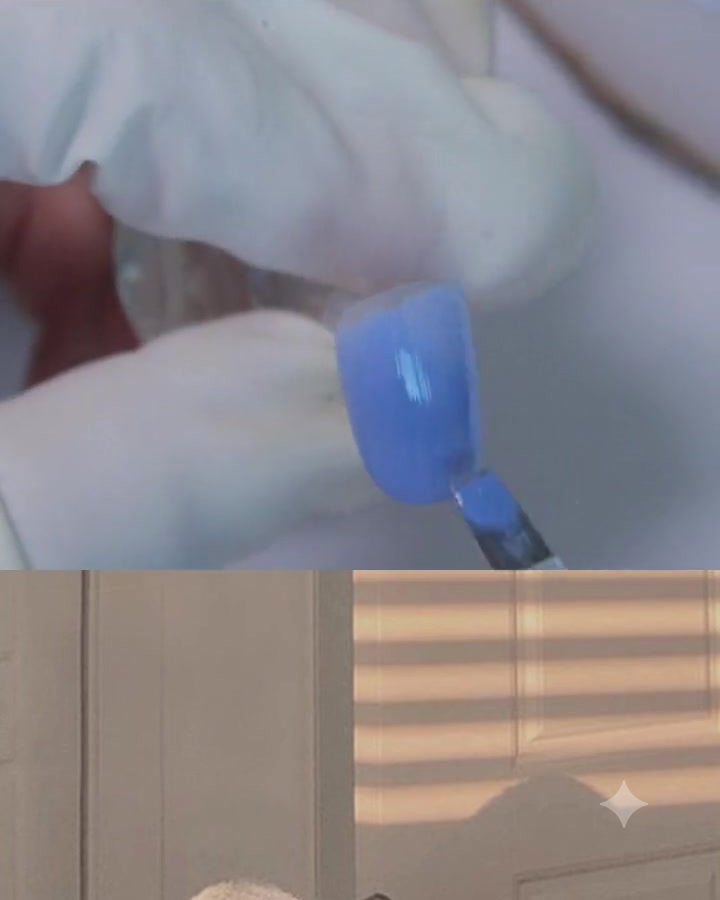
Take the custom mixed blue-purple gel created earlier and apply an even coat onto the middle finger nail using the flat gel brush. Make sure to cover the surface smoothly without streaking, and cap the free edge before curing under the lamp.
Tip: Apply in thin, controlled strokes to prevent pooling around the cuticles. - 8Apply matte top coat to the thumb nail
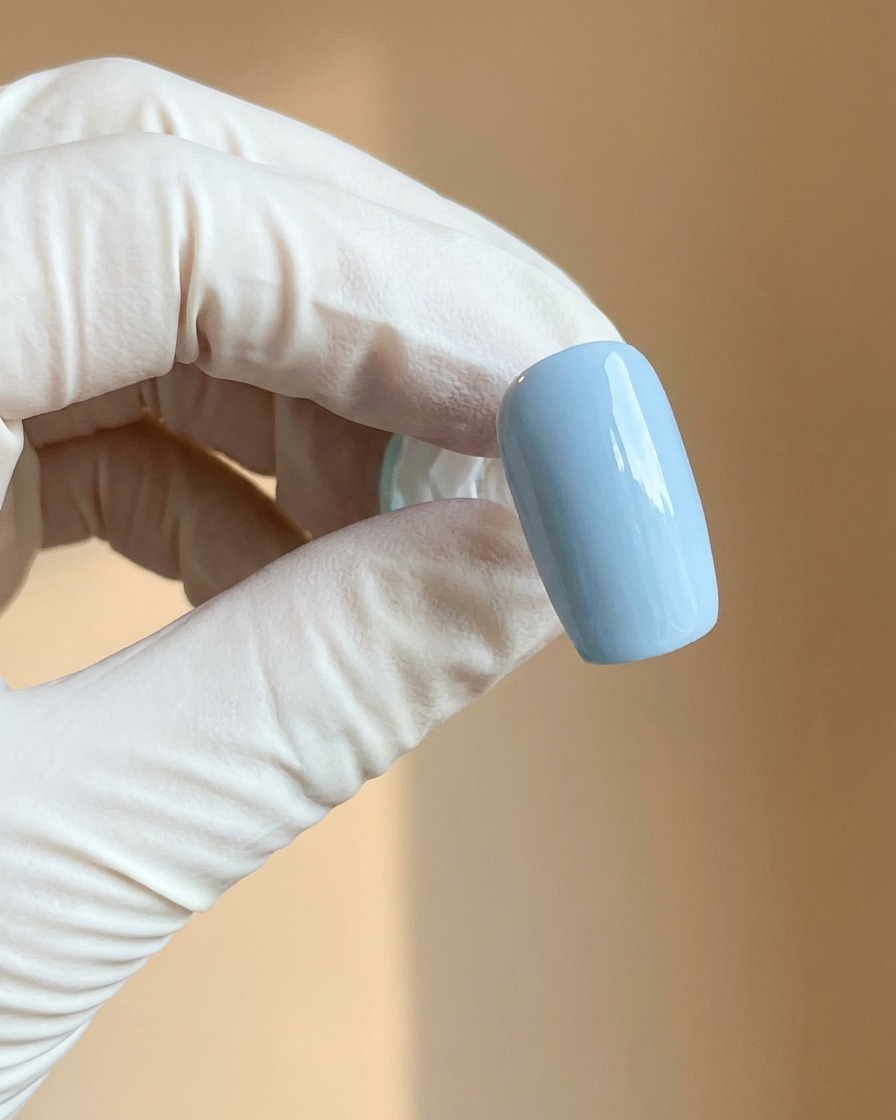
Apply an even layer of matte top coat over the cured light grey thumb nail and cure it under the lamp. The matte surface provides the ideal texture for the subsequent chrome border design to adhere properly.
Tip: Ensure the matte top coat is fully cured so the chrome powder only sticks to the designated border gel. - 9Draw raised frame with rhinestone gel
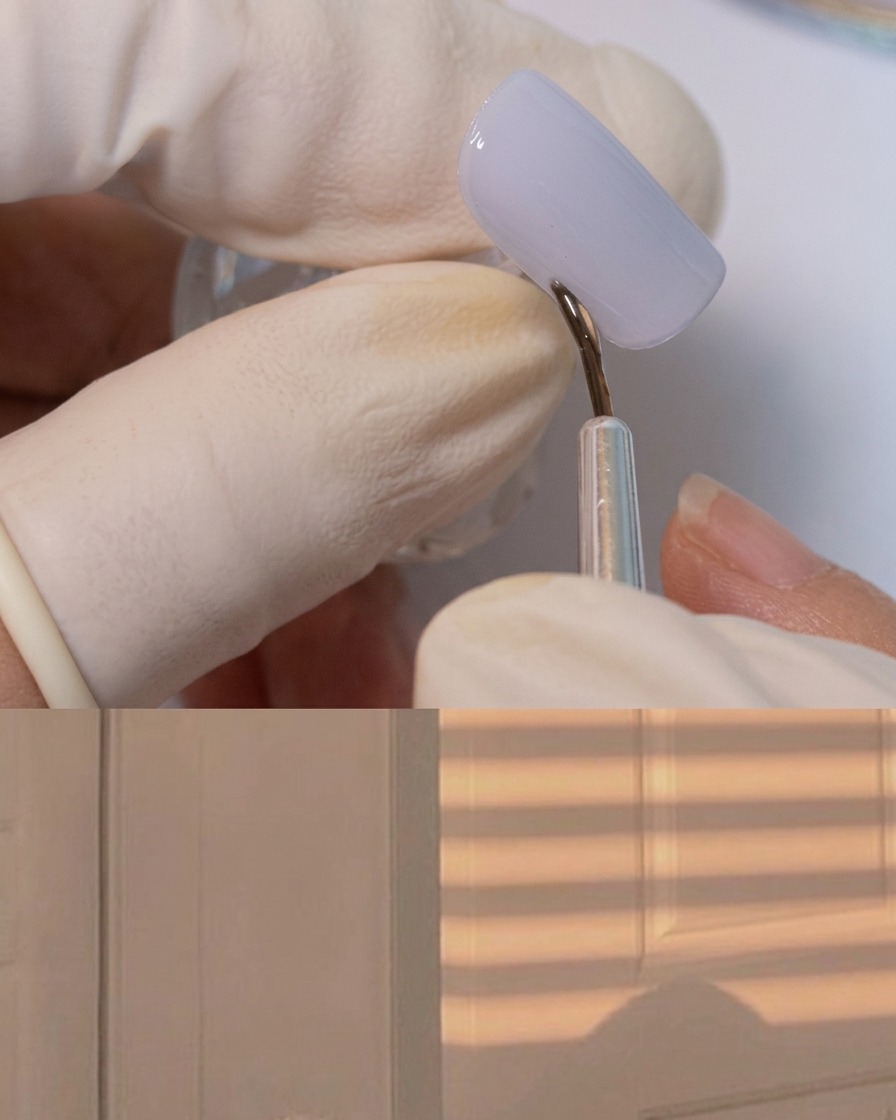
Using a fine liner brush loaded with thick rhinestone adhesive gel, carefully draw a thin, raised frame along the outer edges of the matte grey nail. Cure this under the lamp once drawn to lock the raised structure in place.
Tip: Ensure the adhesive gel is thick enough to hold its raised shape before curing. - 10Apply champagne gold chrome powder
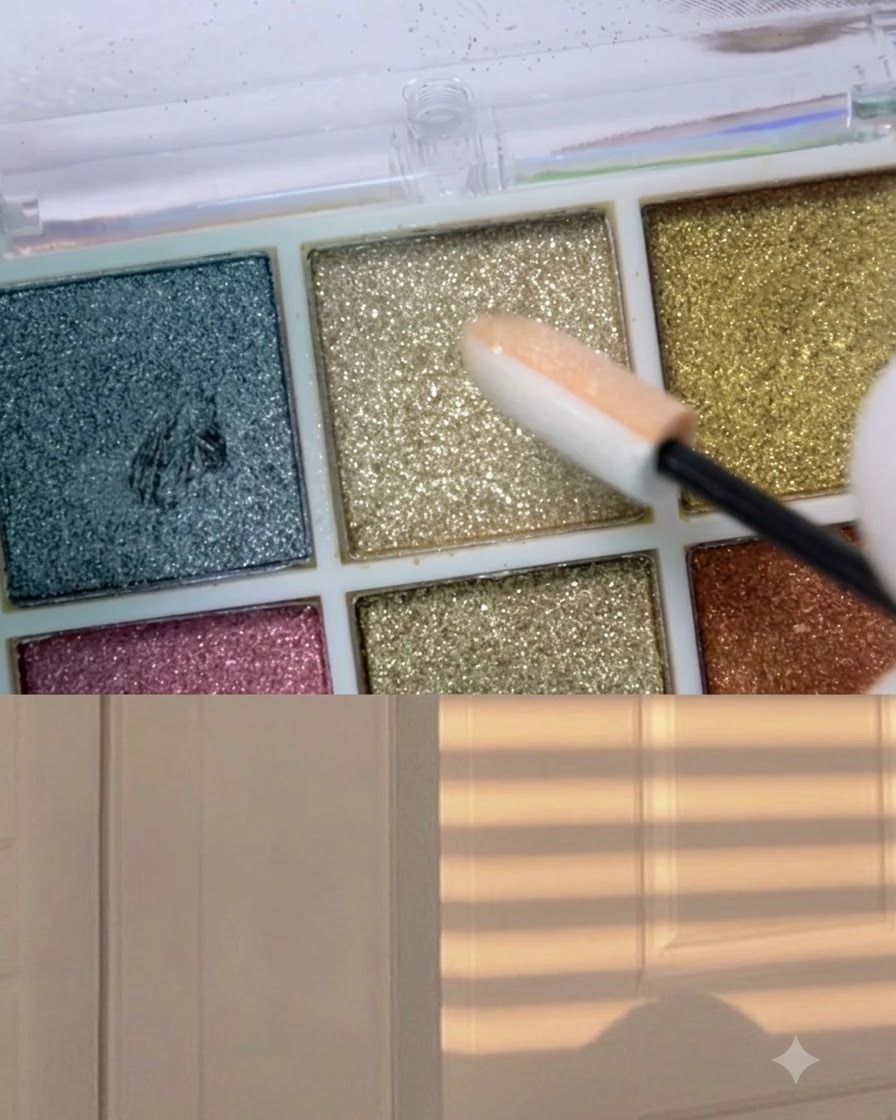
Take an eyeshadow sponge applicator loaded with champagne gold chrome powder and gently buff it over the cured raised gel frame. The powder adheres exclusively to the tacky or cured gel border, creating a brilliant metallic outline.
Tip: Use light, sweeping motions to avoid getting loose chrome powder onto the matte background surface. - 11Attach a steel caviar bead to the corner
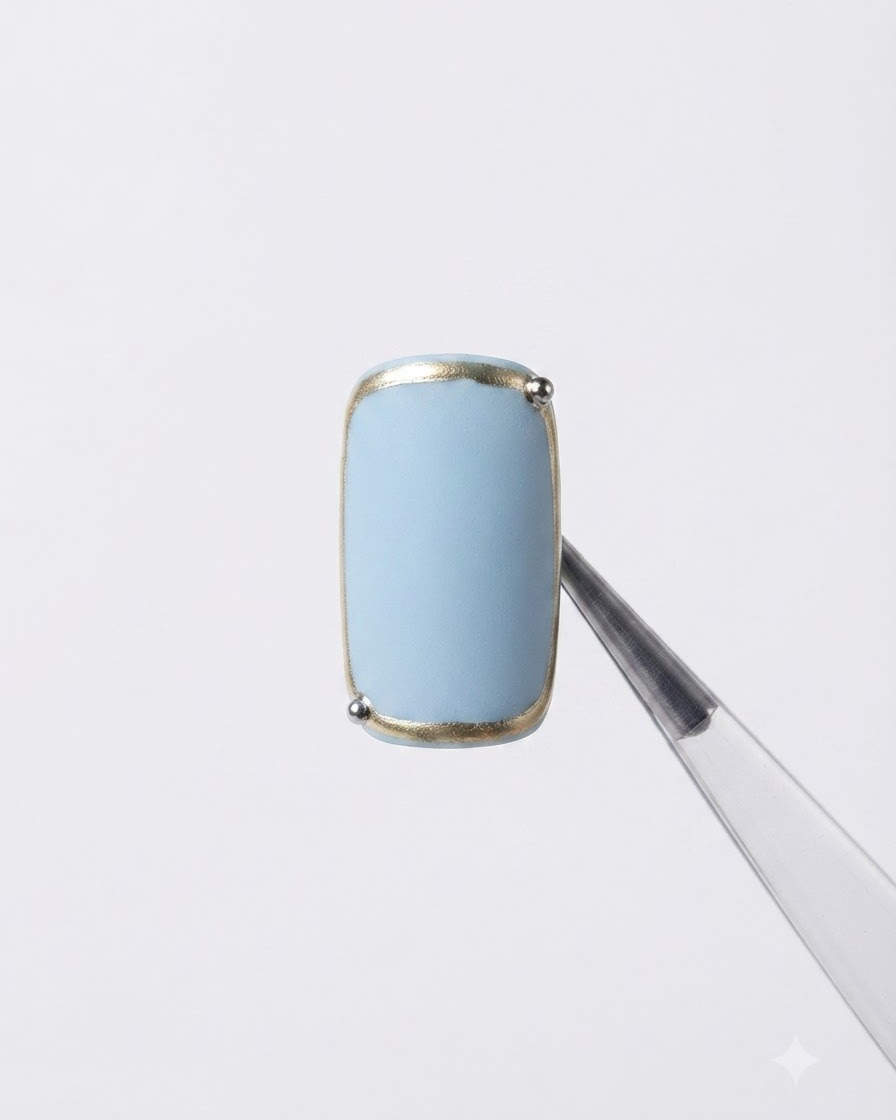
Using a pair of precision tweezers, pick up a tiny steel caviar bead and place it securely onto the bottom corner of the framed nail where a small drop of adhesive was placed. Cure briefly to lock the bead in position.
Tip: Precision tweezers allow for accurate placement of micro-hardware without disturbing surrounding details. - 12Apply blooming gel
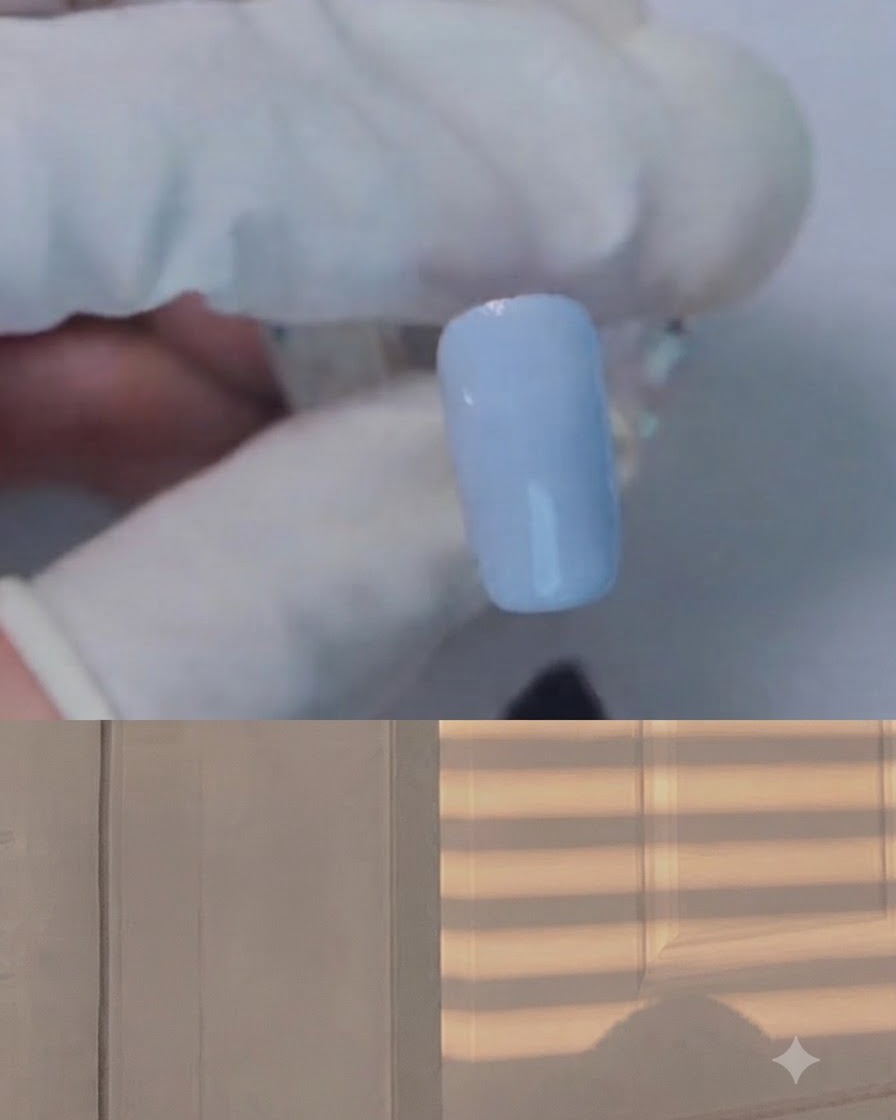
Apply a generous, even layer of clear blooming gel over the light blue base of the index nail. Leave it uncured so that subsequent colors can bleed and bloom into a watercolor marble effect.
Tip: Do not cure the blooming gel layer before adding your accent colors. - 13Create marble smudge effect
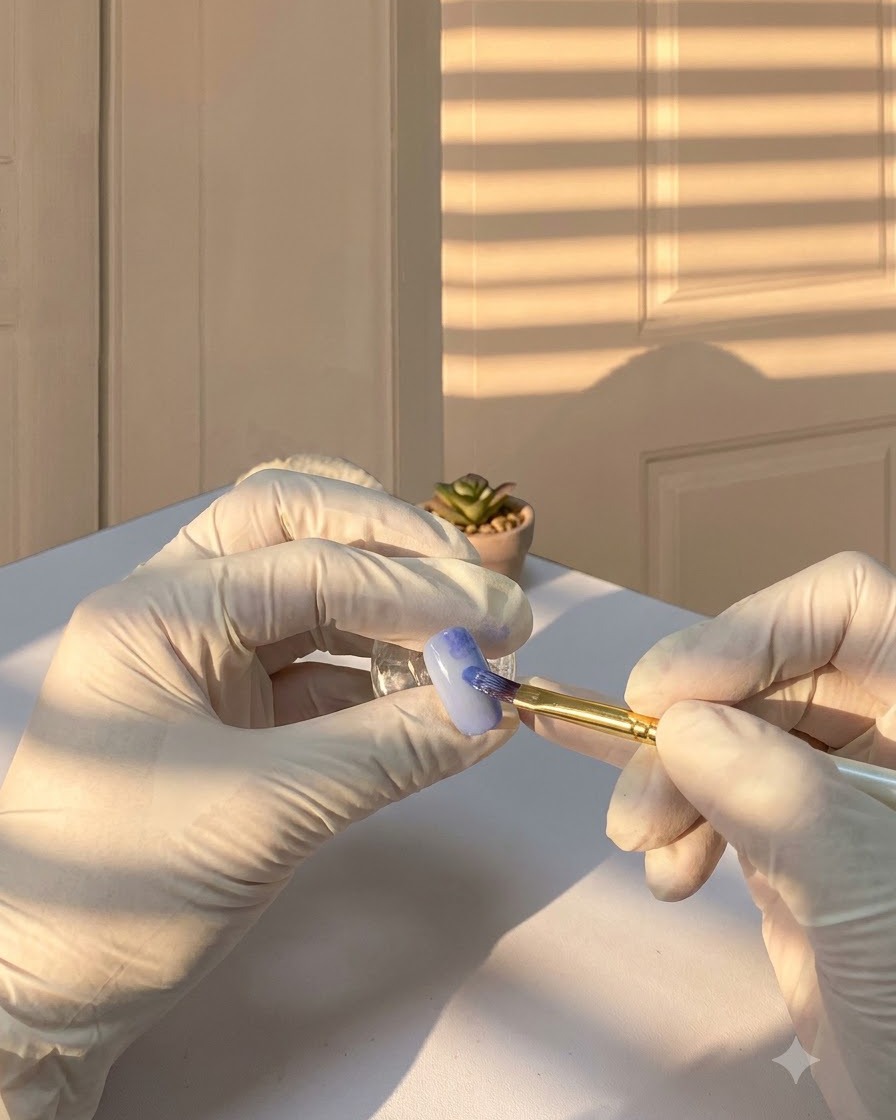
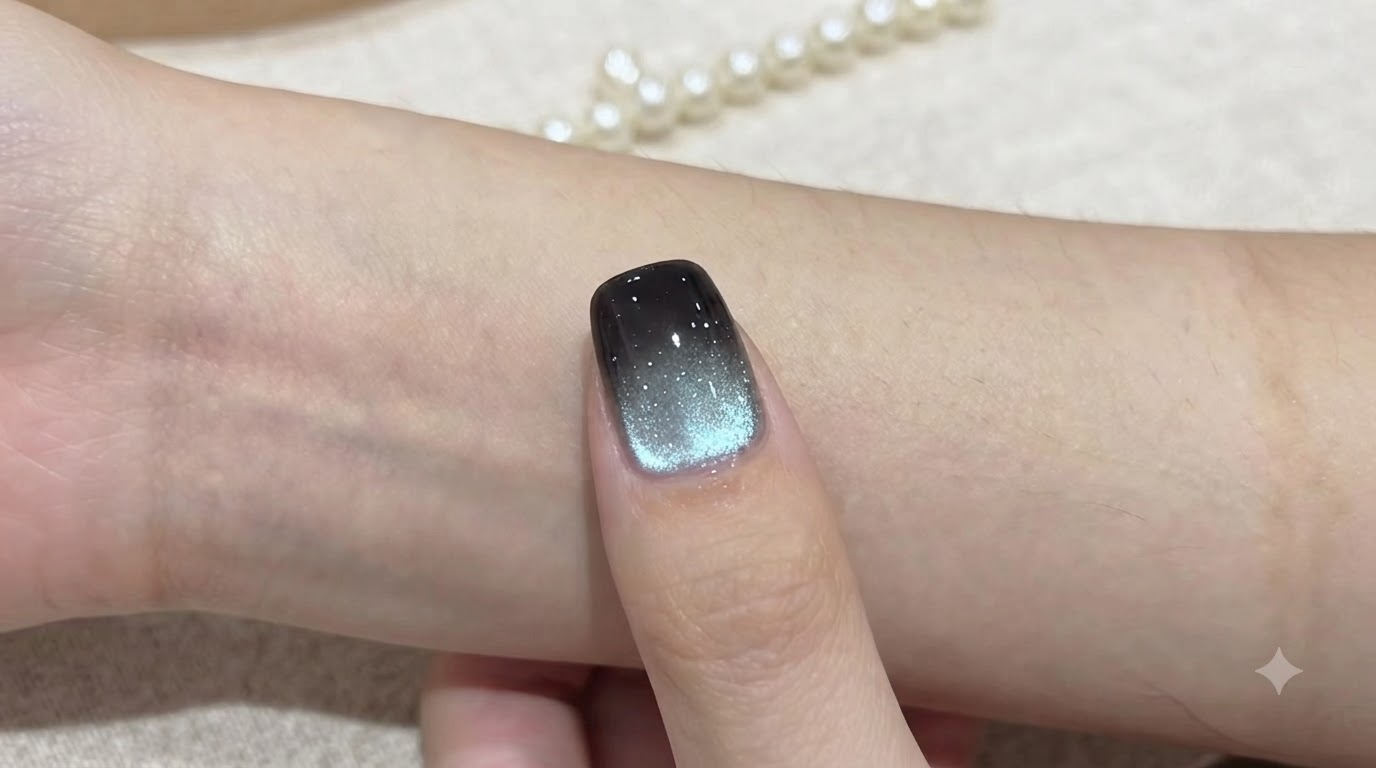
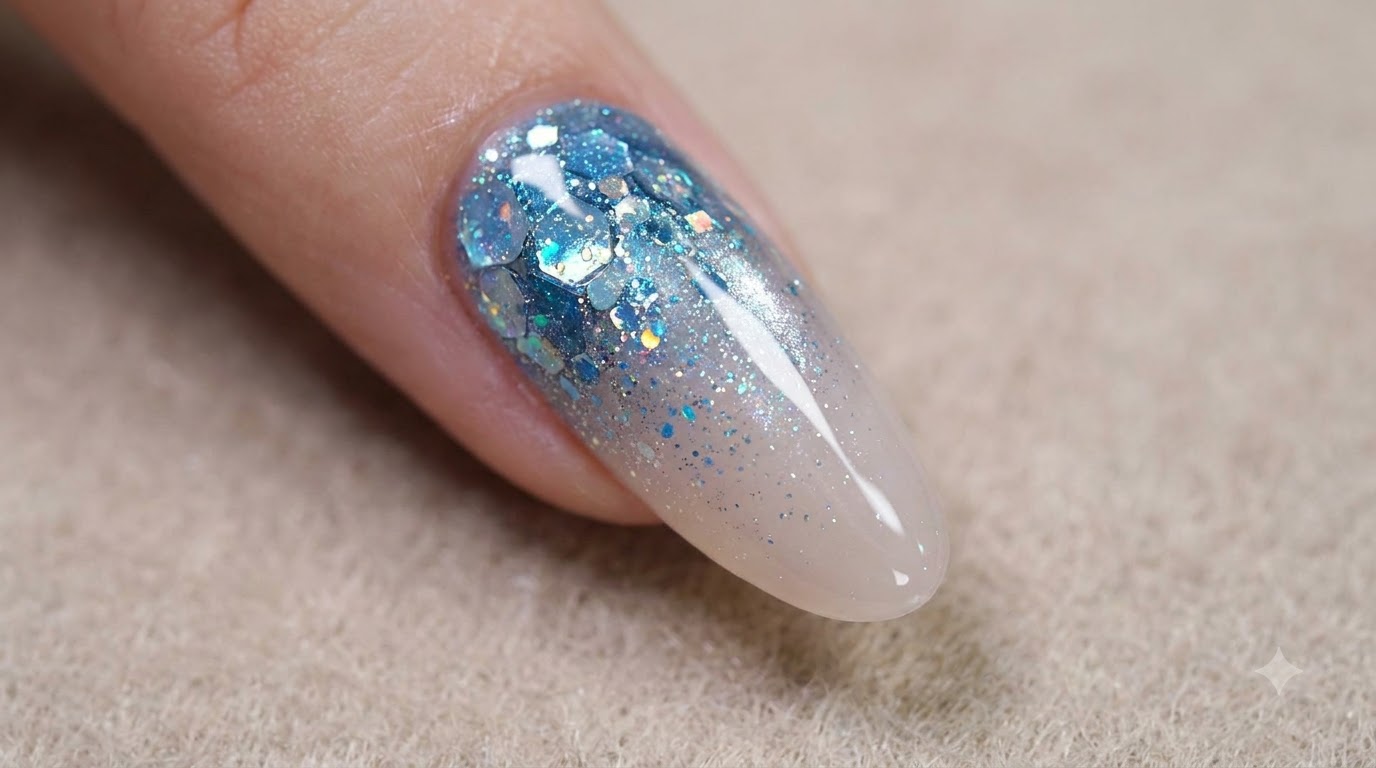
Using a fine detail brush, casually dab darker blue-purple and foggy blue gel directly into the wet blooming gel layer. Allow the colors to naturally spread and bloom outward to create a seamless marble pattern, then cure under the lamp.
Tip: Keep dabs light and random to achieve an organic watercolor stone texture. - 14Repeat marble effect on pinky
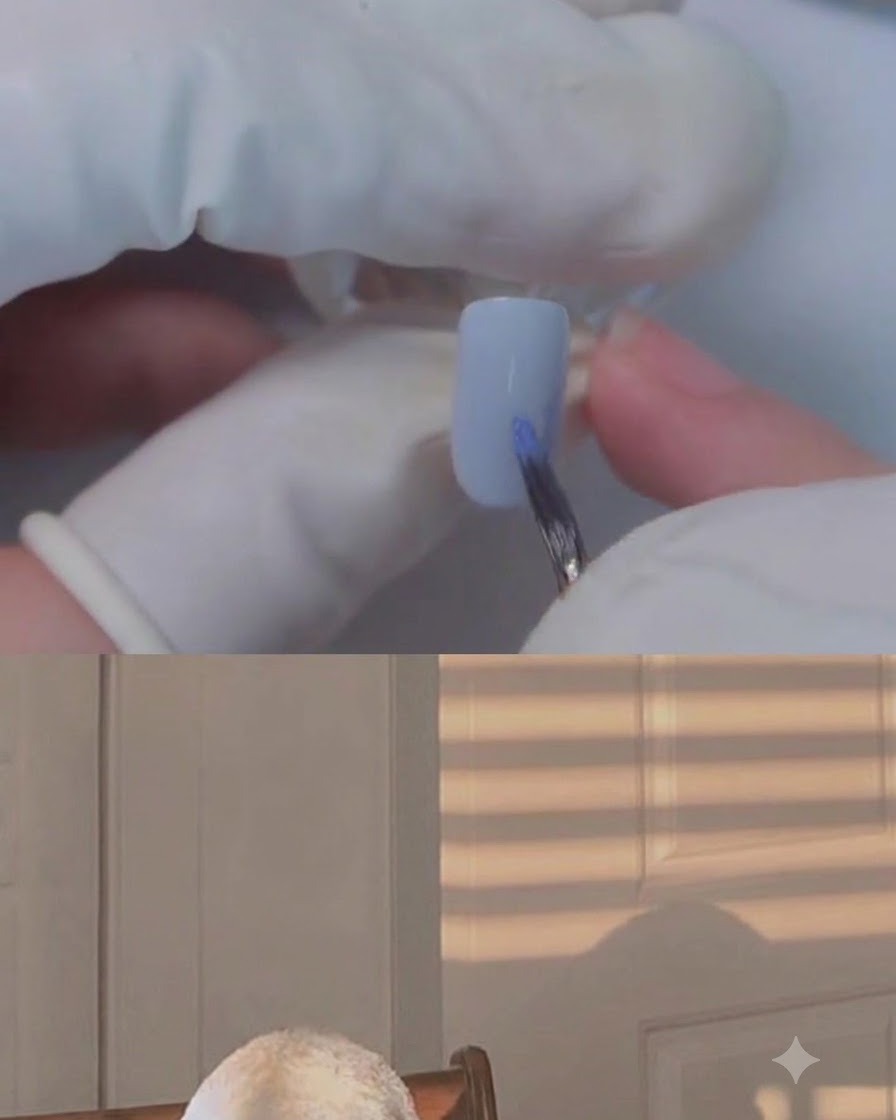
Repeat the exact same smudging technique on the pinky nail. Apply a layer of clear blooming gel, casually dab blue gel using a fine brush, and let the pattern spread before curing it under the lamp.
Tip: Work efficiently so the blooming gel maintains its consistency across fingers. - 15Seal with hard top coat
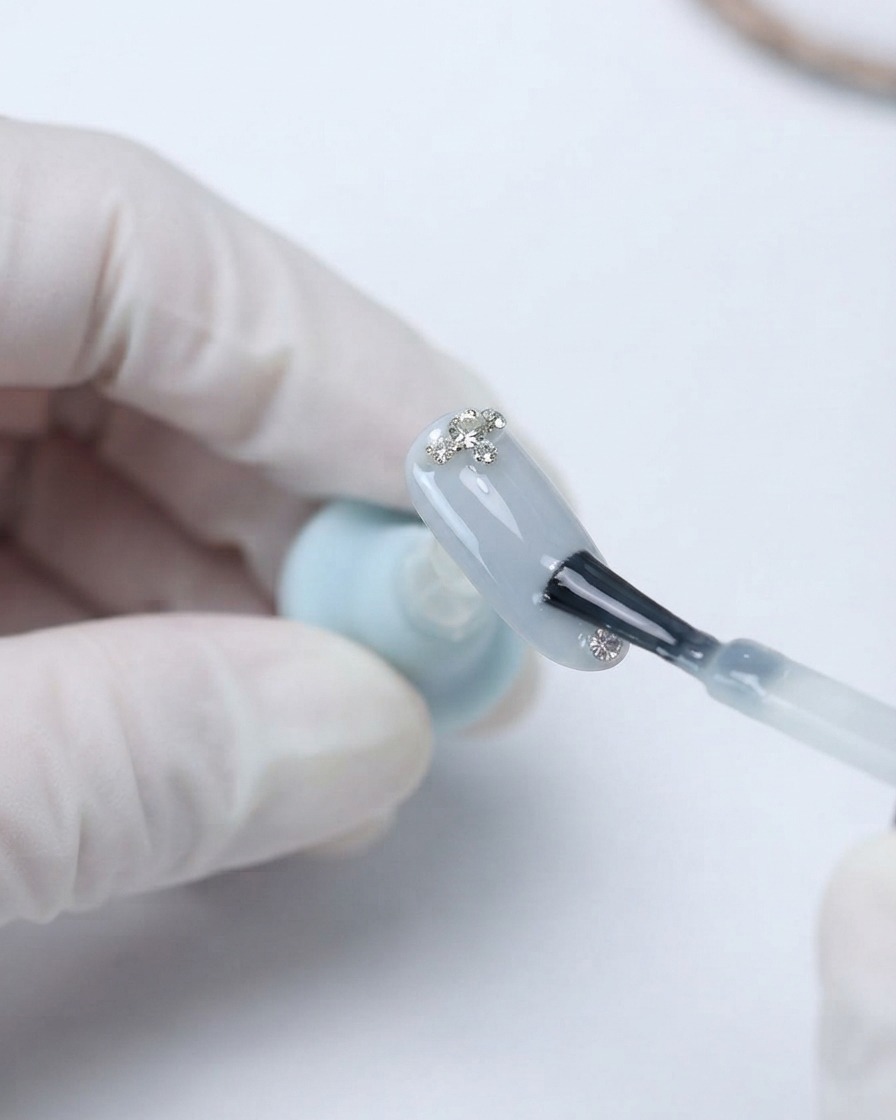
Apply a final sealing layer of glossy hard top coat over all the completed nail designs, including the smudged marble and detailed accent nails. Cure under the lamp to encapsulate the art and lock in the final high-gloss finish.
Tip: Cap all free edges thoroughly with the top coat to prevent chipping and wear.