Taro Purple Gradient Press-on Nails
Crystal Gem — Step-by-Step Tutorial
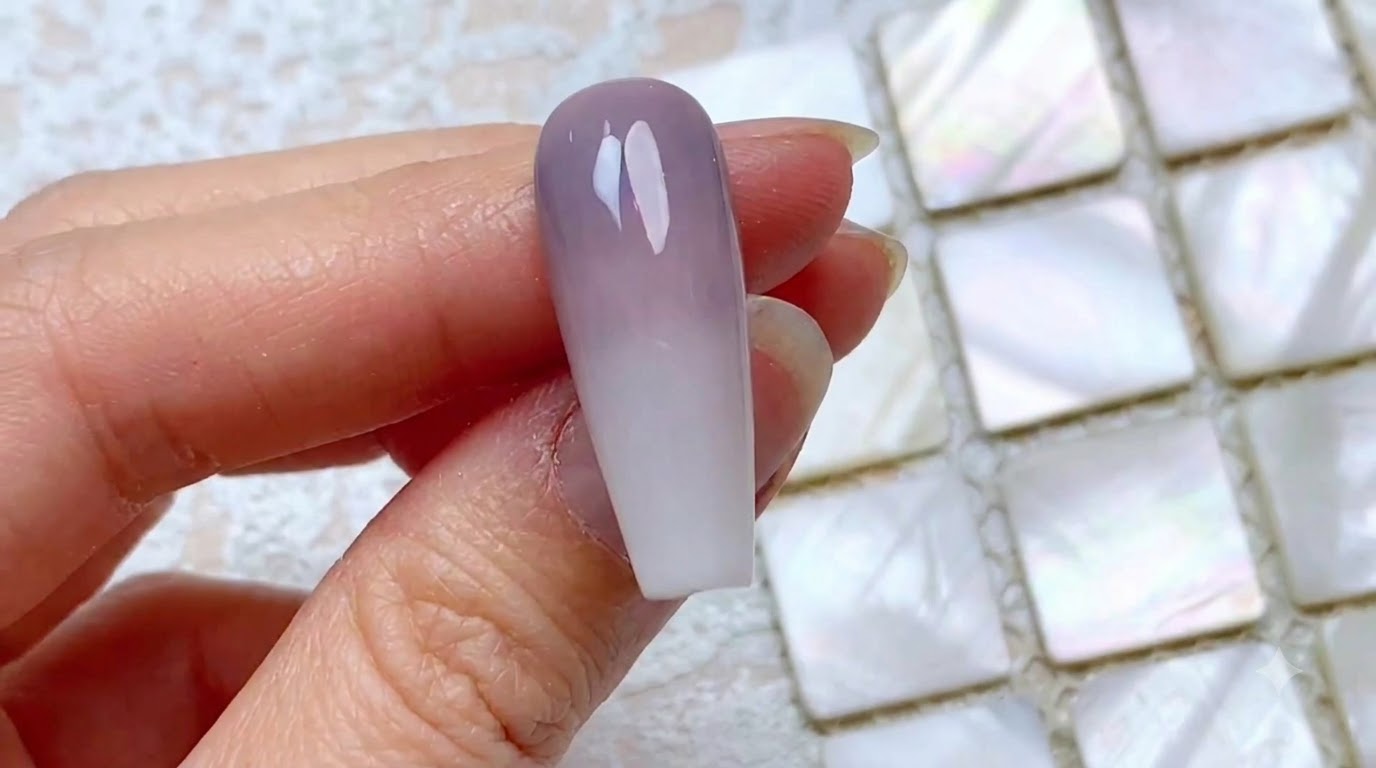
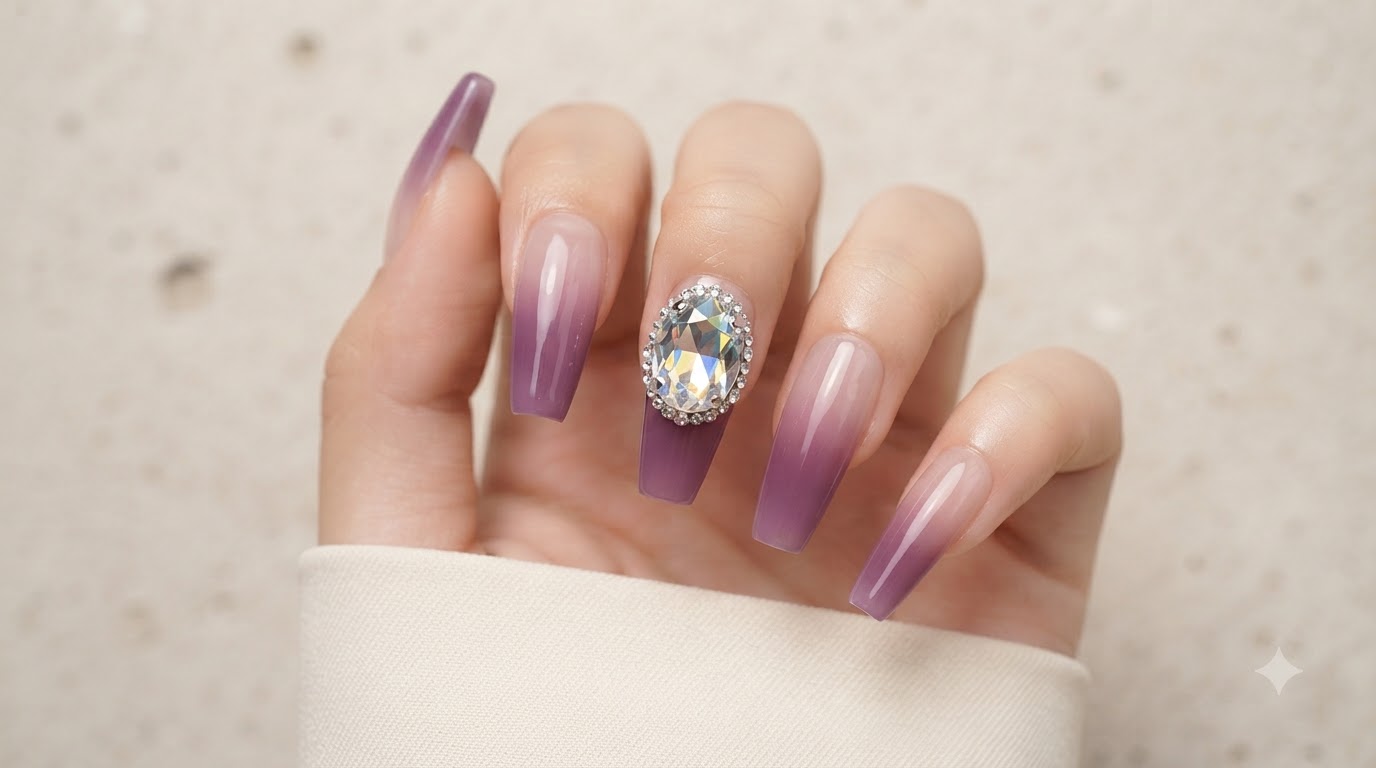
Create dreamy taro purple gradient press-on nails featuring a seamless ombre blend and a stunning stacked dove egg crystal gem center.
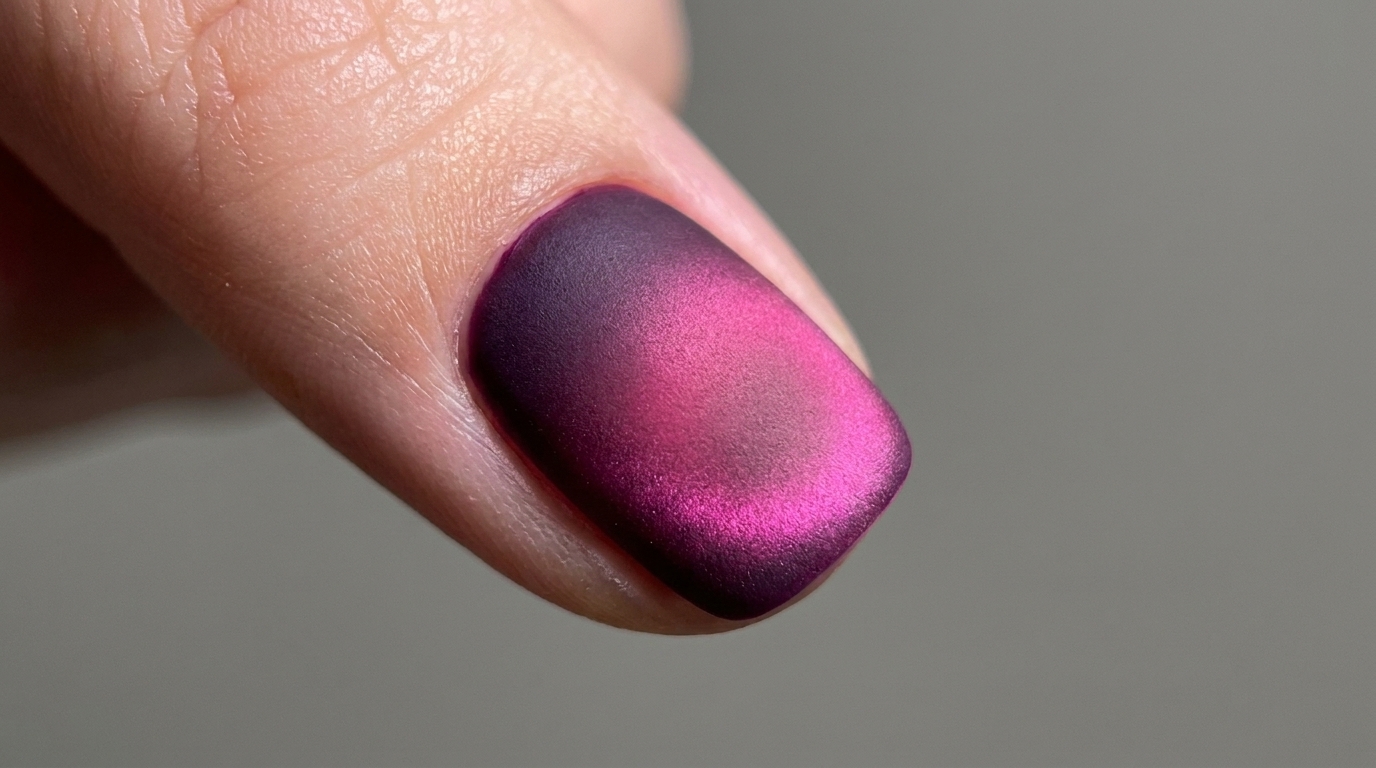
Taro purple gradients offer a soft, elegant look that combines modern ombred fading with high-end luxury crystal embellishments. This tutorial walks you through blending multiple layers of purple gel for a seamless transition, building a smooth structural apex with leveling gel, and securing a gorgeous statement crystal gem.
Steps
- 1Apply Jade Purple Gel Base
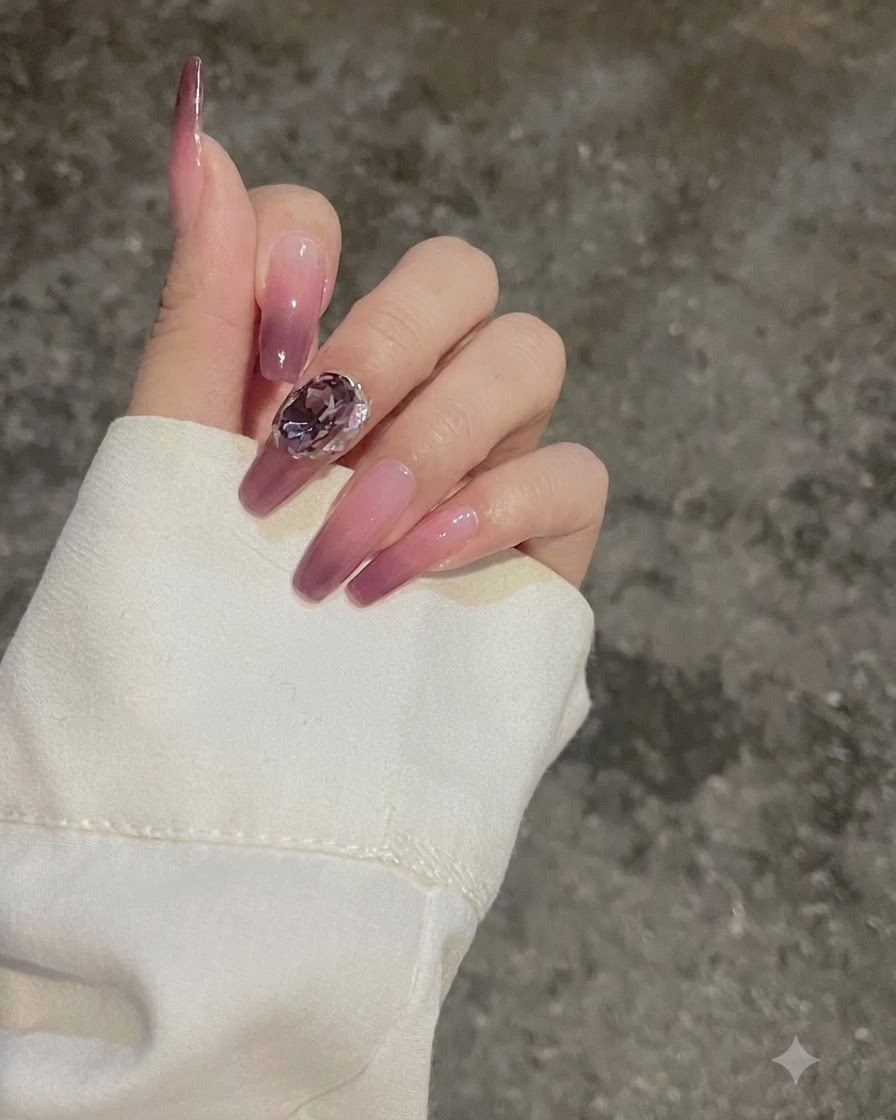
Apply the jade purple gel to the bottom three-quarters of the clear nail extension to start creating the gradient foundation.
Tip: Ensure the gel is applied evenly across the lower portion of the nail to serve as a smooth base for blending. - 2Blend the First Gradient Layer
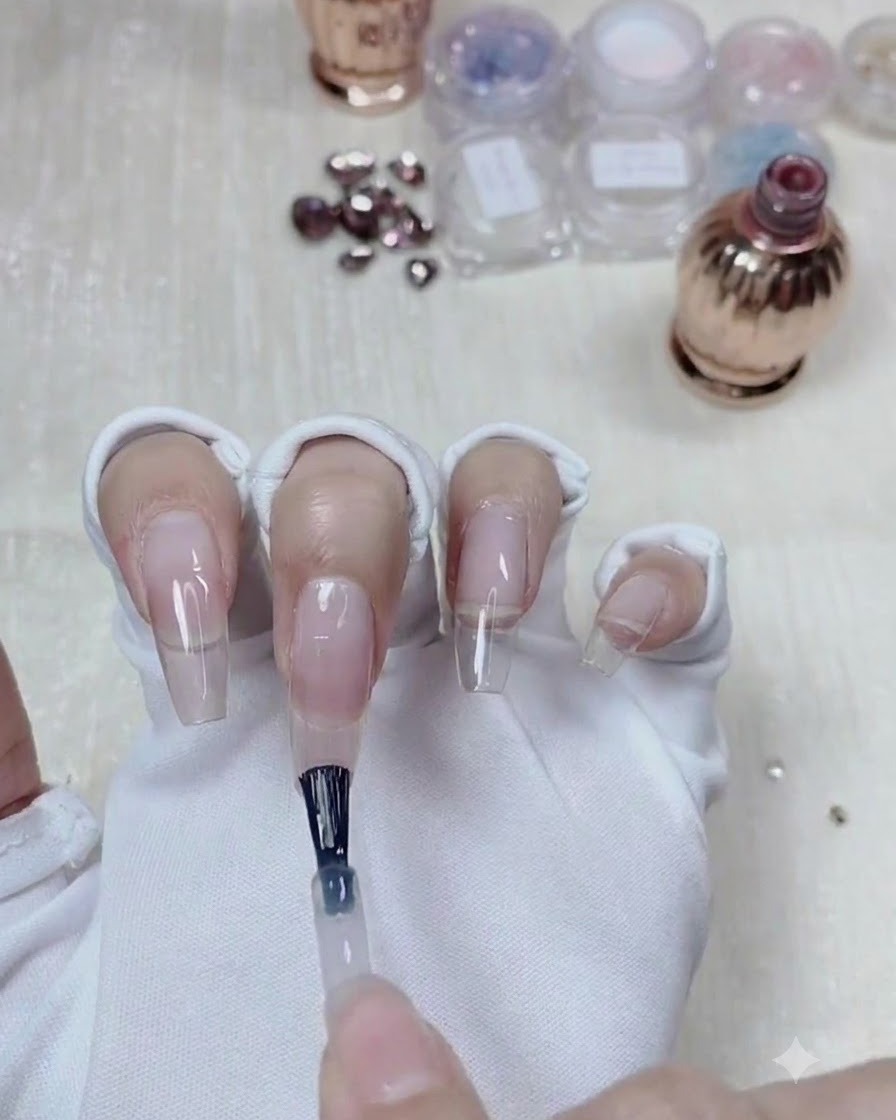
Use a flat brush to sweep and blend the gel upward, creating a gradient effect. Keep the brush flat for a more natural look.
Tip: Remember to keep the brush flat during the sweeping motion and wipe the brush clean after every sweep. - 3Clean the Application Brush
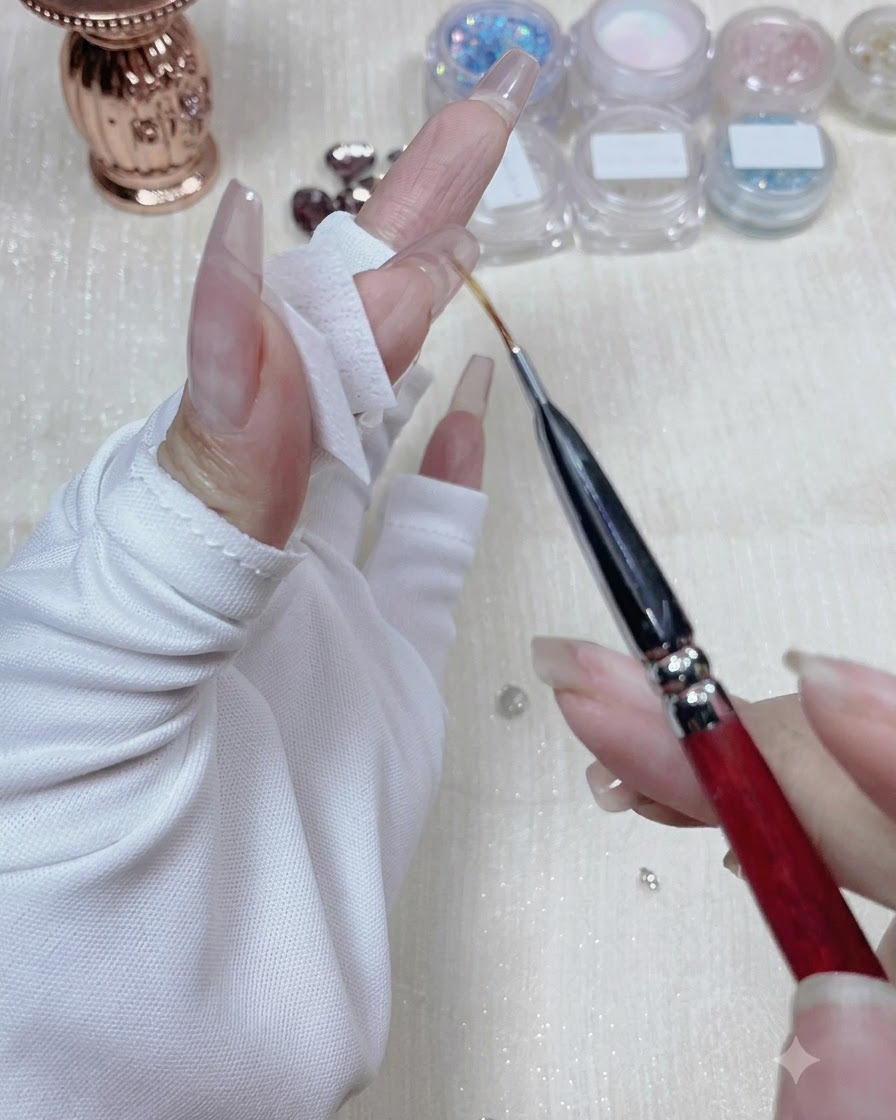
Wipe the application brush clean using a lint-free wipe immediately after sweeping the gel to prevent color contamination.
Tip: Keeping your brush clean between sweeps ensures smooth color transitions and a clean gradient effect. - 4Apply Second Taro Purple Layer
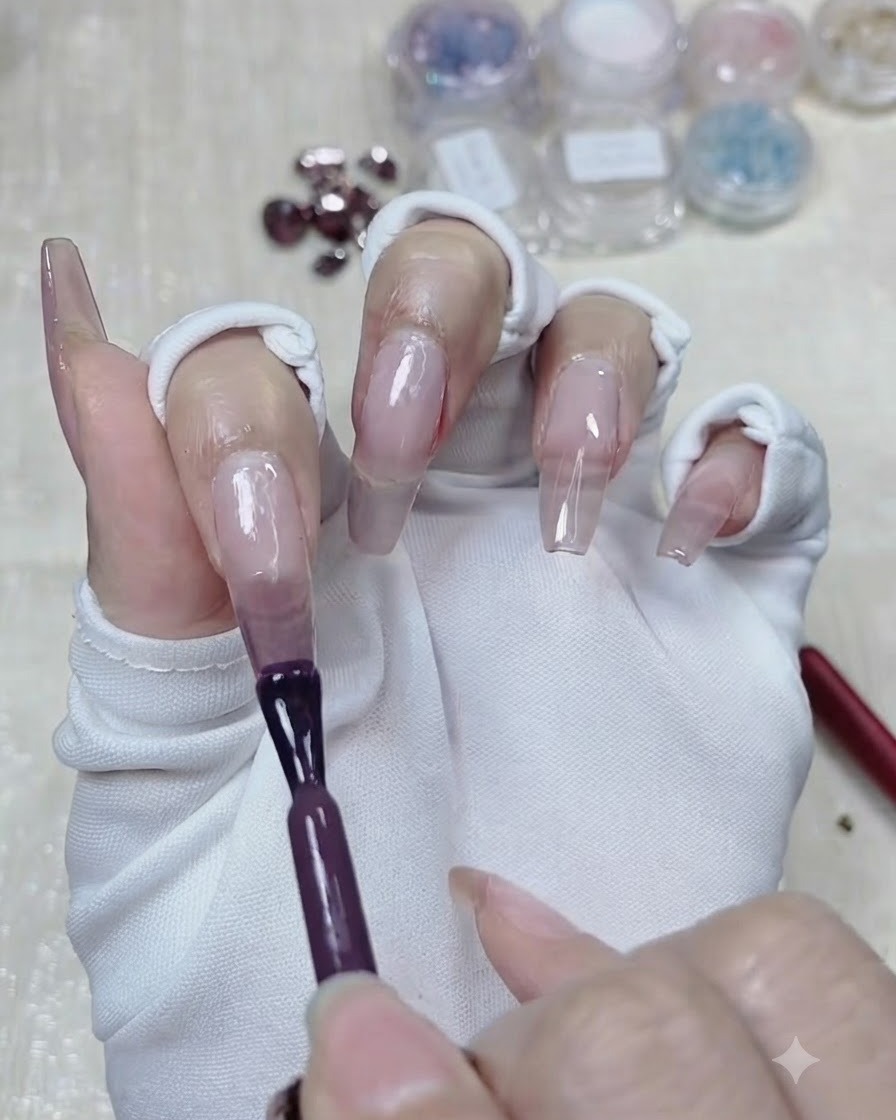
For the second coat, use a deeper color by applying taro purple gel to the top half of the nail.
Tip: Make sure the second layer is concentrated on the upper half to build depth for the gradient design. - 5Blend the Second Layer
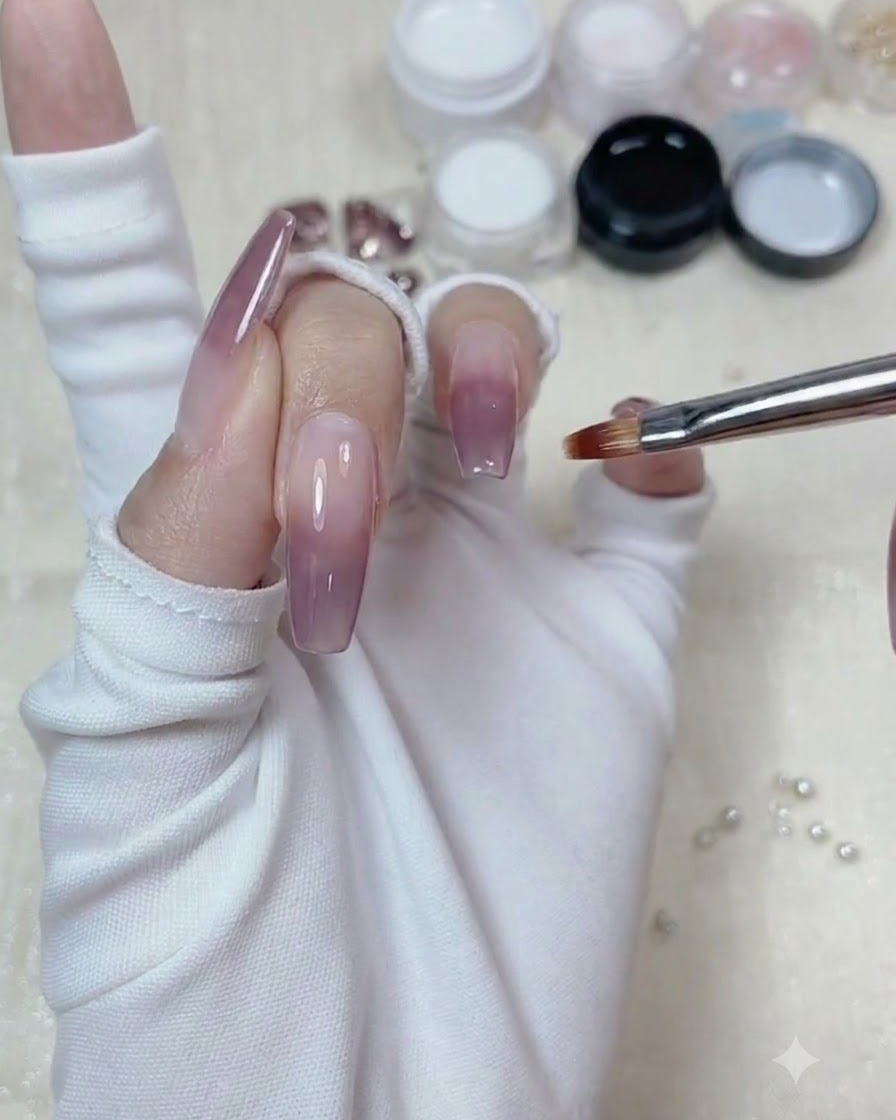
Blend the second layer using the flat brush to refine the gradient transition and achieve a seamless look.
Tip: Gently sweep to merge the taro purple with the underlying jade purple layer. - 6Apply Third Taro Purple Layer
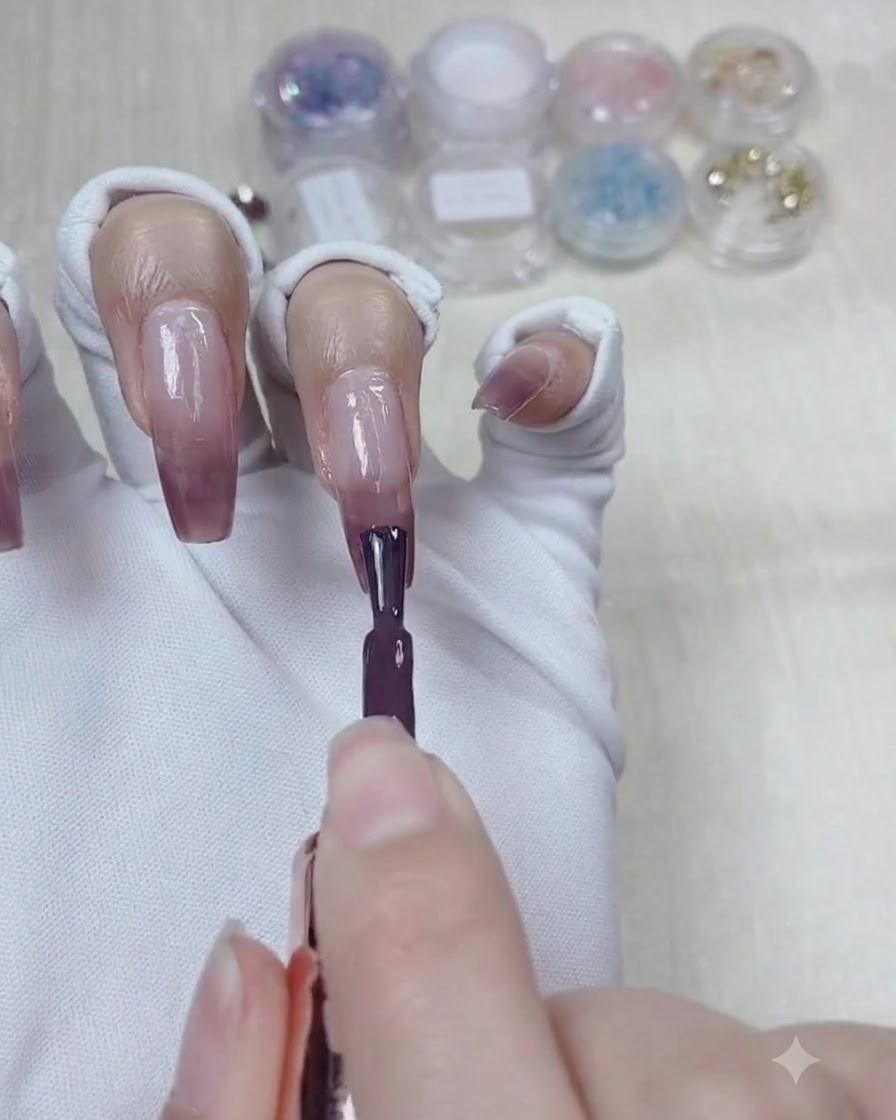
For the third coat, focus on the top third of the nail, applying a deeper taro purple gel to intensify the color.
Tip: Focus strictly on the top third to maintain the multi-dimensional gradient effect. - 7Blend the Third Gradient Layer
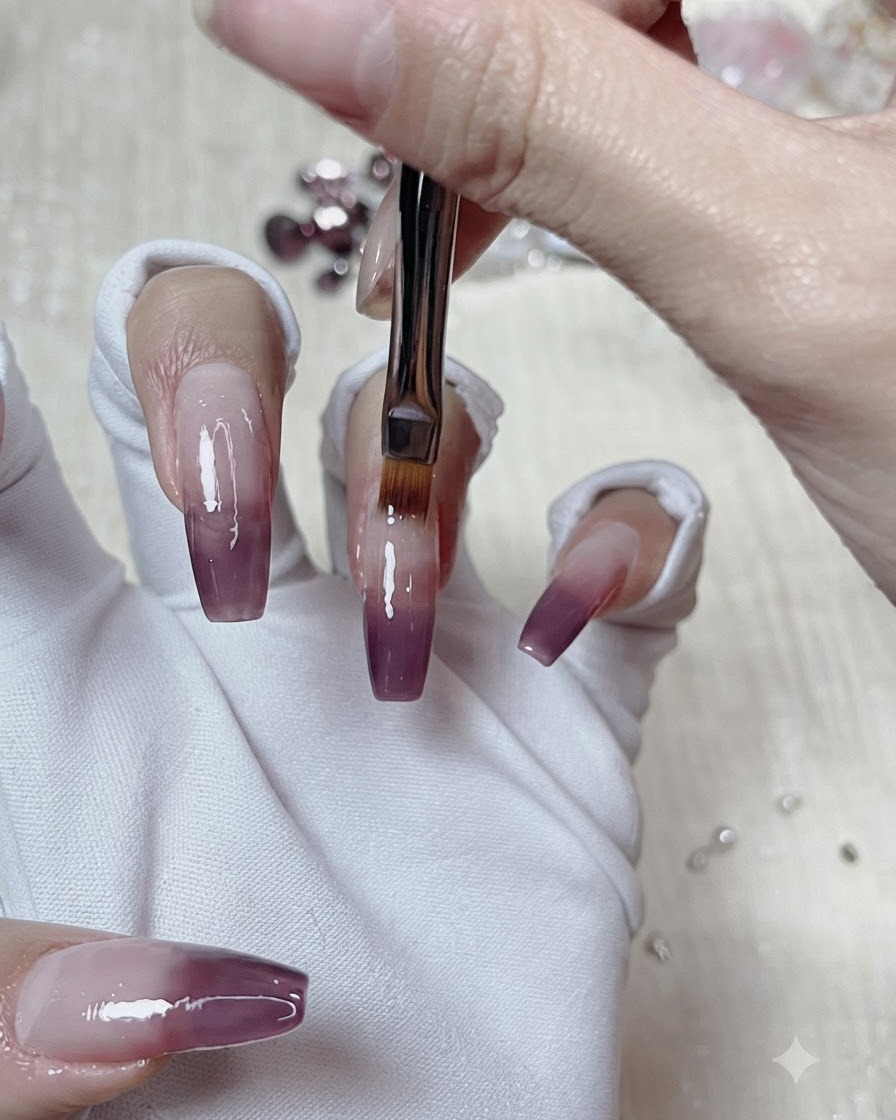
Focusing on the top third of the nail, apply and blend the taro purple gel to deepen the color intensity and achieve a smooth gradient transition. Keep your brush flat and wipe it clean after every sweep to ensure a flawless blend without harsh lines.
Tip: Always wipe your brush clean between sweeps to prevent color buildup and maintain a seamless ombre blend. - 8Apply Clear Leveling Gel
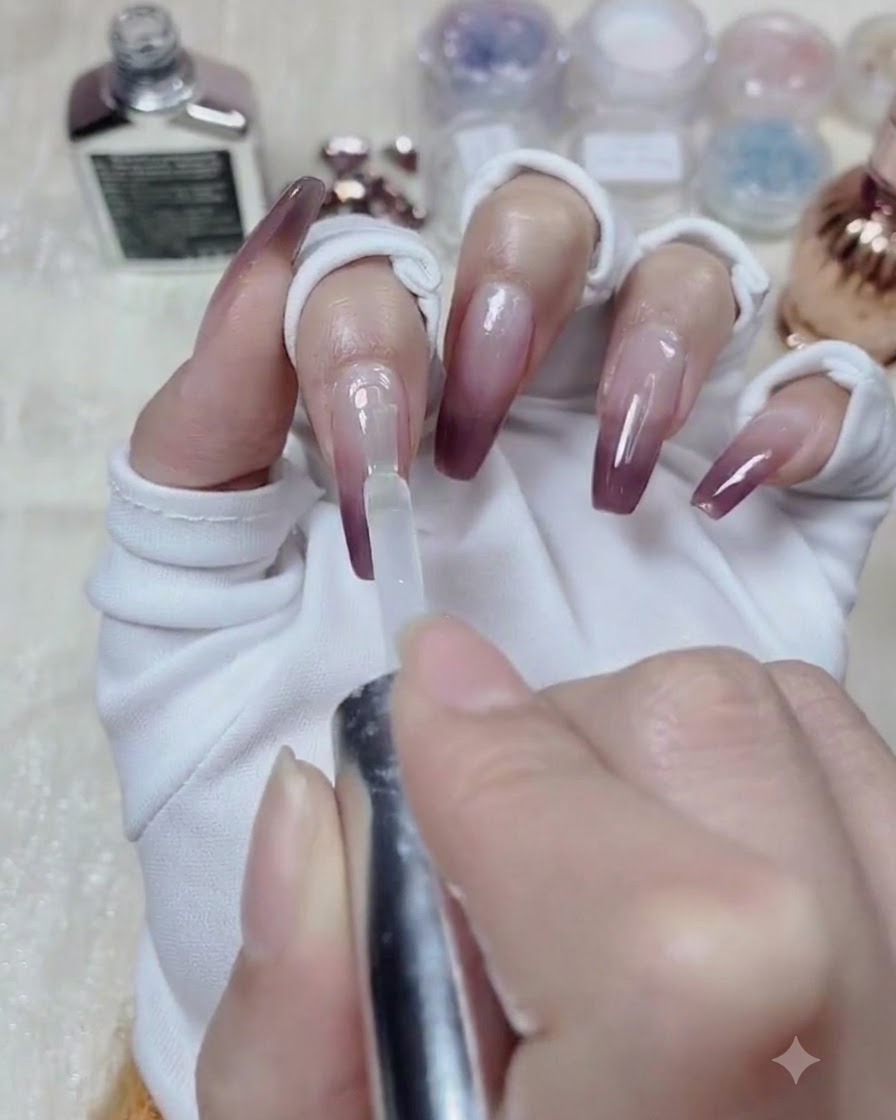
Apply a clear leveling gel evenly over the entire surface of the nail. This step helps smooth out any unevenness from the gradient layers, adds structural strength, and provides a plump, glossy foundation for placing your crystal gems.
Tip: Apply a balanced amount of leveling gel—too little leaves dips, while too much can flood the cuticles. - 9Self-Level and Shape the Arch
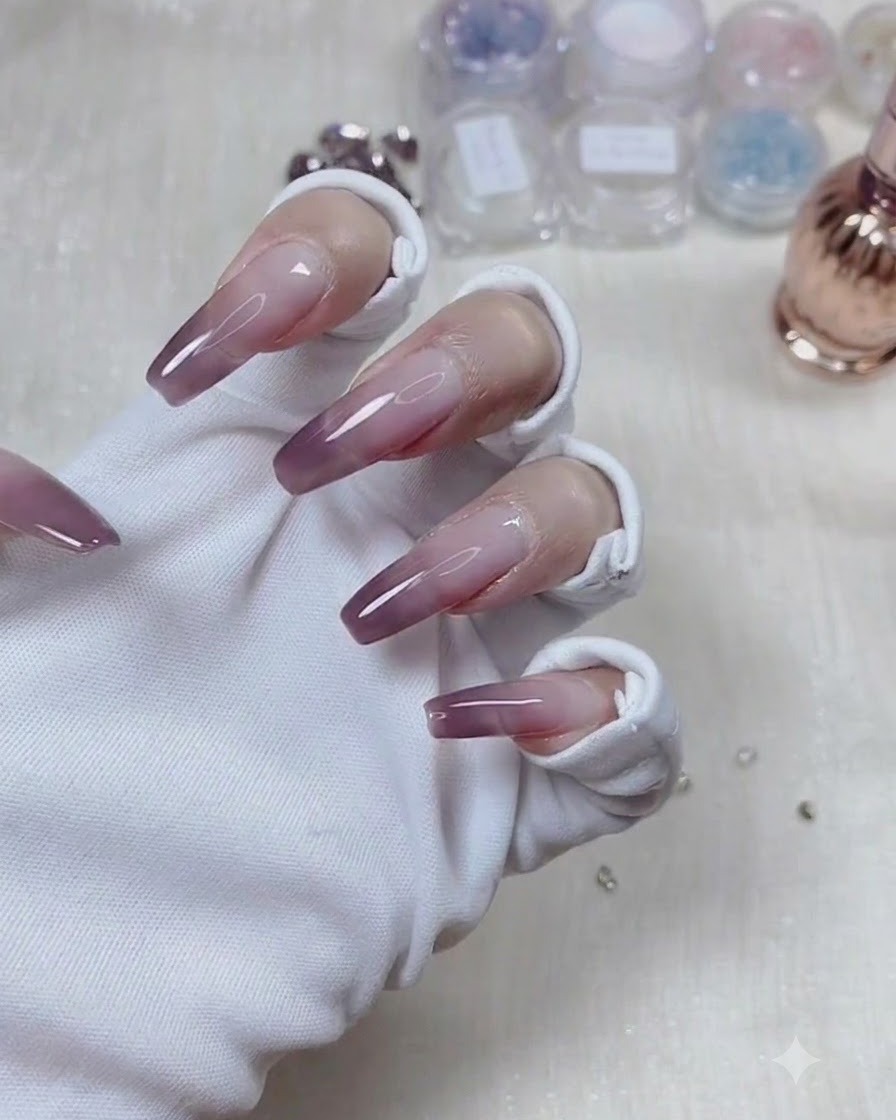
Turn the finger or hand upside down for a few seconds before curing. This allows gravity to pull the leveling gel toward the center, creating a natural, perfect apex and structural curve for durability.
Tip: Flipping the hand upside down briefly before curing prevents the gel from pooling at the edges and builds a strong stress point. - 10Compare Gem Options: Rectangular Crystal
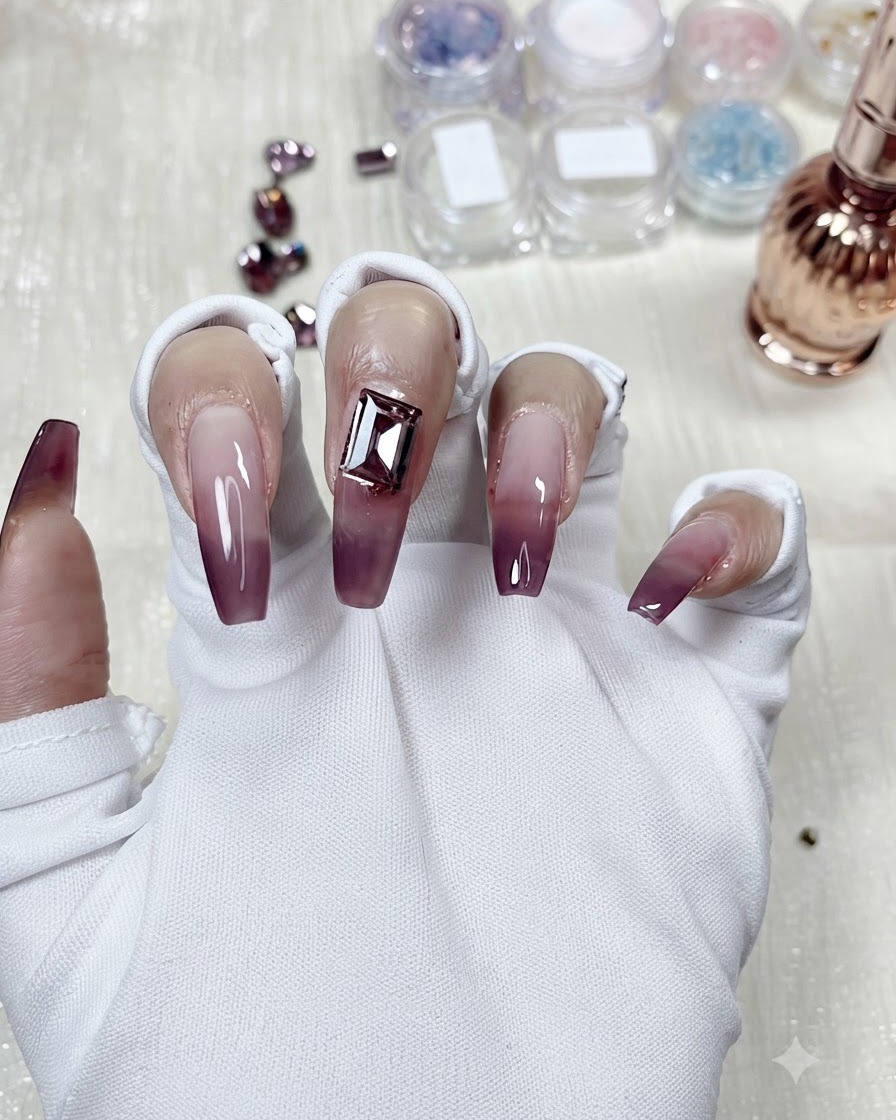
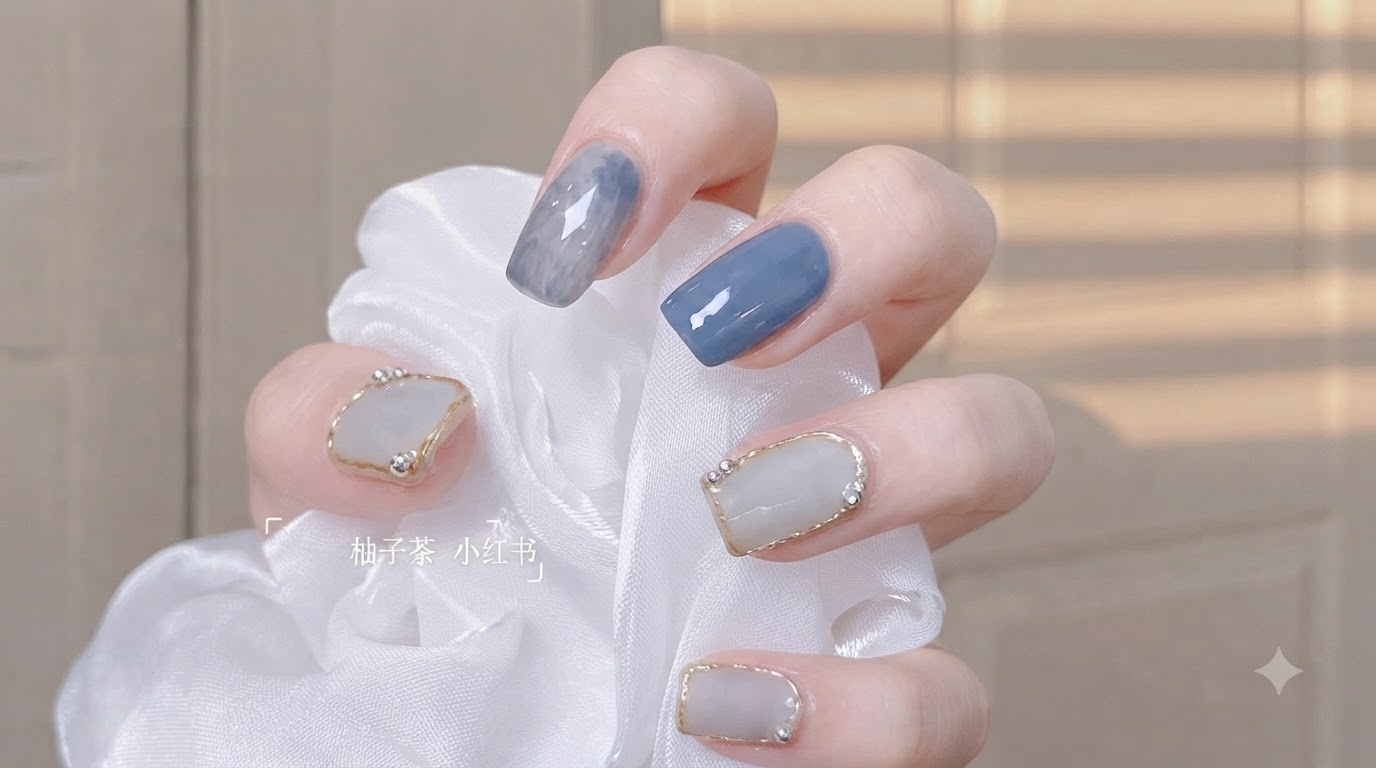
Temporarily place a rectangular crystal gem onto the nail to test and compare its aesthetic against other options like the dried rose heart-shaped or dove egg-shaped gems. This helps you visualize the final stacked crystal design before securing it.
Tip: Test different gem shapes and sizes on the nail before committing with builder gel to find the most balanced proportion. - 11Secure the Dove Egg-Shaped Crystal
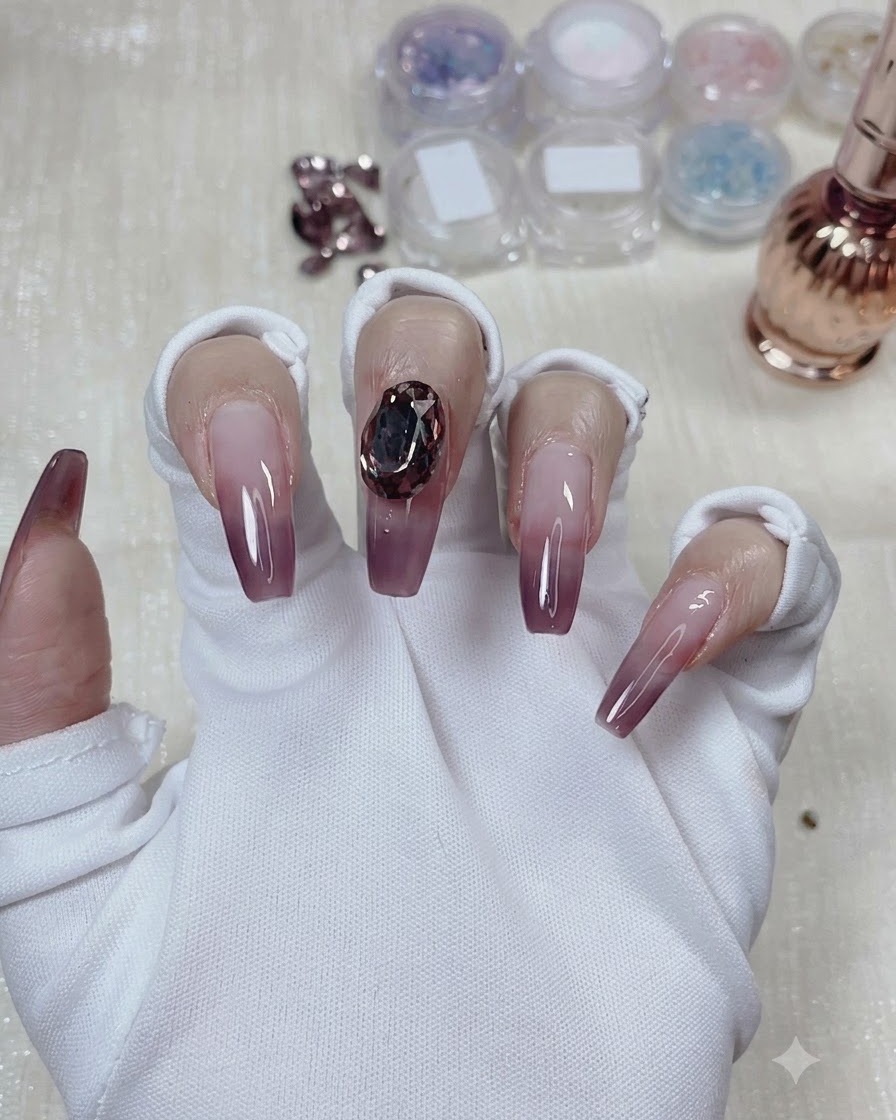
After weighing your options, select and secure the dove egg-shaped crystal gem onto the nail using builder gel. Position it centrally as the focal point for your stacked crystal design.
Tip: Use a generous bead of builder gel or specialized gem gel to anchor large crystals securely so they do not catch or detach. - 12Apply Final Top Coat and Seal
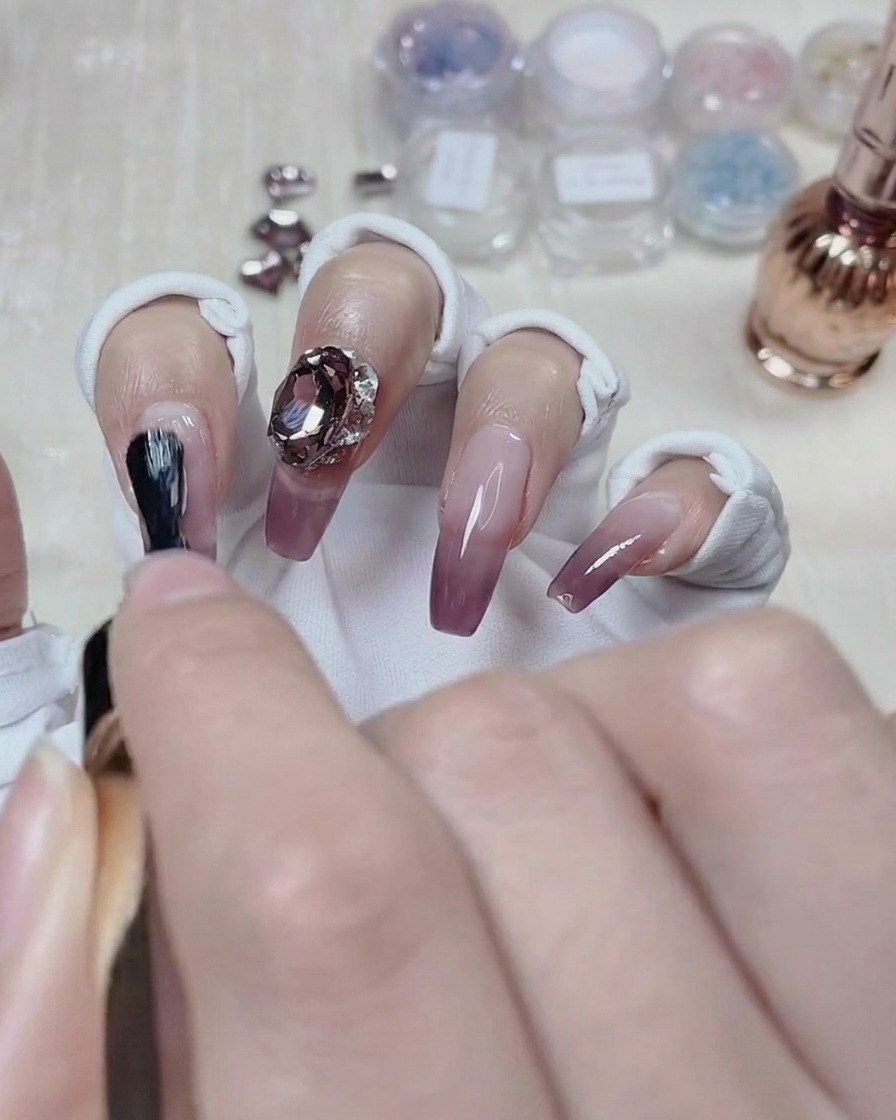
Apply a final coat of top coat over the entire nail surface, carefully working around the base and edges of the crystal gem to seal everything in place and protect the design from chipping or snagging.
Tip: Take a fine detail brush with top coat to tuck around the base of the crystal without covering its faceted surface, ensuring maximum sparkle and strong retention. - 13Choose and place a gem option
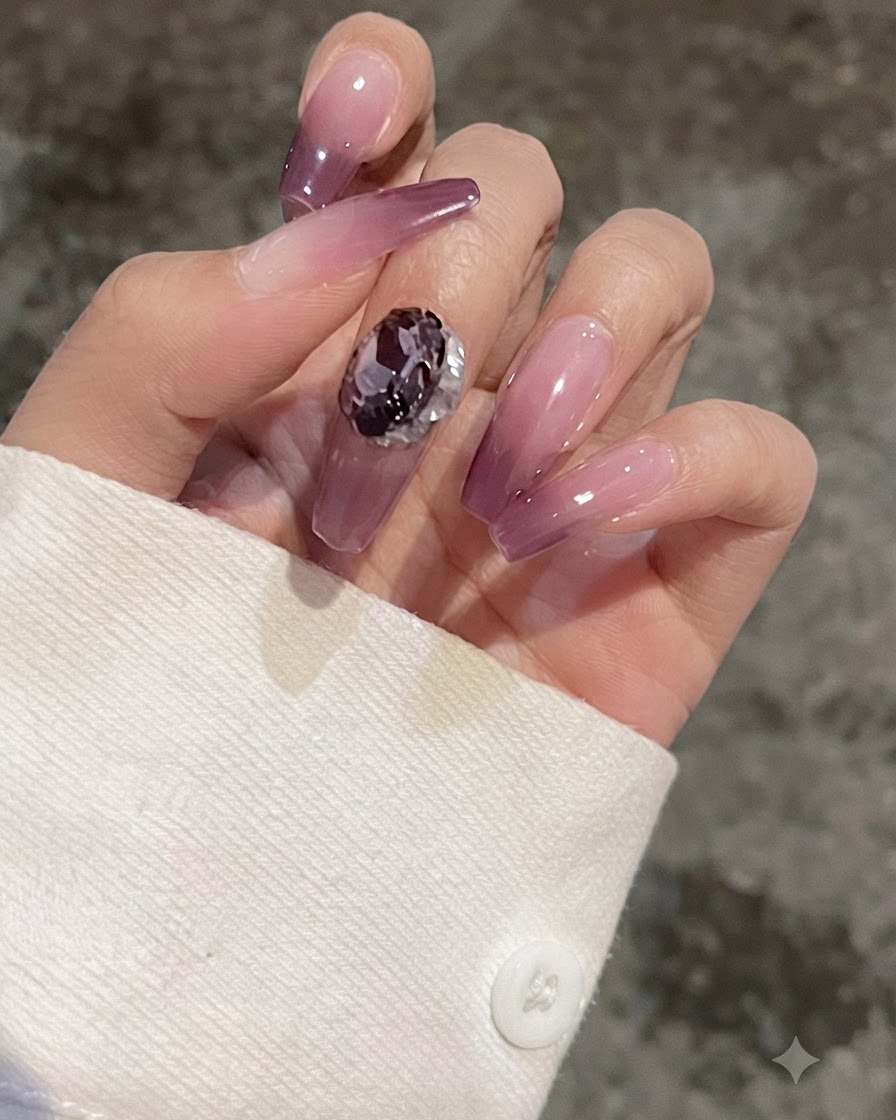
Compare different gem shapes—such as the dried rose heart-shaped gem, rectangle, or dove egg shape—to see which complements your nail design best. In this tutorial, the dove egg-shaped gem was chosen for the stacked crystal design. Position it securely onto the nail surface over your gel layers.
Tip: Try placing a few different gem shapes on the nail to preview the proportion before curing or finalizing the placement.