Two-Tone Vertical Gradient Gel Nail — Step-by-Step Tutorial
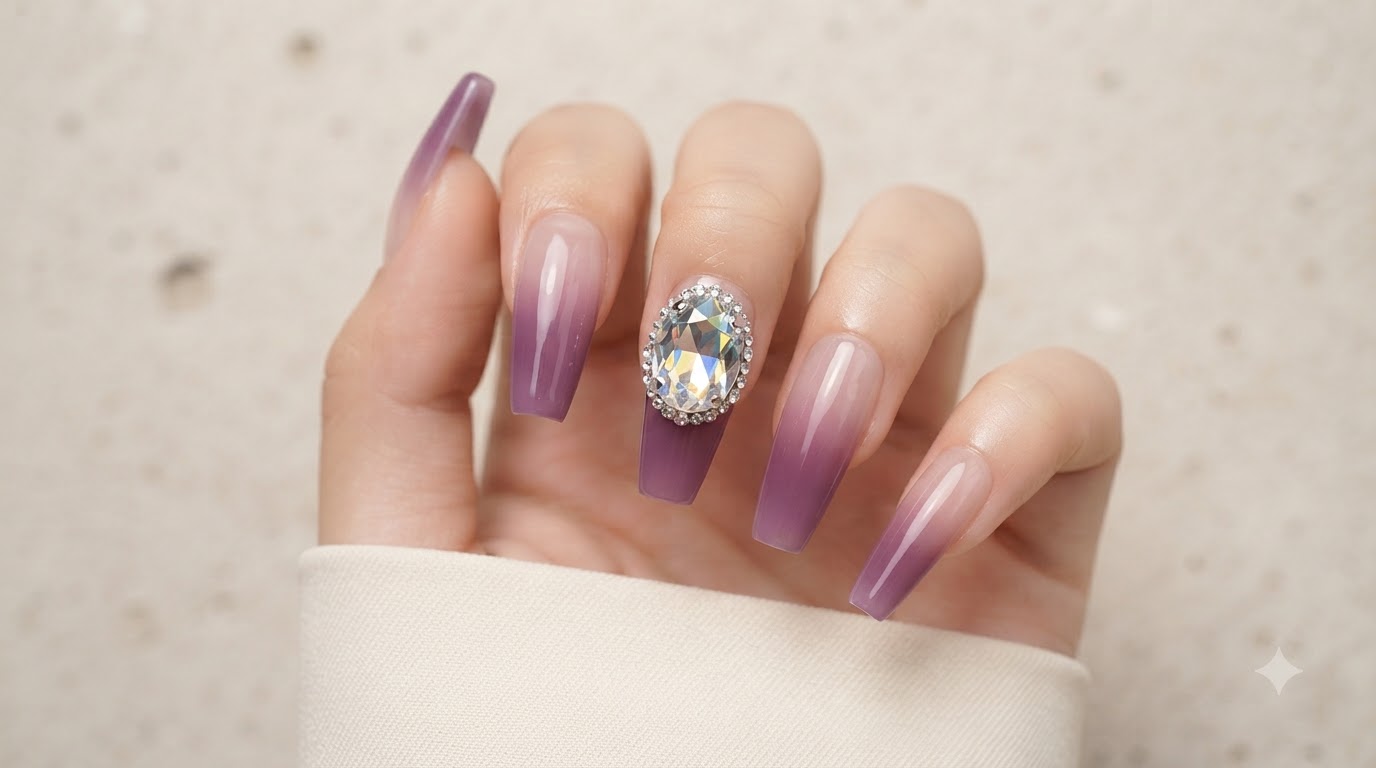
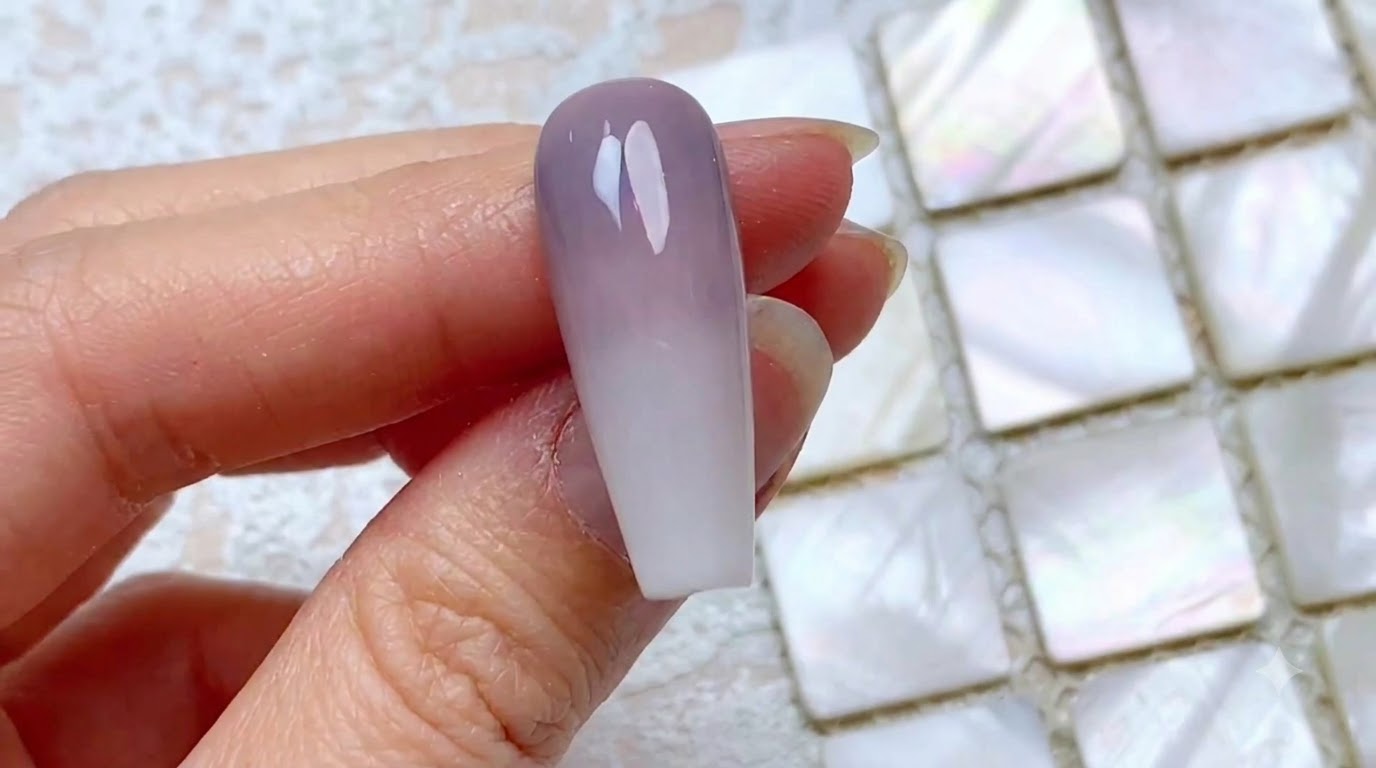
Master the art of a flawless two-tone vertical ombre gel nail, transitioning smoothly from a dusty grey-purple to milky white with a high-gloss finish.
Creating a refined vertical gradient requires precision layering rather than direct pulling. This professional technique uses a milky white base and careful multi-layer blending to eliminate streaks and horizontal lines for a polished salon look.
Steps
- 1Demonstrate the incorrect gradient technique
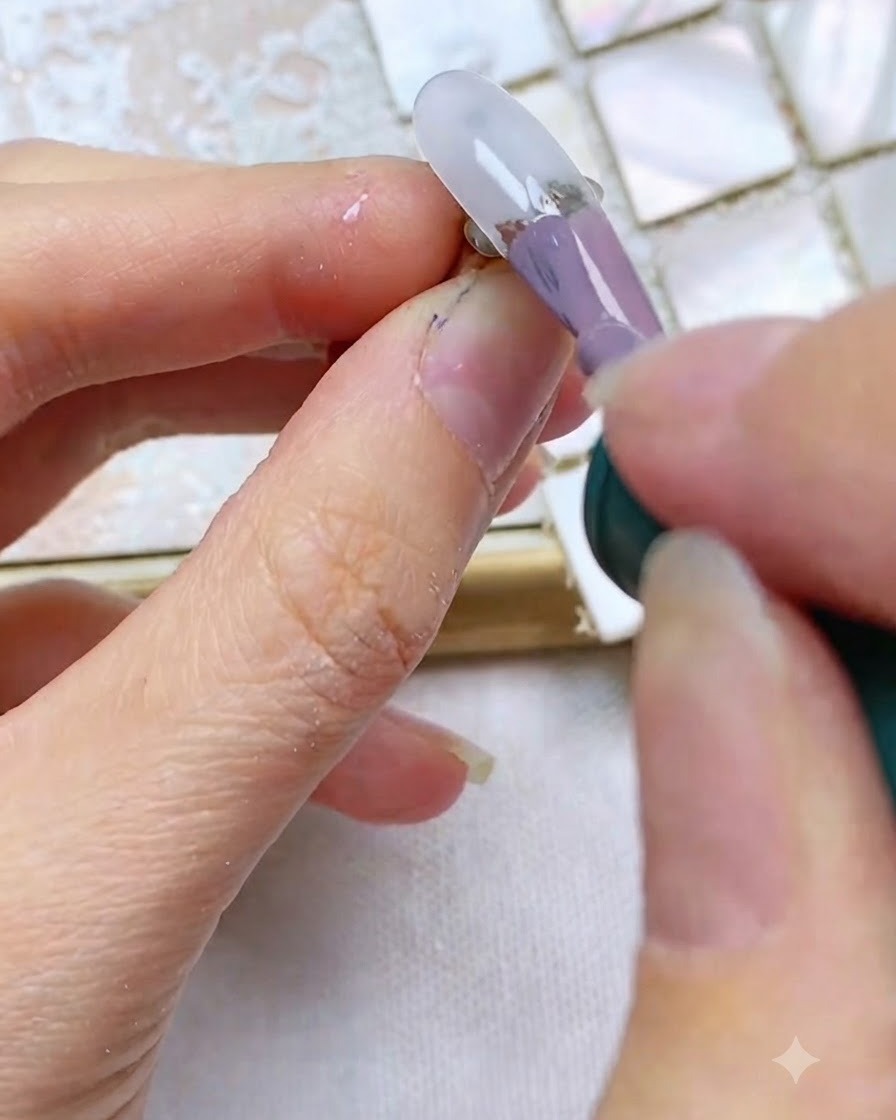
Begin by observing a common mistake many make when attempting a vertical gradient. Apply a stroke of grey-purple gel directly to the middle of the nail. As we will see, this method often leads to a less refined and streaky finish rather than a smooth blend.
Tip: Understanding the incorrect method helps highlight why the gradual layering technique yields a much smoother and flawless gradient. - 2Observe the streaky result
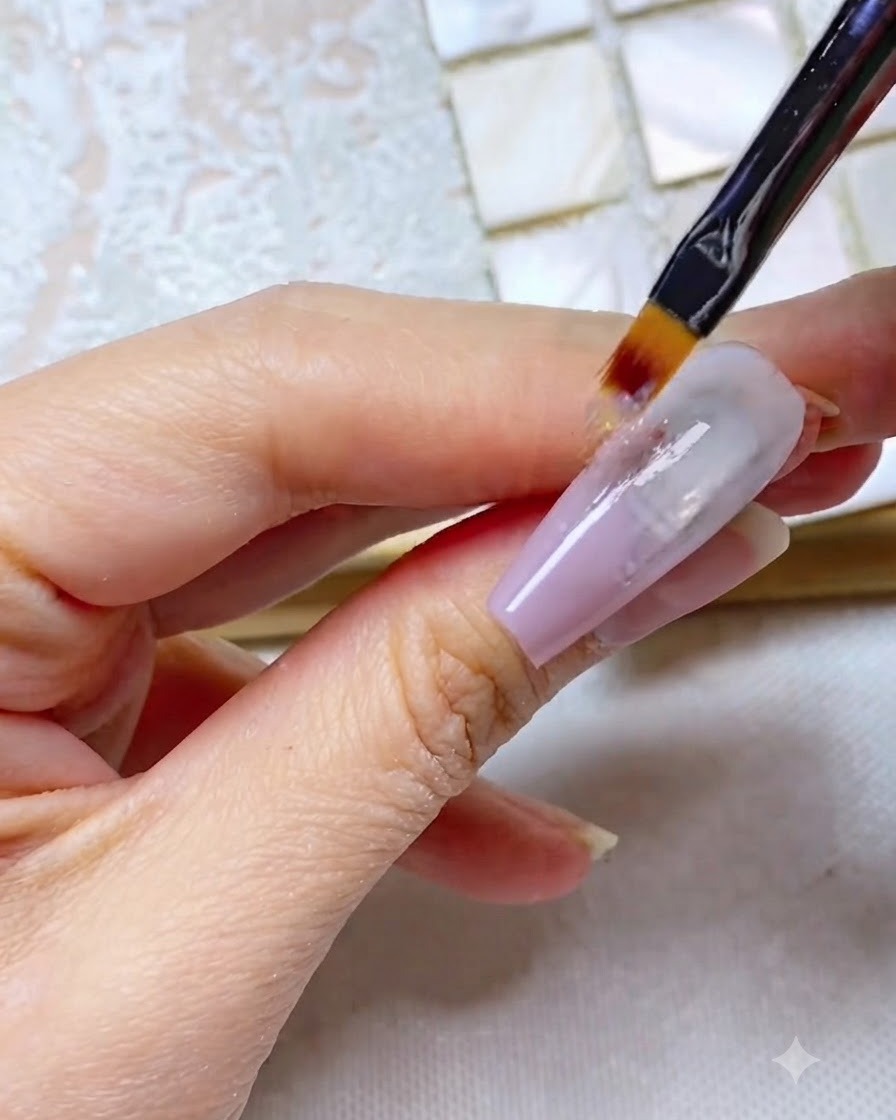
Using an ombre brush, pull the grey-purple color straight down towards the tip of the nail. This direct pulling method results in an unrefined, streaky effect that lacks a smooth transition between the colors.
Tip: Avoid pulling color straight down in a single thick layer if you want to achieve a seamless, professional-looking blend. - 3Wipe off the incorrect application
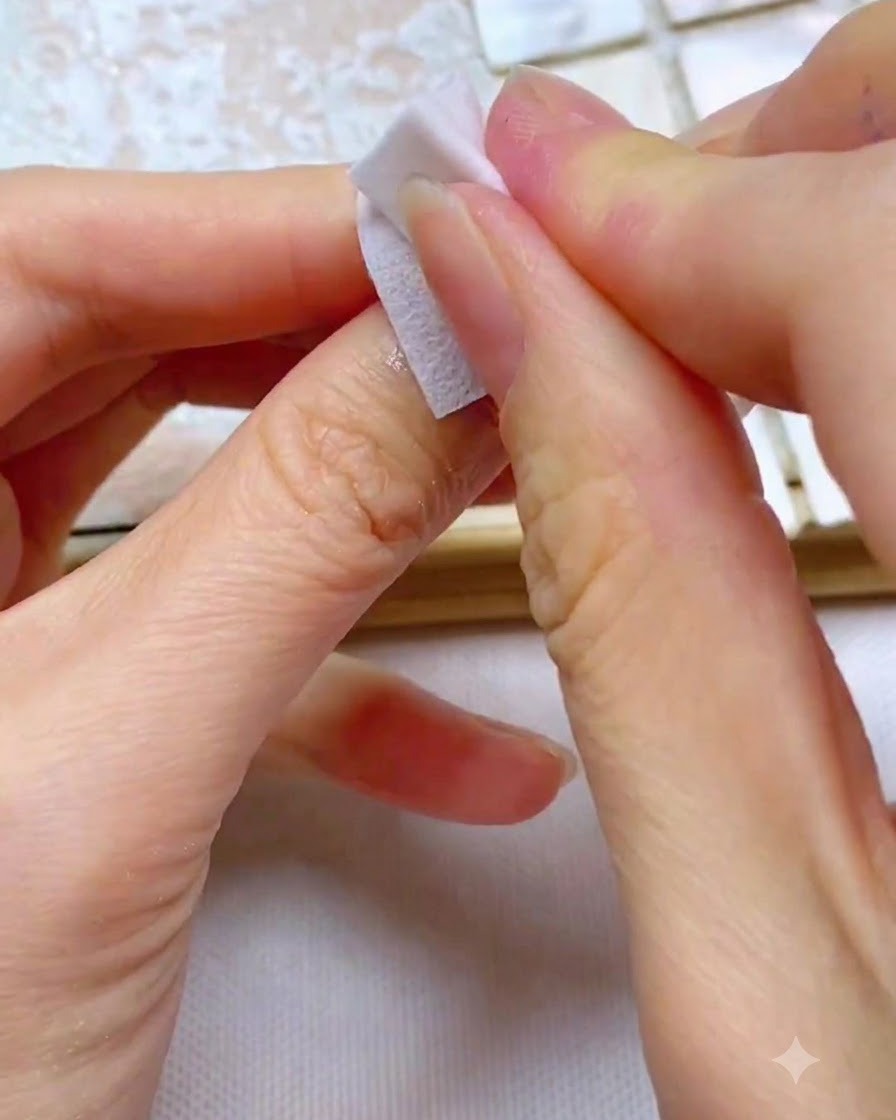
Since the previous method doesnt create a refined gradient, thoroughly wipe off the incorrect gel application. Use a lint-free wipe saturated with cleanser to completely clean the nail surface, preparing it for the proper technique.
Tip: Ensure absolutely no residue remains on the nail before starting the new base layer to prevent any unwanted texture. - 4Apply translucent white gel base
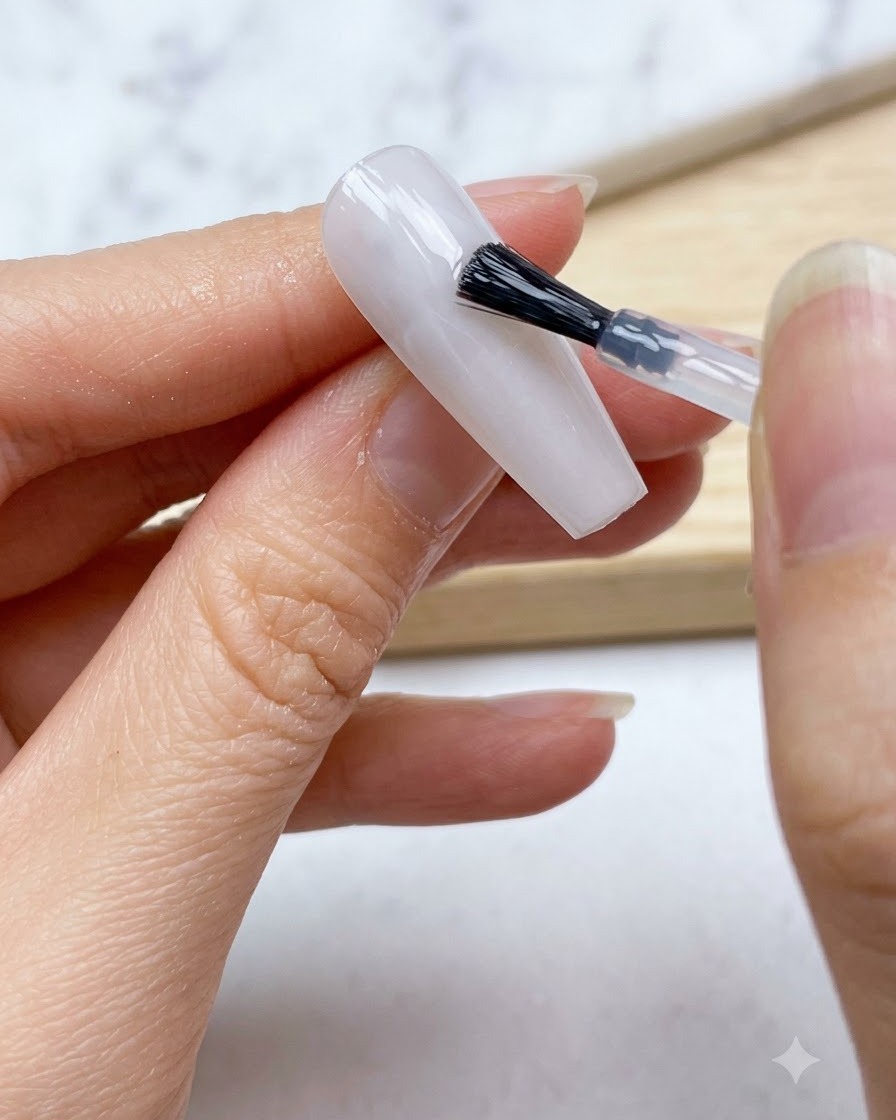
Now lets begin the proper method for a smooth gradient. Brush a translucent milky white gel base coat evenly over the entire length of the nail plate. Ensure the layer is smooth, then cure it completely under the lamp before moving to the next step.
Tip: A milky white base helps the gradient colors pop while maintaining a beautifully soft and translucent finish. - 5Apply gel to the back one-third
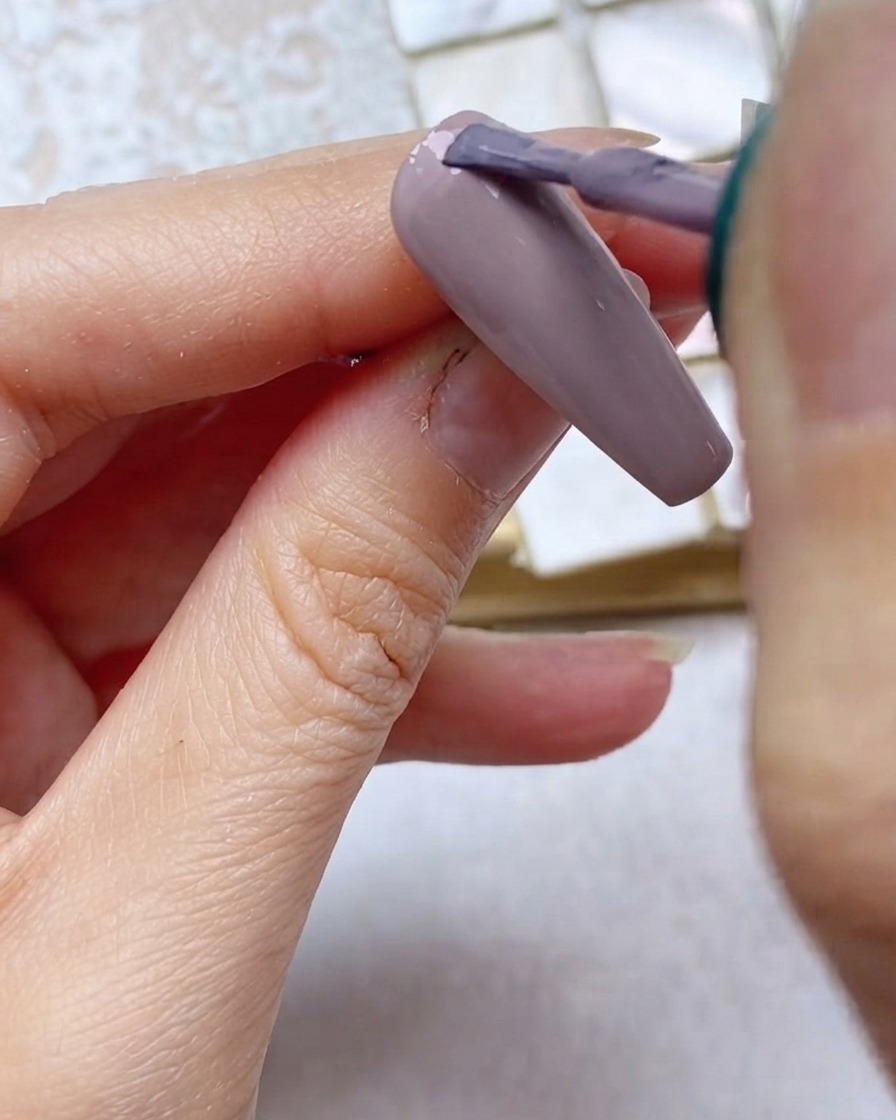
For the first layer of the gradient, apply the grey-purple gel evenly to the back one-third of the nail, nearest to the cuticle area. Apply it carefully to maintain control over the color placement.
Tip: Keep this layer thin to ensure a smoother transition when you begin blending the color downwards. - 6Ensure a neat edge line
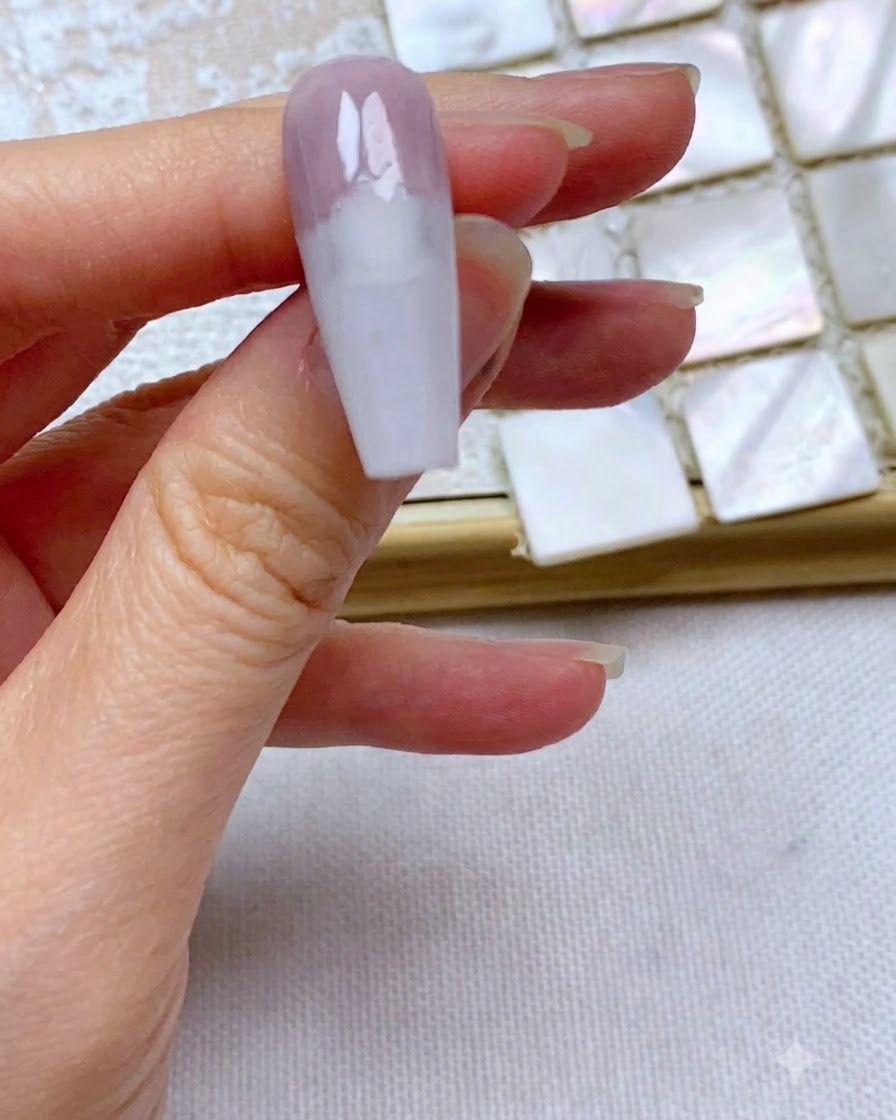
Carefully refine and align the edge line of the applied purple gel. It must be perfectly neat and straight across with no high or low spots. A crisp, even edge is crucial for achieving a smooth, seamless blend in the subsequent blending steps.
Tip: Use a clean brush to gently push and perfect the line if it appears uneven before you start pulling the color down. - 7Blend the first gel layer
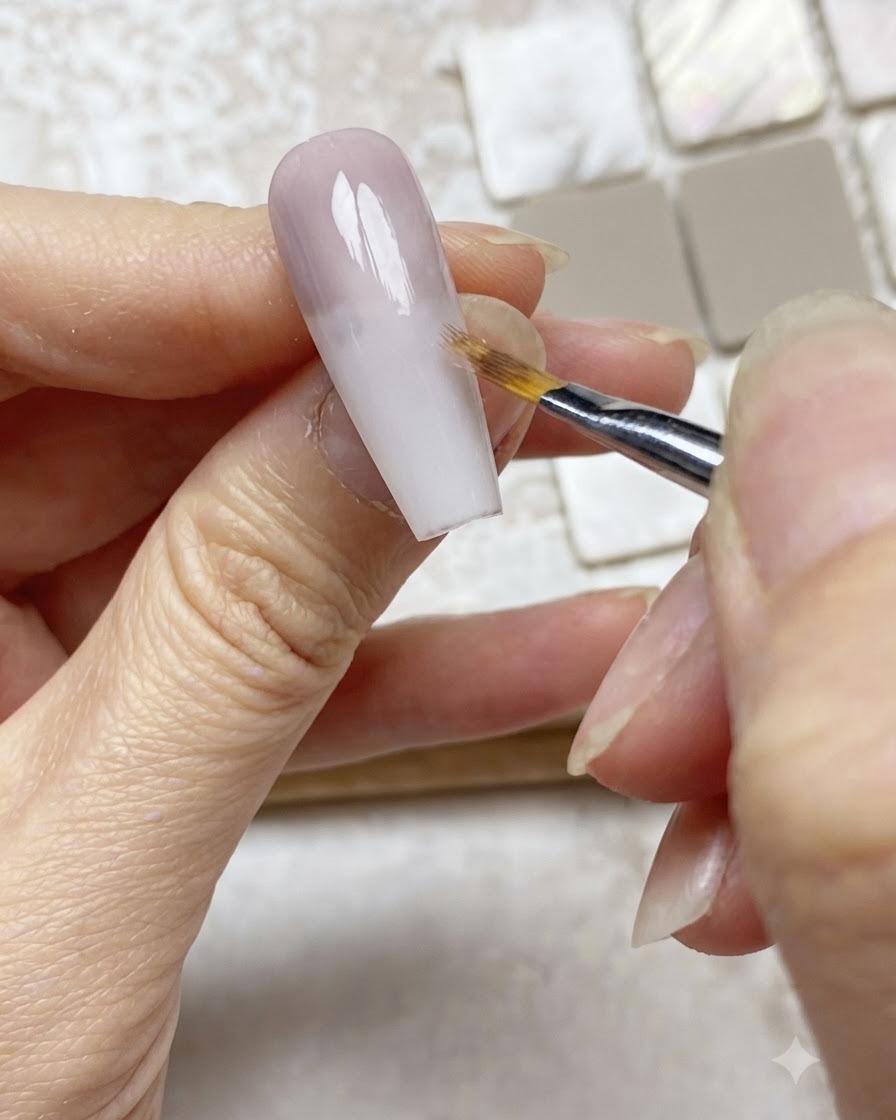
Take a clean ombre brush and gently pull the grey-purple gel downwards starting from the halfway point of the applied color area. Feather the edge smoothly into the translucent base to begin forming the vertical gradient effect.
Tip: Keep your brush strokes light and consistent to prevent harsh lines from forming during the blend. - 8Wipe the ombre brush
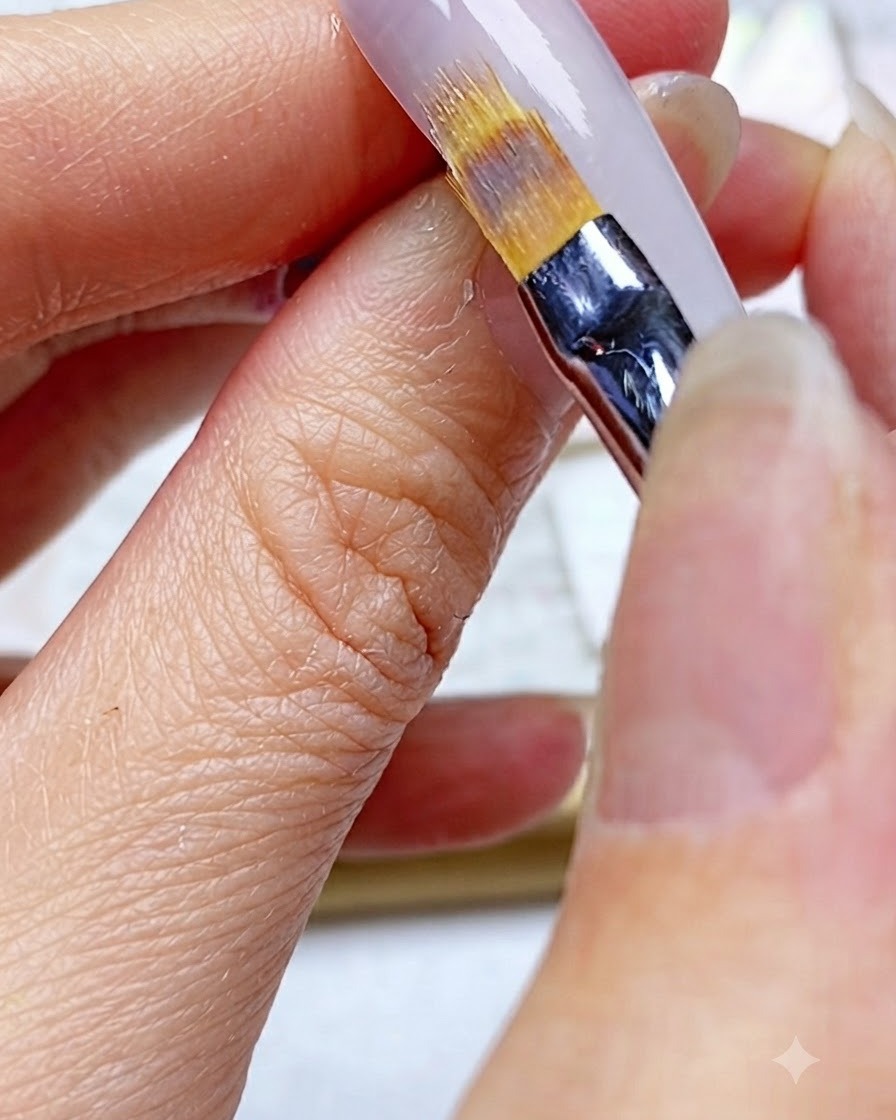
Wipe the ombre brush thoroughly clean on a lint-free pad to remove any excess product after completing the first pass of blending. Keeping the brush clean prevents muddying the colors and ensures a smooth, controlled transition for subsequent passes.
Tip: Always wipe your brush between blending strokes to maintain crisp lines and avoid pigment buildup. - 9Apply the second grey-purple layer
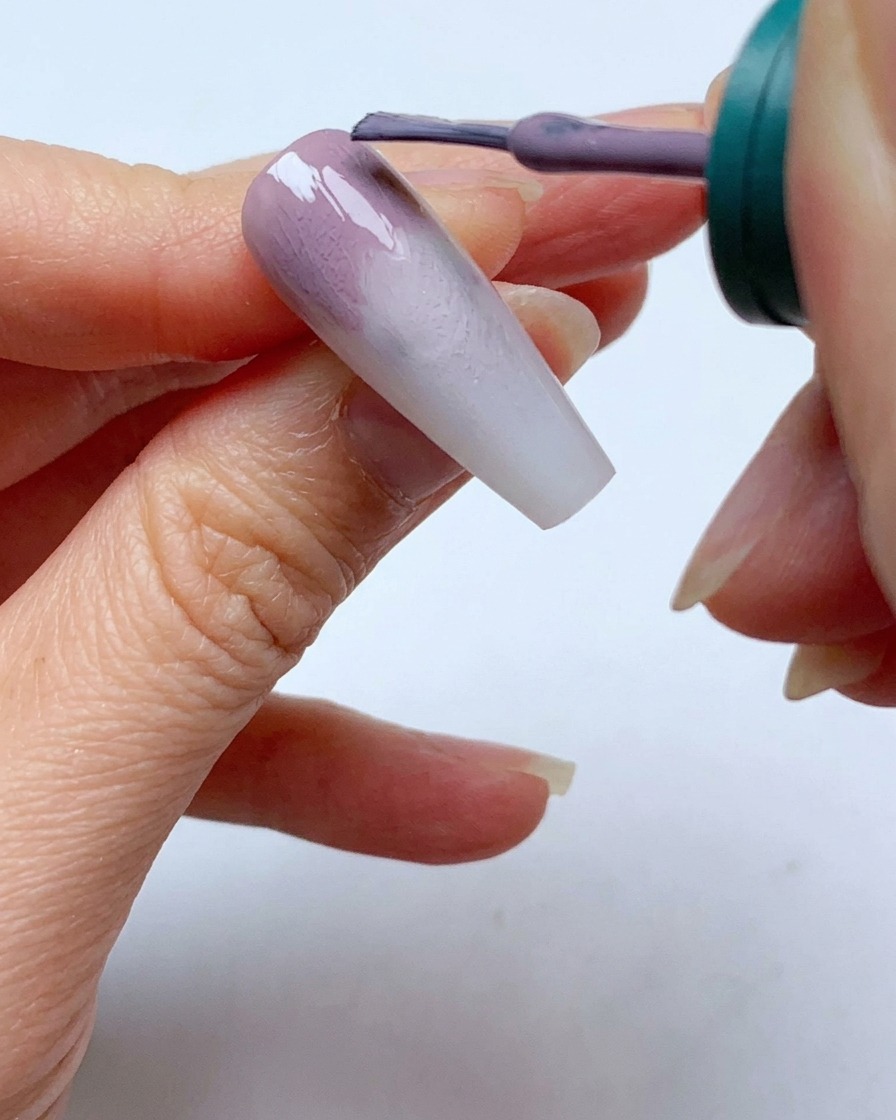
Apply a second layer of grey-purple gel to the back one-third of the nail near the cuticle area, slightly overlapping the faded edge of the first layer. Ensure the edge line remains neat with no high and low spots.
Tip: Maintain a neat and even edge line during application to make the subsequent blending step much easier. - 10Blend the second layer downwards
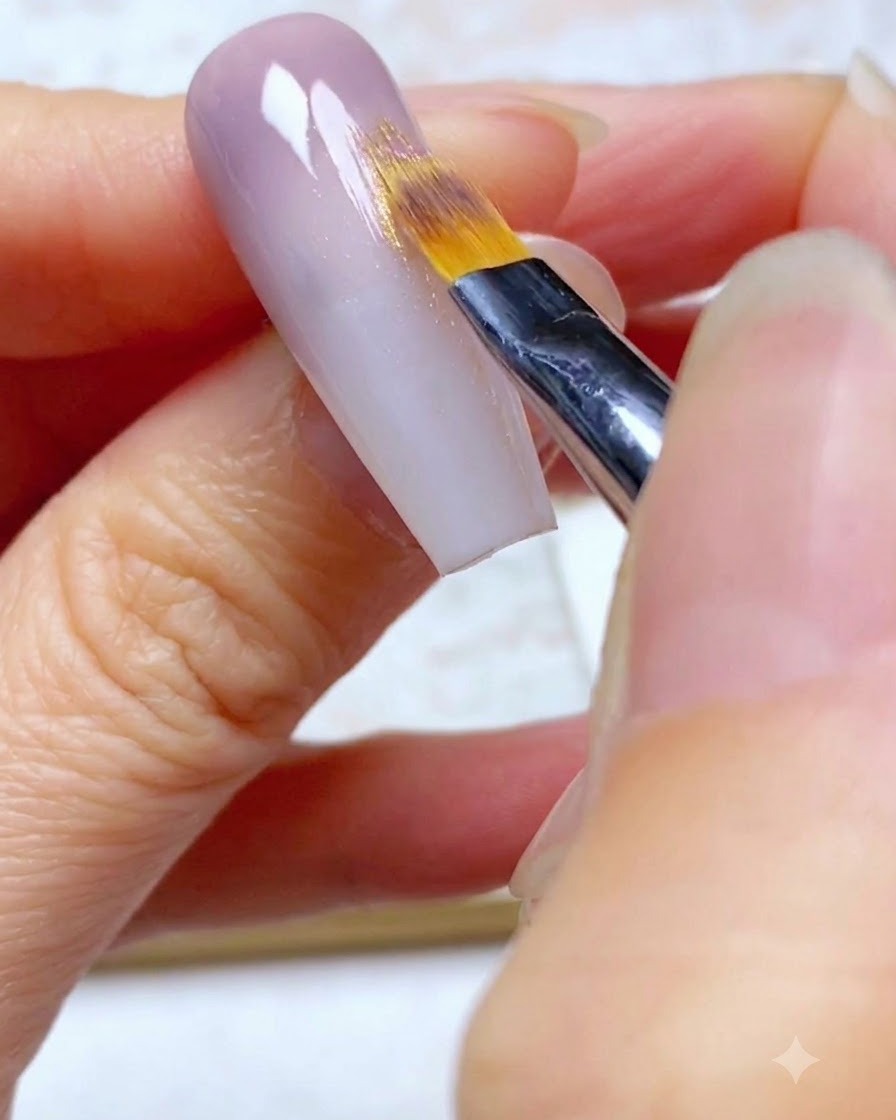
Using the ombre brush, blend the second layer of purple gel downwards starting from the halfway point of this new edge line. Feather the product carefully into the previous layer to build rich color density and depth.
Tip: Work in small, controlled strokes to maintain a smooth color transition down the nail length. - 11Smooth the mid-nail transition
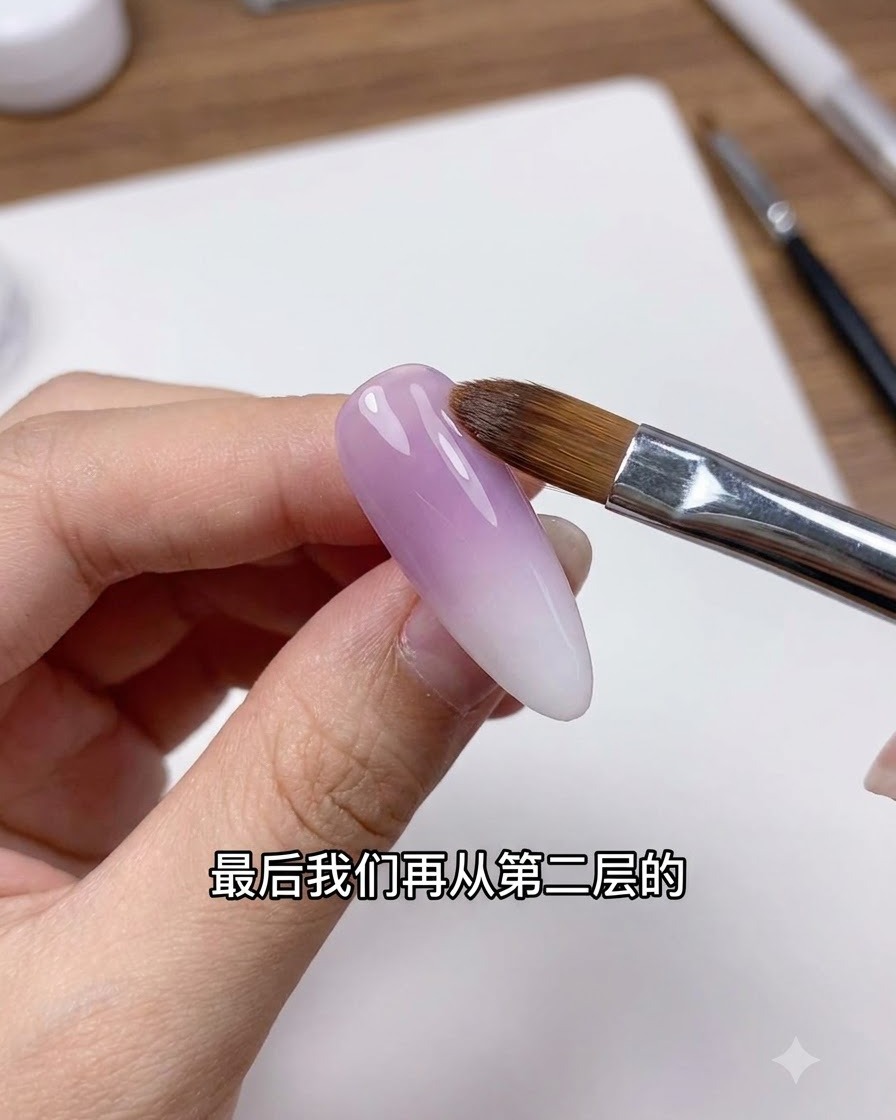
After cleaning your brush once more, gently sweep over the transition line located in the middle of the nail. Use a light touch to further soften the gradient and eliminate any remaining harsh lines between the colors.
Tip: Use feather-light pressure when sweeping over the transition line to avoid wiping away the gel layers underneath. - 12Apply the third color layer
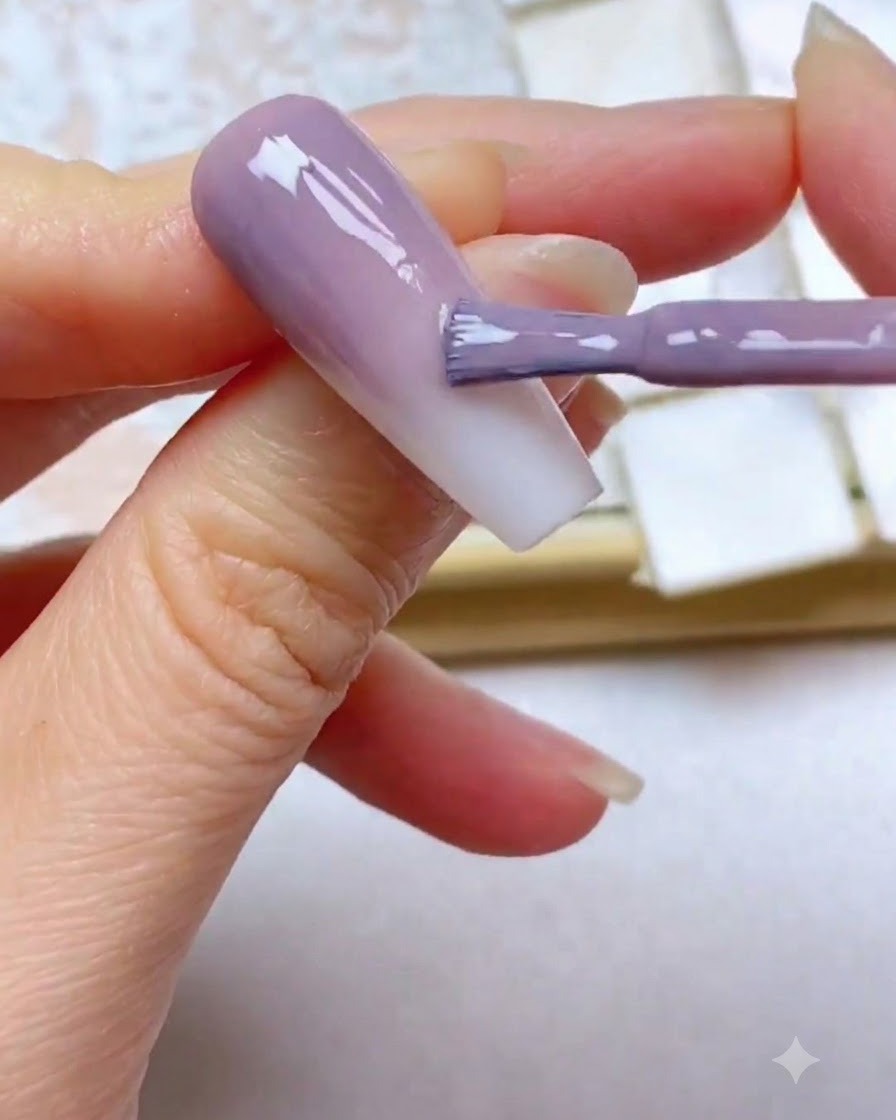
Apply a third layer of grey-purple gel to the top half of the whole nail or directly at the very top edge near the cuticle for maximum pigmentation. Follow the same layering and half-point blending technique to finalize the rich upper color saturation.
Tip: Building three thin layers creates a professional, dimensional ombre look without adding unwanted bulk. - 13Blend the third layer
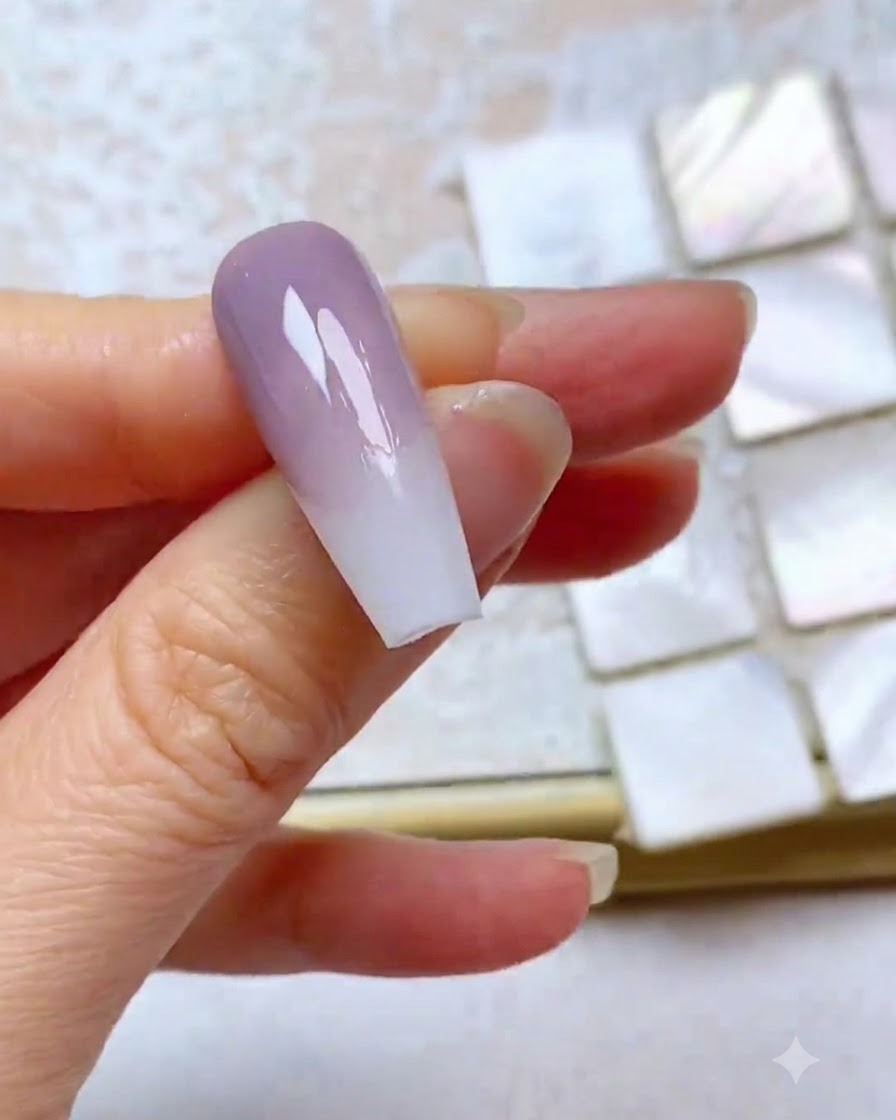
Blend the third layer of gel downwards using the ombre brush, making sure that the topmost edge remains neat, clean, and properly opaque. This builds up the depth and richness of the color gradient.
Tip: Check that your upper edge is sharp and clean before curing to maintain a professional look. - 14Refine the purple transition area
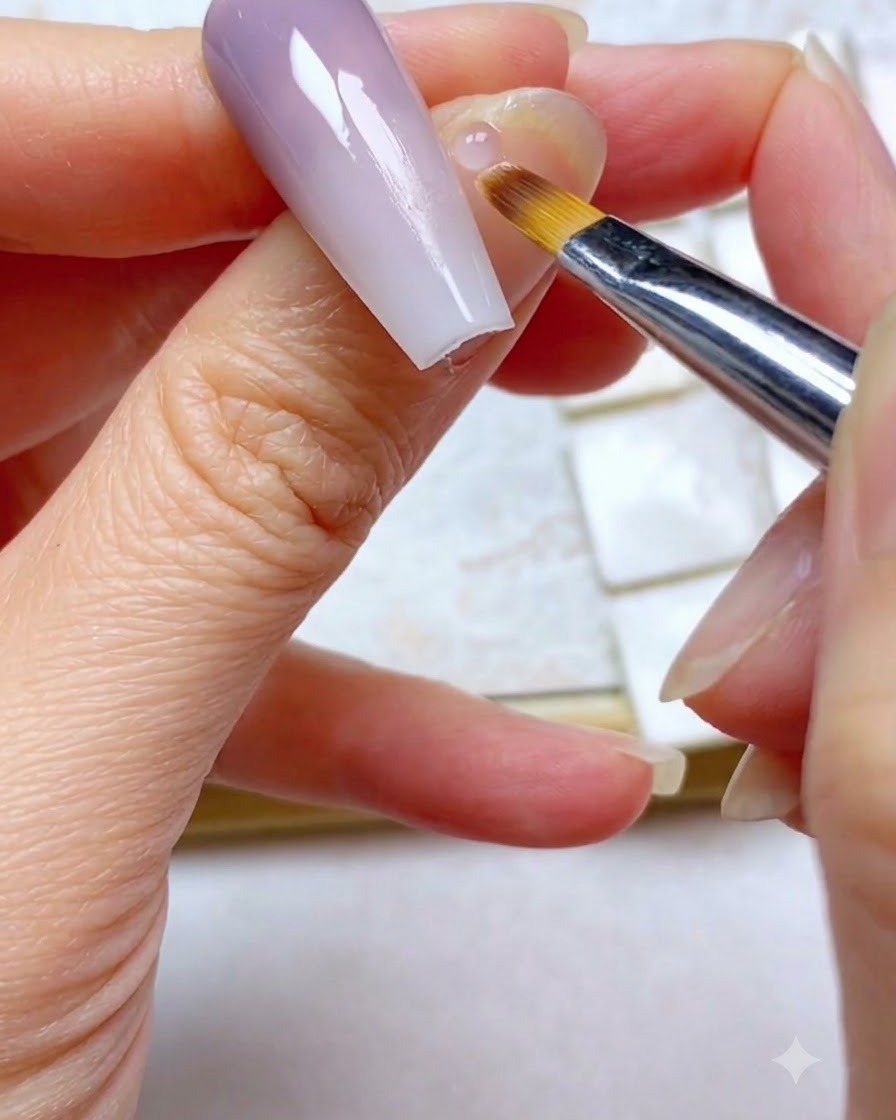
Take your clean ombre brush and lightly sweep across the final purple transition section of the nail. This final sweeping action helps to completely disperse any remaining pigment pooling and removes horizontal lines for a flawless fade.
Tip: Make sure the brush is completely clean and dry before sweeping to absorb excess product rather than spreading it. - 15Perform final blend sweep
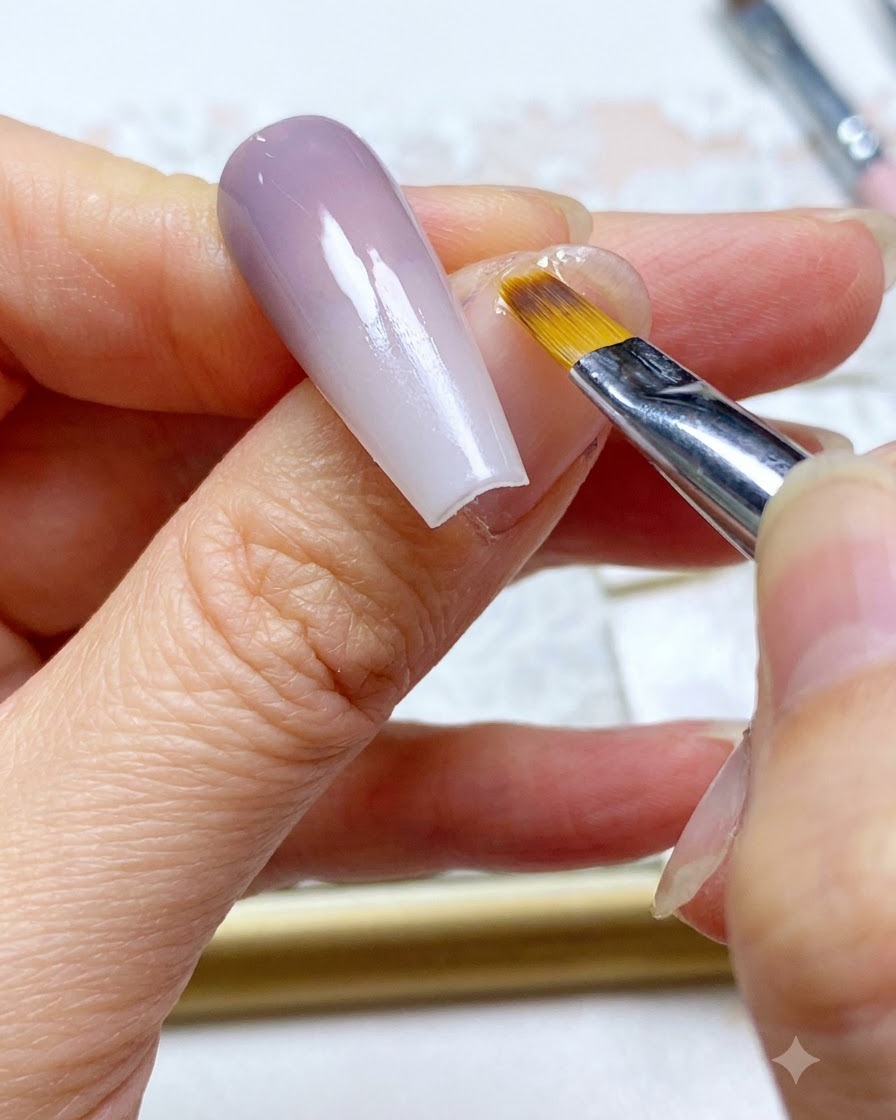
Perform one final sweeping motion over the blended edge using a freshly cleaned brush. This guarantees a completely seamless fade from the purple base into the translucent middle section before curing.
Tip: Check the nail from different angles under good lighting to ensure no streak lines remain before curing. - 16Apply milky white to the tip
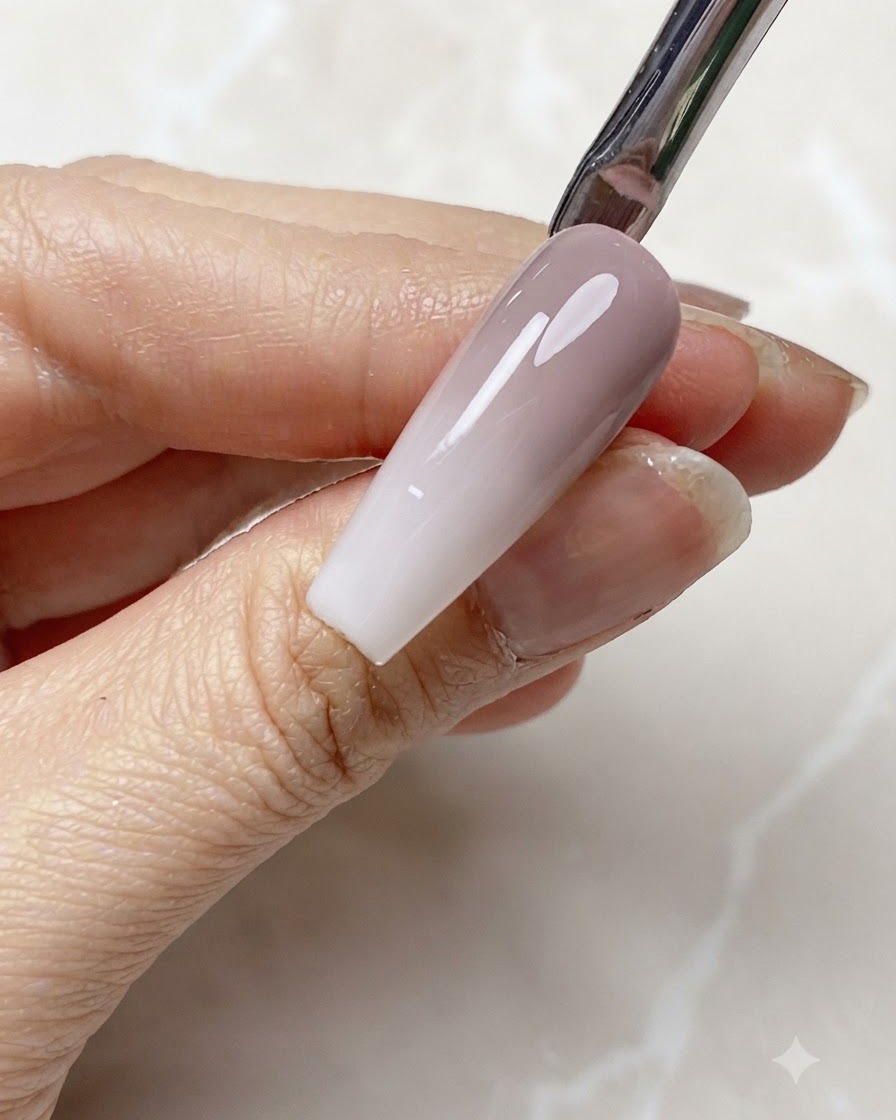
Apply a generous amount of translucent milky white gel directly onto the free edge tip of the nail. This builds the bright contrasting base needed for the bottom portion of the two-tone gradient effect.
Tip: Keep the application even across the tip to maintain a balanced opacity before blending upwards. - 17Blend white gel upwards
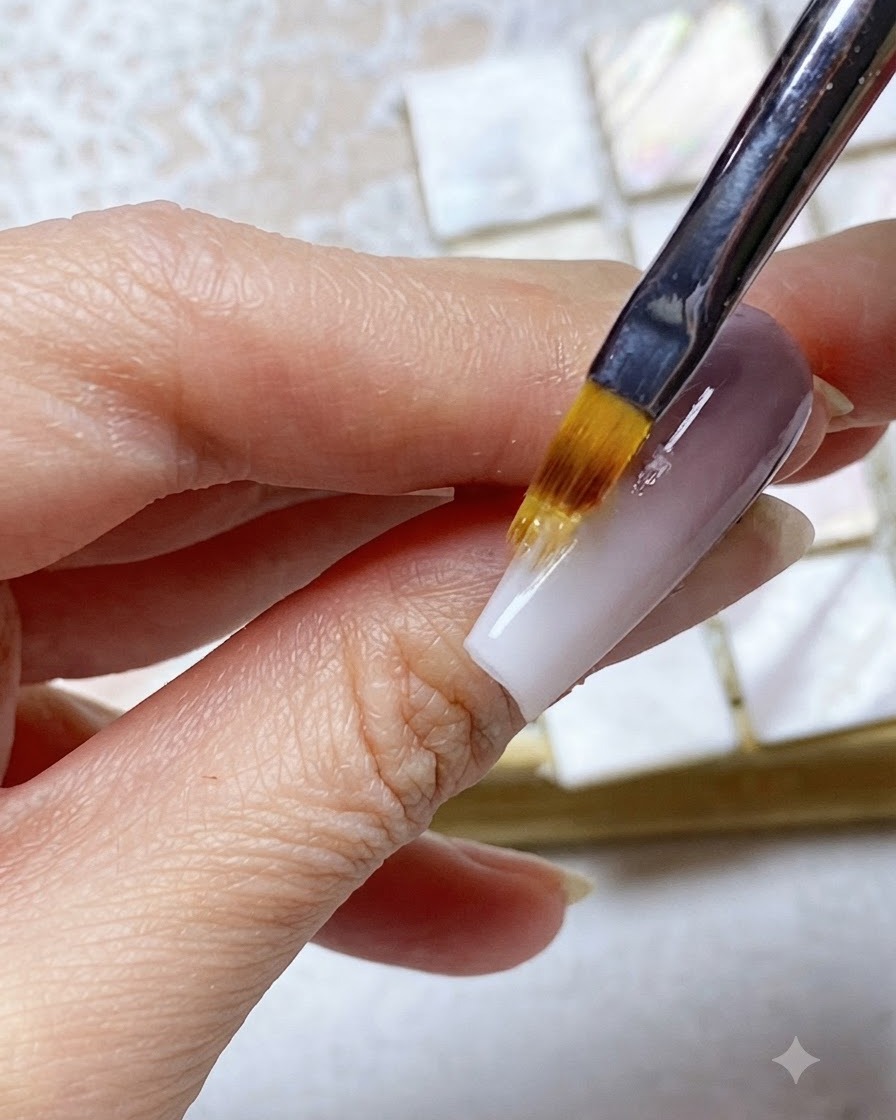
Using your ombre brush, gently feather and blend the milky white gel upwards into the existing purple gradient section. This creates the final seamless meeting point between the two colors.
Tip: Blend from the tip towards the cuticles using gentle upward strokes to achieve a smooth two-tone vertical gradient. - 18Apply Strengthening Top Coat
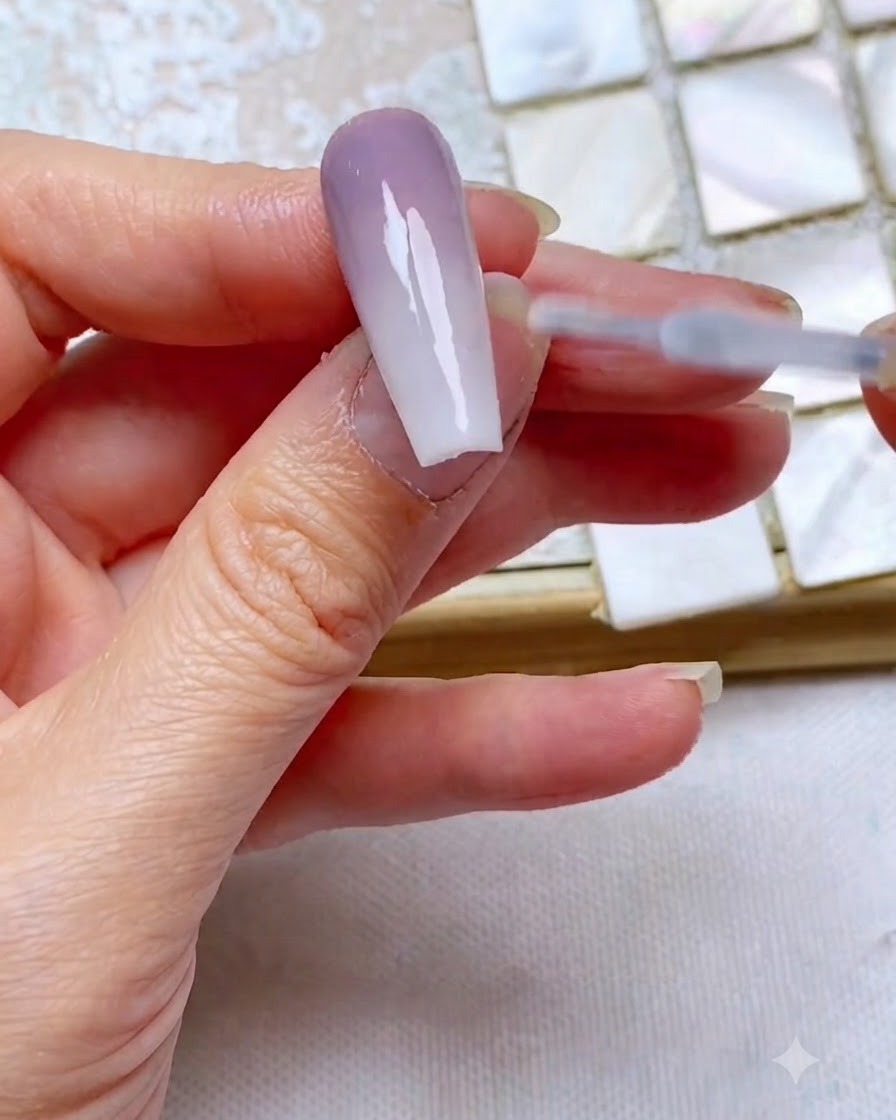
Apply a final layer of strengthening top coat over the entire nail to seal in the gradient design, add long-lasting protection, and create a smooth, high-gloss finish. Cure under the UV or LED lamp to complete the two-tone gradient look.
Tip: Cap the free edge with the top coat to prevent chipping and ensure your gradient manicure lasts longer.