Lavender Gradient Cat Eye Nails — Dreamy Side-Light Tutorial
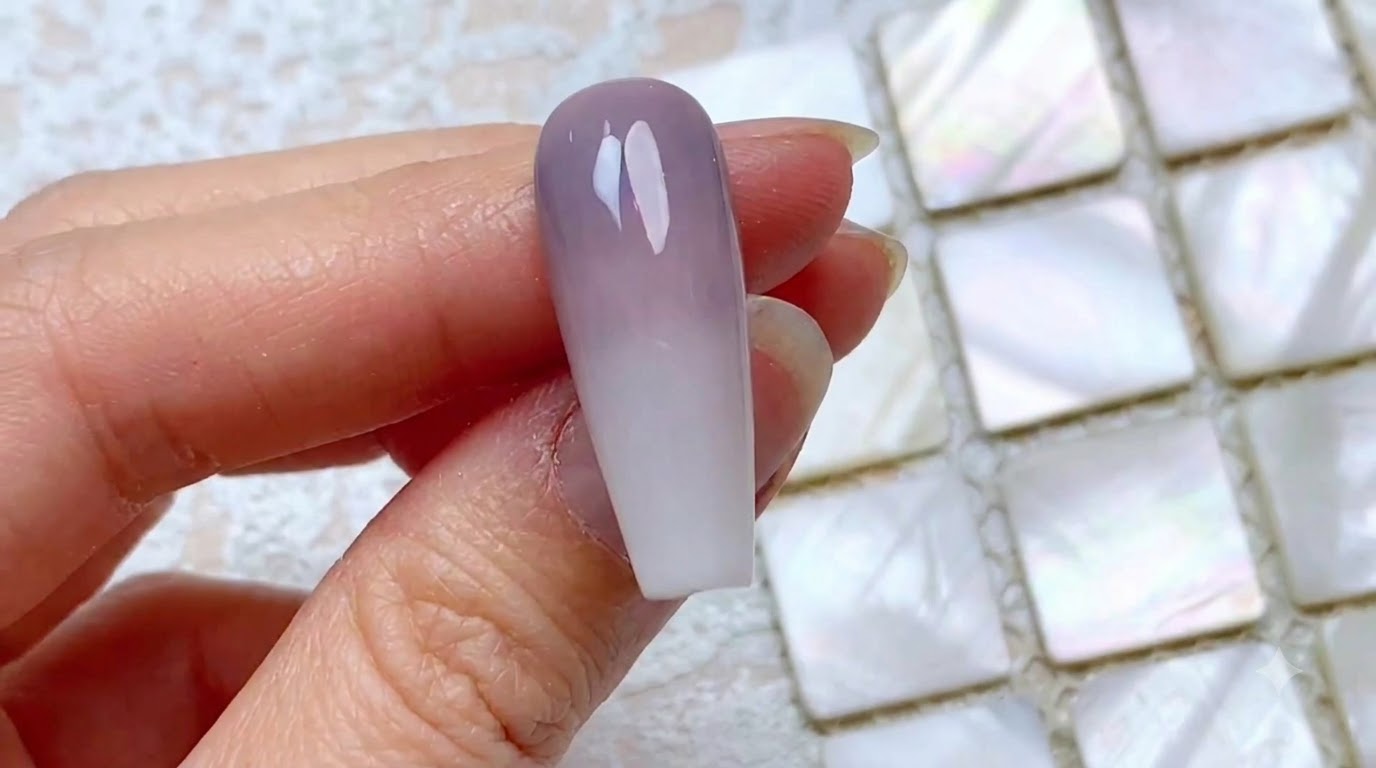
Create dreamy lavender gradient cat eye nails with a luminous side-light magnetic effect using shades 014 and 829.
Lavender gradient cat eye nails offer a gentle, flattering, and bright look that blends soft purple hues with mesmerizing magnetic shimmercite: 1. This style captures a dreamy aesthetic that looks truly amazing on short to medium nailscite: 1. Using a precise gradient sweeping technique combined with a dedicated cat eye wand, you can easily achieve this professional salon finish at home.
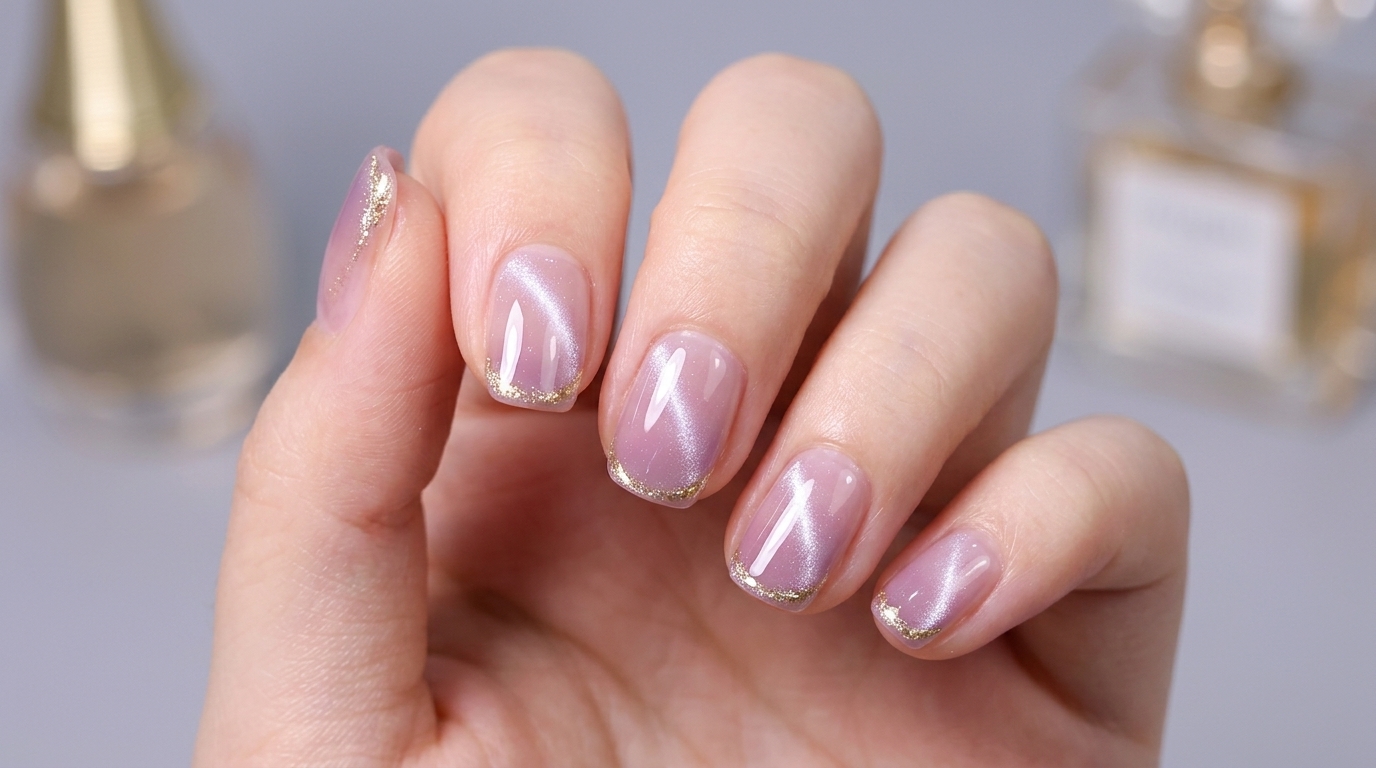
Steps
- 1Prepare Gel Bottles
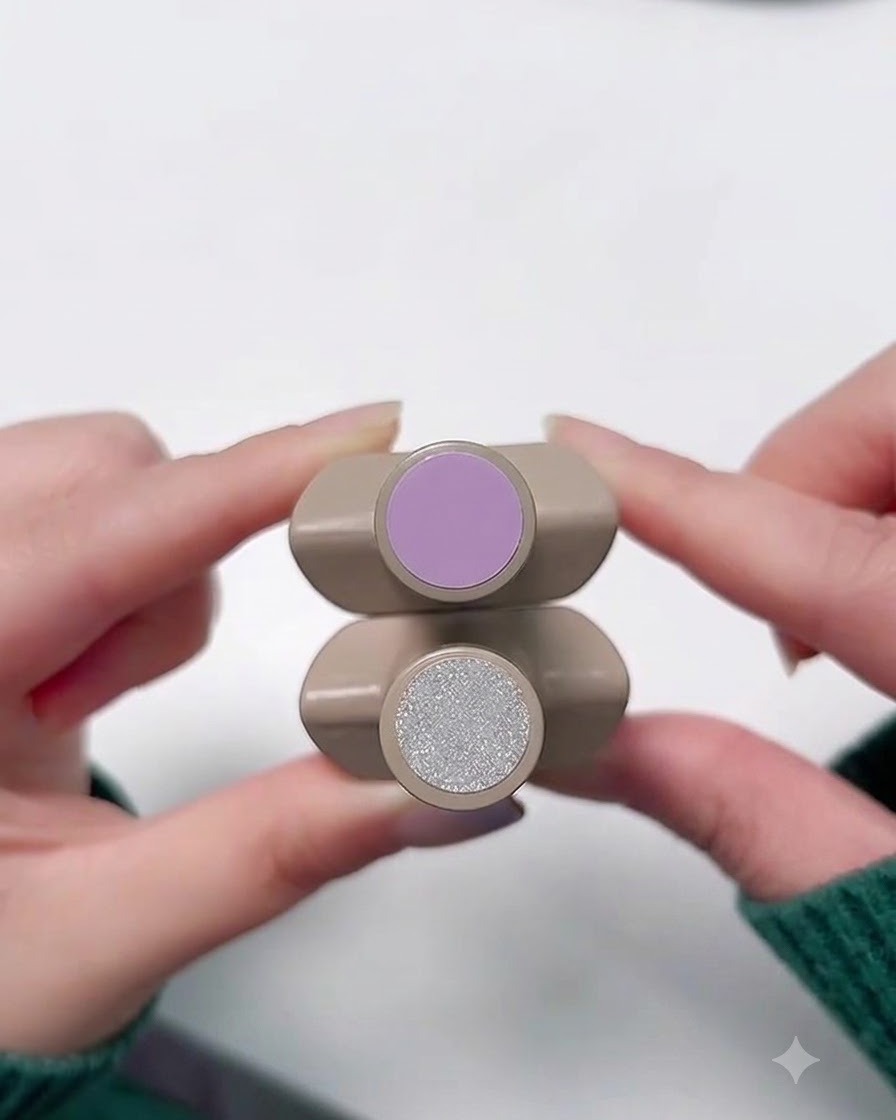
Place bottle 014 lavender purple gel and bottle 829 cat eye gel side by side to prepare for your manicure steps.
Tip: Keep your products neatly arranged and ready for easy access during the application process. - 2Apply Lavender Base Coat
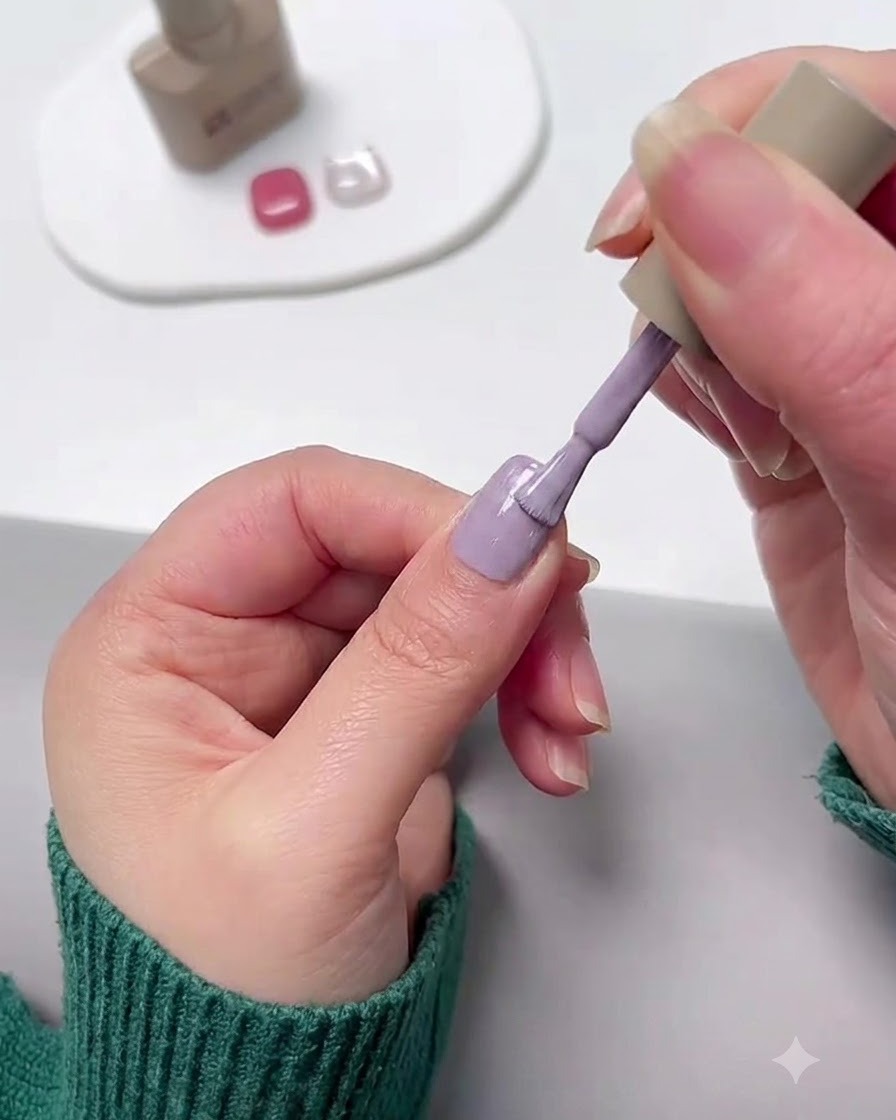
Apply bottle 014 lavender purple gel evenly onto the nail plate, covering the surface smoothly.
Tip: Apply in thin, even strokes to prevent pooling near the cuticles. - 3Create Gradient Effect
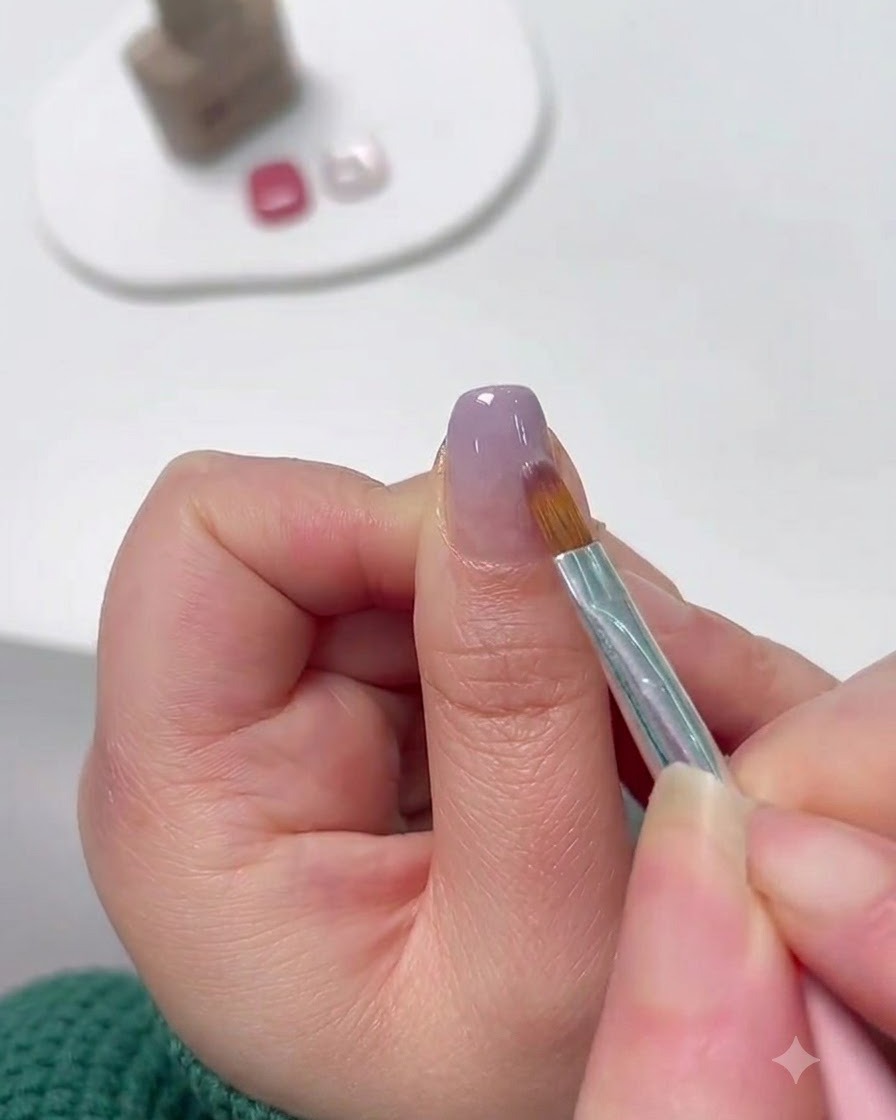
Using a detailed nail art brush, apply bottle 014 at the fingertip and gently sweep it upward toward the cuticle to achieve a smooth gradient effect.
Tip: Use a light hand when sweeping upward to feather out the color transition seamlessly. - 4Cure Gradient Layer
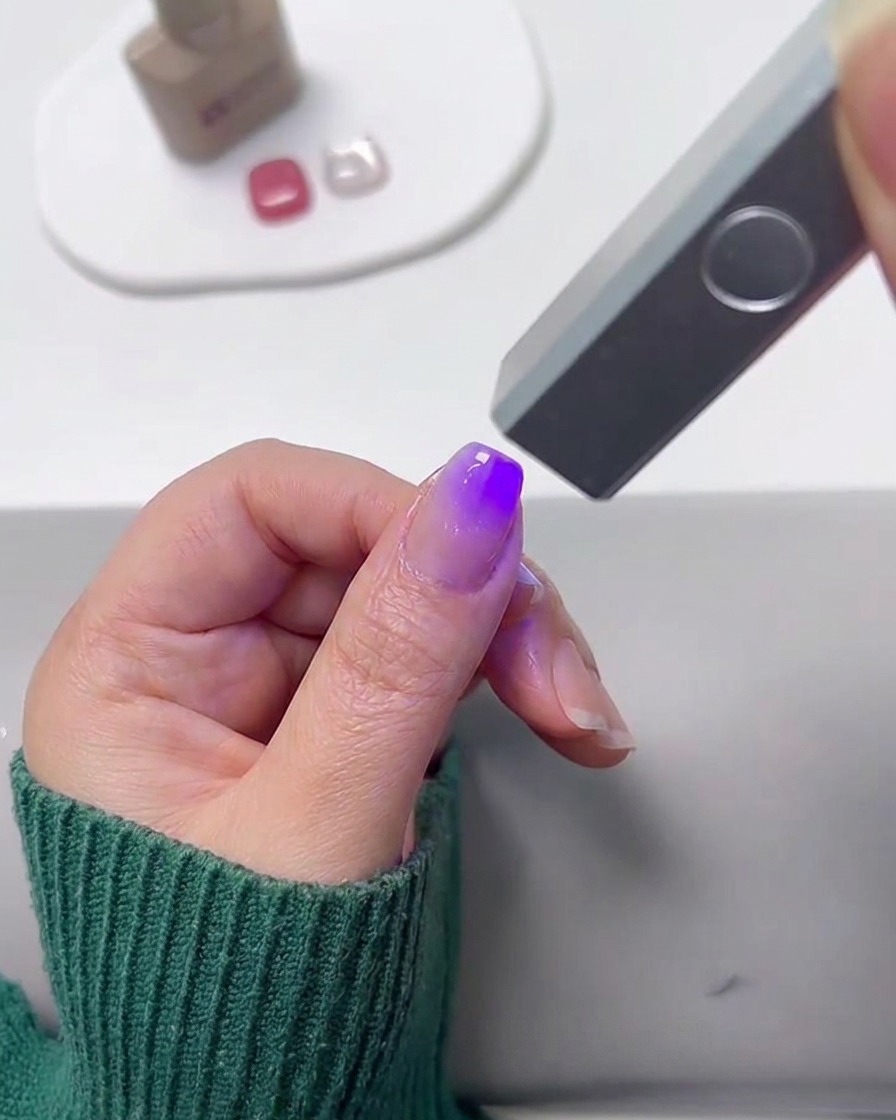
Place the nail under a mini handheld UV or LED lamp to cure the gradient gel layer and set it in place.
Tip: Hold the handheld lamp steady over the nail to ensure the entire gradient cures evenly without shifting. - 5Layer Cat Eye Gel
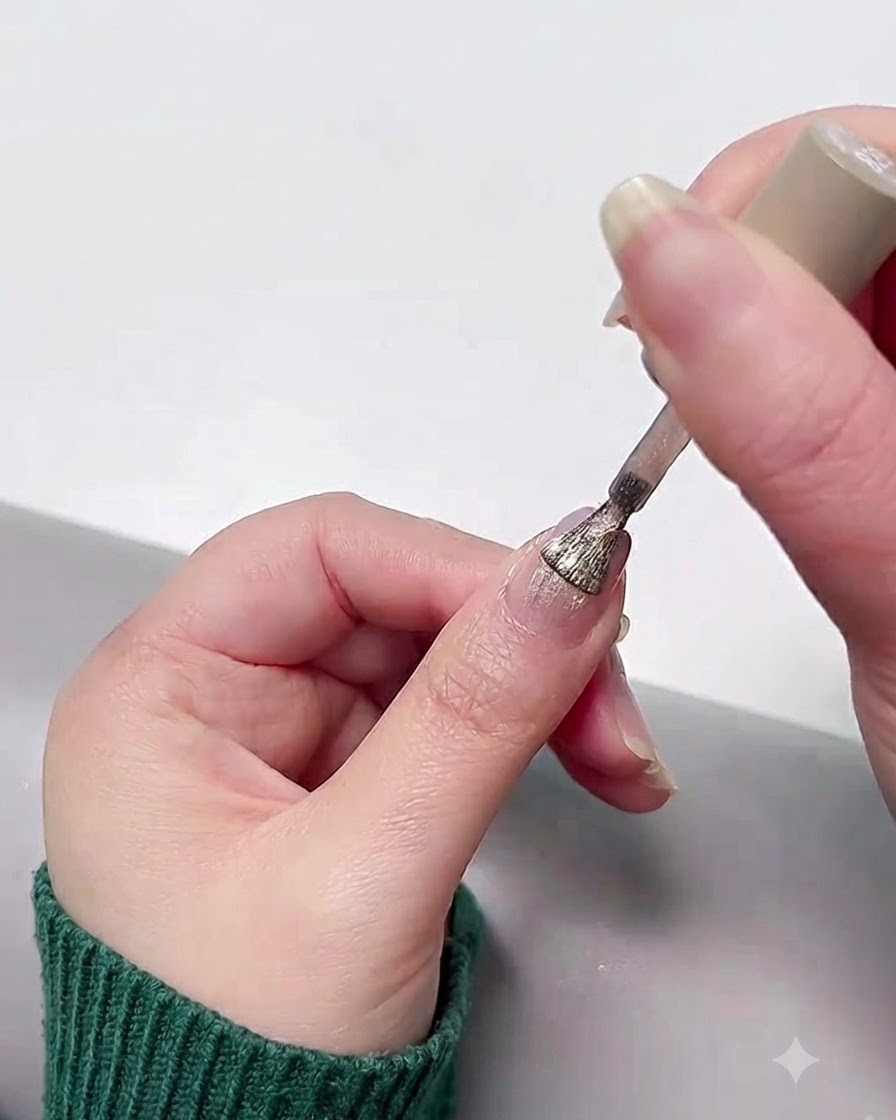
Apply a layer of bottle 829 cat eye gel directly over the cured lavender gradient base.
Tip: Ensure the cat eye layer is distributed evenly so the magnetic particles can move freely. - 6Magnetize Side-Light Effect
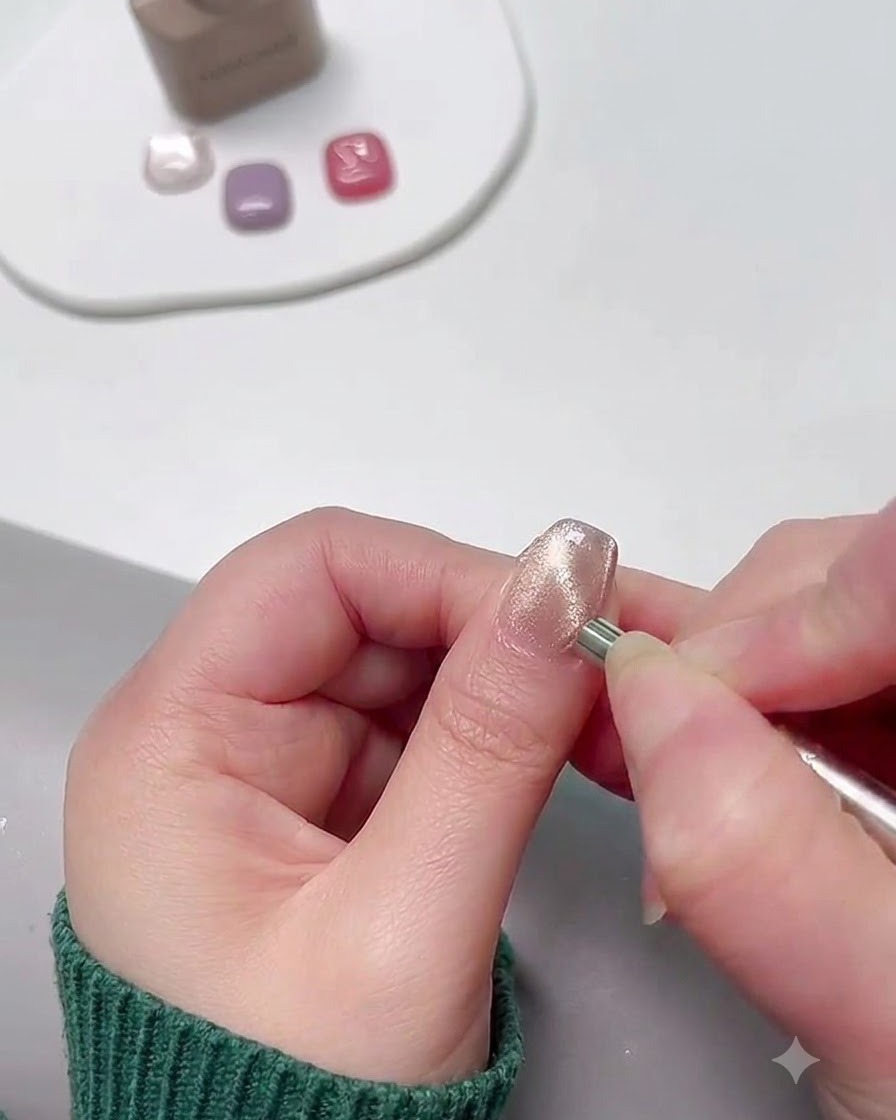
Take a dedicated magnetic wand and hold it close to the side of the nail to pull and concentrate the cat eye particles, creating a luminous side-light effect.
Tip: Hold the magnet steady for a few seconds until the desired reflection line forms clearly before curing. - 7Check the Cat Eye Reflection
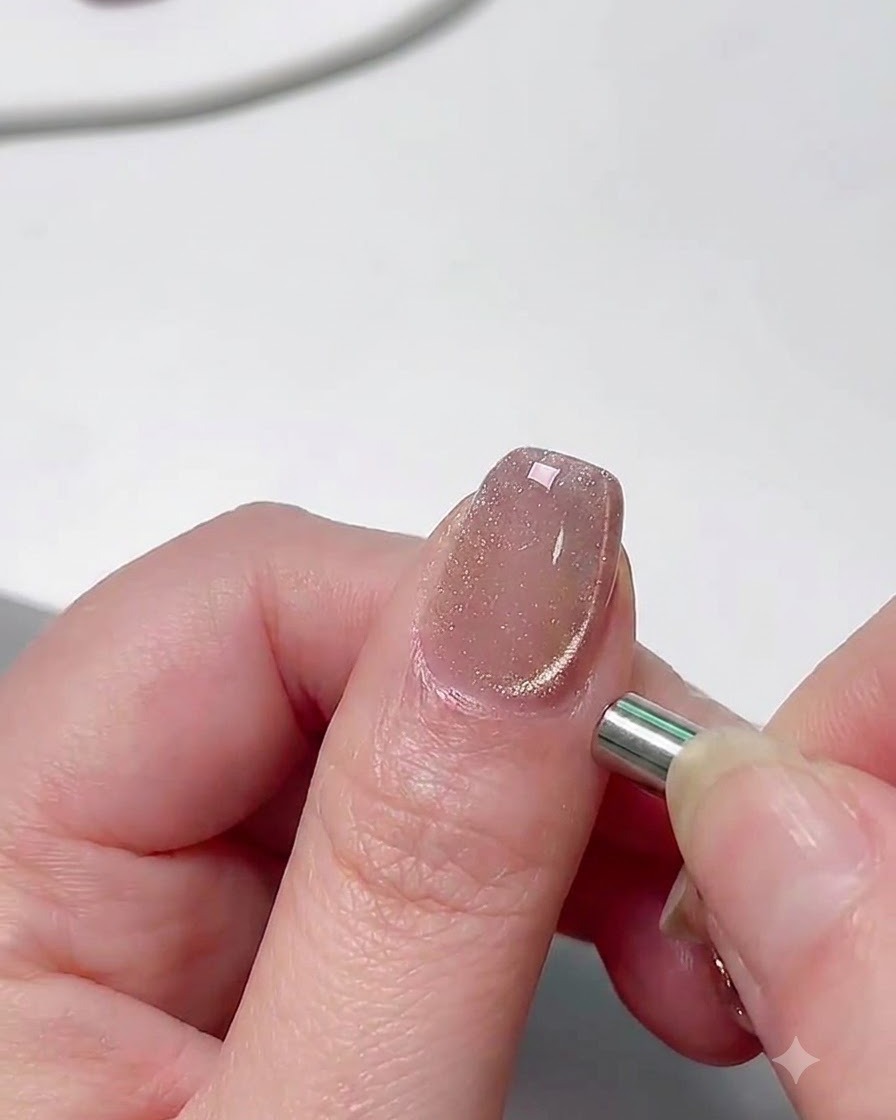
Hold the specialized magnet close to the side of the nail to pull and absorb the magnetic particles into a sharp, distinct side-light reflection. Inspect the angle and brightness of the cat eye effect to ensure it achieves the desired dreamy and flattering look before curing.
Tip: Keep the magnet steady for a few seconds to let the magnetic particles fully lock into place before curing.