Dark Red Ombre Cat Eye Gel Nail Art — Step-by-Step Tutorial
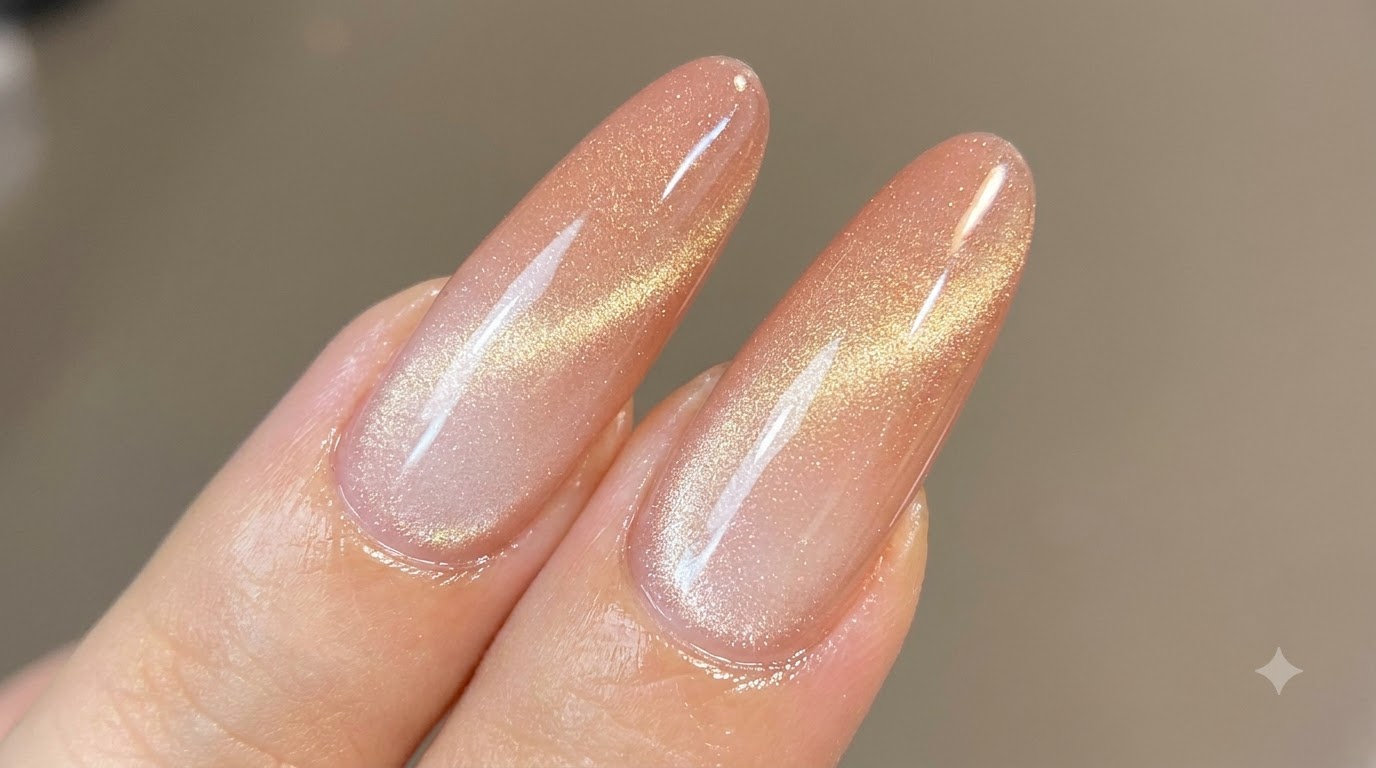
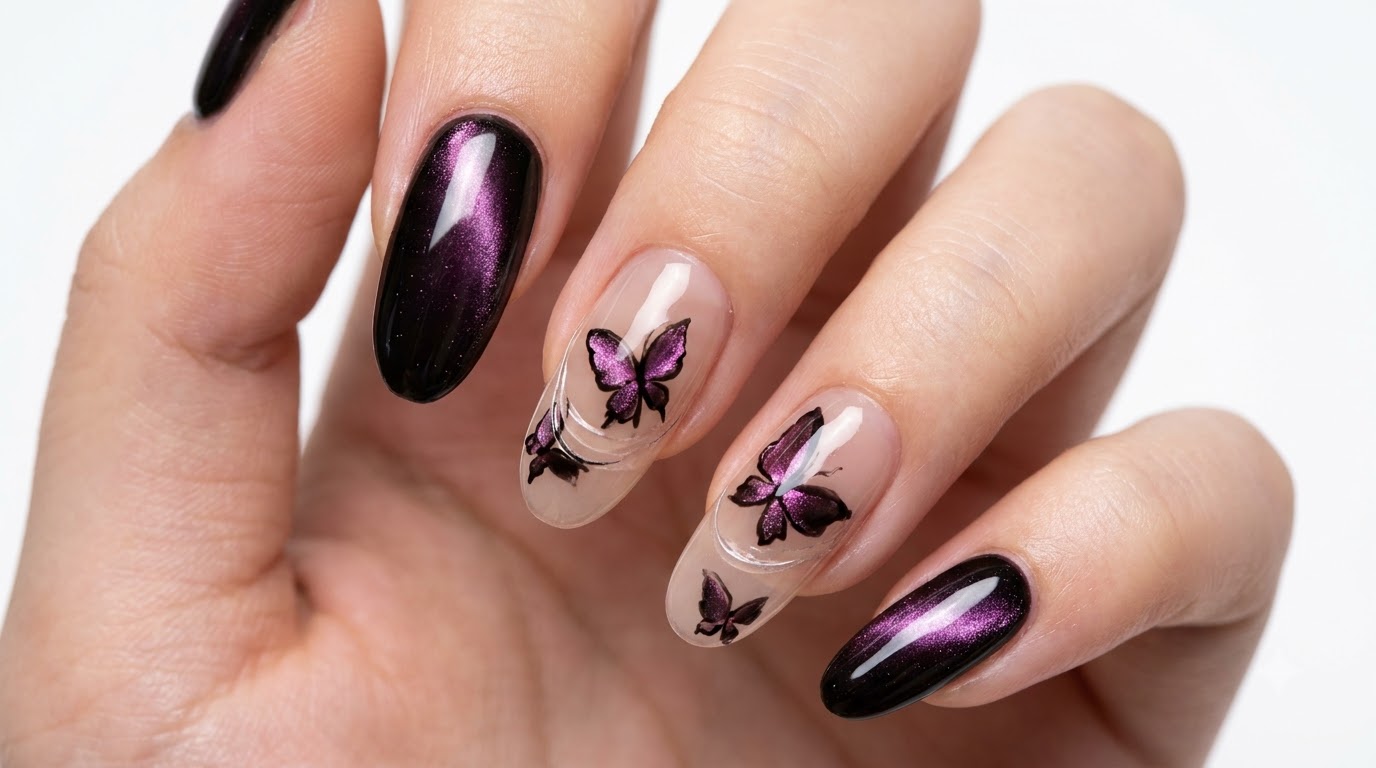
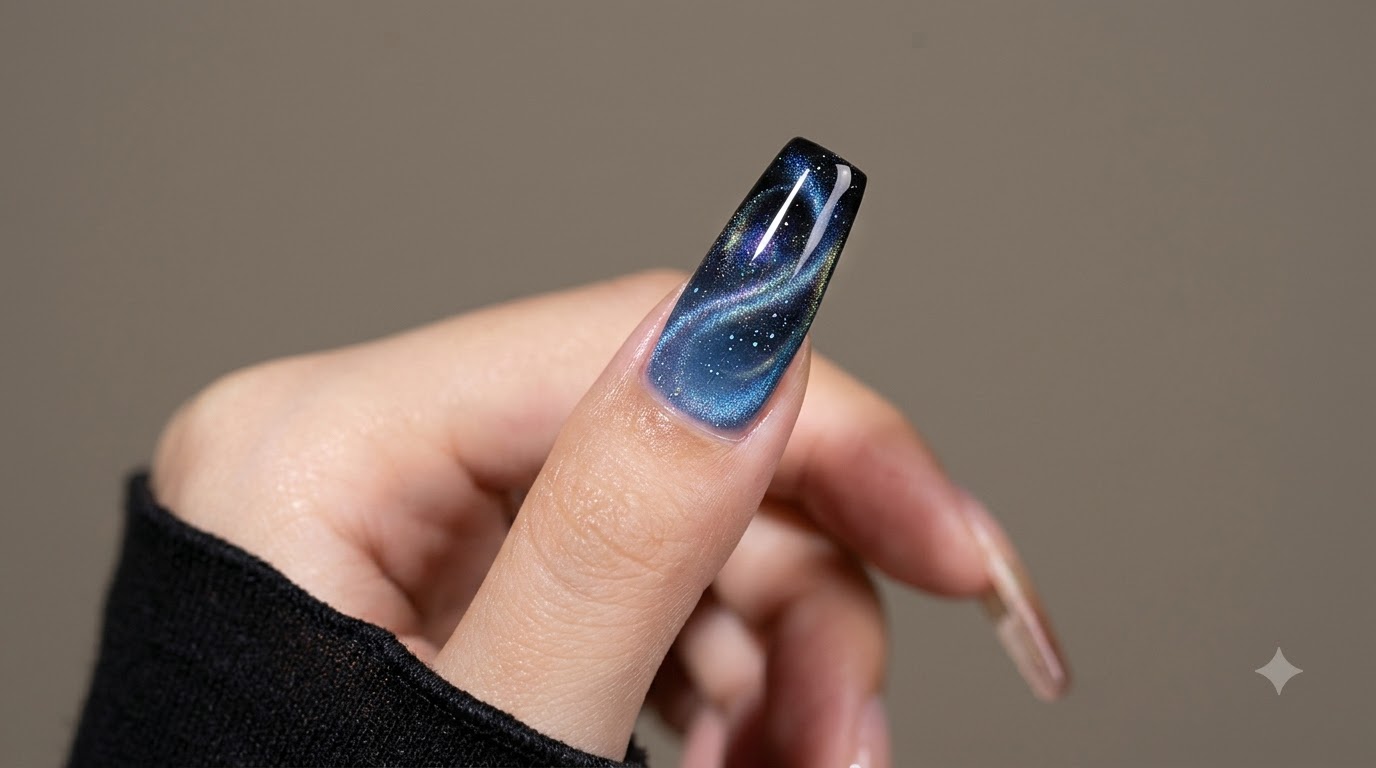
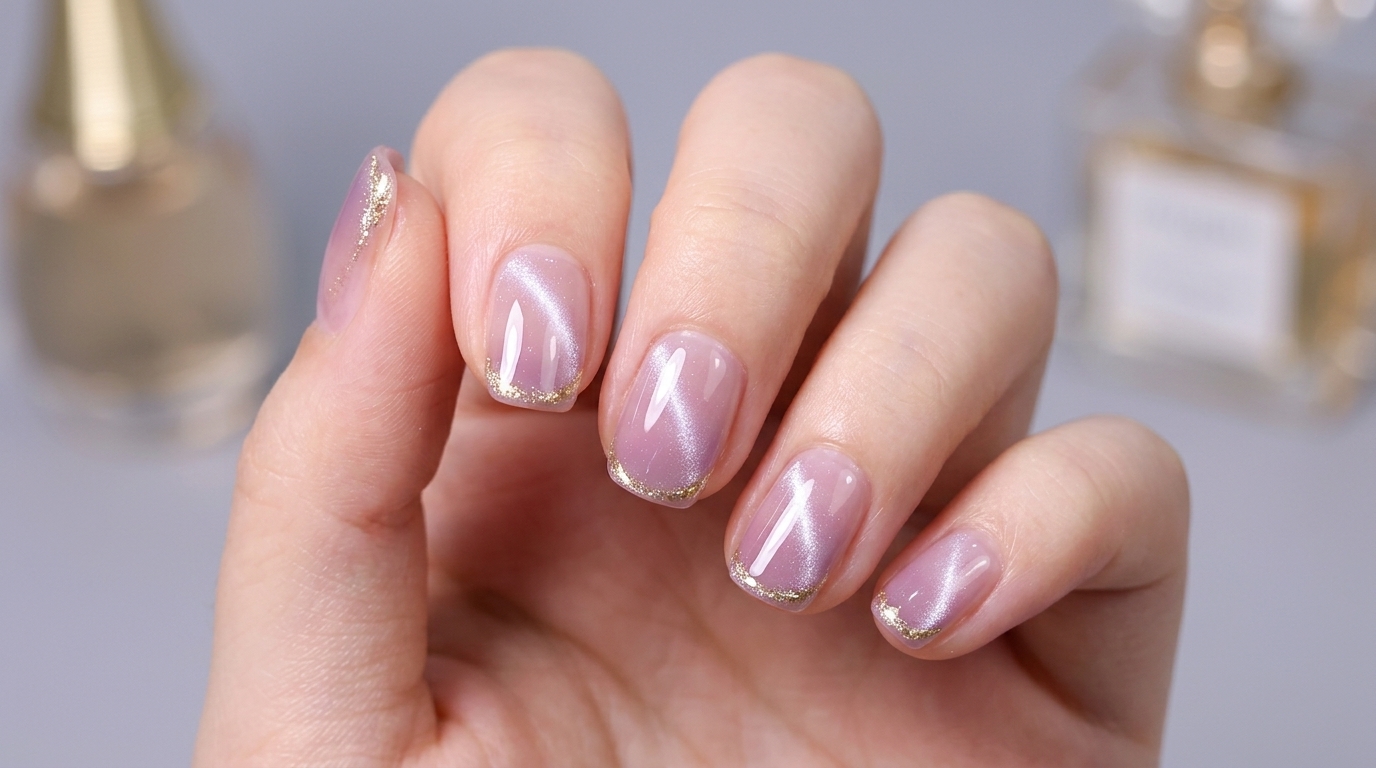
Master the art of deep burgundy wine red ombre nails enhanced with a luminous, magnetic silver cat eye effect and a rich translucent finish.
Dark wine red combined with sparkling magnetic cat eye polish creates a mesmerizing, high-end look reminiscent of precious gemstones. This advanced gradient technique blends custom-mixed shades and multi-layered light effects for a breathtaking finish that shines from every angle.
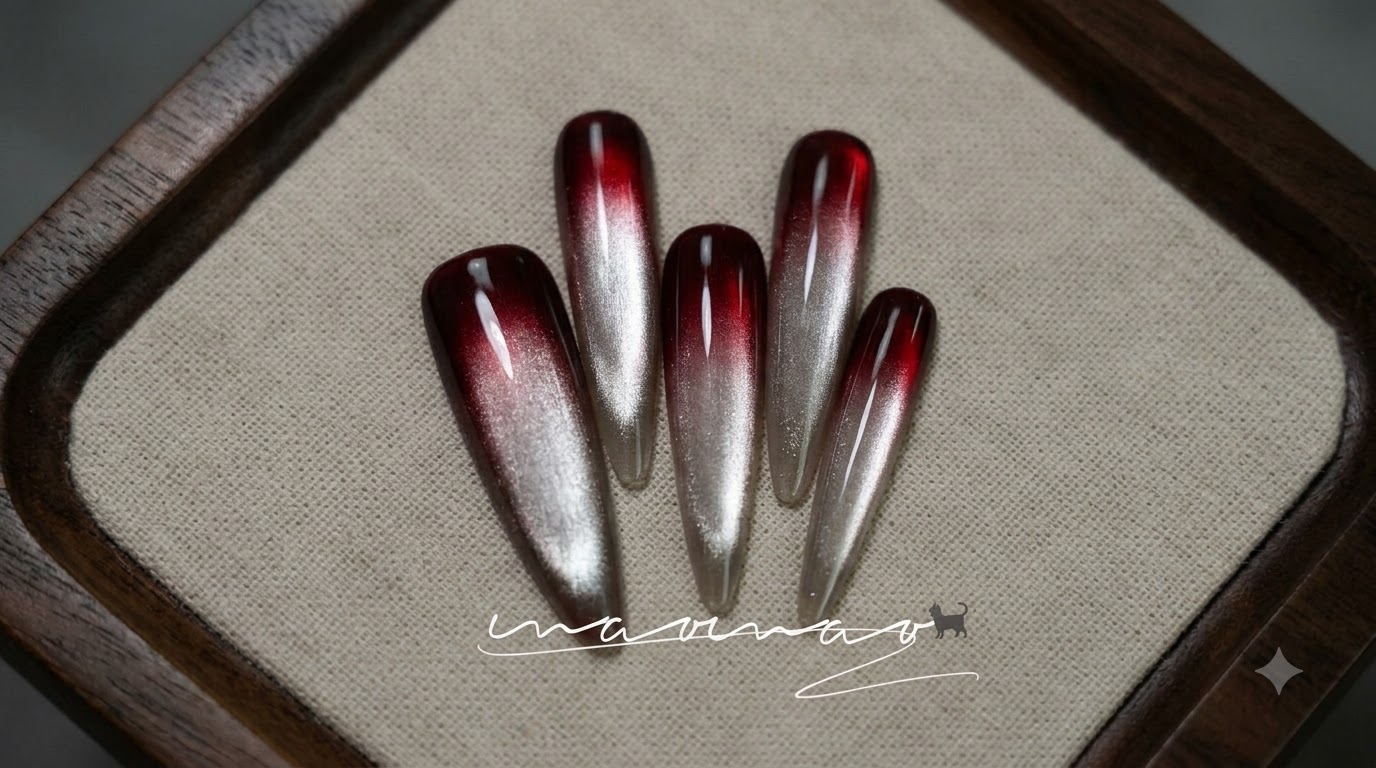
Steps
- 1Apply wine red patting gel
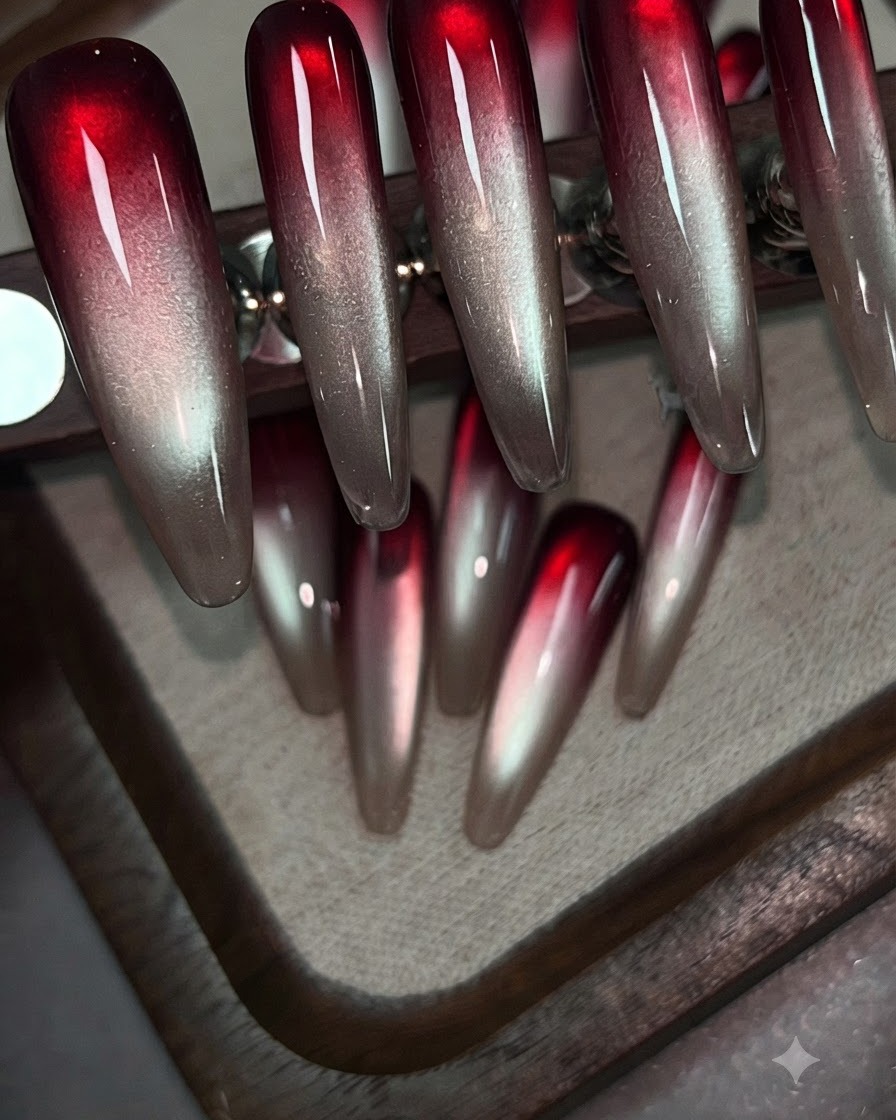
Apply wine red patting gel onto the upper portion of the clear practice nail tip to start the first layer of the ombre gradient, creating a soft transition for the two-layer application.
Tip: Apply in a light tapping motion to help build a smooth, even gradient foundation. - 2Cure wine red gel layer
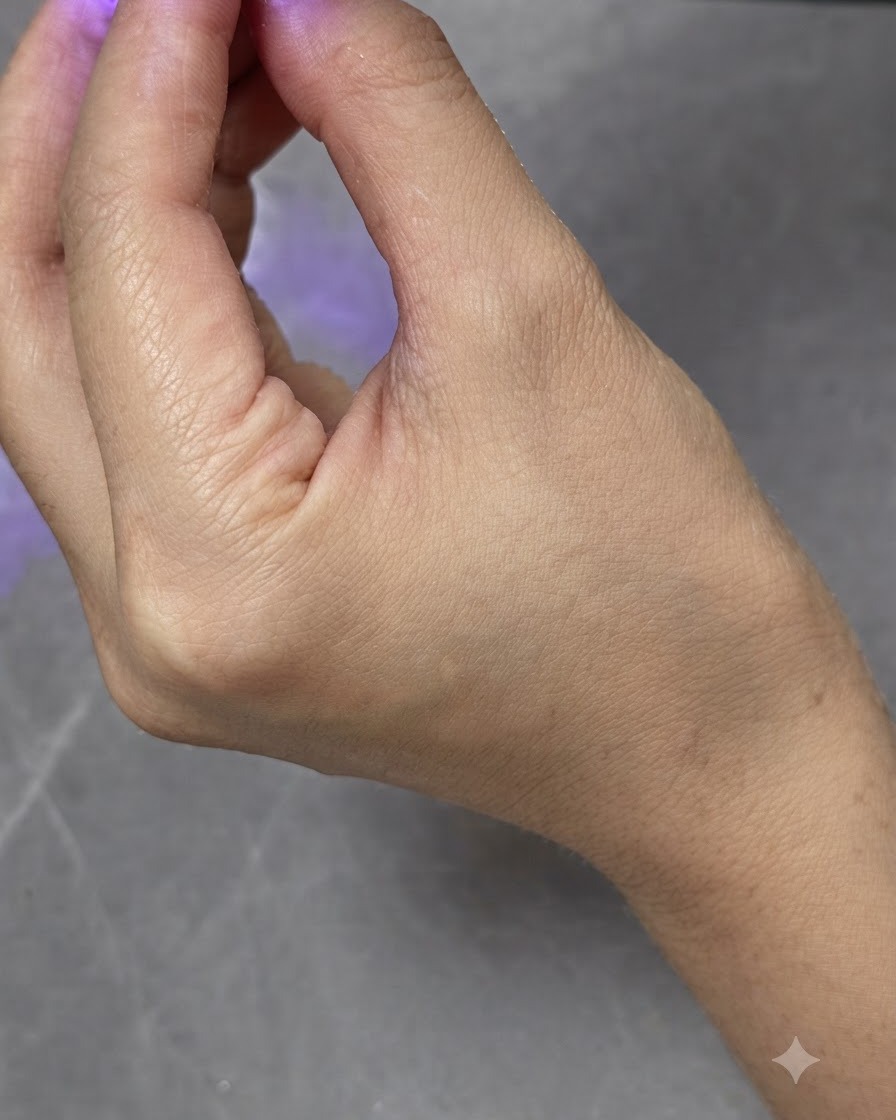
Place the hand under a mini handheld UV/LED curing lamp to cure the first applied layer of wine red gel. Ensure the light covers the entire nail surface evenly so the gel sets properly before moving on to subsequent layers and details.
Tip: Keep your hand steady beneath the portable lamp to prevent the wet gel from shifting or running toward the cuticles during curing. - 3Apply nude base color
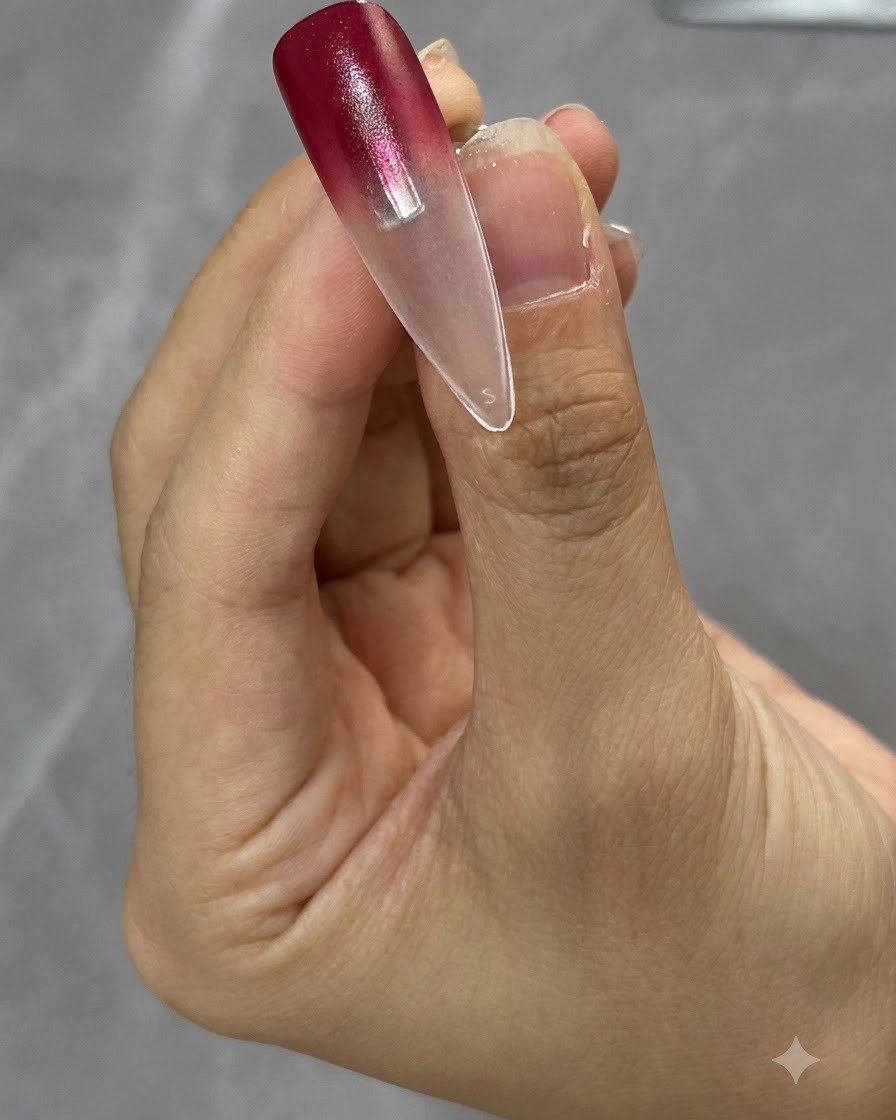
Apply a layer of nude base color over the nail tip to prevent the translucent nail from showing through and to build better opacity for the design.
Tip: Keep the layer thin and even to maintain a natural look. - 4Cure nude base color
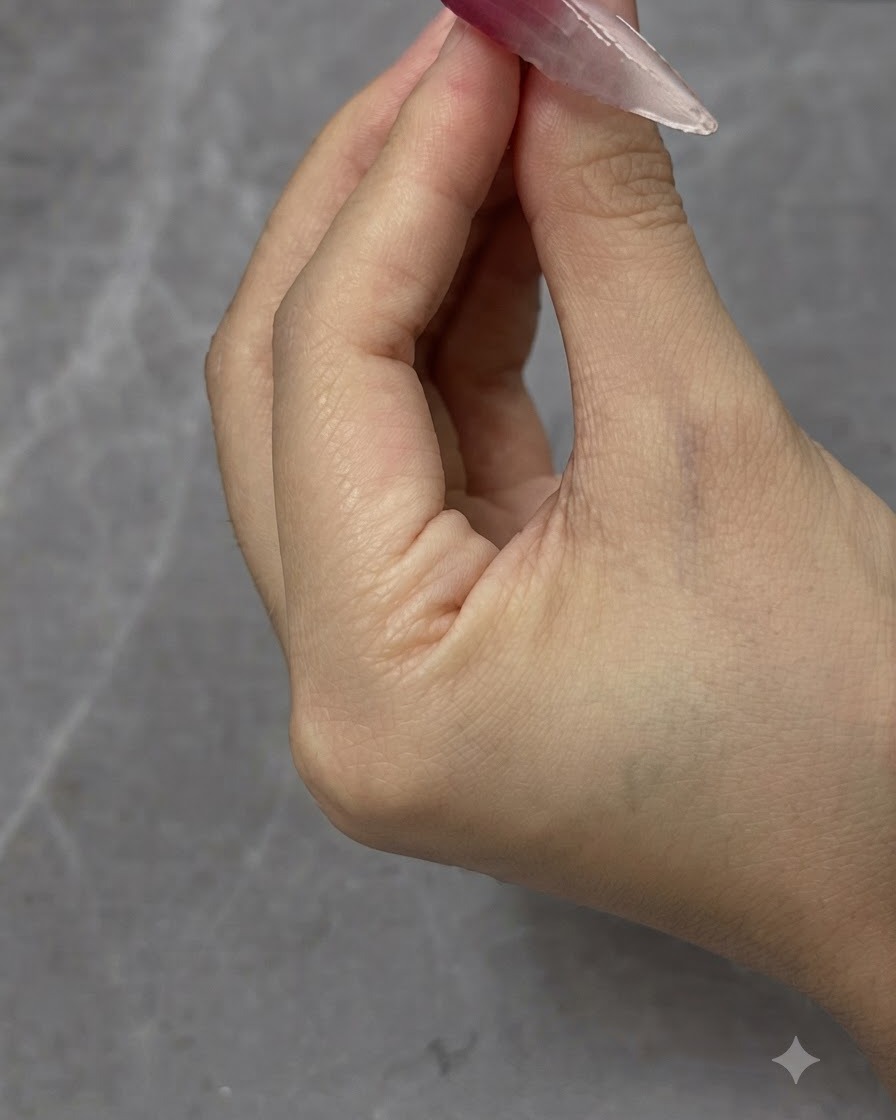
Place the nail under the mini UV/LED lamp to fully cure the nude base color layer before proceeding to the next application step.
Tip: Ensure proper curing time to prevent lifting or shifting of subsequent gel layers. - 5Apply non-purple toned wine red gel
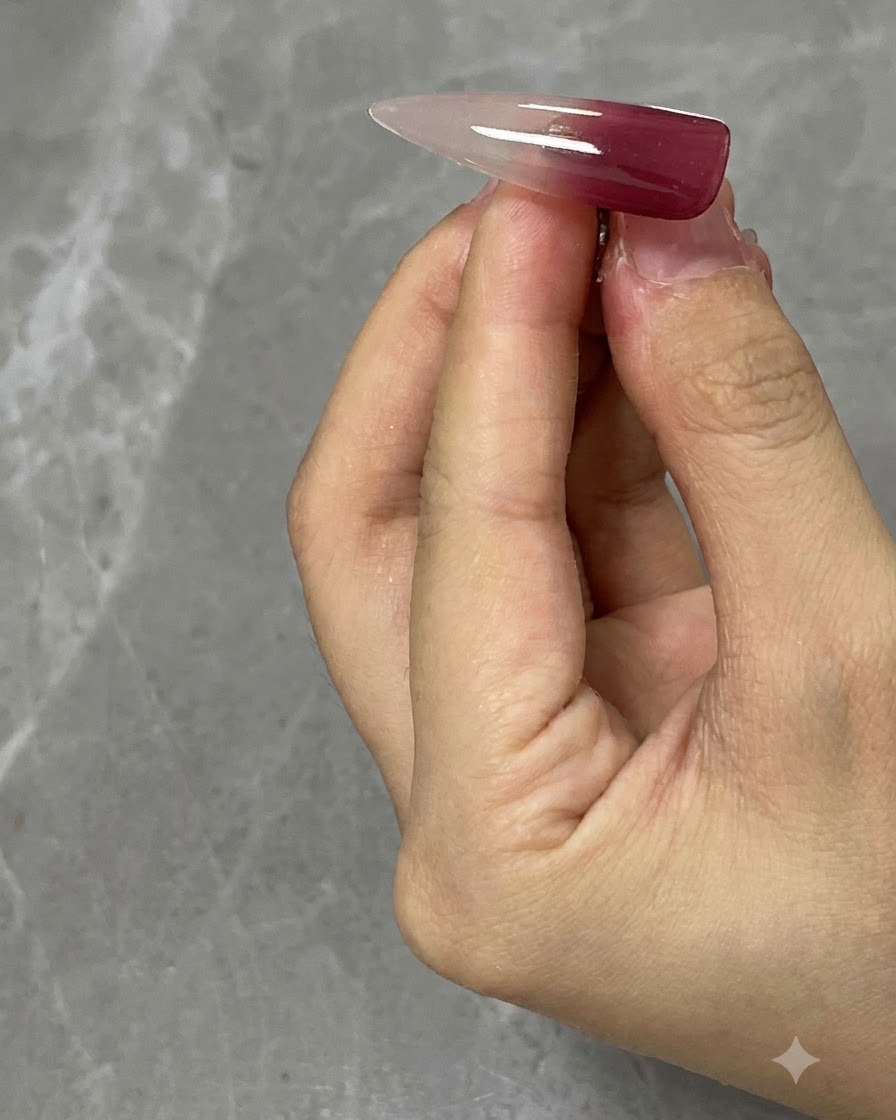
Apply a non-purple toned wine red gel onto the upper nail plate to continue developing the rich ombre gradient effect.
Tip: Choose a true wine red shade to keep the color palette warm and harmonious. - 6Pick up water-polished top coat
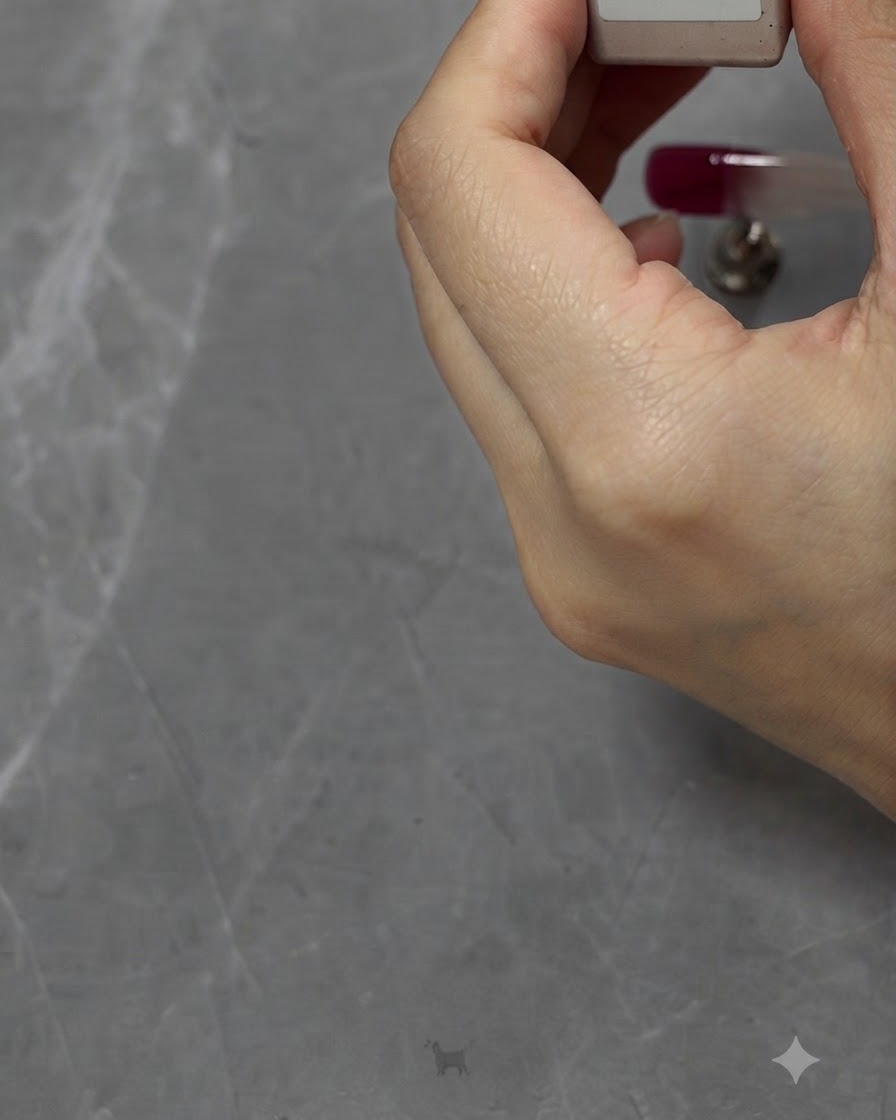
Pick up a bottle of water-polished top coat, which will serve as your blending medium to help dilute and smooth out the wine red gel. This ensures an even, translucent, and seamless ombre transition without harsh lines.
Tip: Using a clear top coat as a mixing or blending medium helps reactivate and thin out cured or tacky gel for easier gradient control. - 7Blend wine red gel with top coat
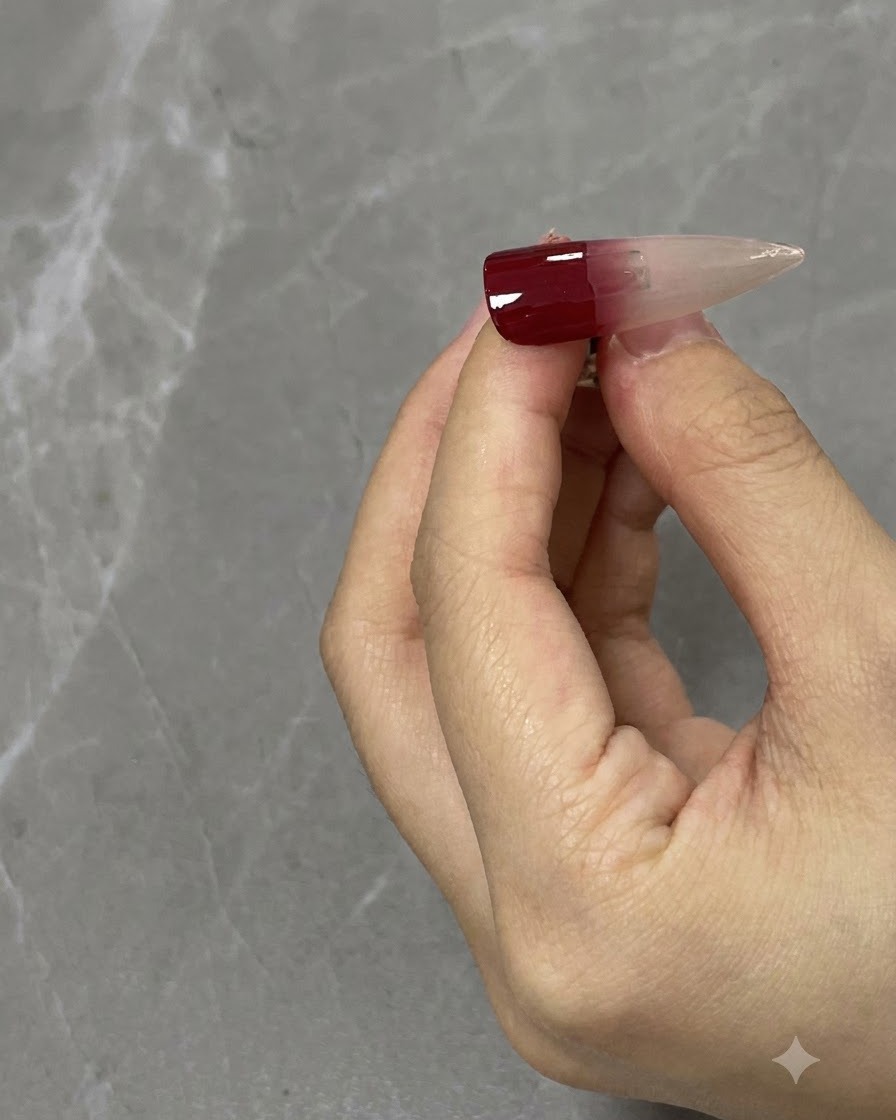
Using the top coat brush, gently sweep and pull the wine red color downward toward the tip of the nail. This technique diffuses the pigment, creating a smooth, soft-focus gradient transition from dark wine red to the lighter nude base.
Tip: Keep your brush strokes light and feathery so you dont wipe away too much color at once. - 8Clean up stray gel edges
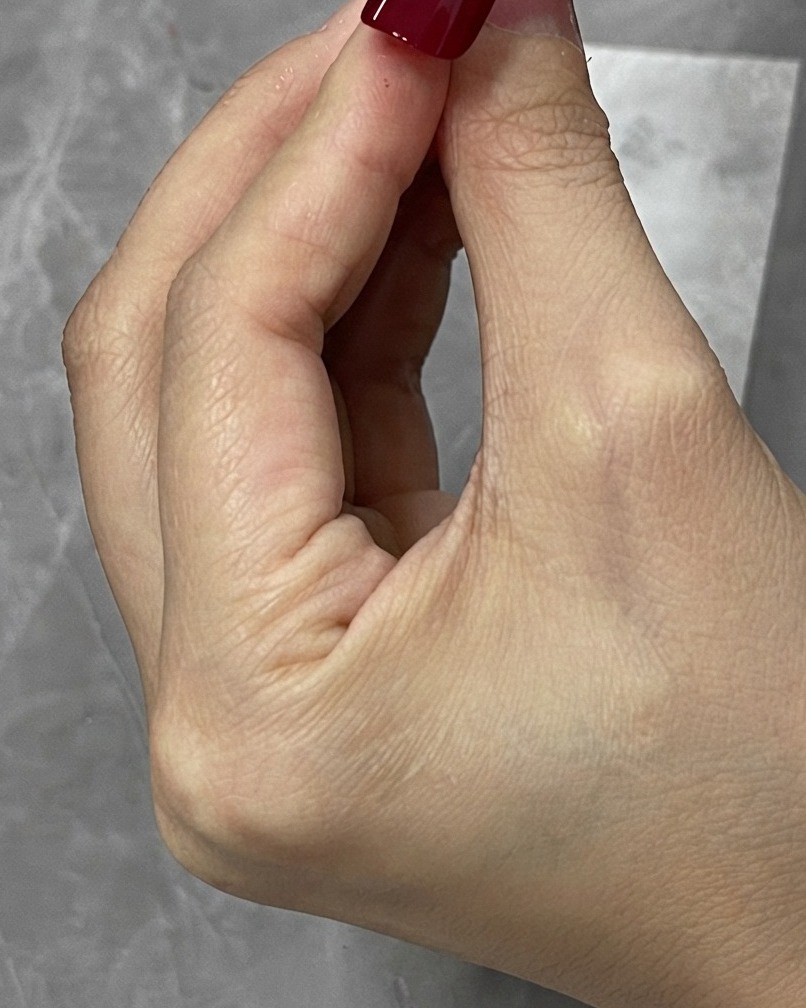
Inspect the edges and cuticles for any accidental smudges or stray pigment. Use a fine cleanup brush dampened with cleanser to gently wipe away excess gel before curing, ensuring crisp, clean sidewalls.
Tip: Always clean up any skin contact or edge overflow immediately before curing to prevent lifting and allergic reactions. - 9Refine the ombre gradient
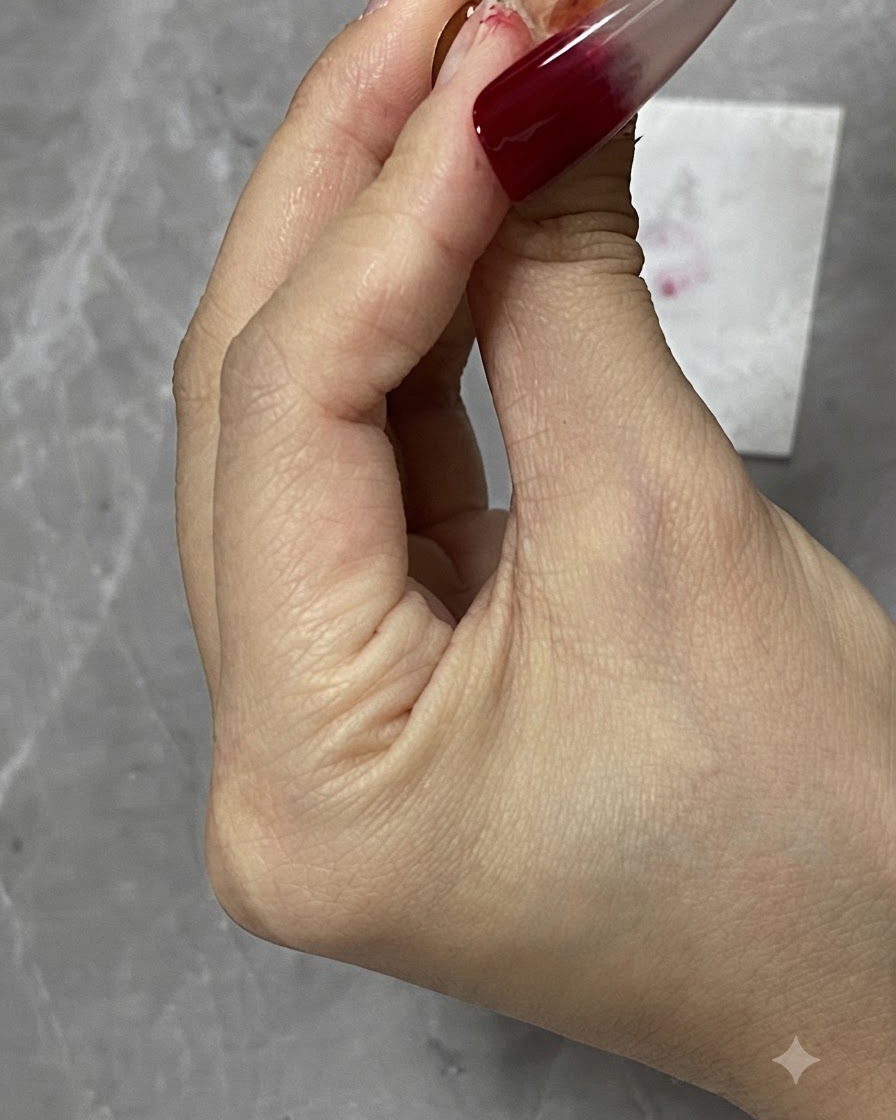
Dip back into the top coat layer and repeat the sweeping motion to further refine and smooth out the ombre gradient blend. This second pass eliminates any remaining streaking and enhances the soft diffusion of color.
Tip: Building the gradient in thin, controlled passes gives you maximum control over the fade length and density. - 10Cure the blended gradient layer
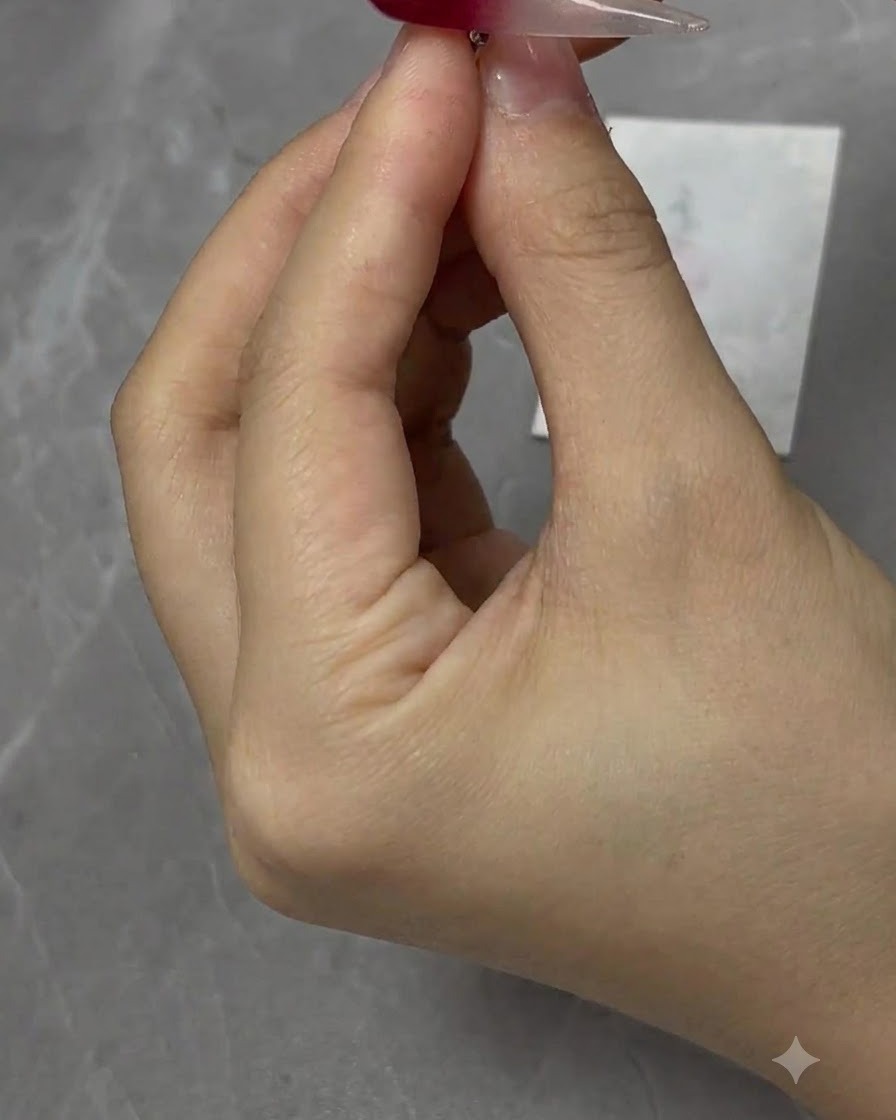
Place the nail under a mini handheld UV/LED curing lamp and cure the newly blended gradient layer completely. This locks the soft ombre transition in place so it wont shift during subsequent steps.
Tip: Hold the mini lamp steady over the nail to ensure the entire gradient surface cures evenly without shifting. - 11Apply second solid color layer
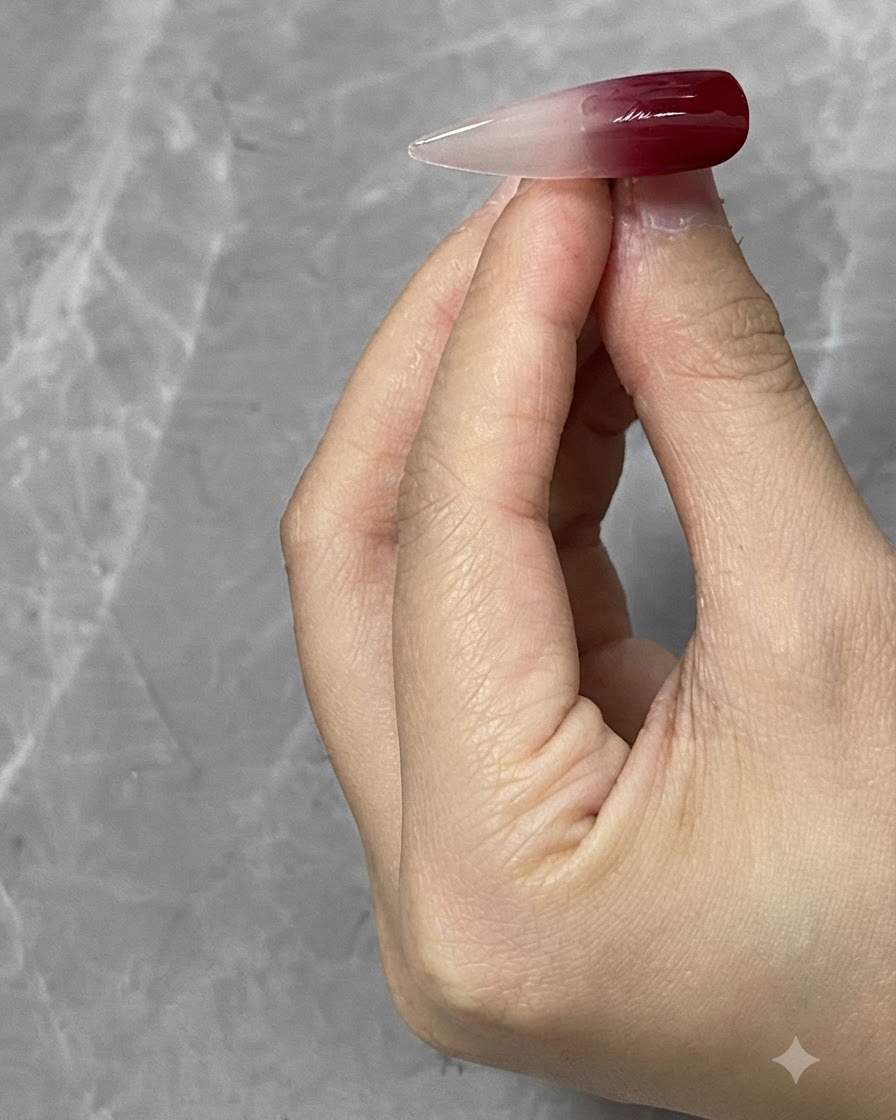
Apply a second layer of the solid wine red color across the desired area to increase overall color saturation and depth. Ensure even coverage while maintaining the gradient transition zone.
Tip: Applying multiple thin layers helps achieve rich color depth without causing the gel to wrinkle during curing. - 12Blend second color layer
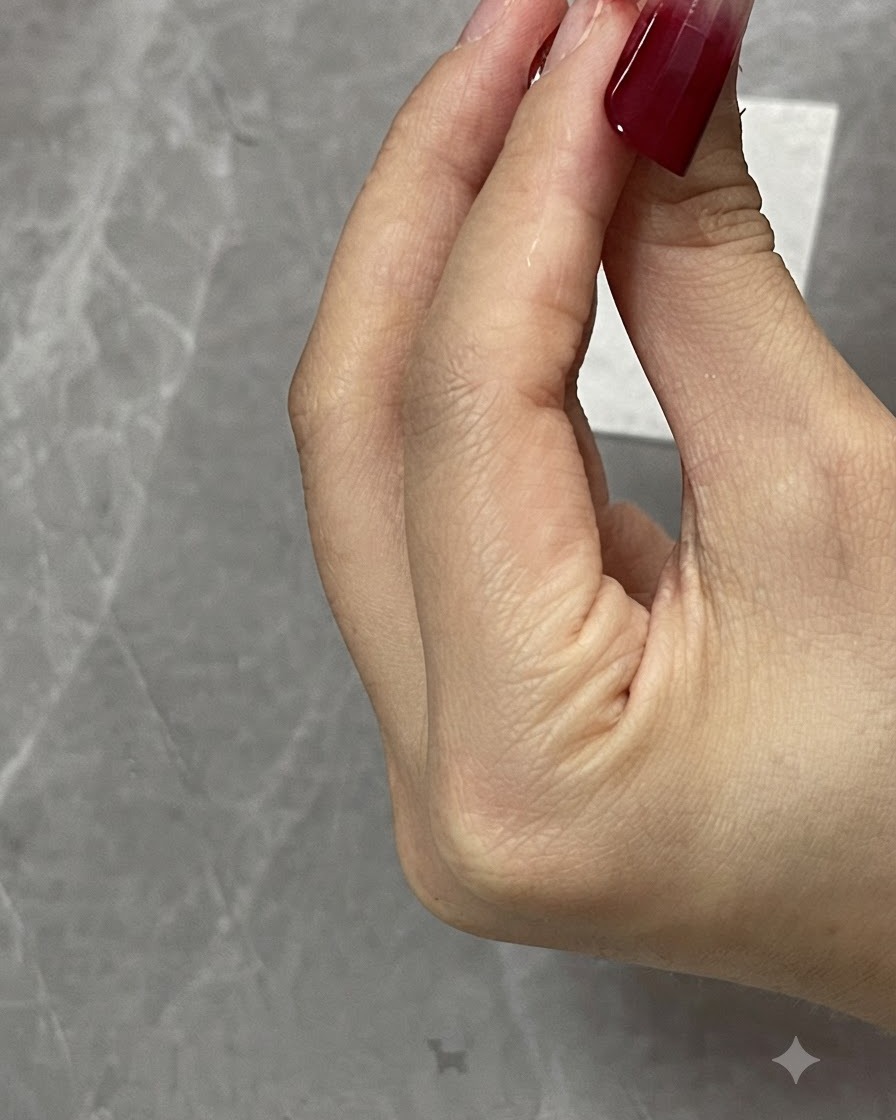
Using a clean top coat brush, gently sweep and blend the second color layer slightly lower than the previous gradient position. This builds a smooth and seamless transition.
Tip: Keep the brush strokes light and feigned to prevent harsh lines between color blocks. - 13Cure second gradient layer
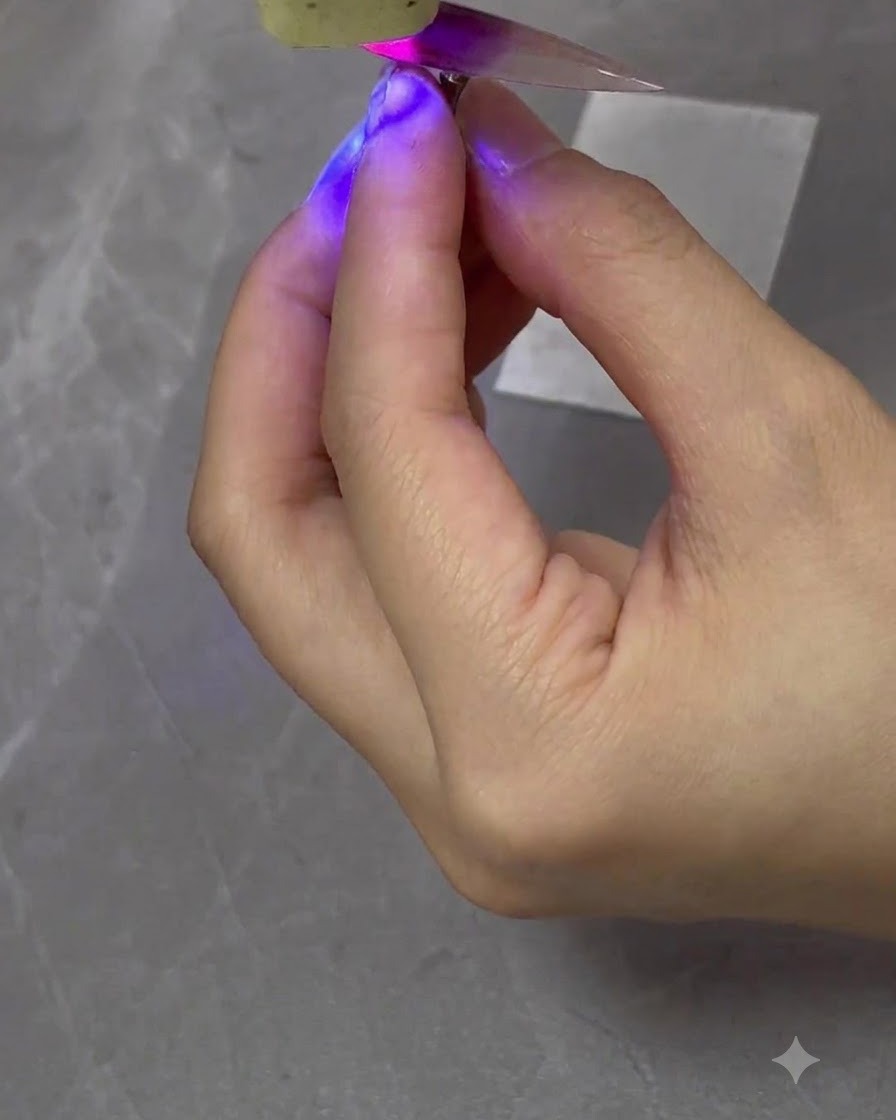
Position the mini handheld UV/LED curing lamp directly over the nail tip to cure the newly blended second color gradient layer securely.
Tip: Hold the mini lamp steady to ensure all parts of the gradient receive adequate UV light exposure. - 14Apply cat eye gel
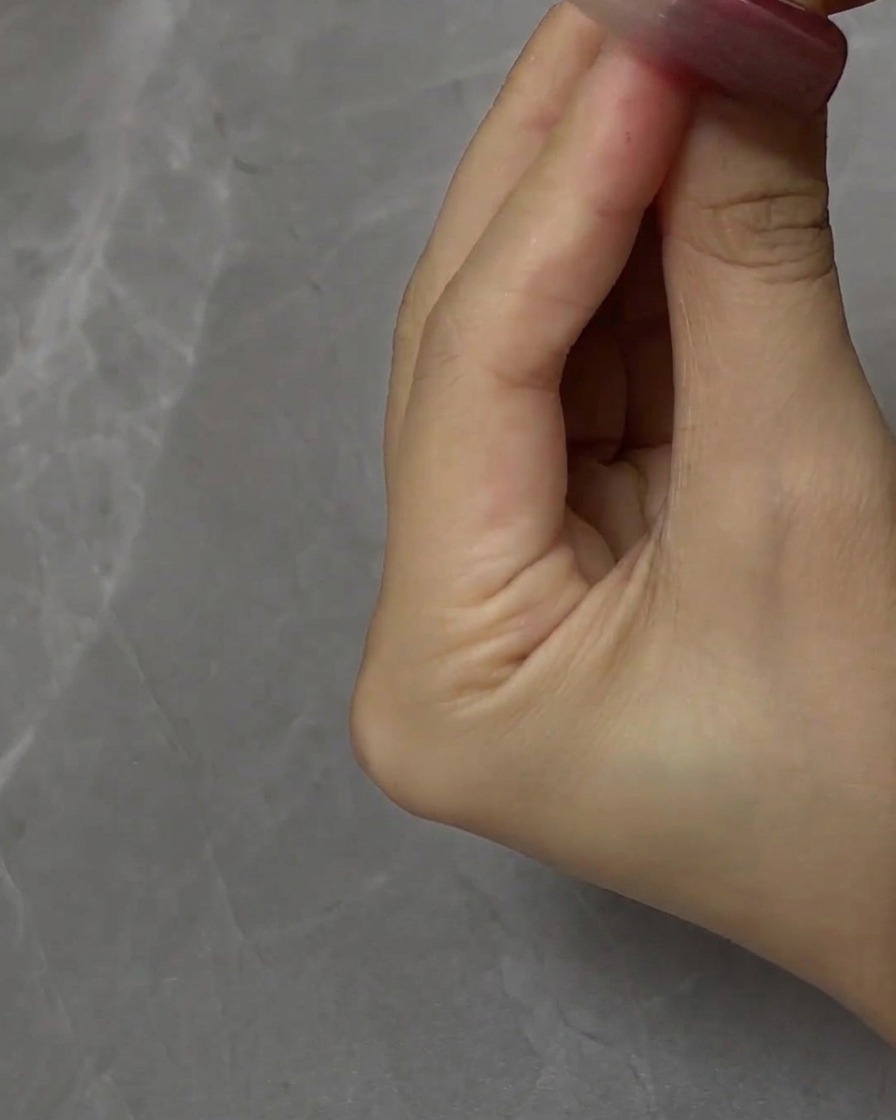
Apply cat eye gel evenly across the entire surface of the nail, ensuring smooth and uniform coverage. This layer provides the magnetic pigment base needed to create the signature luminous effect before activating with the magnet.
Tip: Make sure the cat eye gel layer is evenly distributed without pooling near the edges for a clean and professional finish. - 15Create cat eye light effect with a magnet
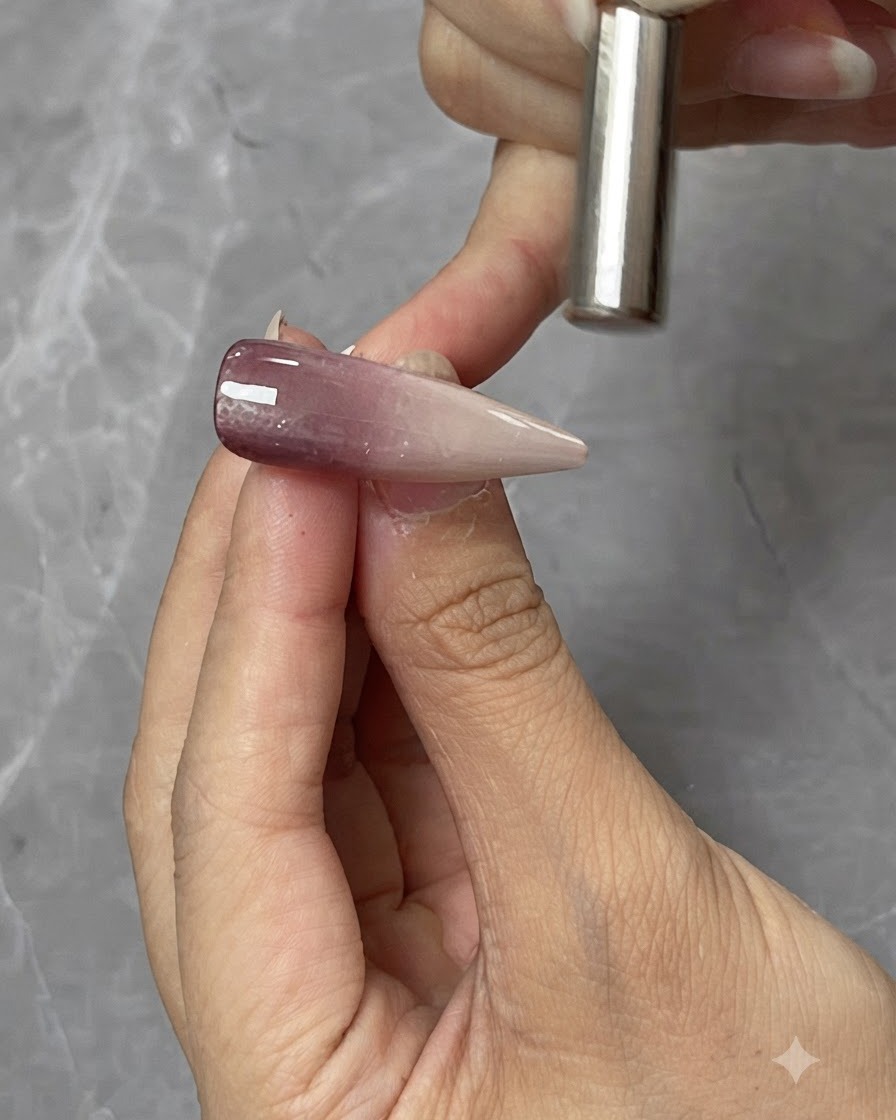
Hold a cylindrical magnet close to the nail surface to push and pull the magnetic particles within the cat eye gel. Shape the particles into a large, wide chasing light effect across the nail.
Tip: Hover the magnet steadily without touching the wet gel surface to manipulate the magnetic shimmer precisely. - 16Cure the first layer of cat eye gel
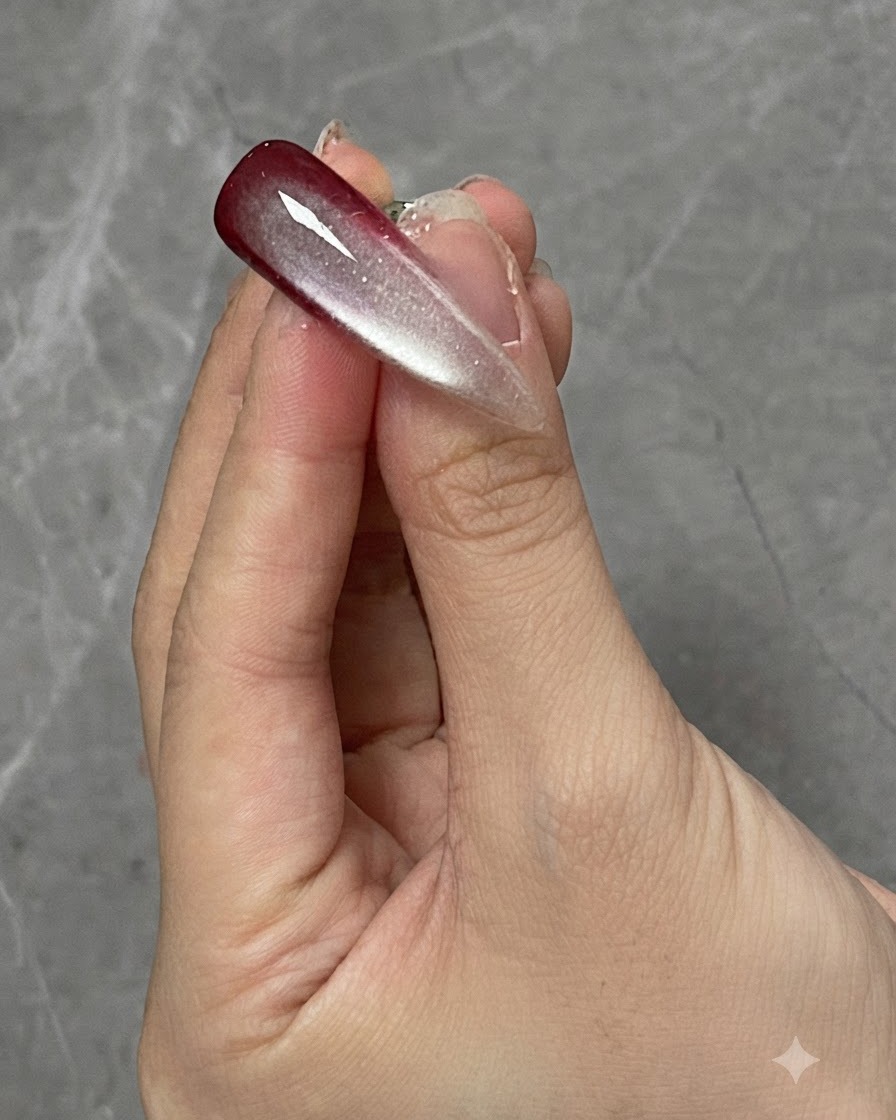
Place the nail under the UV or LED lamp to cure the first layer of the cat eye effect. Ensure the curing time is adequate to set the magnetic gel properly before applying any subsequent layers.
Tip: Securely position the finger under the light so the entire nail surface cures evenly. - 17Apply second layer of cat eye gel
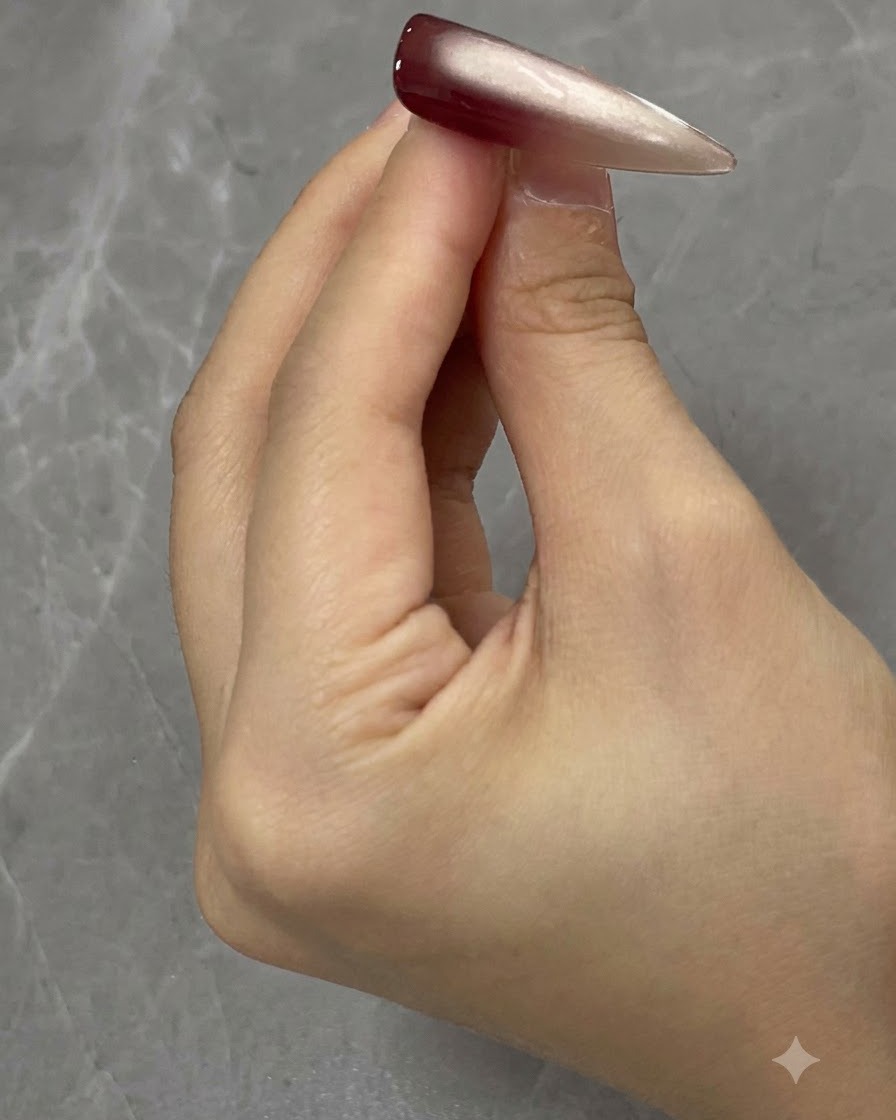
Apply a second layer of cat eye gel over the nail to deepen the luminous color intensity and make the magnetic effect richer and more vibrant. Work carefully to maintain a smooth application.
Tip: Adding a second layer enhances the depth and dimension of the cat eye reflection. - 18Shape magnetic particles with magnet
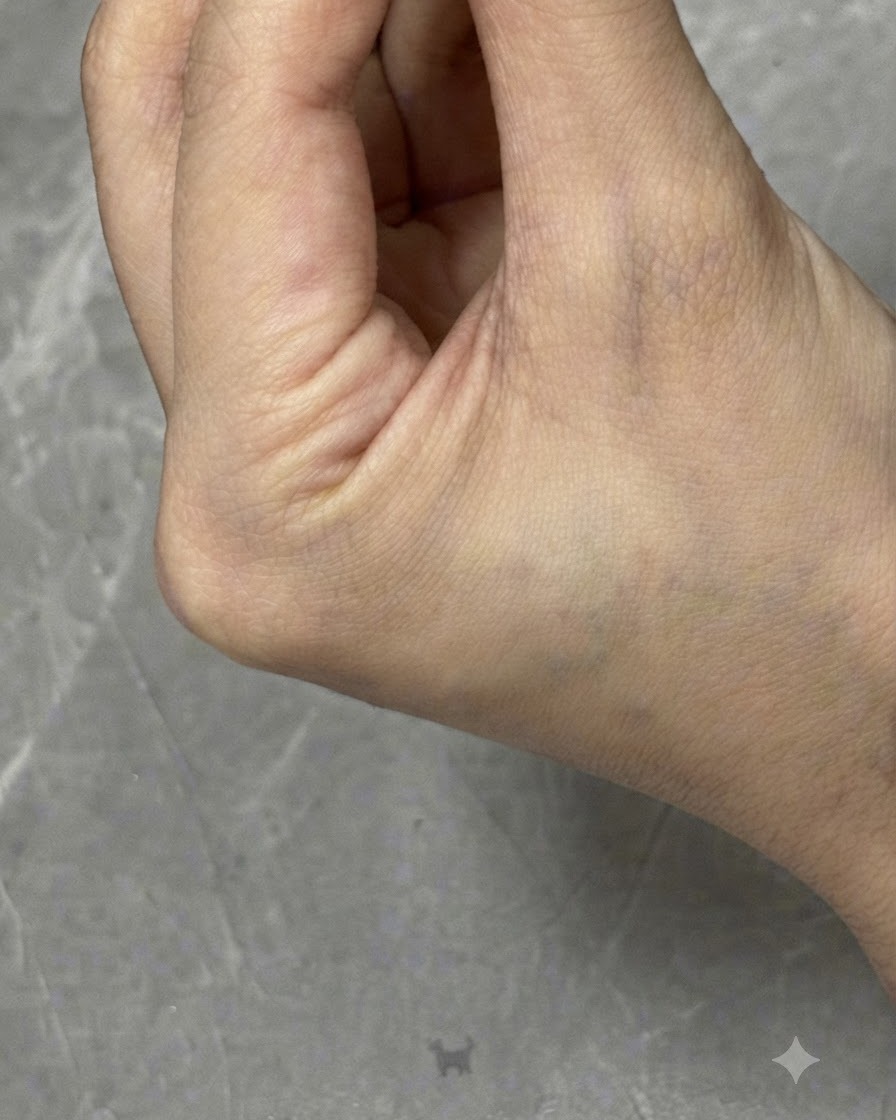
Hold the magnet close to the uncured cat eye gel to pull and shape the magnetic particles into a prominent, defined light streak. Adjust the angle and proximity of the magnet until you achieve the desired chasing light width and intensity across the nail surface.
Tip: Hold the magnet steady for a few seconds once the desired light line forms to lock the particles in place before flashing with the lamp. - 19Cure the second layer of cat eye gel
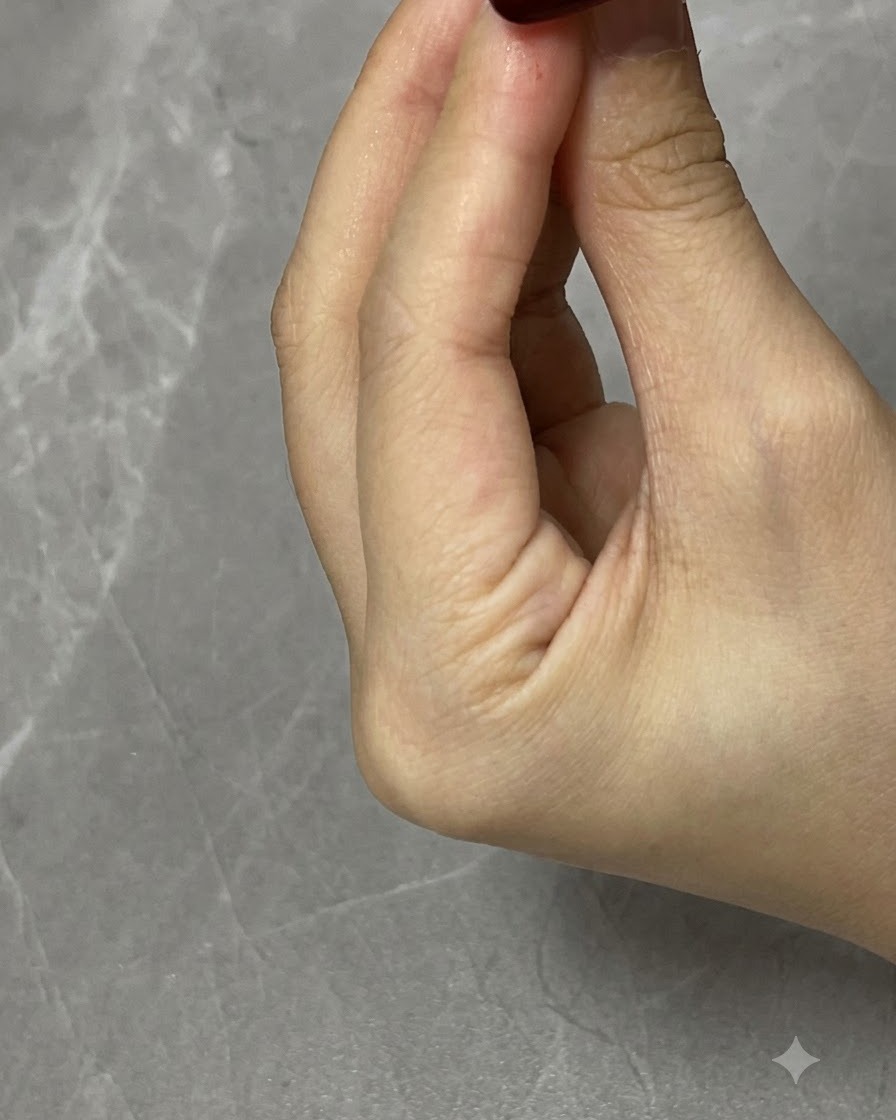
Cure the second layer of cat eye gel under the UV or LED lamp to lock in the shaped magnetic particles and color intensity. Ensure complete curing to maintain durability.
Tip: Do not skip or shorten the curing time to prevent the gel from shifting or wrinkling. - 20Apply translucent red gel
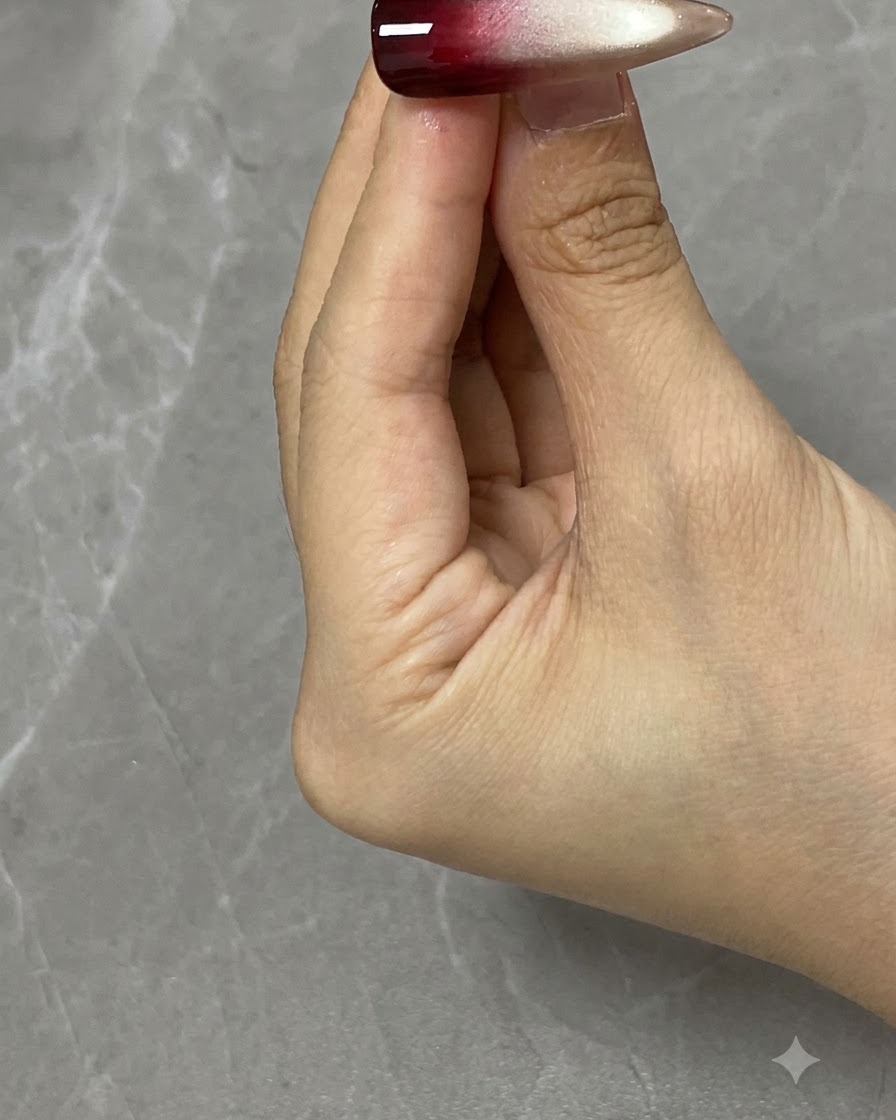
Apply a layer of translucent red gel over the upper portion of the nail. This overlay deepens the color dimension while maintaining the gradient depth established in previous steps, building rich coloration across the nail.
Tip: Apply a thin layer to avoid bulkiness and ensure an even, translucent tint over the existing cat eye and ombre layers. - 21Pat and blur boundary line
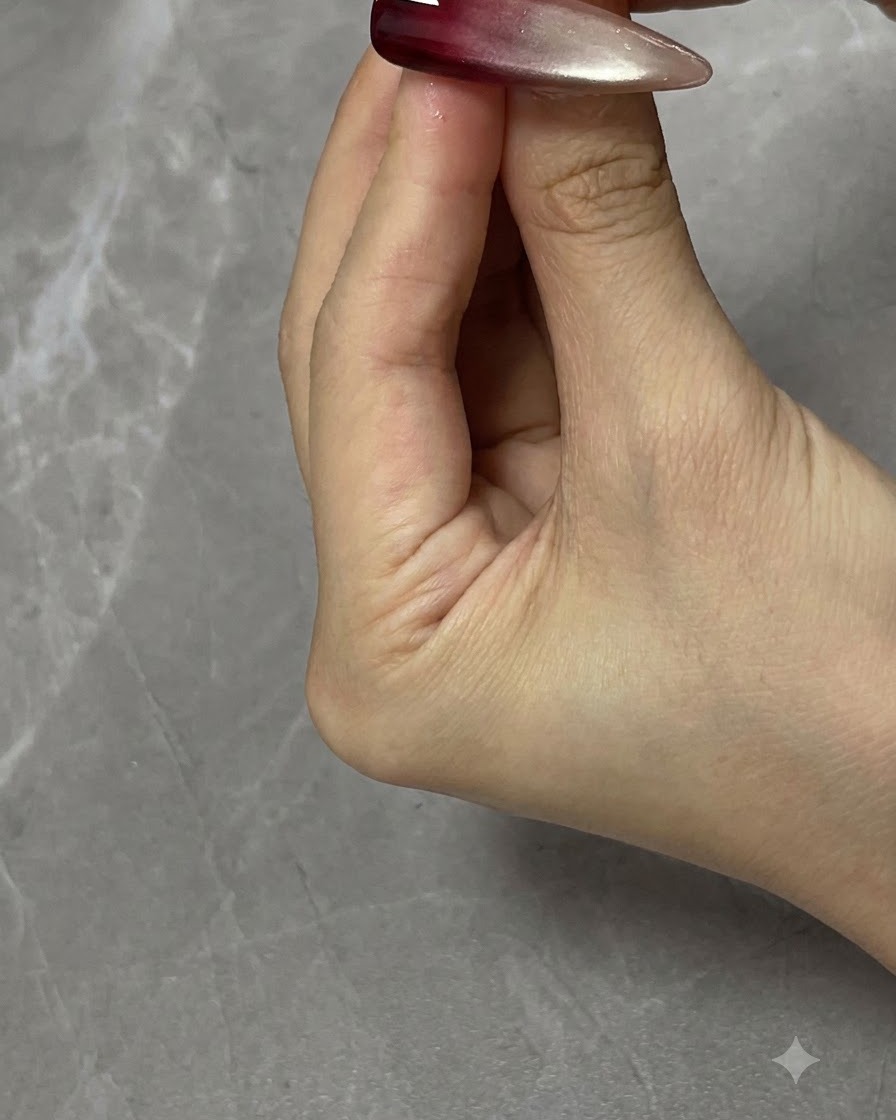
Gently pat and tap the boundary line of the freshly applied translucent red gel using a clean finger. This softens the demarcation edges, creating a smooth, natural-looking gradient transition into the rest of the nail design.
Tip: Use light, rapid tapping motions with the pad of your finger to diffuse the gel edge without wiping away the pigment. - 22Cure translucent red gradient
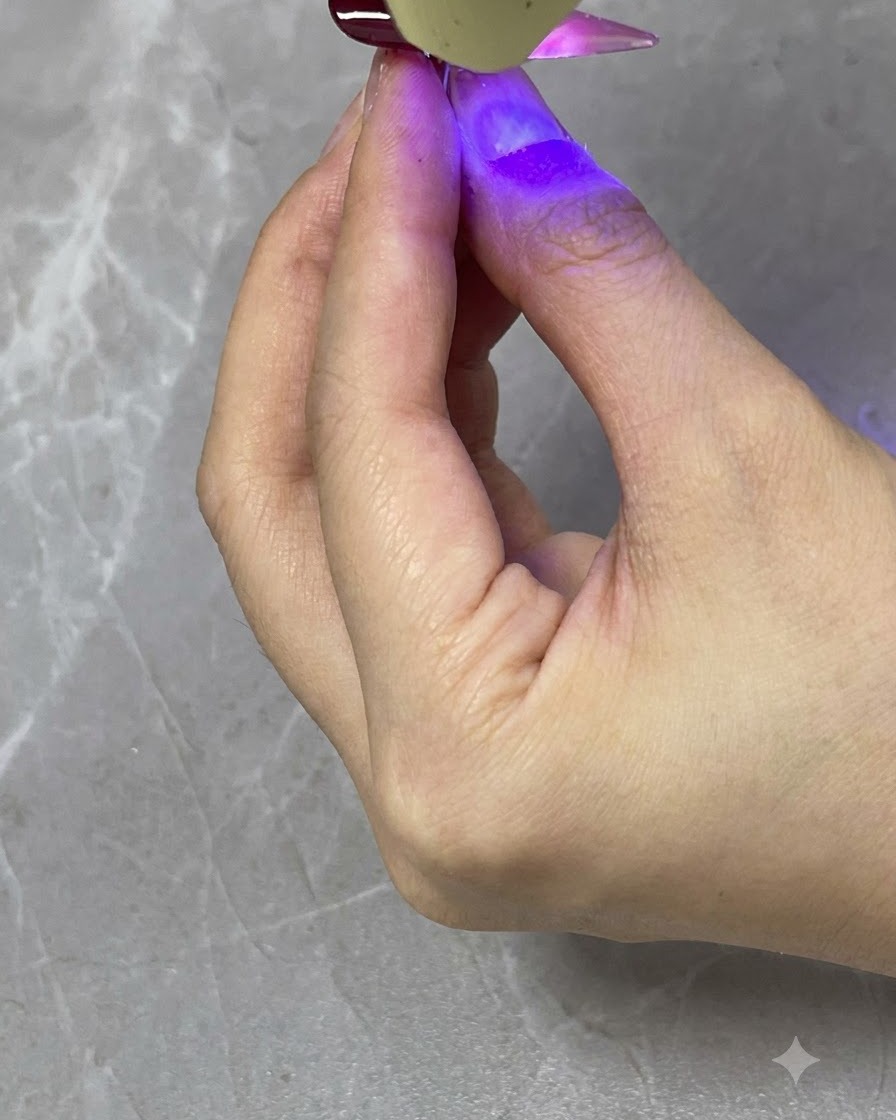
Place the nail under the UV/LED curing lamp to fully cure the translucent red gradient layer. This locks in the diffused transition and prepares the surface for the final protective top coat application.
Tip: Ensure proper curing time for tinted translucent layers to guarantee complete polymerization through the depth of the color. - 23Apply glossy top coat
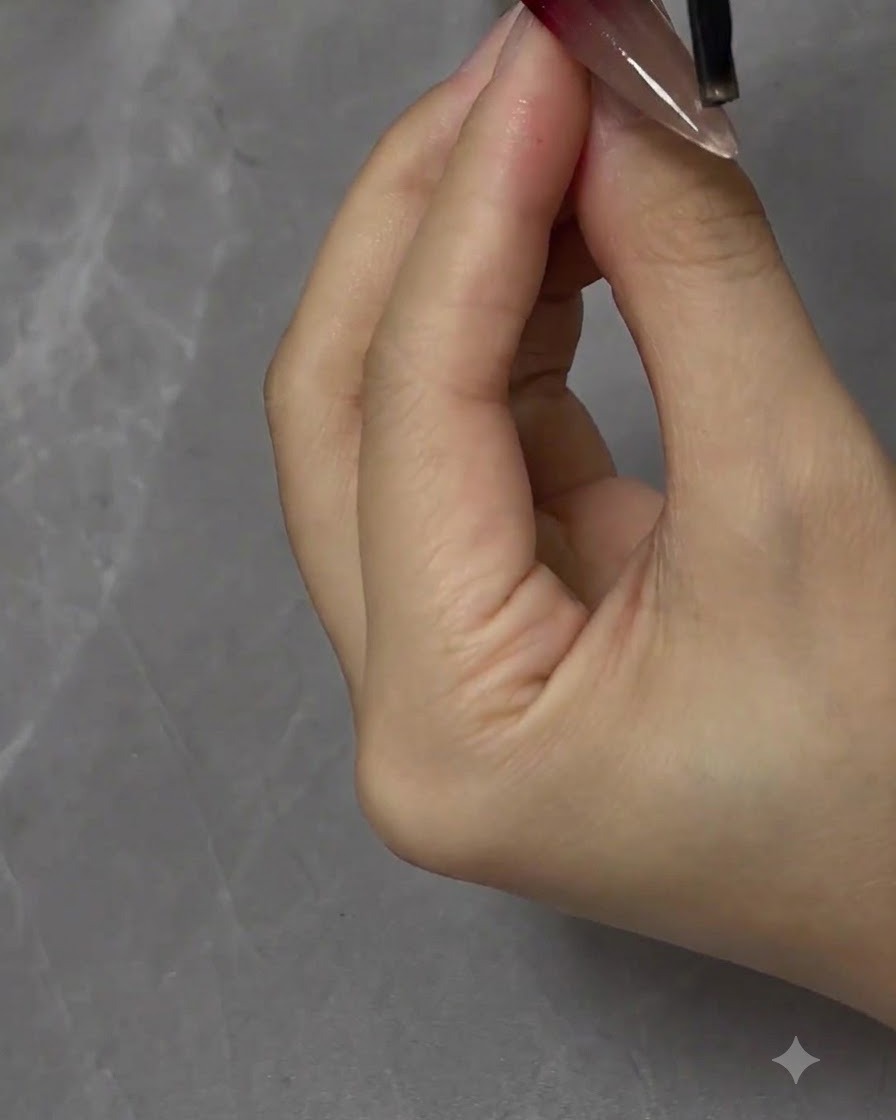
Apply a smooth, even layer of glossy top coat over the entire front surface of the nail. Cap the free edge carefully to seal the layers, protect the intricate cat eye and ombre art, and deliver a brilliant, mirror-like shine.
Tip: Flow a generous bead of top coat smoothly across the surface without pressing down too hard, avoiding brush streaks for maximum gloss. - 24Seal the Underside and Edges
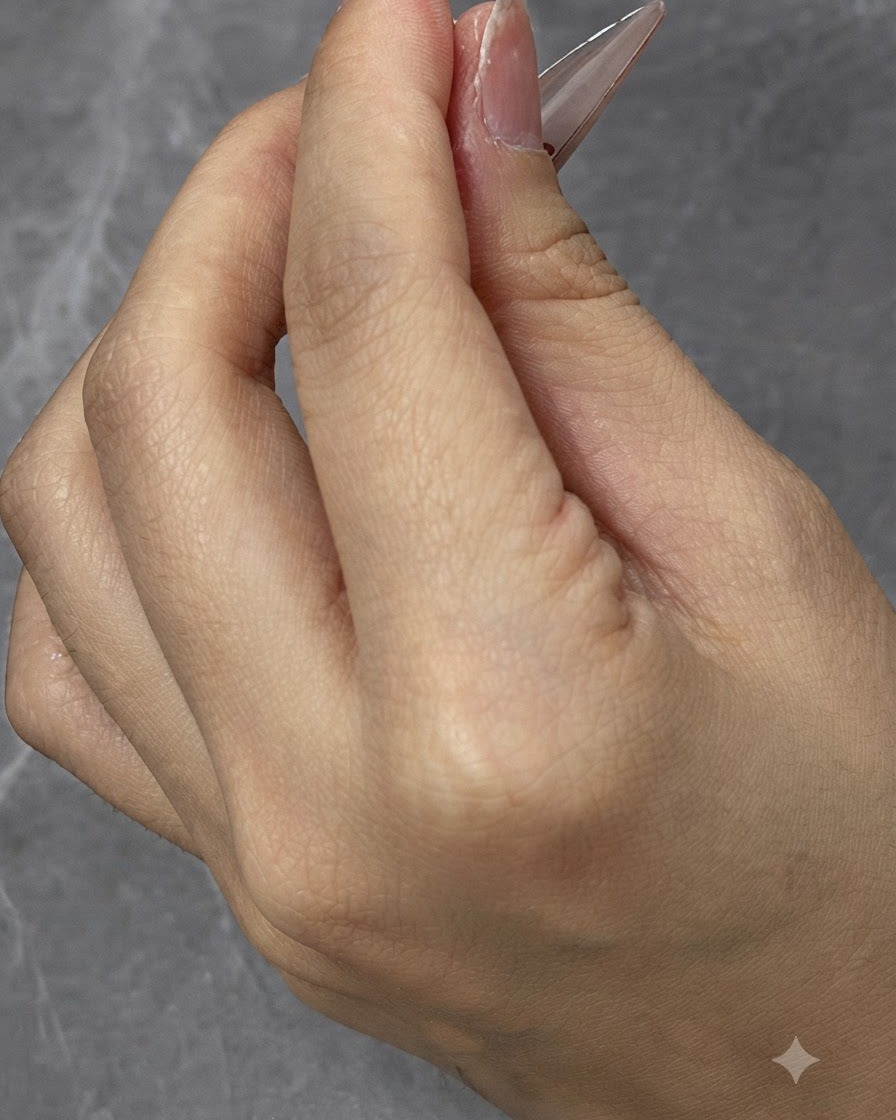
Carefully apply a small amount of top coat along the underside and free edges of the nail tip. This step completely seals the nail extensions, preventing moisture from entering underneath and ensuring long-lasting wear without lifting or chipping.
Tip: Make sure to use a very thin layer on the underside to avoid a bulky appearance.