Peach Gradient Cat Eye Nails — Shimmering Step-by-Step Tutorial
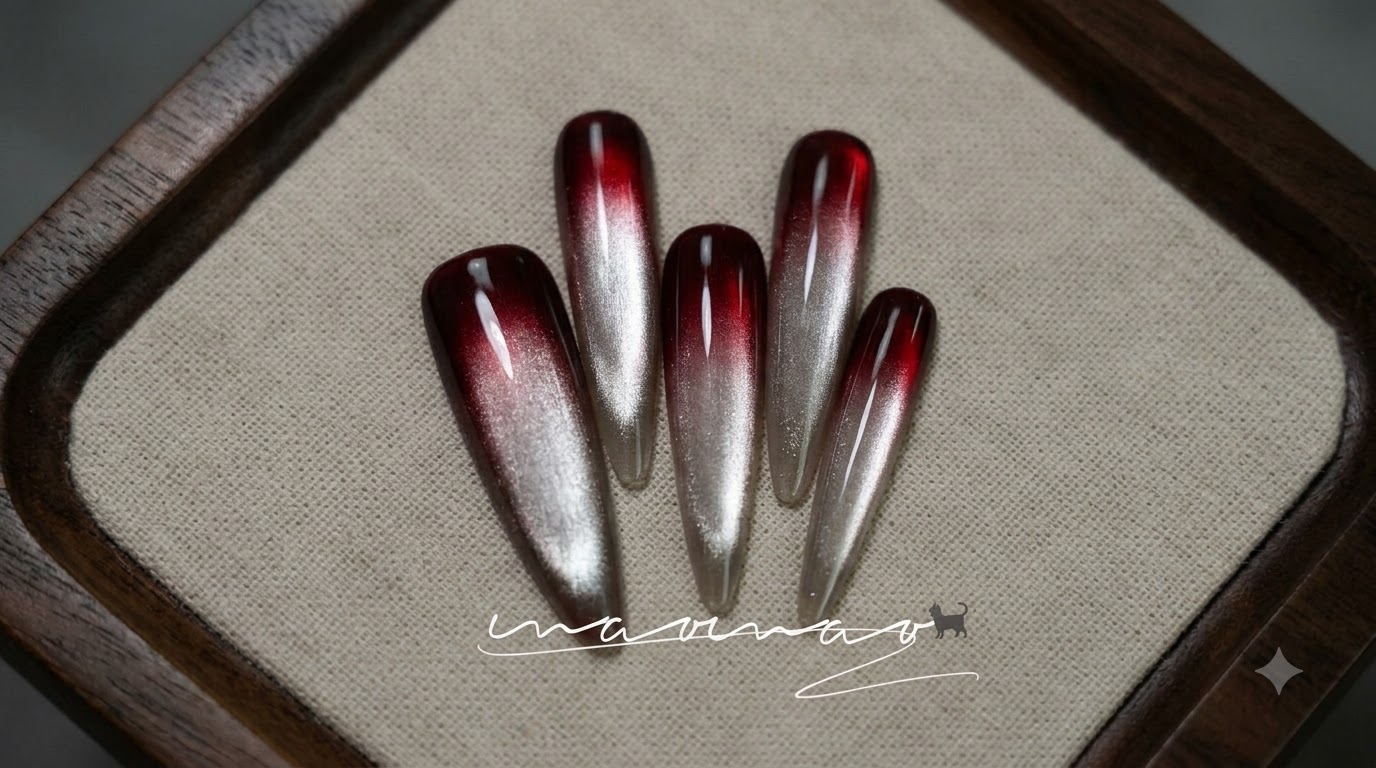
Create gorgeous peach gradient cat-eye nails using bean paste pink solid gel and magnetic pigment for a stunning high-gloss finish.
Cat-eye nails combined with a soft peach gradient offer an elevated, mesmerizing look that catches the light from every angle. This technique blends solid gel shading with reactive magnetic shimmer for a sophisticated dimensional finish.
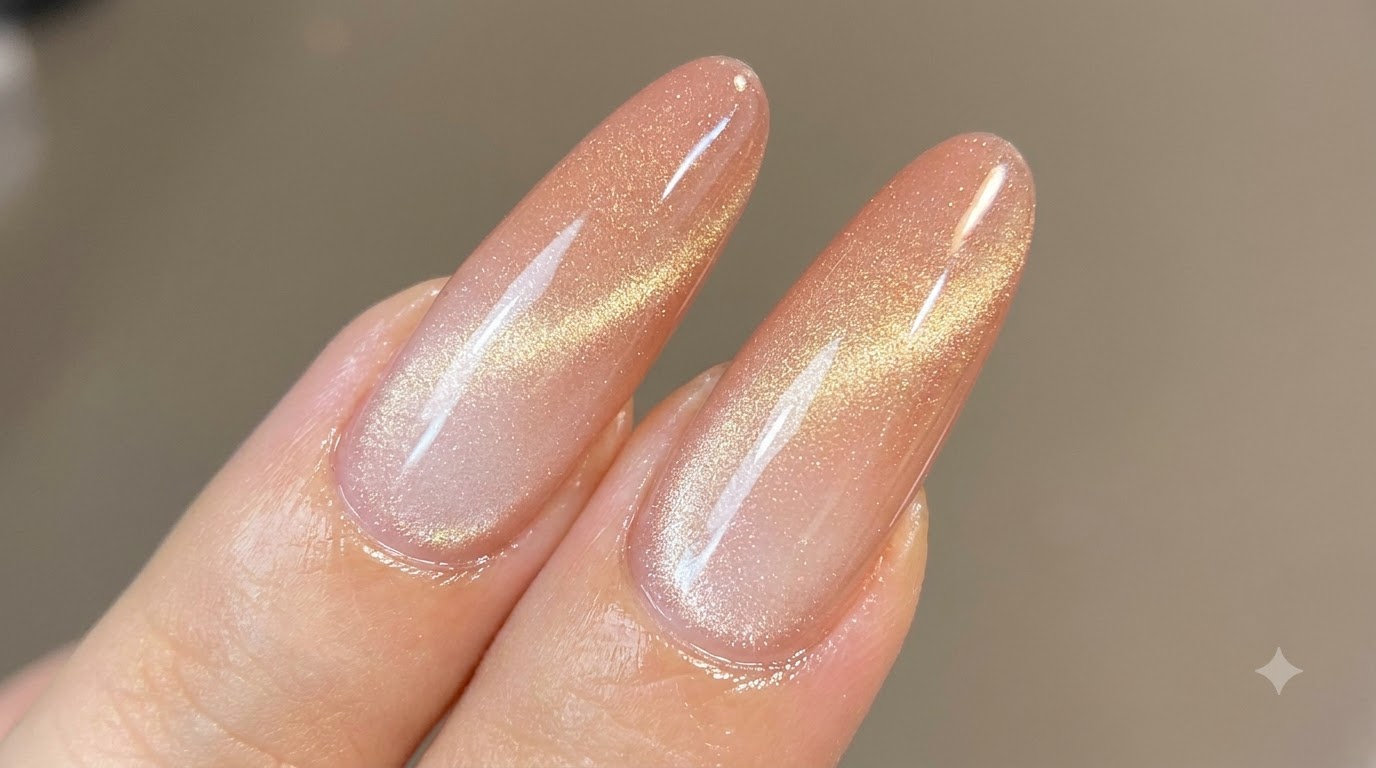
Steps
- 1Apply bean paste pink solid gel
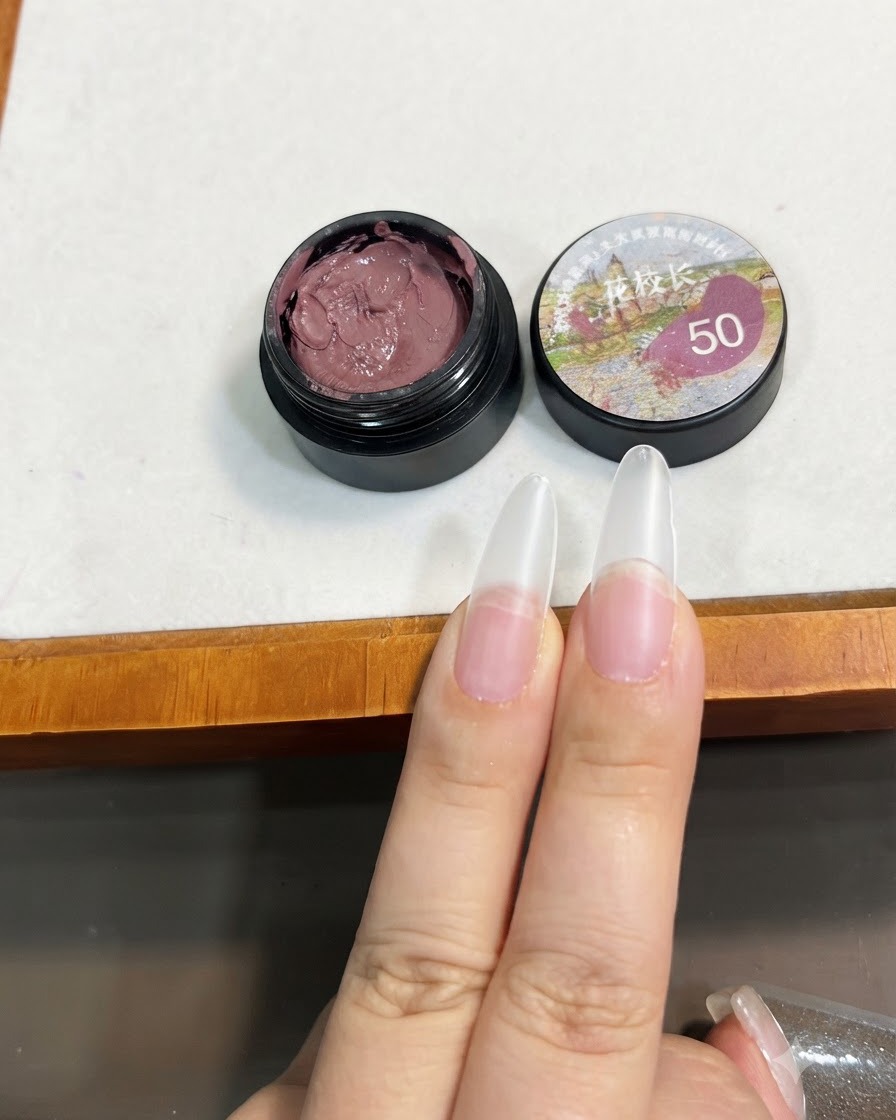
Take a small amount of the bean paste pink solid gel and apply it to the tip of the nail. This lays the foundation for creating a smooth gradient effect on the nail surfacecite: 1.
Tip: Keep the initial application amount small to make blending easier and prevent a heavy build-up on the nail tip. - 2Pat gel to create gradient effect
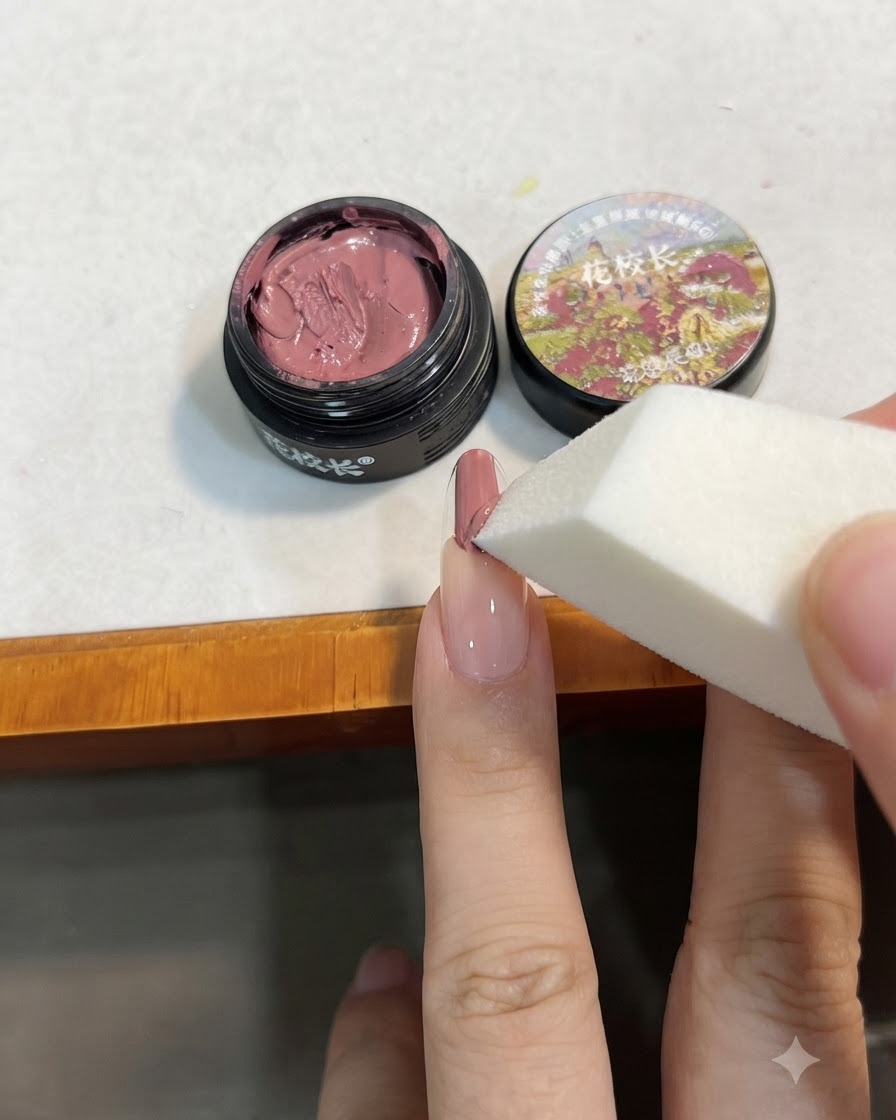
Take a white makeup sponge and gently pat the bean paste pink gel from the nail tip towards the center. This technique diffuses the color to form a natural gradient transitioncite: 1.
Tip: Use light, tapping motions with the sponge to avoid leaving harsh lines or stripping the gel unevenly. - 3Cure the first gradient layer
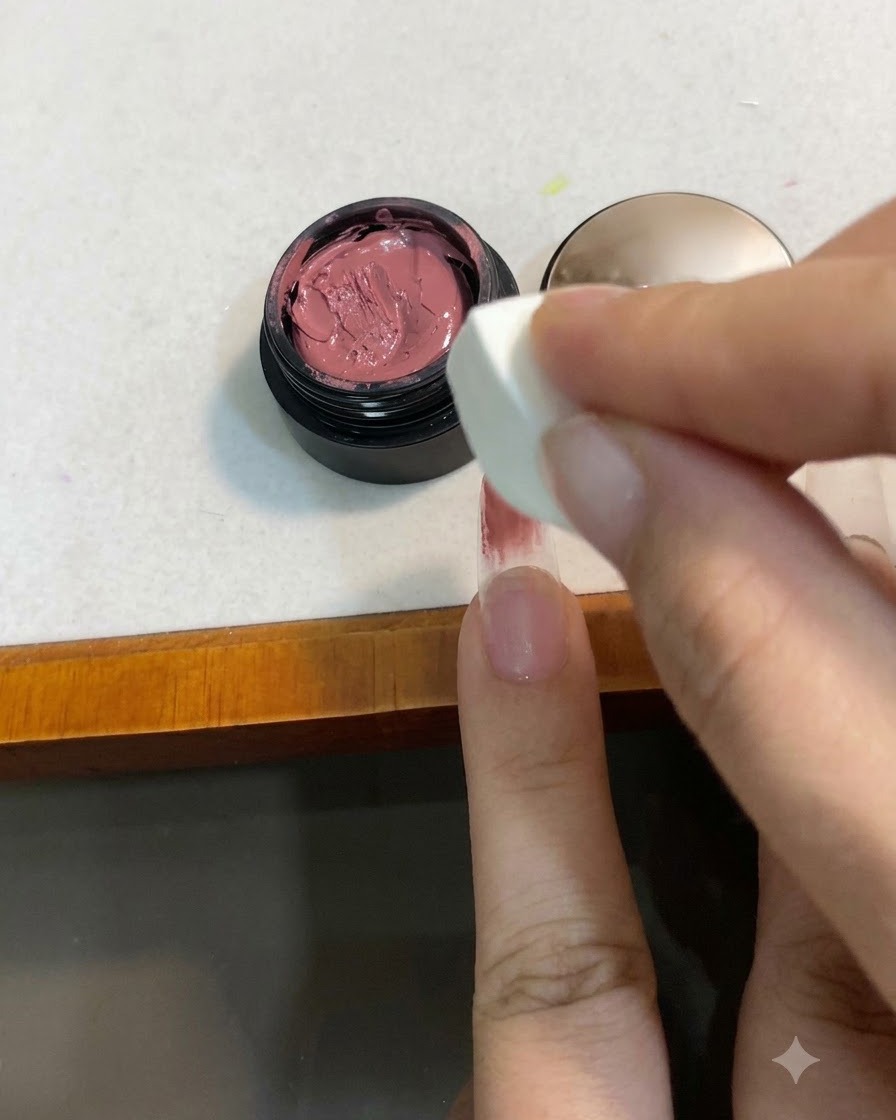
Place the finger under the UV/LED lamp to cure the first gradient layercite: 1. Ensure the gel is fully set before moving on to the next application step.
Tip: Follow your lamps recommended curing time to ensure the solid gel hardens correctly. - 4Apply golden bean paste cat-eye gel
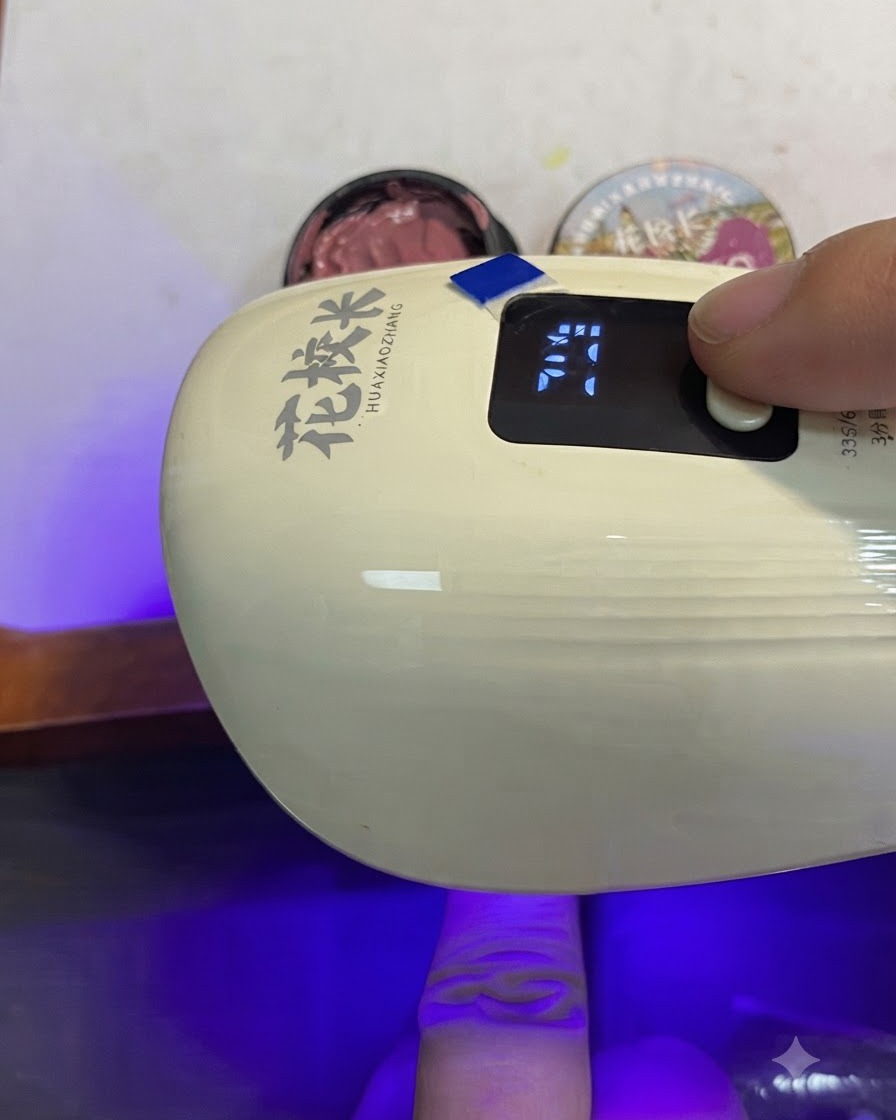
Apply an even layer of golden bean paste cat-eye gel over the entire surface of the nailcite: 1. This special gel provides a rich base color and reactive magnetic particles for the next effect.
Tip: Apply a smooth, uniform coat so the magnetic particles can move freely and evenly when the magnet is applied. - 5Shape cat-eye particles with magnet
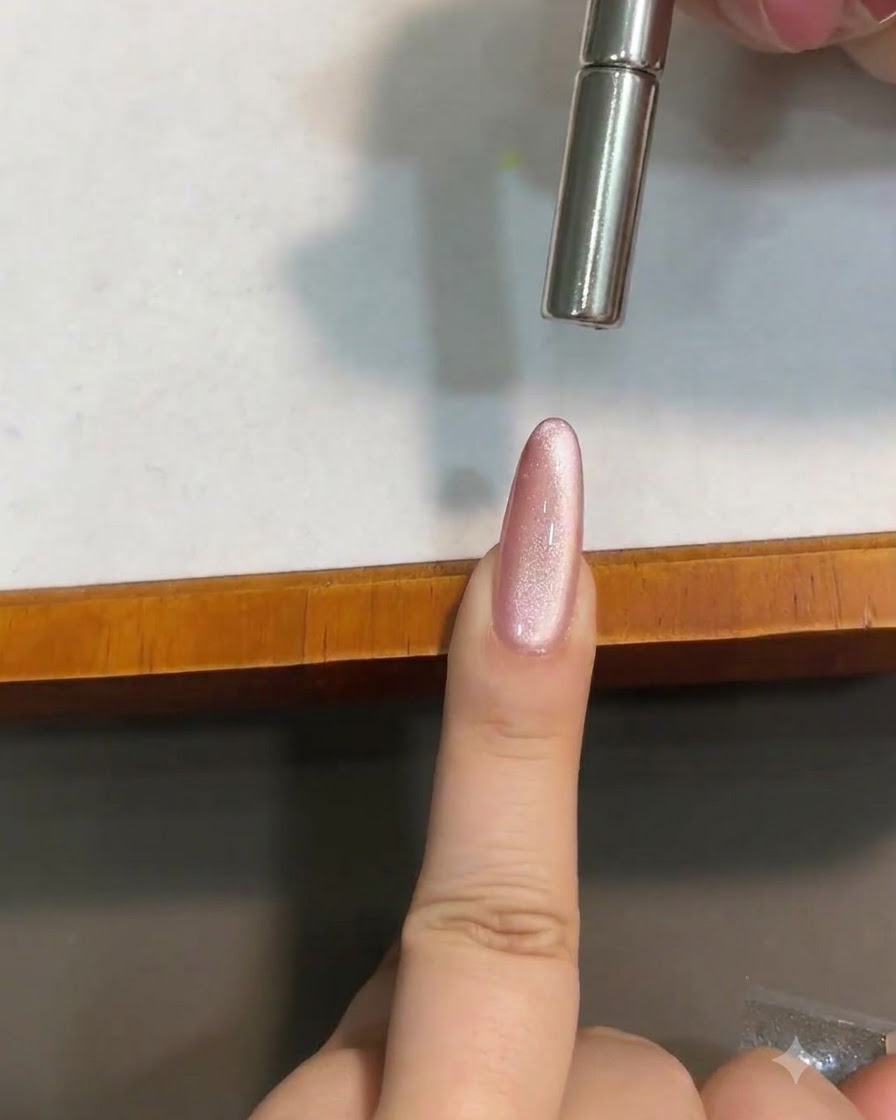
Hold the magnet over the nail to manipulate the magnetic particles. First draw out the wide light strip, then use the end of the magnet to push from front to back to refine the gradient effectcite: 1.
Tip: Keep a steady hand and maintain a consistent distance between the magnet and the nail surface for an even light reflection. - 6Cure cat-eye effect and finish
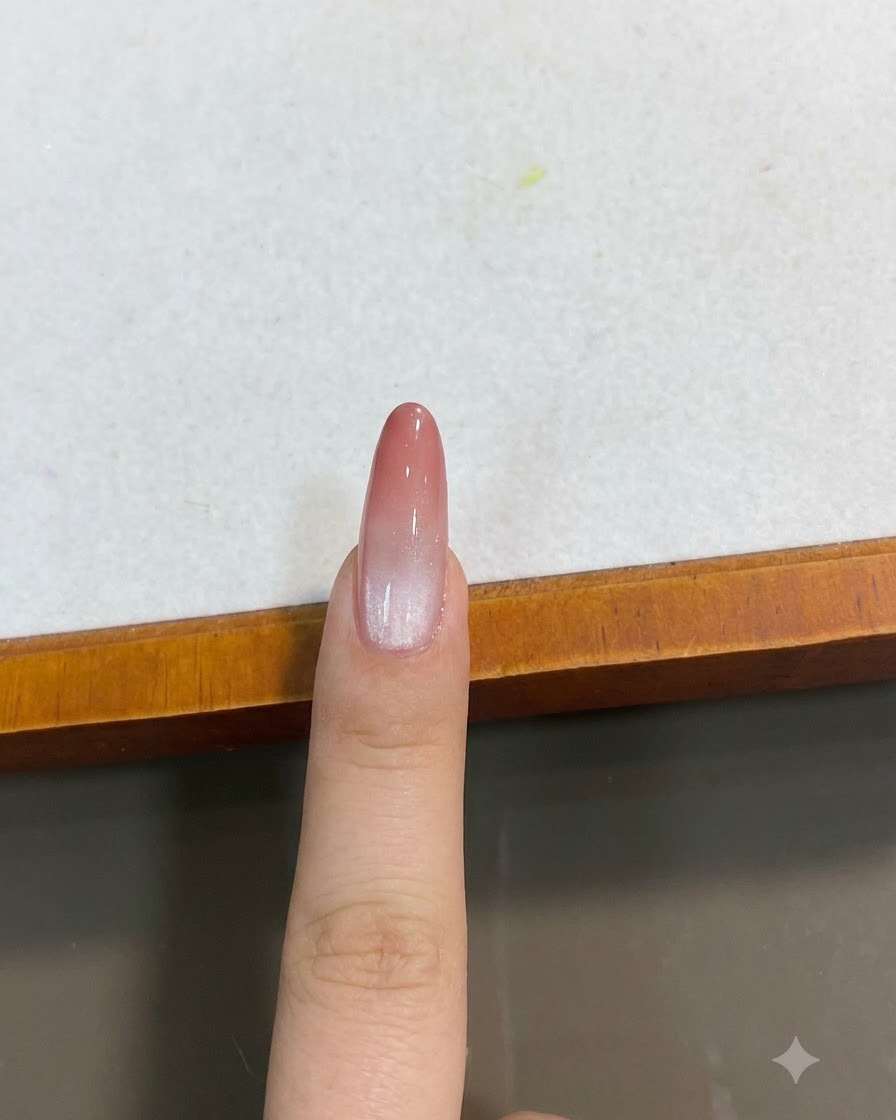
Quickly cure the completed cat-eye gradient effect under the UV/LED lampcite: 1. Finish by applying a protective top coat layer to seal the peach pink gradient designcite: 1.
Tip: Cure immediately after positioning the magnetic particles so they do not shift out of place before hardening. - 7Apply Top Coat
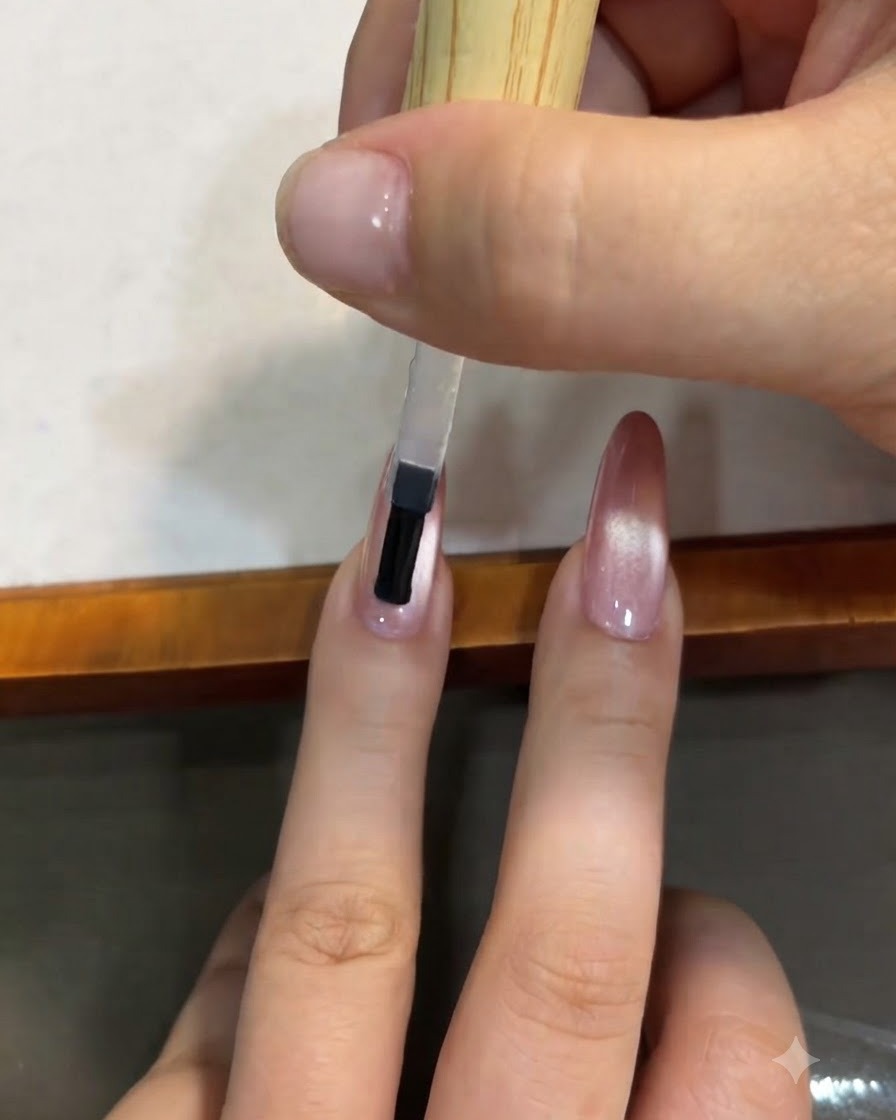
Apply a final layer of clear top coat over the entire nail to seal the gradient cat-eye design, protect the polish from chipping, and add a brilliant glossy shine.
Tip: Be sure to cap the free edge of the nail with the top coat to prevent premature lifting and chipping. - 8Create Cat-Eye Effect with Magnet
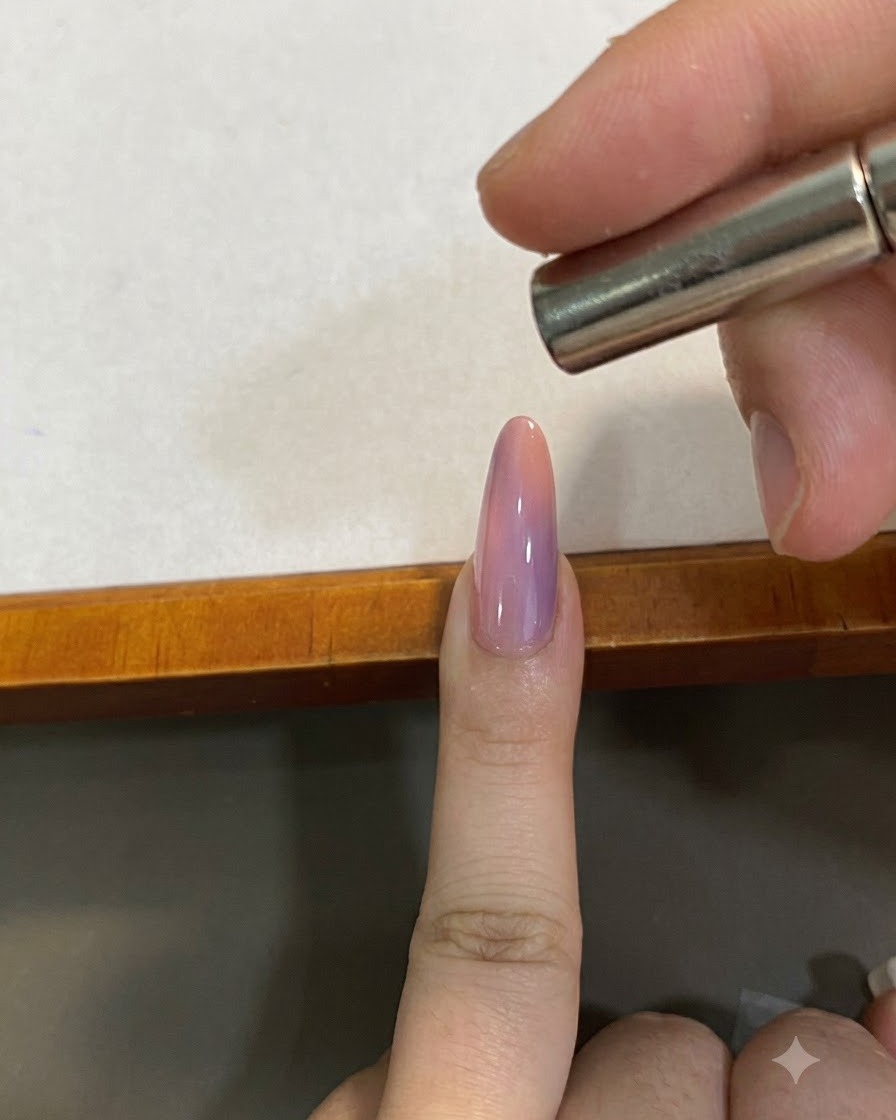
Hold the magnet horizontally over the uncured cat-eye gel to draw out the wide light strip, then use the end to push the magnetic particles from front to back to achieve the desired gradient look.
Tip: Keep your hand steady while holding the magnet close to the nail surface to ensure a sharp and well-defined light reflection.