Purple Butterfly Cat Eye Nails — Step-by-Step Tutorial
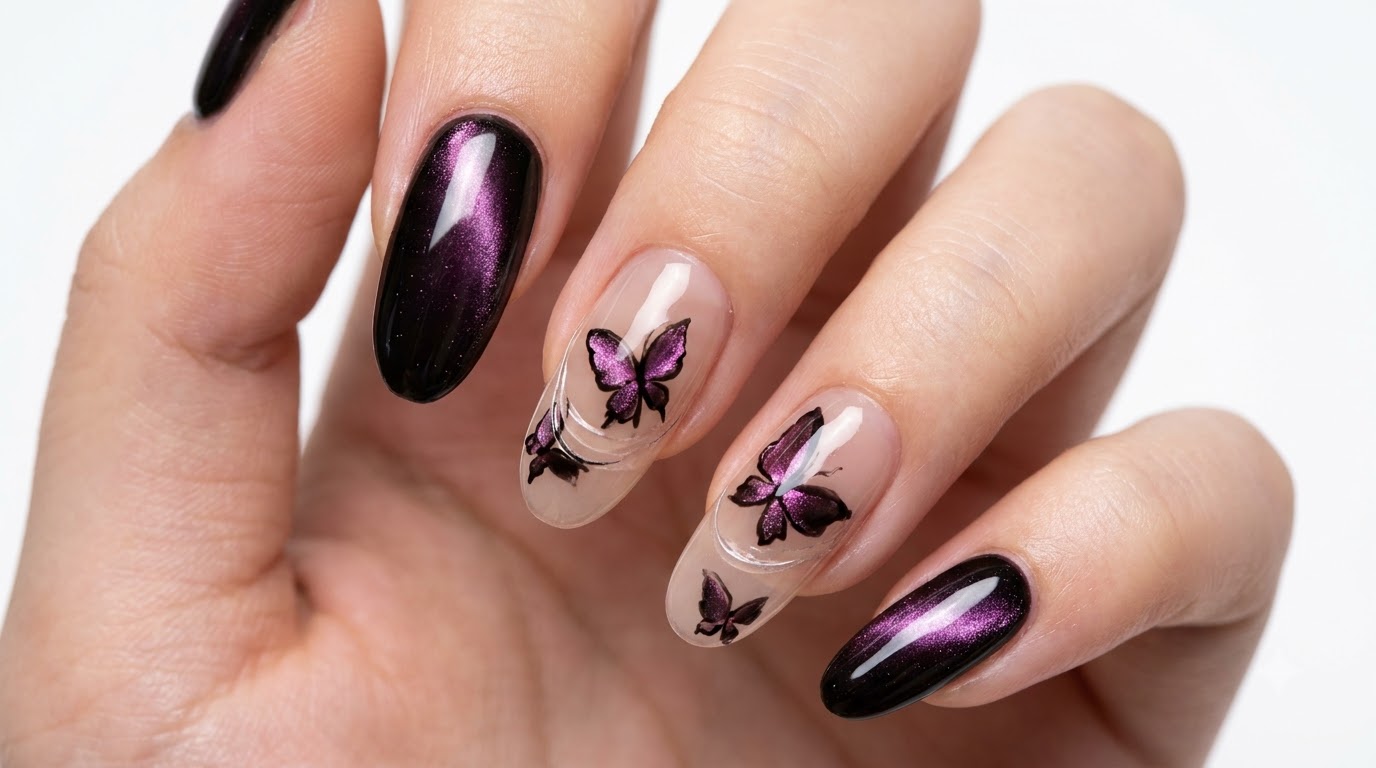
Create mesmerizing purple butterfly nails with deep black and nude bases, a glowing magnetic cat eye finish, and delicate spider web gel details.
Butterfly nail art is elevated to a whole new level with the mesmerizing glow of magnetic gel. This look combines the deep, moody vibe of a solid black cat eye with the delicate artistry of hand-painted butterfly wings on a sheer nude base. Adding a touch of spider web gel gives the final design an intricate flair that looks incredibly professional but is surprisingly achievable at home.
Steps
- 1Apply black base coat
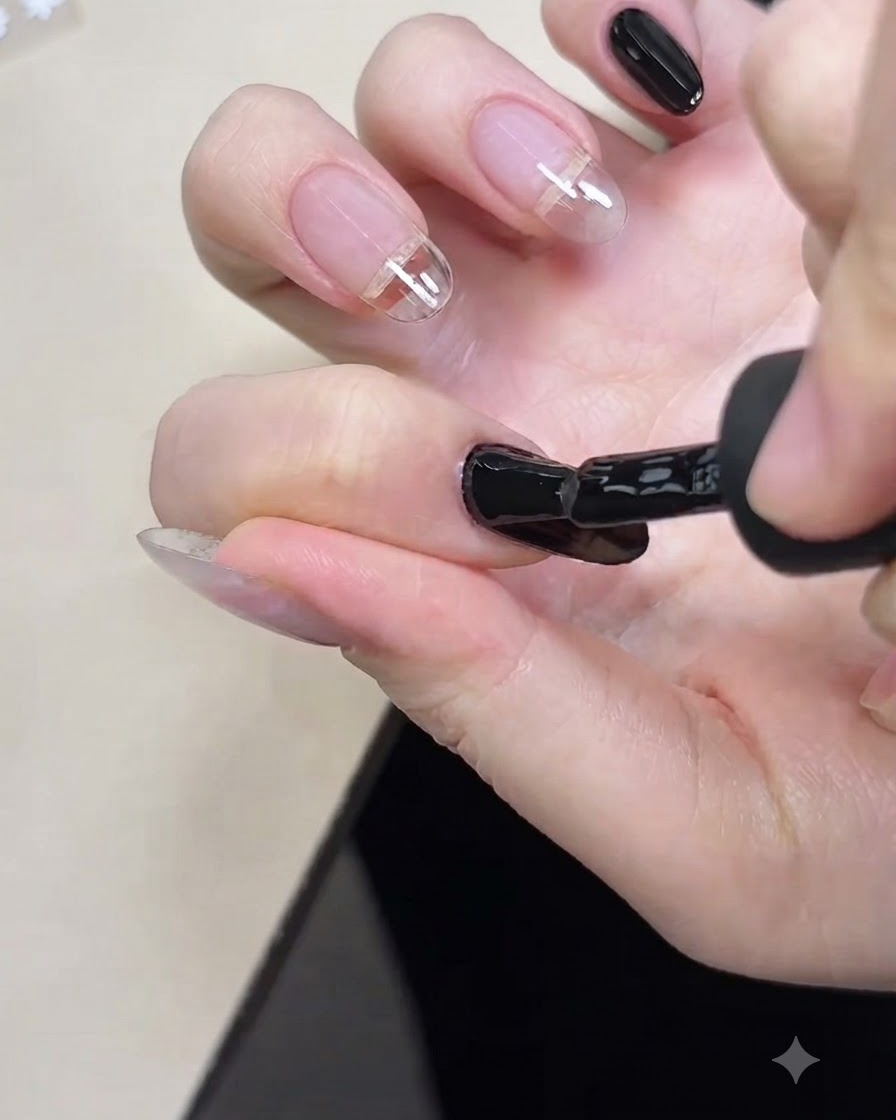
Apply a smooth layer of black base coat gel across the nail plate, ensuring complete coverage and capping the free edge. Cure under a UV or LED lamp.
Tip: Make sure the layer is applied evenly to create a solid opaque background for the subsequent cat eye gel layers. - 2Apply nude base coat
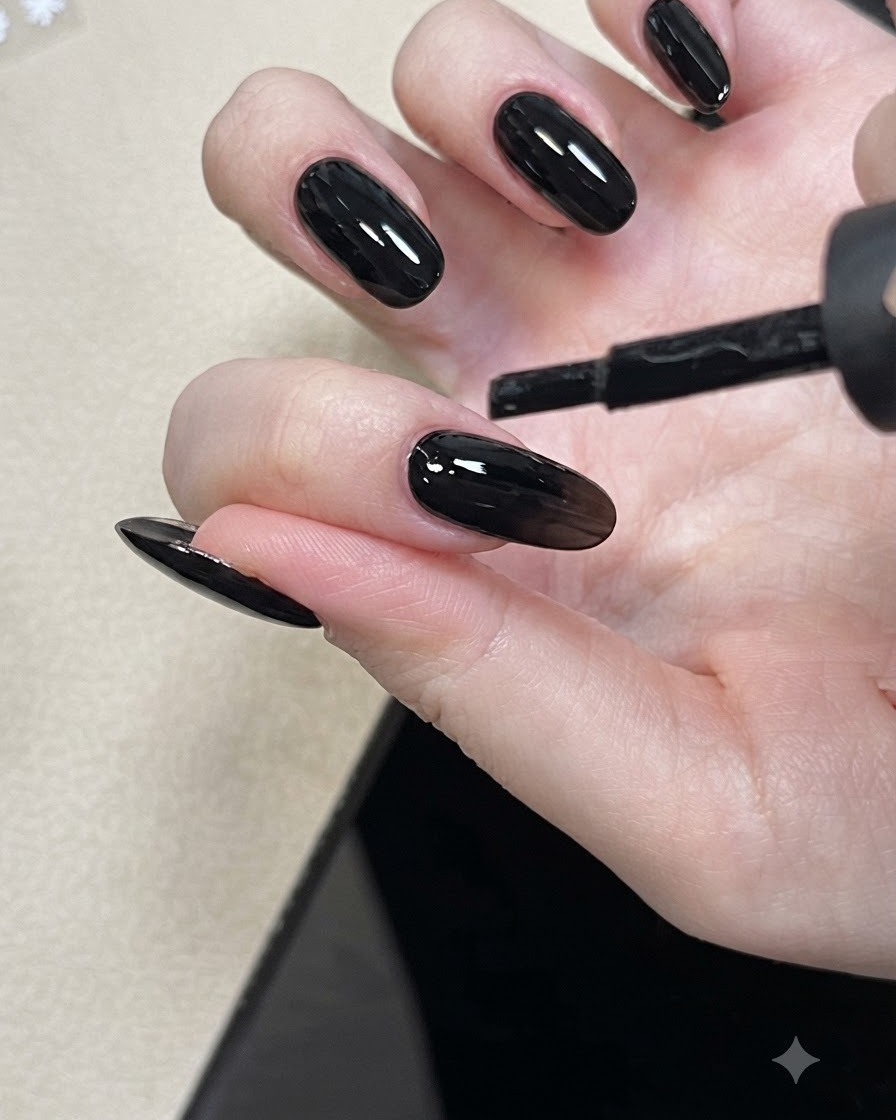
Apply nude base coat gel to the remaining nails to create a clean, neutral canvas for the nail art design. Cure fully under the lamp.
Tip: Apply in thin, even strokes to avoid bulkiness and ensure a smooth surface for detailed nail art. - 3Apply purple cat eye gel
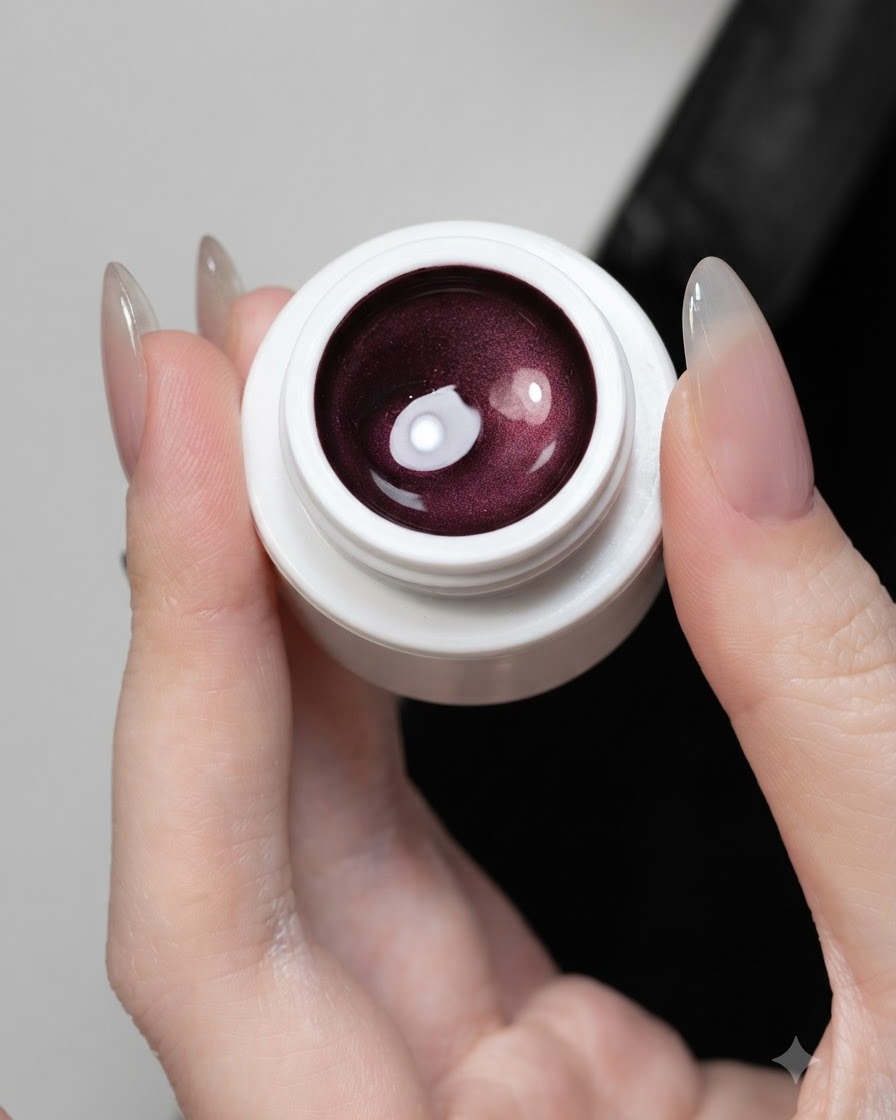
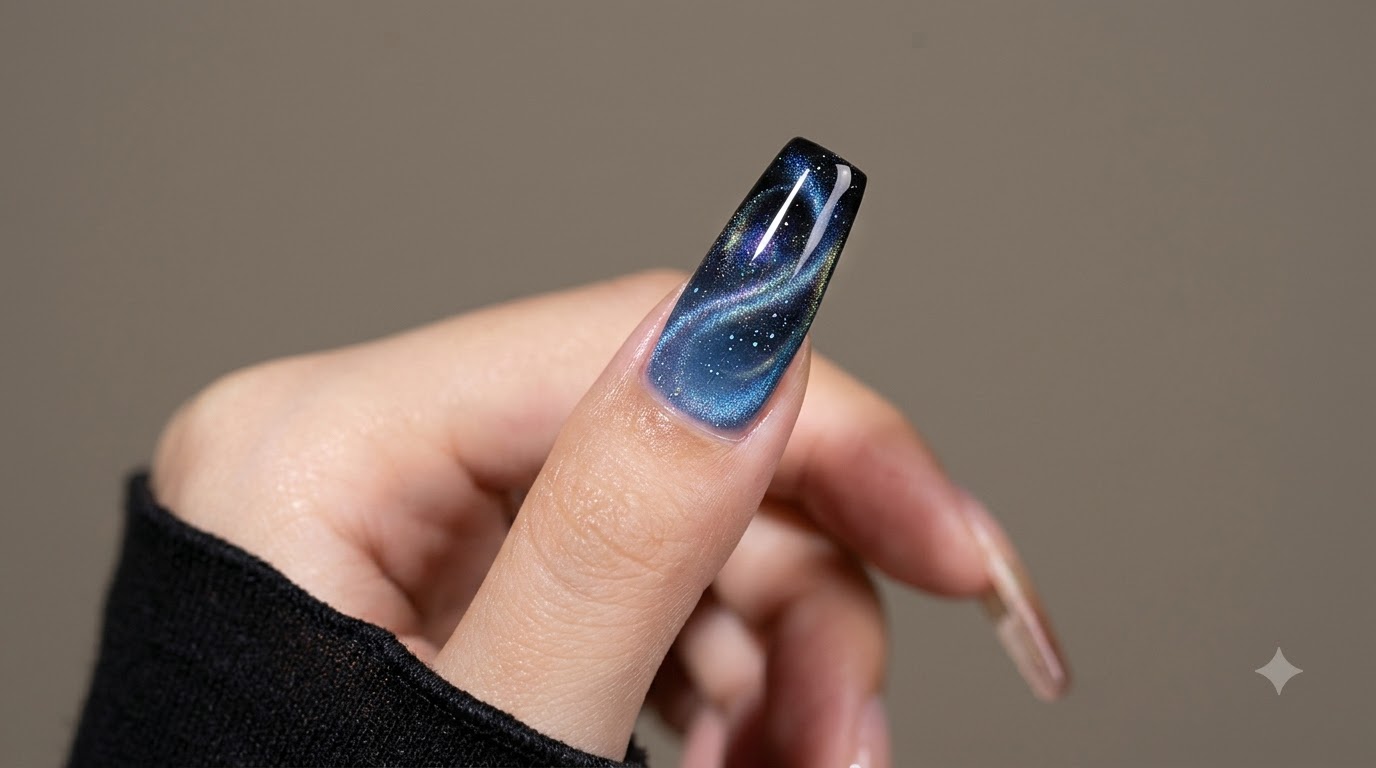
Apply a layer of purple cat eye gel directly over the cured black base coat. Do not cure yet, as the magnetic particles need to be manipulated while wet.
Tip: Using a black base underneath makes the magnetic shimmer of the purple cat eye gel stand out more vibrantly. - 4Create cat eye effect
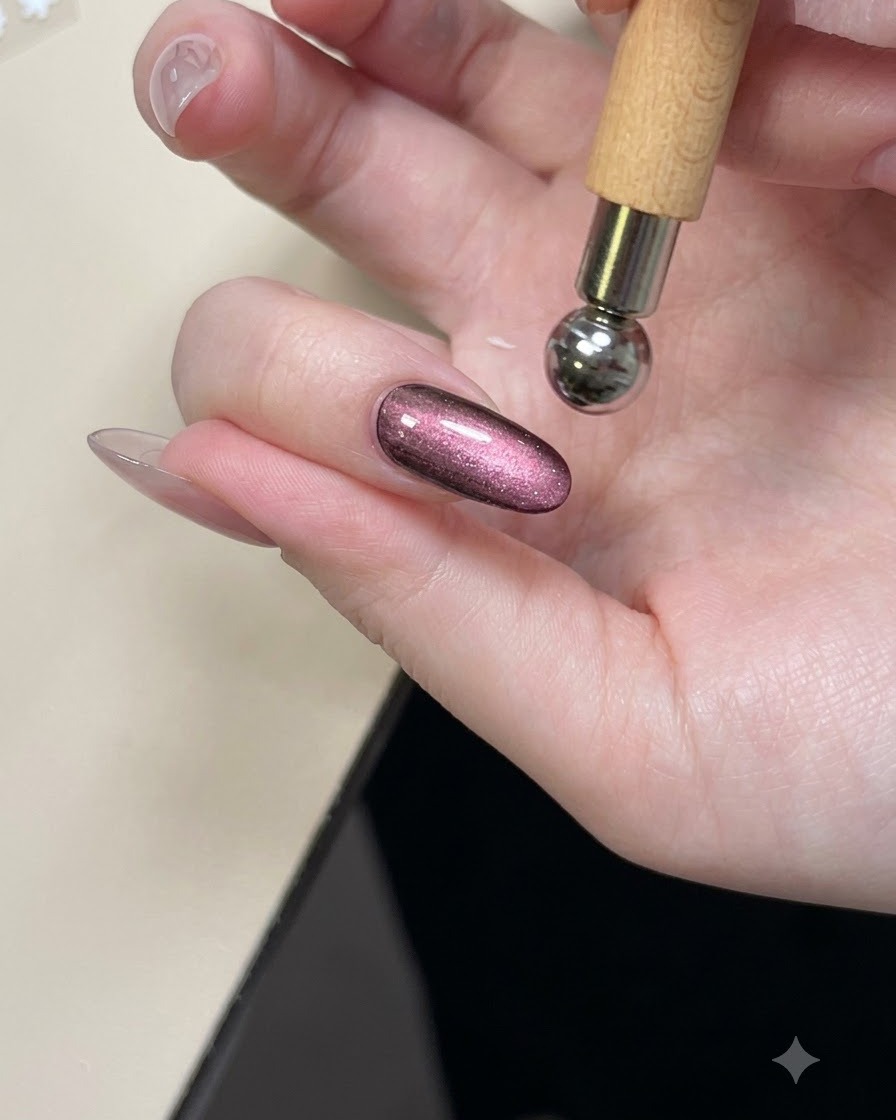
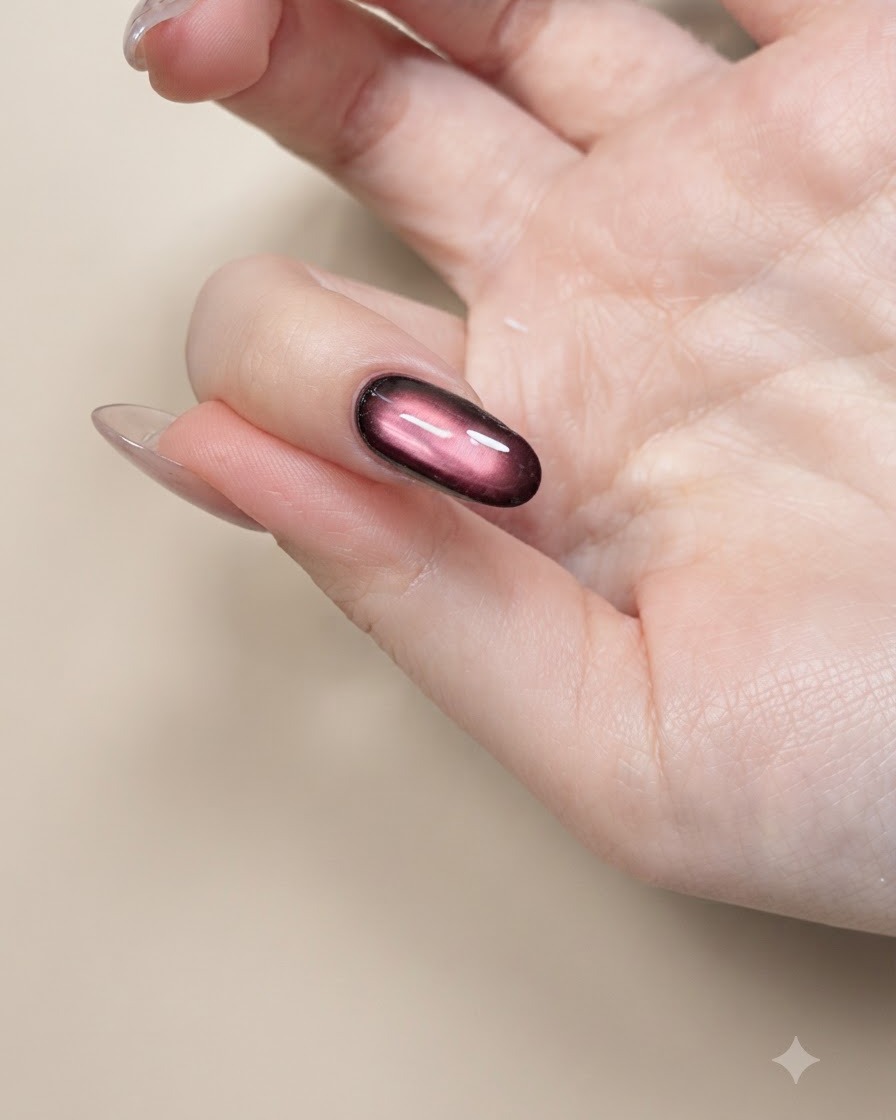
Hold a magnetic tool close to the uncured purple cat eye gel to shift and concentrate the metallic particles into a defined, glowing shimmer band. Cure immediately once desired effect is achieved.
Tip: Keep the magnet steady and close to the nail without touching the wet gel surface. - 5Draw butterfly wing outlines
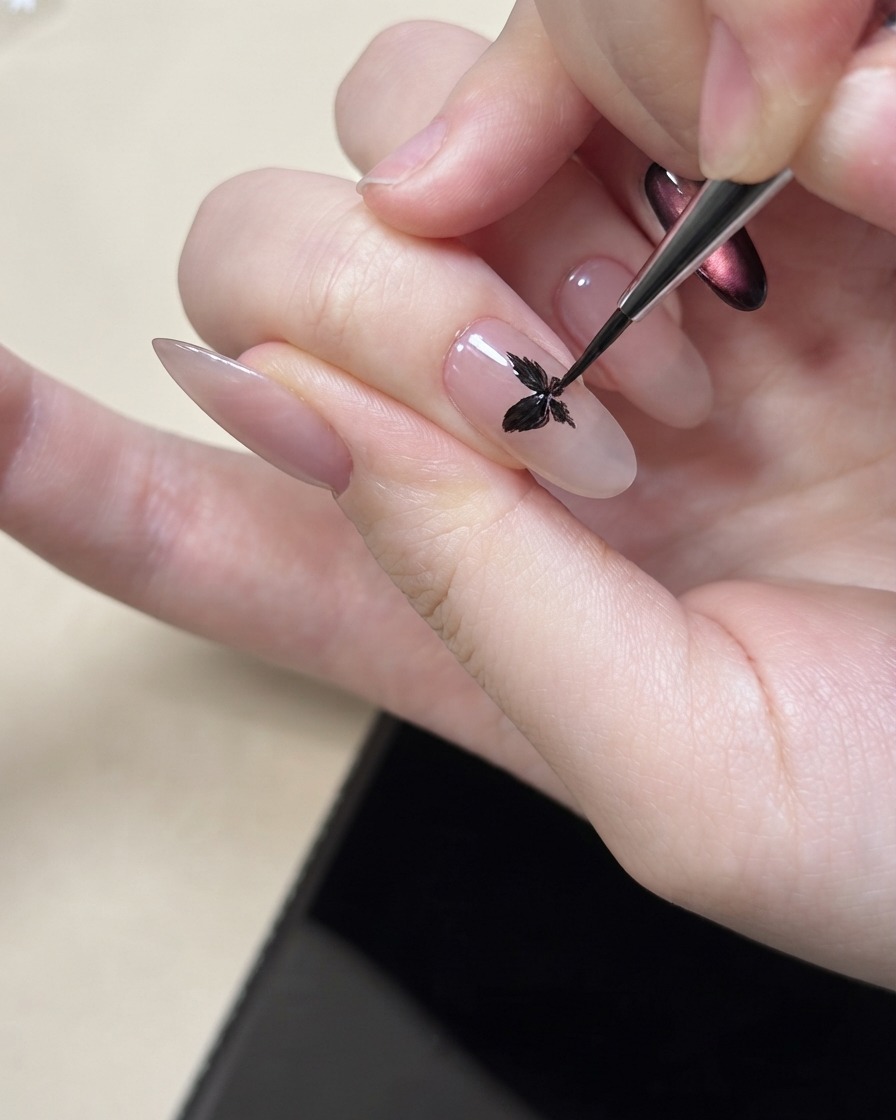
Using a fine liner brush dipped in black nail art polish, carefully paint the delicate outlines of butterfly wings onto the nude base nails. Cure after outlining.
Tip: Keep a light hand and use the very tip of the liner brush for clean, sharp lines. - 6Fill butterfly wings with cat eye gel
Carefully fill in the painted butterfly wing shapes using purple cat eye gel. Use a fine brush to guide the gel into the detailed sections before curing.
Tip: Take your time filling in small sections to prevent the gel from pooling outside the black borders. - 7Highlight butterfly shimmer with magnet
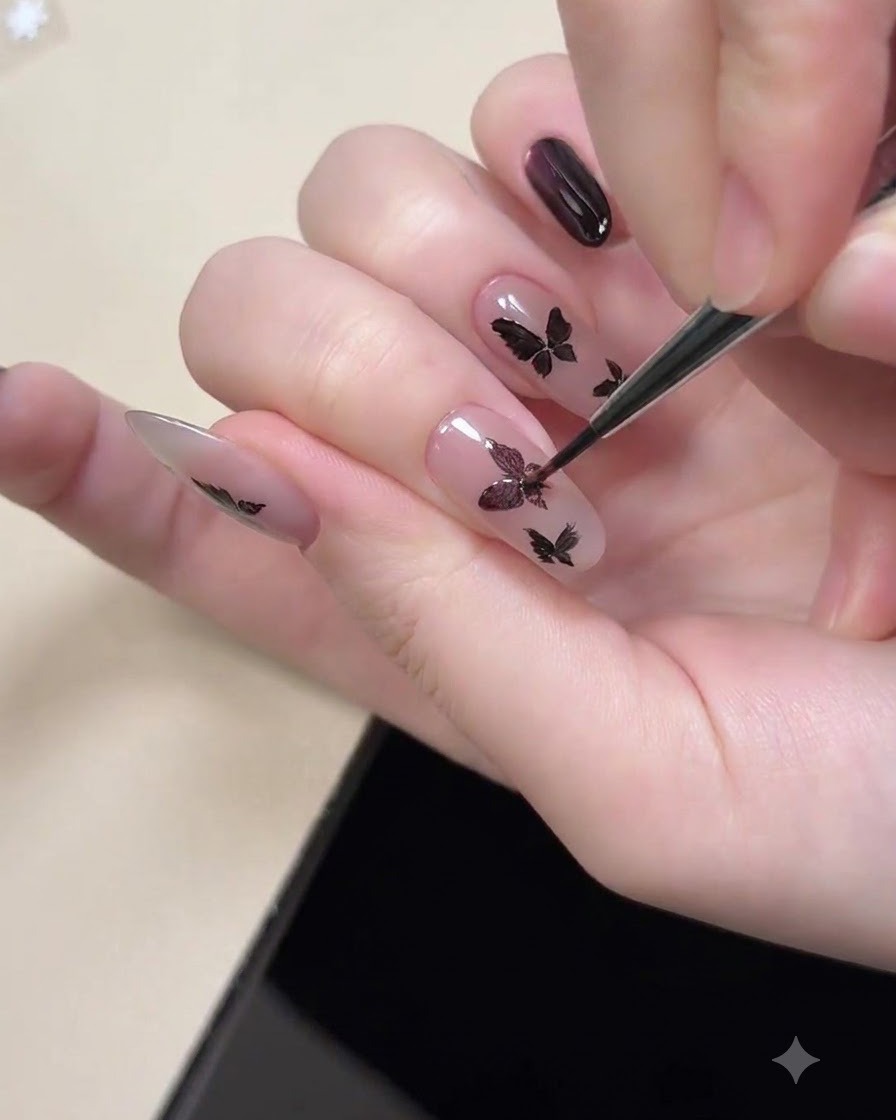
Hold the magnetic tool close to the painted butterfly art to draw out the purple cat eye shimmer precisely within the wings. This creates a striking, dimensional metallic effect before curing the layer.
Tip: Keep the magnet steady and close to the nail for a few seconds to achieve a sharp, vibrant cat eye line. - 8Apply and level top coat
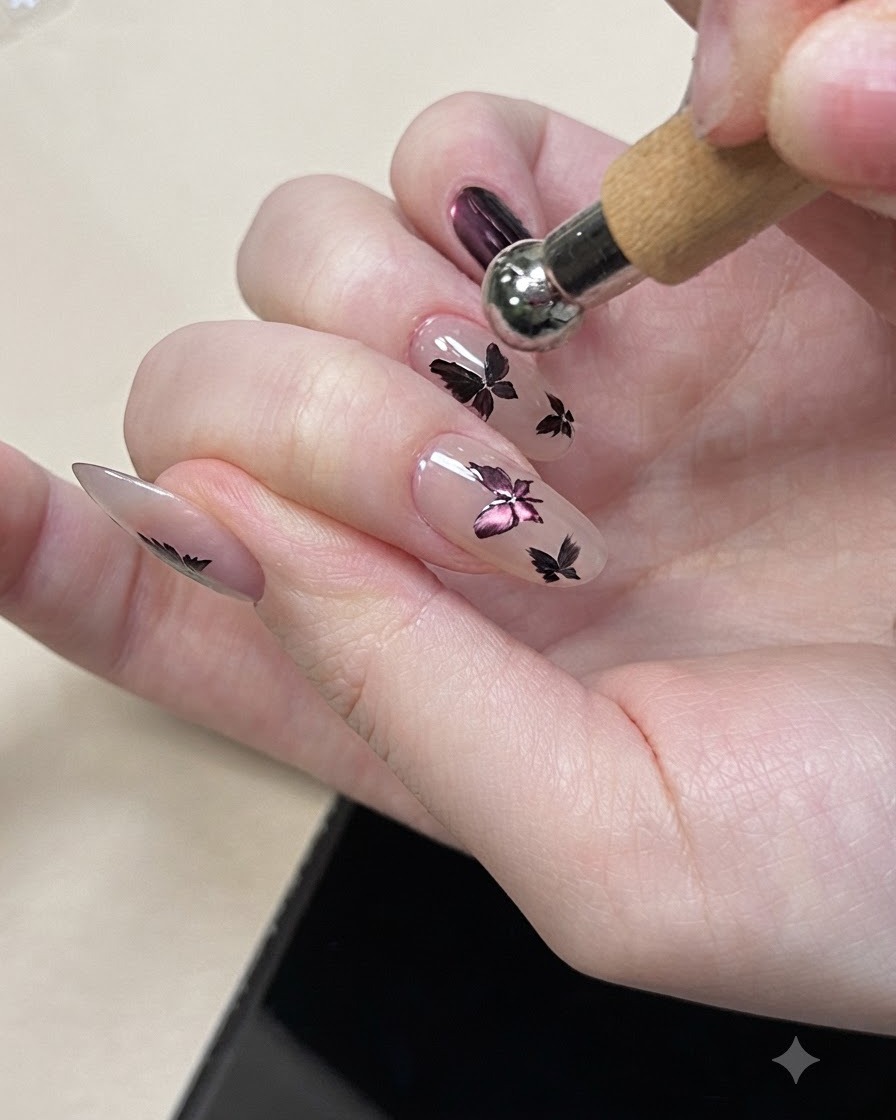
Apply a final layer of glossy top coat over the entire decorated nail surface to seal in the butterfly art and cat eye effect. Ensure the gel is properly leveled out for a smooth, even finish before curing under the lamp.
Tip: Let the top coat self-level for a few seconds before curing to eliminate any brush streaks or uneven spots. - 9Add spider web gel details
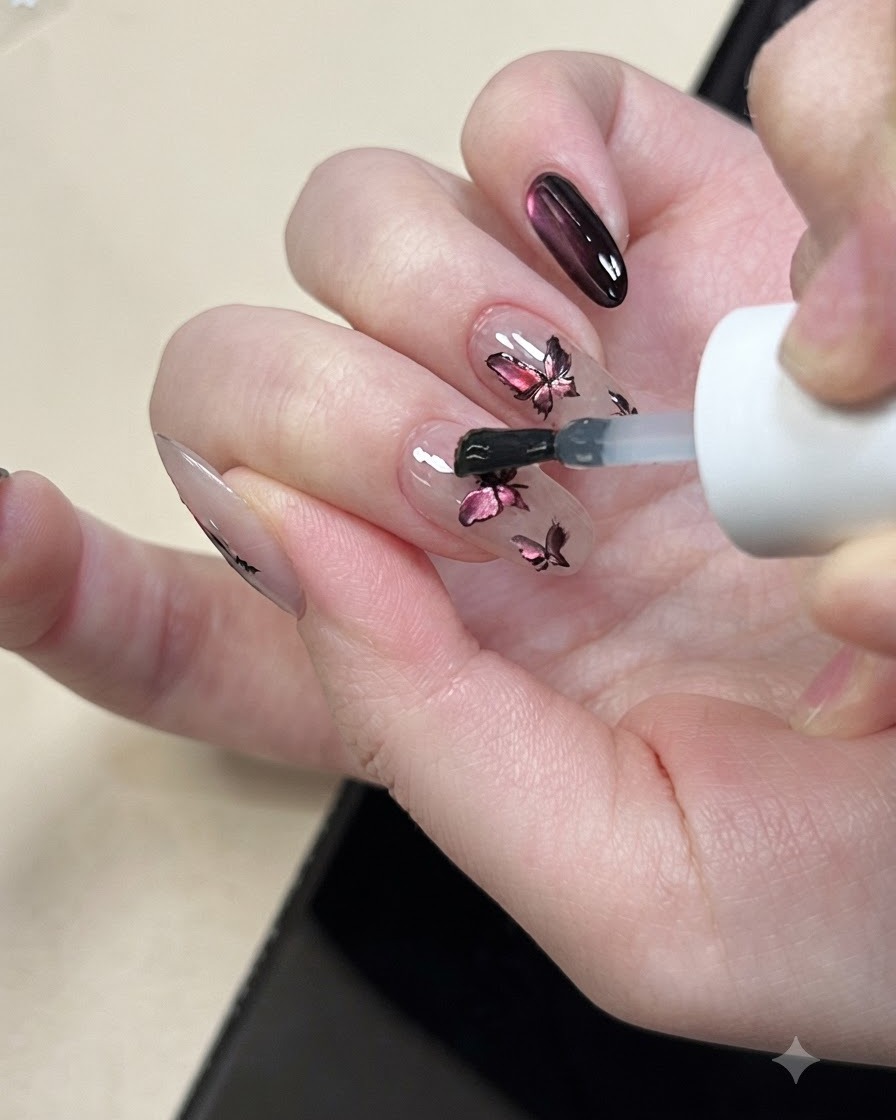
Using a fine liner brush and spider web gel, gently pull and stretch the gel to create delicate, web-like decorative lines across the nail. Cure the design under the lamp once the lines are properly placed.
Tip: Pull the spider gel quickly and lightly across the nail to create ultra-thin, clean web lines without messy sagging.