Spring Blue-Purple
Pink-Purple CP Manicure — Step-by-Step Press-On Nail Tutorial
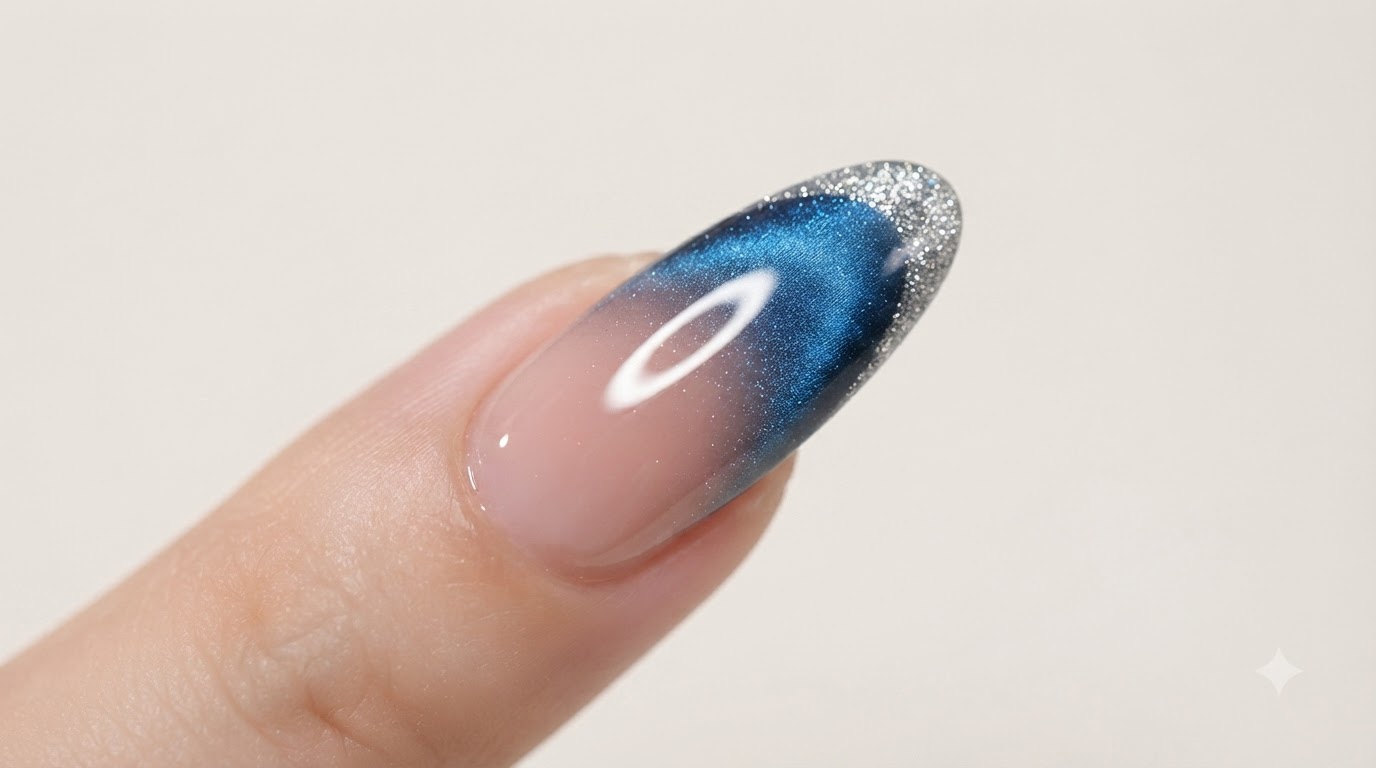
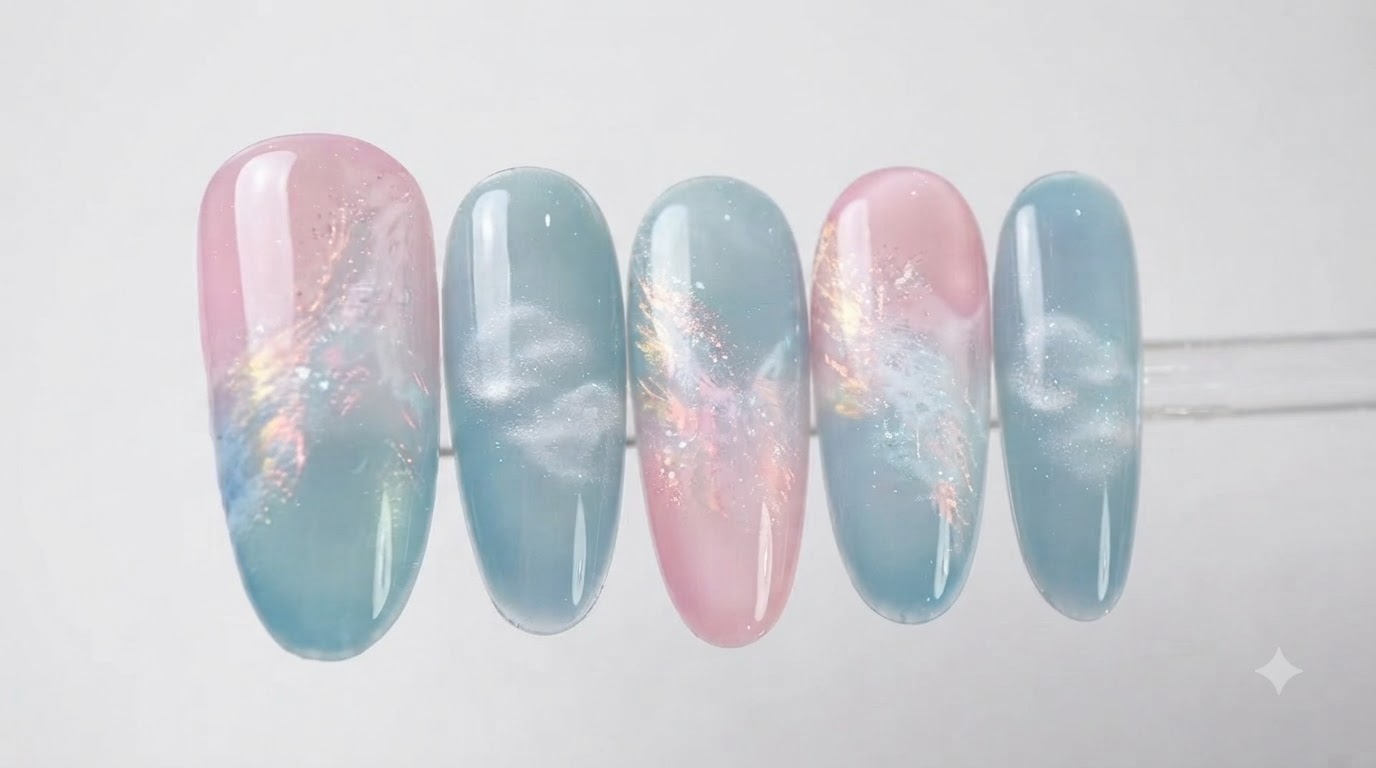
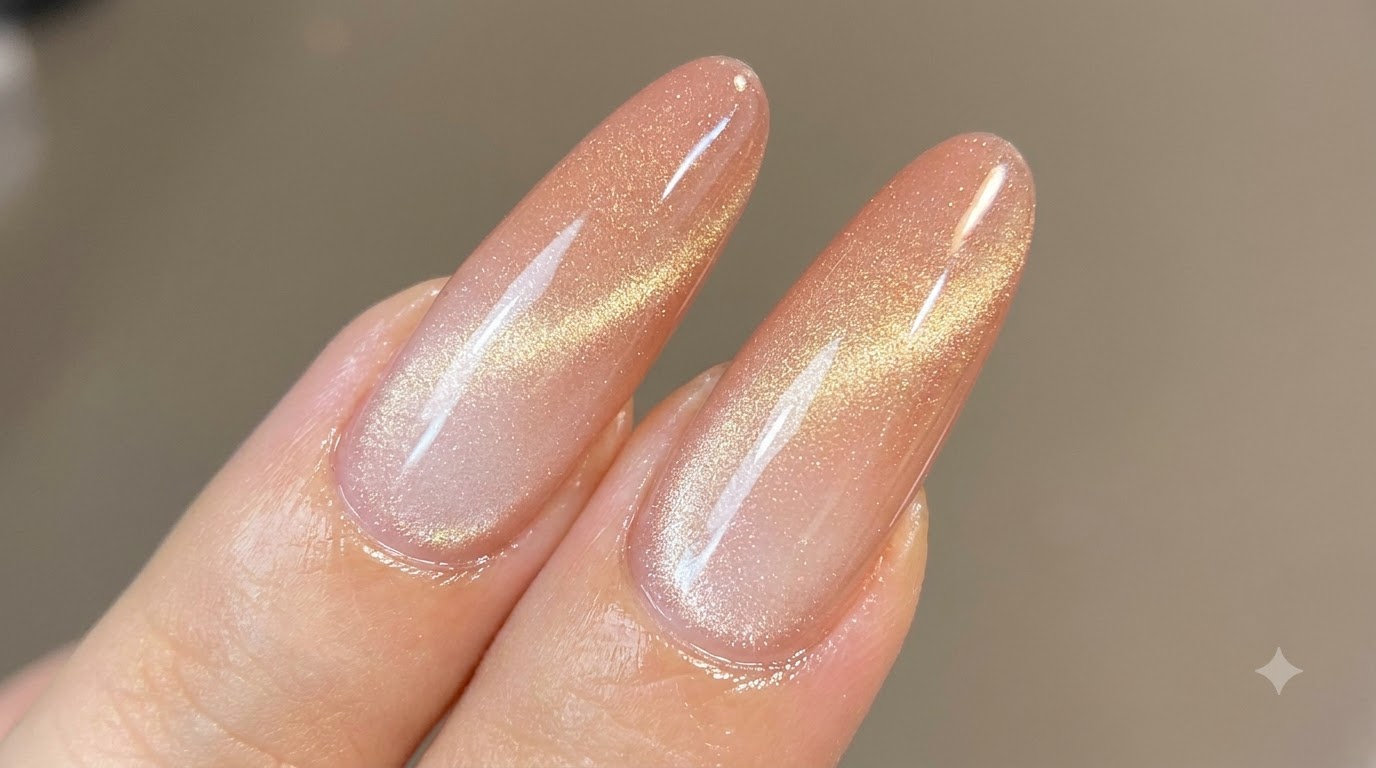
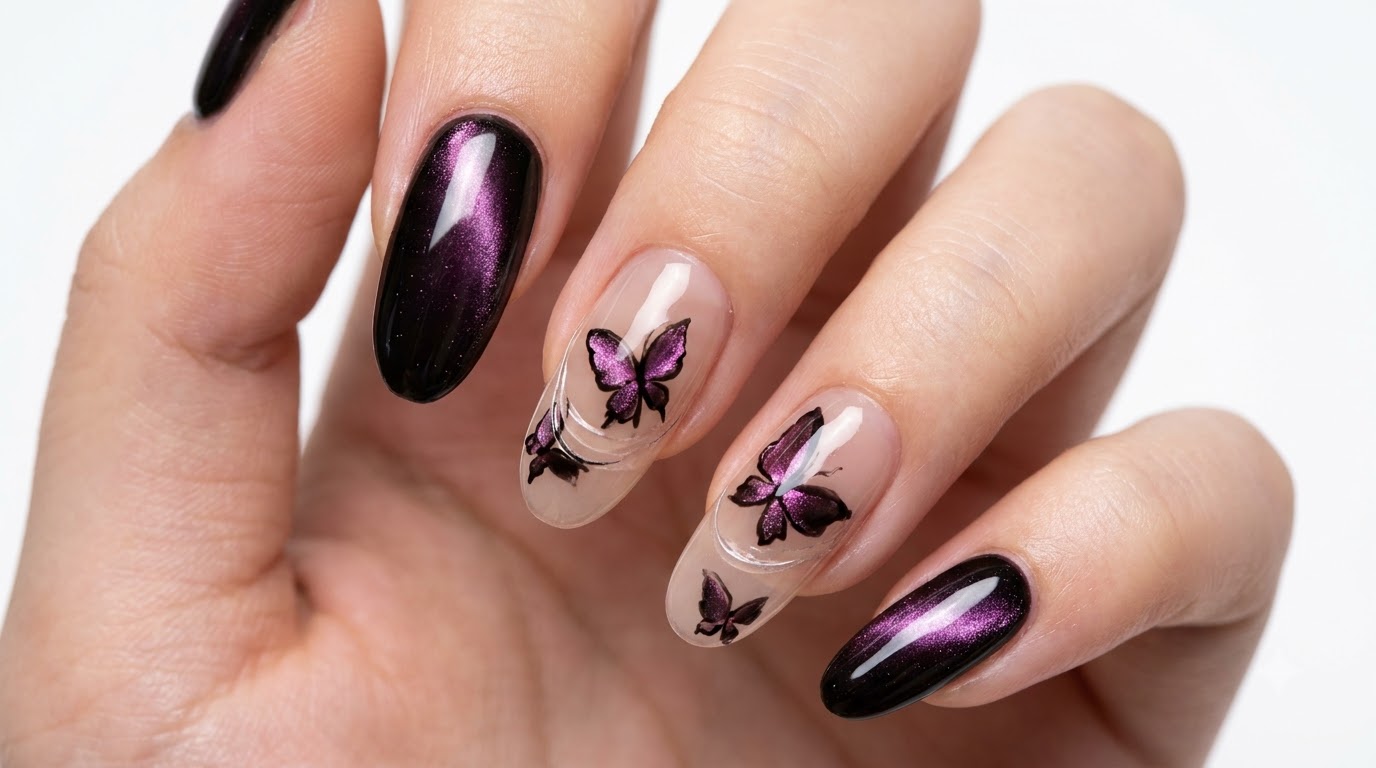
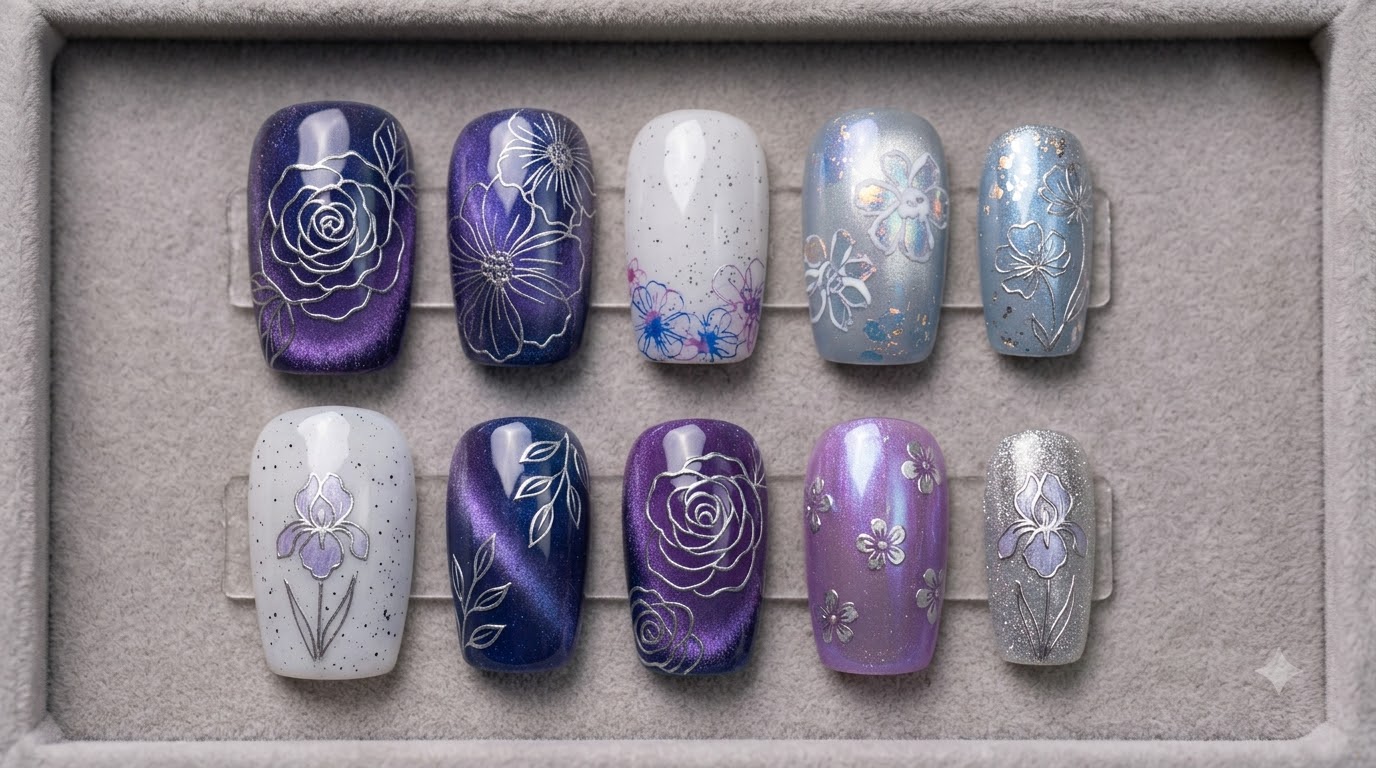
Create a dreamy spring CP manicure featuring stunning blue-purple and pink-purple tones, magnetic cat-eye effects, and delicate stamped florals.
Spring is the perfect season to experiment with soft, romantic nail designs that blend ethereal color gradients with intricate details. This dual-toned CP manicure pairs a serene fog blue theme with a gentle pink-purple palette, elevated by cat-eye glass bead reflections and hand-styled floral stamps. Whether you are creating a custom set of press-ons or treating your own natural nails, this guide walks you through every layer to achieve a salon-quality finish.
Steps
- 1Apply snow-white base gel for fingertip gradient
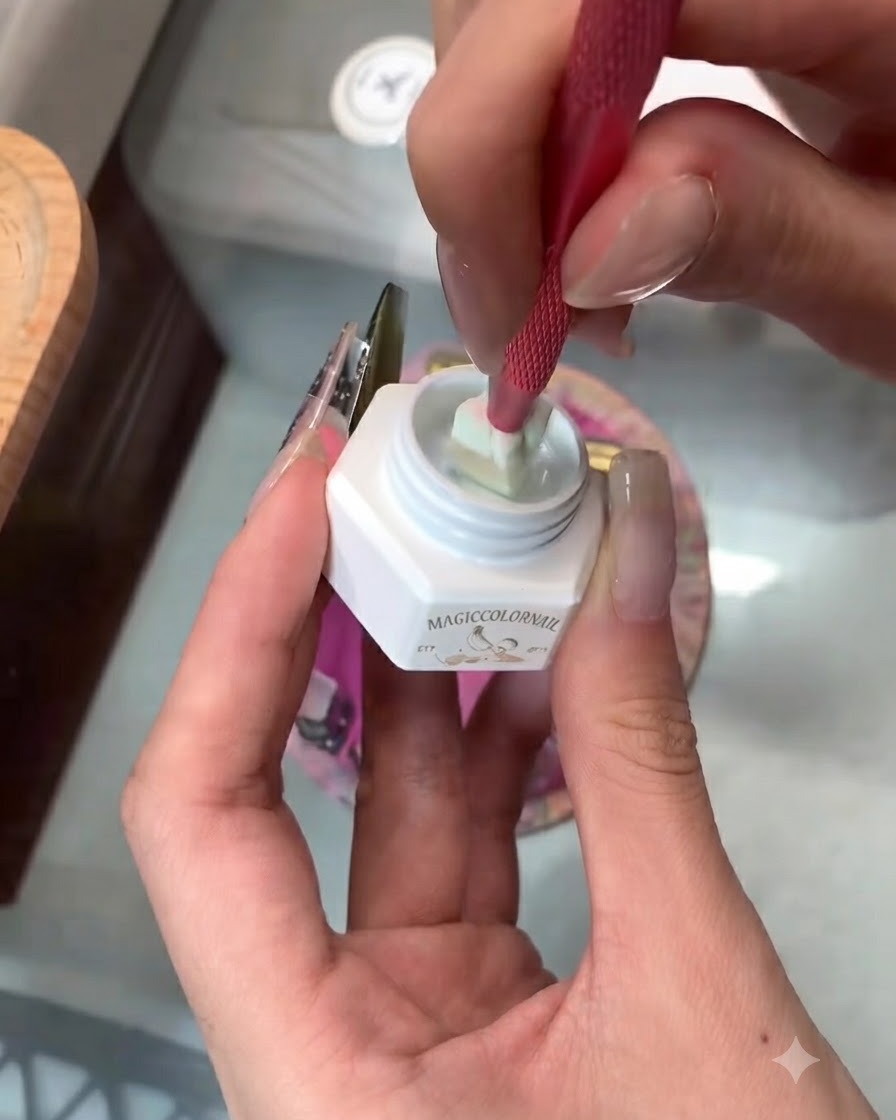
Apply snow-white base gel onto the tips of the thumb, middle finger, and tail finger to establish the foundation for a soft fingertip gradient. Ensure the application is smooth and properly positioned on the tip area.
Tip: Keep the gel layer thin and even to maintain a natural transition. - 2Apply color block smudge on the ring finger
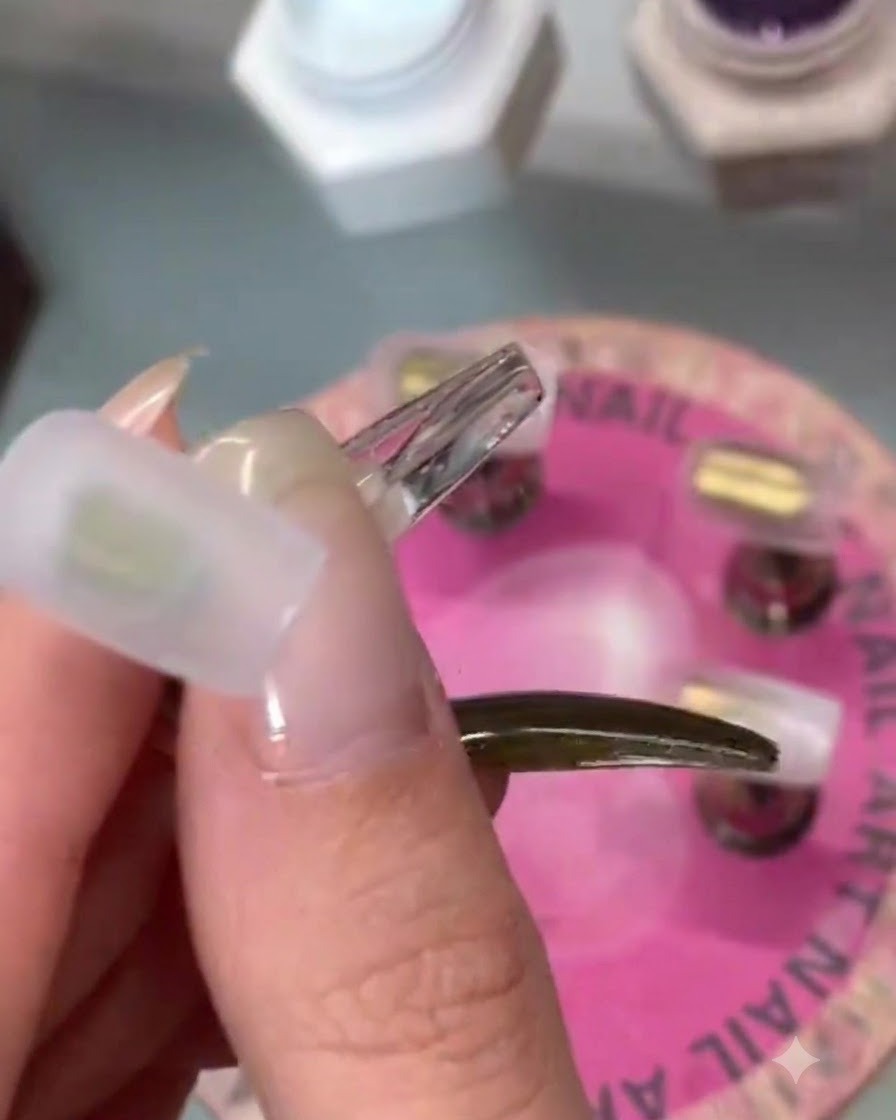
Apply a smudge of a color block using three selected colors onto the ring finger nail tip. Ensure white is the most prominent color, complemented by secondary purple and blue accents for balance.
Tip: Blend the edges softly so the color transitions look natural and diffused. - 3Apply first layer of black sesame color
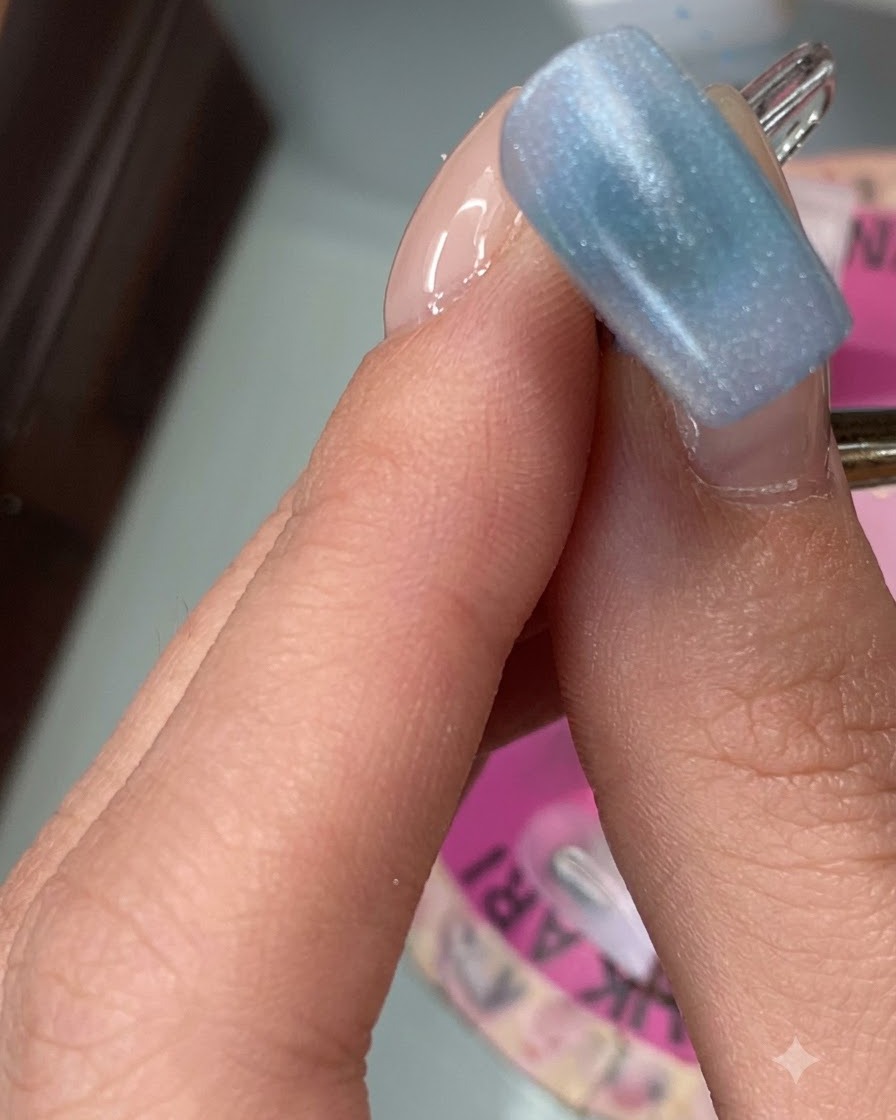
Apply the first layer of black sesame color mixed with milk glue onto the index finger nail tip. Spread evenly across the surface to prepare for subsequent styling.
Tip: Apply in thin strokes to avoid pooling near the edges. - 4Apply cats eye gel 009
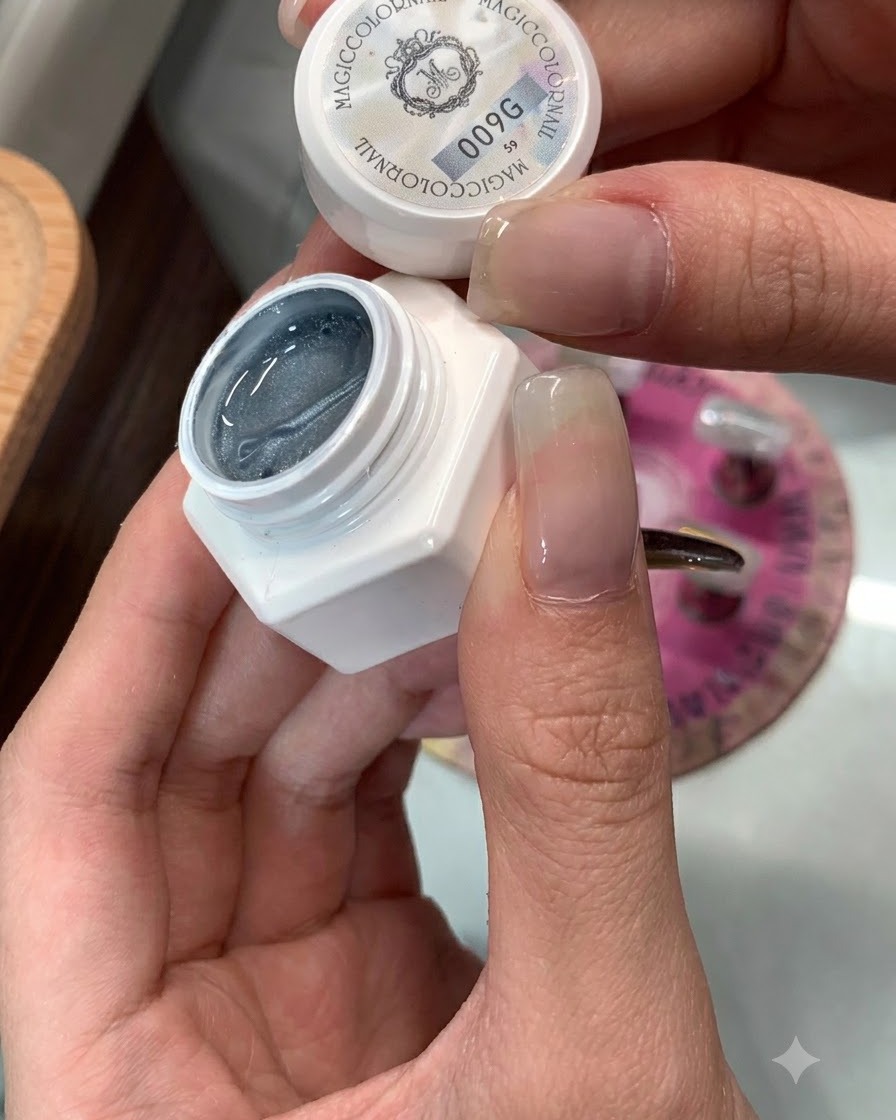
Apply cats eye gel 009 over the base layer on the thumb, middle finger, and tail finger nail tips. Prepare the surface for magnetic activation.
Tip: Ensure uniform coverage before using the magnet to achieve an even reflection. - 5Activate cats eye gel with a magnet
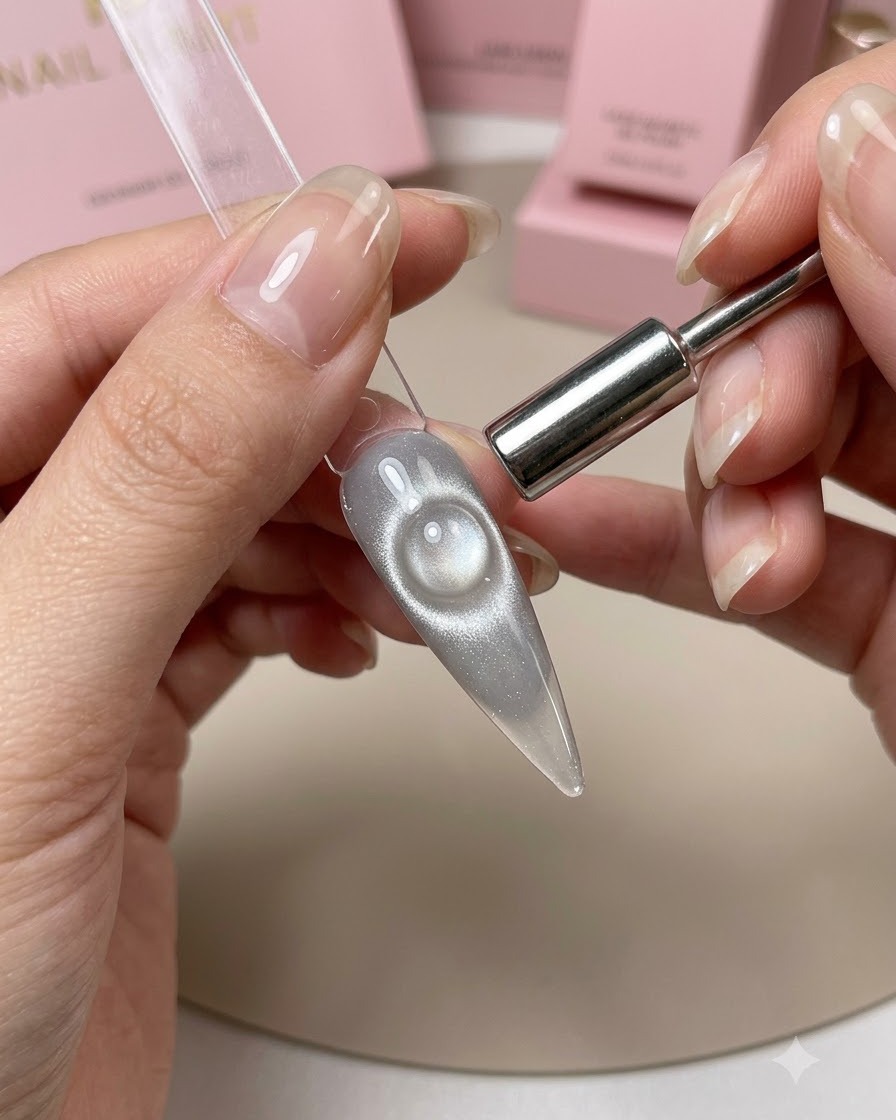
Position a specialized magnet over the wet cats eye gel to pull the magnetic particles into a concentrated glass bead light reflection effect. Hold steady until the desired pattern forms before curing.
Tip: Keep the magnet close to the surface without touching the wet gel to get the sharpest light line. - 6Mix and scrape blue and purple patting gel
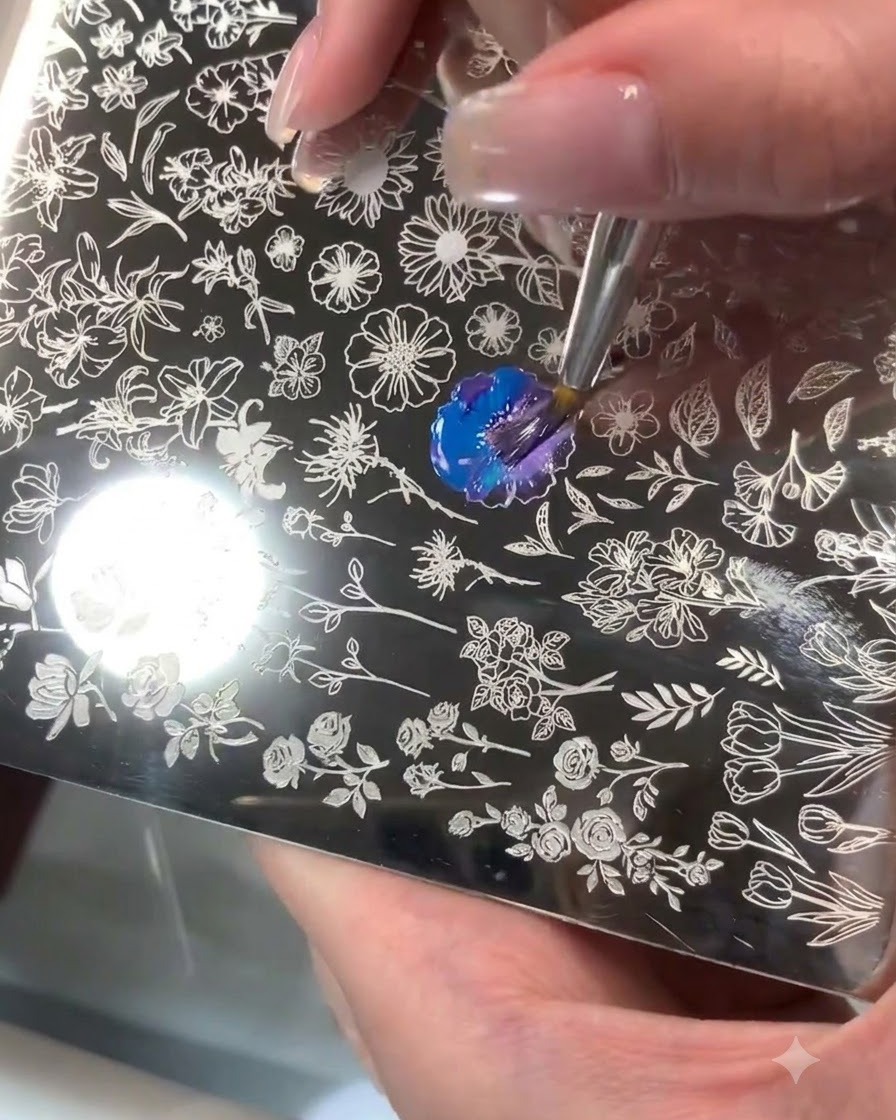
Mix blue and purple patting gel together directly on a steel stamping plate using a brush to integrate the colors thoroughly. Scrape across the engraved floral design to fill the plate stamp.
Tip: Scrape multiple times across the plate to ensure the colors blend harmoniously and fill the grooves completely. - 7Stamp the floral pattern on the thumb
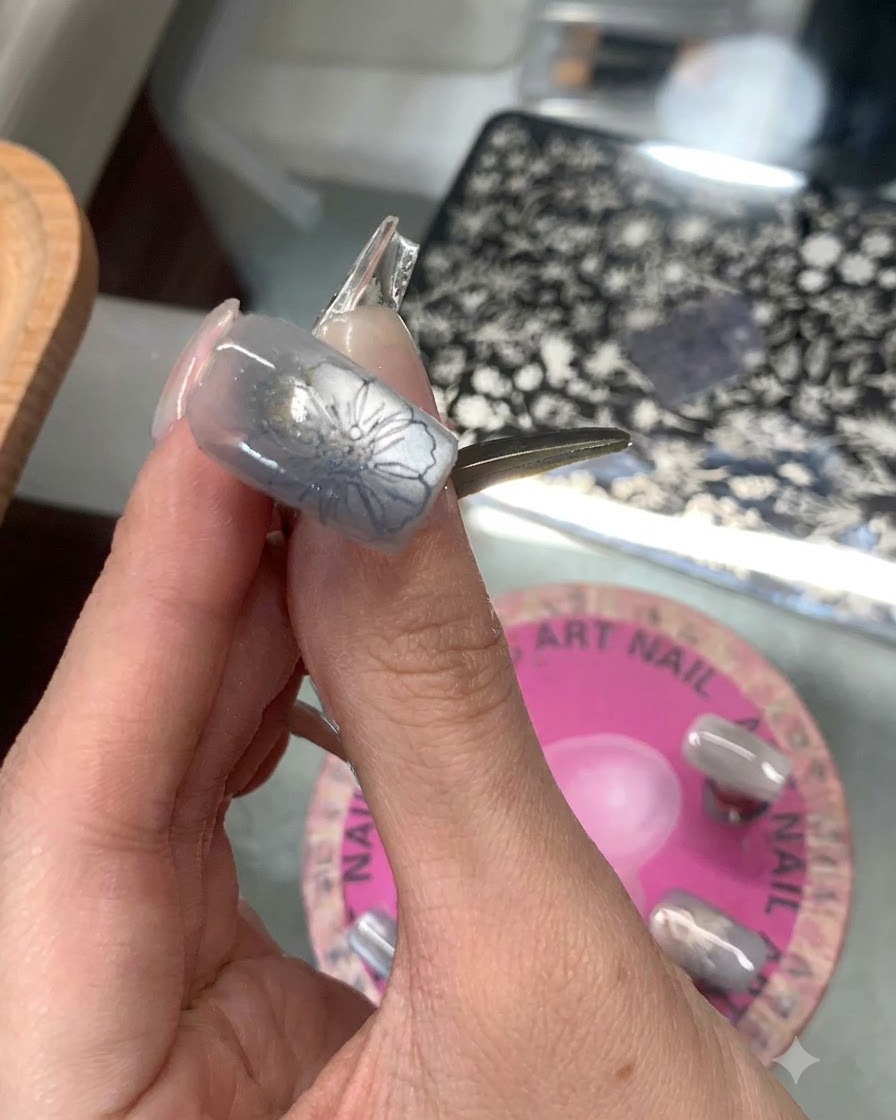
Using a clear silicone stamper, pick up the mixed blue and purple floral pattern from the stamping plate and carefully press it onto the tip of the thumb nail. Align the placement gently to ensure the flower design sits neatly centered on the gradient base.
Tip: Roll the stamper gently across the nail from one side to the other rather than pressing straight down to avoid air bubbles and distorted patterns. - 8Stamp the pattern on the index finger
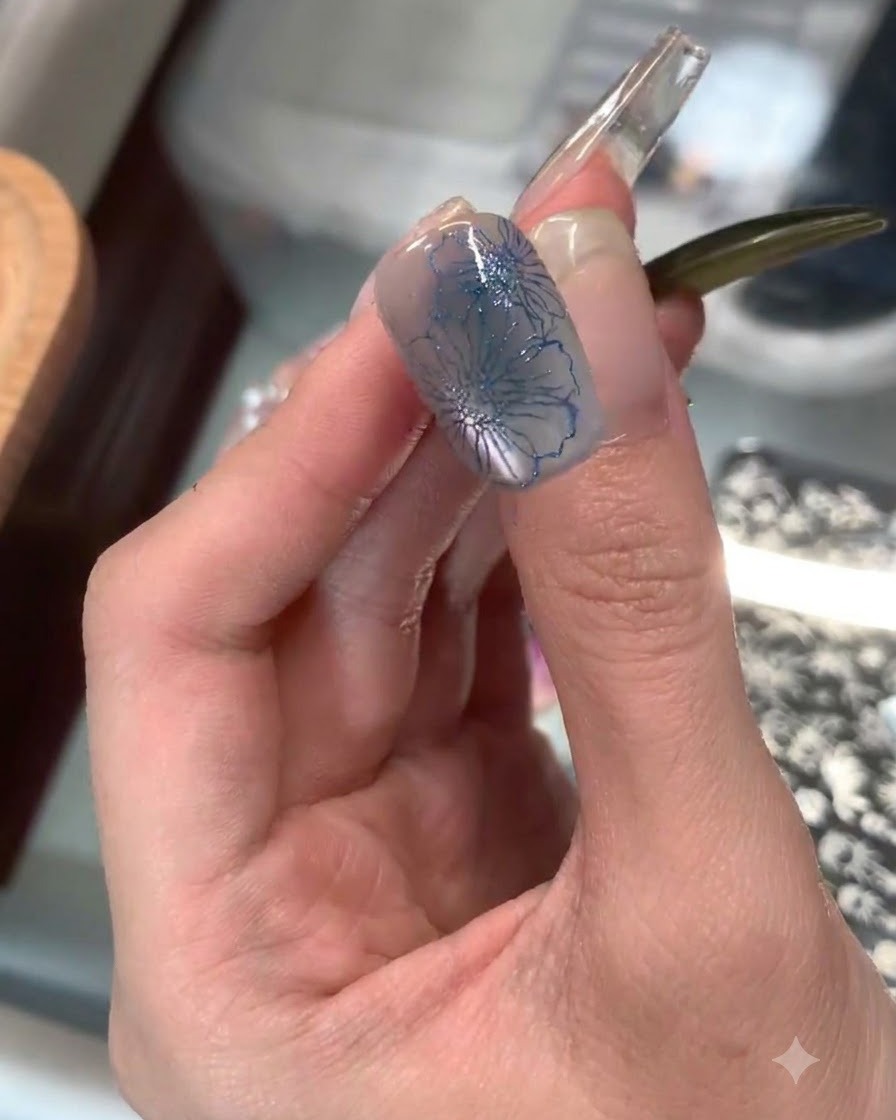
Take the clear stamper containing the floral design and transfer it onto the tip of the index finger. Make sure the placement coordinates smoothly with the design style used on the neighboring thumb nail.
Tip: Keep your hand steady and match the angle of the previous nail for a consistent, harmonious look across your manicure. - 9Pick up snow-white floral pattern
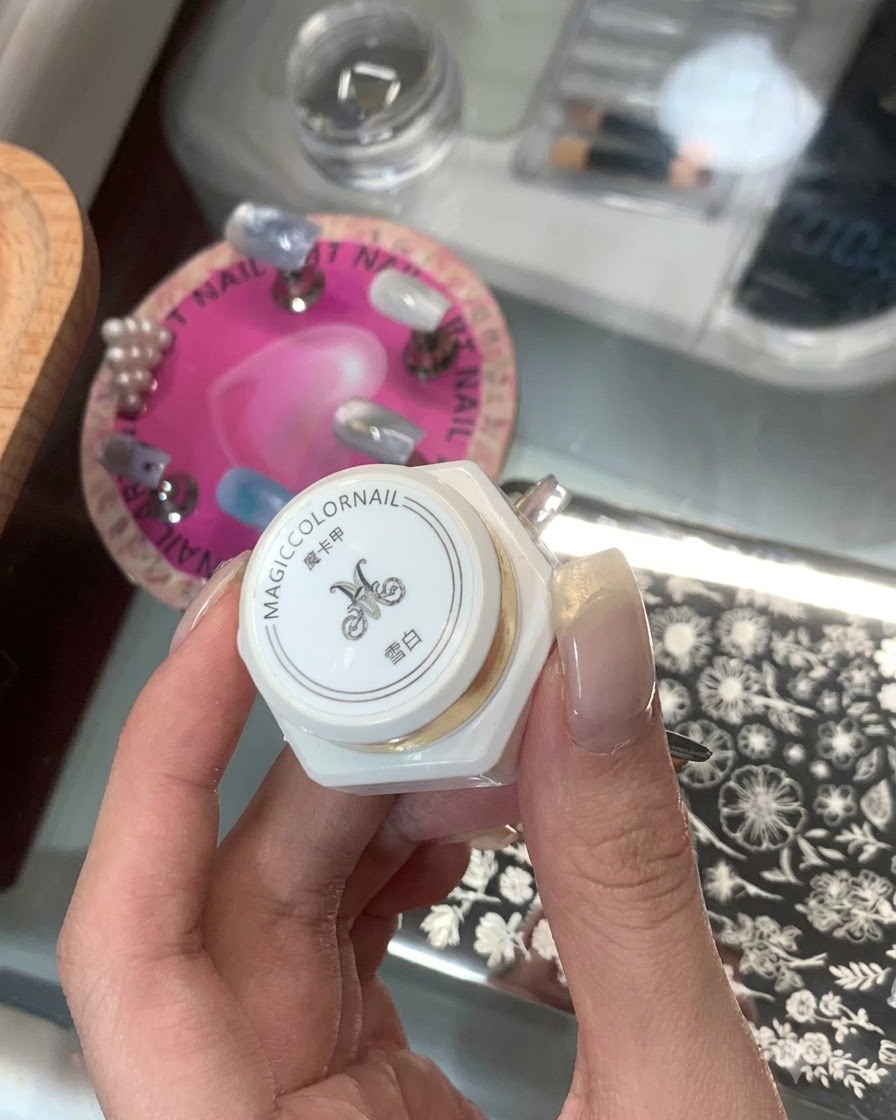
Using the snow-white stamping gel or polish on the steel engraving plate, press your clear silicone stamper firmly onto the plates floral motif to pick up a crisp white flower pattern.
Tip: Work efficiently so the stamping gel does not dry out before you transfer it onto the nail surface. - 10Stamp white flowers on the ring finger
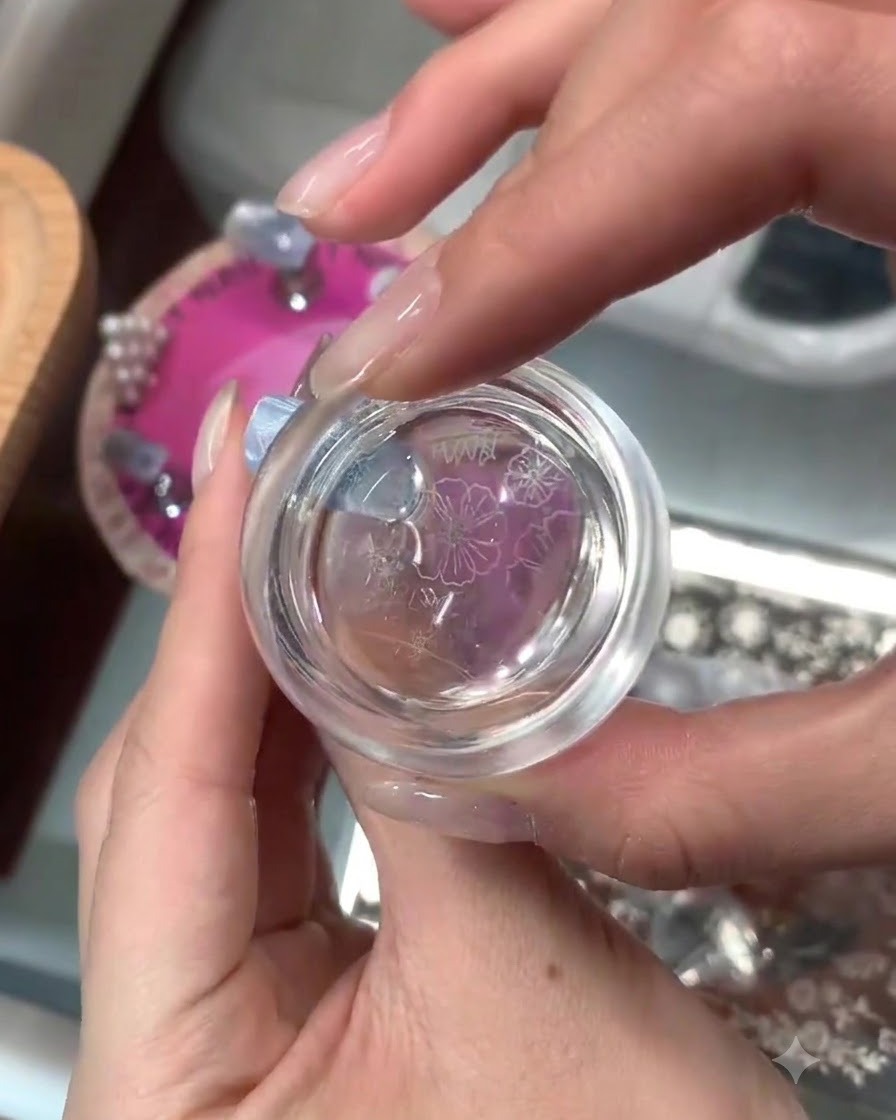
Take the stamper holding the snow-white floral pattern and press it precisely onto the tip of the ring finger nail over the color-blocked background. The white contrast will make the floral details stand out sharply.
Tip: Check the alignment carefully before committing the stamp to avoid smudging the cured base color underneath. - 11Stamp patterns on the tail fingers
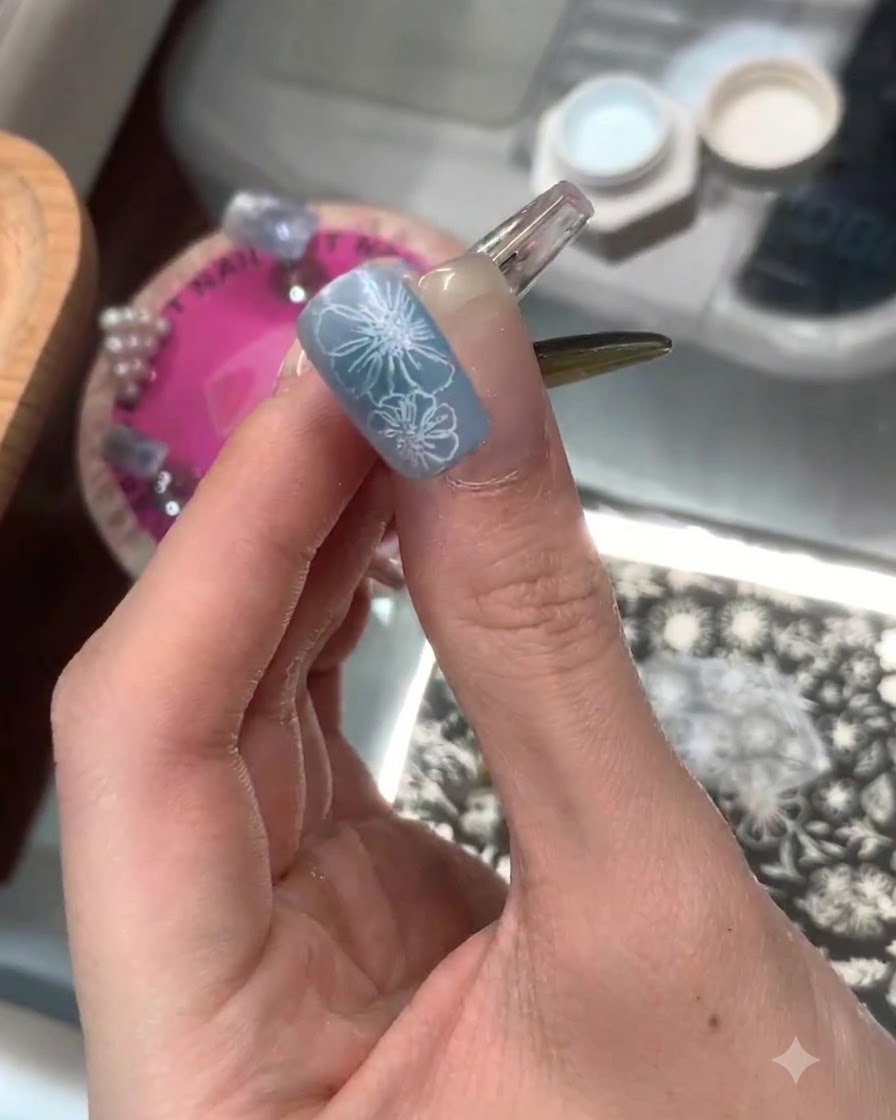
Apply the coordinating color-matched floral pattern onto the tail (pinky) fingers using the same stamping method. Ensure the placement mirrors the delicate style established on the other decorated nails.
Tip: Wipe the stamper gently with a lint-free wipe and tape if necessary to remove any stray residue before picking up new patterns. - 12Apply matte top coat and cure
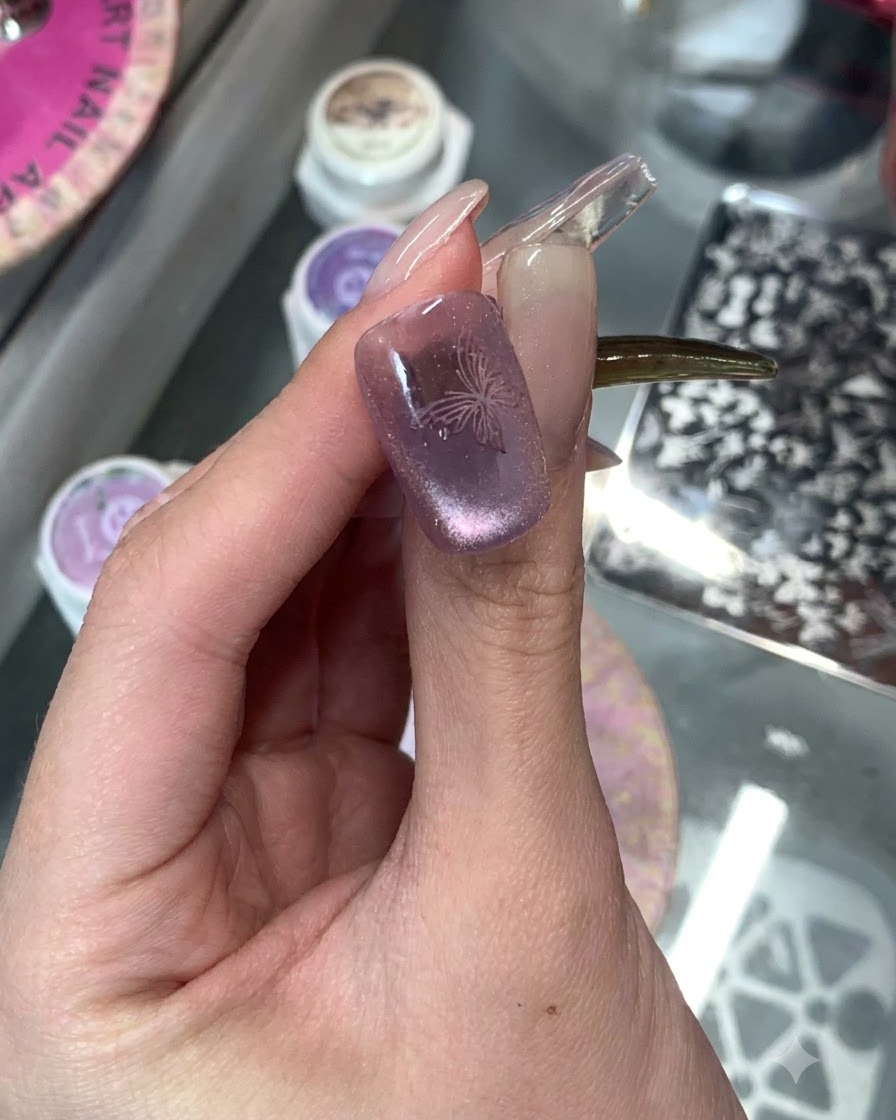
Apply an even layer of matte top coat specifically to the middle finger to alter the finish and create textural contrast against the glossy nails, then cure it under your UV or LED lamp.
Tip: Make sure the matte top coat is applied smoothly without streaks to ensure a clean, velvety finish after curing. - 13Print and powder floral design
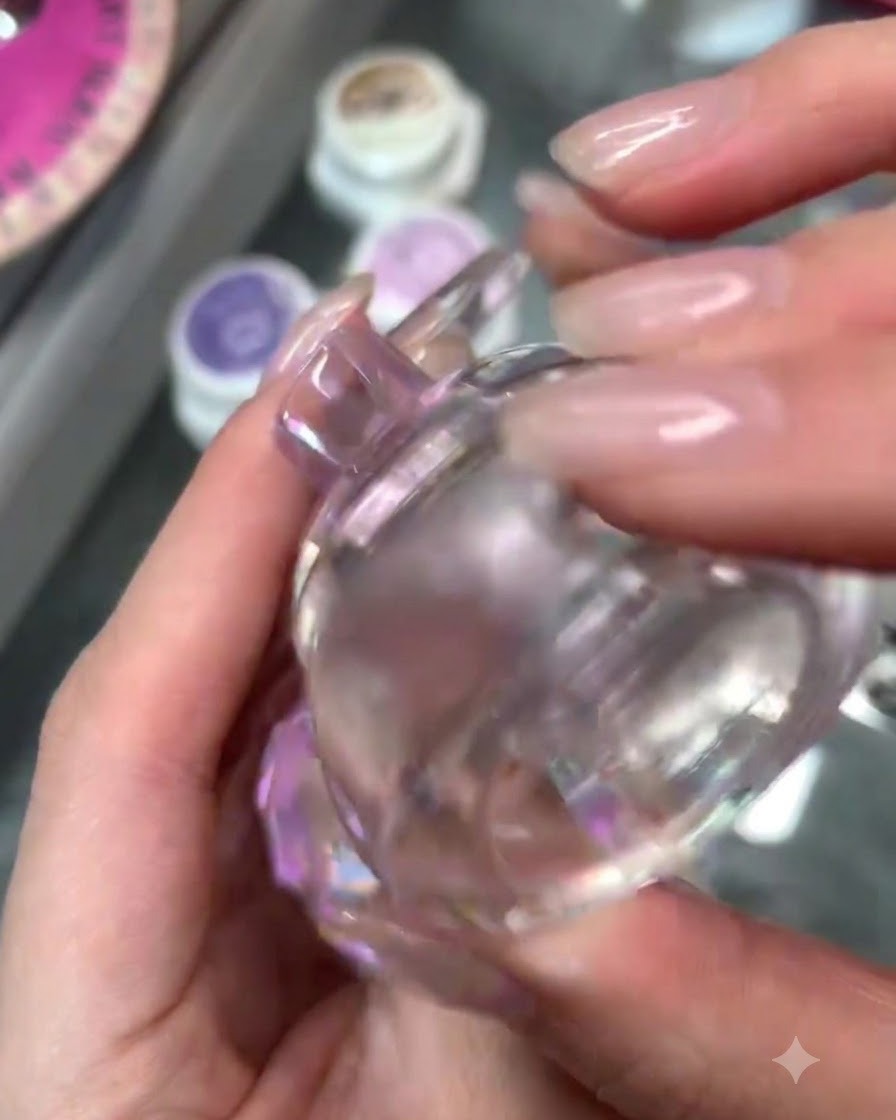
Using a clear nail stamper, transfer your floral design onto the middle finger with styling glue. Cure the nail completely under your LED or UV lamp to set the glue. Once cured, take your chosen pigment powder and gently rub it over the raised floral pattern to give it a beautiful, highlighted finish.
Tip: Make sure your jelly stamper is completely clean and lint-free before picking up the design for a flawless transfer. - 14Outline flower petals with white gel
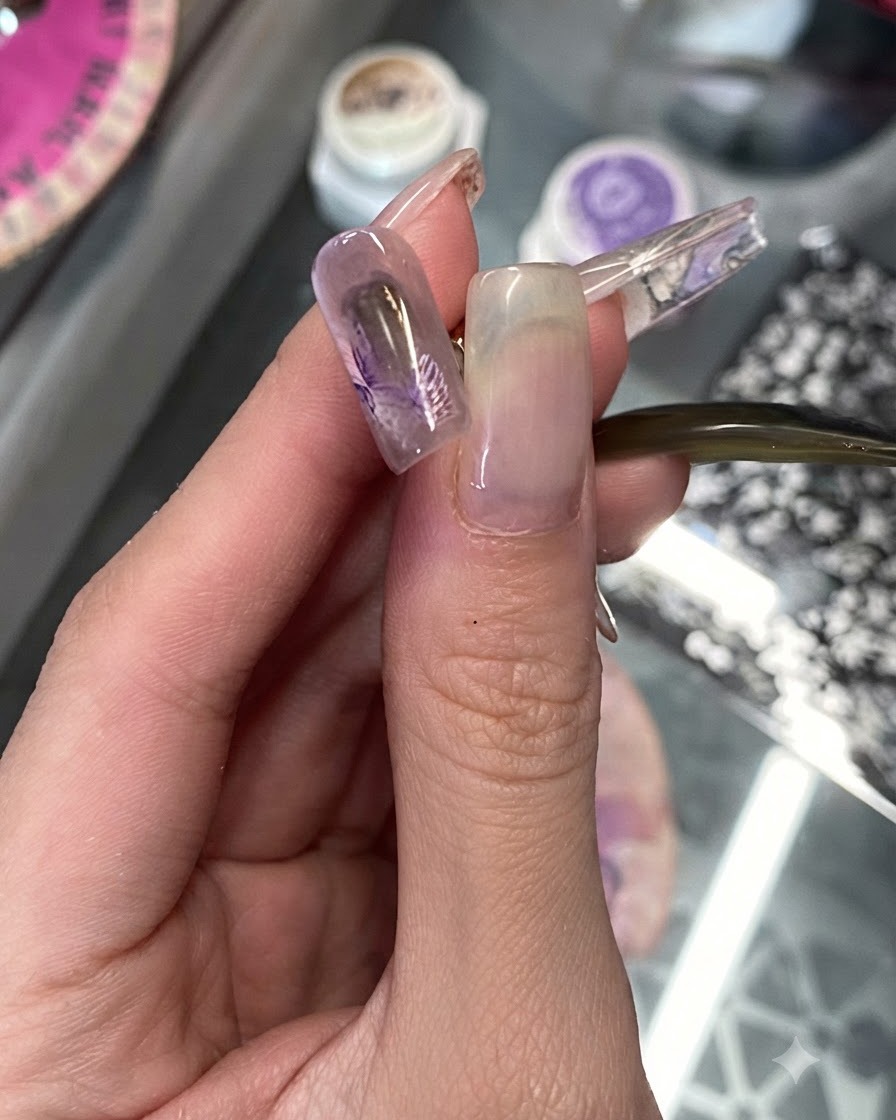
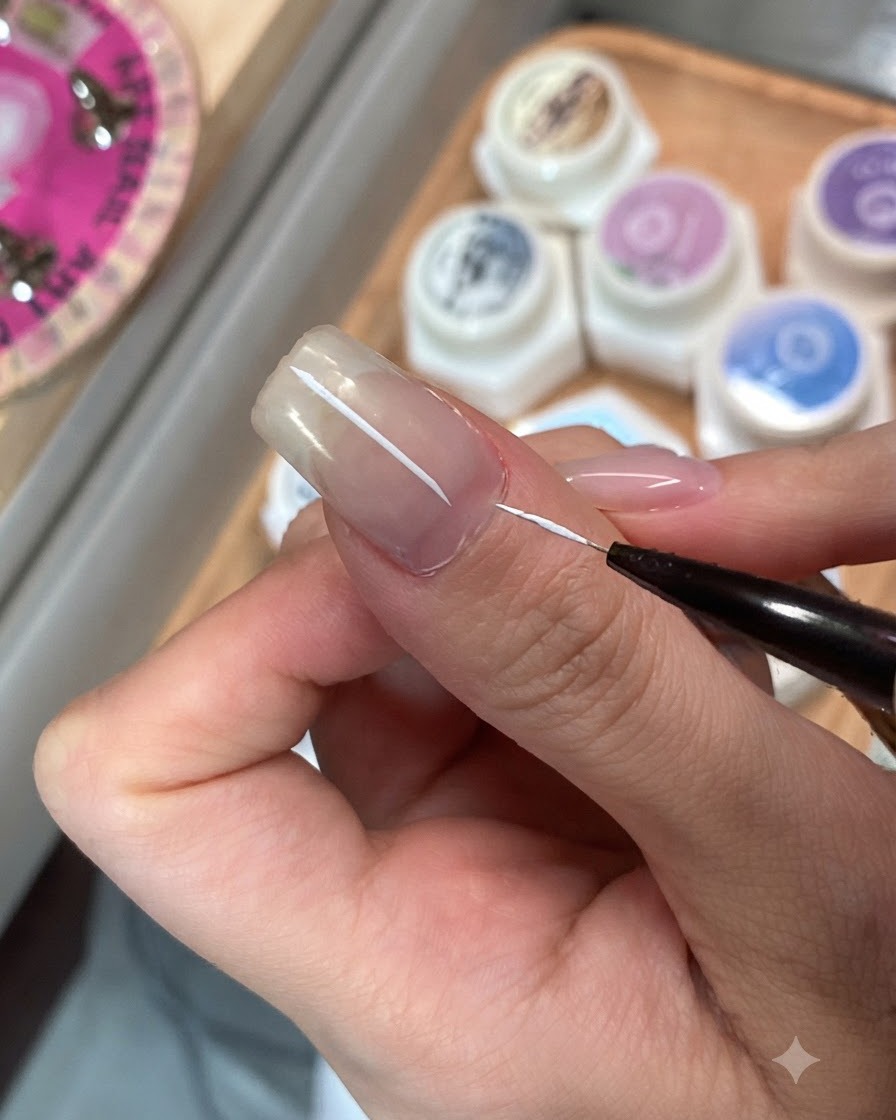
Using a fine liner brush and snow-white gel, delicately outline the edges of the two central flowers with random, casual strokes. Keeping the lines organic and irregular enhances the artistic, hand-drawn look of the floral nail art design. Ensure the strokes are light and well-distributed across the petal edges.
Tip: Keep your hand relaxed and let the strokes be intentionally varied—perfection takes away from the casual, effortless charm of this design. - 15Apply top sealing coat
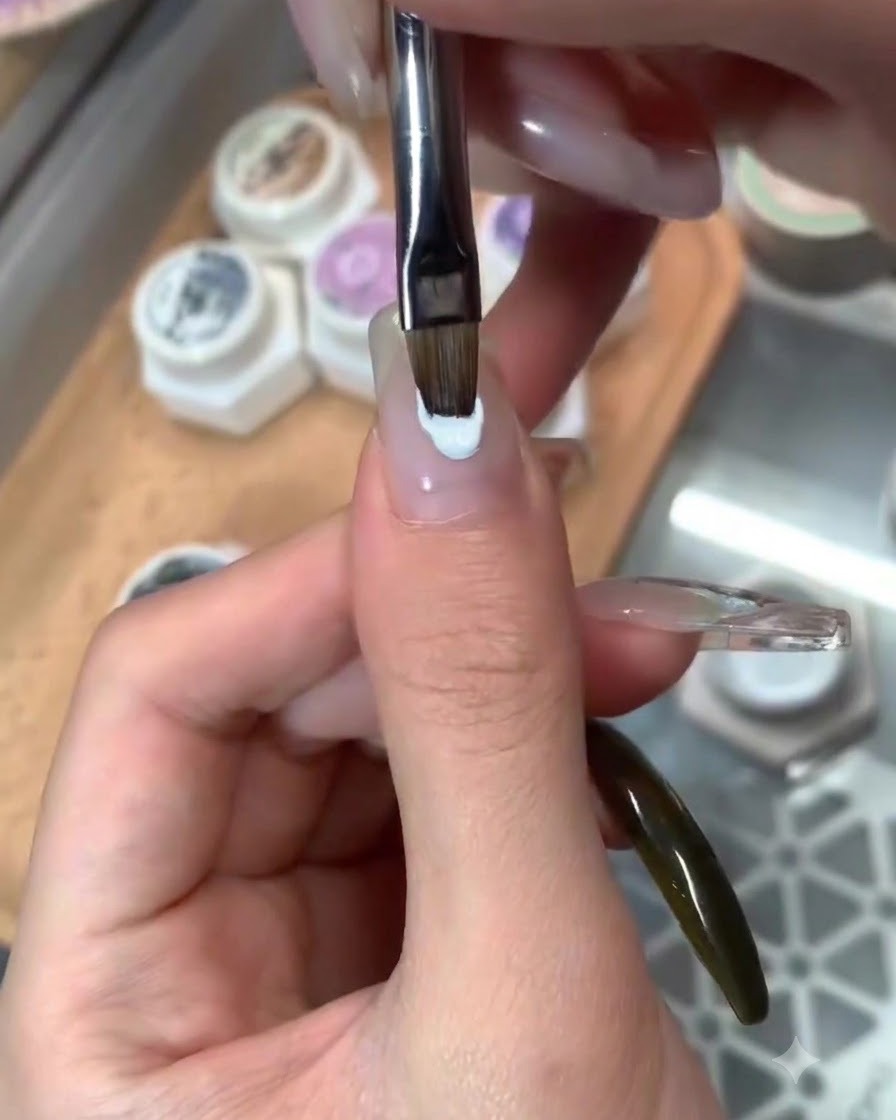
Apply a generous yet even layer of top sealing coat over all the completed nails in the blue section to lock in the nail art and protect the design. Ensure the free edges are properly capped to prevent chipping. Cure thoroughly under the UV or LED lamp as recommended.
Tip: Make sure the sealing coat covers all edges smoothly to prevent any lifting of the embedded decals or painted details. - 16Apply nude gradient tips
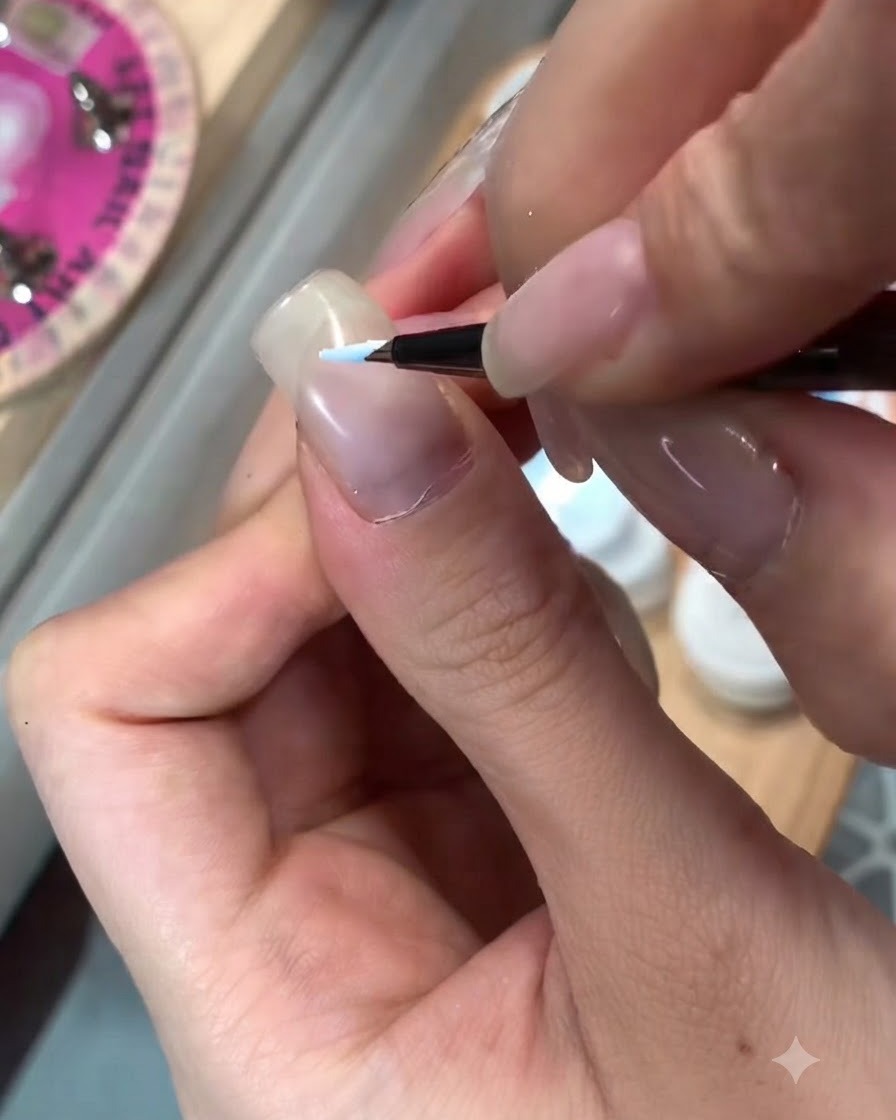
Begin the pink-purple section by applying a soft nude gradient across three of the fingertip areas. Use a tapping motion to build a smooth, seamless transition that provides a clean, neutral background for the upcoming layers.
Tip: Tap lightly with your brush or sponge to keep the gradient soft and even without harsh demarcation lines. - 17Apply pink and purple cats eye gel
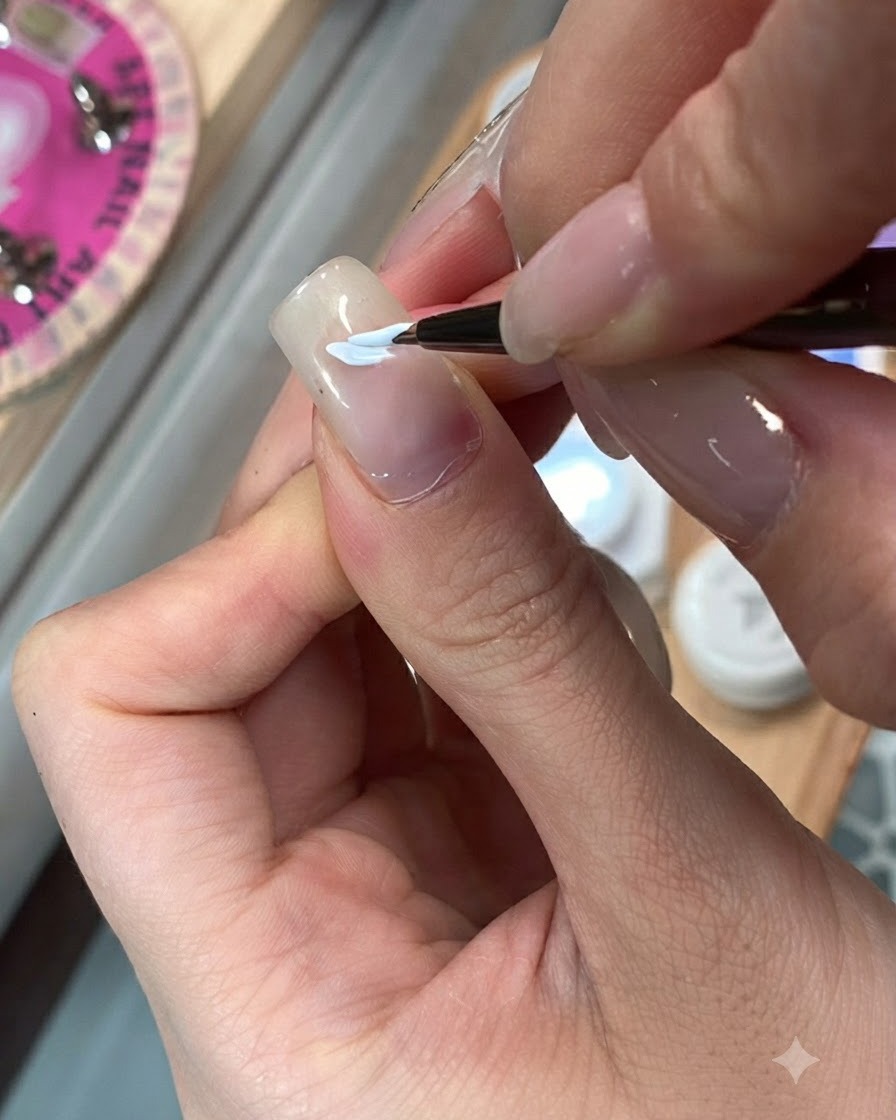
Layer a custom mix of pink and purple cats eye gel directly over the cured nude gradient base. Spread the gel evenly across the nail surface to create a shimmering, multidimensional background effect before activating the magnetic particles.
Tip: Apply an even, thin layer so the cats eye magnetic effect can shift clearly and catch the light smoothly. - 18Coat index finger with emerald cocoa
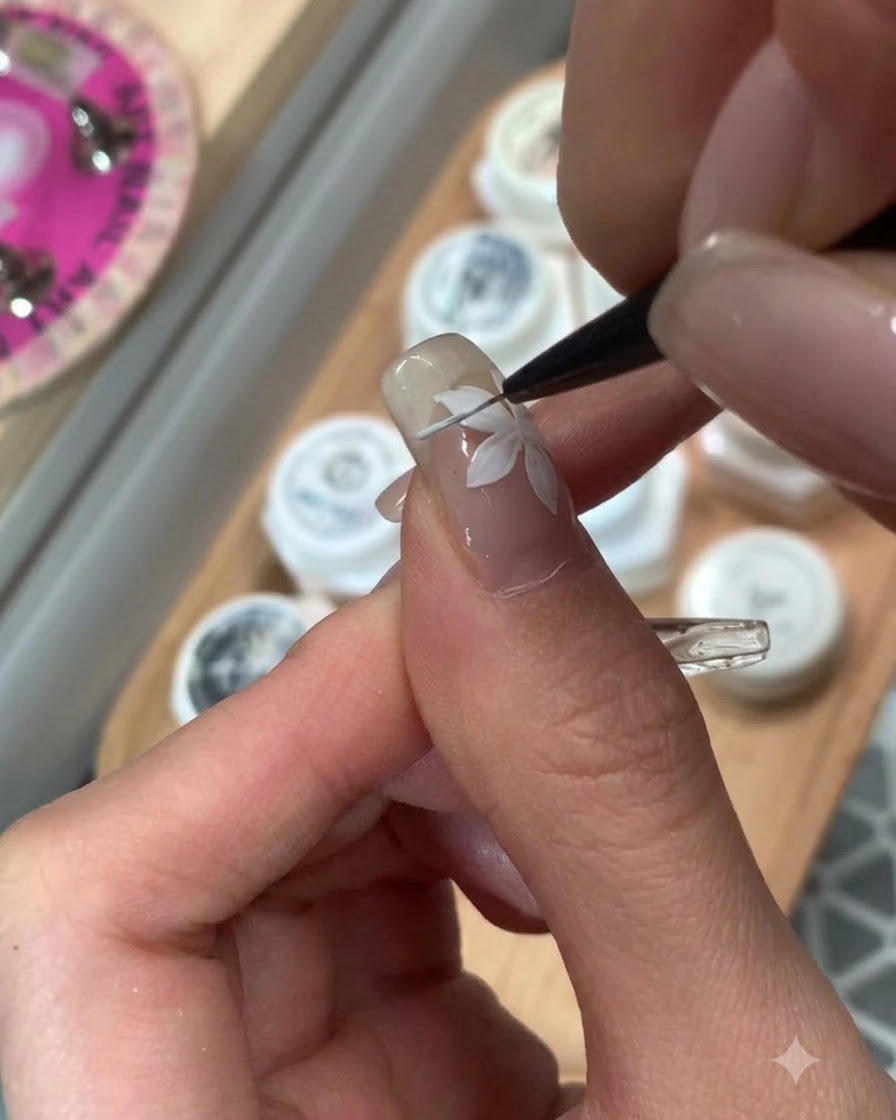
Apply the emerald cocoa gel evenly onto the index finger nail as part of the color-blocking scheme. Ensure full, smooth coverage from the cuticle down to the free edge without pooling.
Tip: Check the sidewalls and cuticle line to keep the application neat and clean before curing. - 19Create merged pink and purple color blocks
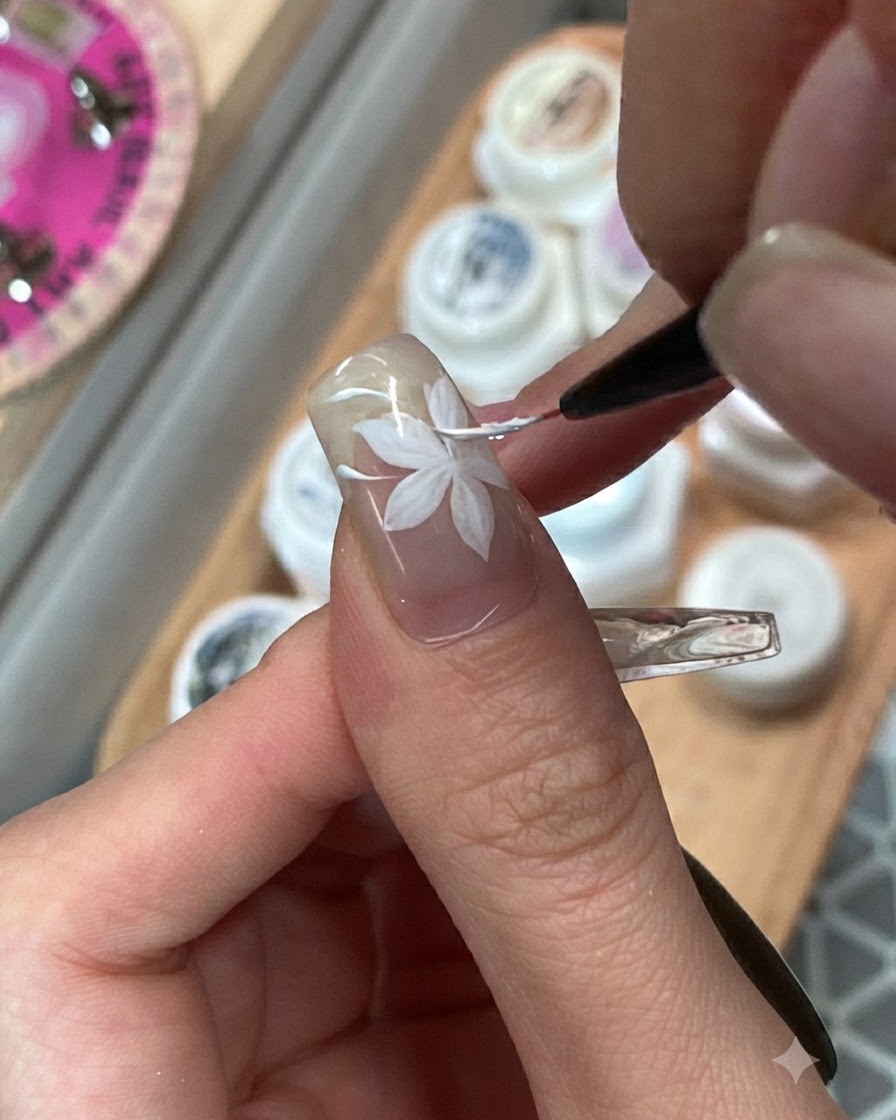
On the ring finger, first apply a distinct pink color block, then place a purple color block adjacent to it. Gently blend and merge the two wet color blocks together at their borders to create a soft, integrated background transition.
Tip: Work while the gel is still wet to achieve a smooth, natural melting effect between the two color blocks. - 20Apply Matte Top Coat on Middle Finger
Apply a matte top coat specifically to the middle finger of the pink set to create a velvety contrast against the surrounding glossy nails. Ensure complete coverage over the nail surface and cure under the UV/LED lamp according to your product guidelines.
Tip: Applying matte top coat over selected feature fingers adds a modern, textured dimension to your manicure design.