Blue Diamond French Cat Eye Nail Art — Step-by-Step Tutorial
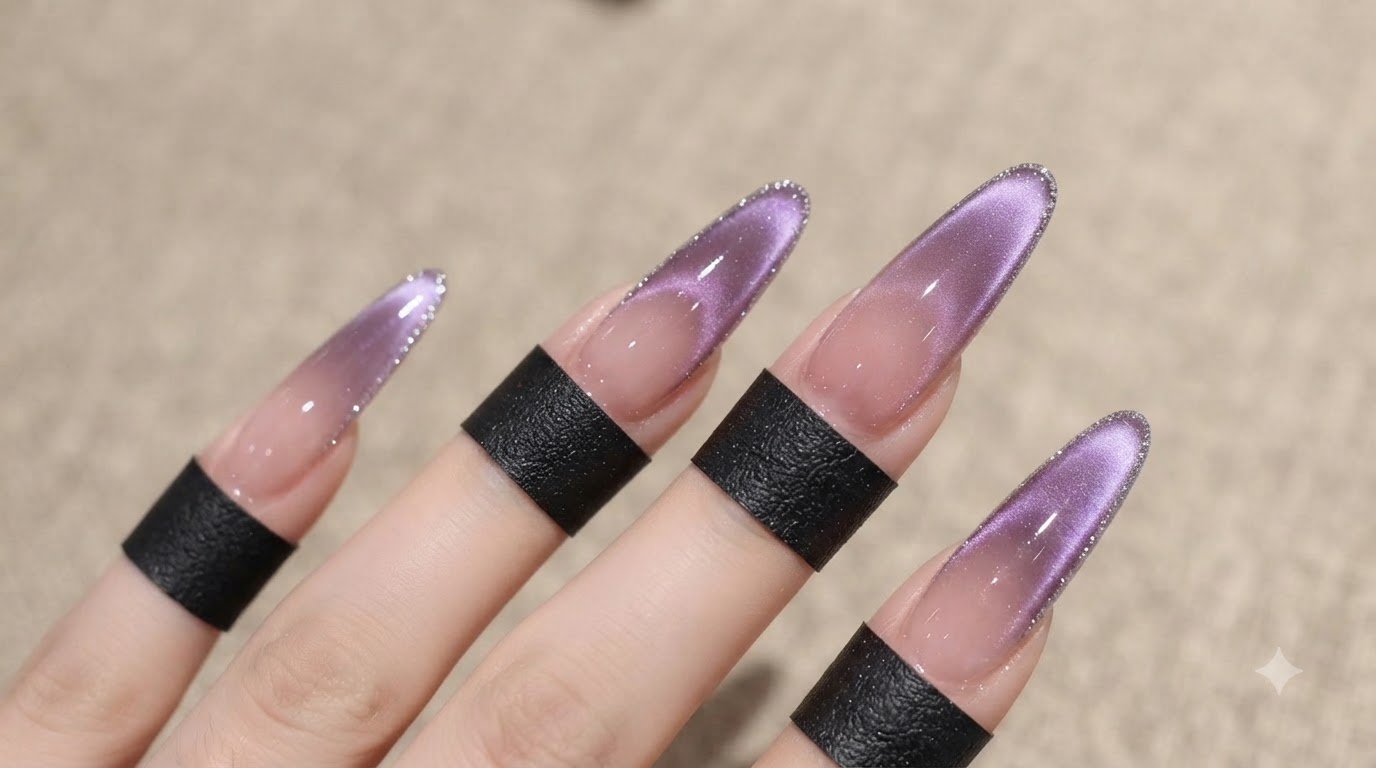
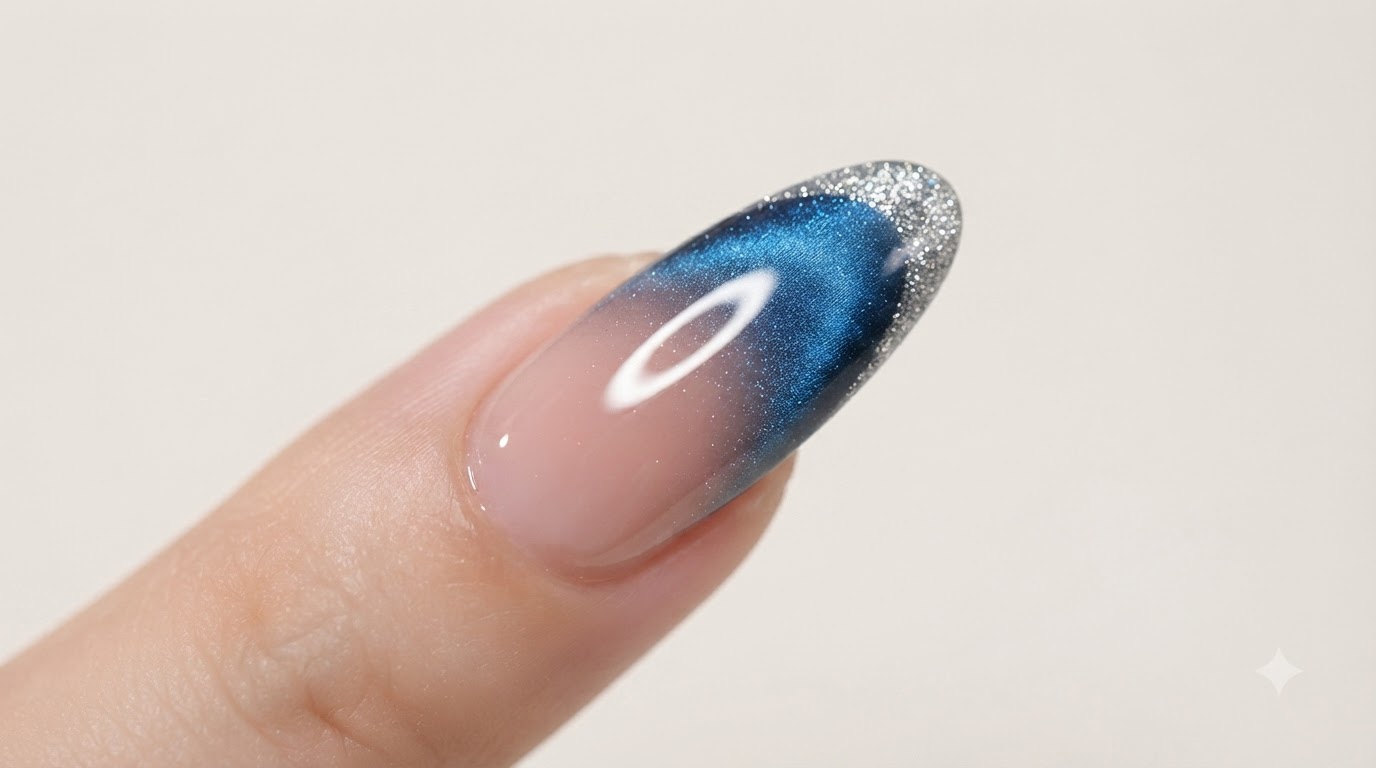
Master the dazzling blue diamond French cat eye look featuring a soft blush center, deep magnetic blue gradient, and sparkling silver French tip.
The blue diamond French cat eye manicure combines a trendy translucent blush base with mesmerizing magnetic depth and flashing platinum details. This editorial-worthy style brings an ocean-inspired sparkle to your fingertips, perfect for anyone looking to elevate their gel art skills with advanced cat eye techniques.
Steps
- 1Apply Gentle No. 2 gel along the cuticle line
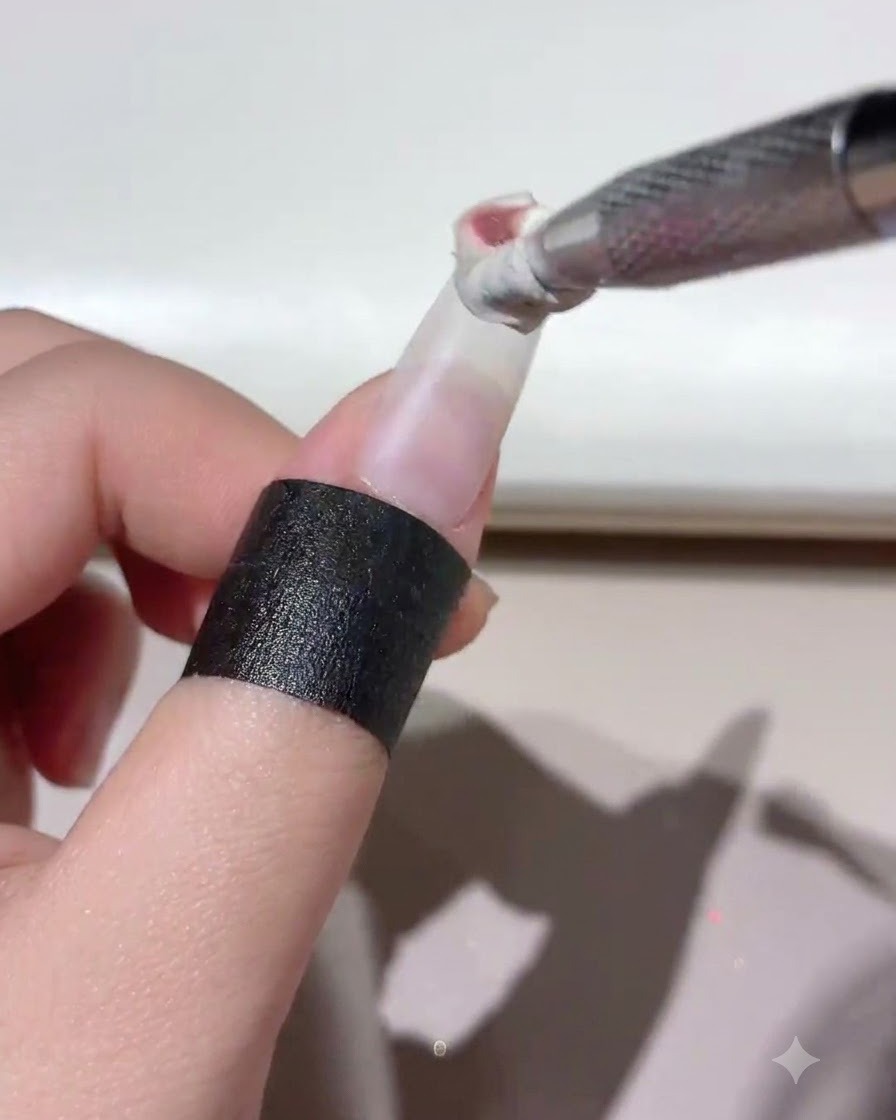
Take a nail tool to carefully pick up Gentle No. 2 gel and apply it precisely to cover the lower cuticle line of the nail. Ensure the placement is clean and even to establish the foundational border for the manicure design.
Tip: Keep your hand steady and apply a thin layer to prevent the gel from spilling onto the skin around the cuticle. - 2Cure the product under the lamp
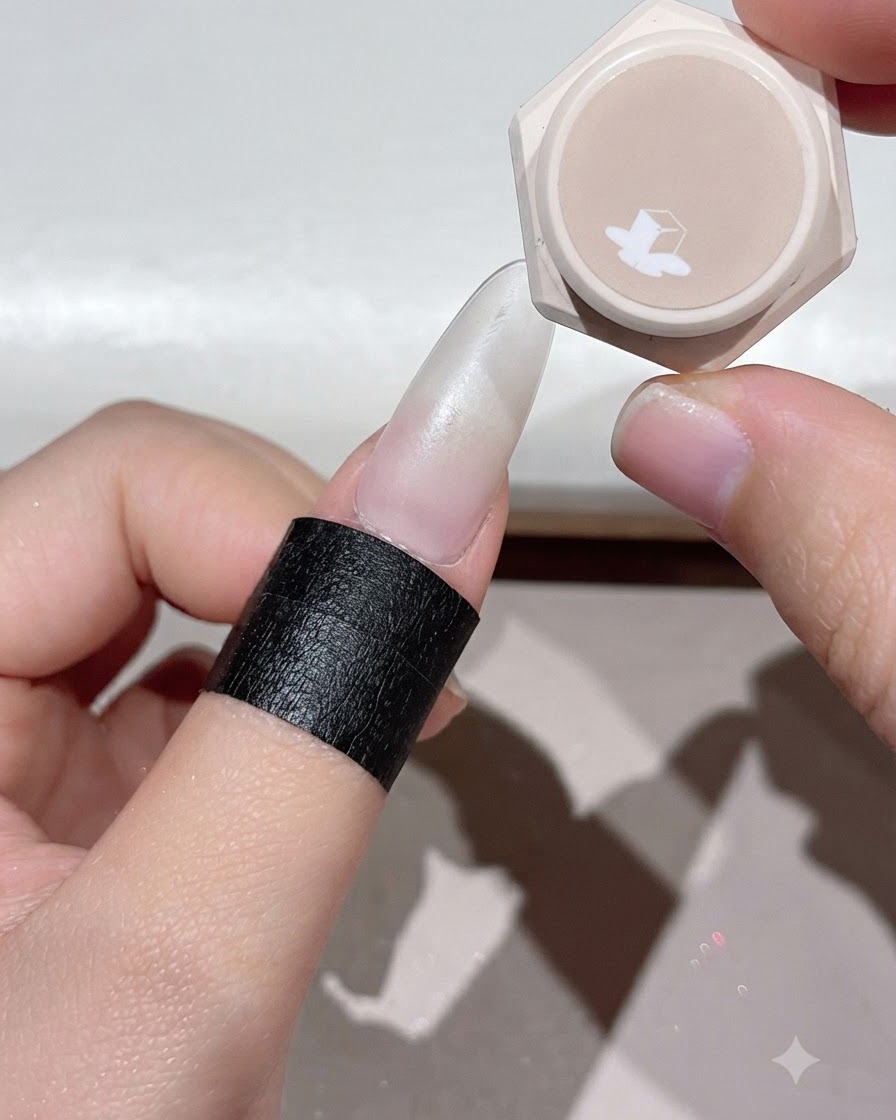
Position the finger under a UV or LED lamp to cure the freshly applied layer of Gentle No. 2 gel. Allow it to cure fully according to the standard gel curing time so the layer sets solidly.
Tip: Make sure the finger is centered properly under the light source for an even and complete cure. - 3Apply Jade D05 gel over the nail
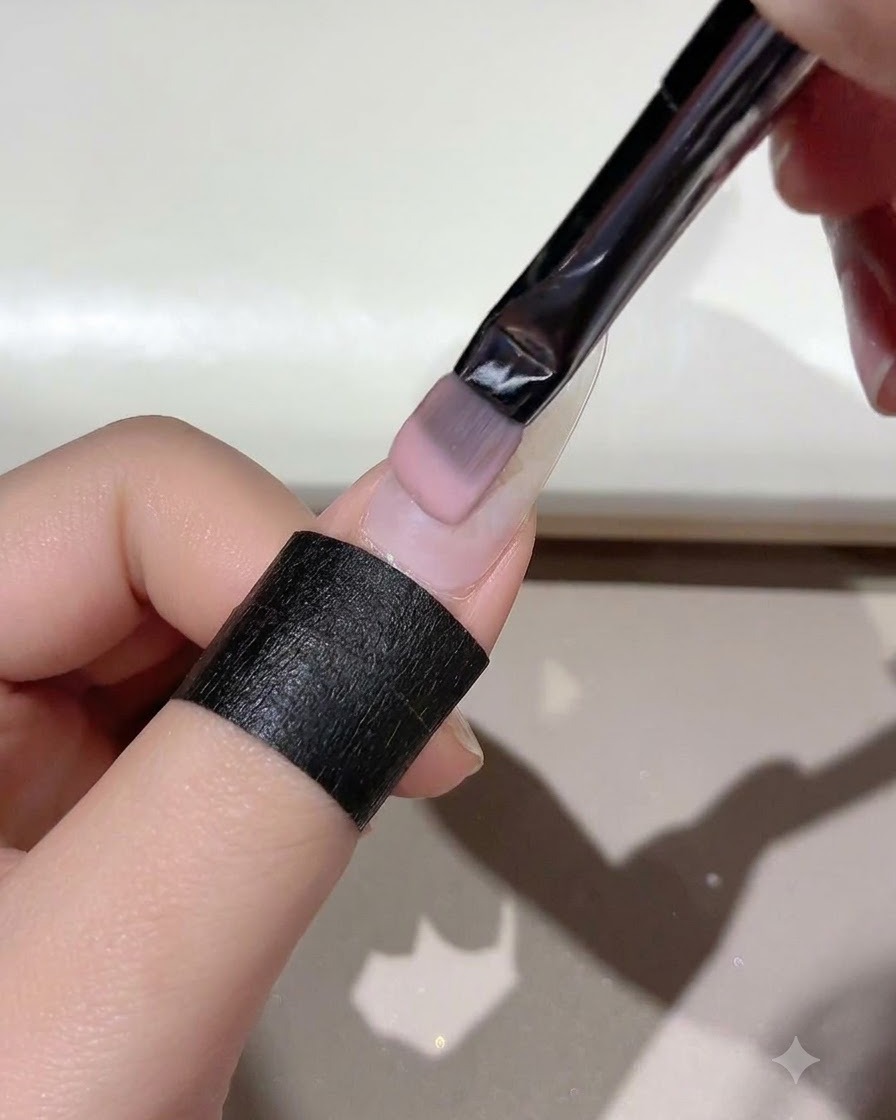
Using a flat nail art brush, pick up Jade D05 gel and brush it evenly across the entire surface of the nail plate. Smooth out any streaks to ensure a uniform and translucent base color covering the nail.
Tip: Apply with gentle, sweeping strokes from the cuticle down to the free edge for a smooth, bubble-free finish. - 4Cure the Jade D05 base layer
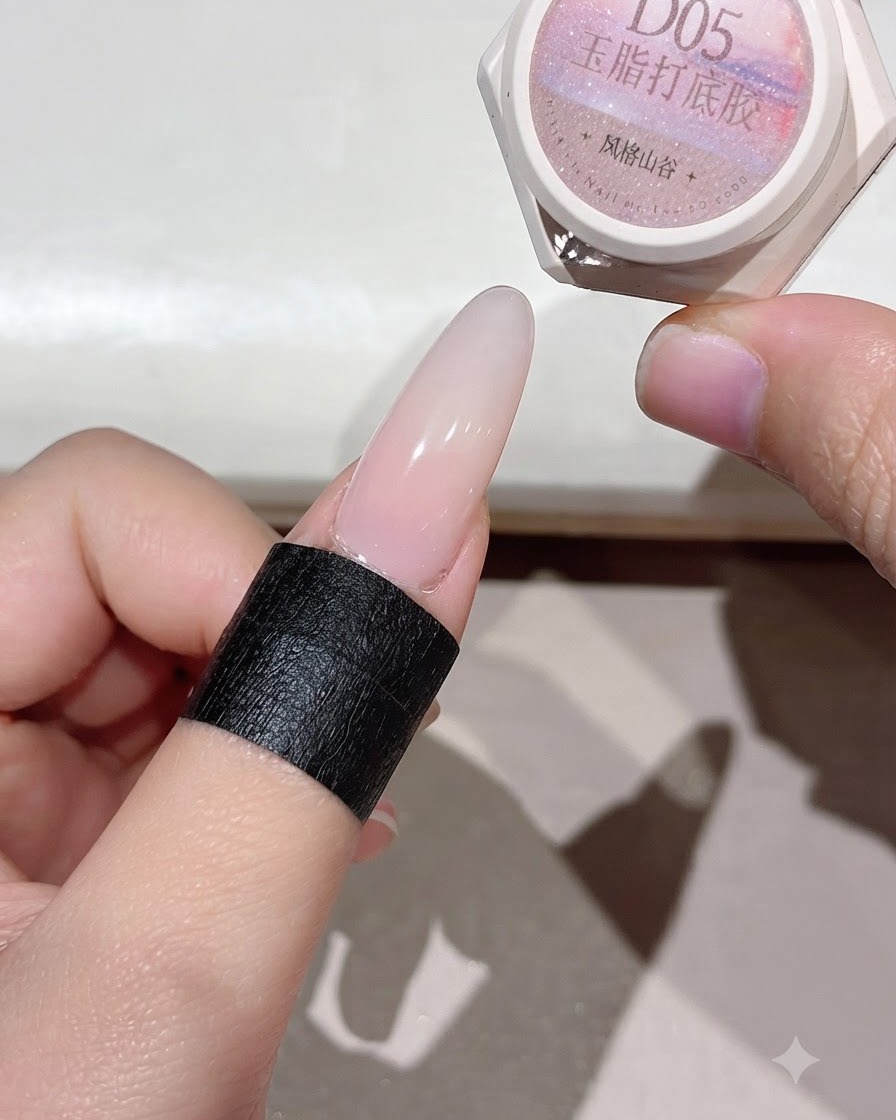
Place the hand back under the UV/LED lamp to cure the newly applied Jade D05 base layer. Ensure the gel is completely set and hardened before moving on to the next design step.
Tip: Do not skip full curing time to avoid wrinkling or shifting of the color layers applied on top. - 5Create a blush effect with Gentle No. 7
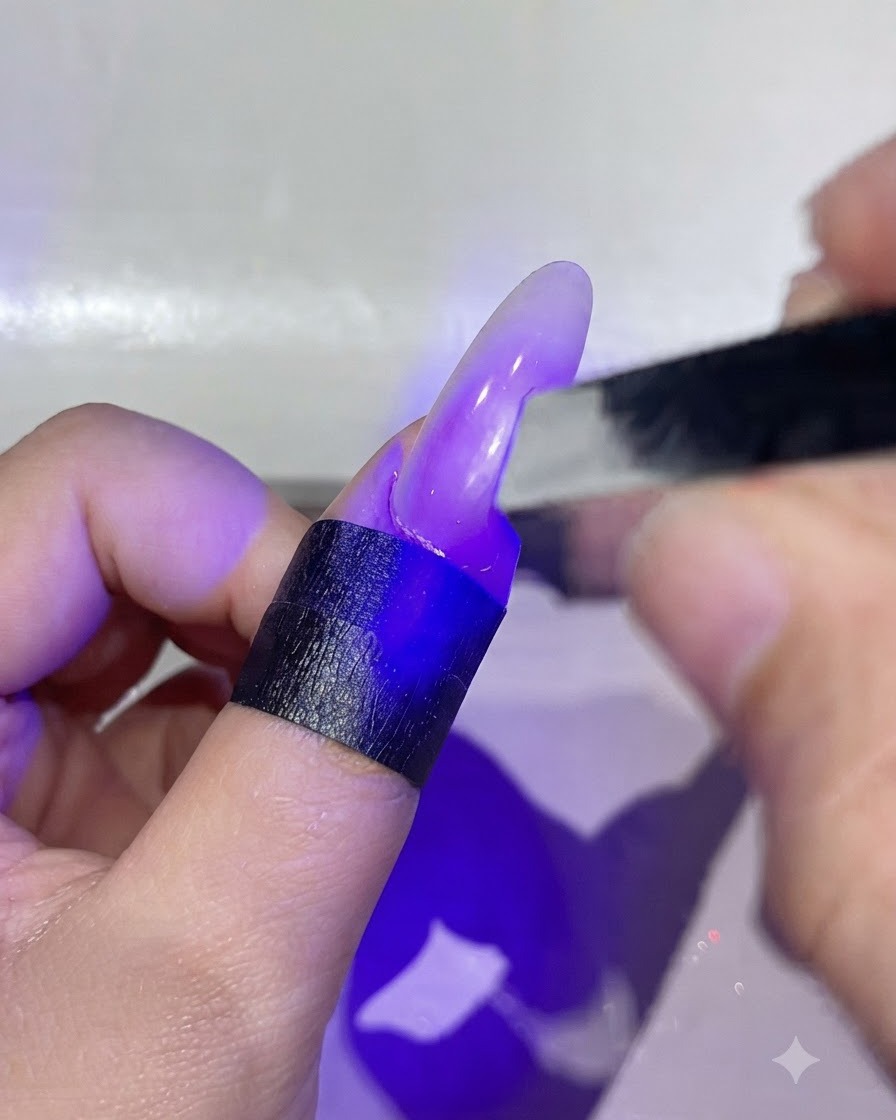
Apply Gentle No. 7 product directly in the center of the nail plate using a brush or tool to build a soft, concentrated blush color gradient. Blend the edges outward slightly to keep the center vibrant while maintaining a diffused look.
Tip: Tap the product lightly in the center rather than heavy brushing to keep the blush effect soft and centered. - 6Cure the blush effect layer
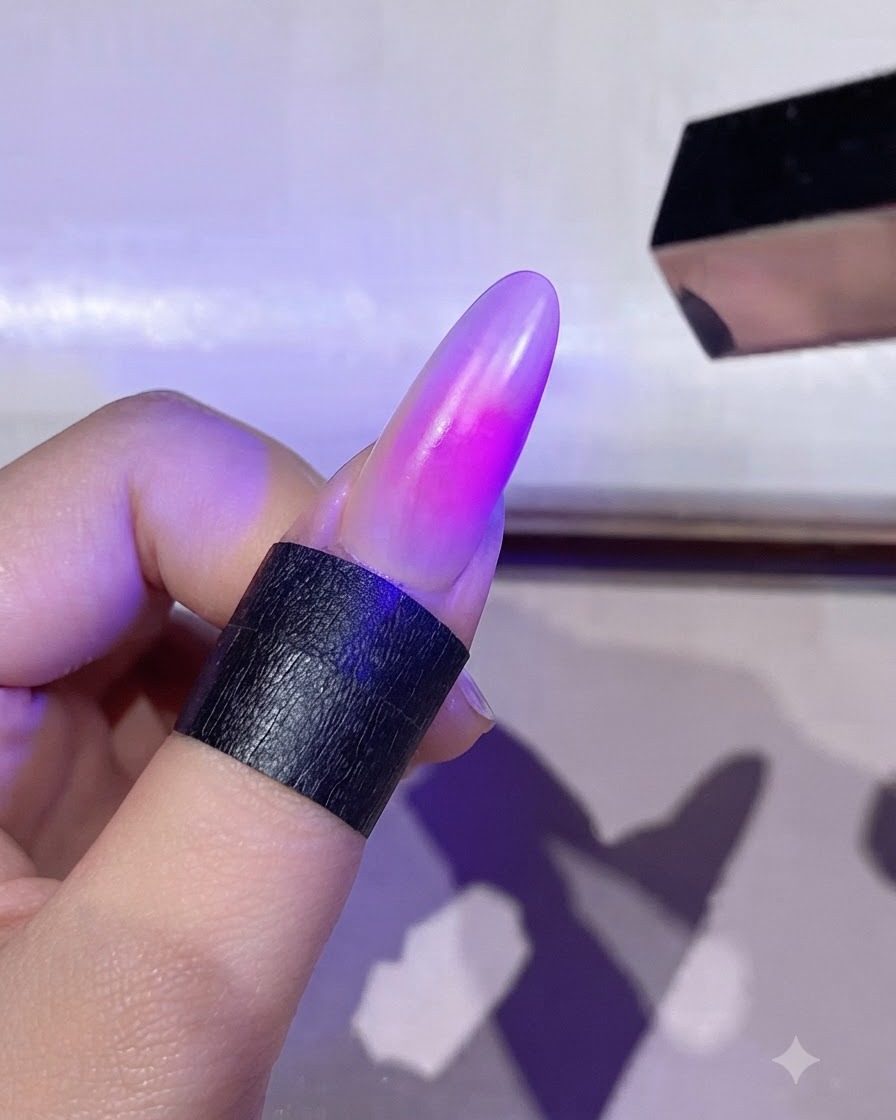
Cure the newly created blush effect layer under the UV or LED lamp. This locks the concentrated color pigment in place so it will not distort during subsequent steps.
Tip: Check that the center color is fully cured and set before adding any top layers or cat eye gels. - 7Apply cat eye gel to the front edge
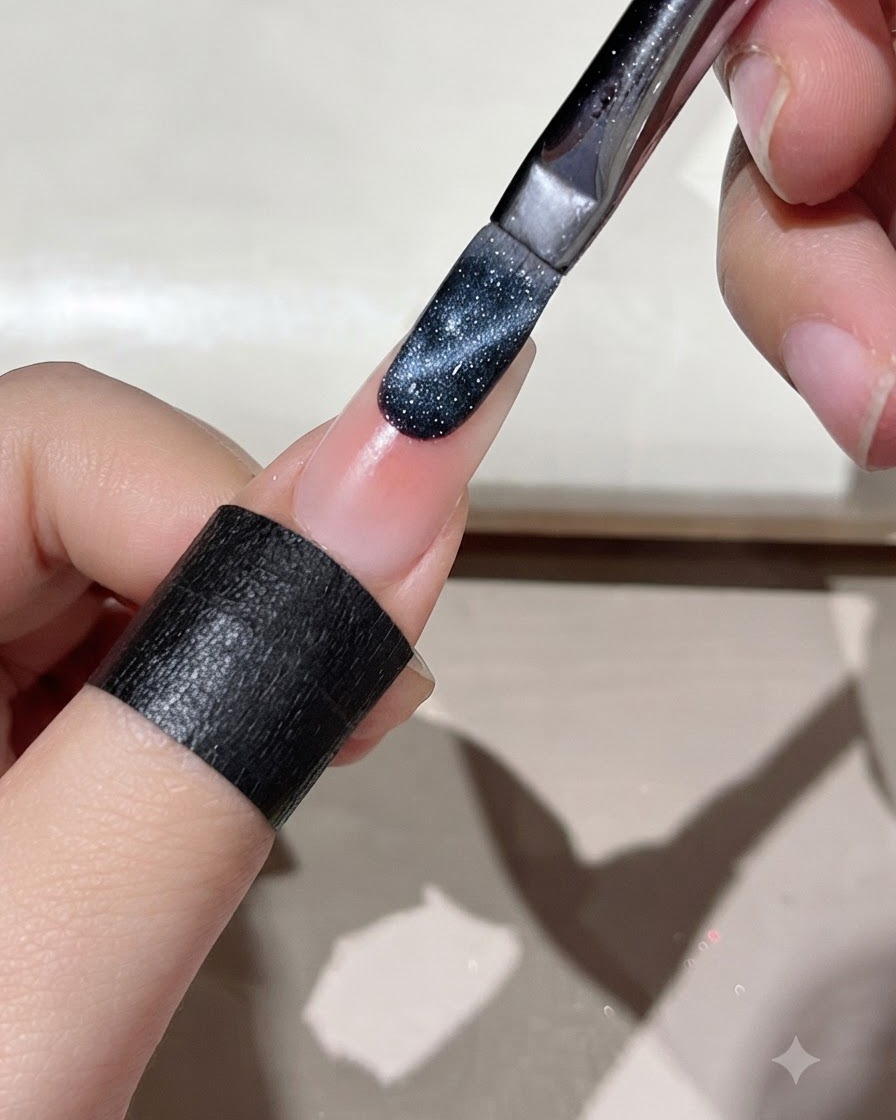
Apply a layer of Deep Sea Secret No. 1 cat eye gel specifically onto the front edge of the nailcite: 1. Ensure the coverage is clean and localized to create the foundation for the upcoming gradient and light effects.
Tip: Focus the application neatly on the tip area to prevent bulkiness before blending. - 8Blend cat eye gel into a gradient
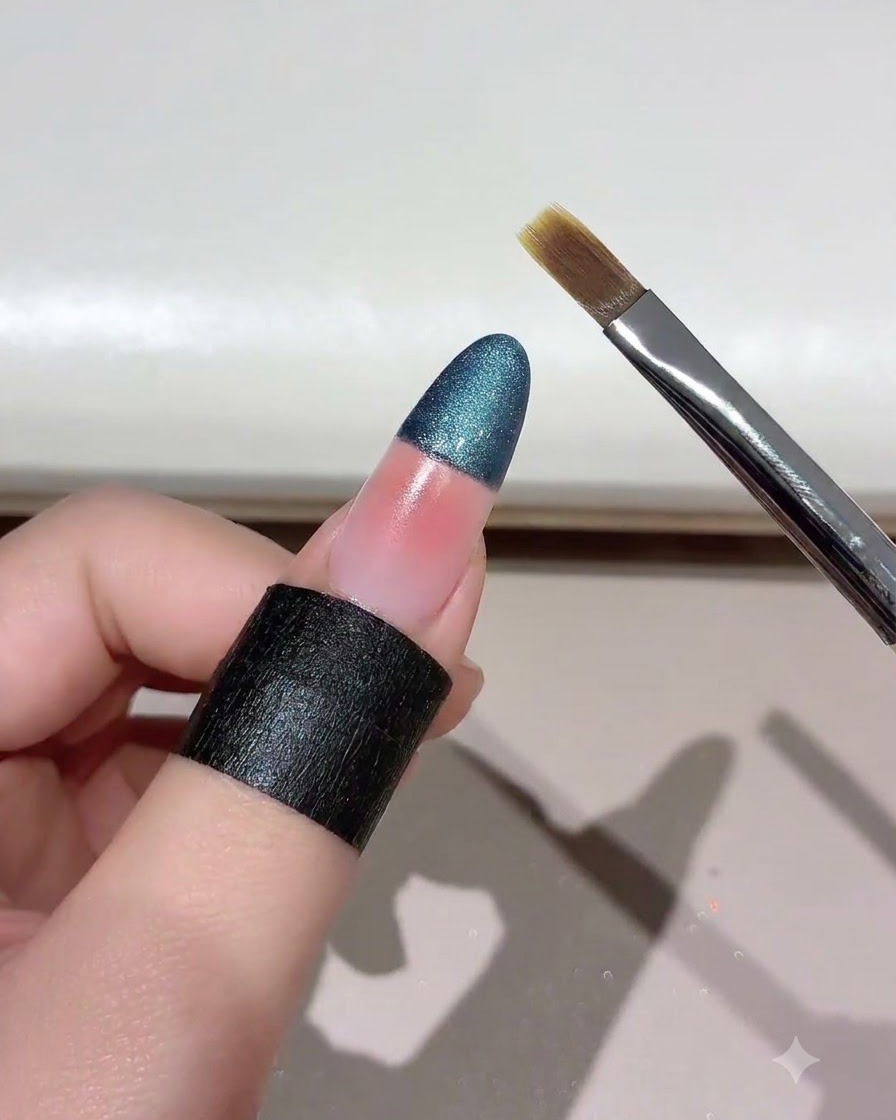
Take a Style Valley sweeping brush and hold it at a 45-degree anglecite: 1. Gently sweep and blend the cat eye gel backward from the tip to create a soft, seamless gradient transition down the nail.
Tip: Keep a light hand while sweeping to maintain the smooth fade without wiping away too much product. - 9Activate wide light effect with a magnet
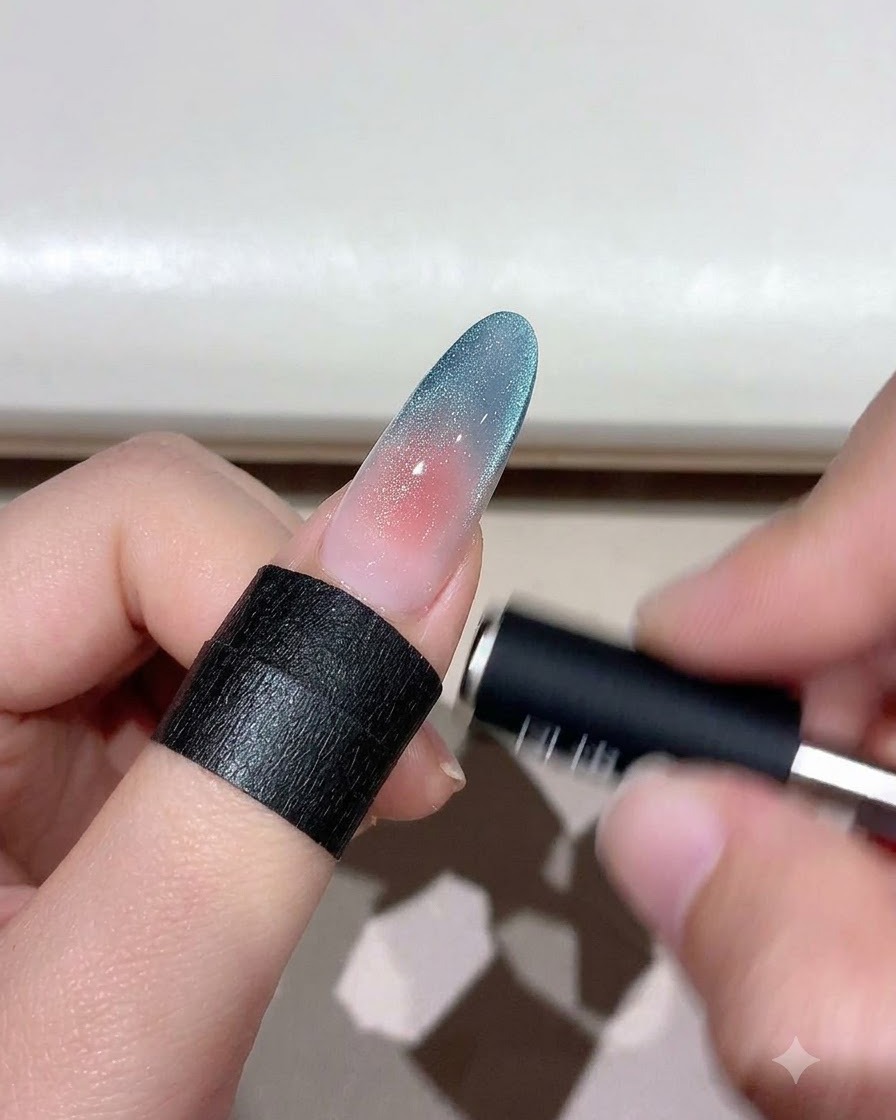
Position a magnet close to the nail to draw out the magnetic particles in the cat eye gelcite: 1. Pull a wide light effect across the surface to create a luminous, shimmering depth within the blue gradient.
Tip: Hold the magnet steady at the correct distance for a few seconds until the desired wide light path is clearly formed. - 10Shape French cat eye pattern
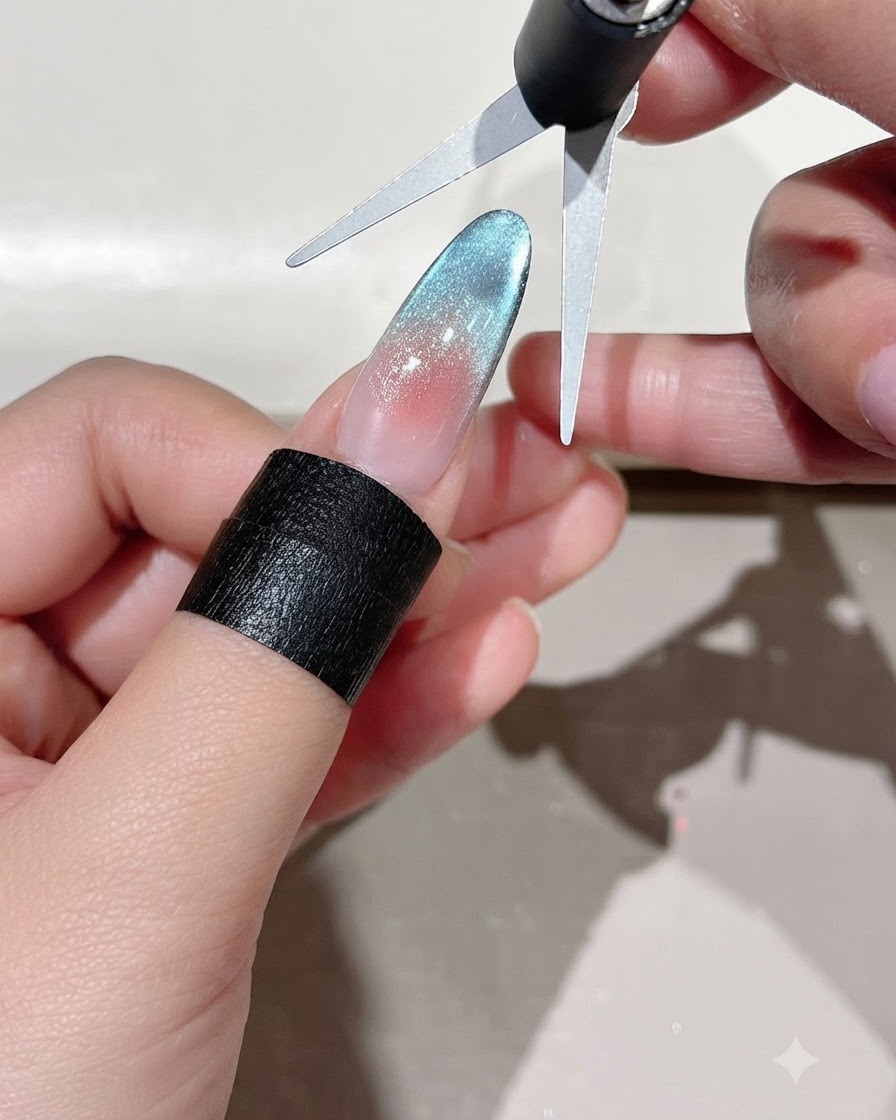
Lean the French technique tool against the fingertip to push and shape the cat eye particles into a crisp French patterncite: 1. Quickly remove the tool after absorbing or shifting the particles before curingcite: 1.
Tip: Precise placement against the finger contour ensures a sharp, clean French line curve. - 11Cure the cat eye design
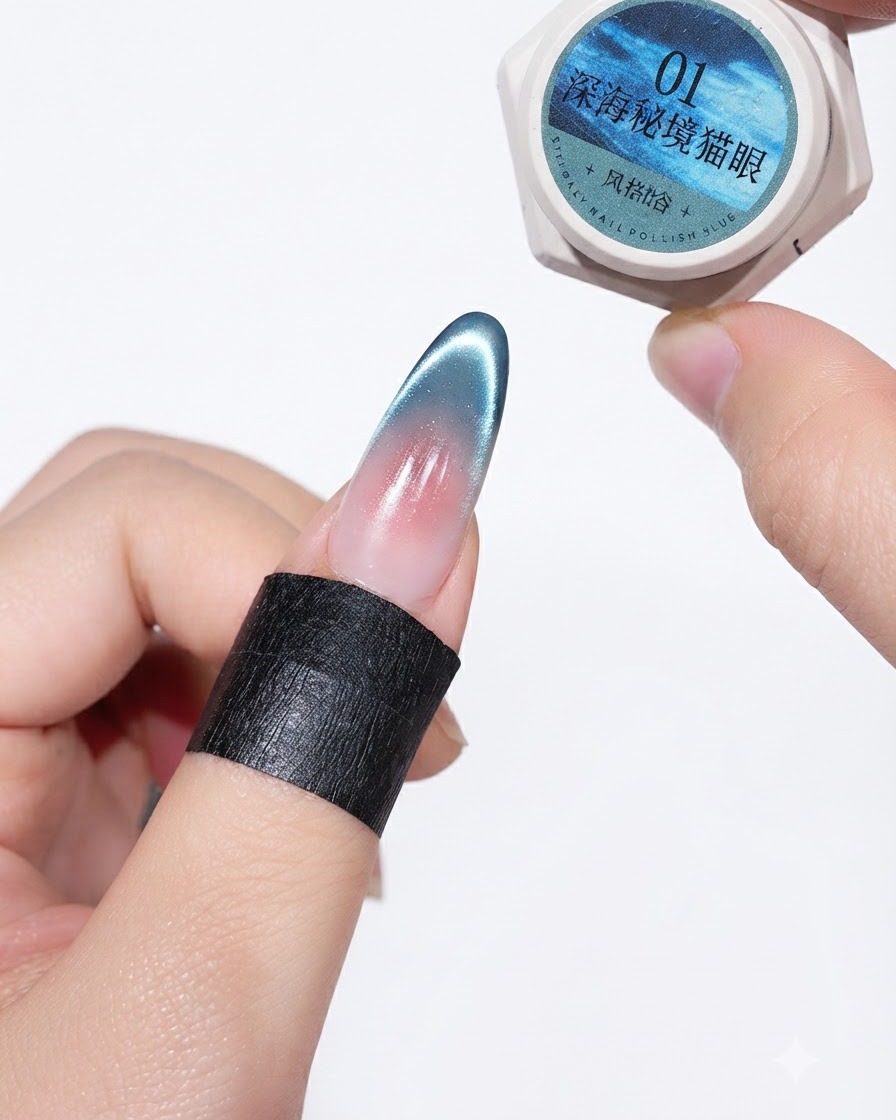
Place the finger under the UV or LED lamp to cure the newly shaped French cat eye designcite: 1. This locks the magnetic particles and color pattern firmly in place.
Tip: Ensure proper hand placement inside the lamp so the entire nail cures evenly without shifting. - 12Outline flashing French tip
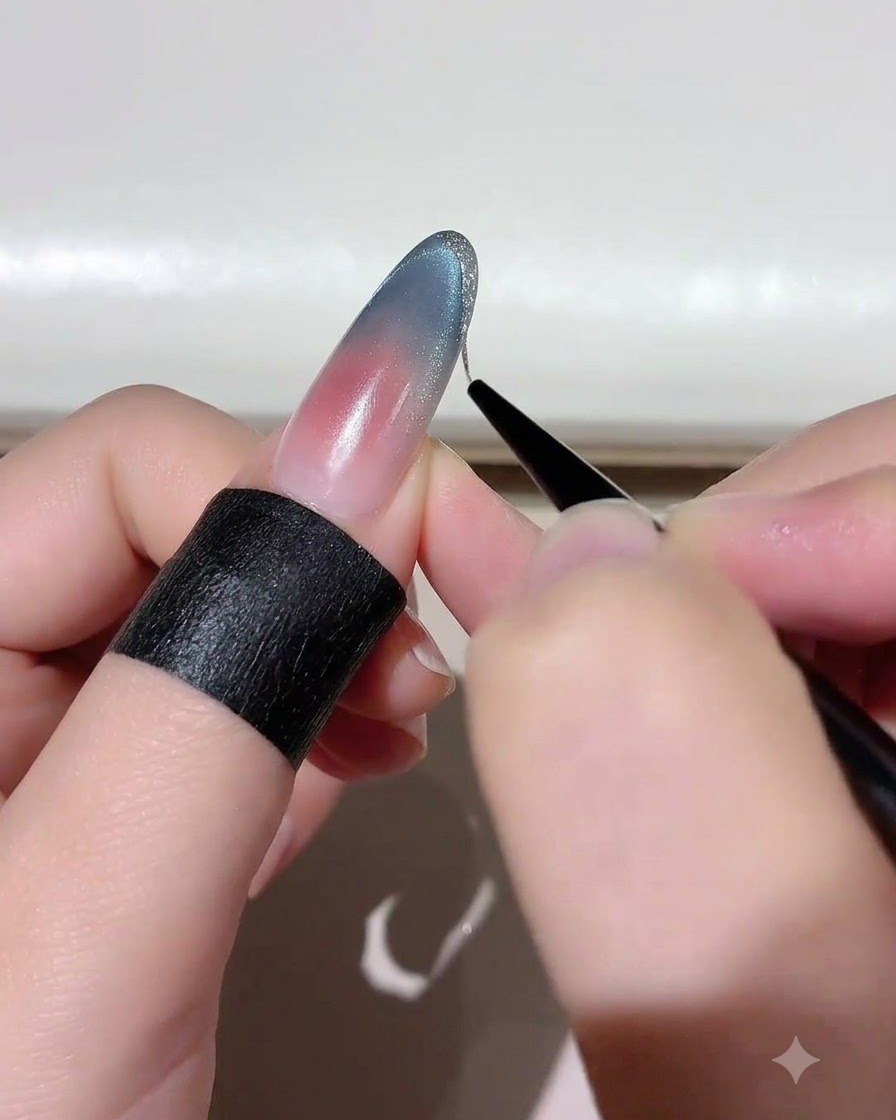
Dip a fine liner brush into High-Density Platinum Gold Gel No. 1cite: 1. Carefully outline a thin, sparkling flashing French style along the very edge of the fingertip to complete the detailed designcite: 1.
Tip: Use light, steady pressure with the tip of the liner brush for an ultra-fine, clean metallic outline. - 13Cure the outline
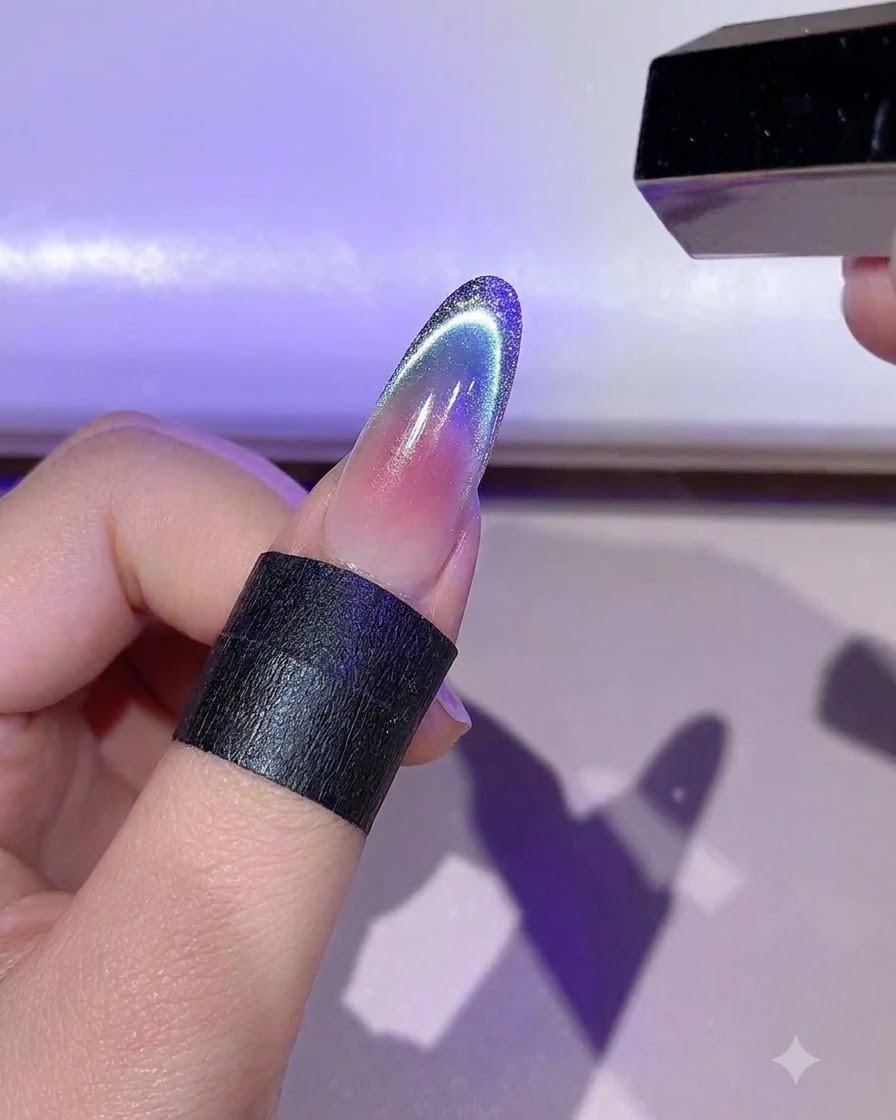
Place the hand under the UV or LED lamp to cure the platinum gold gel outline. Ensure the hand is positioned correctly so the light evenly sets the delicate metallic lines without shifting.
Tip: Check that the gel lines are fully cured to prevent smudging when applying the top coat. - 14Apply top coat
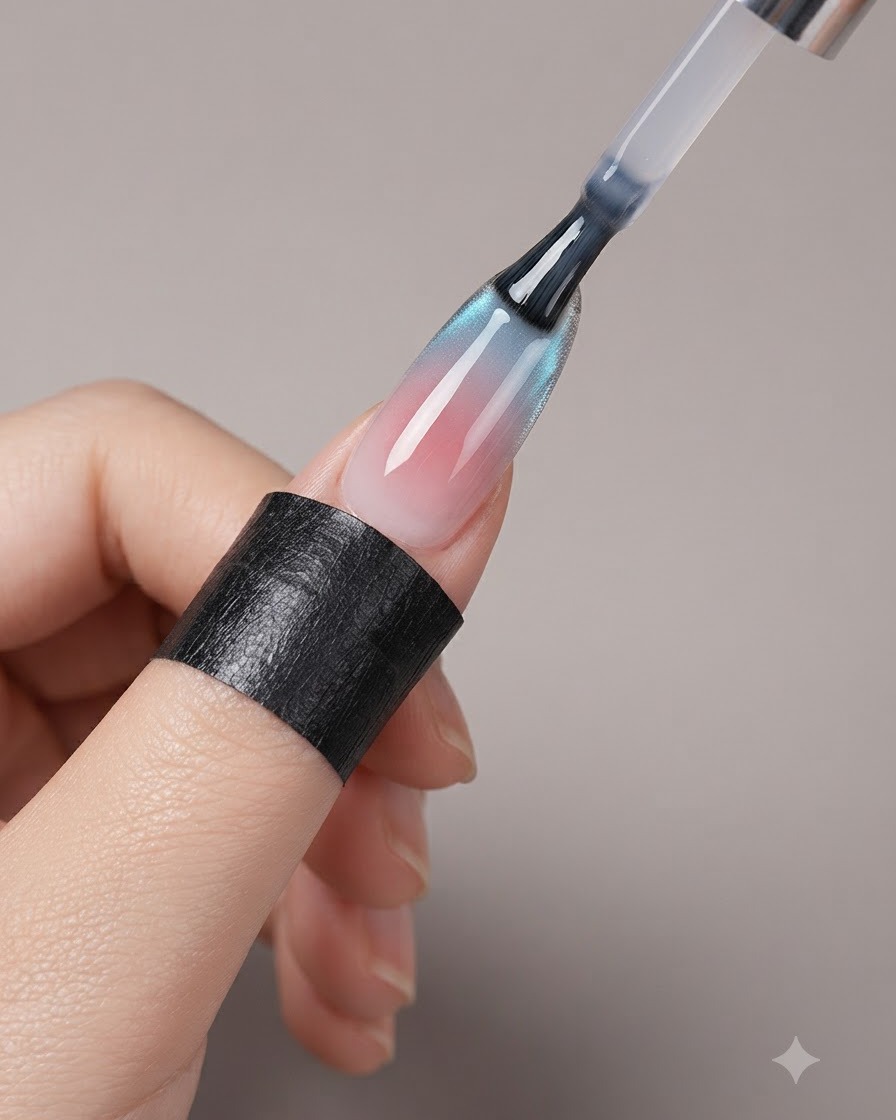
Apply a final smooth layer of clear top coat over the entire nail surface, sealing in the French design and all previous layers. Cap the free edge and cure under the lamp to complete the manicure.
Tip: Make sure the top coat covers all edges smoothly to protect the nail art from chipping.