Purple Starlight Star
Moon Cat Eye Gel Nail Art — Step-by-Step Tutorial
Create a magical starry purple cat-eye manicure with celestial star accents and luminous color blocking. Easy step-by-step tutorial for gorgeous cosmic nails.
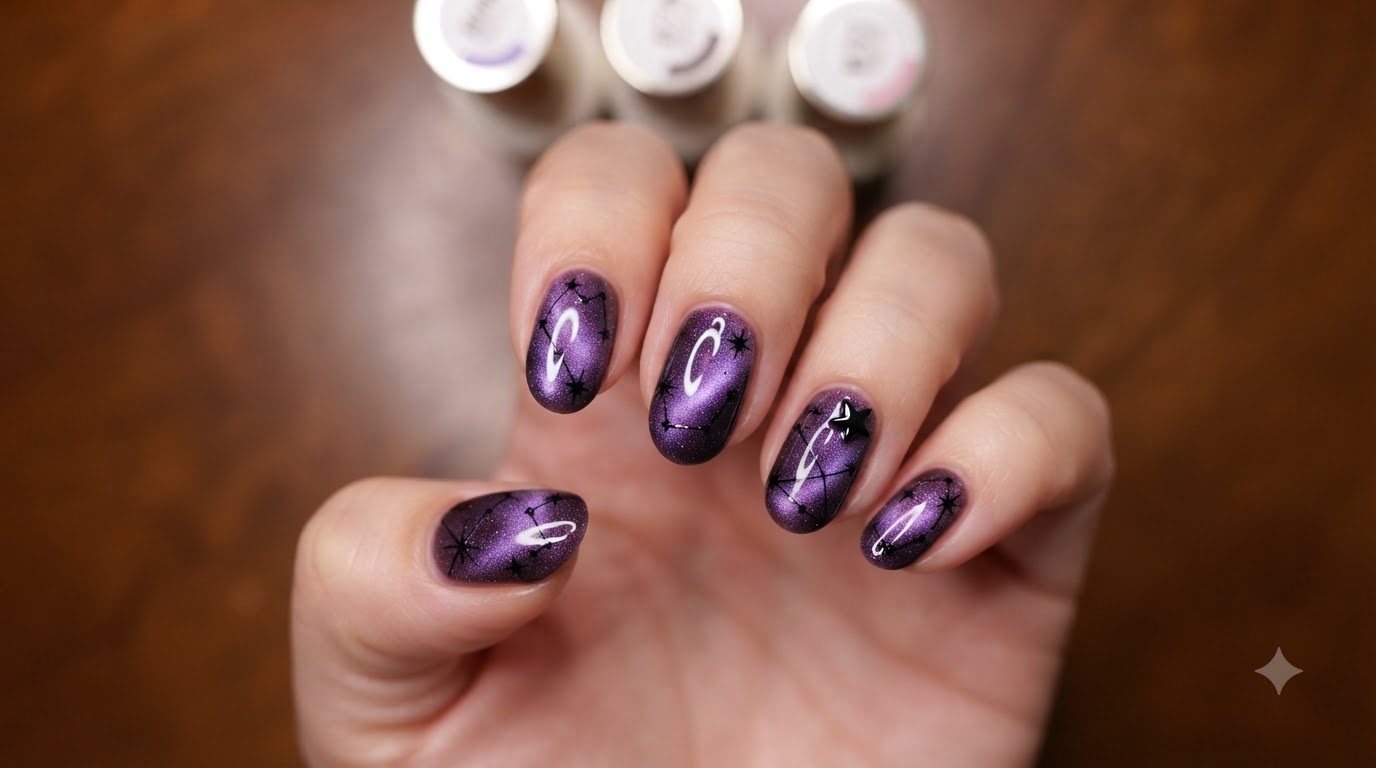
Moonlight Treasure Box magical purple stars are completely mesmerizing! This wonderful starry purple shade is extremely flattering to skin tones, and combining a simple one-step cat eye gel with elegant celestial motifs creates an absolute showstopper. Whether you want to elevate your everyday style or rock a stunning look for summer, this guide walks you through every detail.
Steps
- 1Buff and prep the nail plate
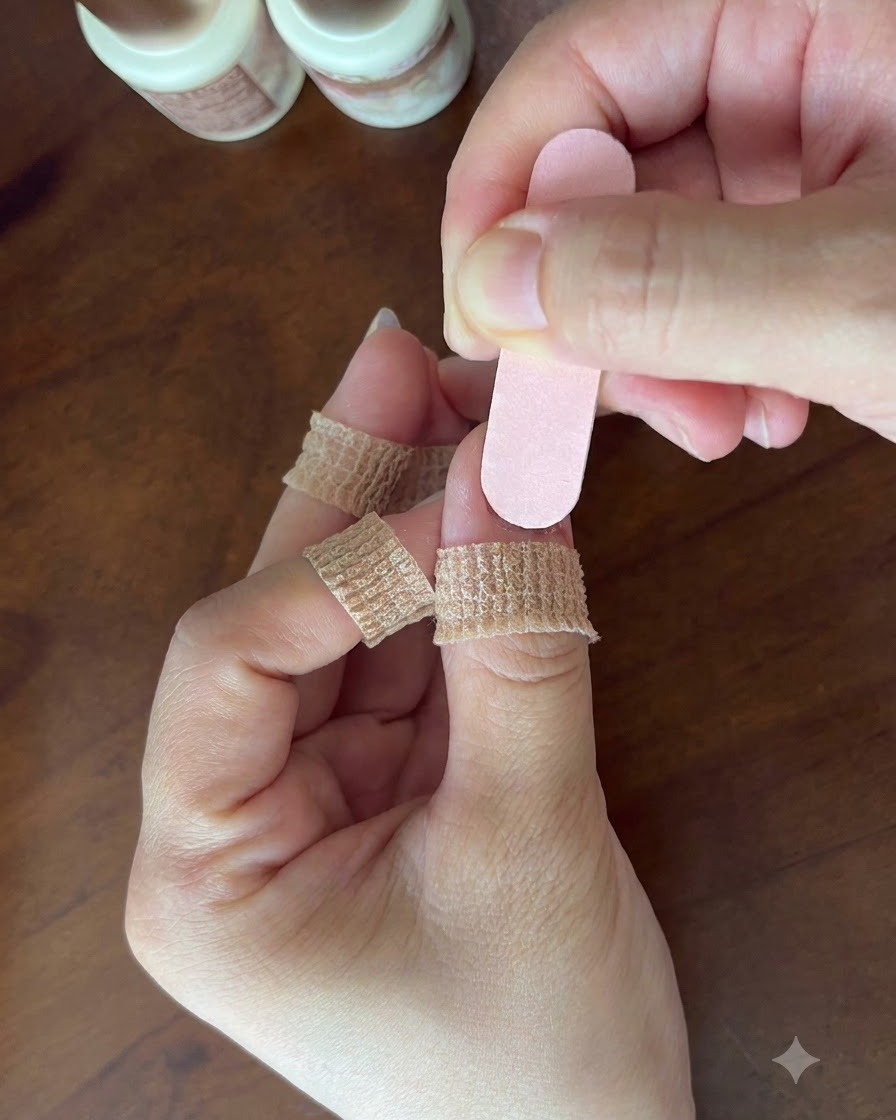
Gently buff the surface of the nail using a fine-grit nail file to remove natural oils and shine. This creates a slightly textured surface that improves adhesion for the upcoming gel layers. Be careful not to over-file or thin out the natural nail plate.
Tip: Always buff in one gentle direction rather than scrubbing back and forth to protect the integrity of your natural nails. - 2Cleanse the nail surface
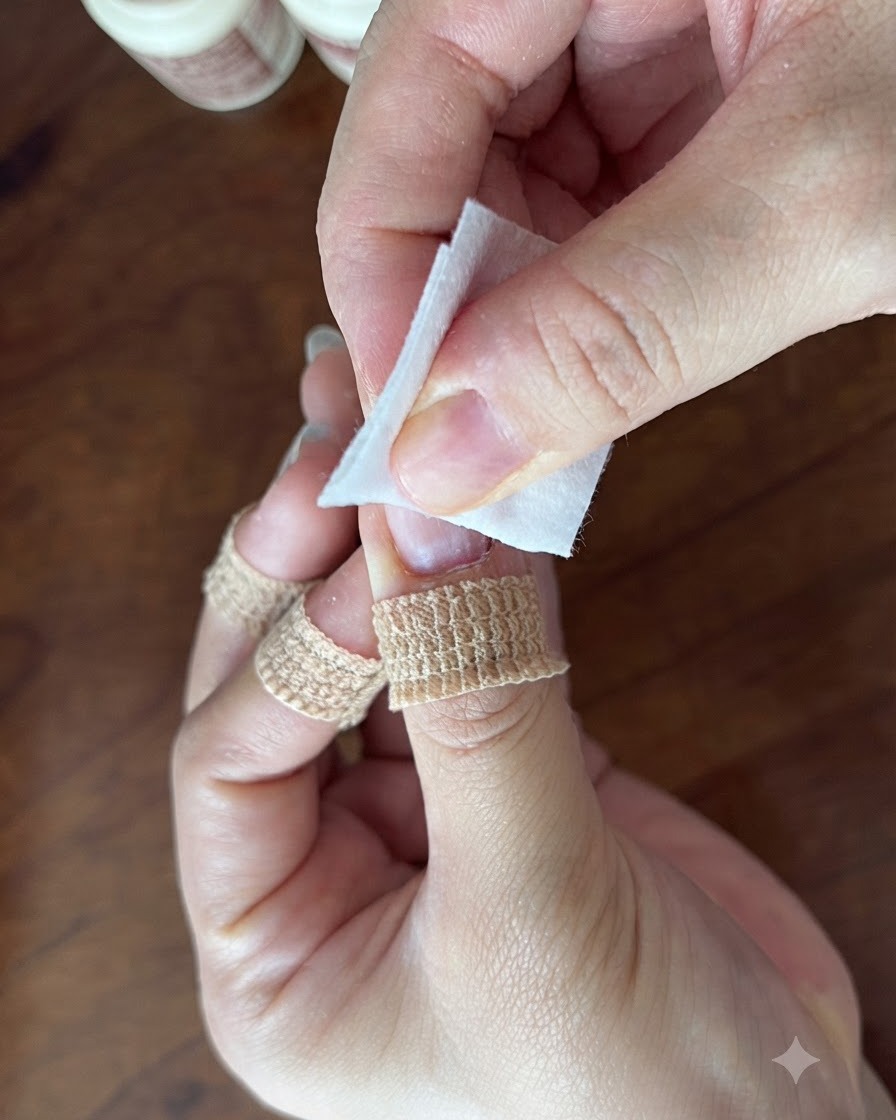
Take an alcohol cotton pad and thoroughly wipe down the nail plate to remove dust, debris, and any remaining oil residue from the buffing step. Ensuring a completely clean and dehydrated surface is essential for preventing lifting and ensuring long-lasting gel adhesion.
Tip: Make sure the nail is completely dry and free of lint before moving on to product application. - 3Load the brush with cat eye gel
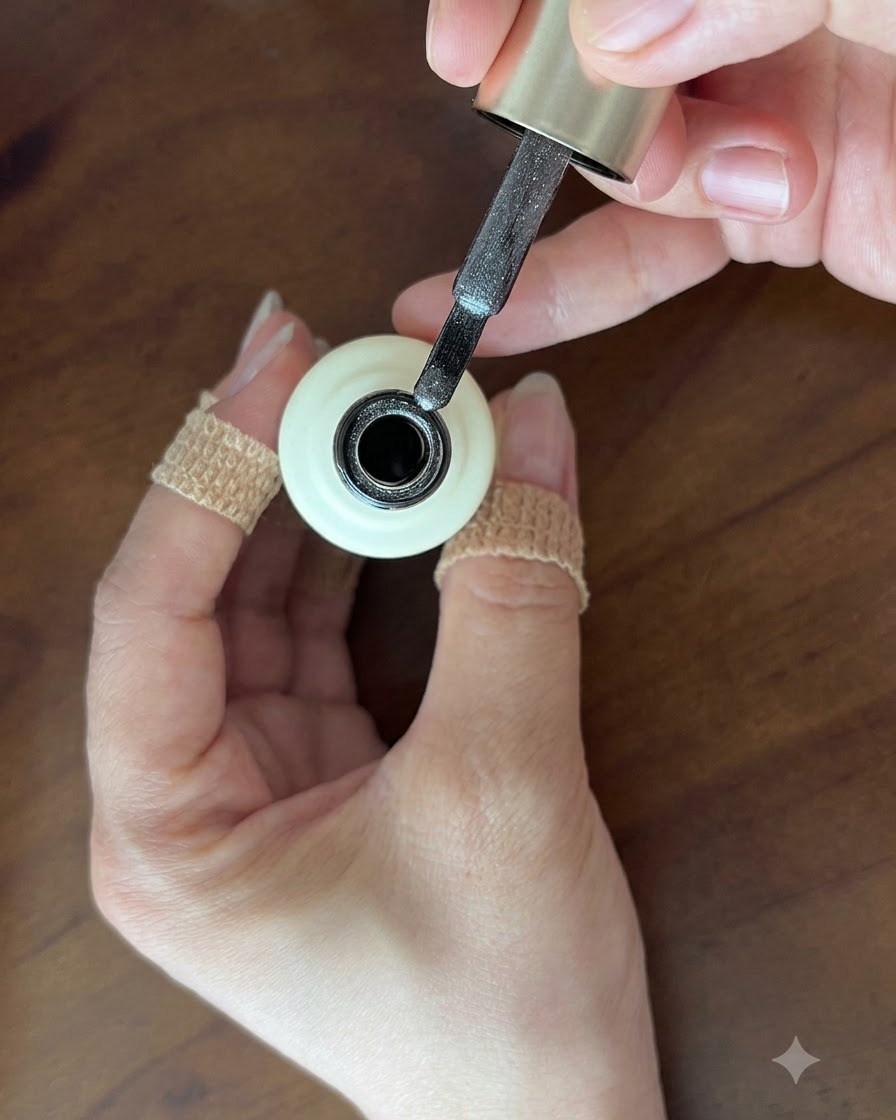
Dip the brush into the bottle and retrieve a controlled, small amount of silver-grey cat eye gel. Wipe off any excess product from one side of the brush against the bottle neck to maintain precision and prevent pooling during application.
Tip: Controlling the amount of product on your brush is the key to avoiding thick, messy layers and uneven curing. - 4Apply first layer of cat eye gel
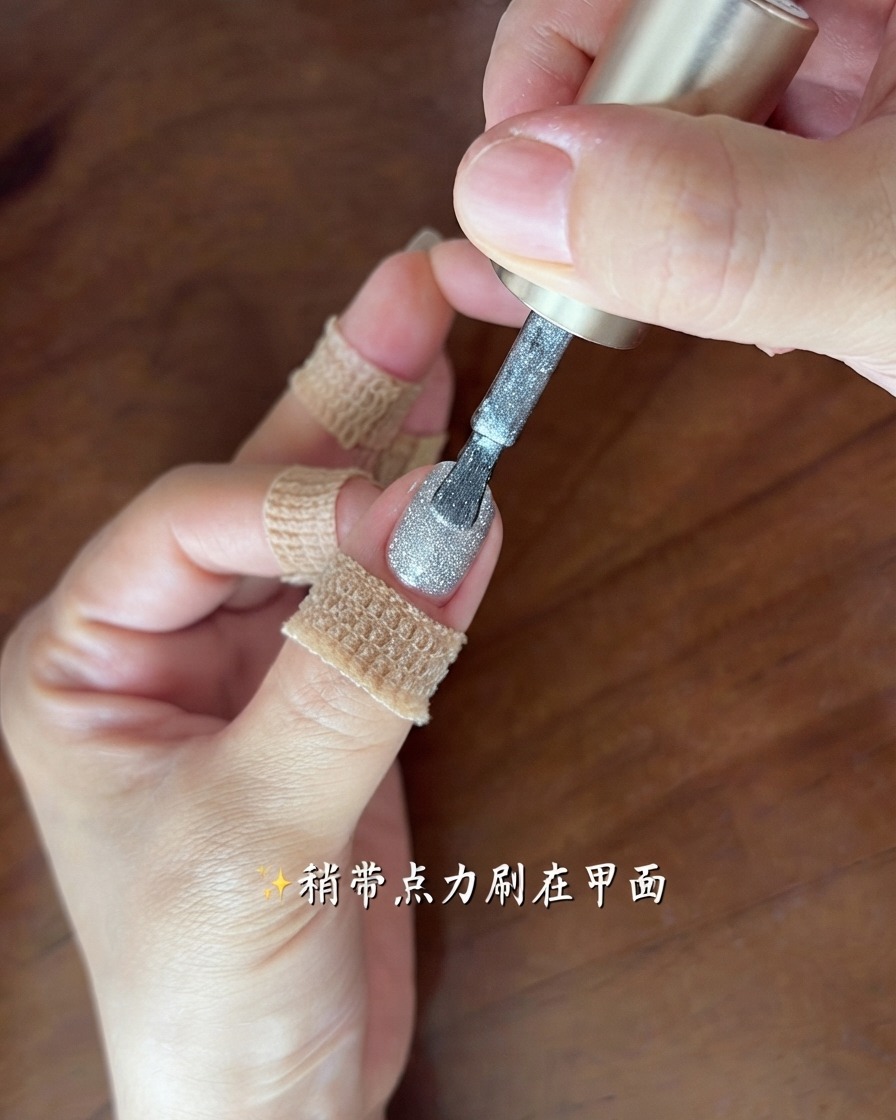
Apply a thin, even coat of the silver-grey one-step cat eye gel across the entire nail plate. Work carefully around the cuticle and sidewalls while lightly tapping or brushing the product to ensure smooth coverage without flooding the skin.
Tip: Keep the initial layer thin to allow the magnetic shimmer particles to move freely when you shape them. - 5Create the magnetic cat eye effect
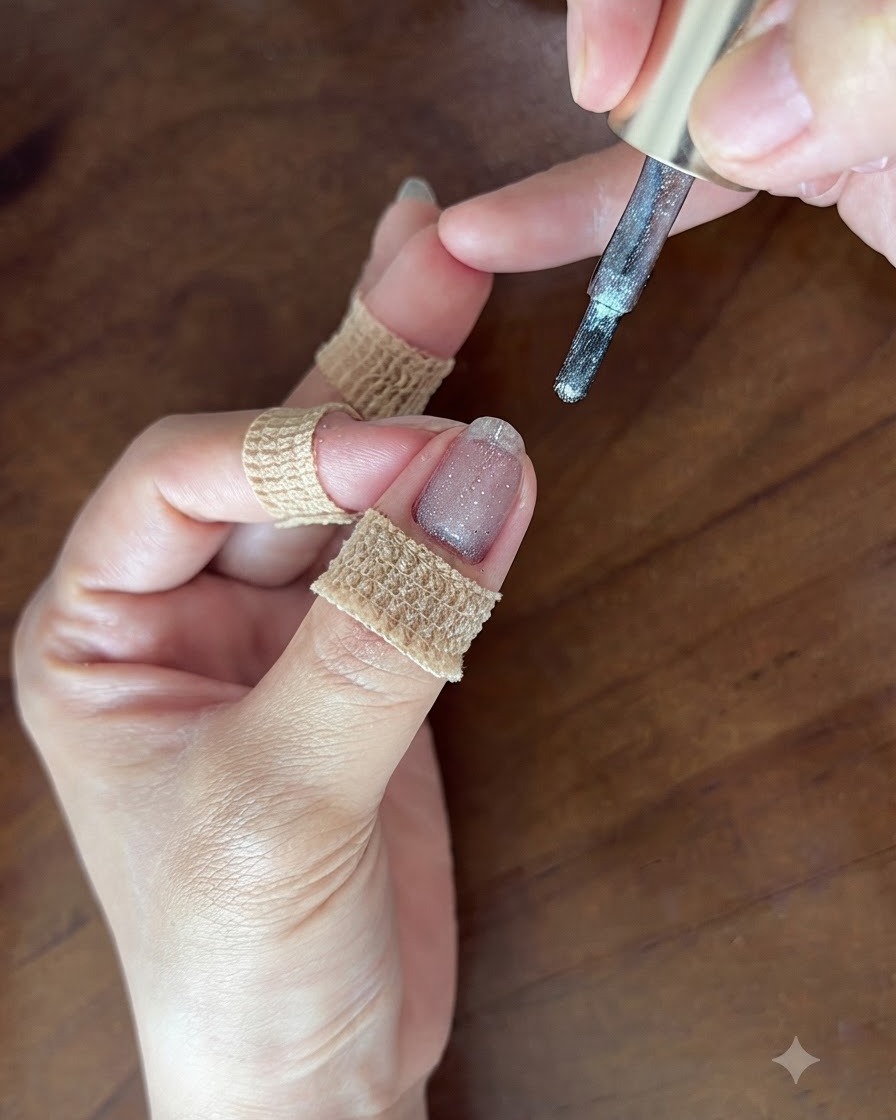
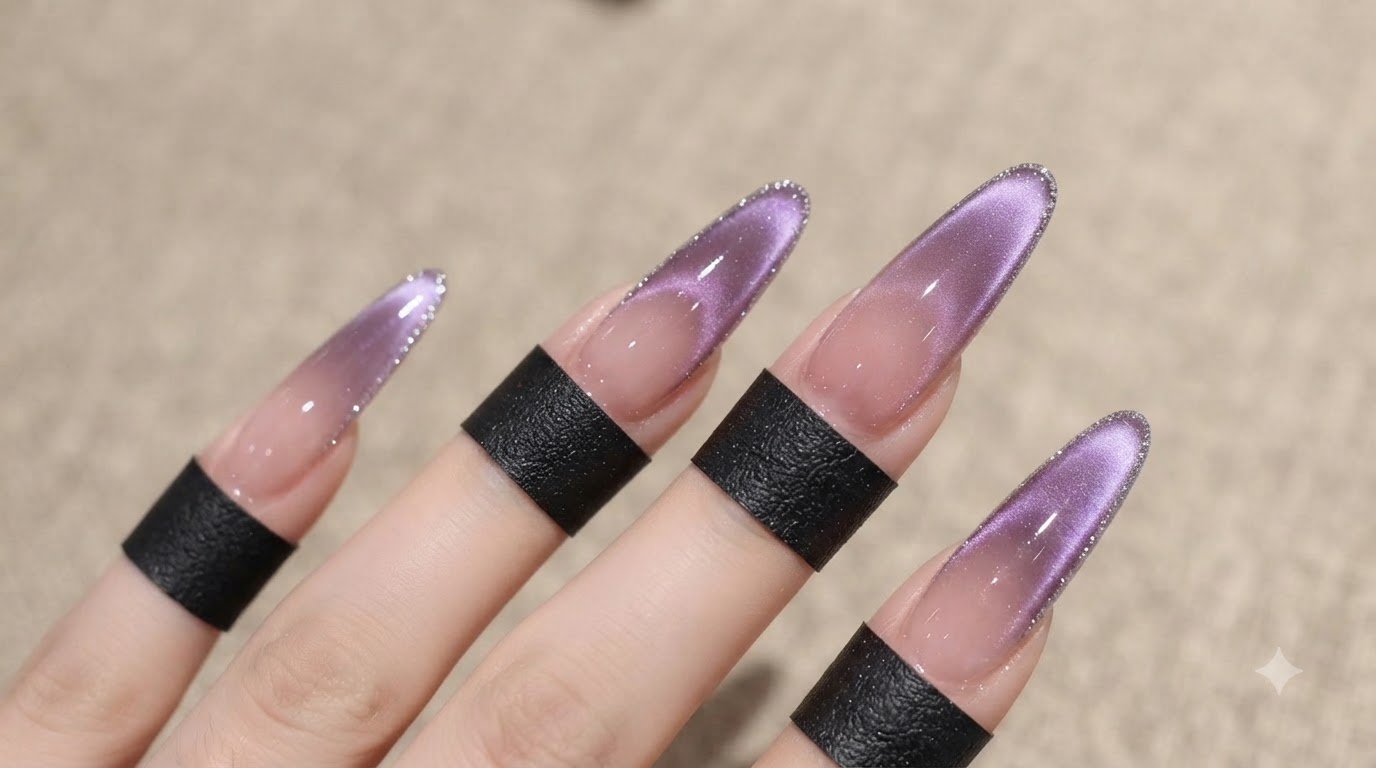
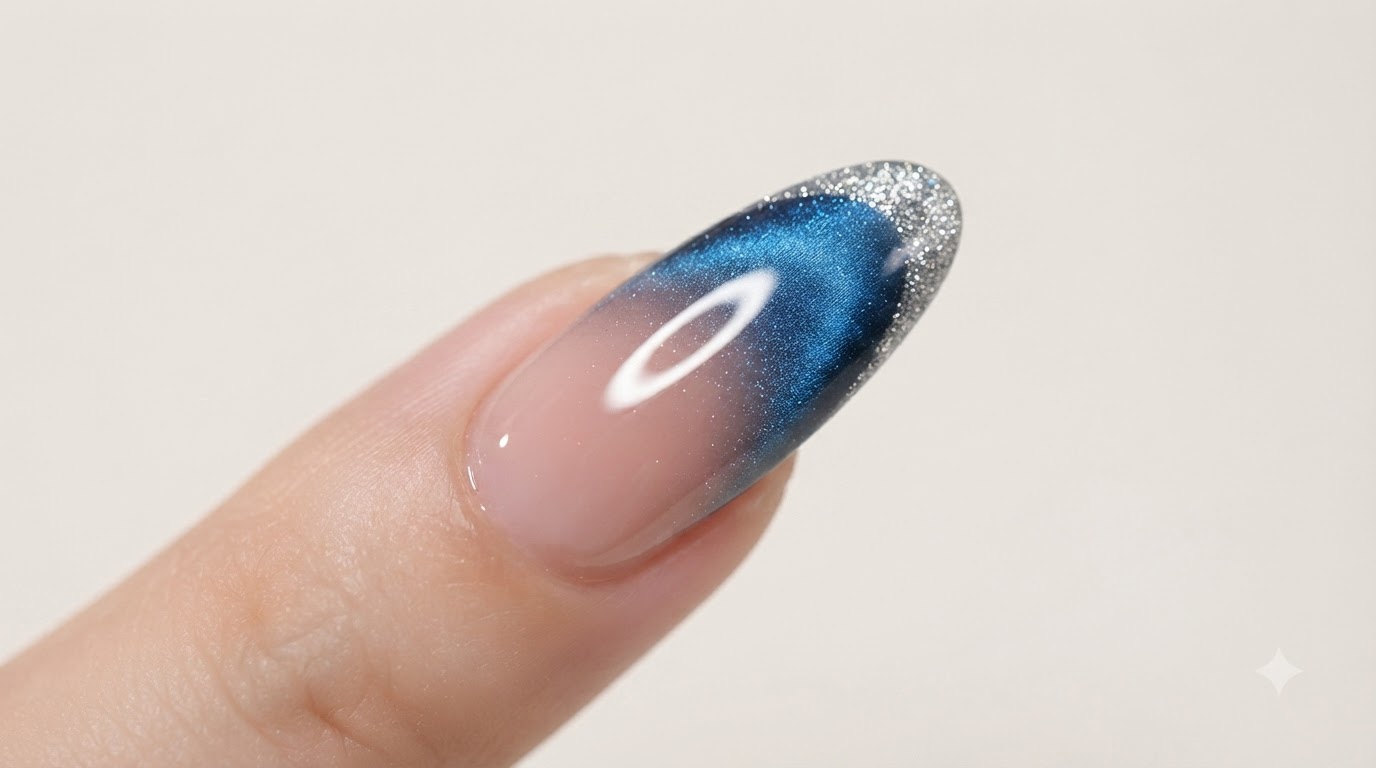
Hold a specialized magnet tool closely over the wet gel layer without touching it to draw, align, and disperse the metallic shimmer particles into your desired cat eye pattern. Once the light catches the shimmer correctly, immediately place the hand under the UV or LED lamp to cure and lock the design in place.
Tip: Hold the magnet steady for a few seconds to let the particles fully react before curing, otherwise the shimmer might shift. - 6Apply second coat of cat eye gel
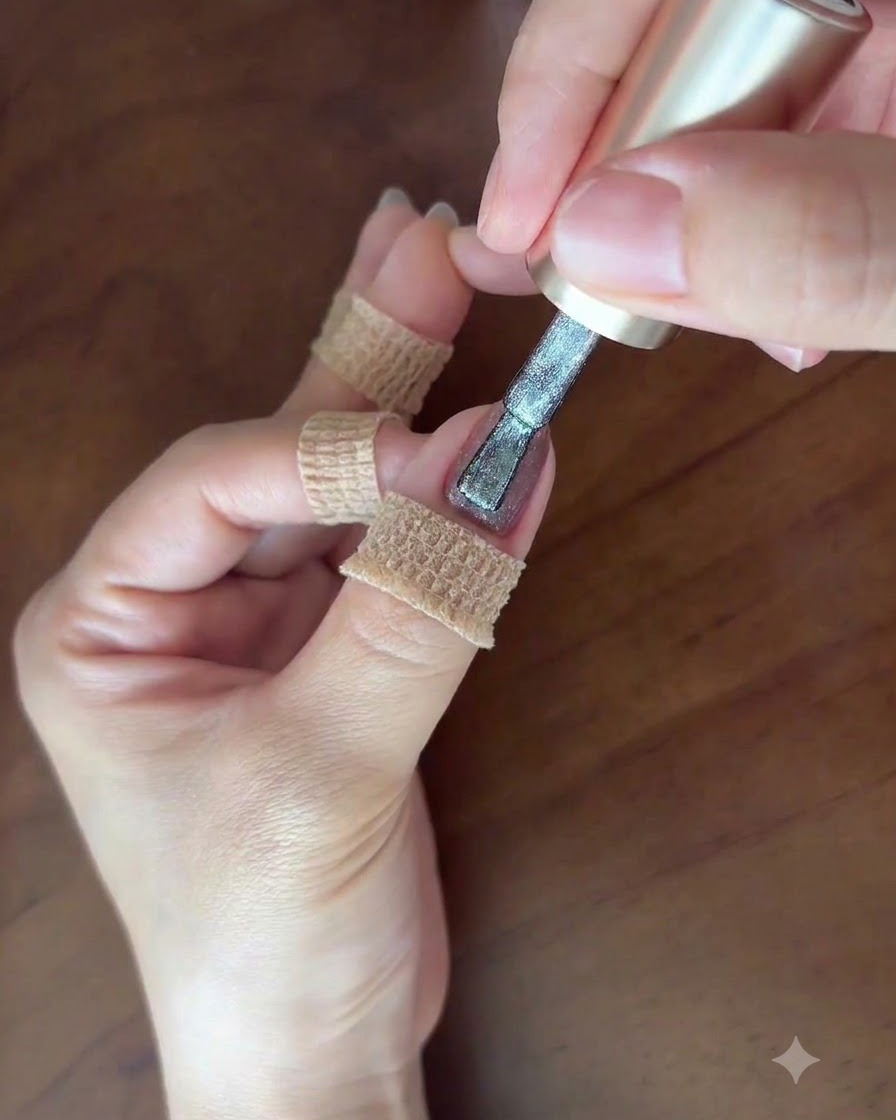
Apply a second thin coat of the silver-grey cat eye gel to deepen the color intensity and smooth out any potential unevenness. Maintaining a thin application prevents the gel from becoming bulky and eliminates visible brush strokes for a flawless finish.
Tip: Always apply multiple thin coats rather than one thick coat to guarantee complete curing and a professional look. - 7Activate the cat-eye effect
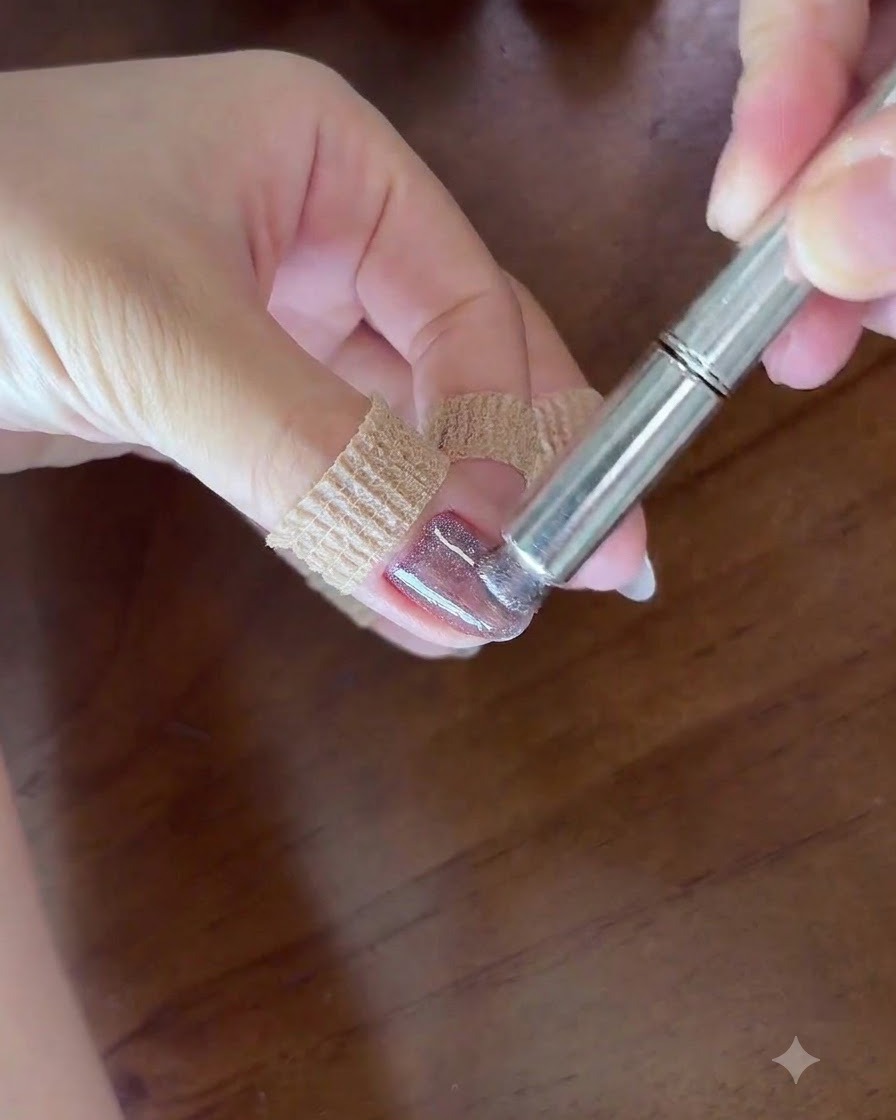
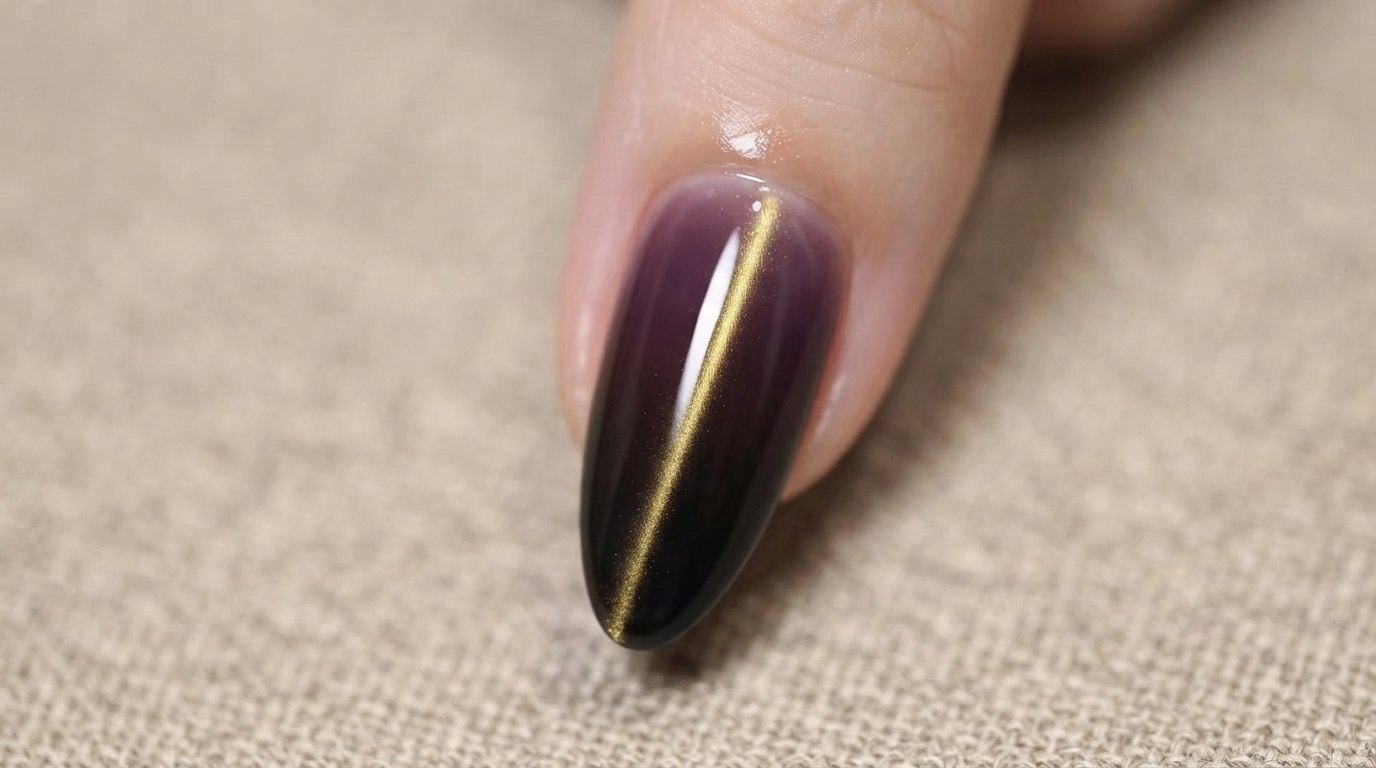
Hover a coarse-particle magnetic pen tool slightly above the wet gel to manipulate the metallic particles. Sweep the magnet across the nail to gather the particles and create a wide, bright shimmer flash. Keep your hand steady to ensure a sharp, clean line before curing immediately.
Tip: Cure each nail immediately after styling with the magnet to lock the particles in place before they disperse. - 8Cure the purple gel
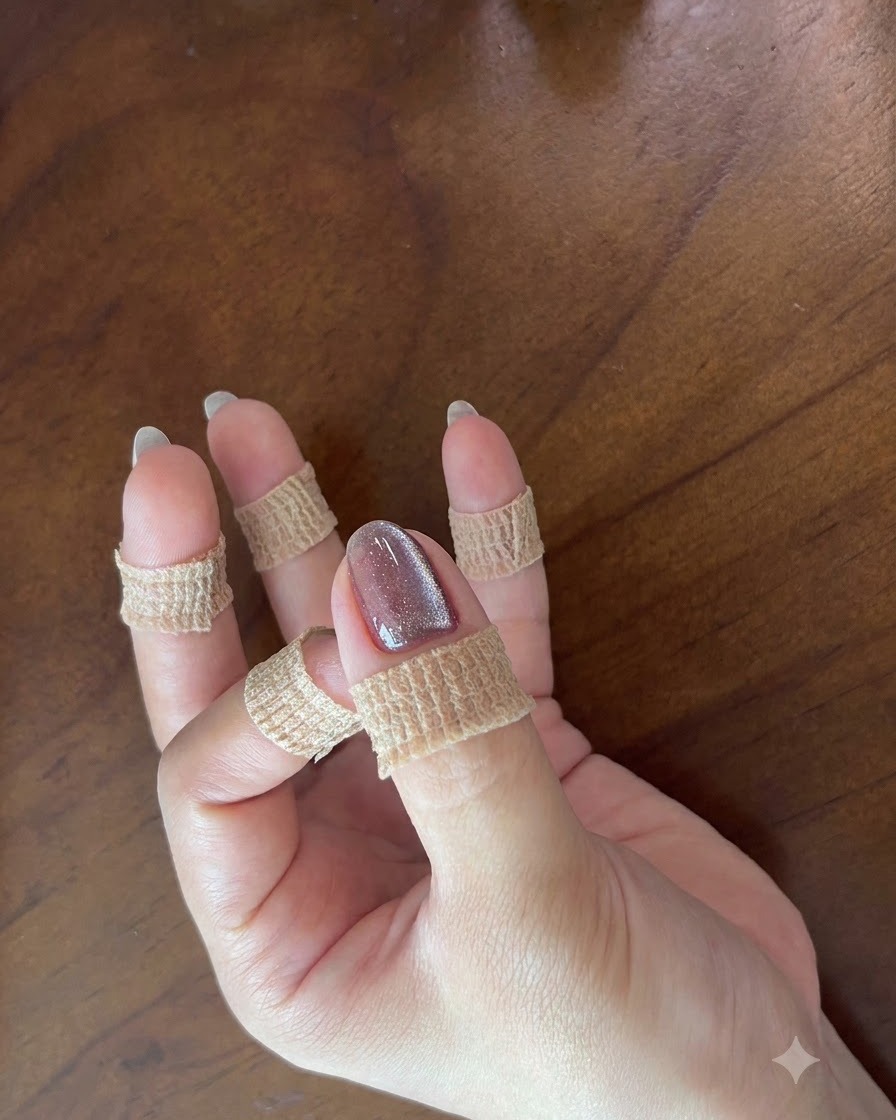
Once the magnetic flash is exactly how you want it, cure the nail under your UV/LED lamp for at least 60 seconds. This particular gel formula has no sticky inhibition layer, meaning it does not require an additional top coat.
Tip: Cure each finger immediately after magnetizing so the particles do not have time to disperse. - 9Select the pink cat eye gel
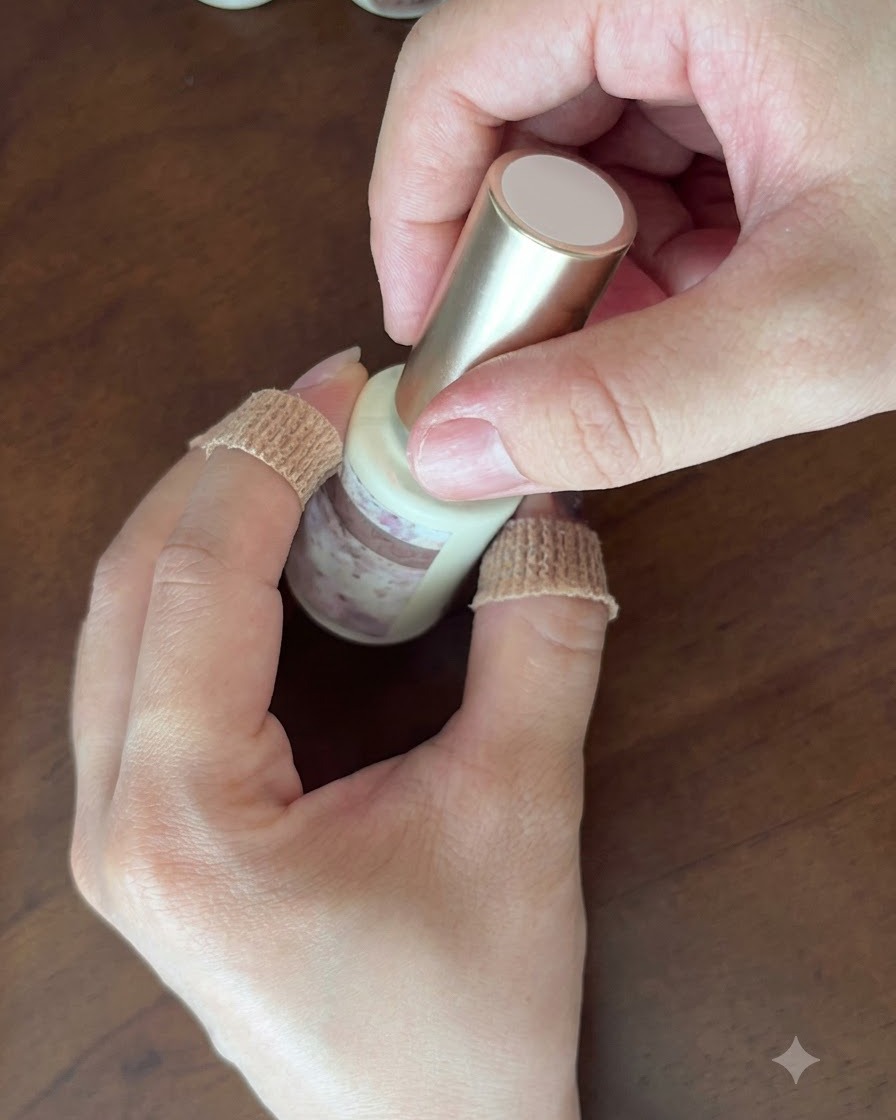
Prepare for the next color-blocking stage by picking up your second shade. Grab a bottle of shell-pink cat eye gel, such as shade B32, to complement the purple.
Tip: Gently roll the bottle between your palms before opening to ensure the magnetic particles are evenly distributed. - 10Apply shell-pink cat eye gel
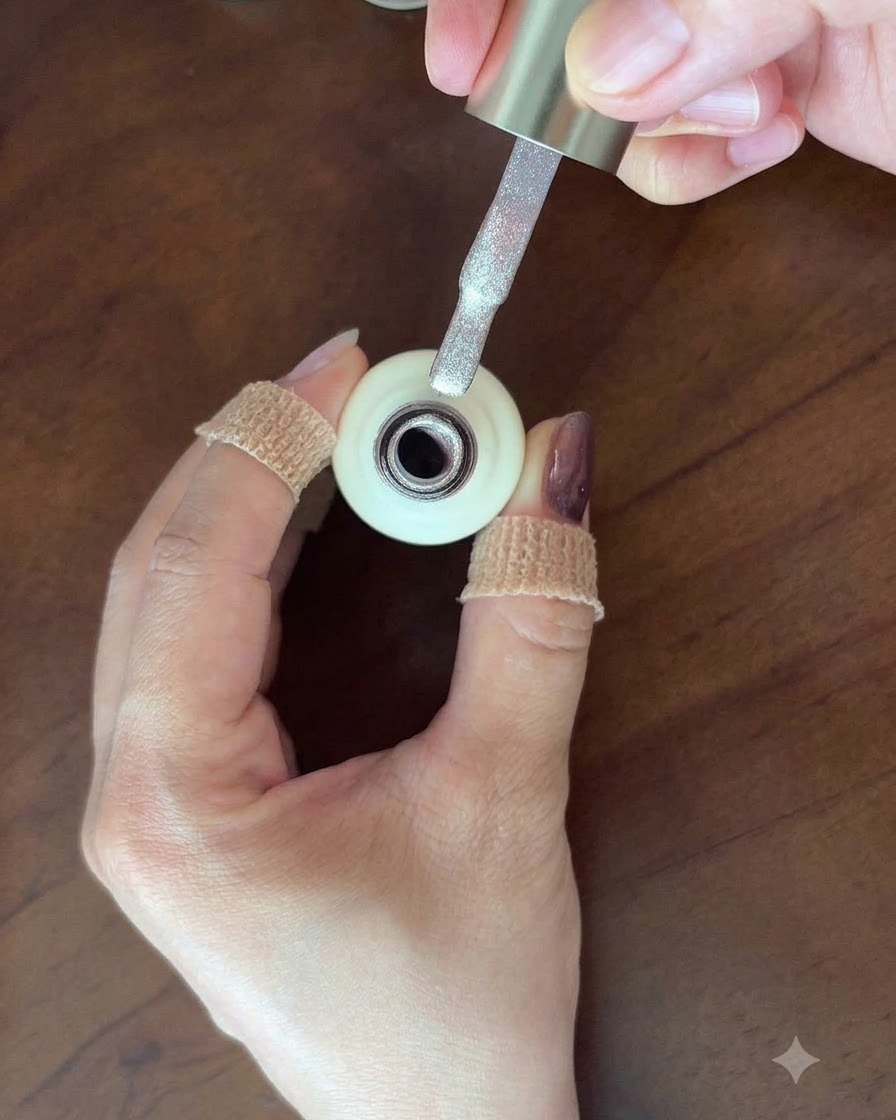
Apply a thin layer of shell-pink cat eye gel evenly across the nail plate, ensuring smooth coverage from cuticle to free edge. This serves as the luminous base color before activating the magnetic cat eye effect.
Tip: Keep the layer thin to prevent wrinkling or uneven curing under the lamp. - 11Magnetize the pink gel
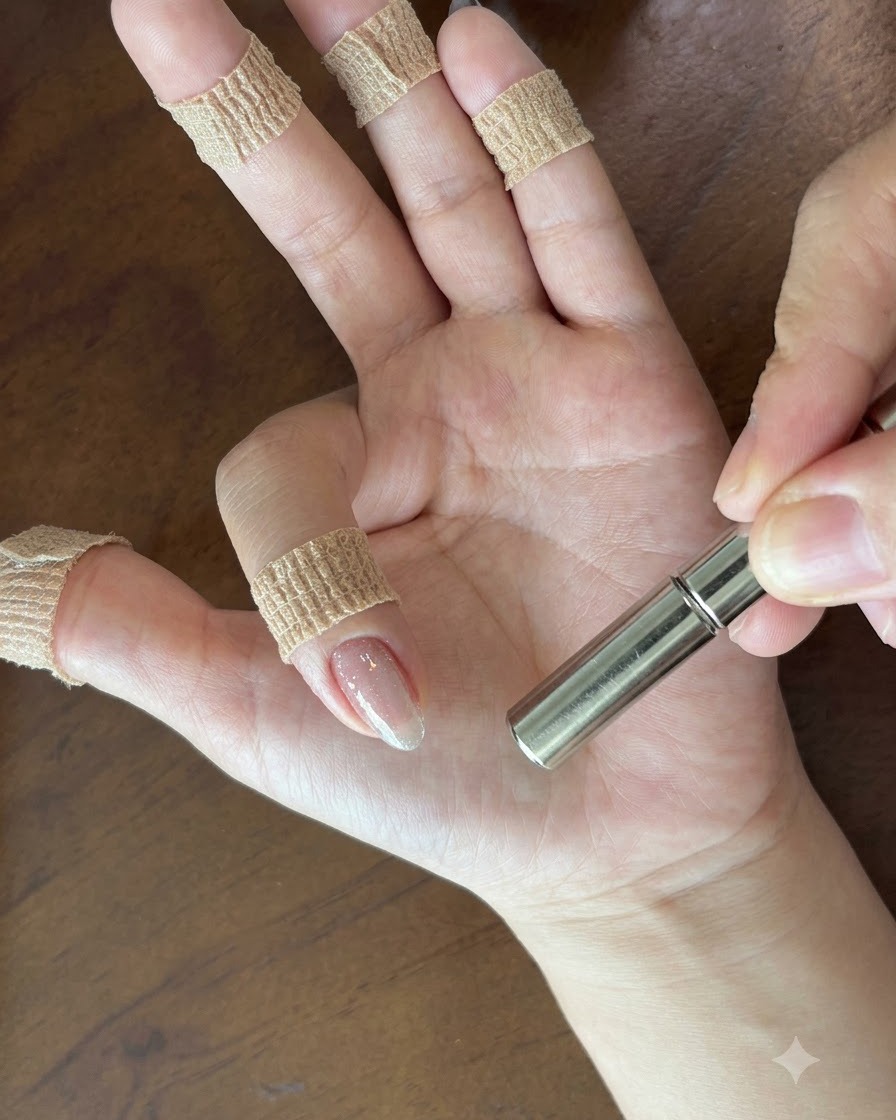
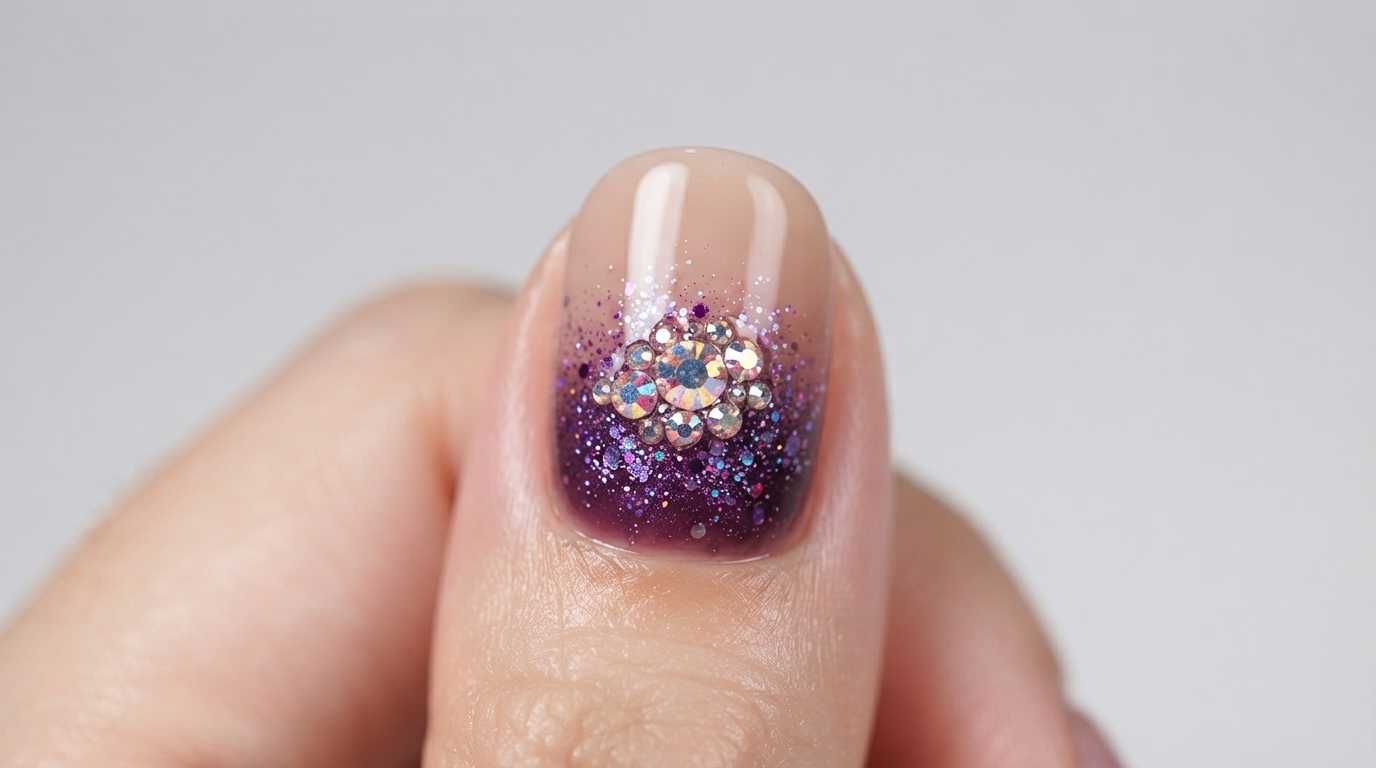
Using your magnetic pen once more, carefully draw and gather the fine magnetic powder embedded in the wet pink gel. Manipulate the magnet around the edges to build a beautiful, translucent glass-ball sparkle effect.
Tip: Hold the magnet steady at different angles to push the glitter exactly where you want the highest concentration of sparkle. - 12Final cure
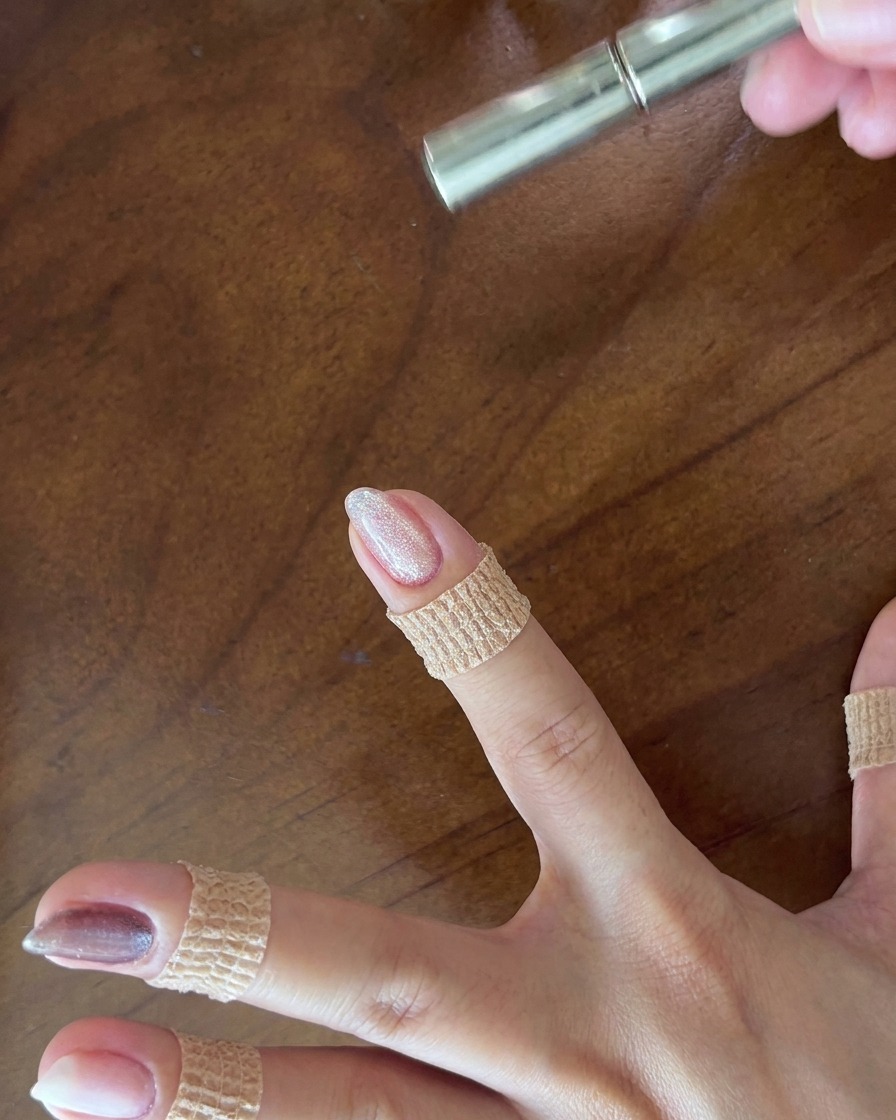
Place your hand back under the UV/LED lamp to fully cure the shell-pink cat eye gel layer. Ensure it cures completely according to the manufacturers recommended time to lock in that gorgeous starry sparkle.
Tip: Make sure your hand rests flat inside the lamp so the light cures the sides of the nail evenly.