Purple Cat-Eye Gradient Fairy Nails — Step-by-Step Tutorial
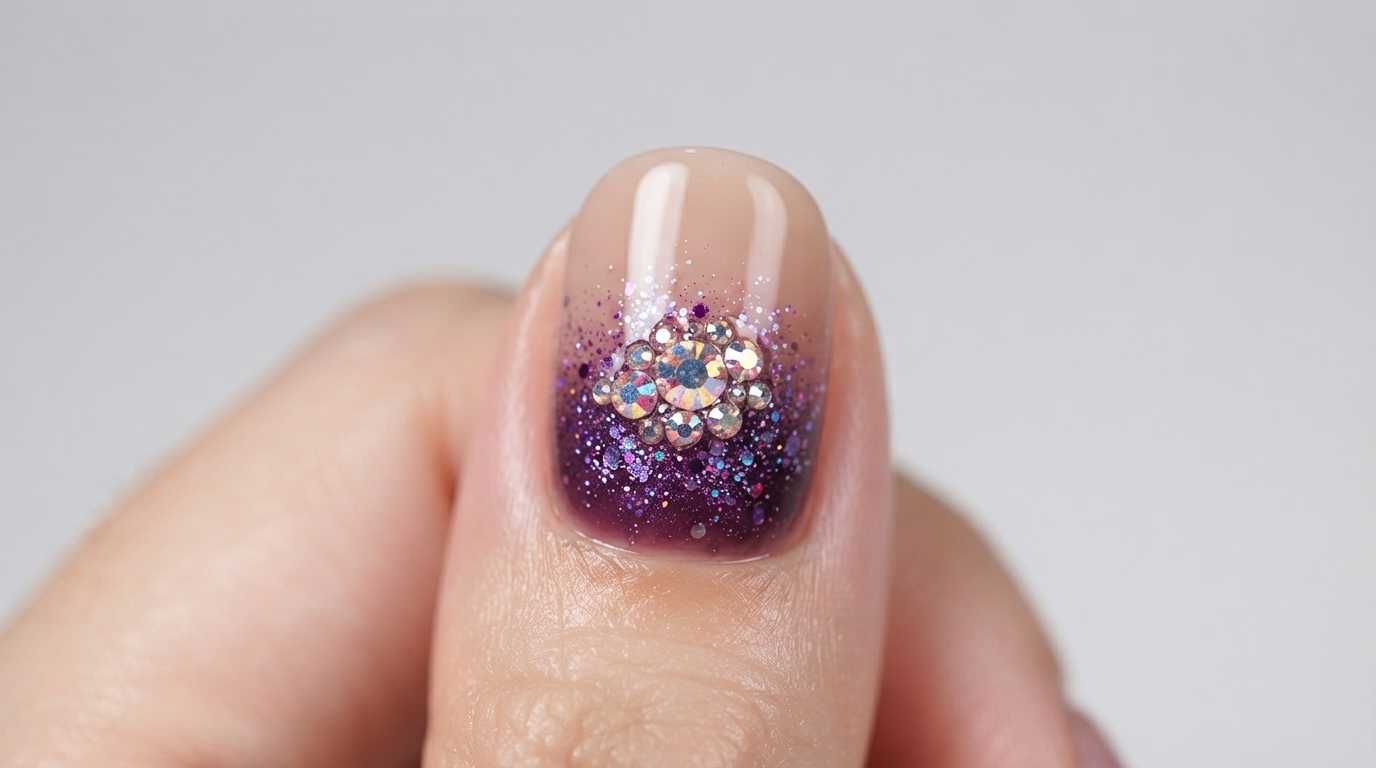
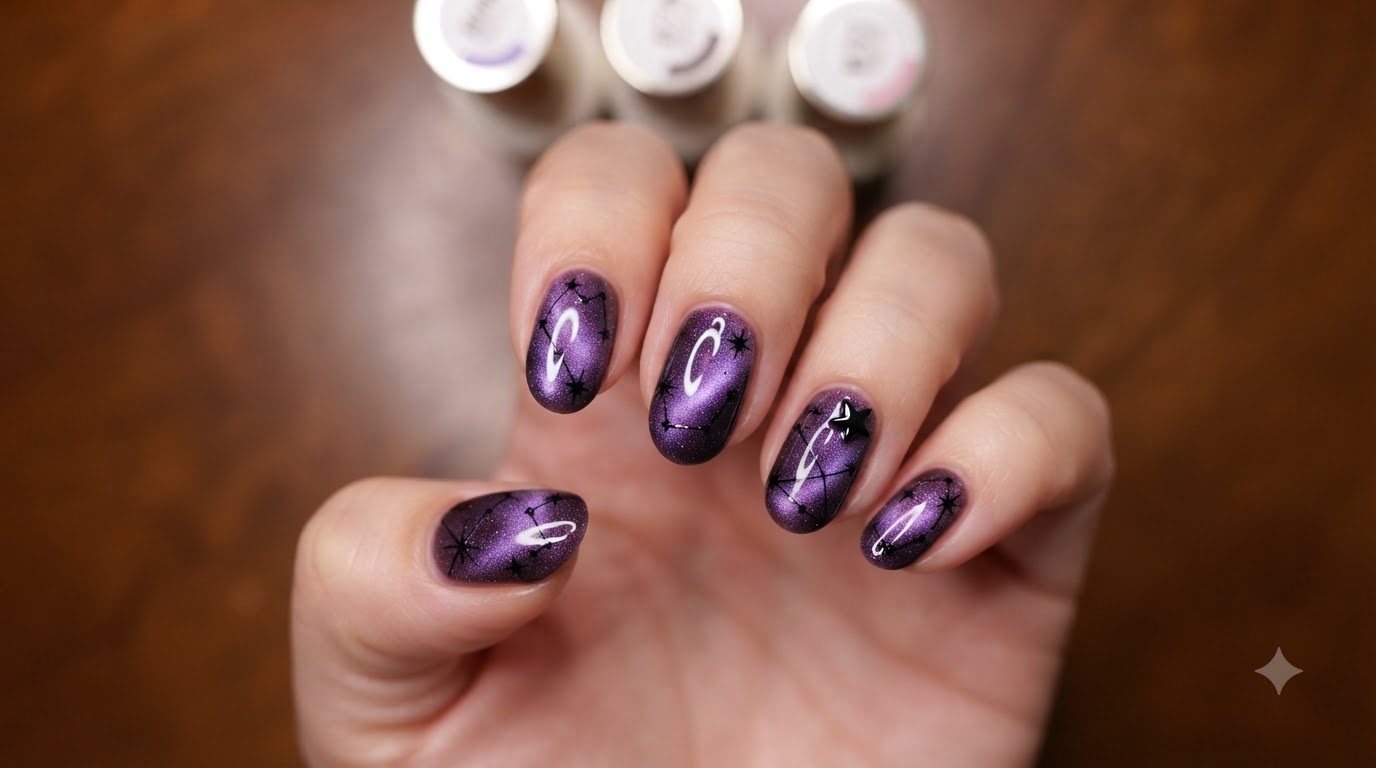
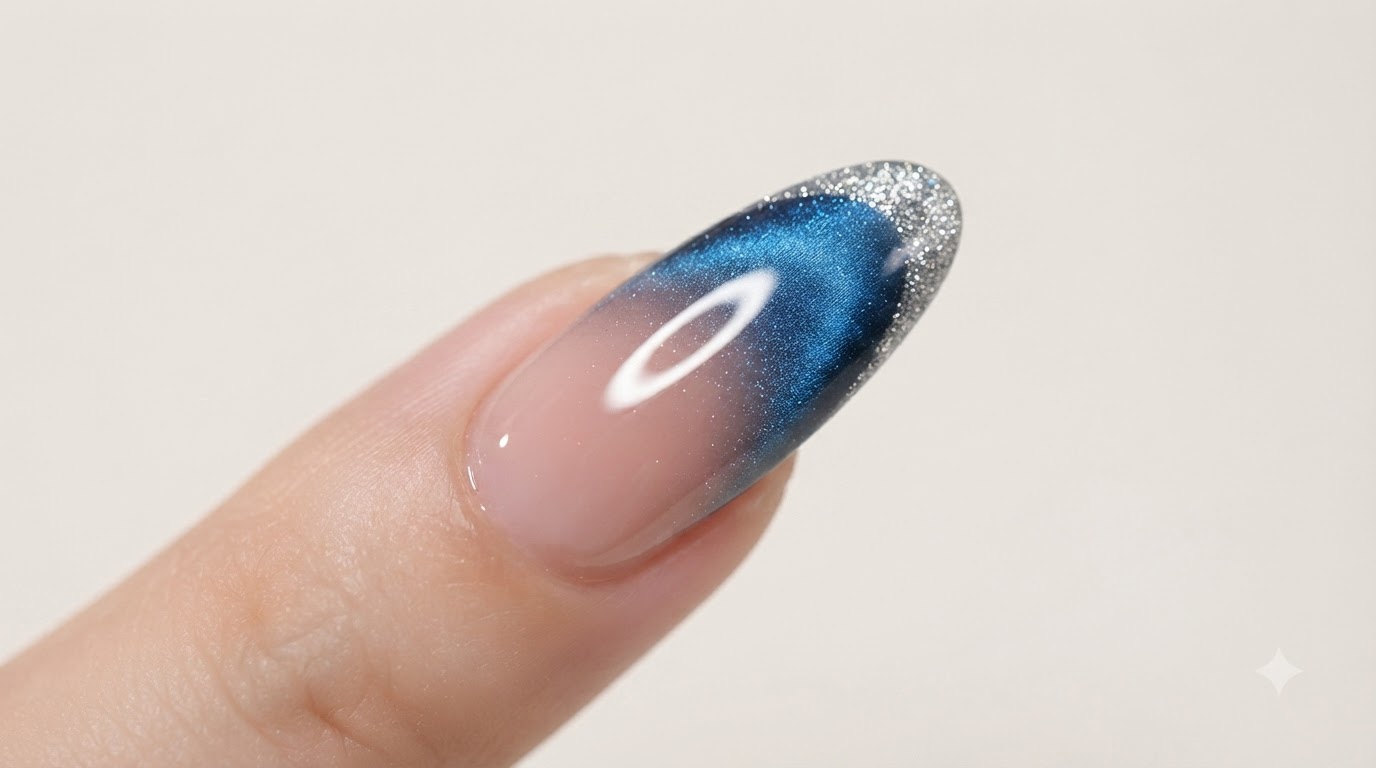
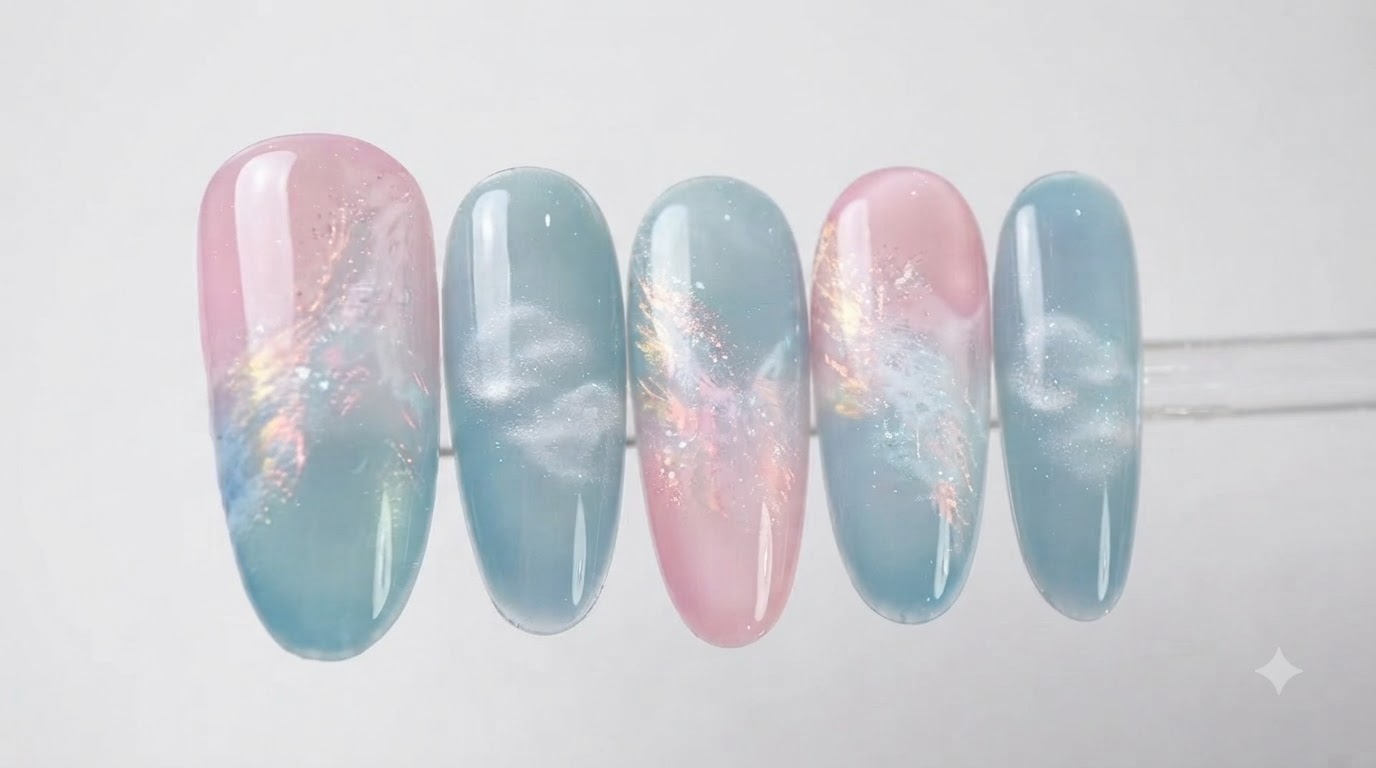
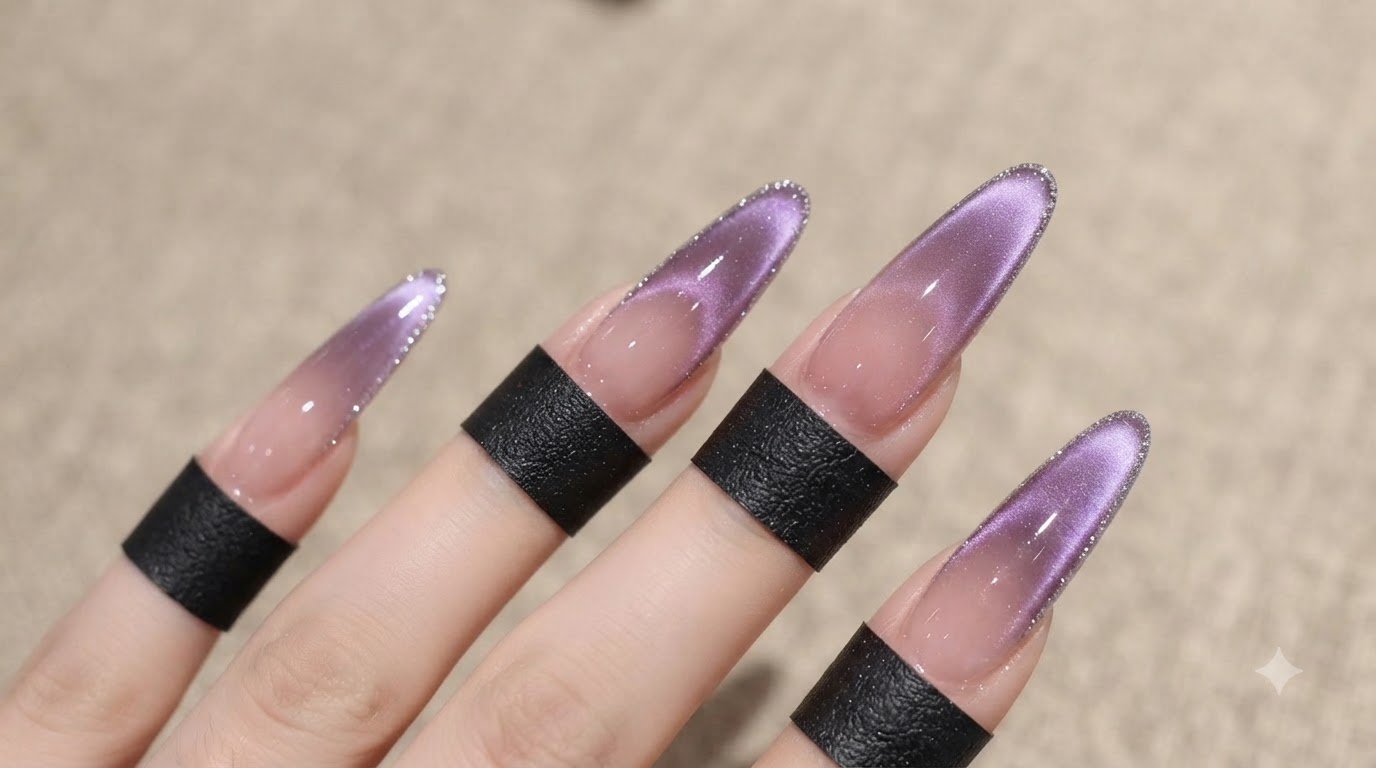
Create enchanting, high-end purple cat-eye gradient fairy nails featuring a stunning cat-eye ombre effect and delicate silver glitter outlines.
Cat-eye manicures continue to captivate with their mesmerizing depth and luminous shifting light. This fairy-inspired purple gradient look combines translucent tones with a sharp magnetic reflection and a fine silver glitter border for an ultra-luxurious finish.
Steps
- 1Apply transparent base gel
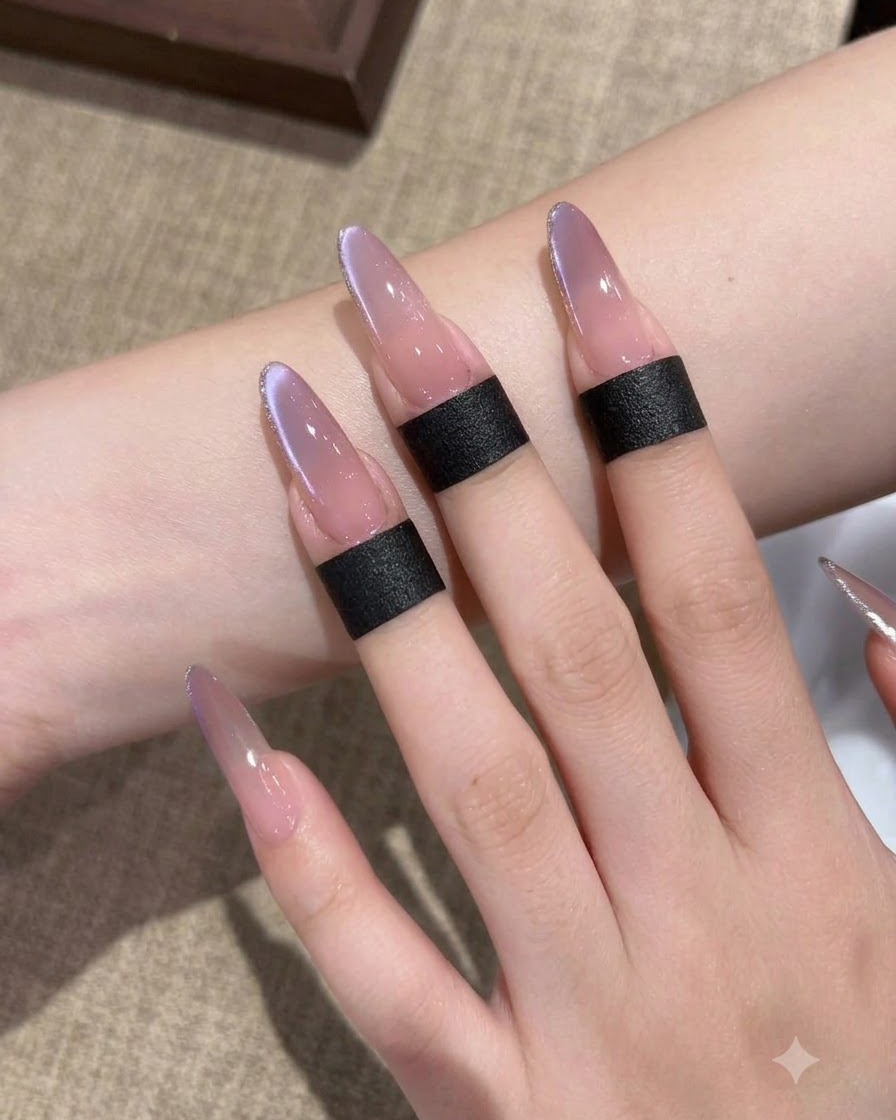
Carefully brush a transparent base gel onto the surface of the nail extension to prepare it for the color layers. Ensure an even and smooth coating across the entire nail plate, which acts as a strong foundation for the upcoming cat-eye gel application.
Tip: Apply a thin layer to prevent pooling around the edges and ensure proper curing. - 2Cure base coat under UV/LED lamp
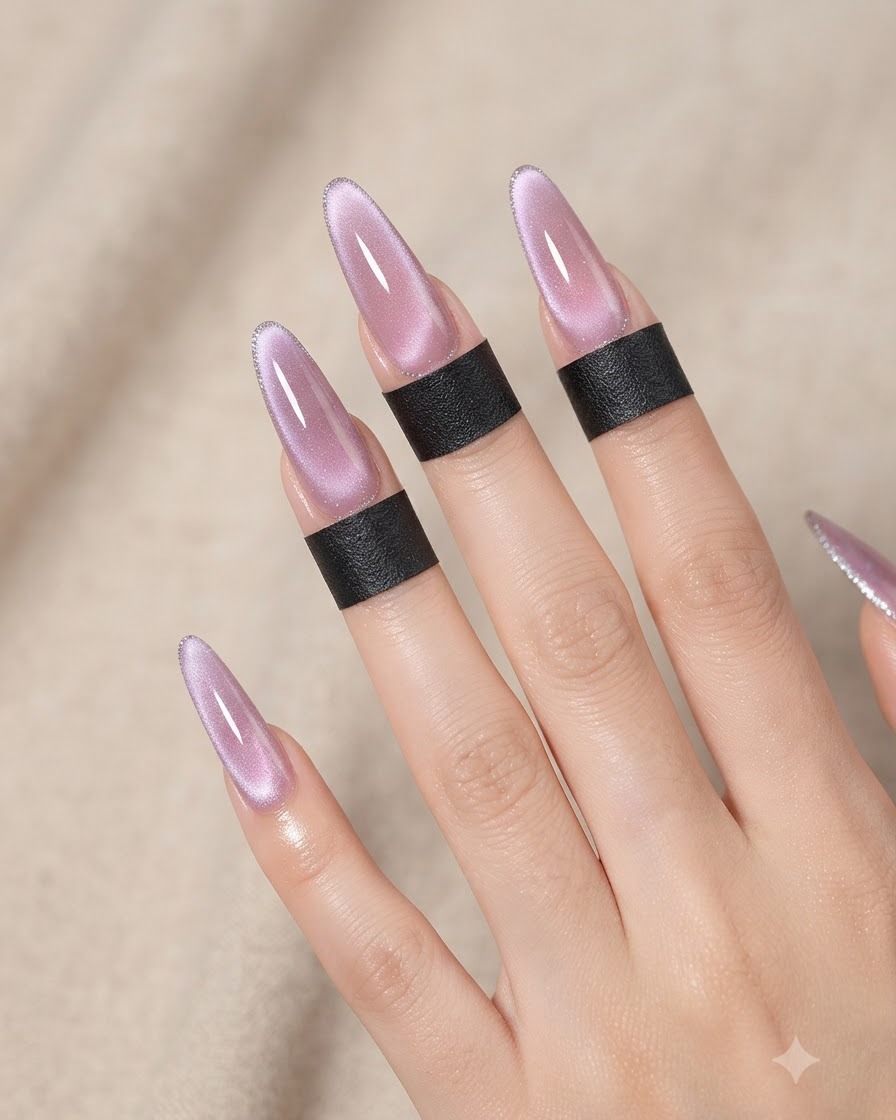
Place the hand under the UV/LED lamp to cure the freshly applied base coat thoroughly. Curing hardens the layer, creating a secure and durable bond for the subsequent gel applications.
Tip: Follow your lamp manufacturers recommended curing time to ensure complete polymerization. - 3Apply first layer of purple cat-eye gel
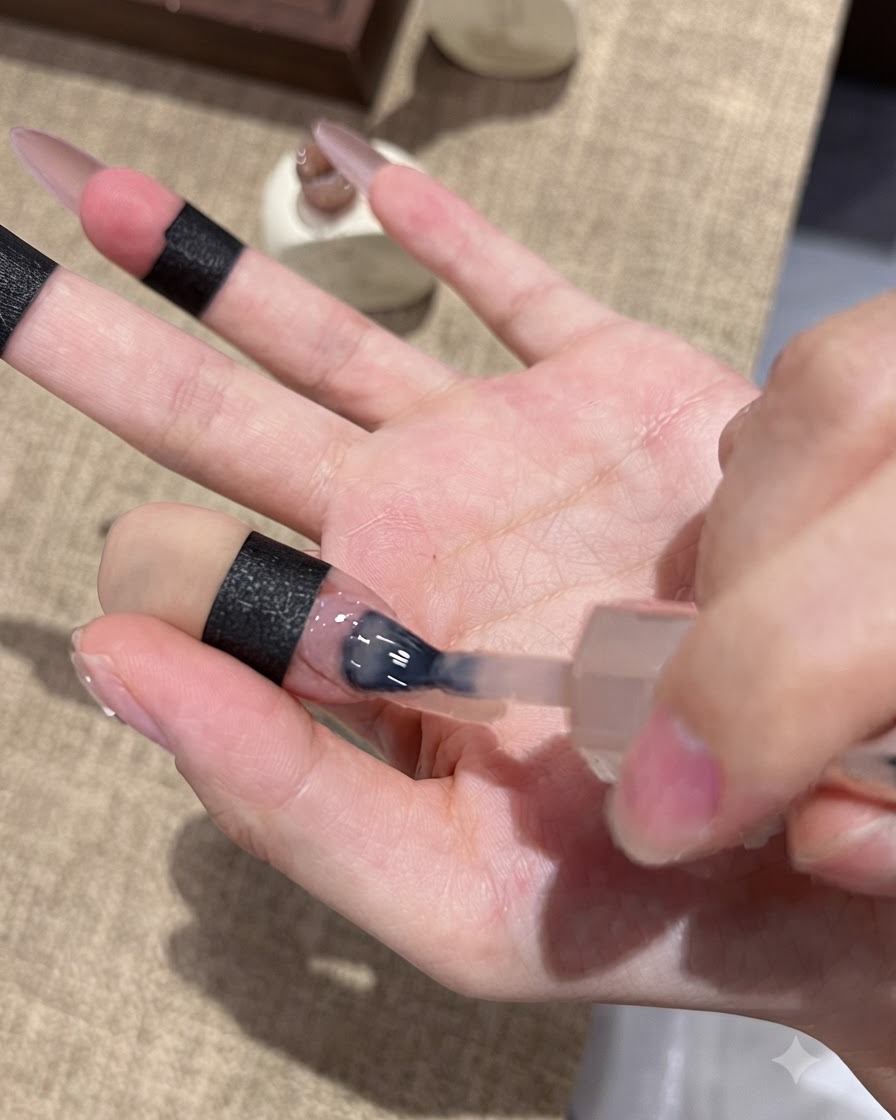
Apply the first layer of purple cat-eye gel specifically onto the nail tip area to establish the foundation for the gradient ombre effect. Keep the application smooth to facilitate blending and depth creation.
Tip: Focus the product concentration on the very tip and feather it upwards for a natural gradient transition. - 4Cure first cat-eye gel layer
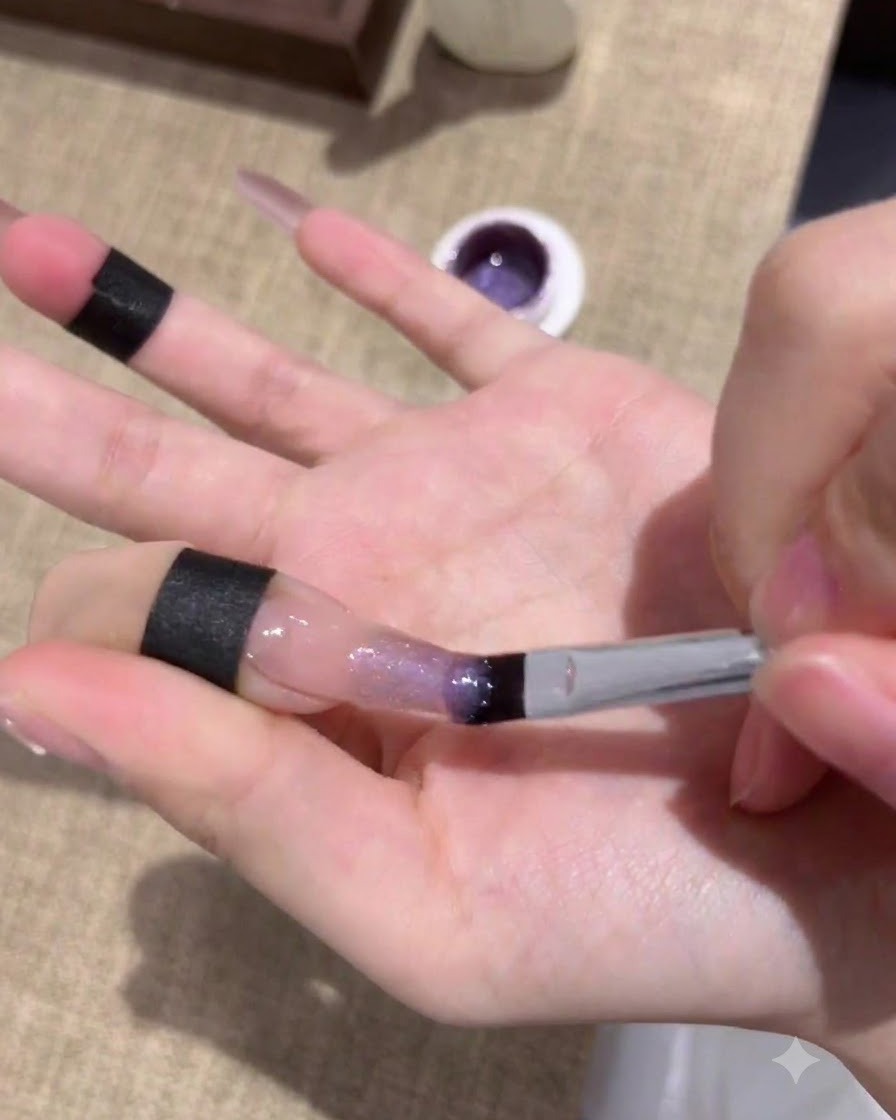
Place the nails under the UV/LED lamp to cure the first layer of purple cat-eye gel. This locks in the initial gradient ombre shape before building additional depth.
Tip: Ensure the hand is positioned correctly under the light so all tips cure evenly. - 5Apply second layer of cat-eye gel
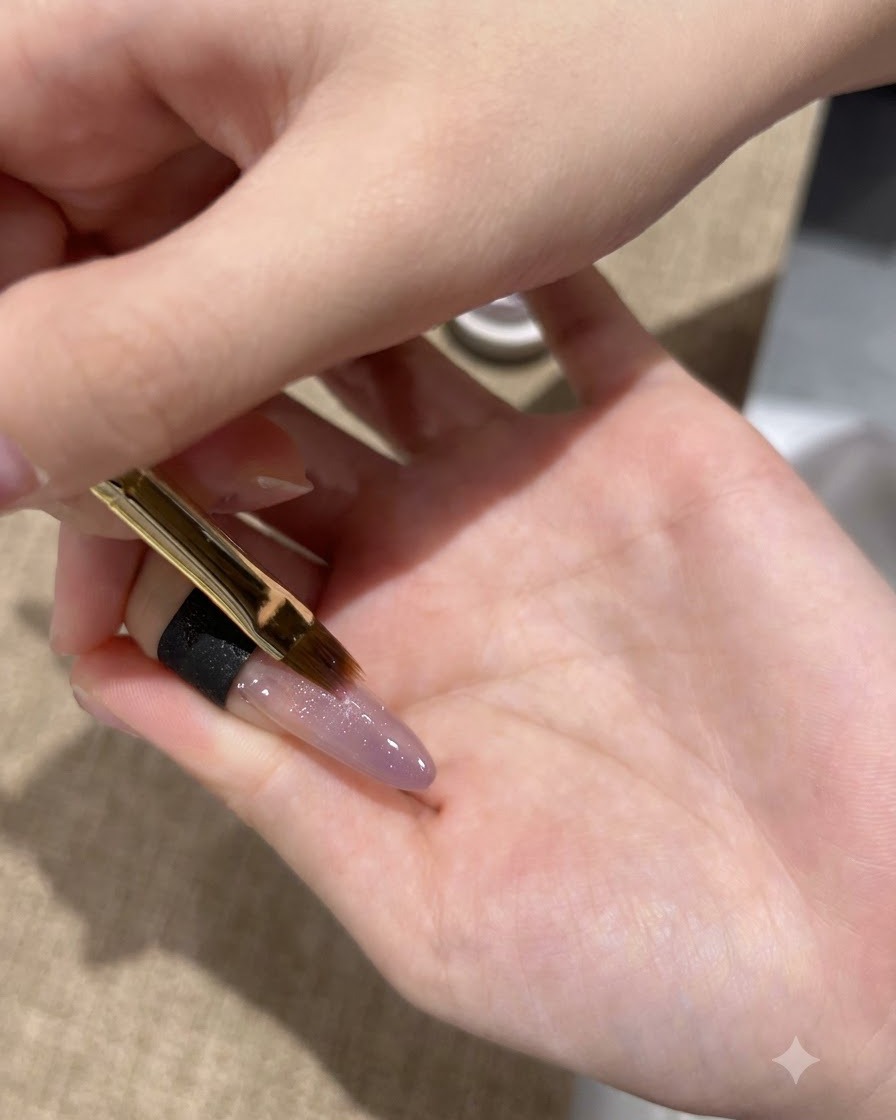
Apply a second layer of purple cat-eye gel onto the nail tip to intensify the color richness and build dimensional depth. This step enhances the vibrancy of the fairy purple look.
Tip: Keep this second layer controlled to maintain the gradient structure without covering the entire nail. - 6Create cat-eye magnetic reflection
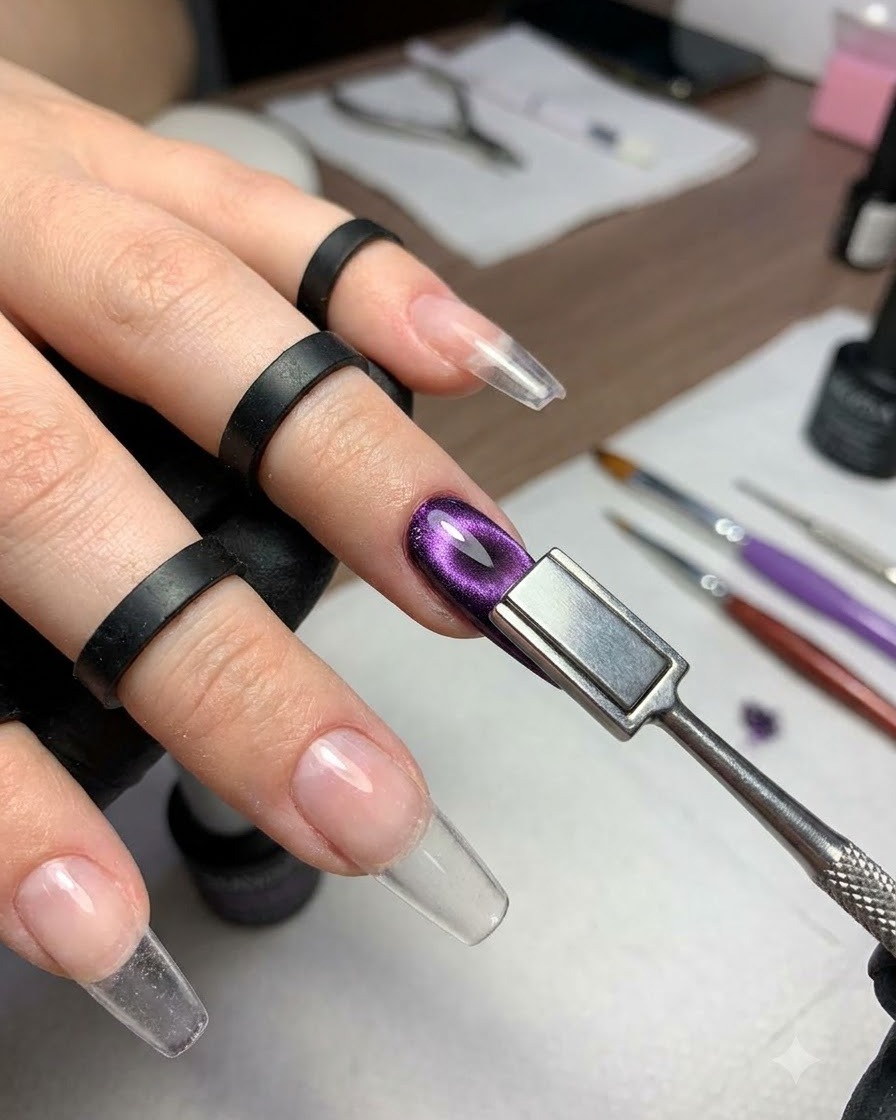
Position a specialized magnet close to the uncured cat-eye gel surface without touching it. The magnetic field will pull the suspended metallic particles into a sharp, luminous shimmery streak effect down the center of the nail.
Tip: Hold the magnet steady for a few seconds until the desired reflection line forms, then cure immediately to lock it in place. - 7Cure the cat-eye gel
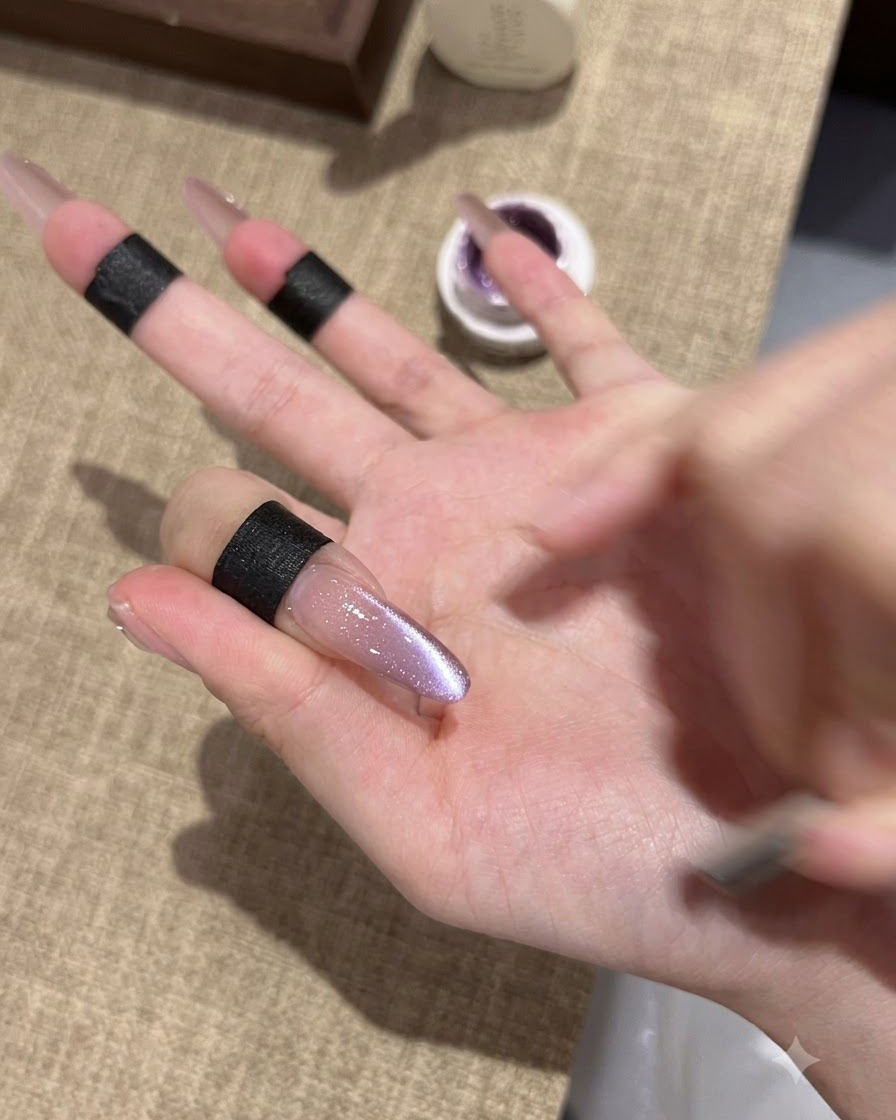
Once you have achieved the perfect depth and reflection with your magnet, carefully place your hand into the UV or LED lamp to cure the second layer of cat-eye gel. This locks the magnetic particles in place so the design does not shift.
Tip: Cure the gel immediately after using the magnet, as the metallic particles will naturally disperse if left wet for too long. - 8Outline with silver glitter
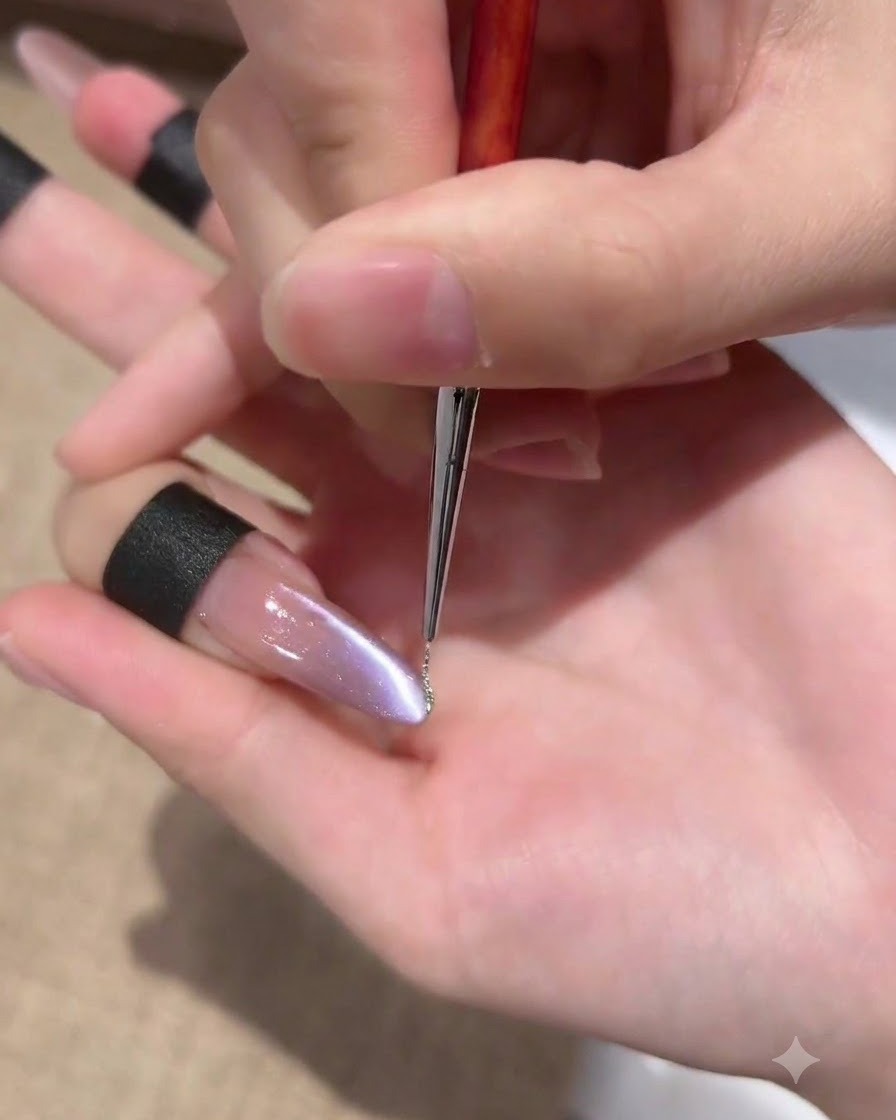
Dip a fine liner brush into a highly pigmented silver glitter gel. Carefully trace the entire outer edge of the nail to create a delicate, sparkling frame around the purple cat-eye design.
Tip: Keep your hand steady and use very light pressure to ensure the glitter line remains thin, crisp, and even. - 9Cure the glitter outline
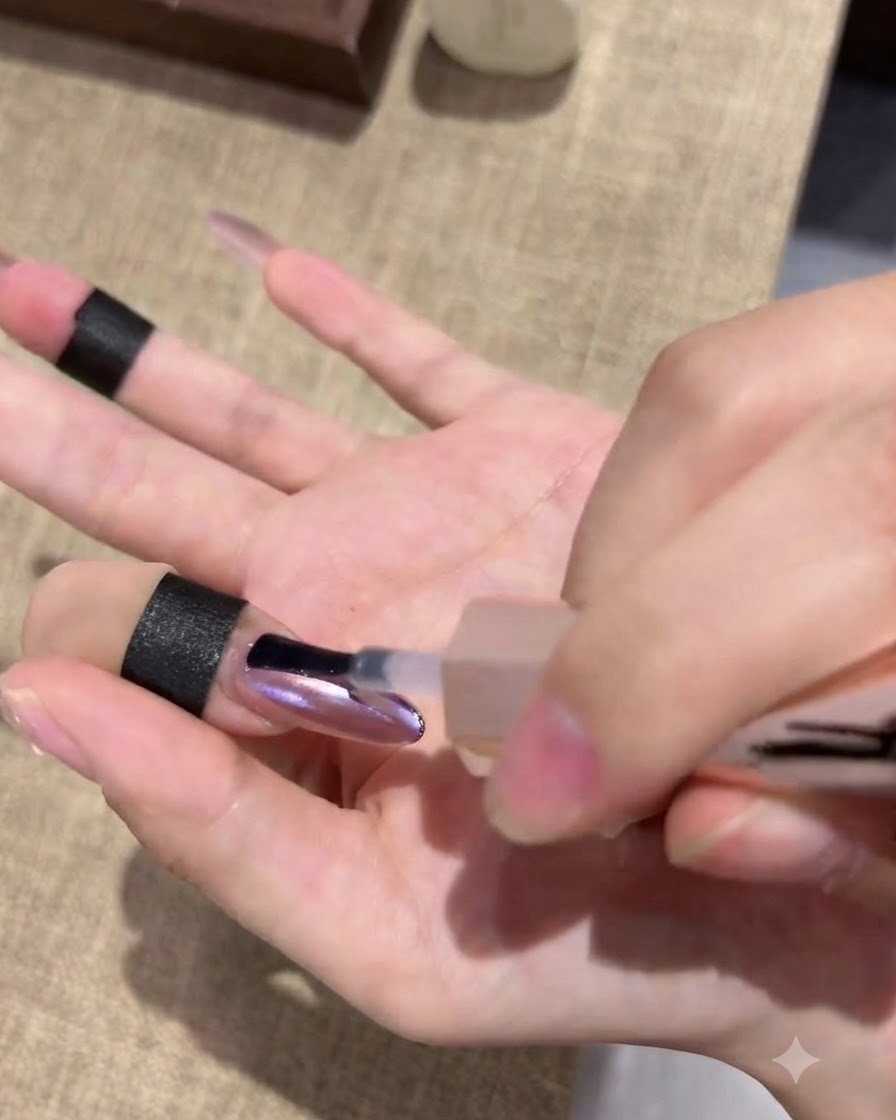
Place the hand under the UV or LED lamp to cure the newly applied silver glitter outline. Curing locks the delicate lines in place, preventing any smudging before the final top coat is applied.
Tip: Make sure the hand is placed flat inside the lamp so all edges receive even UV exposure. - 10Apply sealing top coat
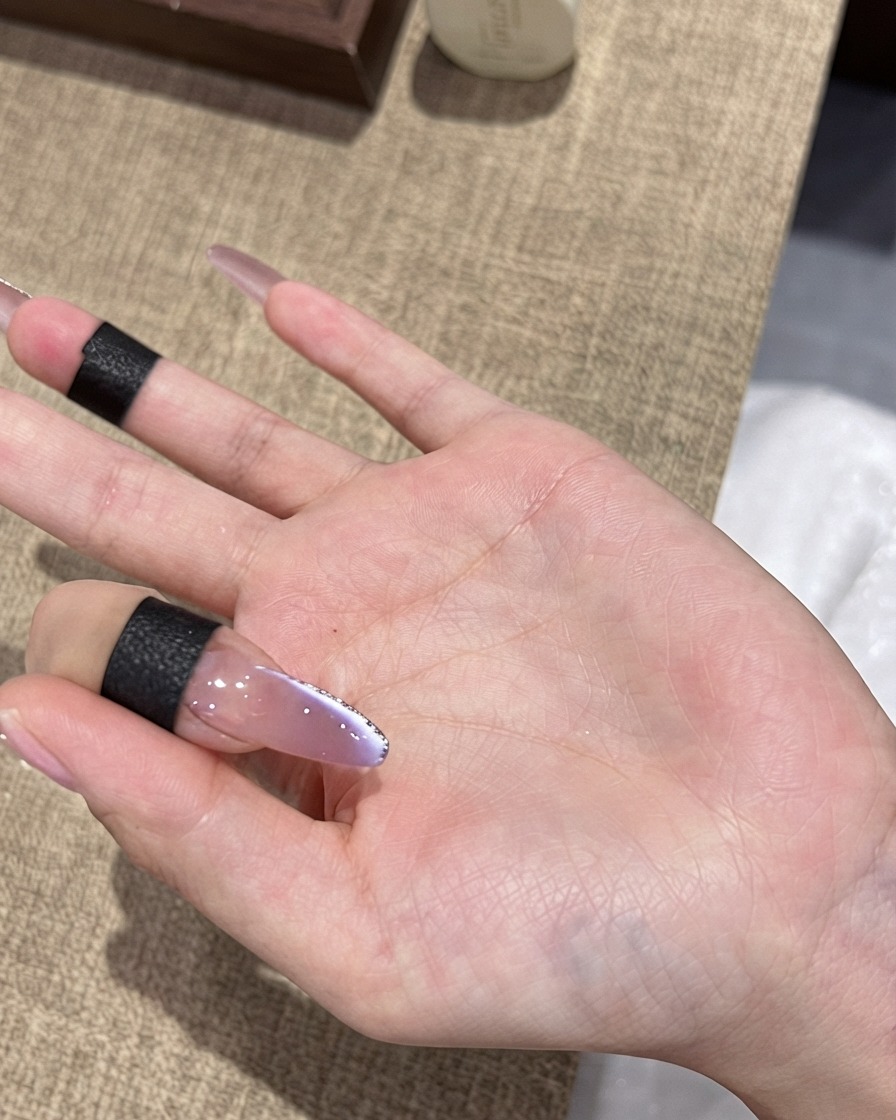
Apply a generous yet even layer of sealing top coat over the entire nail surface, ensuring the free edge is fully capped to seal in the cat-eye and glitter design. Cure completely under the UV or LED lamp according to your product guidelines to lock in high-gloss shine and durability.
Tip: Cap the free edge carefully with top coat to prevent chipping and seal all previous layers together.