Purple Glitter Gradient
Aurora Rhinestones — Winter Gel Nail Tutorial
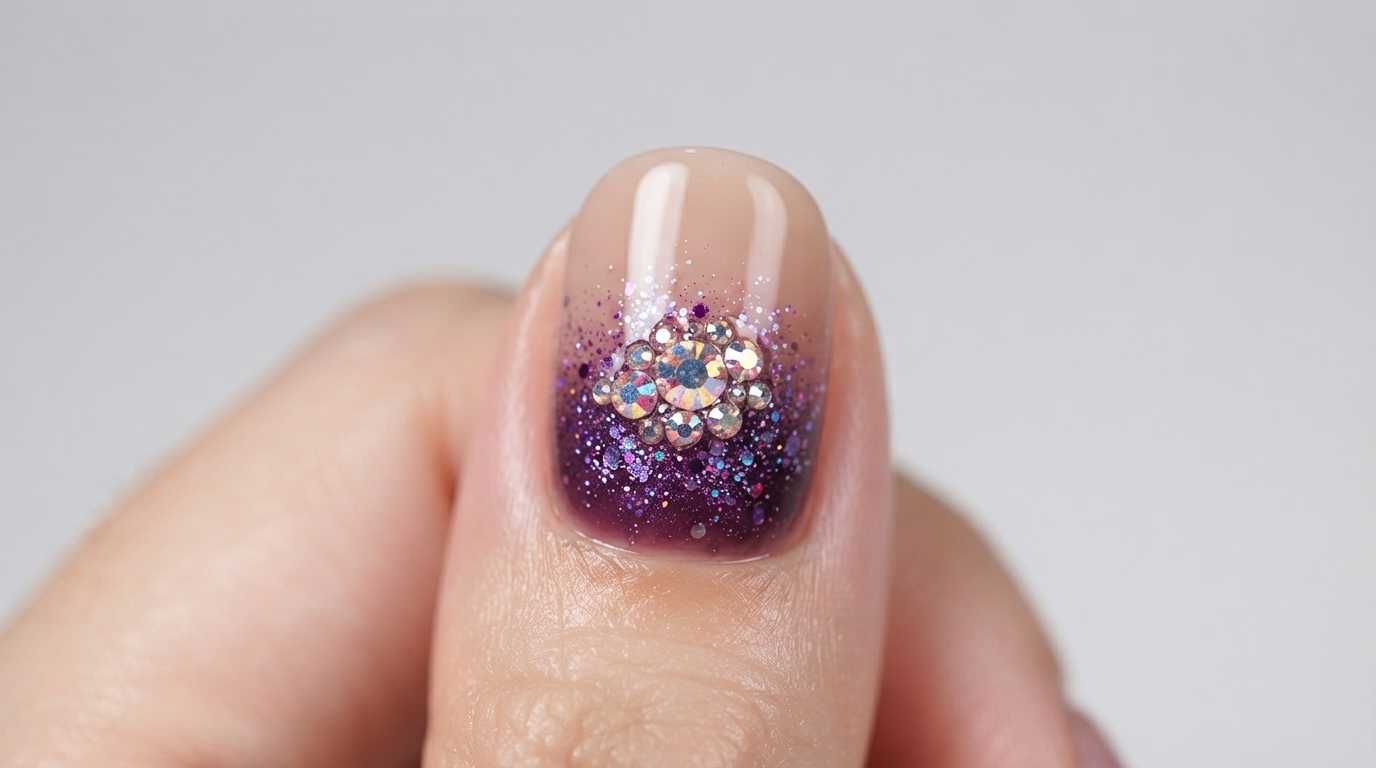
Master a stunning winter gel nail look featuring a dark purple tip, fairy glitter gradient, and sparkling aurora rhinestones centered for a slimming effect.
Winter is all about deep, cozy hues and sparkling accents that catch the light. This gorgeous design pairs a rich purple gradient with iridescent aurora crystals, styled specifically down the center of the nail plate to give your fingers an elongated and flattering look.
Steps
- 1Apply dark purple tip
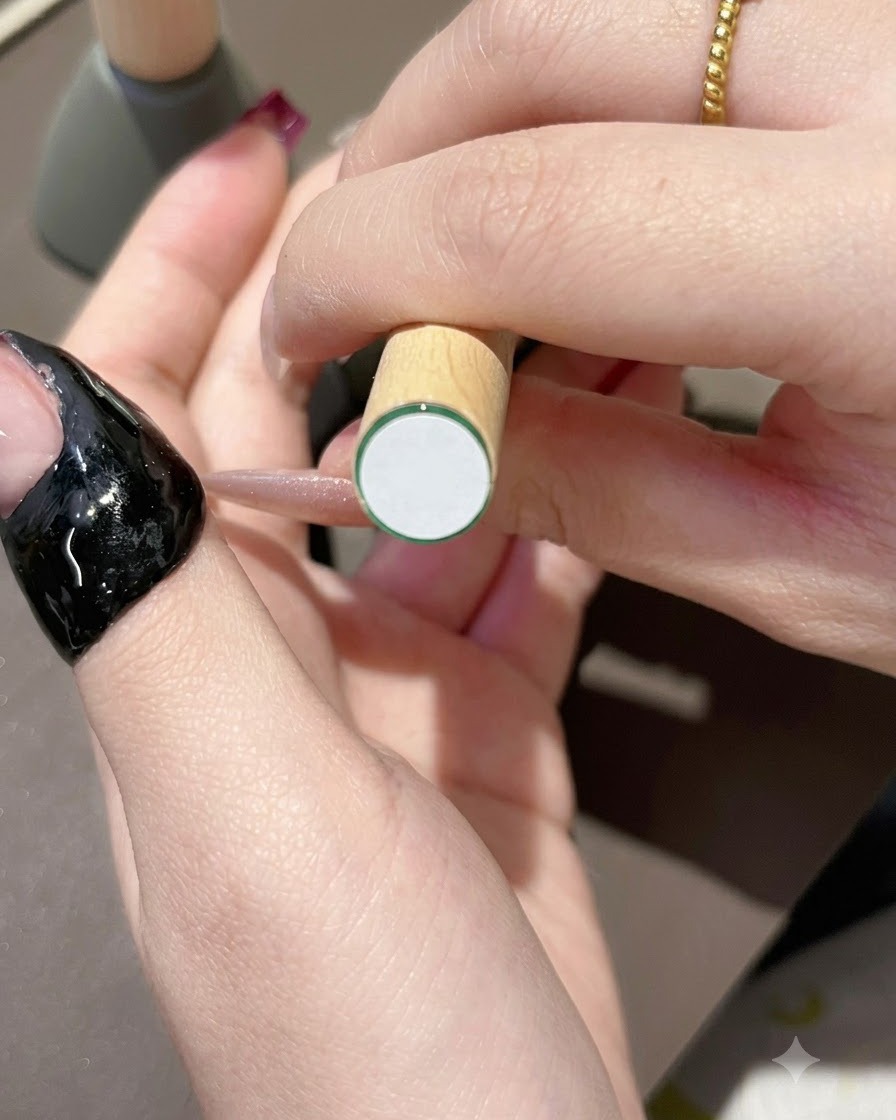
Take the dark purple gel polish and paint it flat across the free edge of the nail to create a solid tip design. Ensure the coverage is even and neat before curing under the lamp.
Tip: Keep your hand steady and use the edge of the brush to create a clean line across the tip. - 2Cure the purple tip
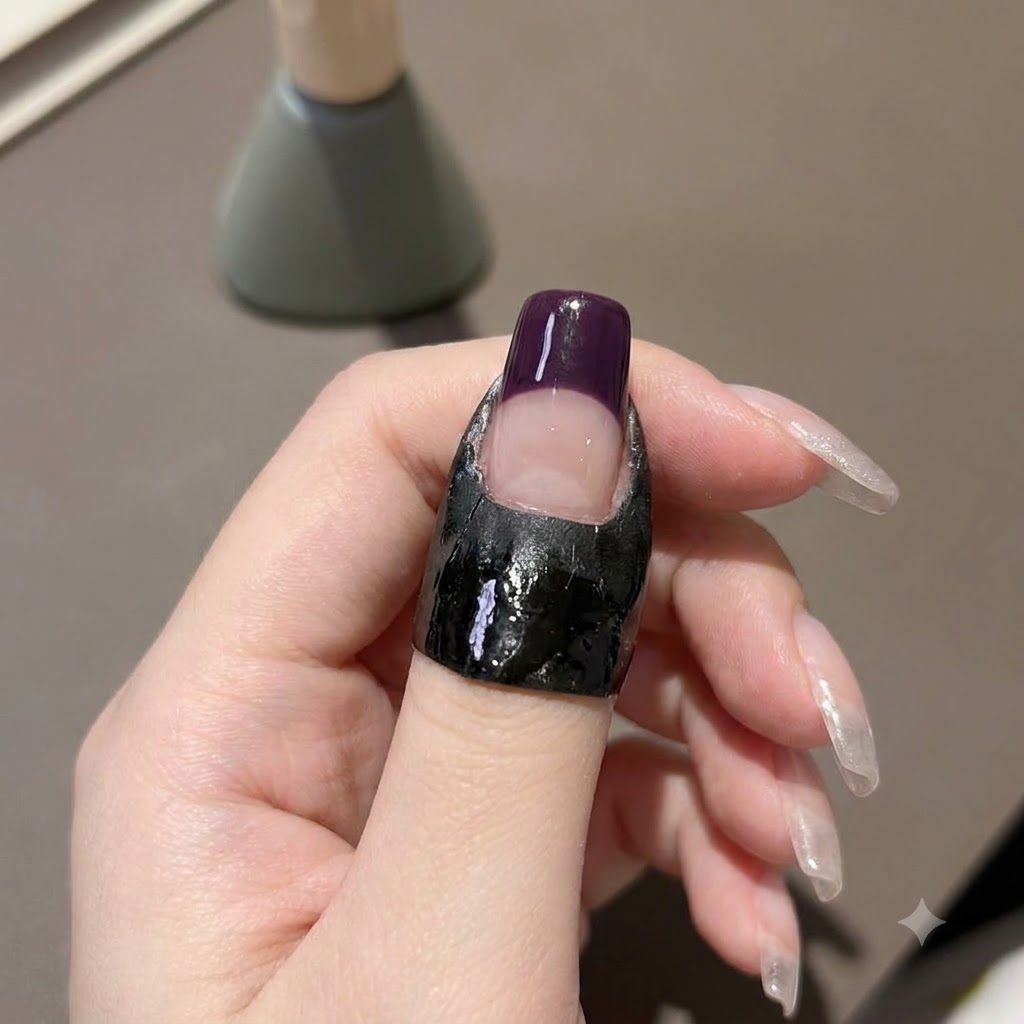
Place the finger under a handheld mini UV or LED lamp to cure the dark purple gel polish applied to the tip. Ensure the light covers the entire tip evenly so the gel hardens properly before moving on to the next layer.
Tip: Hold the mini lamp steady to prevent the wet gel polish from shifting or spilling over onto the clear base while curing. - 3Apply purple fairy glitter
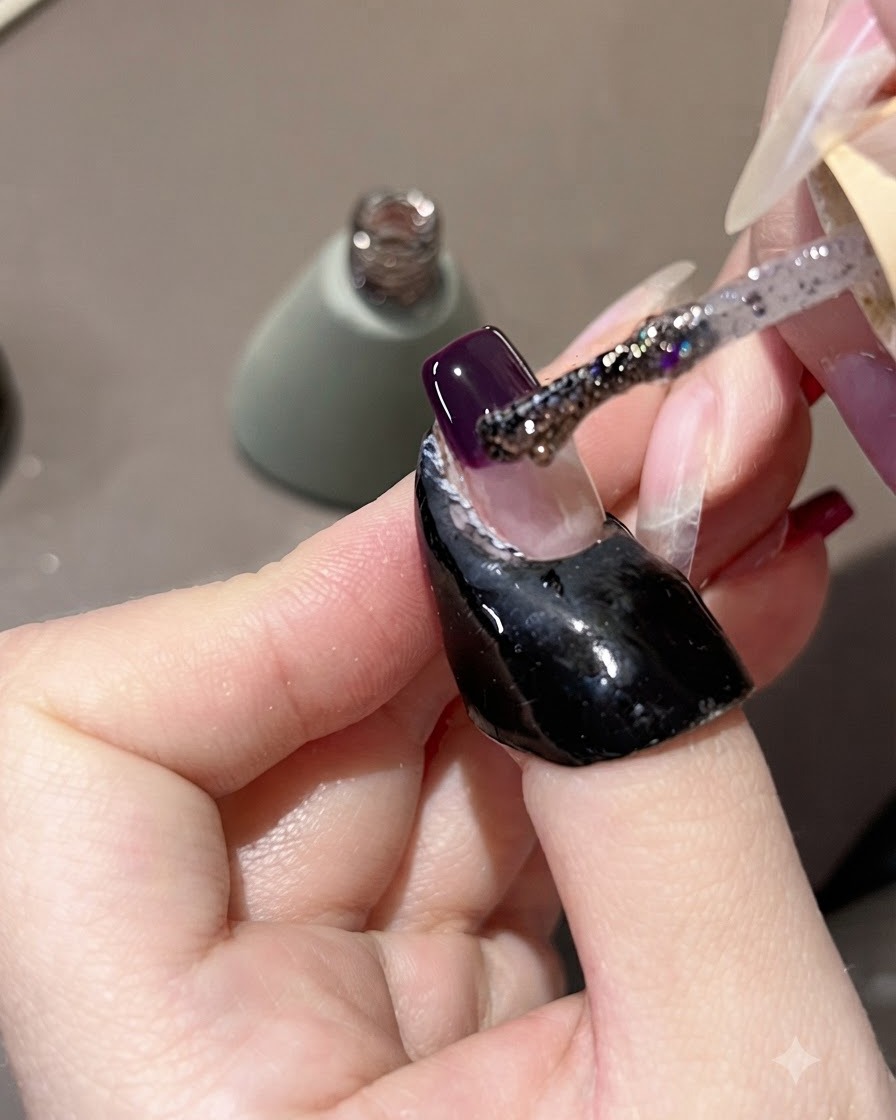
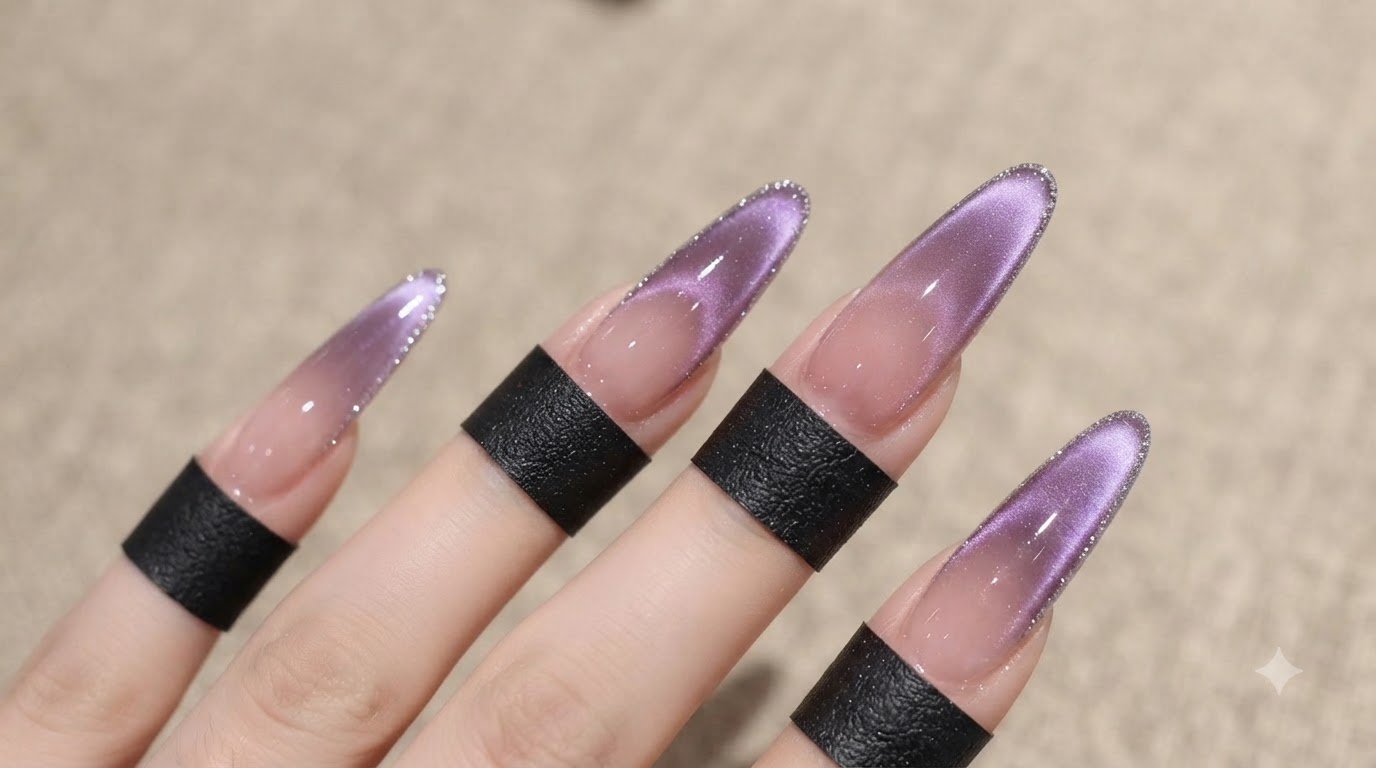
Take the purple fairy glitter gel and brush it directly over the cured dark purple tip, extending the glitter slightly upward toward the center of the nail plate. This builds texture and creates a sparkling layered gradient effect.
Tip: Do not apply the glitter too thickly in one go; a light brush layer ensures the glitter particles distribute evenly without clumping. - 4Blend glitter into a gradient
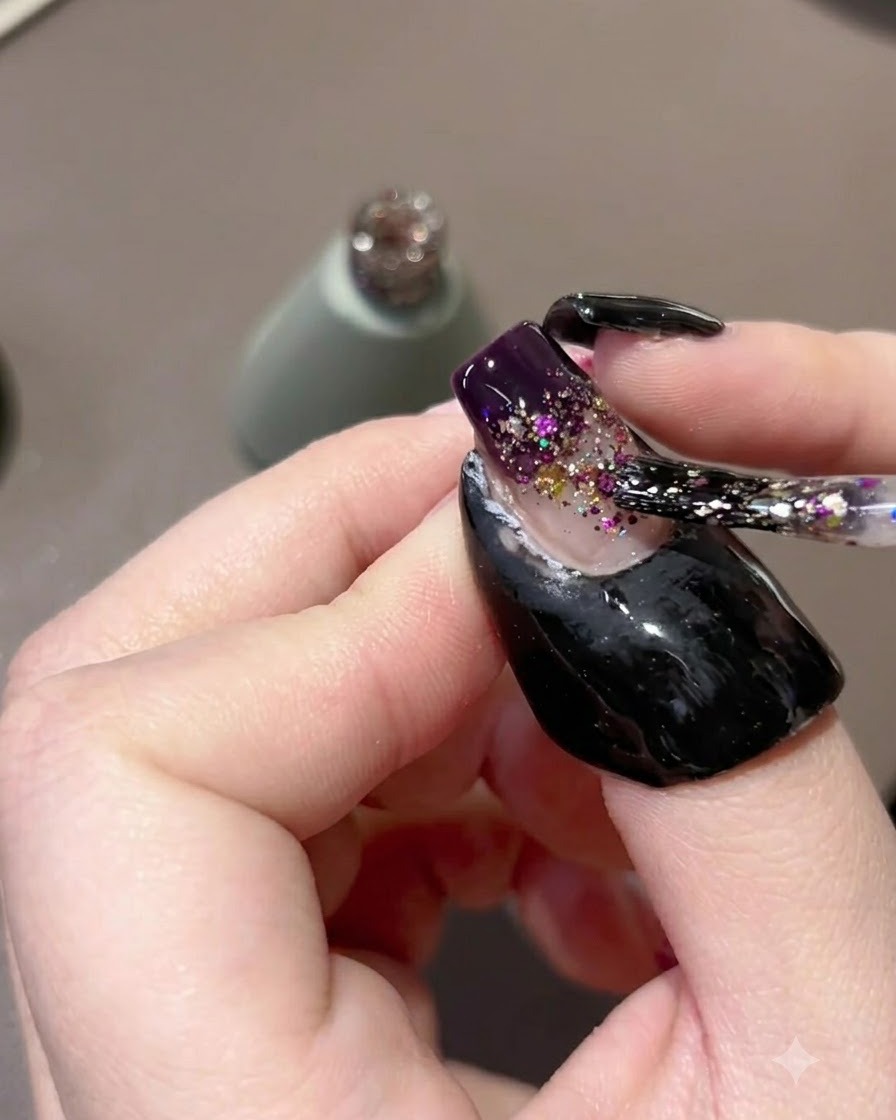
Wipe your brush clean, then gently dab and drag the glitter particles downward toward the cuticle area. This softens the upper edge of the glitter line and transforms the solid tip into a seamless faded gradient.
Tip: Keep the brush nearly flat and use very light tapping motions to disperse the glitter particles smoothly. - 5Apply sticky building gel
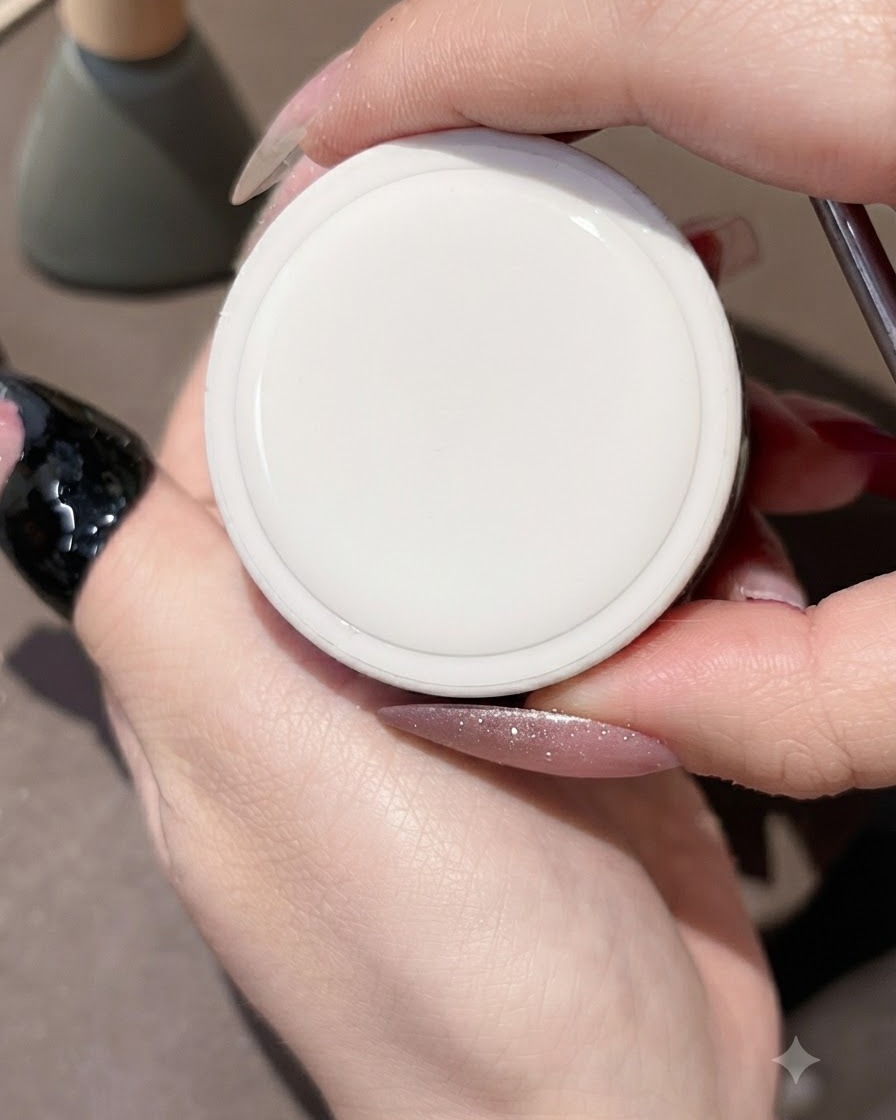
Apply a small dab of clear sticky building gel over the center of the glitter gradient area where you plan to place your rhinestones. This acts as a strong adhesive base to securely hold the decorations in place.
Tip: Use just enough gel to anchor the crystals without overflowing onto the surrounding nail surface. - 6Select aurora rhinestones
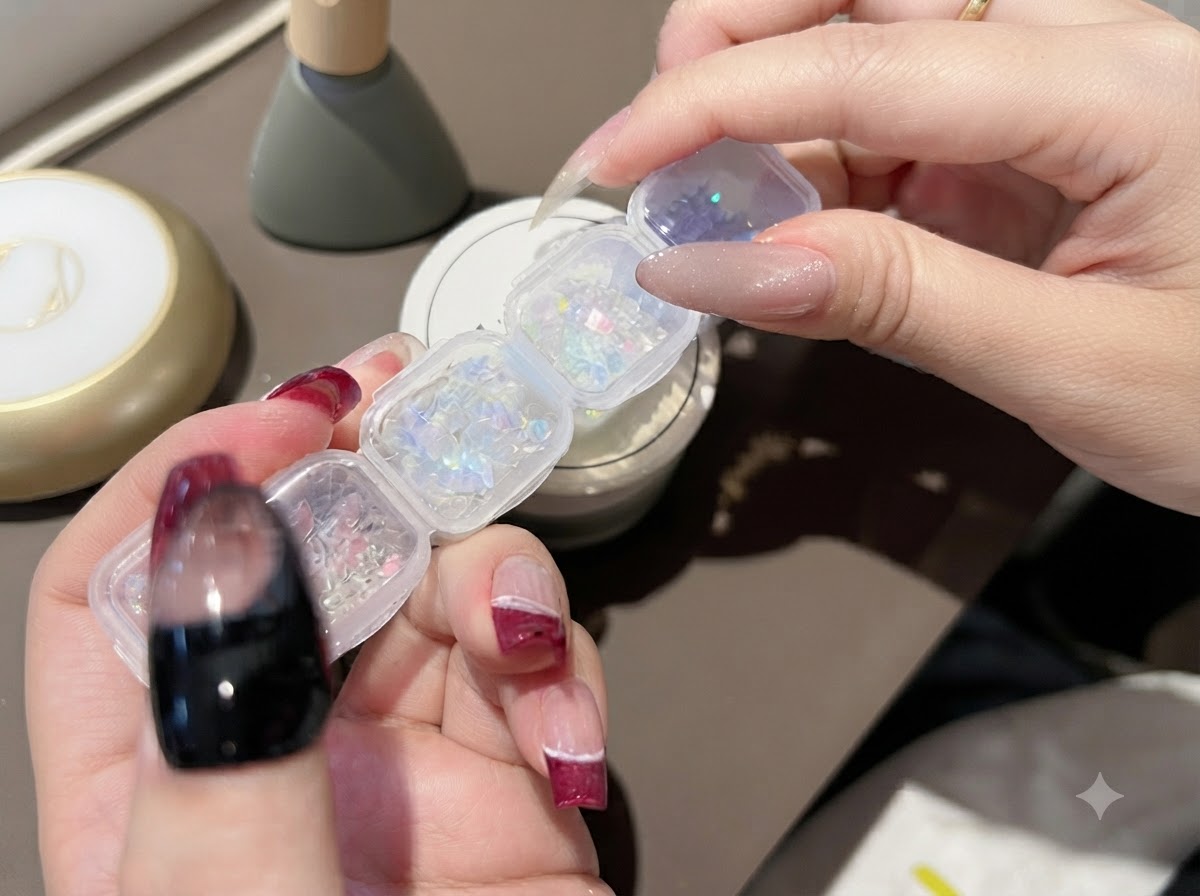
Use a pair of precision tweezers to select and pick up iridescent aurora rhinestones from a multi-compartment storage container. Choose crystals that complement the purple winter tones of your design.
Tip: Keep your rhinestones organized by size and shape in the container so you can quickly pick the best match for the center of the nail plate. - 7Place aurora rhinestones
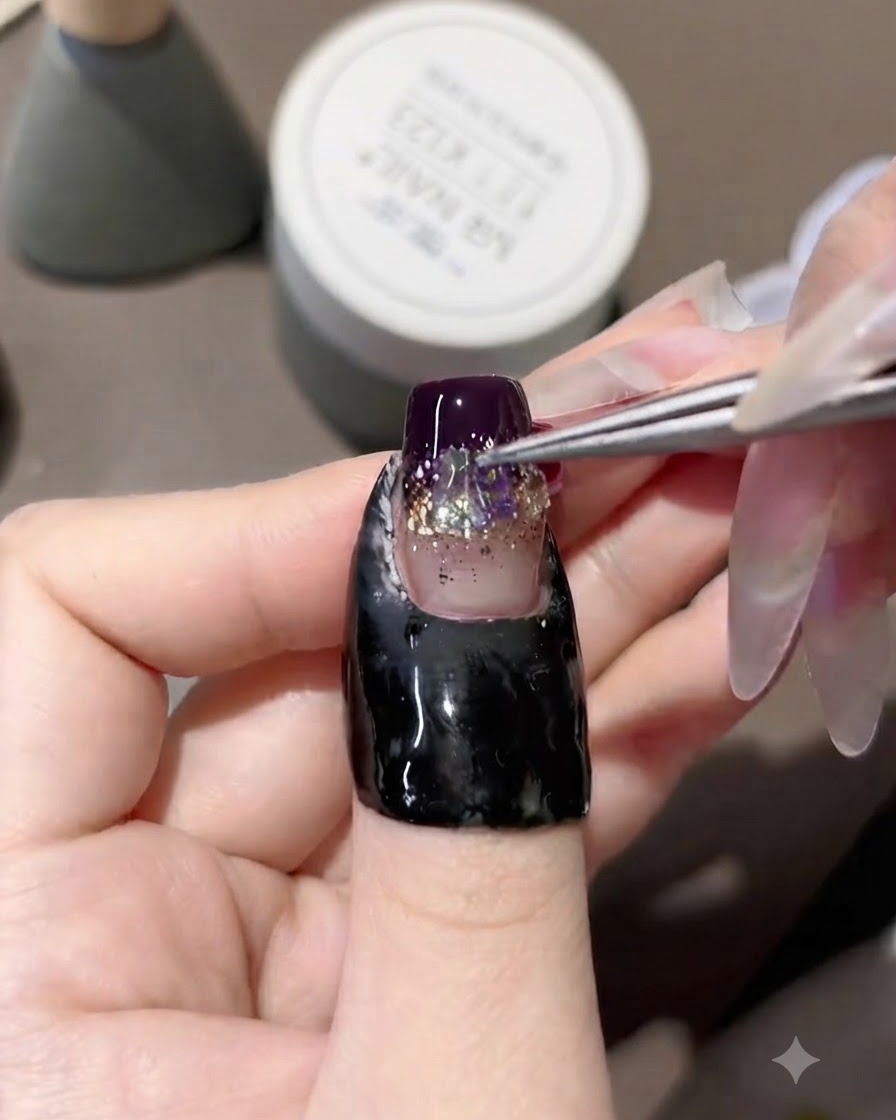
Using a pair of precision tweezers, carefully pick up aurora rhinestones and place them directly onto the uncured sticky gel. Concentrate the placement down the center of the nail plate rather than spreading them across the entire width. This central alignment visually slims the nail and prevents the overall shape from looking too wide or bulky.
Tip: Placing rhinestones strictly in the middle creates a flattering optical illusion that elongates and narrows the appearance of the nail. - 8Cure the rhinestone placement
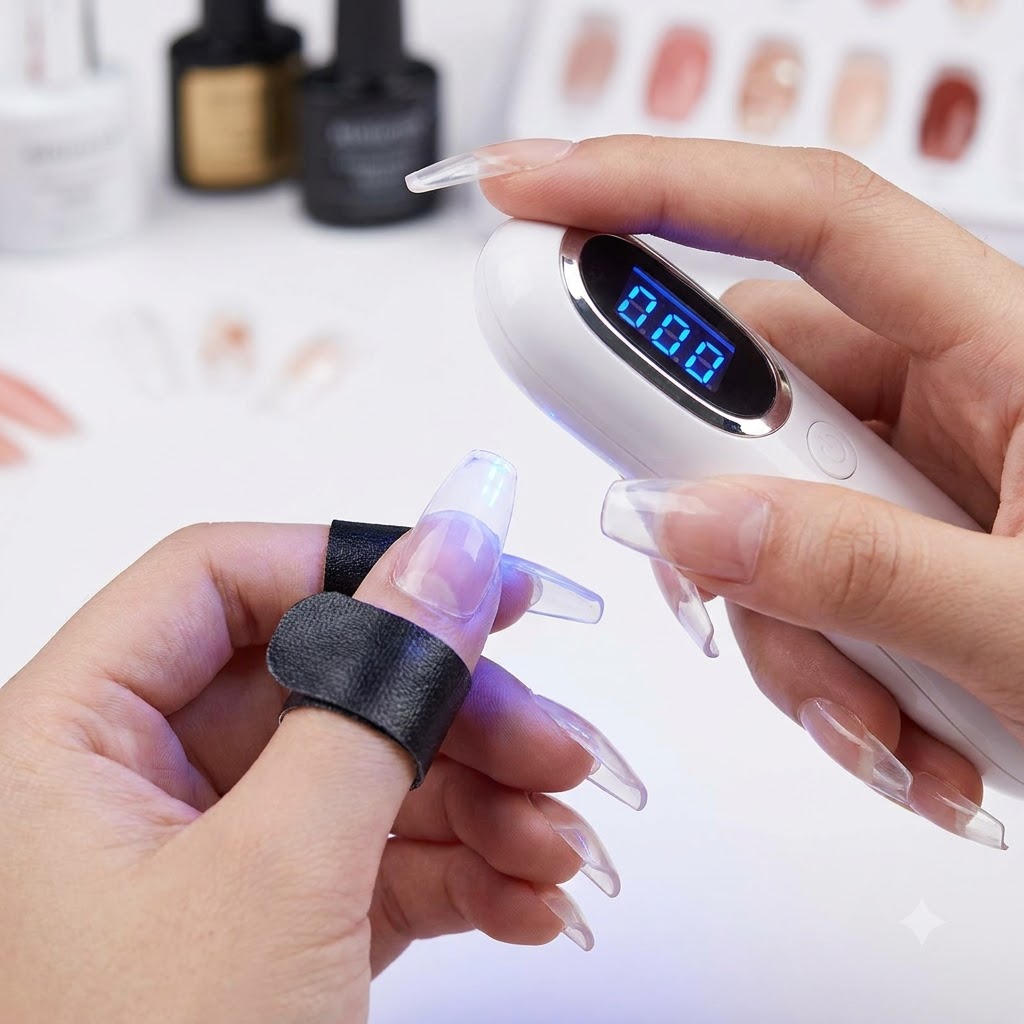
Position a handheld mini UV/LED lamp directly over the decorated nail to flash-cure and lock the newly placed rhinestones into position. Hold the lamp steady until the sticky gel sets securely, ensuring the gems will not shift or slide.
Tip: A handheld mini lamp is ideal for securing small decorations individually without them shifting before a full cure. - 9Seal around rhinestones with gap-filling gel
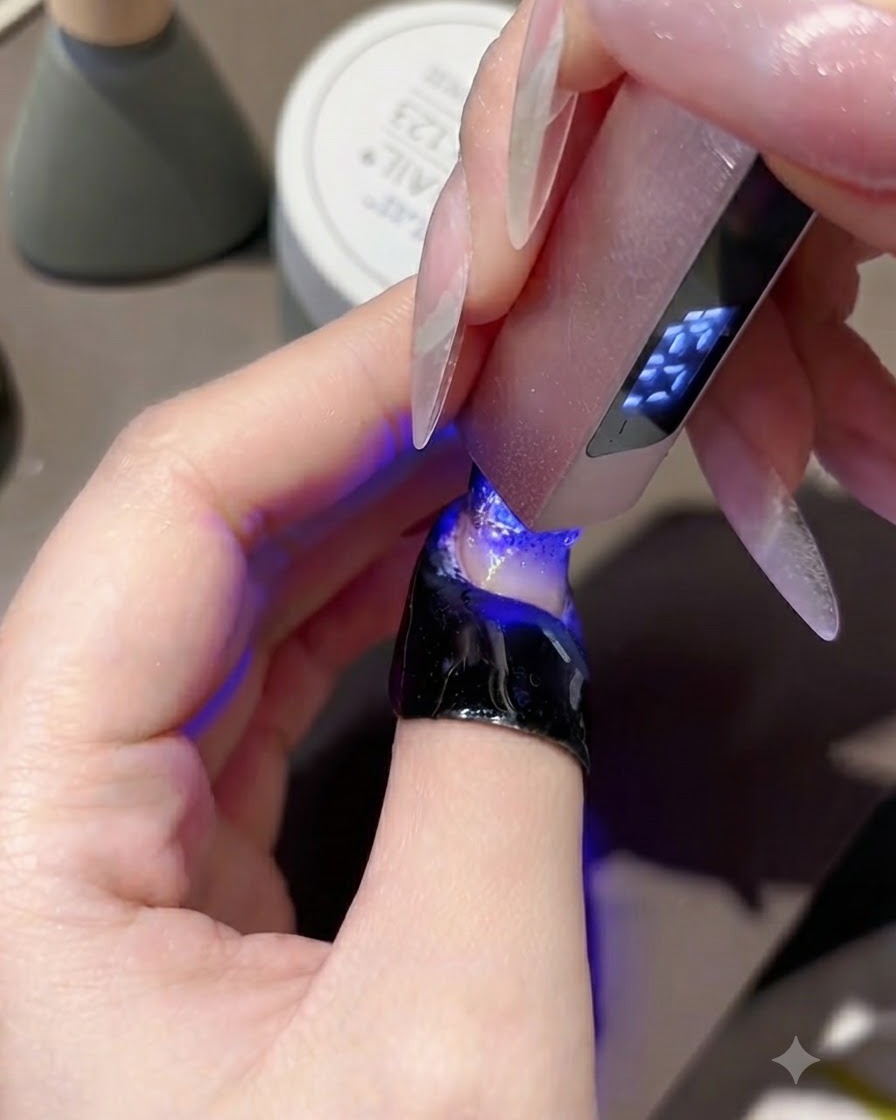
Using a fine detail brush or precision tip, apply a gap-filling gel all around the perimeter and edges of the embedded rhinestones. This locks the stones firmly in place, prevents snagging on clothing or hair, and ensures they will not pop off. Flash cure under a portable UV/LED lamp to set the sealing gel immediately before a full cure.
Tip: Always seal the edges of rhinestones completely; failing to fill the gaps around the base is the main reason gems fall off prematurely.