Foggy Purple Mint Water Cat Eye Nails — Summer Limited Tutorial
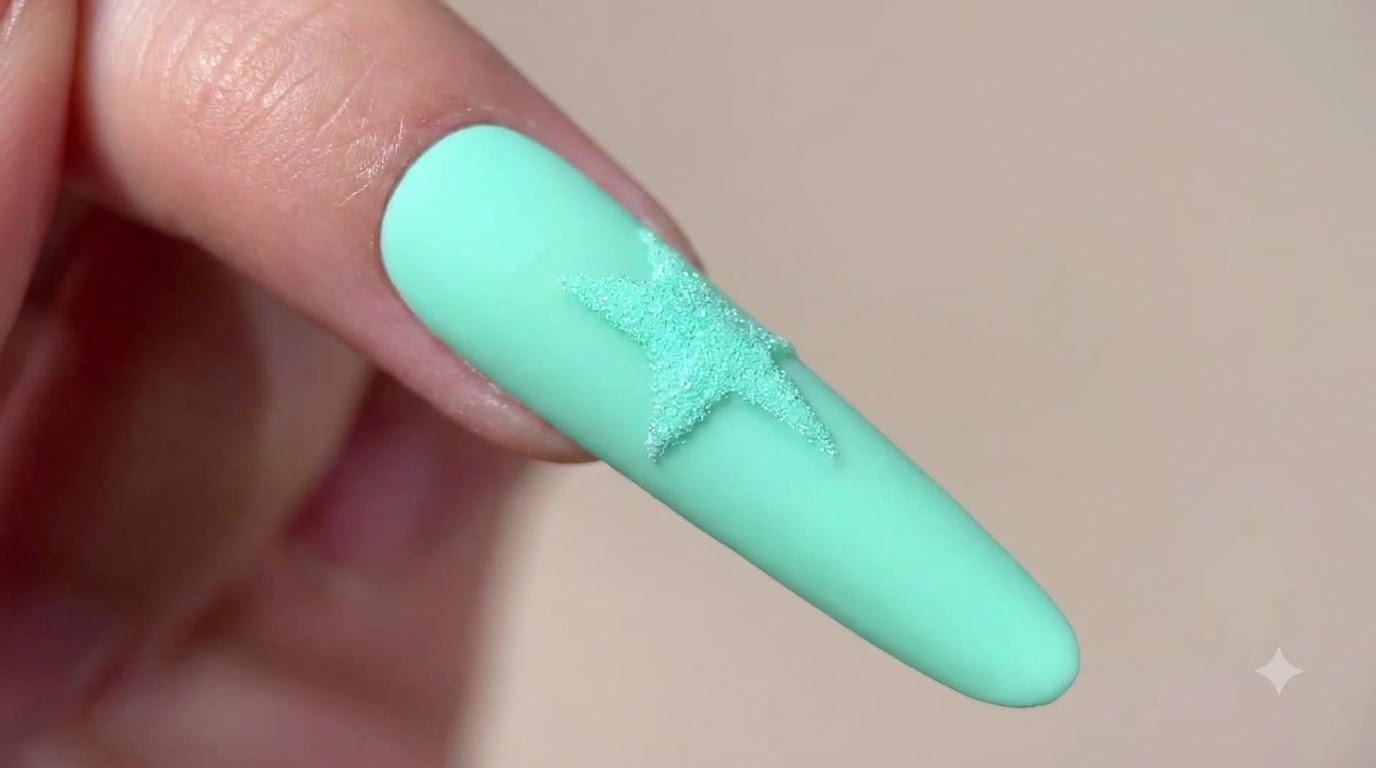
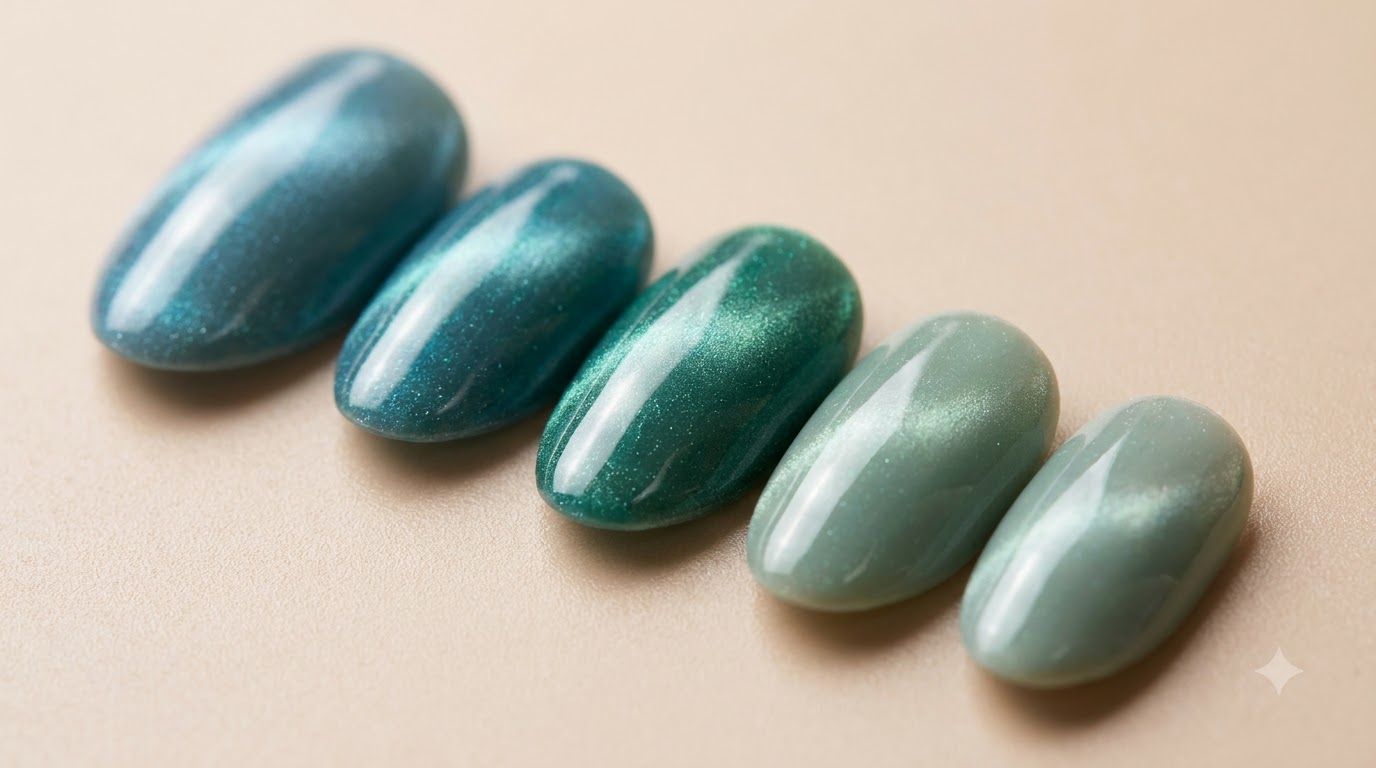
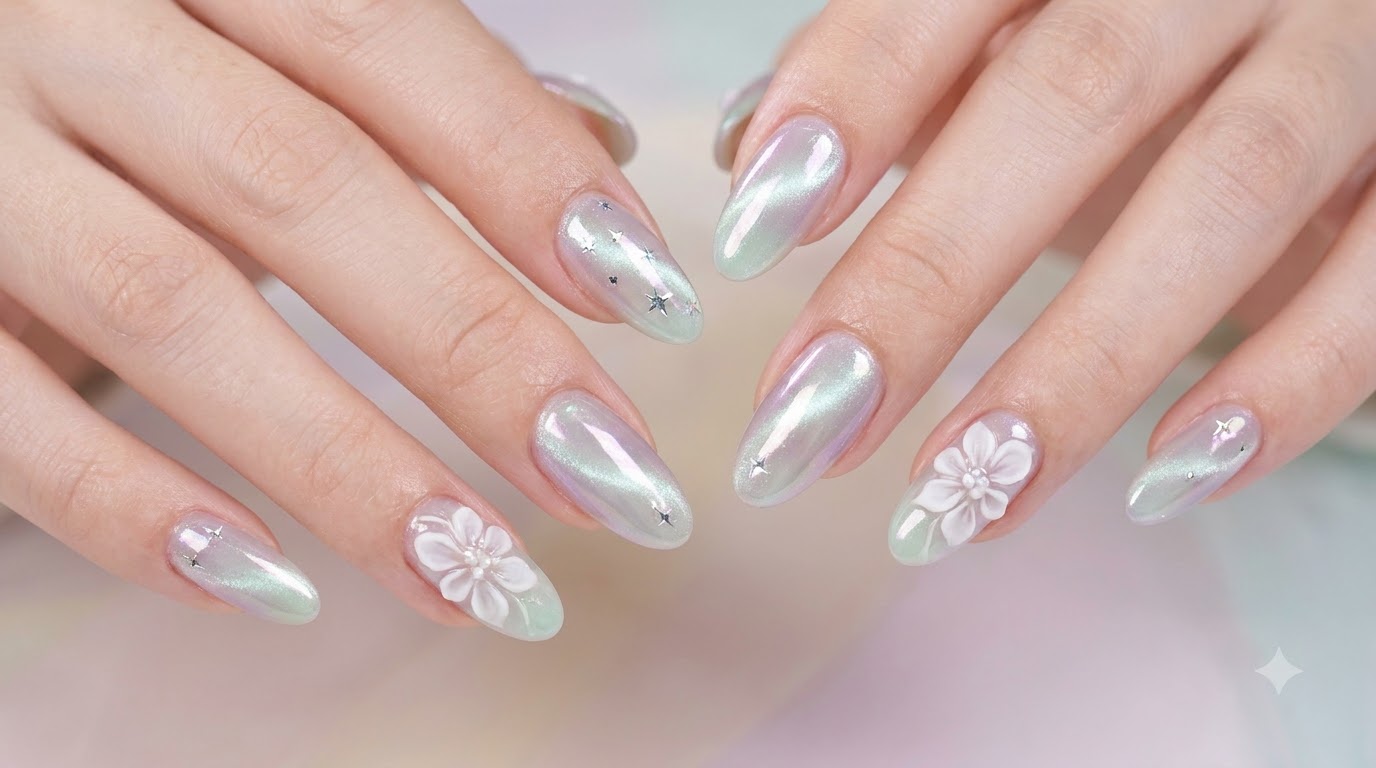
Create enchanting summer mint green and foggy purple cat eye nails featuring 3D sculpted floral art, mirror chrome finishes, and delicate star details.
This summer-limited nail design blends mystical cat eye reflection with soft pastel tones, chrome aurora finishes, and intricate 3D floral accents. Perfect for adding an ethereal, high-fashion touch to your seasonal manicure rotation.
Steps
- 1Mix custom gel colors
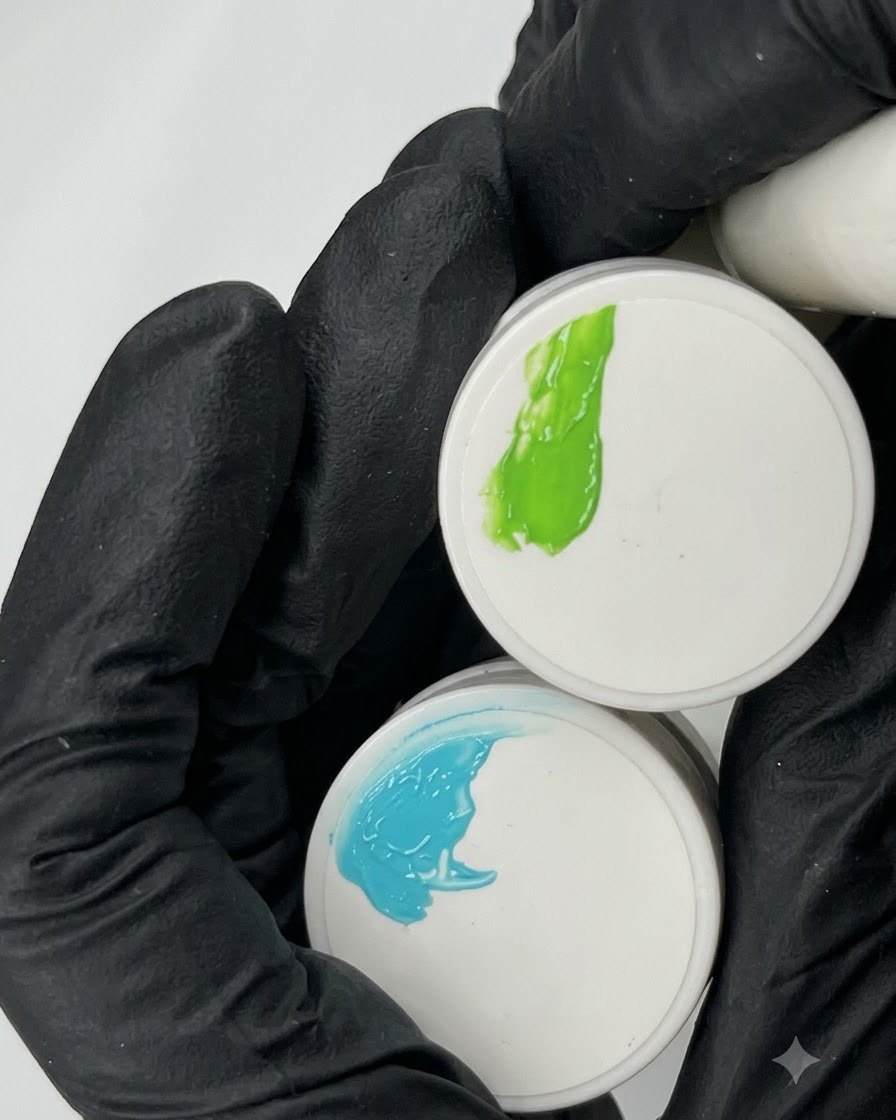
Take teal, green, and light blue gel colors and prepare them on your palette using a gloved hand to keep your workspace clean and professional. Having your color palette ready makes the subsequent application steps much smoother and ensures consistent blending.
Tip: Always prepare all your gel colors on the palette before starting the nail application so you dont have to pause mid-design. - 2Display Bouvo gel polish bottles
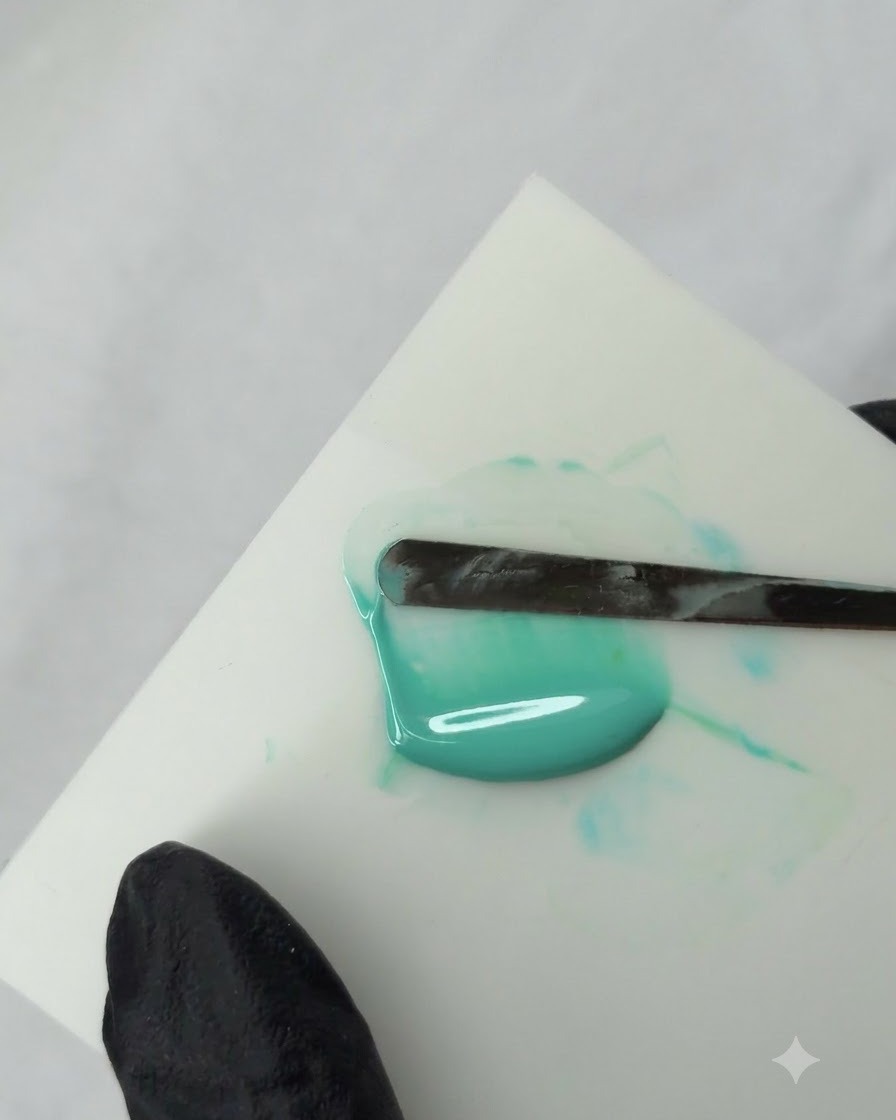
Gather and display the specific gel polish bottles needed for the next phase of the application, including the Bouvo P16 and N04 gels. Having your products organized and ready within reach streamlines the workflow and ensures efficient execution.
Tip: Keep product bottles tightly closed when not in use to prevent accidental spills or exposure to UV light sources. - 3Buff the practice nail tip
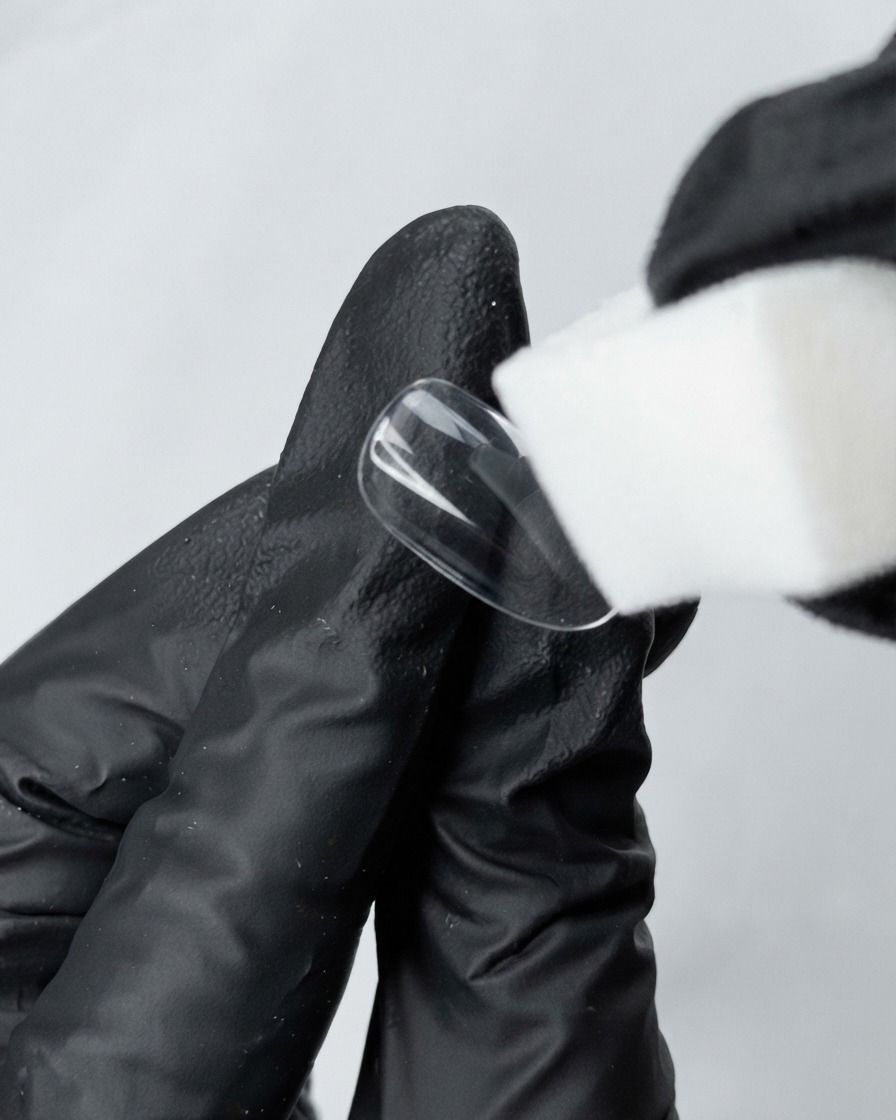
Begin by preparing the clear practice nail tip. Use a white sponge buffer block to gently buff the entire surface of the nail. This removes the smooth finish and creates a slightly textured surface, ensuring the gel base coat and color adhere properly for a long-lasting result.
Tip: Make sure to buff evenly across all areas of the nail, paying attention to the sidewalls and free edge. - 4Apply sheer purple gel polish
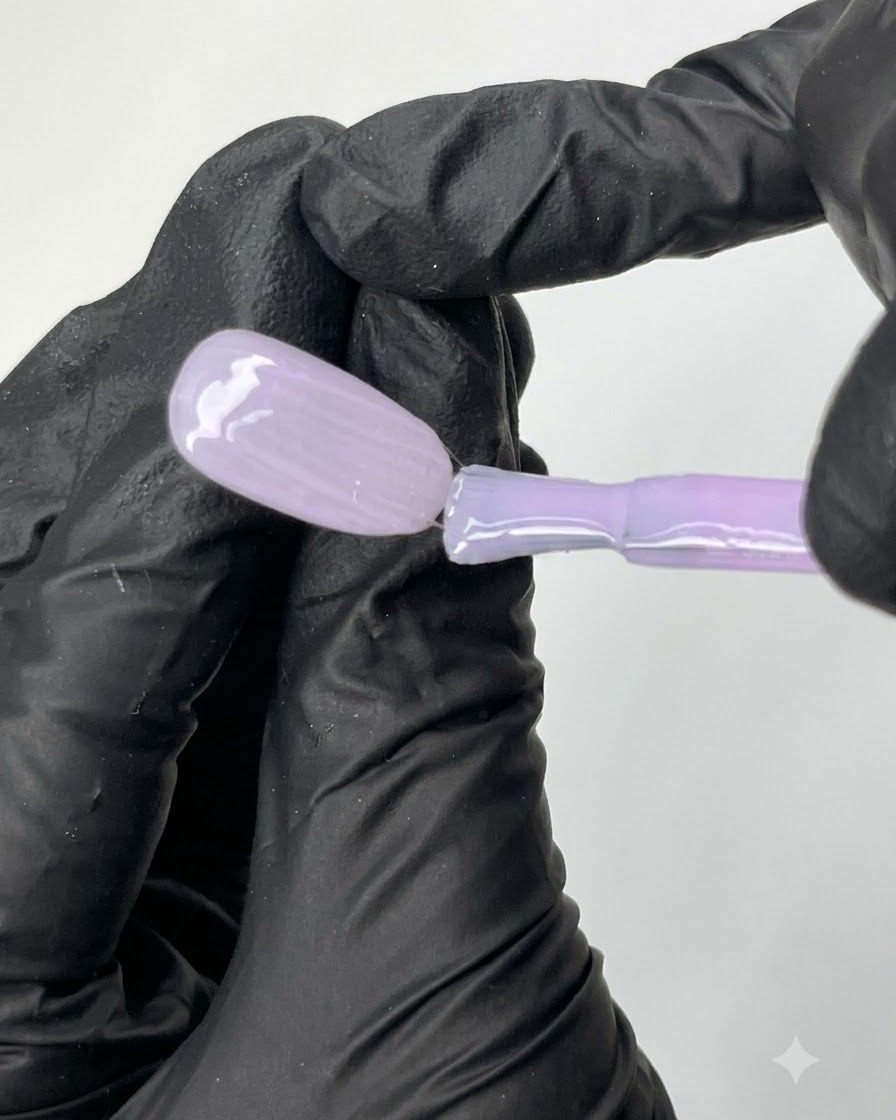
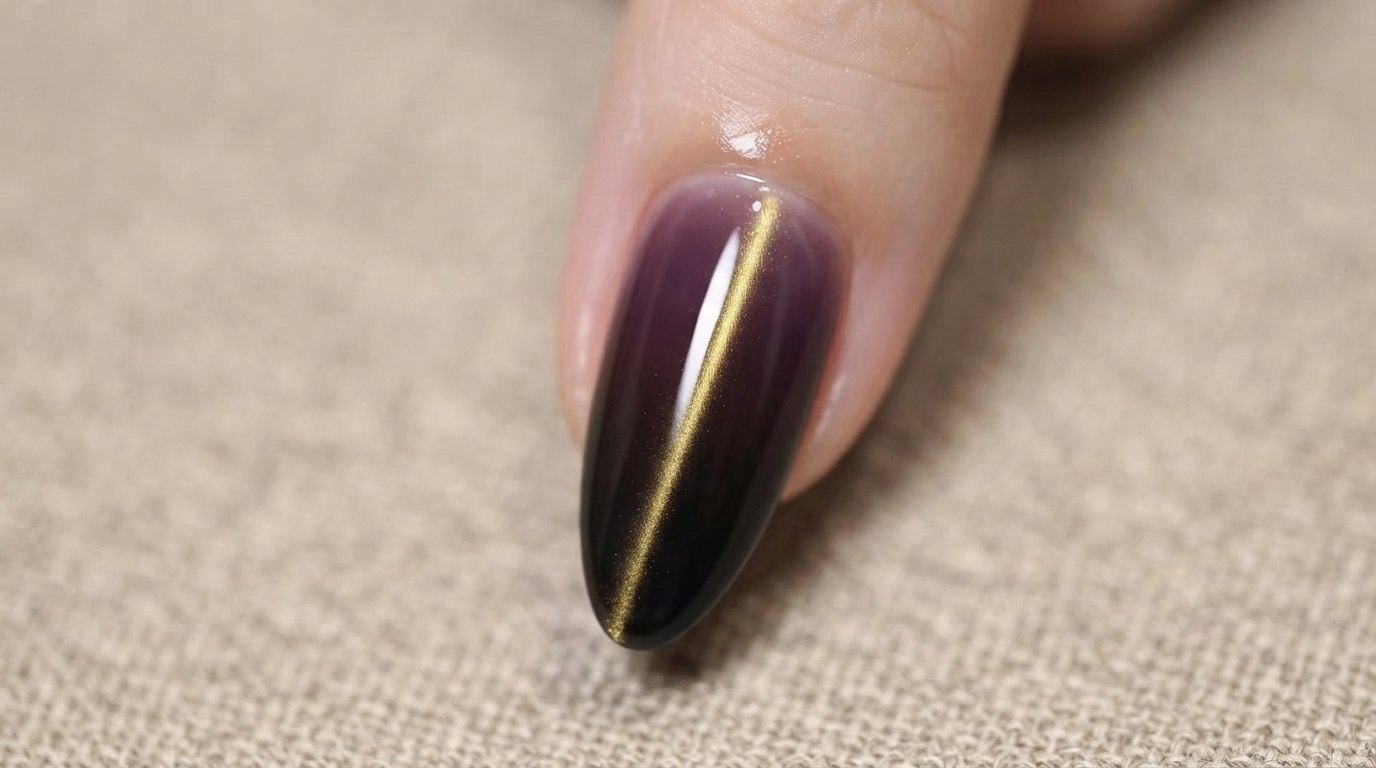
Using a flat brush, take the N04 sheer purple gel polish and apply an even, smooth layer across the entire surface of the practice nail tip. Ensure the color is distributed uniformly without pooling at the edges or cuticle line before proceeding to cure.
Tip: Apply sheer colors in thin, controlled strokes to prevent streaking and ensure an even translucent finish. - 5Create cat eye magnetic effect
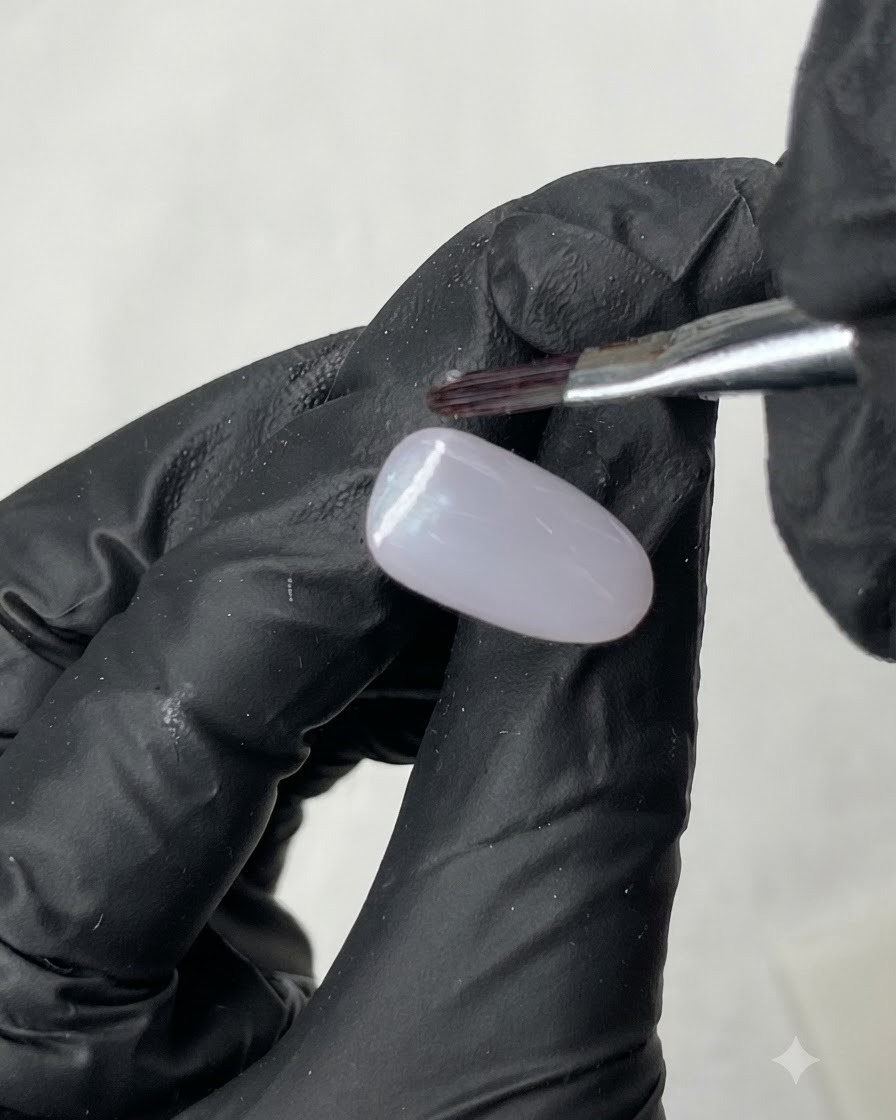
Hold a magnetic wand close to the purple gel surface to pull the magnetic particles and create a dimensional cat eye light reflection effect, then cure under the lamp. This technique adds depth and a glowing mystical sheen to the base color.
Tip: Keep the magnet steady and close to the nail for a few seconds to achieve a sharp, crisp light line. - 6Paint delicate white abstract linework
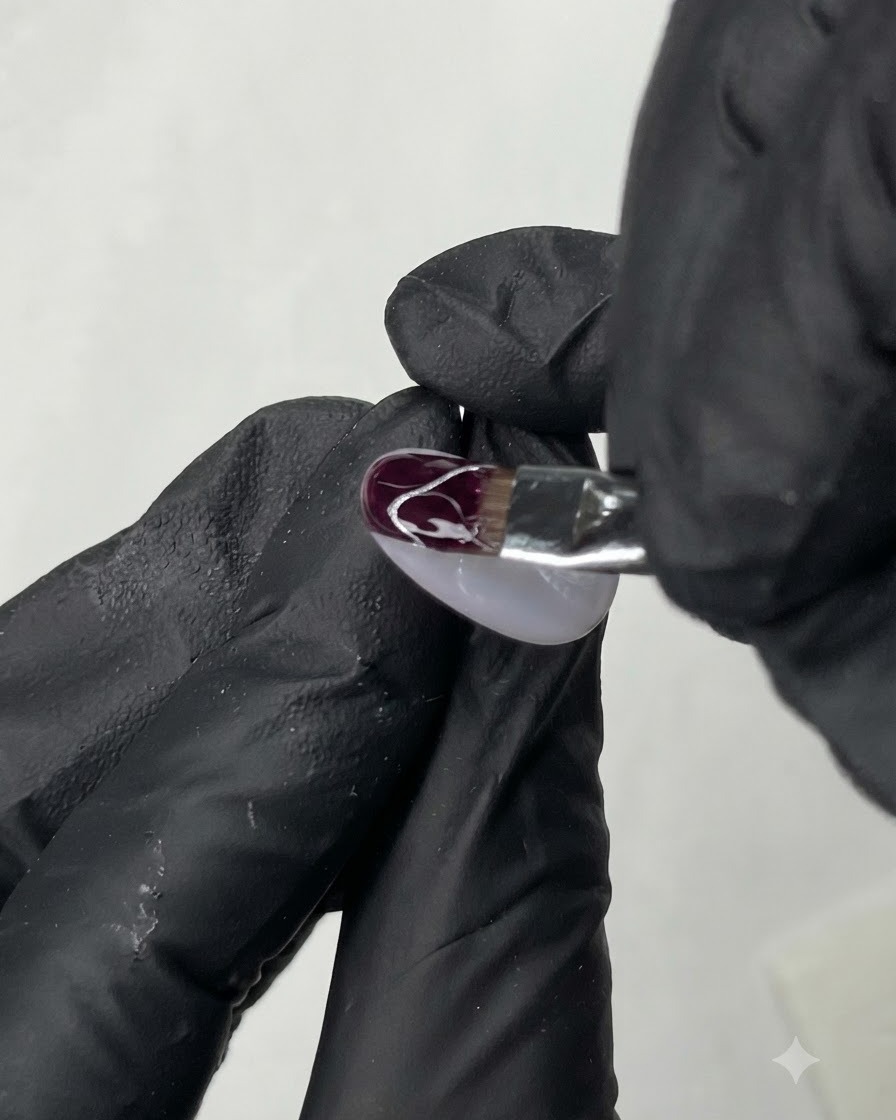
Apply a fresh layer of clear gel to create a smooth working surface, then dip a fine liner brush into white gel. Carefully draw intricate and delicate white abstract wavy lines across the nail to build dimensional texture and artistic depth.
Tip: Maintain a light hand and use the tip of the fine liner brush to ensure the lines remain crisp and thin. - 7Scoop clear building gel
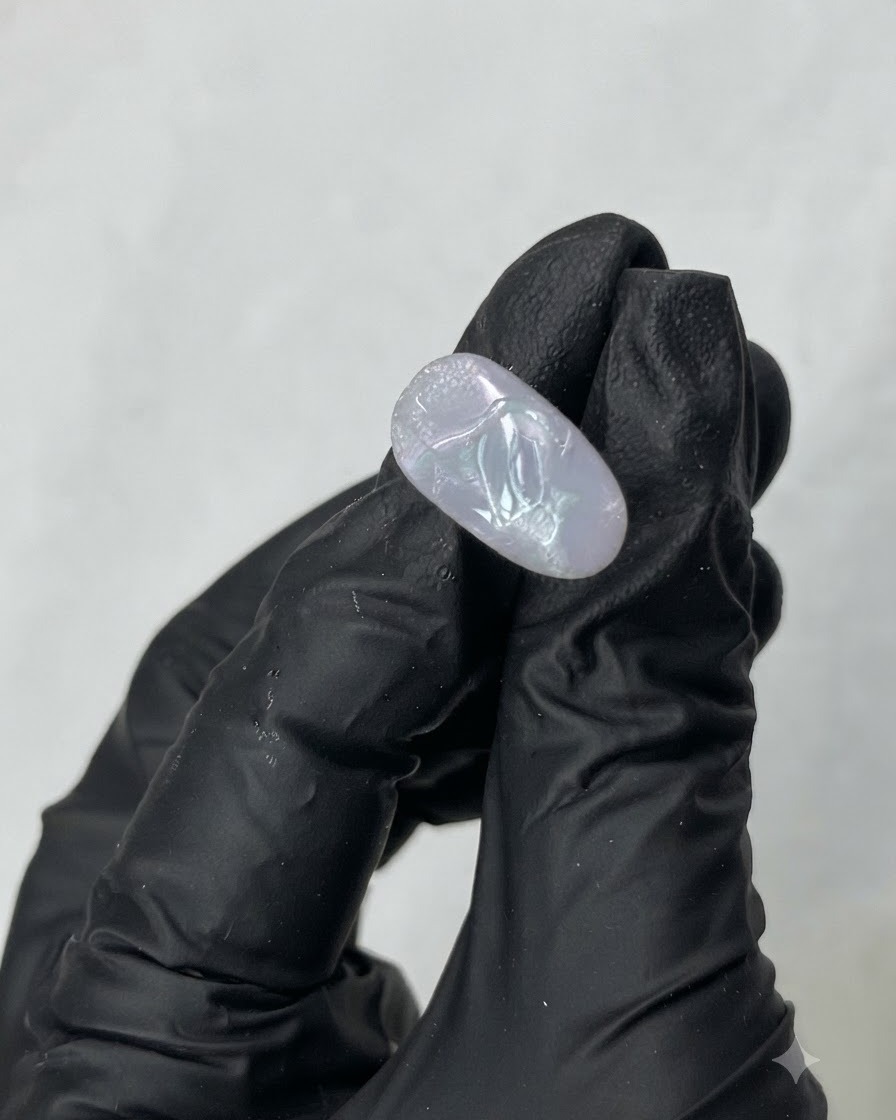
Using a specialized application tool or spatula, scoop a controlled amount of clear M01 building gel directly from the storage jar. This clear gel will be utilized for encapsulation or building structural elements over the nail art design.
Tip: Scoop only the required amount of building gel to avoid product waste and keep your workspace clean. - 8Apply mirror powder for an aurora finish
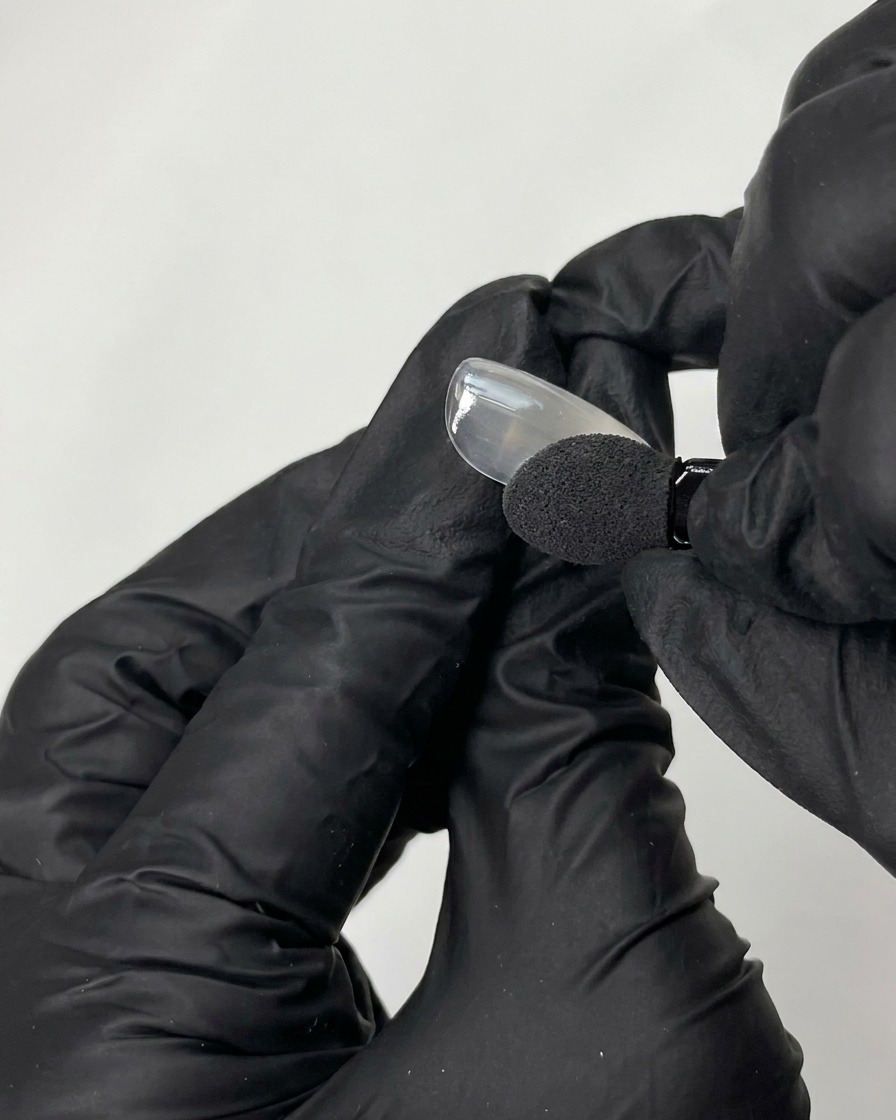
Take a sponge applicator and gently rub mirror powder 17 onto the cured nail surface. Buff the powder thoroughly across the entire nail until a smooth, high-shine aurora chrome finish appears.
Tip: Ensure the gel surface is fully cured and free of tackiness before applying powder so it buffs to a mirror-like shine. - 9Position holographic dots and cure
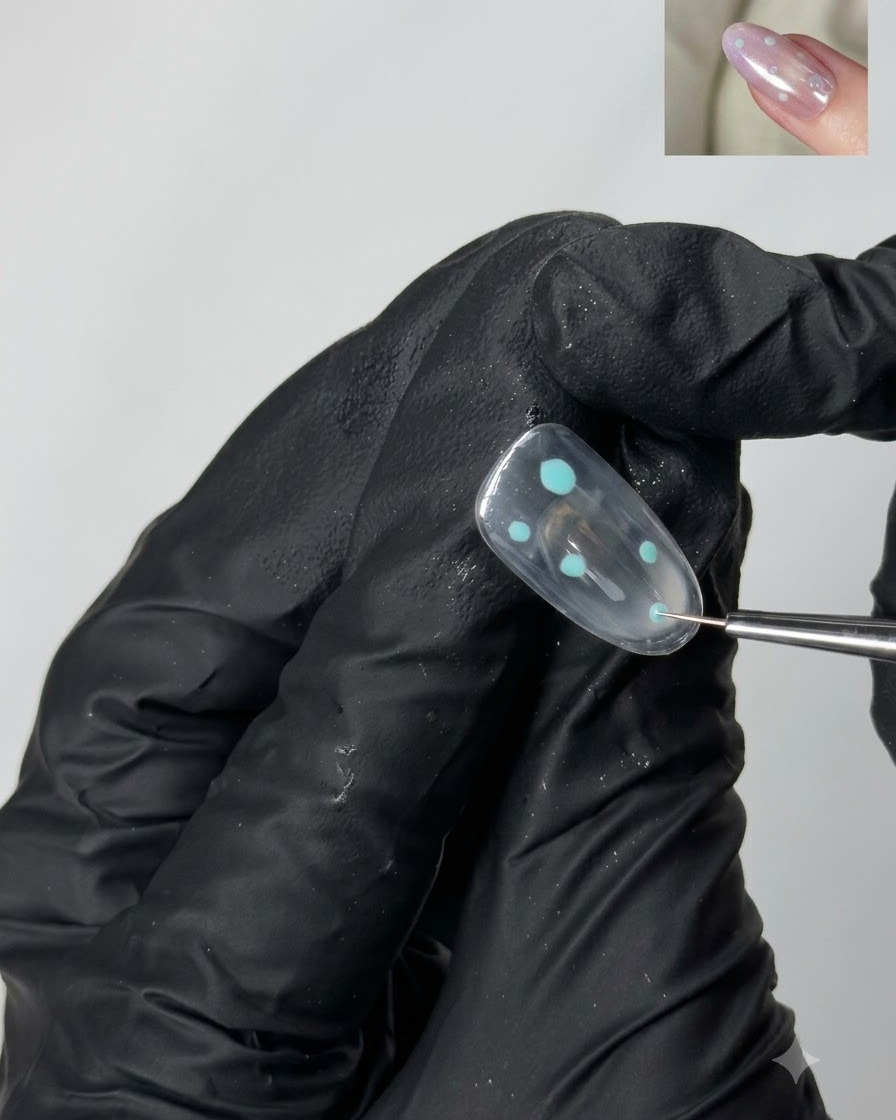
Apply a layer of clear gel and use a fine liner brush to place small dots or details, then cure the nail under a mini UV/LED lamp. Positioning these elements carefully creates a rich, layered texture across the nail design.
Tip: Flash-cure individual elements if they tend to shift before you can place the entire design layout. - 10Apply sealing top coat
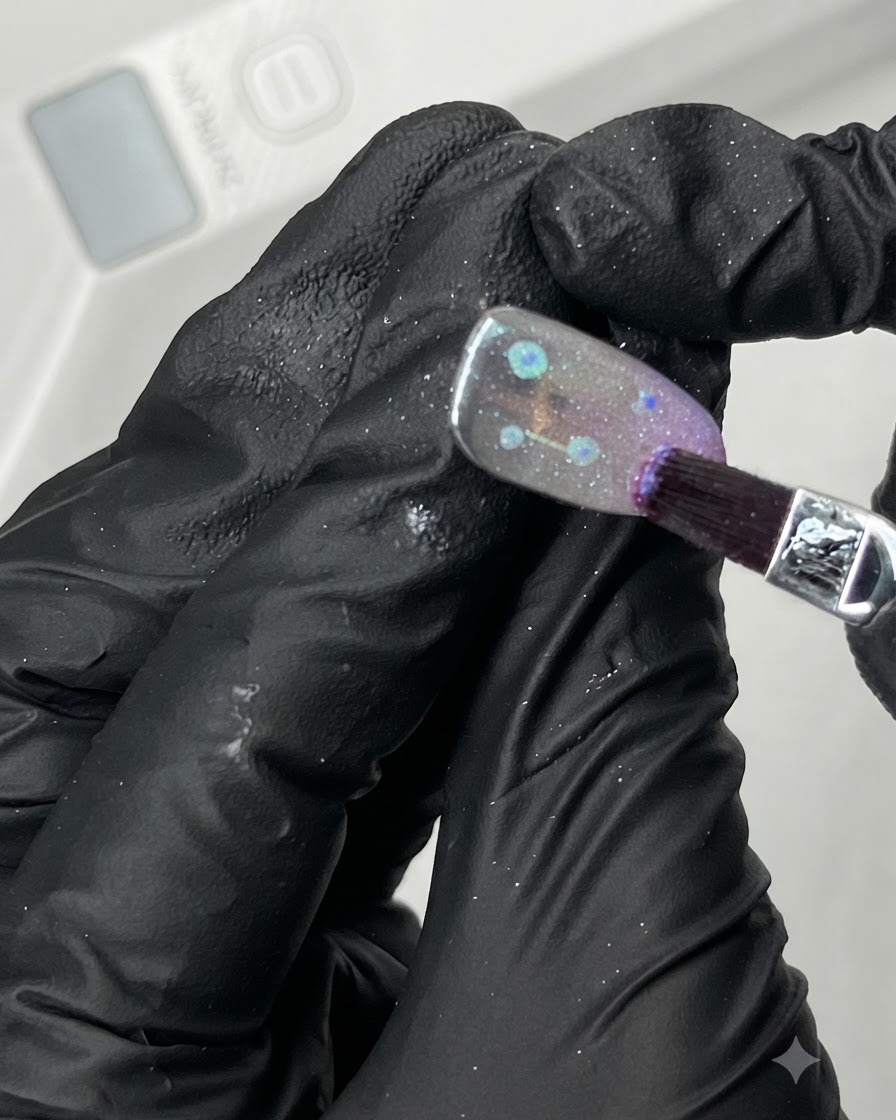
Apply a sealing top coat evenly over the decorated nail using a flat brush to lock in all the embedded art and mirror finishes, then cure under the lamp. This final protective layer ensures long-lasting durability and deep glossy shine.
Tip: Seal the free edge carefully with top coat to prevent chipping and lifting over time. - 11Build 3D crystal relief details
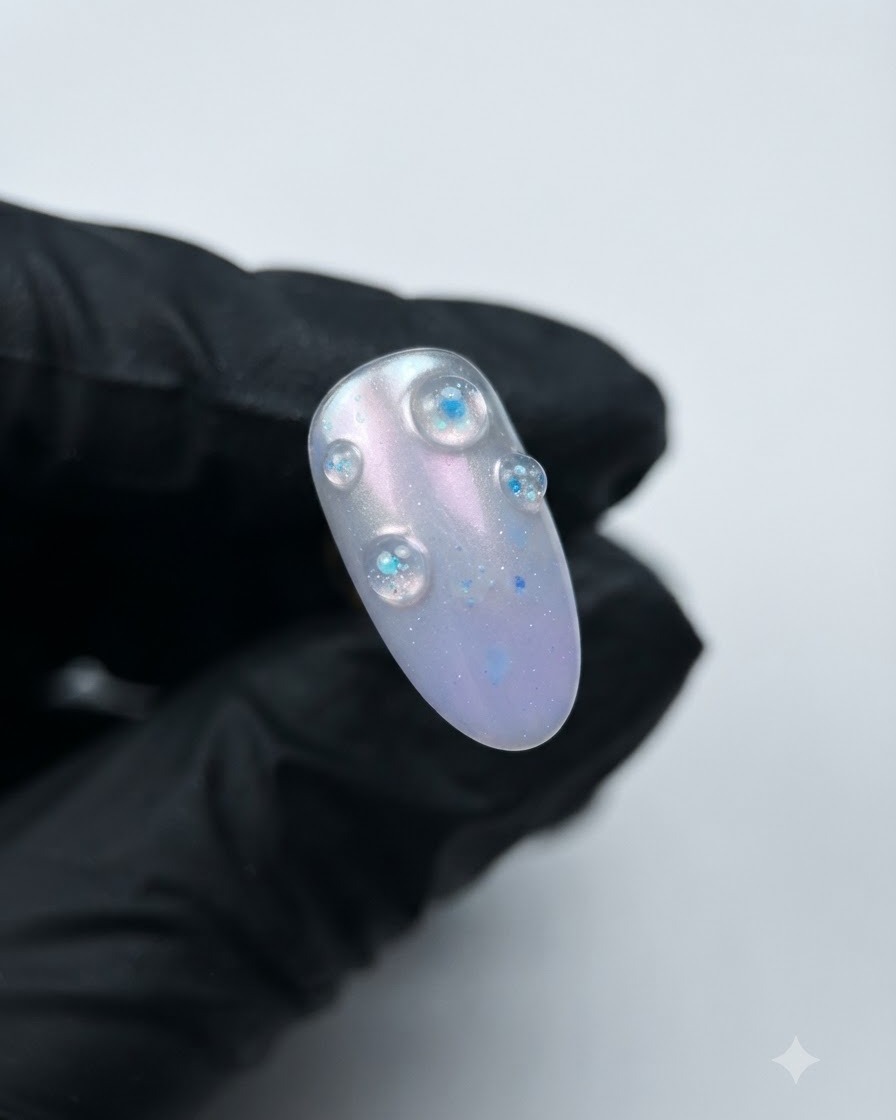
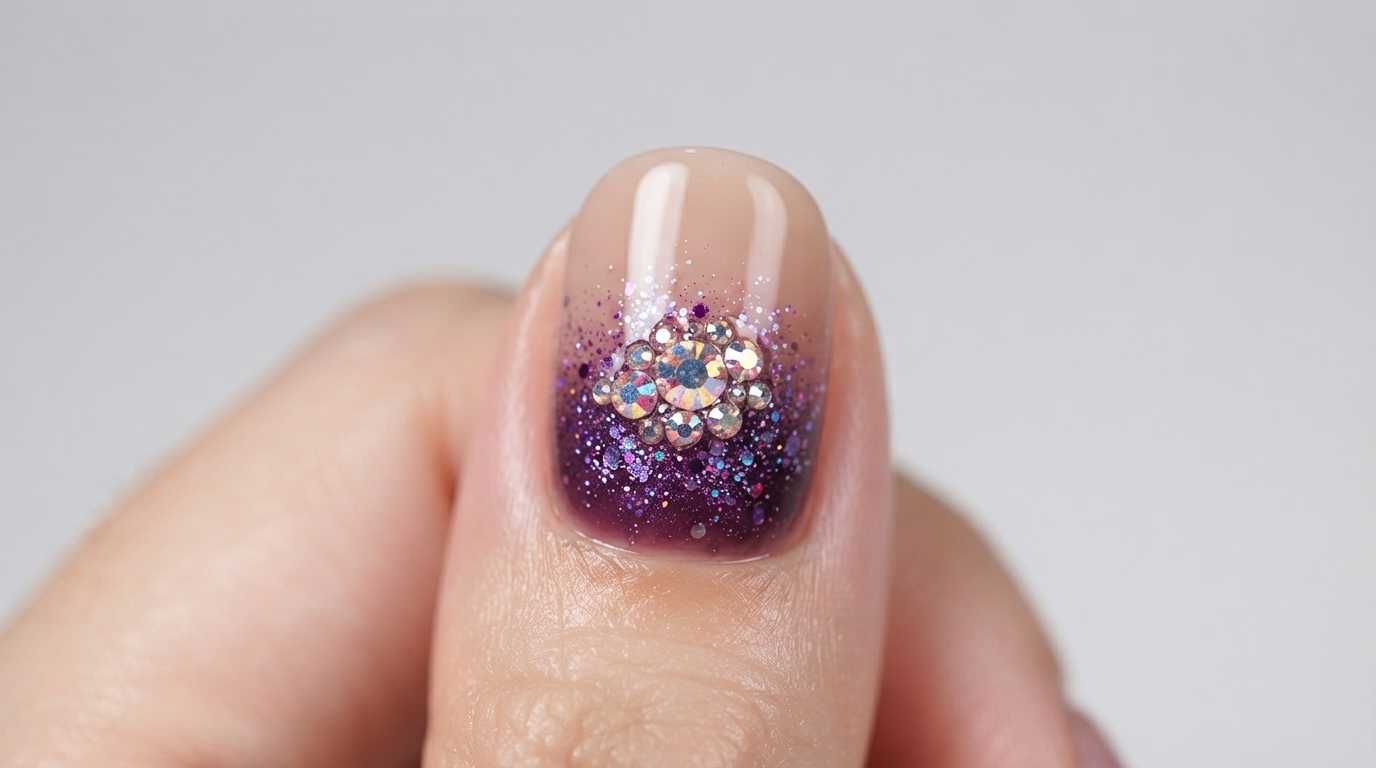
Use F36 crystal purple structural sealing gel with a fine brush to build 3D relief crystal details over the design, then cure. This creates a raised, tactile water droplet or bubble effect that stands out brilliantly on the finished nail.
Tip: Build 3D gel droplets in small increments and flash-cure if necessary to maintain their rounded, domed shape. - 12Apply mint green base color
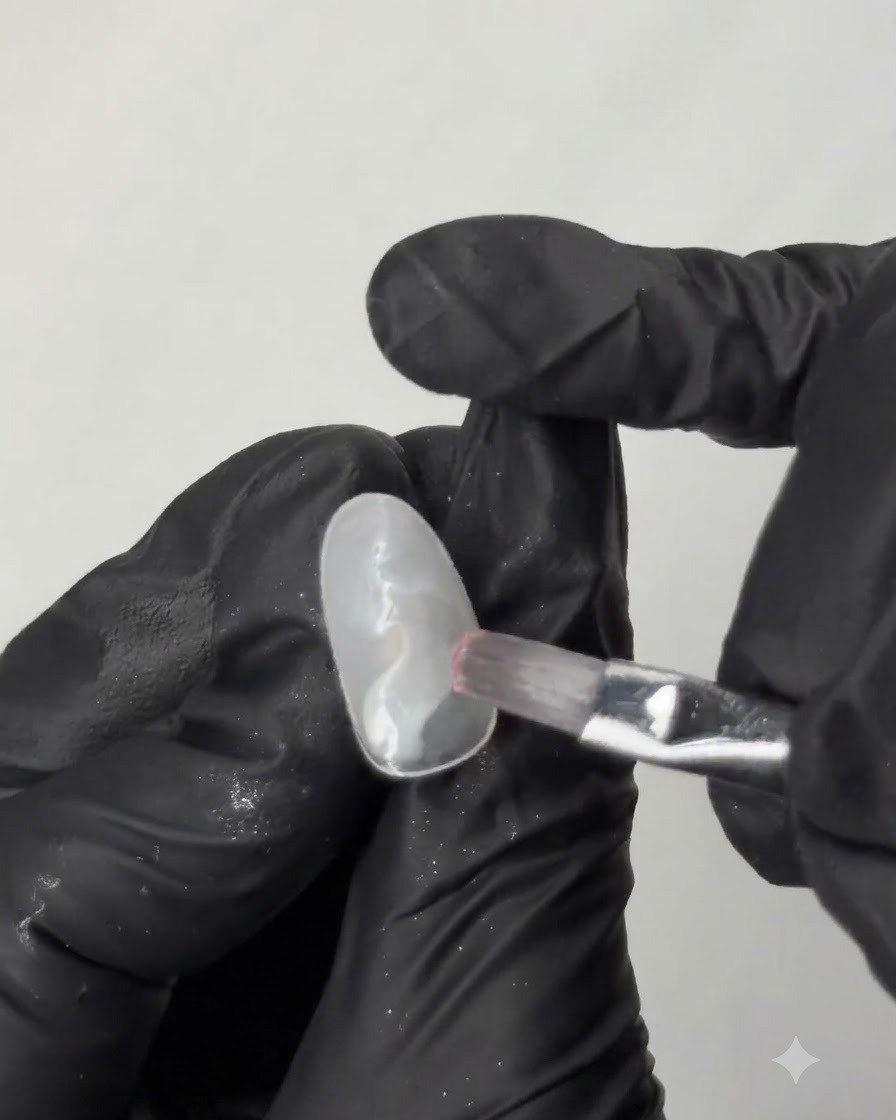
Take a flat brush and apply an even layer of mint green gel color onto another practice nail tip, ensuring complete coverage across the entire surface before curing.
Tip: Apply in thin, controlled strokes to prevent pooling around the edges of the nail tip. - 13Create cat eye effect on mint green nail
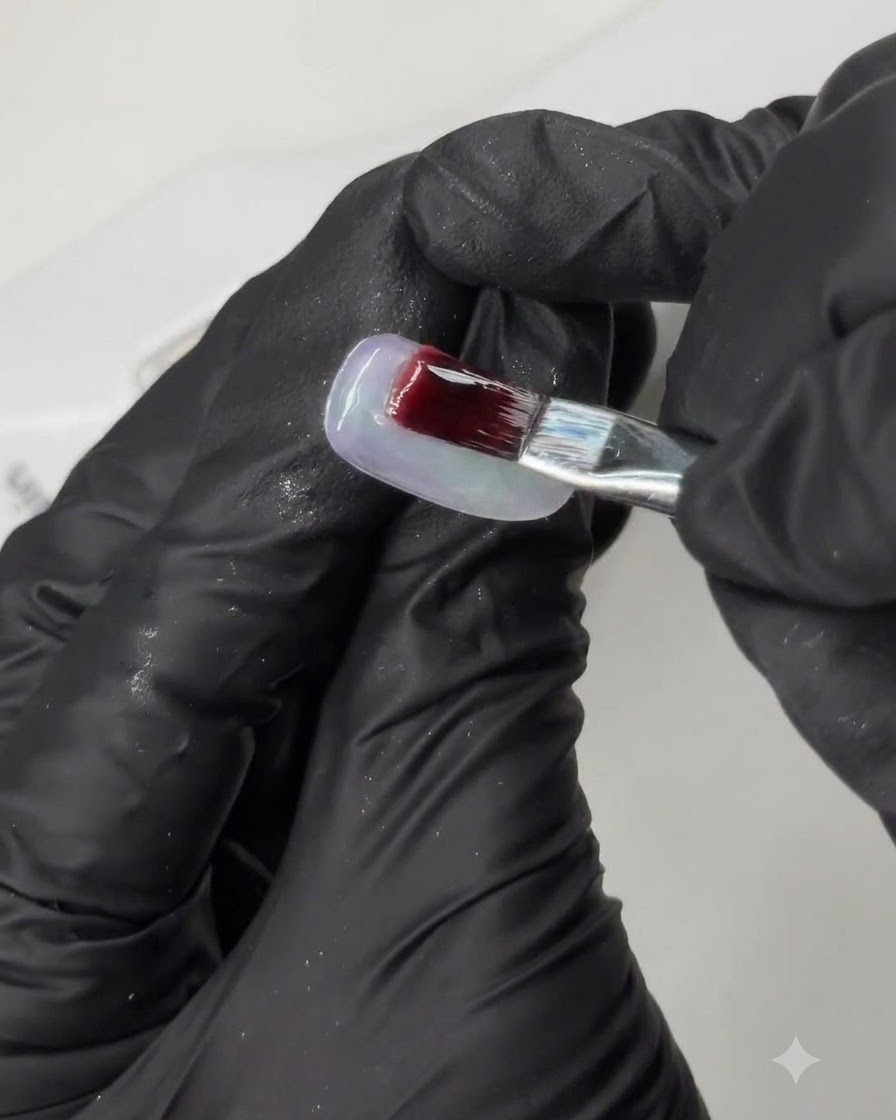
Hold a magnetic wand close to the uncured mint green cat eye gel to pull and magnetize the metallic particles into a glowing stripe effect, then cure immediately under the lamp.
Tip: Keep the magnet steady and close to the surface without touching the wet gel to achieve a sharp, defined light reflection.