Textured Mint Green Sugar Star Nails — 3D Gel Art Tutorial
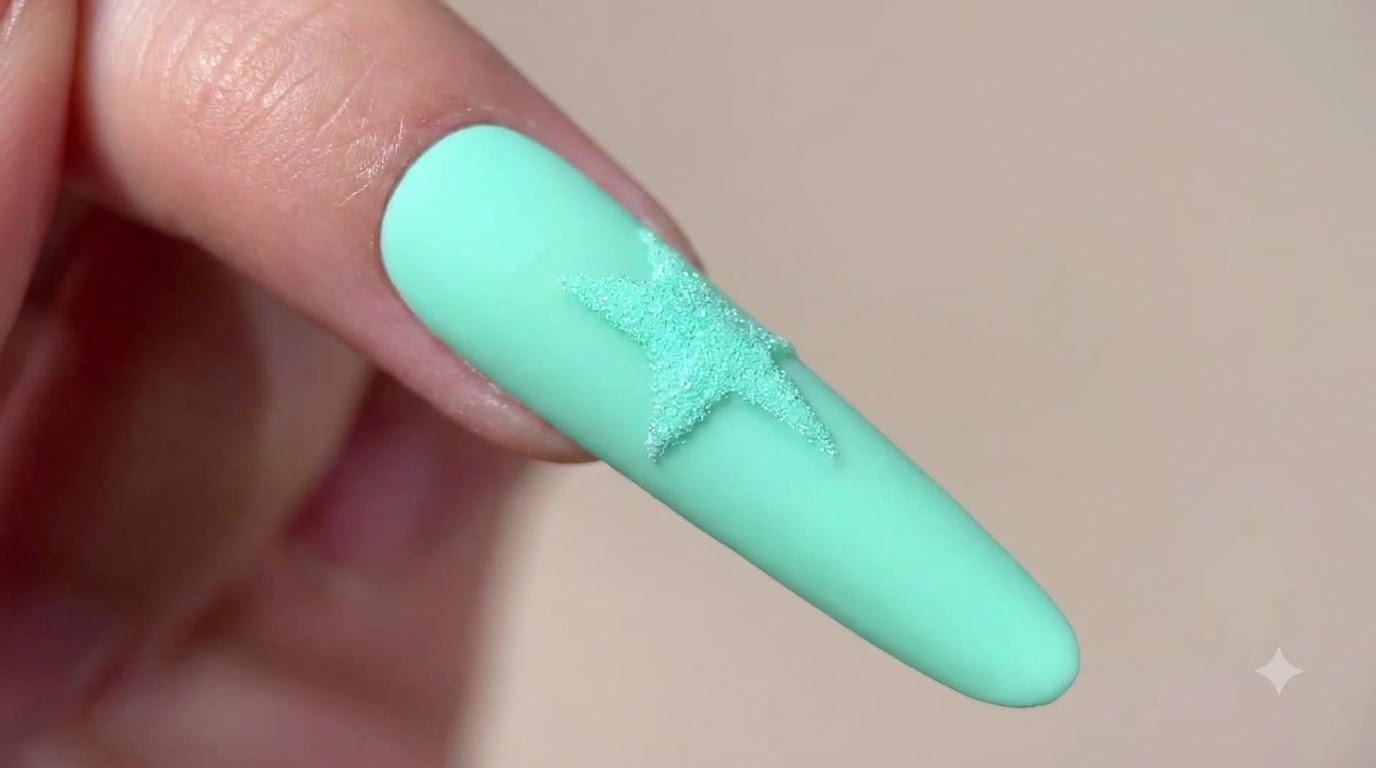
Master 3D sugar star nails with this easy step-by-step gel tutorial. Learn how to pair a smooth matte mint green base with a raised, textured sugary finish.
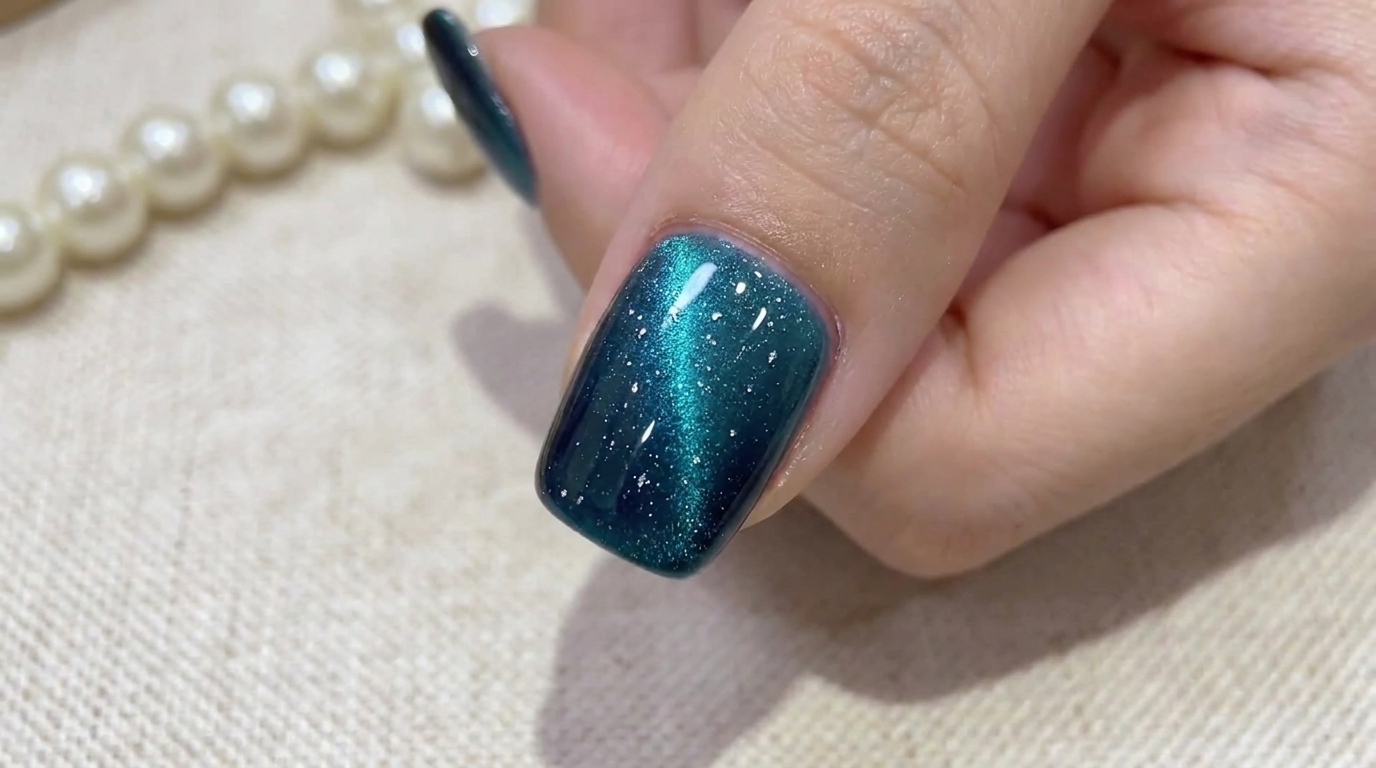
Textured nail art adds an incredible tactile dimension to any manicure, and the sugar effect is one of the easiest ways to achieve it. This mint green star design plays beautifully with contrast, pairing a velvety matte background against a raised, crystalline glitter shape. Whether you are using natural nails or long extensions, this technique requires minimal tools and delivers an eye-catching, professional result.
Steps
- 1Apply clear gel to nail tip
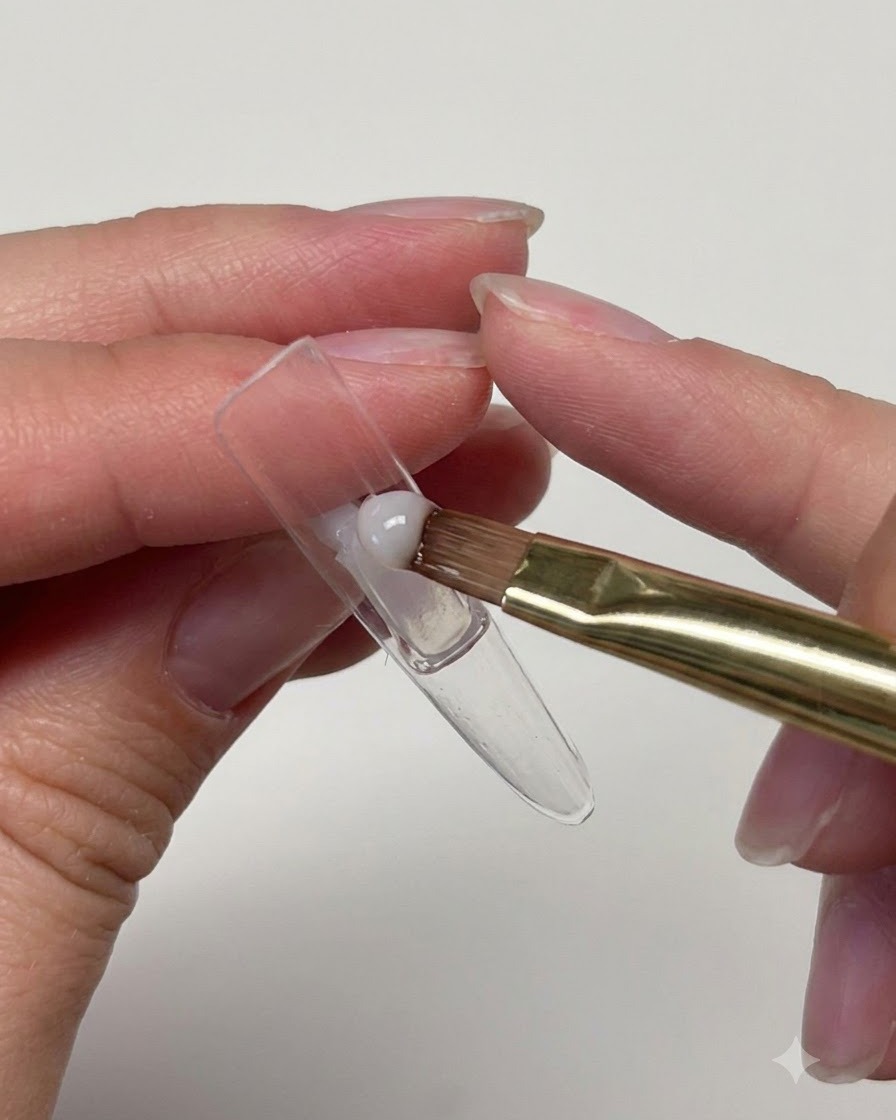
Using a flat brush, take a small amount of clear gel and apply it evenly onto the inner surface of a long transparent nail tip to prepare it for application.
Tip: Ensure the clear gel layer is applied smoothly to prevent any uneven bubbles or gaps before placing it on the hand. - 2Load brush with mint green gel
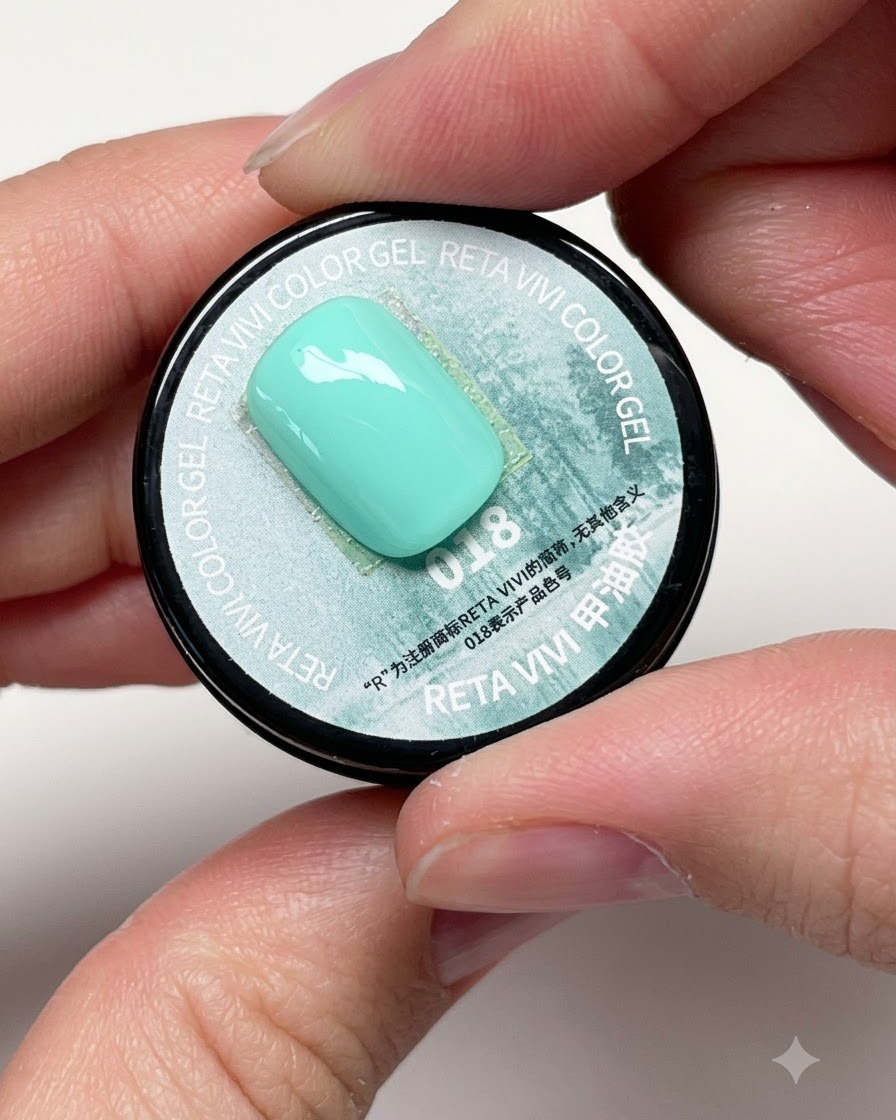
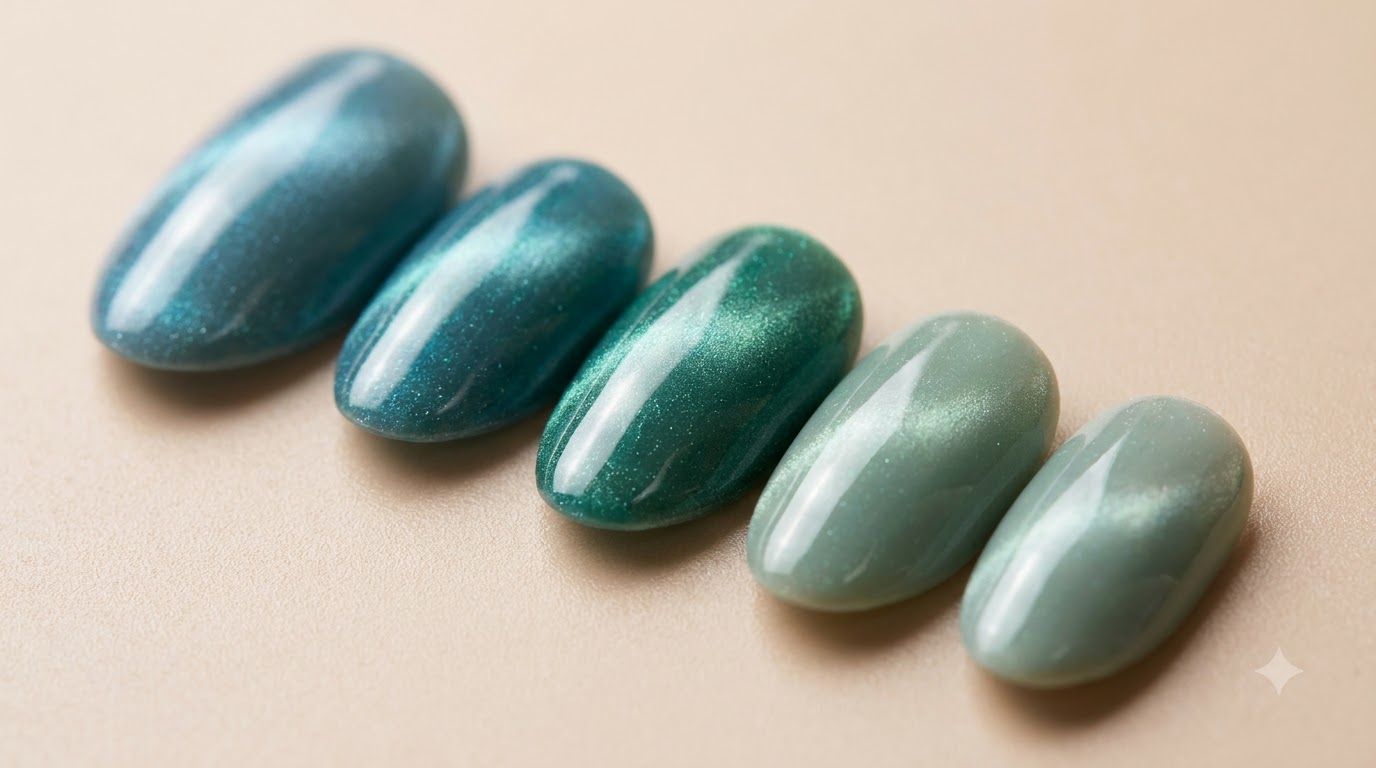
Dip your flat brush into the mint green color gel jar container, gathering an even amount of product on the bristles for smooth application.
Tip: Wipe excess gel on the edge of the jar to keep your brush strokes thin and controllable. - 3Apply mint green color gel
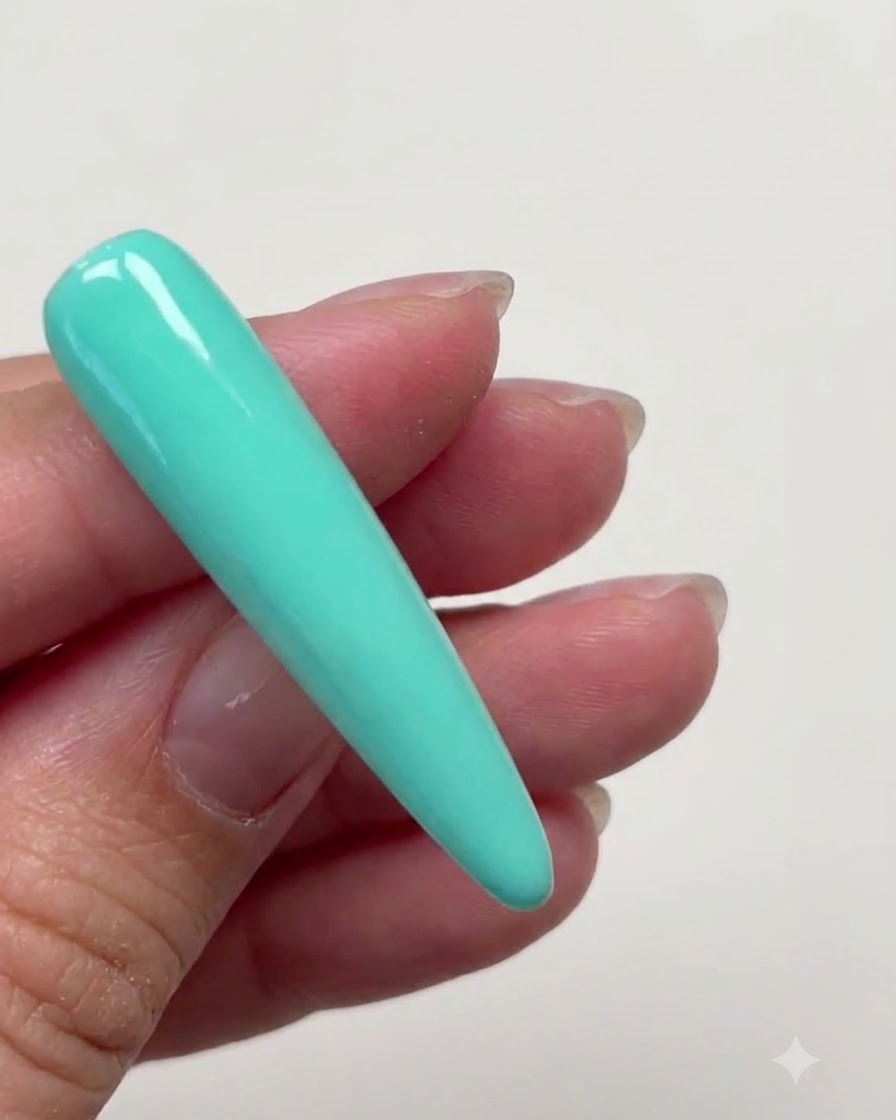
Brush the mint green color gel smoothly and evenly across the top surface of the long nail extension, making sure the coverage is uniform.
Tip: Apply multiple thin coats rather than one thick coat to prevent wrinkling during UV curing. - 4Coat the underside edges
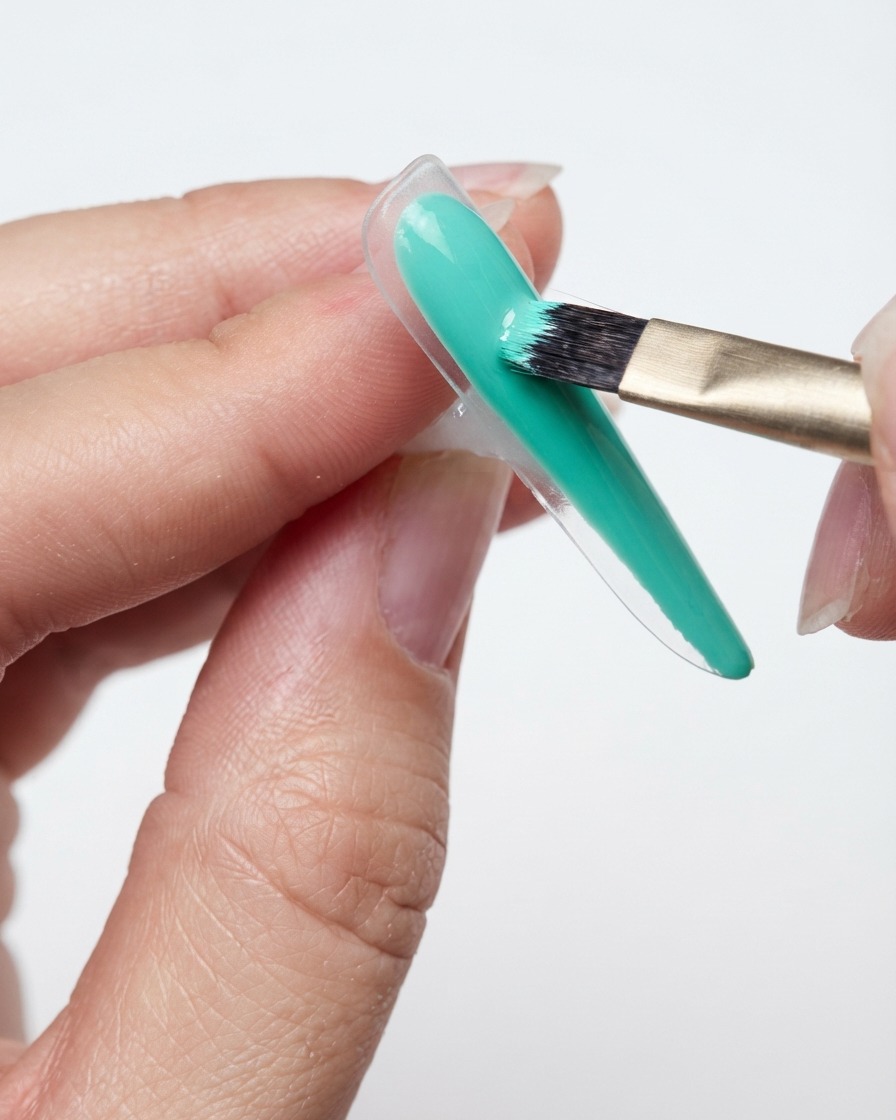
Carefully take your brush and coat the underside edges and corners of the nail tip with mint green gel to ensure complete and seamless coverage.
Tip: Checking the underside prevents any raw transparent edges from showing once the nail is worn. - 5Apply thin gel near cuticle
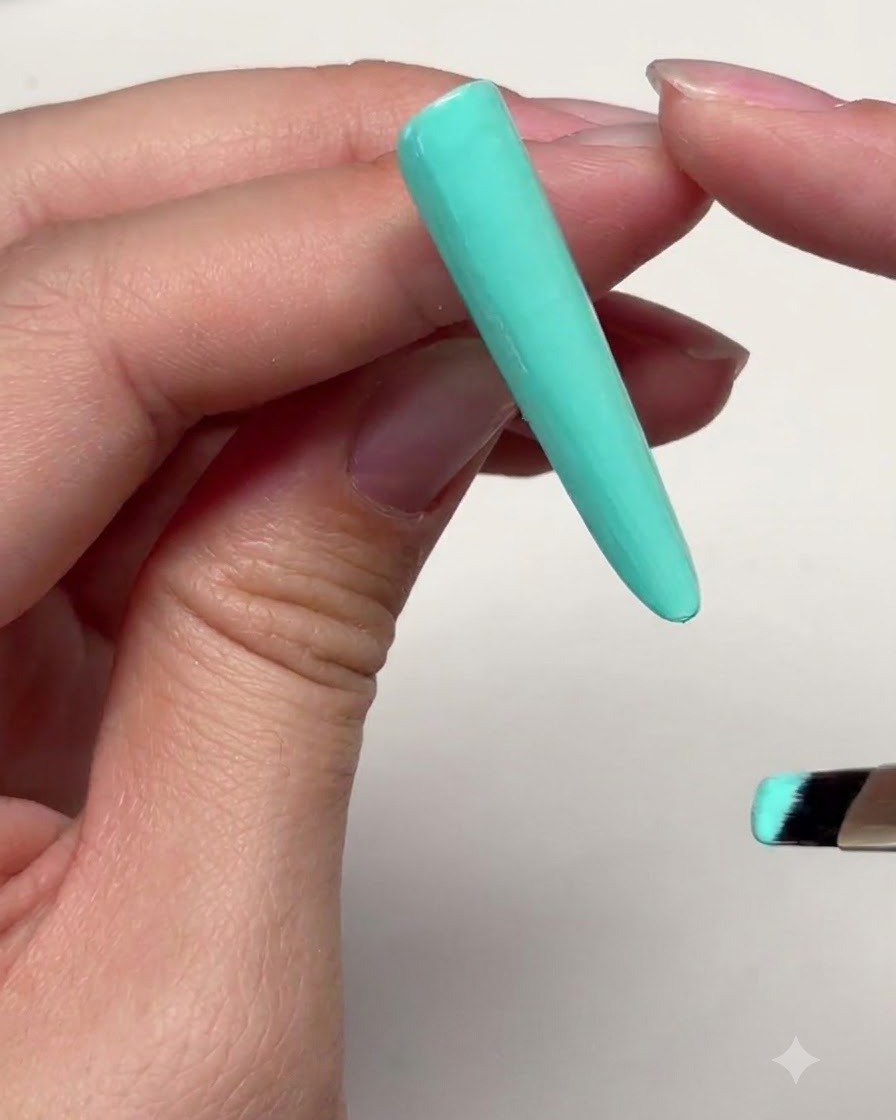
Apply a thin layer of gel near the cuticle area of the colored nail to smooth out the transition zone before structuring.
Tip: Keep a small microscopic gap near the skin to avoid flooding cuticles and causing lifting later. - 6Build structure with reinforcing gel
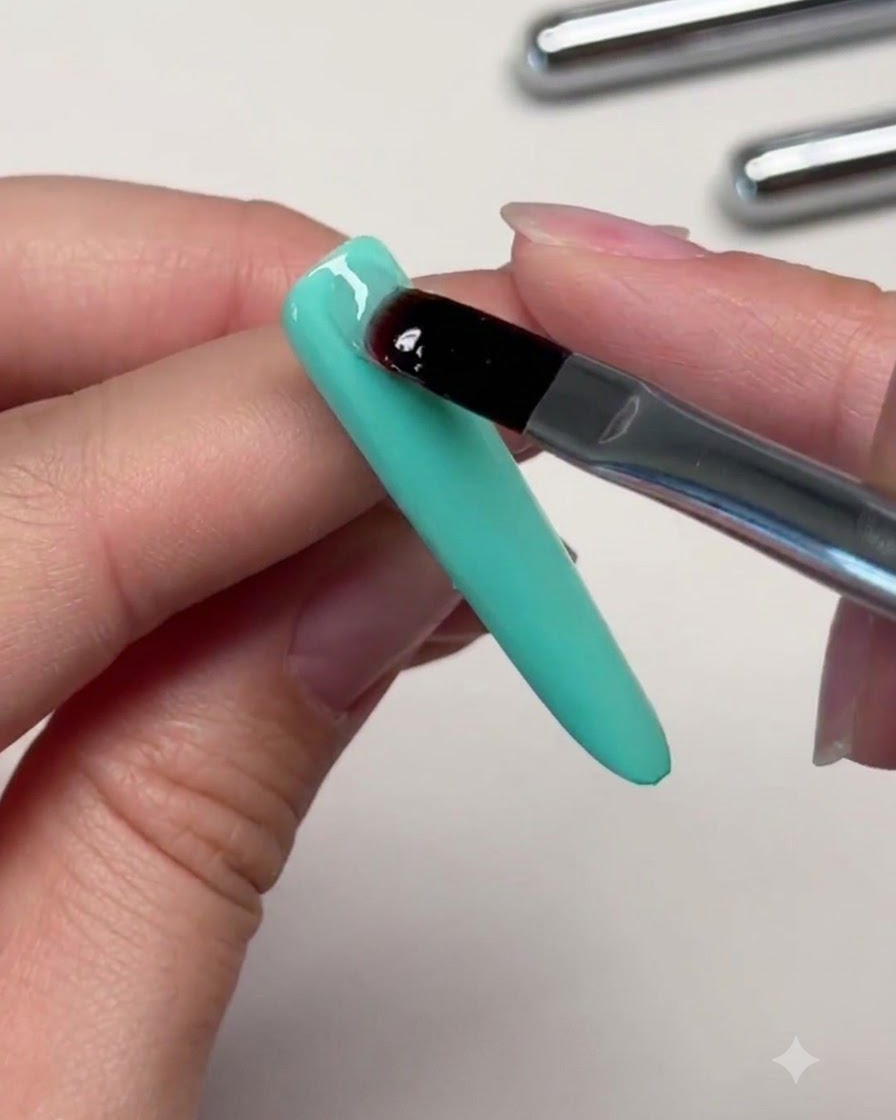
Place a controlled bead of reinforcing gel onto the upper nail plate area, gently teasing it to build proper structure and apex for long nails.
Tip: Long nails require extra strength at the stress point to prevent breaking or bending under pressure. - 7Smooth and distribute reinforcing gel
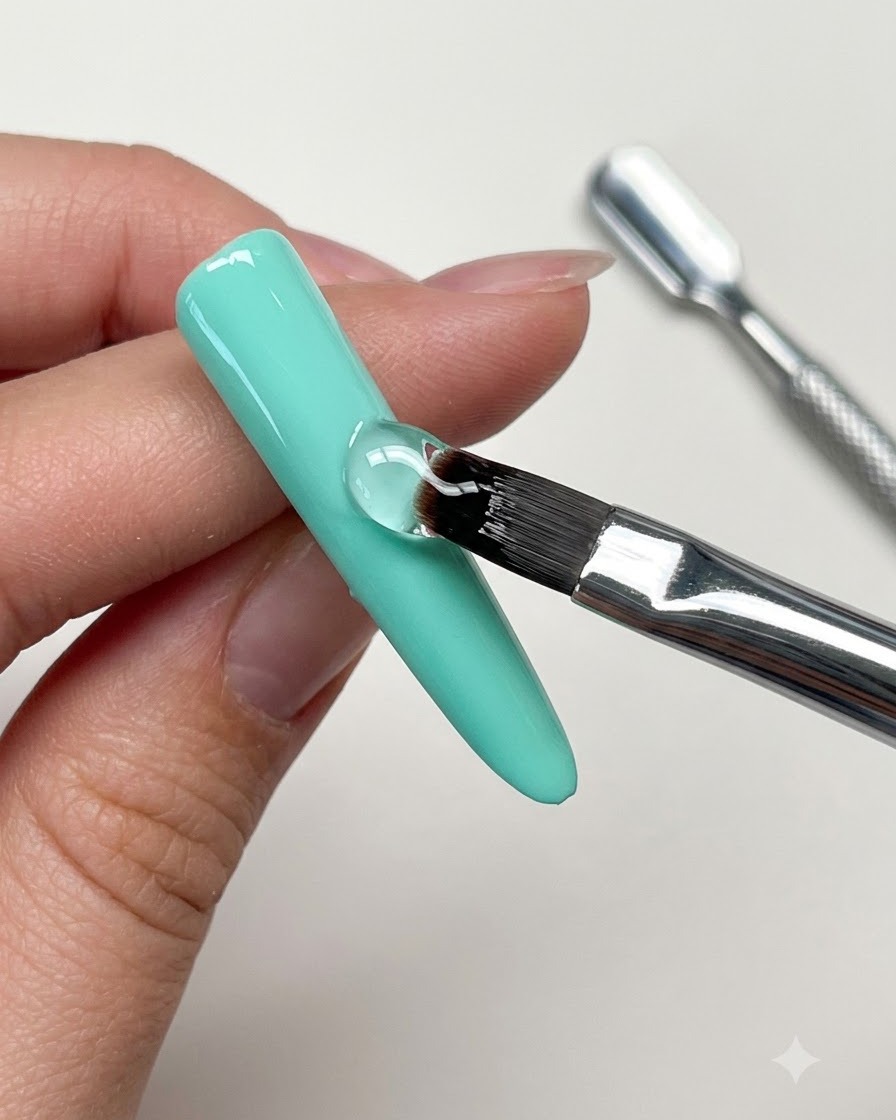
Using a flat gel brush, carefully smooth and distribute the reinforcing gel along the entire length of the nail plate. Ensure the gel is leveled evenly to provide adequate strength and structure for the long nail extension.
Tip: Work with light, sweeping motions to avoid creating air bubbles or uneven ridges in the gel layer. - 8Level gel near the tip
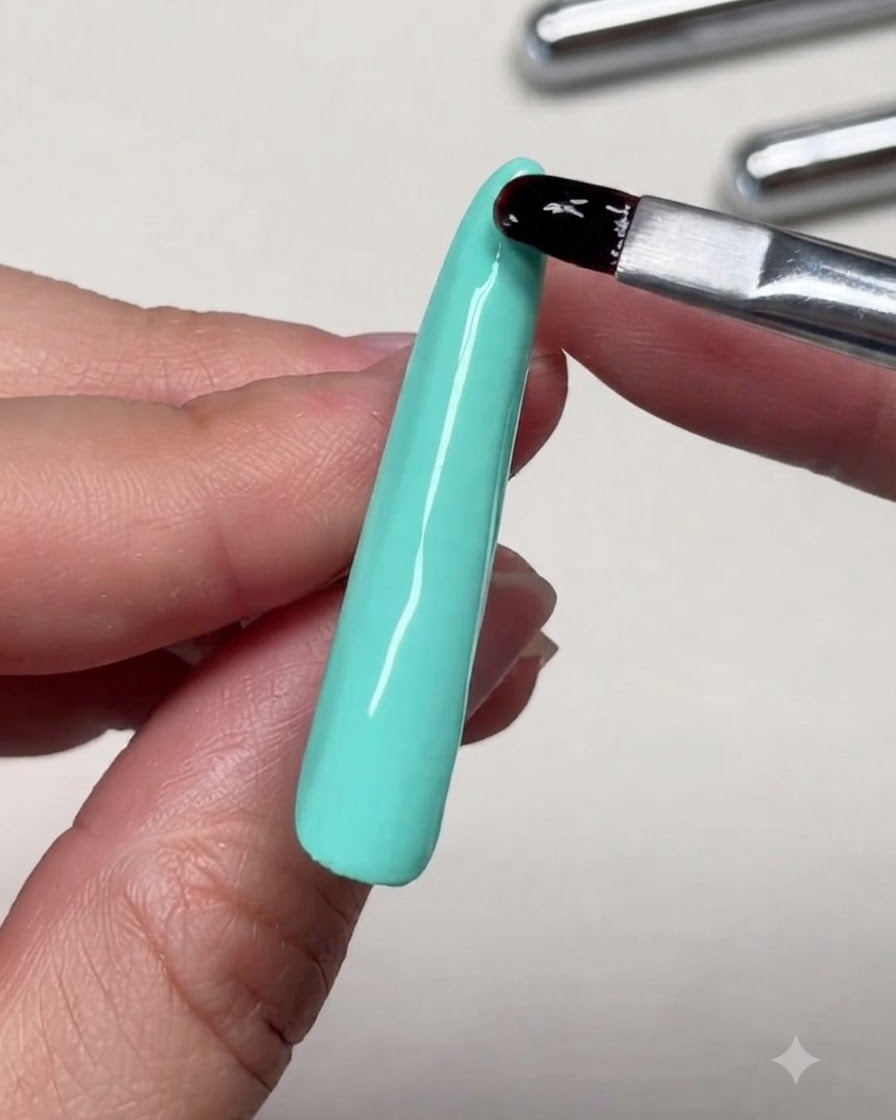
Lightly brush and level the reinforcing gel near the tip of the nail to ensure a sleek, uniform profile. Check the thickness from the side angle to guarantee the structure is robust yet streamlined.
Tip: Keep your brush parallel to the nail surface to smooth out any pooling product near the free edge. - 9Wipe sticky inhibition layer
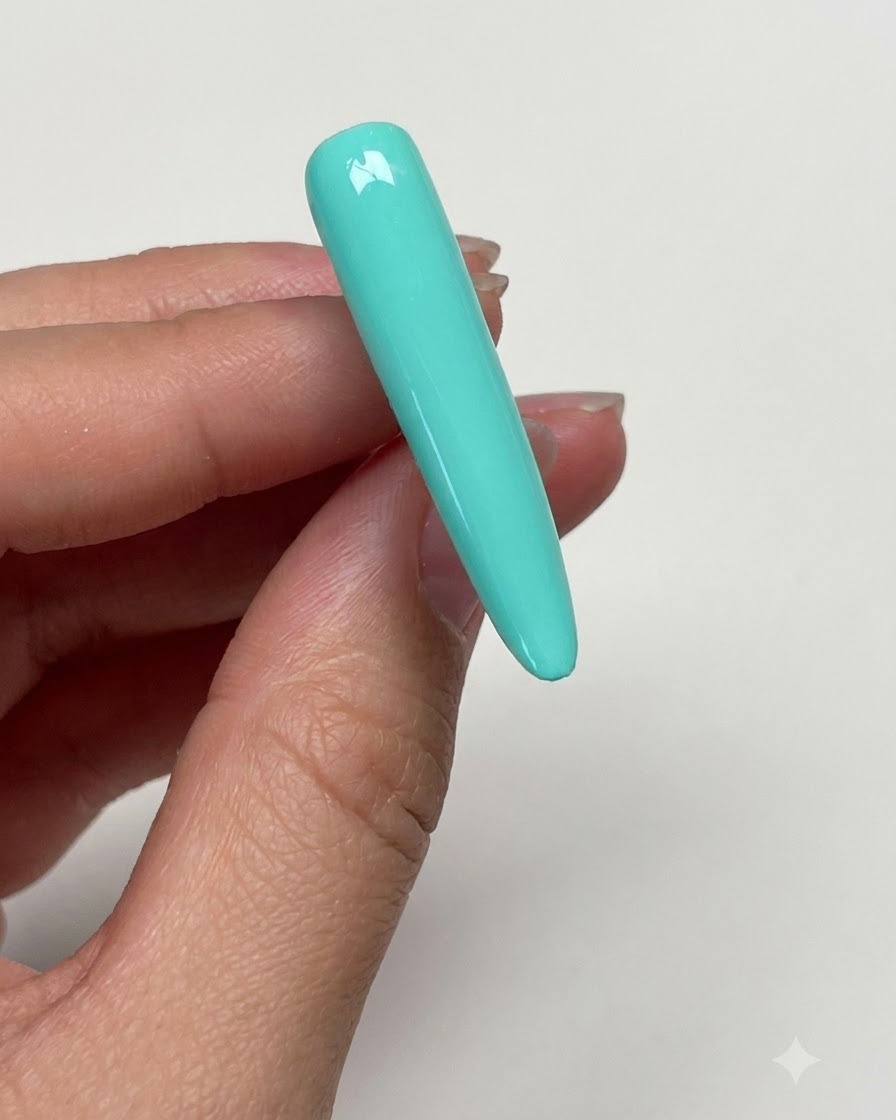
Wipe the cured nail surface thoroughly with an alcohol wipe to remove the tacky inhibition layer left behind after curing. This creates a clean, dry surface ready for top coat or nail art detailing.
Tip: Use a lint-free wipe saturated with isopropyl alcohol to prevent fibers from sticking to the tacky surface. - 10Apply matte top coat
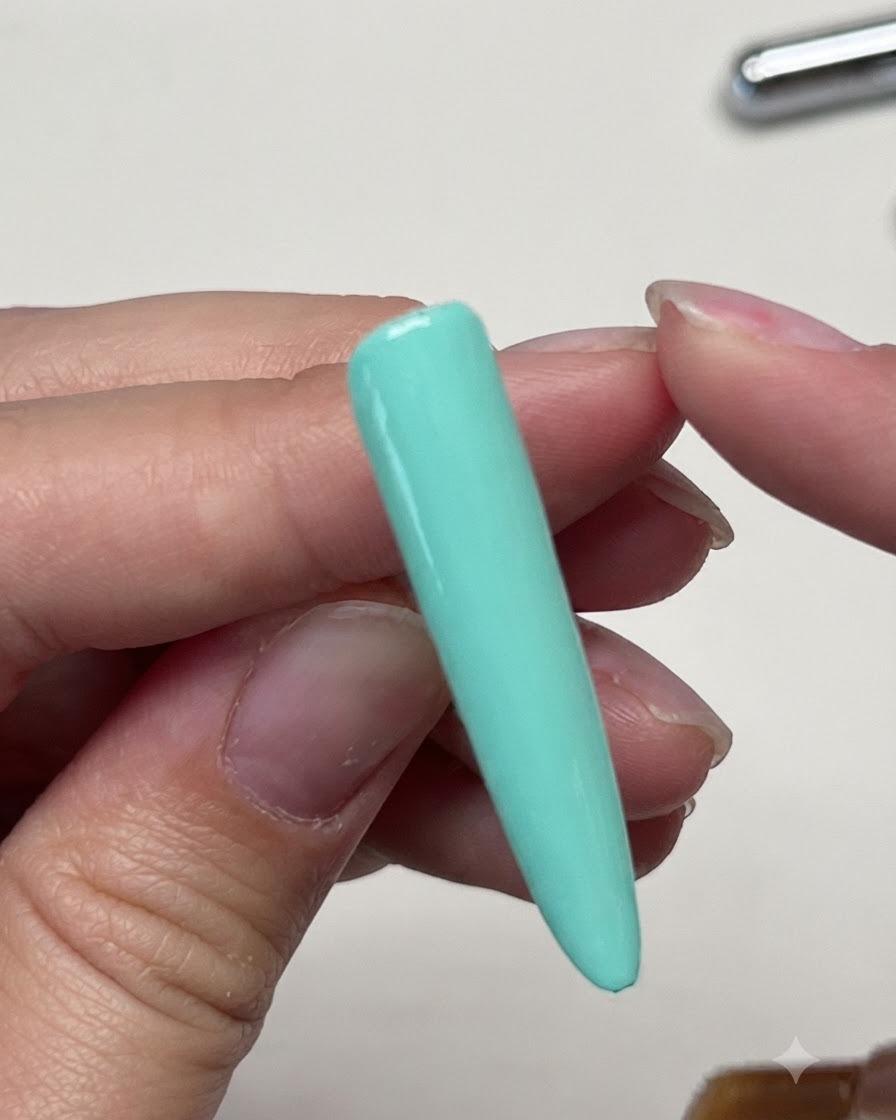
Apply a thin and even layer of matte top coat across the entire mint green nail surface, making sure to cover the edges completely. The matte finish provides a smooth canvas for the subsequent star nail art design.
Tip: Ensure complete coverage without streaks to achieve a flawless velvety matte appearance after curing. - 11Cure matte top coat
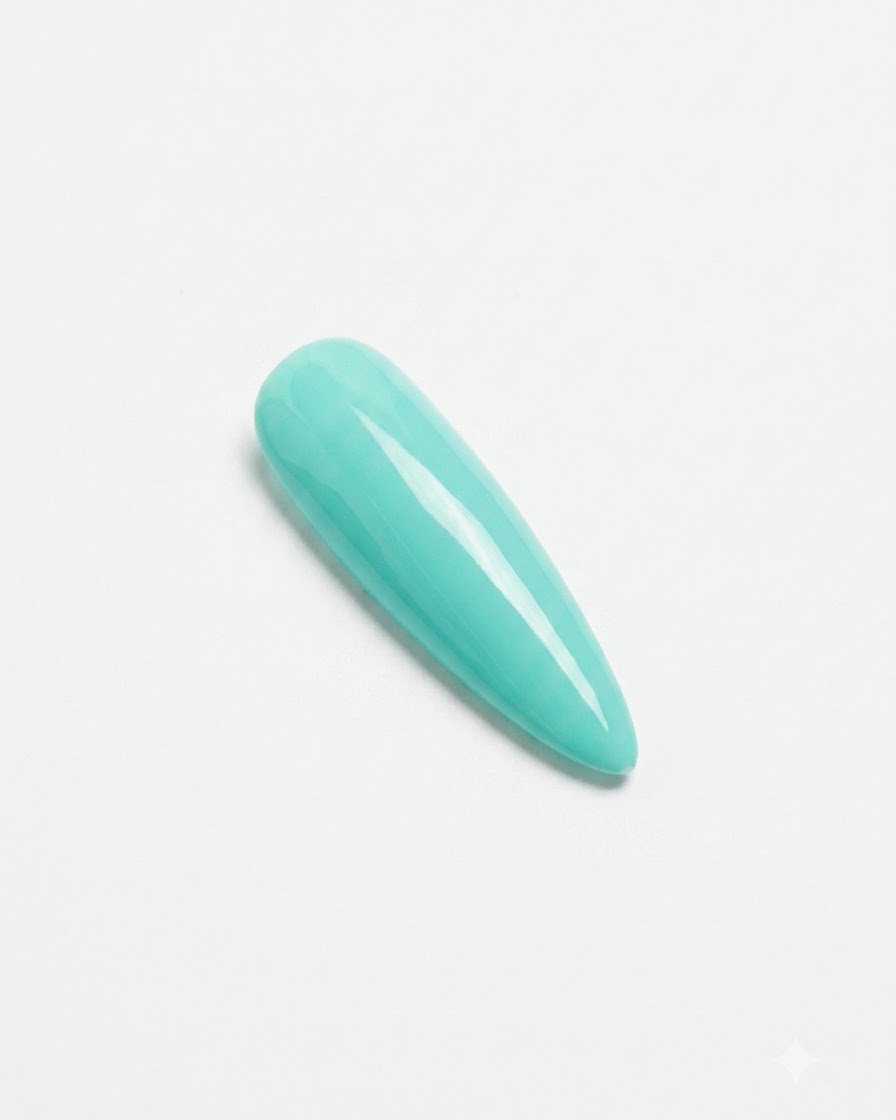
Place the nail under a mini pink UV/LED lamp and cure the matte top coat layer completely. Follow the manufacturers recommended curing time to ensure the top coat hardens properly.
Tip: Position the nail directly under the light source to ensure even curing across the entire curved surface. - 12Draw star guideline
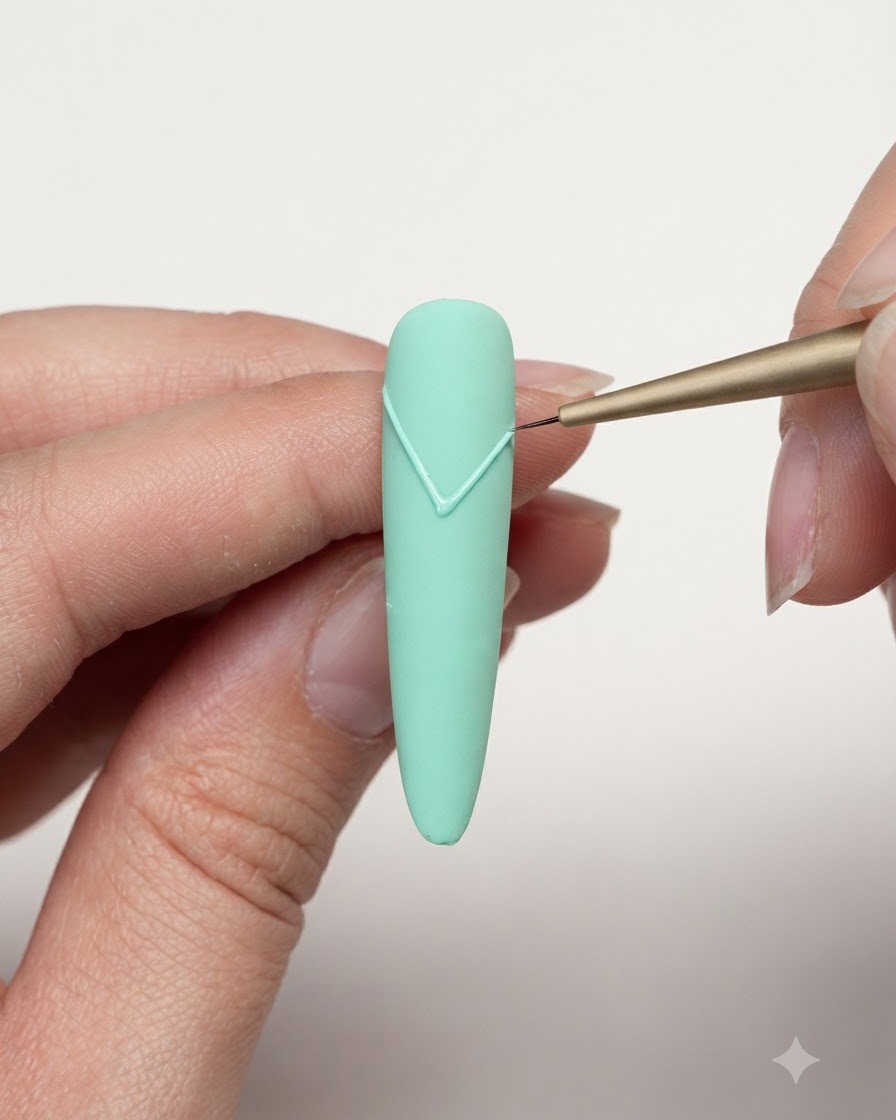
Using a fine liner brush dipped in matching gel, carefully draw the first diagonal guideline line for a star design on top of the matte nail surface. Keep the hand steady to ensure clean and precise lines.
Tip: Use very little product on the tip of the liner brush to prevent the lines from spreading or looking bulky. - 13Cross the lines for the star
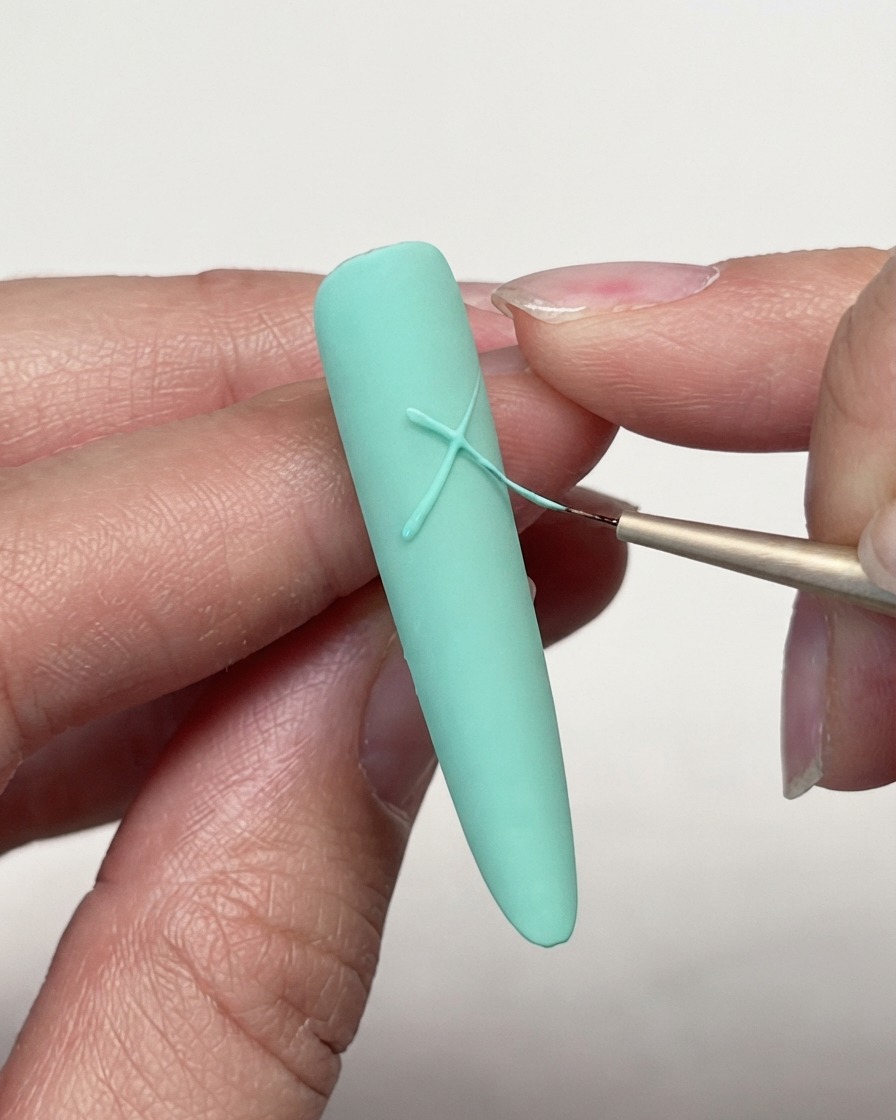
Cross the lines using a fine liner brush and gel to begin forming the multi-pointed star shape on the nail surface. Keep your hand steady to ensure the initial intersecting lines are even and well-placed.
Tip: Light pressure on the liner brush will help create thin, crisp intersecting lines. - 14Refine and connect star points
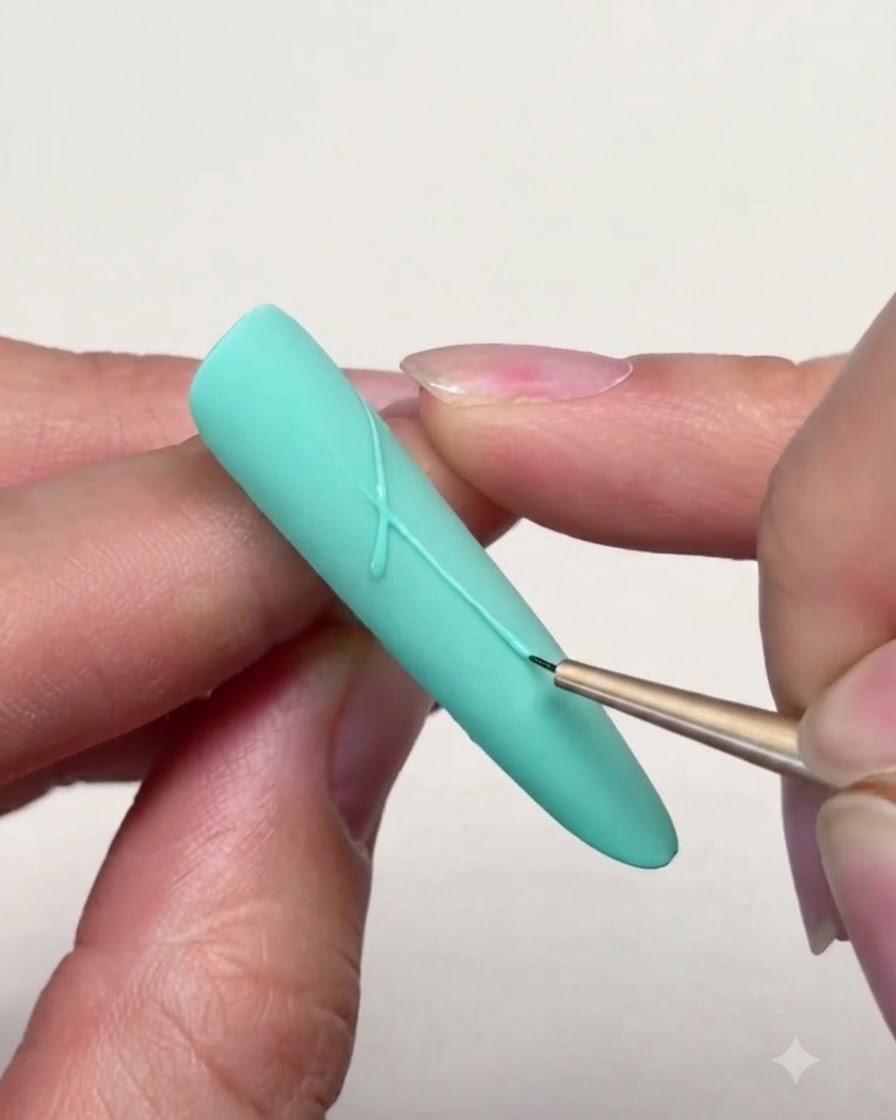
Refine and connect the star points using precision strokes with the fine liner brush. Carefully draw outward to establish the foundational structure of the multi-pointed star motif.
Tip: Work slowly and anchor your pinky finger for stability while doing fine linework. - 15Extend and taper star tips
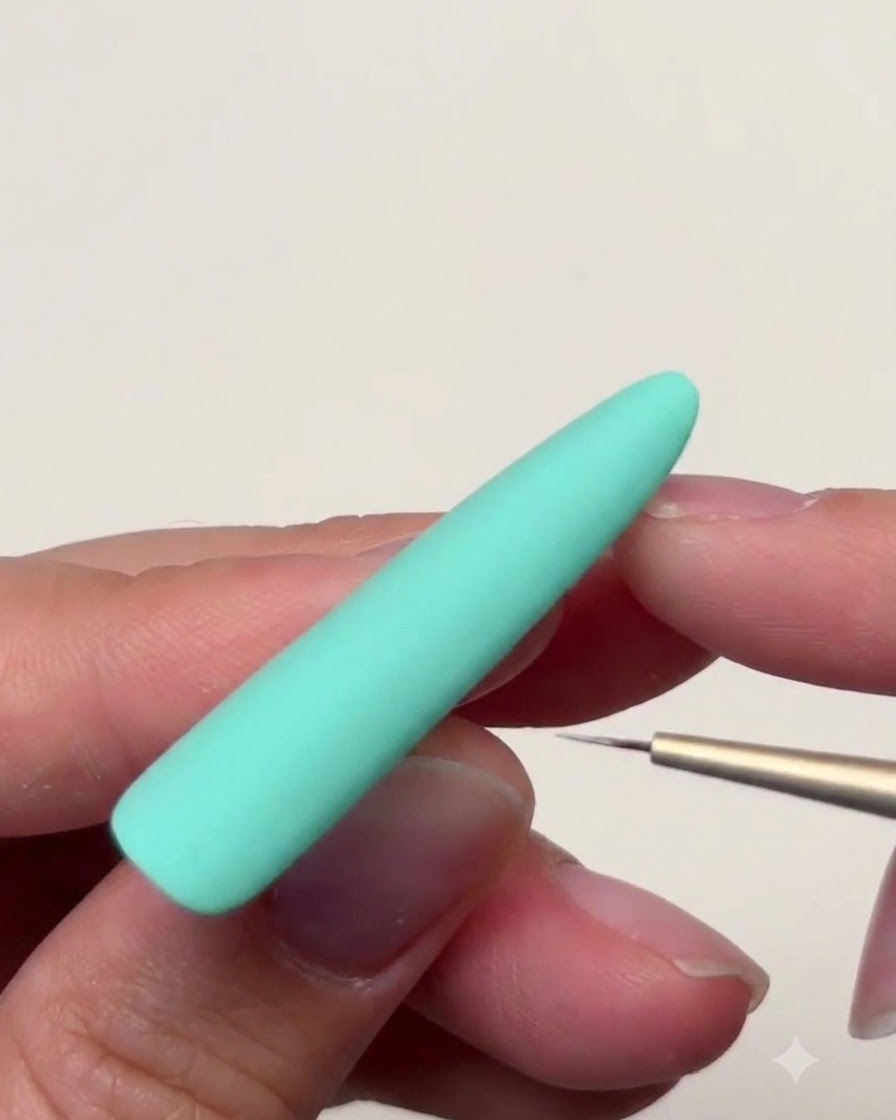
Extend and taper the star tips outward to give the design an elongated, stylish look. Pull the gel gently toward the edges to create sharp, dramatic points.
Tip: Tapering the tips delicately prevents the star from looking bulky or misshapen. - 16Add final touches to star outline
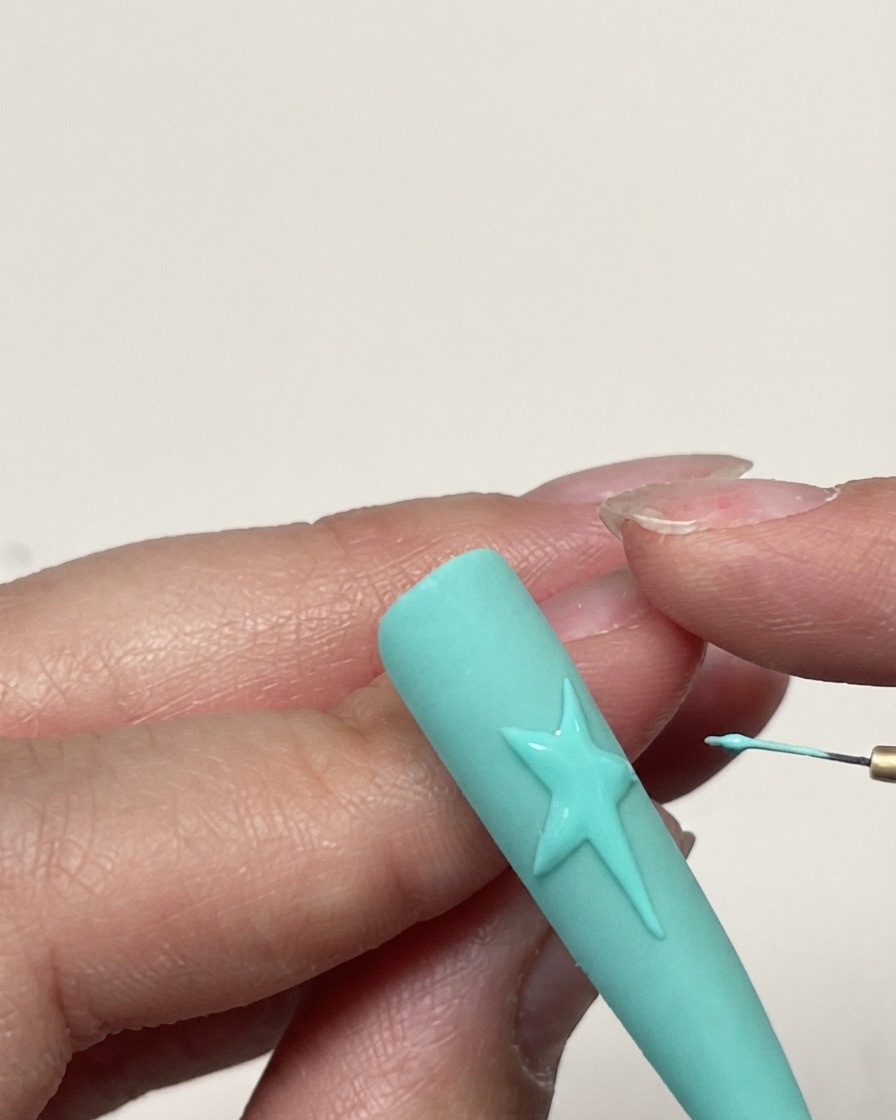
Add final touches to the gel star outline before applying texture powder. Inspect the lines to ensure complete coverage, clean symmetry, and smooth definition.
Tip: Check your linework from different angles to ensure absolute symmetry before curing or powdering. - 17Pour sugar powder over a catch tray
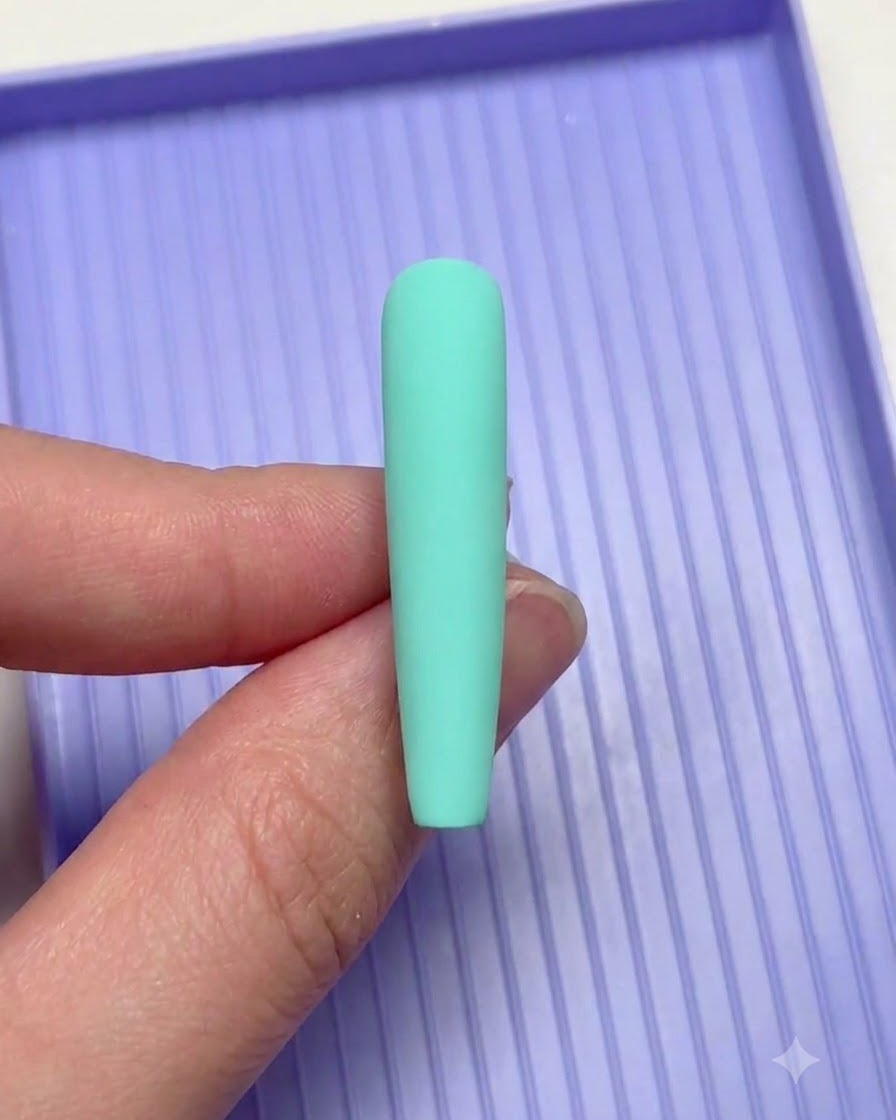
Hold the nail over a purple tray and pour white sugar glitter powder generously over the wet gel star design. This catches excess powder and keeps your workspace clean.
Tip: Using a collection tray allows you to easily funnel unused glitter back into its container. - 18Coat star design with sugar powder
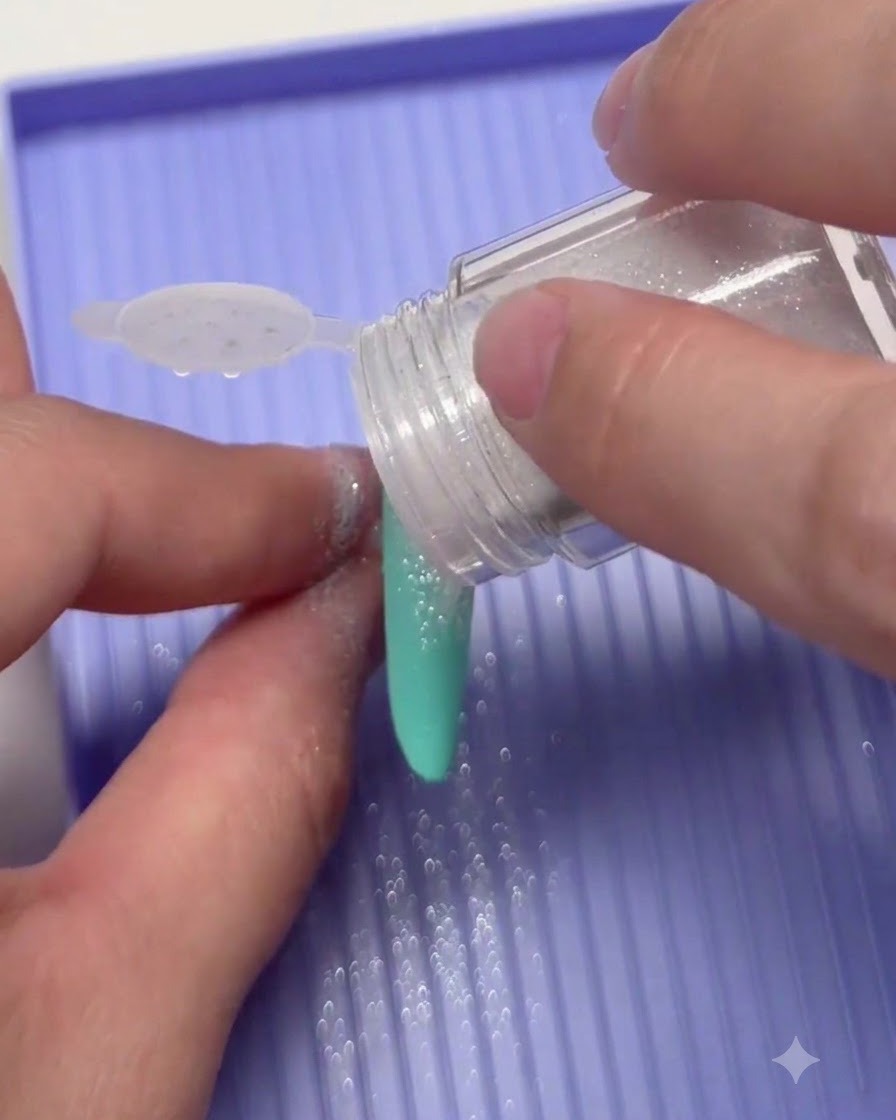
Ensure the entire star design is completely coated with the sugar powder flakes. Pour generously to saturate the wet gel so the textured sugary coating forms evenly.
Tip: Make sure every part of the wet gel is covered so the textured effect has no patchy gaps. - 19Cure the sugar star design
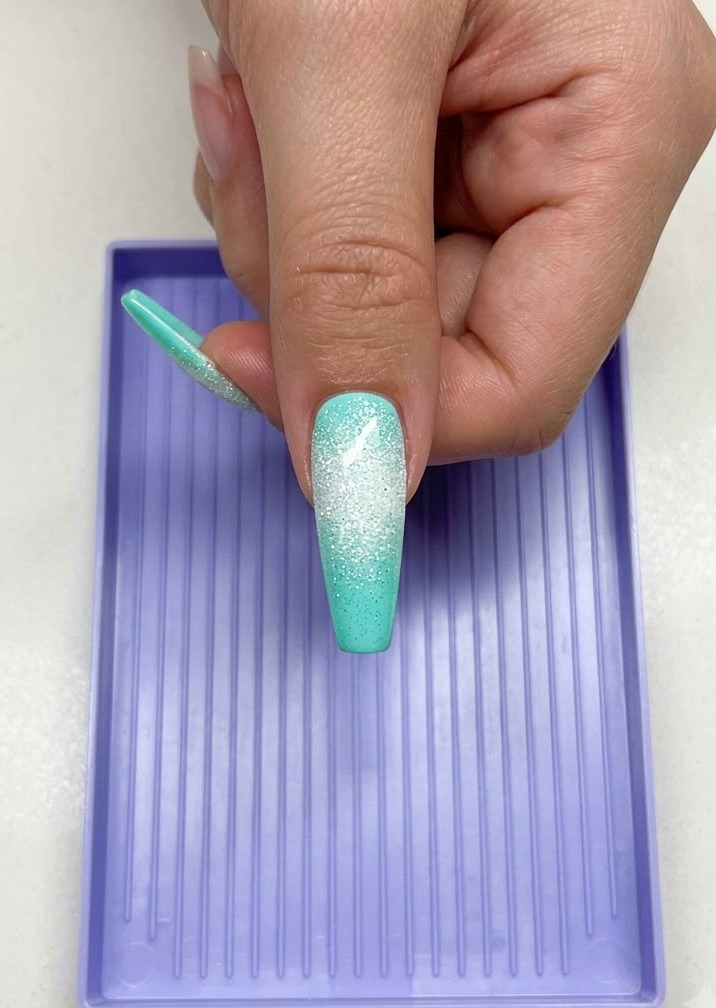
Place the finger under the UV or LED lamp to fully cure and set the textured sugar star design. Ensure the hand is positioned evenly under the light so both the base mint color and the sugary glitter coating harden completely without shifting.
Tip: Proper curing prevents the raised glitter texture from wearing off prematurely and locks the design firmly in place. - 20Refine edges with a nail drill
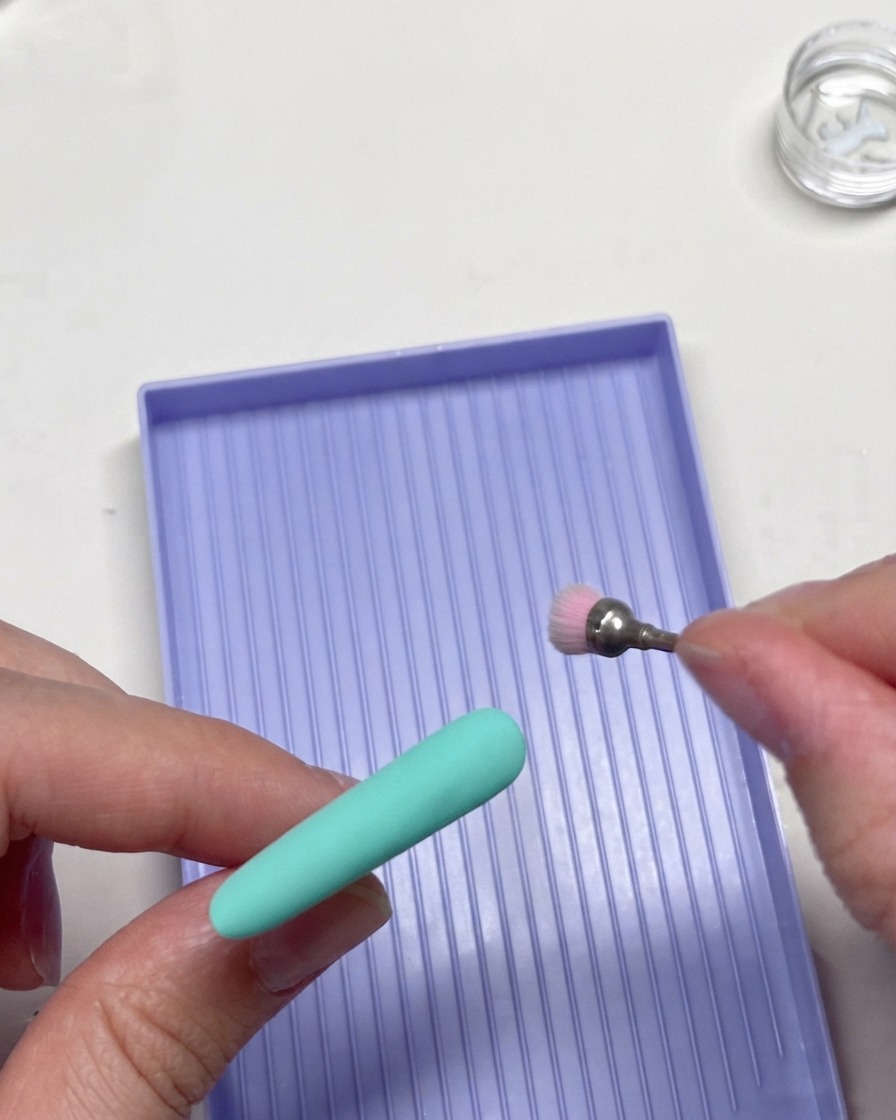
Using a rotary milling drill bit tool, gently clean and tidy up the edges around the cured nail to remove any excess product or stray bits. Work carefully around the cuticle and sidewalls to ensure a smooth, professional finish and prevent lifting.
Tip: Keep the drill speed low and maintain a light touch to avoid damaging the natural skin or over-filing the gel.