Blue Tears Cat-Eye Manicure — Step-by-Step Gradient Nail Tutorial
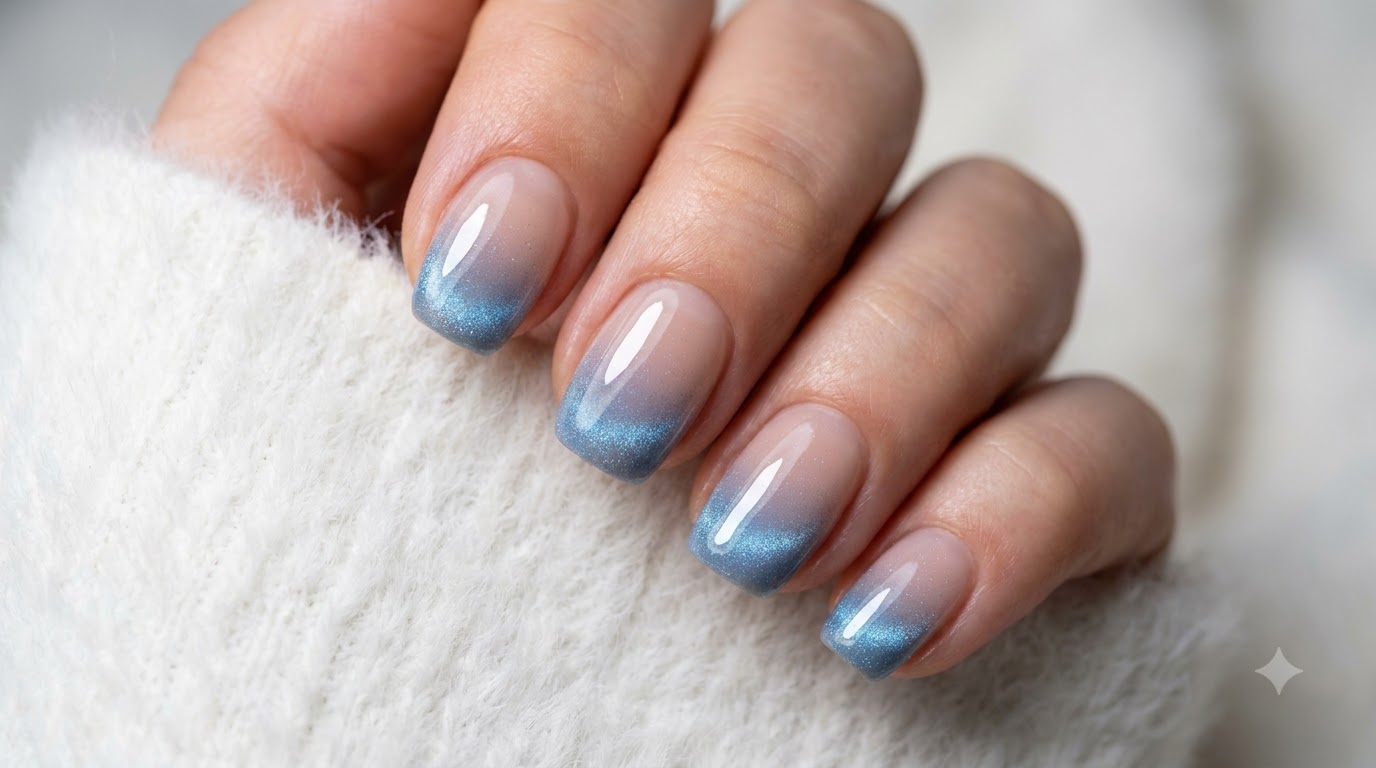
Create an enchanting blue tears cat-eye manicure featuring a soft blush center, magnetic shimmer gradient, and a 3D water droplet tip detail.
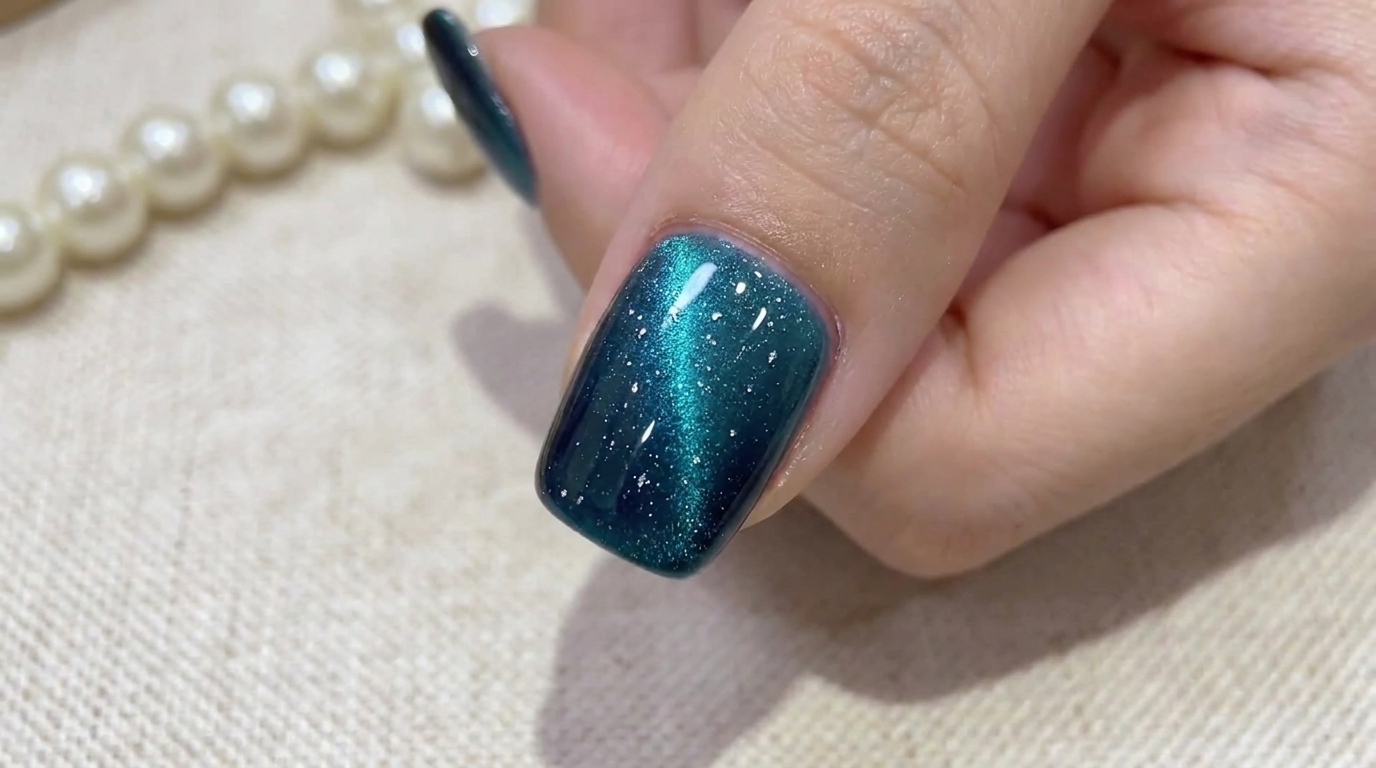
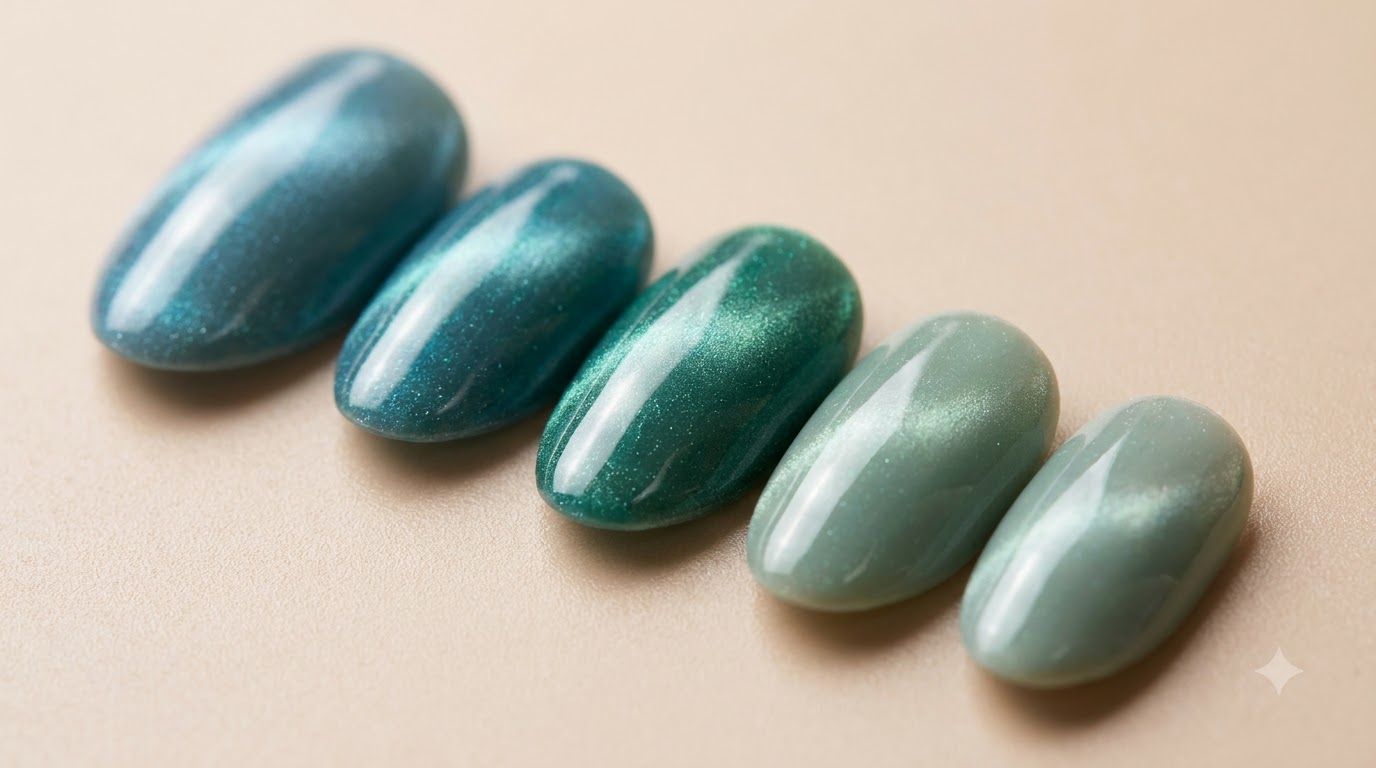
Cat-eye nail art continues to capture imaginations with its mesmerizing depth and shifting light reflections. This blue tears manicure combines a delicate blush pink foundation with a frosty blue magnetic gradient and a 3D glass-like tip accent for an ethereal, modern finish.
Steps
- 1Apply blush pink gel
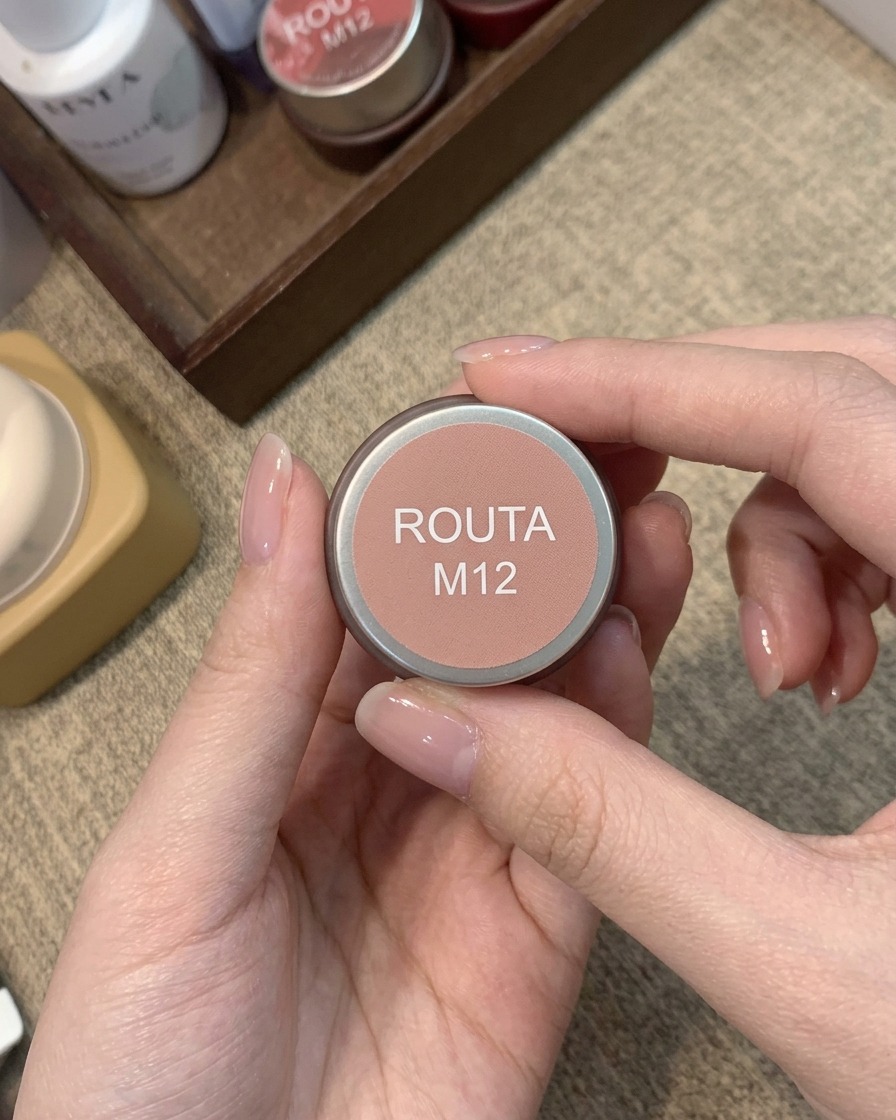
Apply a small amount of blush pink gel to the center of the nail tip area using a detailing brush or sponge tool to create a soft, rounded blush effect. Keep the edges diffused so it blends smoothly into the surrounding nail surface before curing.
Tip: Keep the blush color concentrated in the center to mimic a natural, healthy glow. - 2Apply nude gel base coat
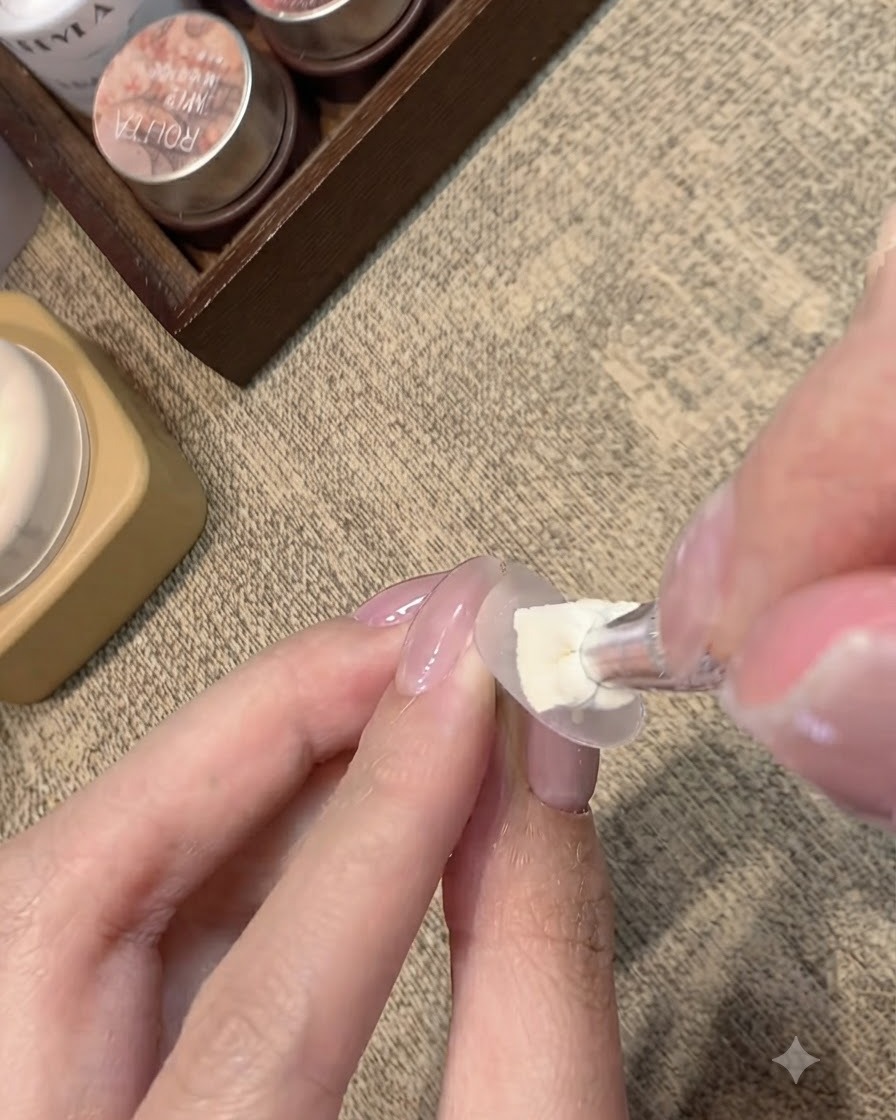
Using a flat brush, apply an even layer of nude gel base coat over the prepped nail surface, ensuring complete coverage over the previously applied blush pink center. Work smoothly from the cuticle down to the free edge to create a uniform foundation.
Tip: Apply a moderate, even coat to ensure the underlying color shows through clearly without streaks. - 3Cure the base coat
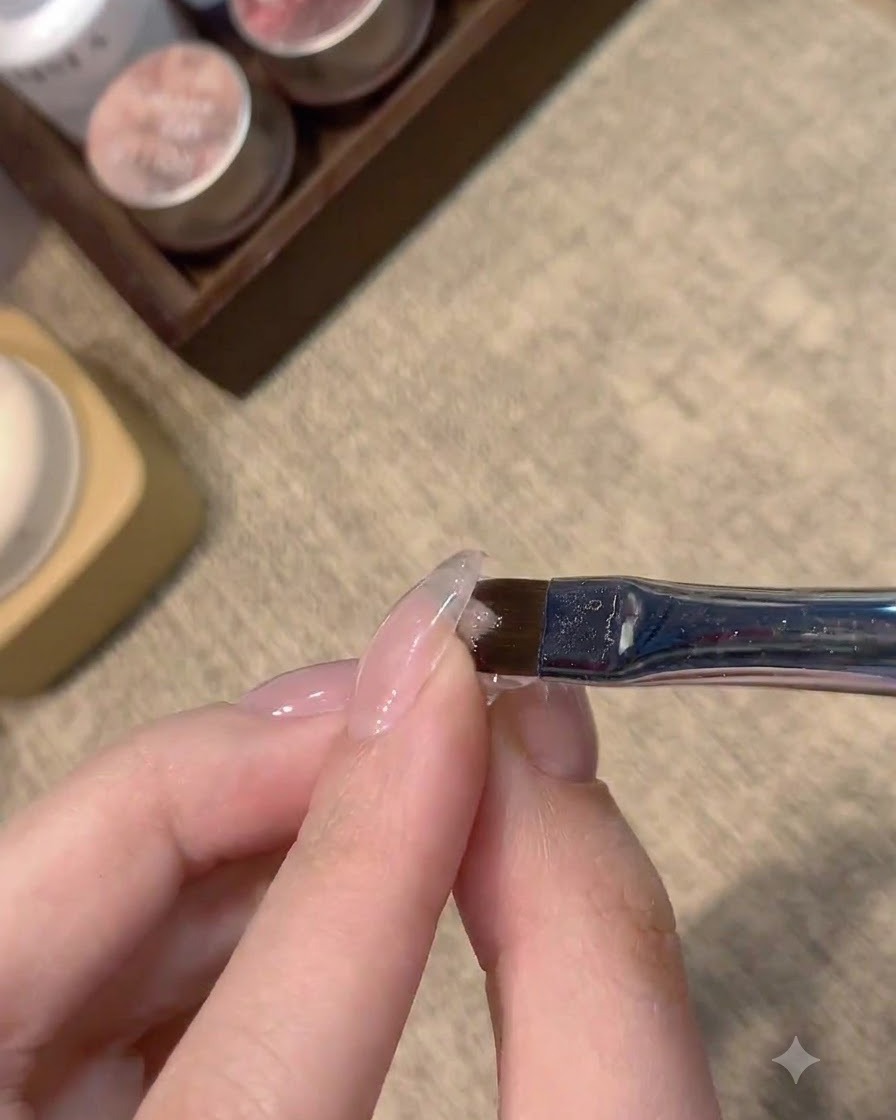
Place the nail under a UV or LED lamp to cure the nude base coat completely. Ensure the gel is fully set and dry to the touch before moving on to the next design layer.
Tip: Follow the gel manufacturers recommended curing time to prevent lifting or wrinkling. - 4Apply blue cat-eye gel to the tip
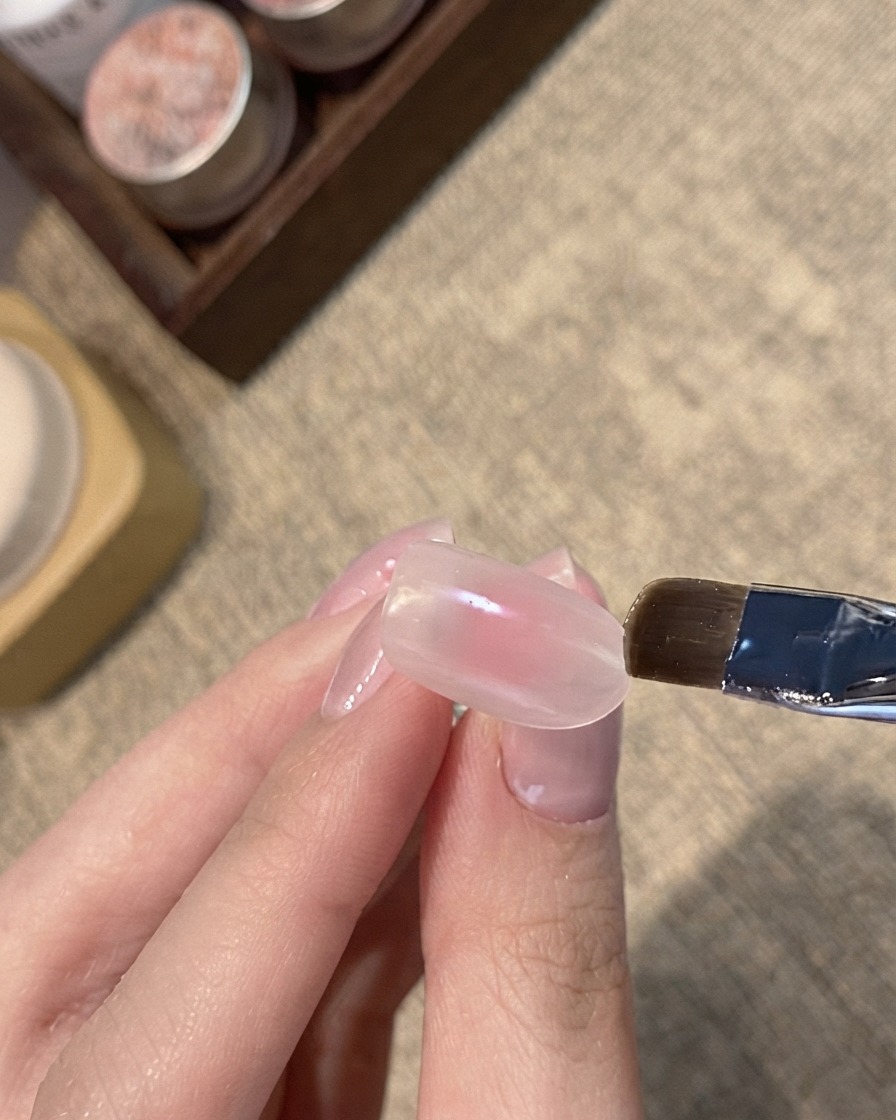
Take a flat brush loaded with blue cat-eye gel and gently apply it across the tip of the nail. Position the product along the edge to set up the gradient and magnetic shimmer effect.
Tip: Keep the application at the tip thin and controlled to allow the magnetic particles to shift easily. - 5Blend for gradient effect
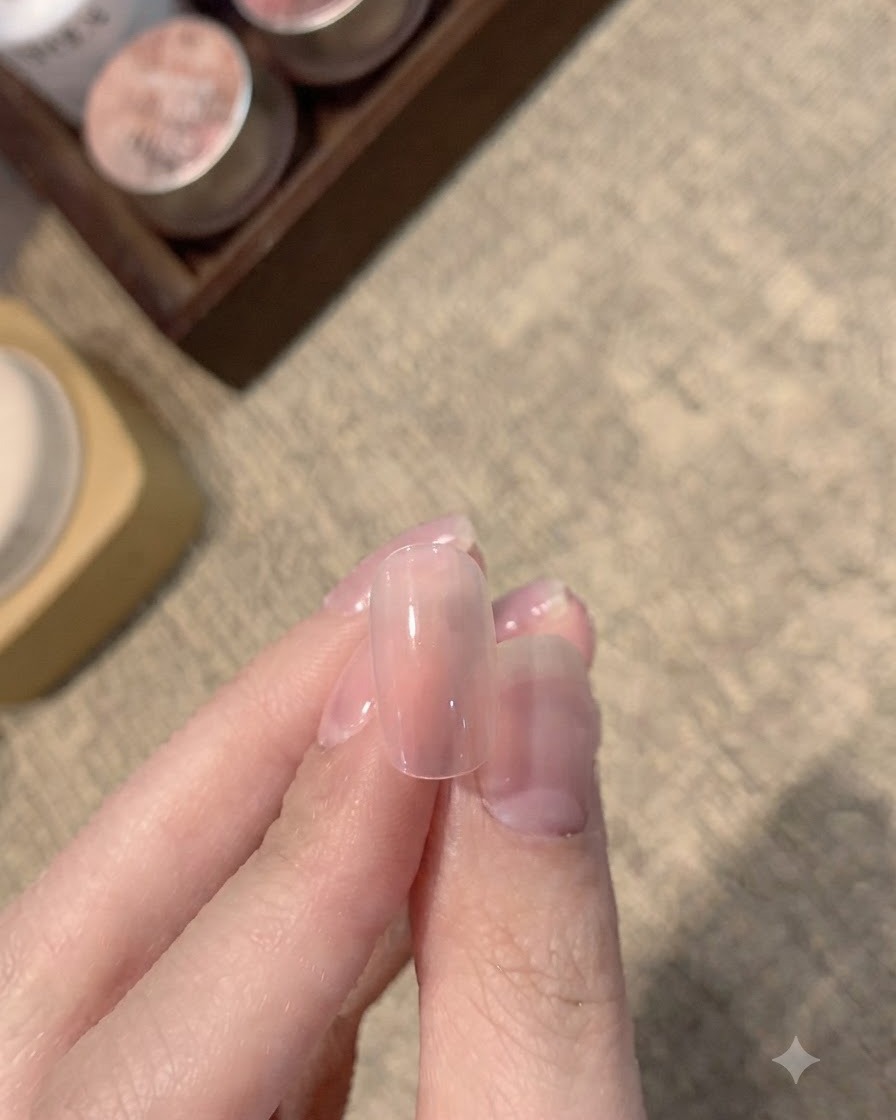
Using a clean sweeping brush, gently feather and blend the edge of the blue cat-eye gel backward toward the center of the nail. This softens the transition line and creates a smooth, seamless gradient appearance.
Tip: Lightly dust or wipe the brush frequently during blending to avoid muddying the gradient colors. - 6Use magnetic tool for shimmer
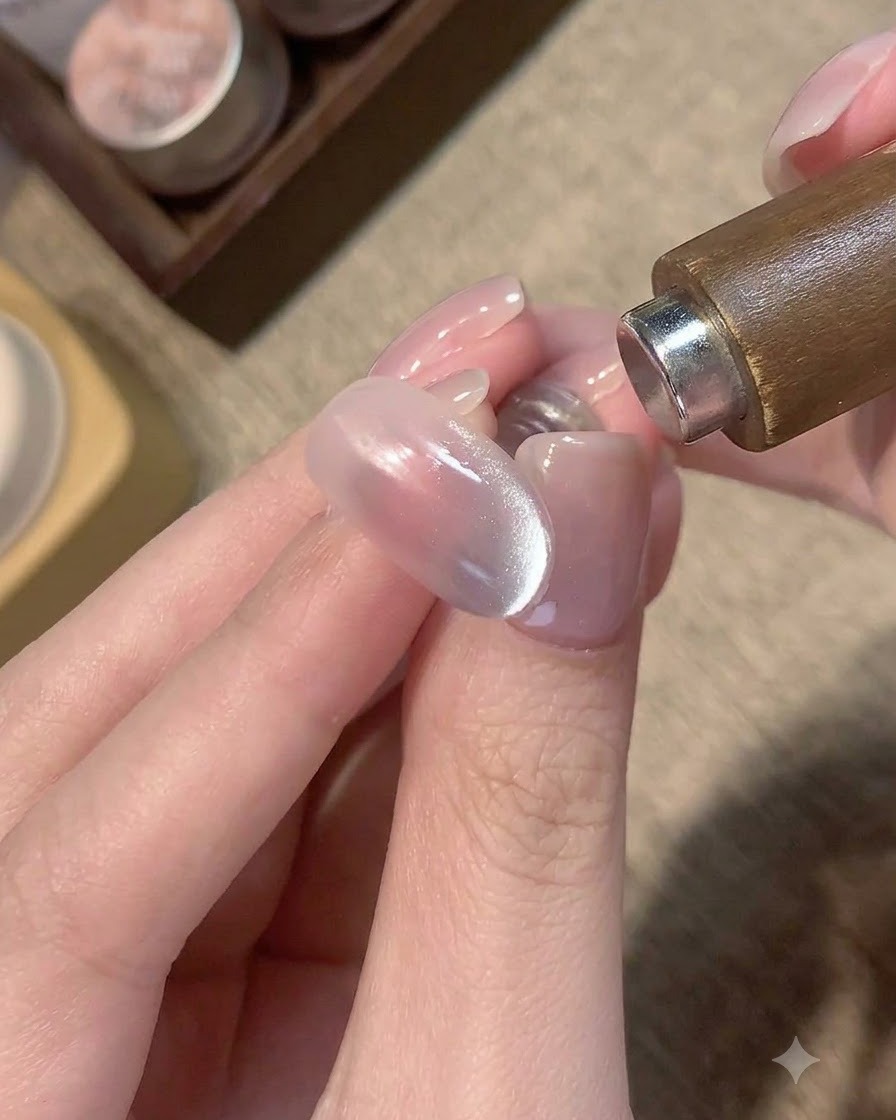
Hold a magnetic tool close to the side of the nail to pull and concentrate the magnetic shimmer particles into a sharp line or distinct side highlight. Adjust the angle until the desired cat-eye light reflection is achieved, then cure immediately.
Tip: Keep the magnet steady and close to the nail without touching the wet gel surface to get the crispest line. - 7Adjust Shimmer and Cure
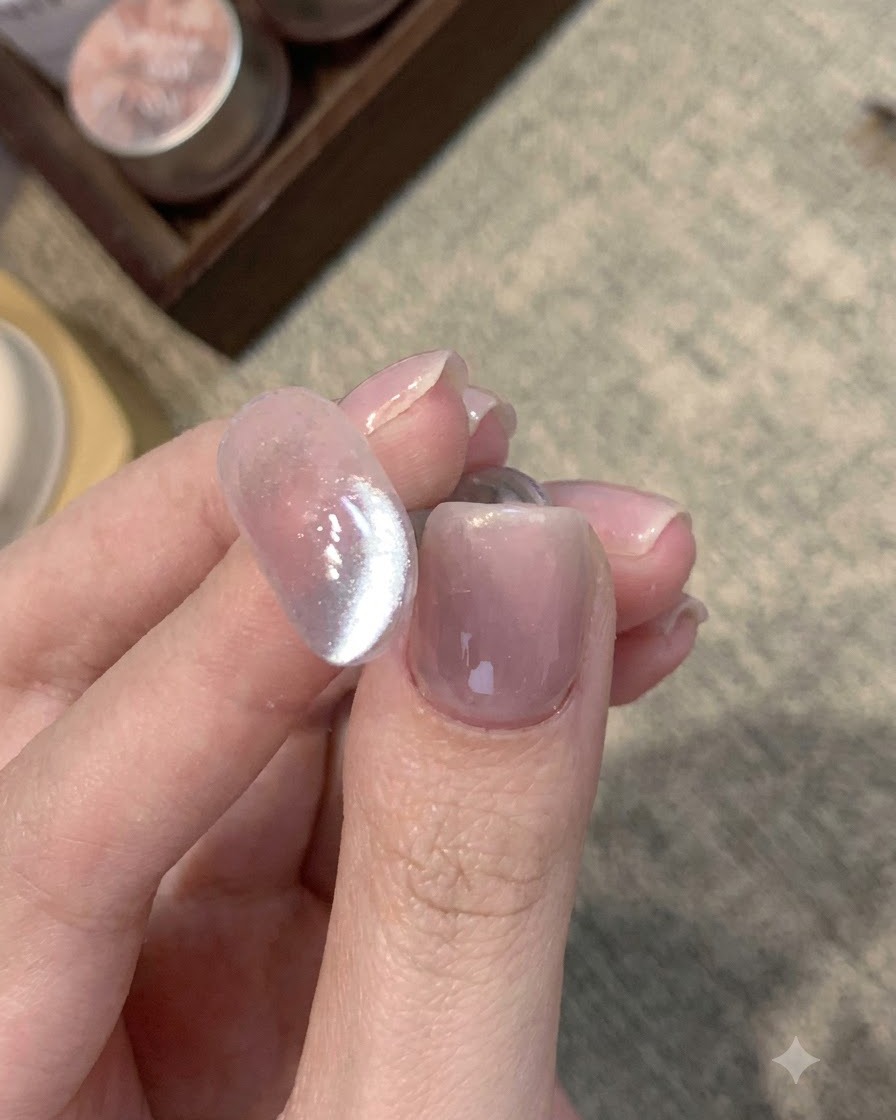
After directing the blue cat-eye shimmer to your desired position, inspect the nail from a few different angles to ensure the gradient looks flawless. Once you are happy with the placement, immediately cure the gel under your LED/UV lamp to lock the magnetic particles in place before they shift.
Tip: Work quickly with magnetic gels; if the particles start to disperse before curing, just pass the brush over the gel to reset it and use the magnet again. - 8Apply Matte Top Coat
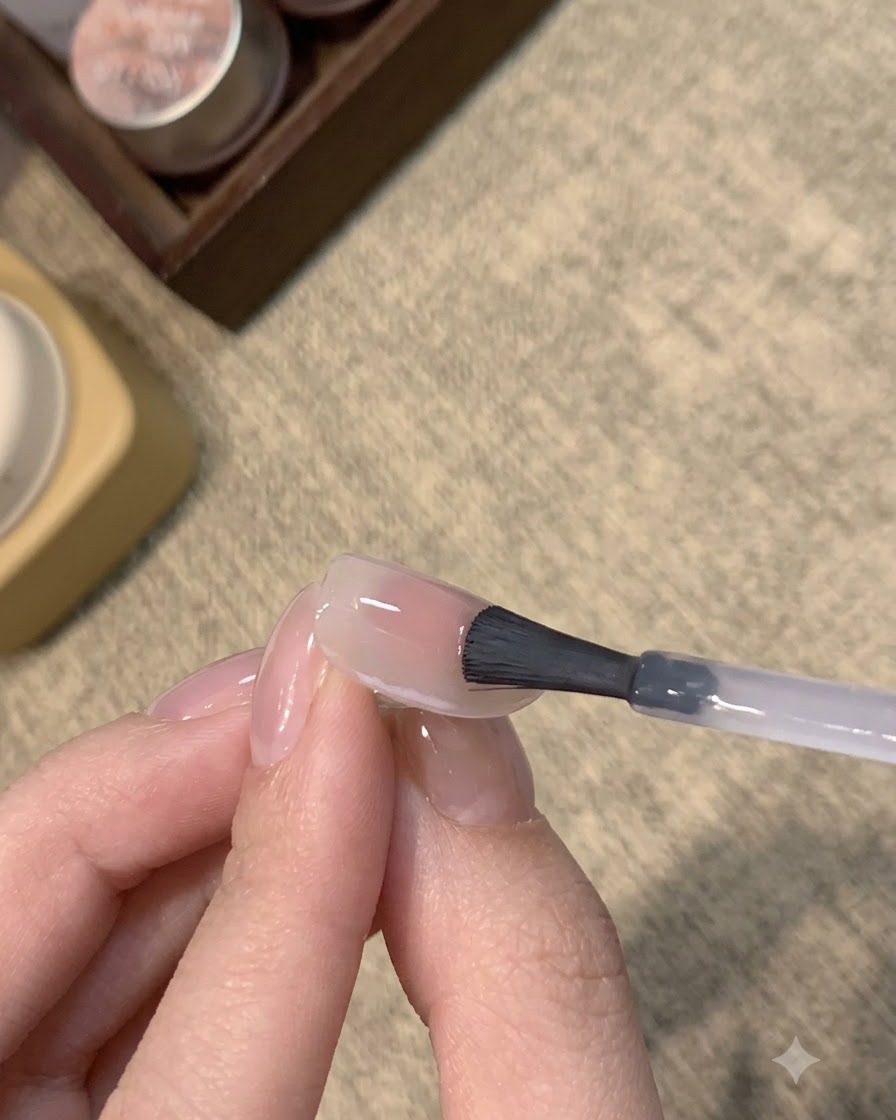
Brush an even layer of matte top coat over the entire nail surface. Ensure that you cap the free edge and fully cover the cat-eye gel to create the perfect frosted base for your upcoming 3D details. Avoid applying it too thick to prevent pooling at the cuticles.
Tip: A matte top coat acts as a great contrast to high-shine 3D details, making them pop even more. - 9Cure the Matte Finish
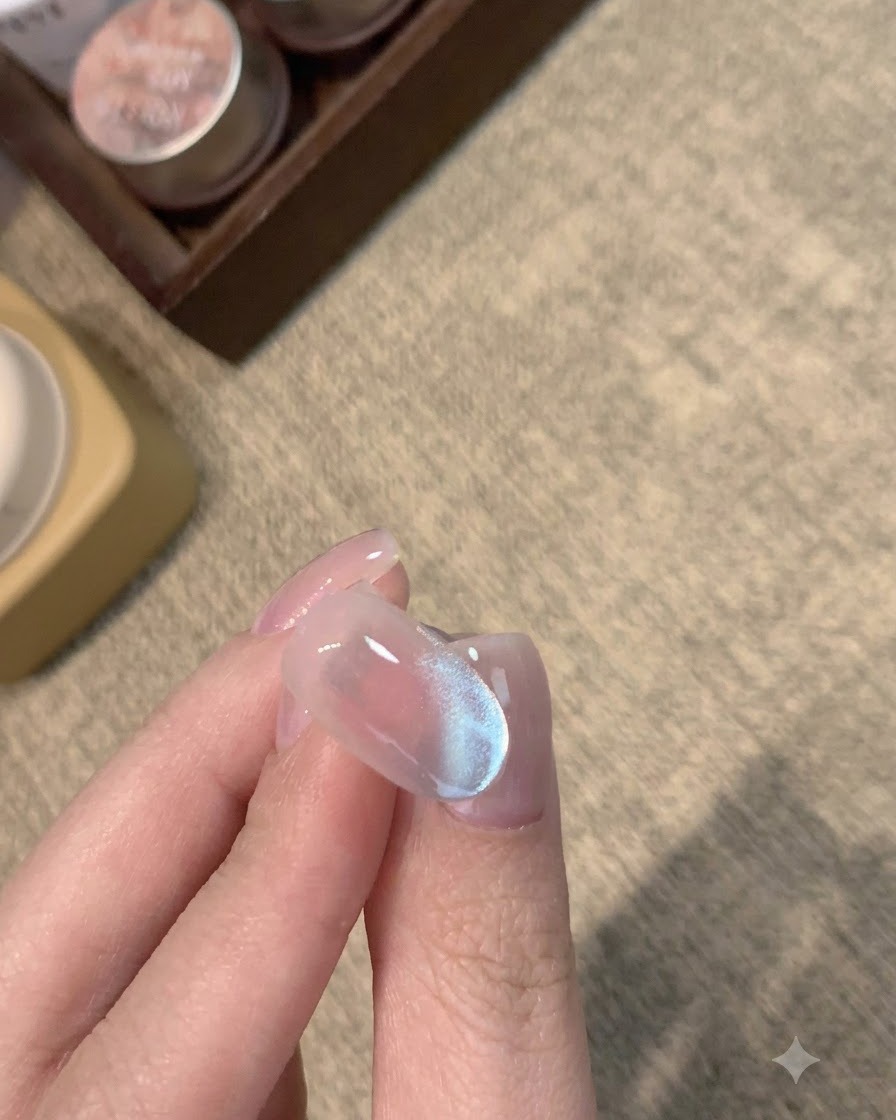
Place the nail under your UV/LED lamp and cure completely according to your top coats instructions. Once cured, the surface will transform into a smooth, velvety matte finish, contrasting beautifully against the icy blue shimmer hidden beneath.
Tip: Wait a few seconds for the nails to cool down after taking them out of the lamp before touching the matte surface to prevent smudges. - 10Draw 3D Water Drop Detail
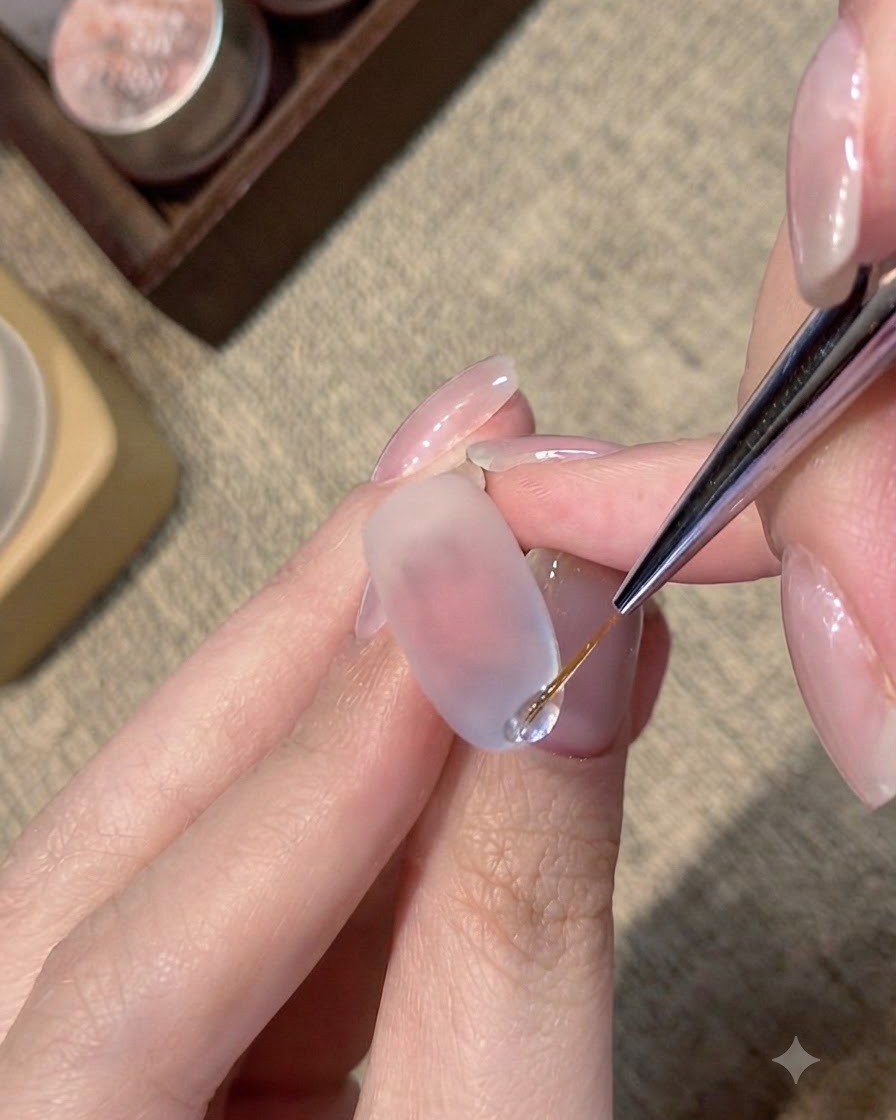
Using a fine liner brush and hard top coat or builder gel, carefully draw a thin, raised line along the very tip of the nail. This clear 3D detail creates the blue tears effect, mimicking a glistening water droplet caught on the frosty matte surface.
Tip: Use a thick consistency gel, like a non-wipe 3D gel or hard top coat, so the line holds its raised shape without flattening out. - 11Cure the Final Design
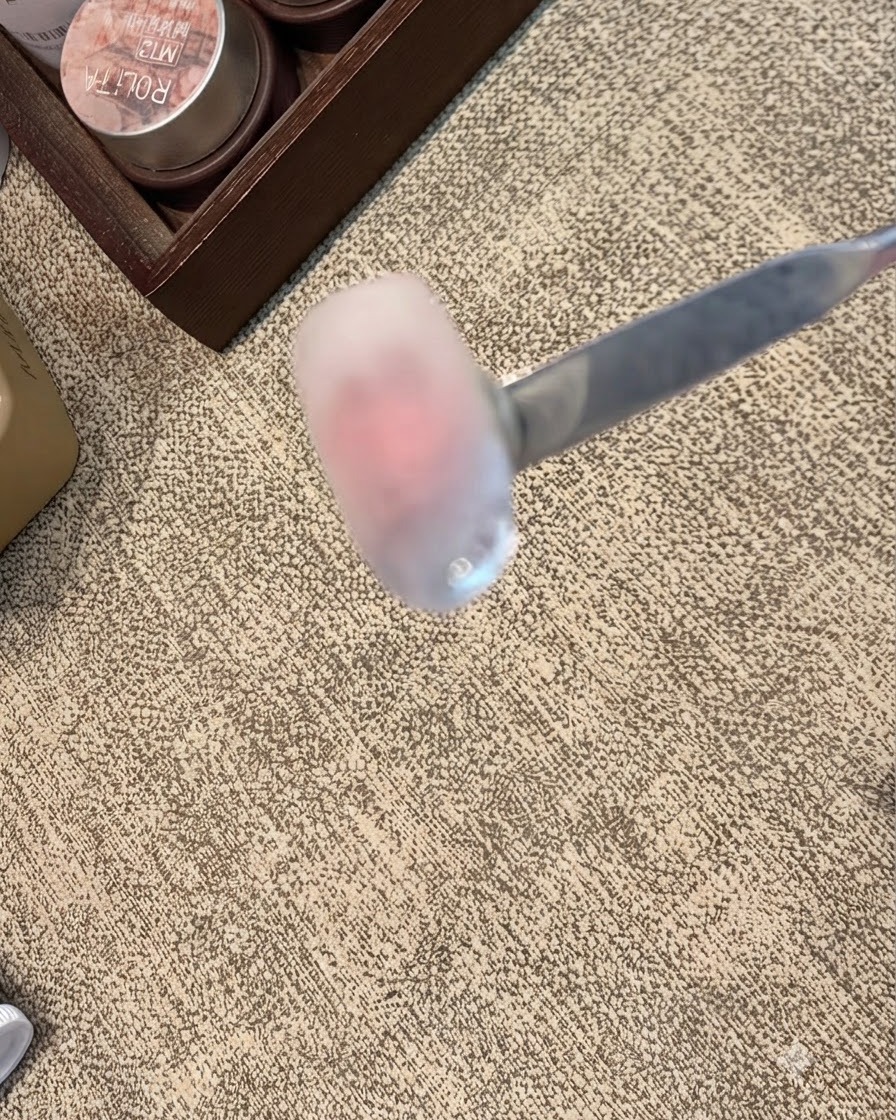
Immediately cure the 3D tip detail under a portable or full-sized LED/UV lamp to freeze the shape. Make sure to rotate the finger slightly if needed so the light hits all sides of the raised gel, ensuring a hard and durable finish.
Tip: Flash curing for a few seconds immediately after drawing the line will prevent the gel from running while you work on other nails.