Deep Blue Seabed Tears Smudge Nail — Step-by-Step Tutorial
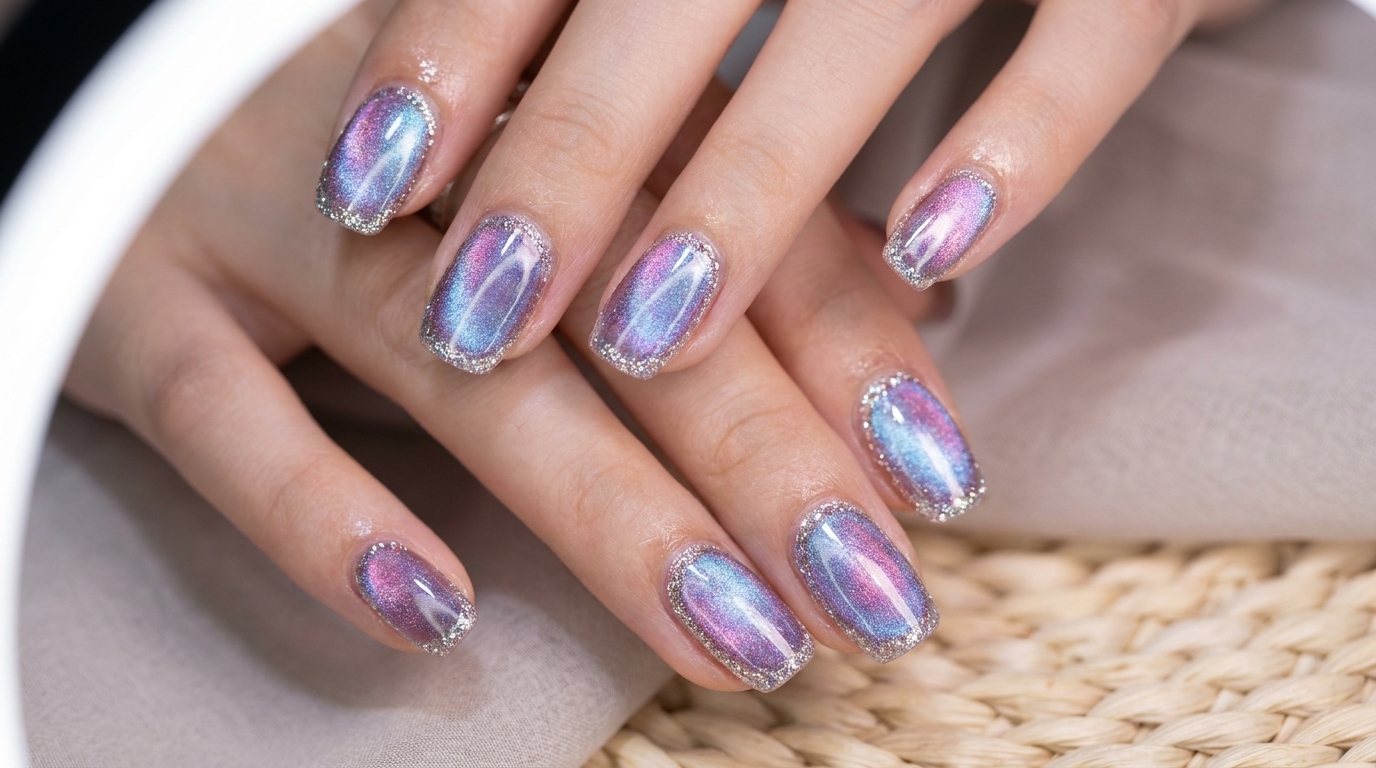
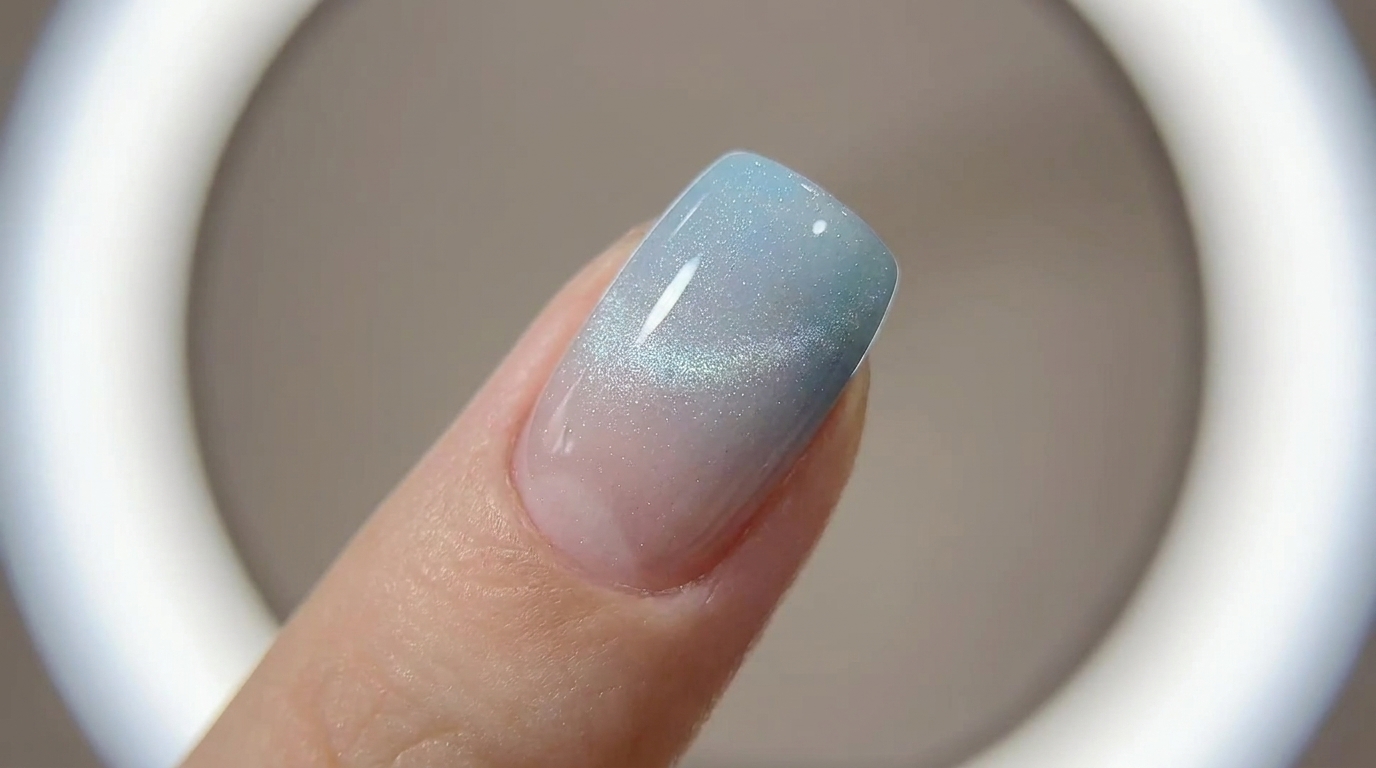
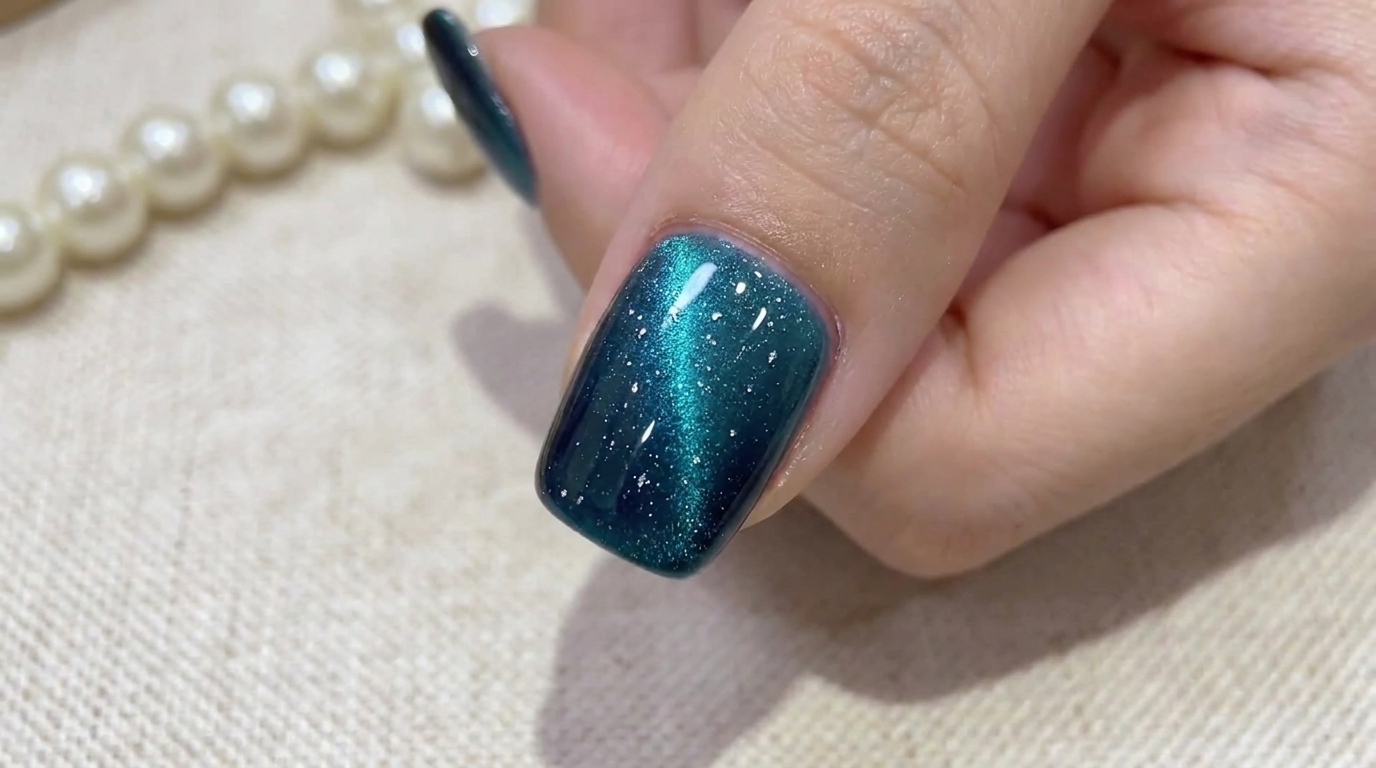
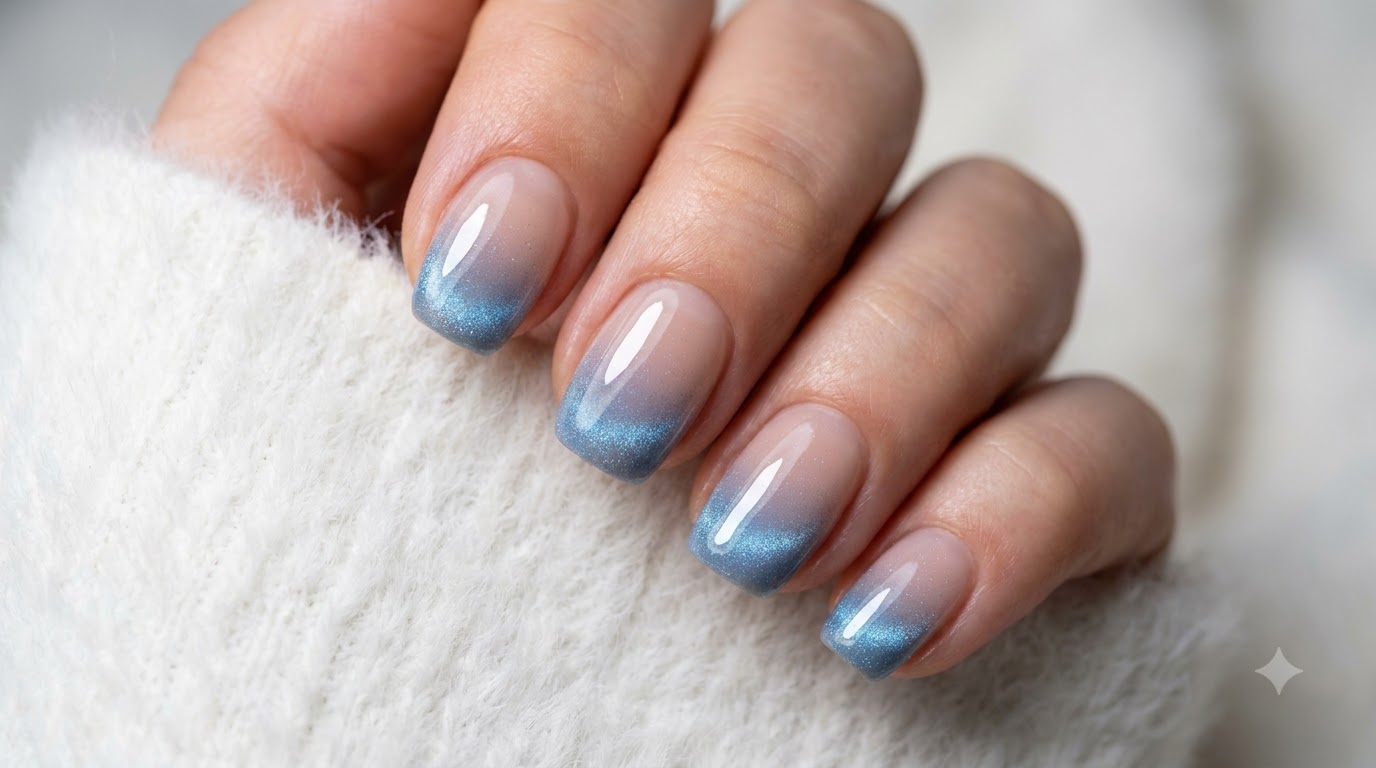
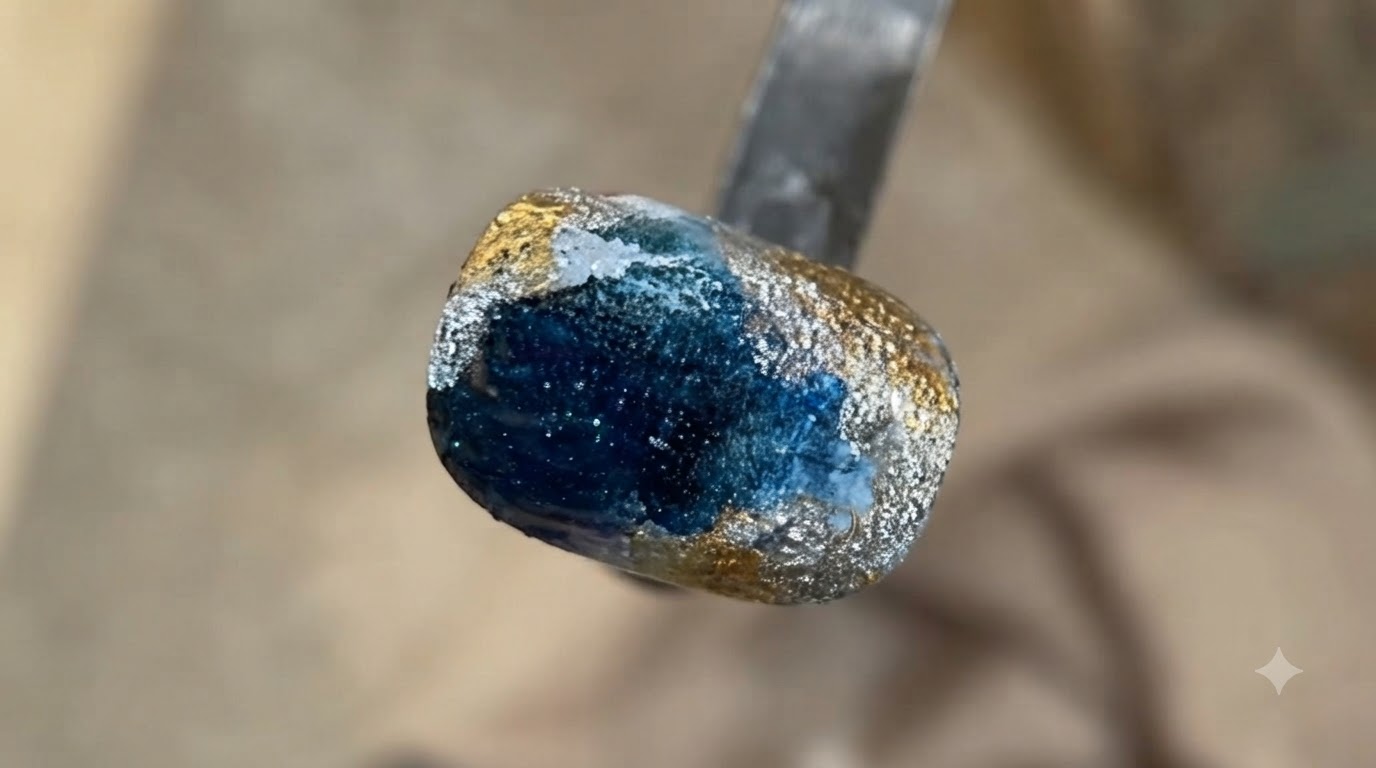
Create an enchanting deep blue ocean texture nail featuring shimmering pearlescent details and luxurious metallic gold and silver foil edges.
Textured stone and ocean-inspired nail art continues to dominate modern trend reports, combining multi-dimensional depth with metallic framing. This technique uses a layering of smudging liquids, jelly gels, and plaster textures to achieve a captivating gemstone effect right on your fingertips.
Steps
- 1Create texture with a cotton pad
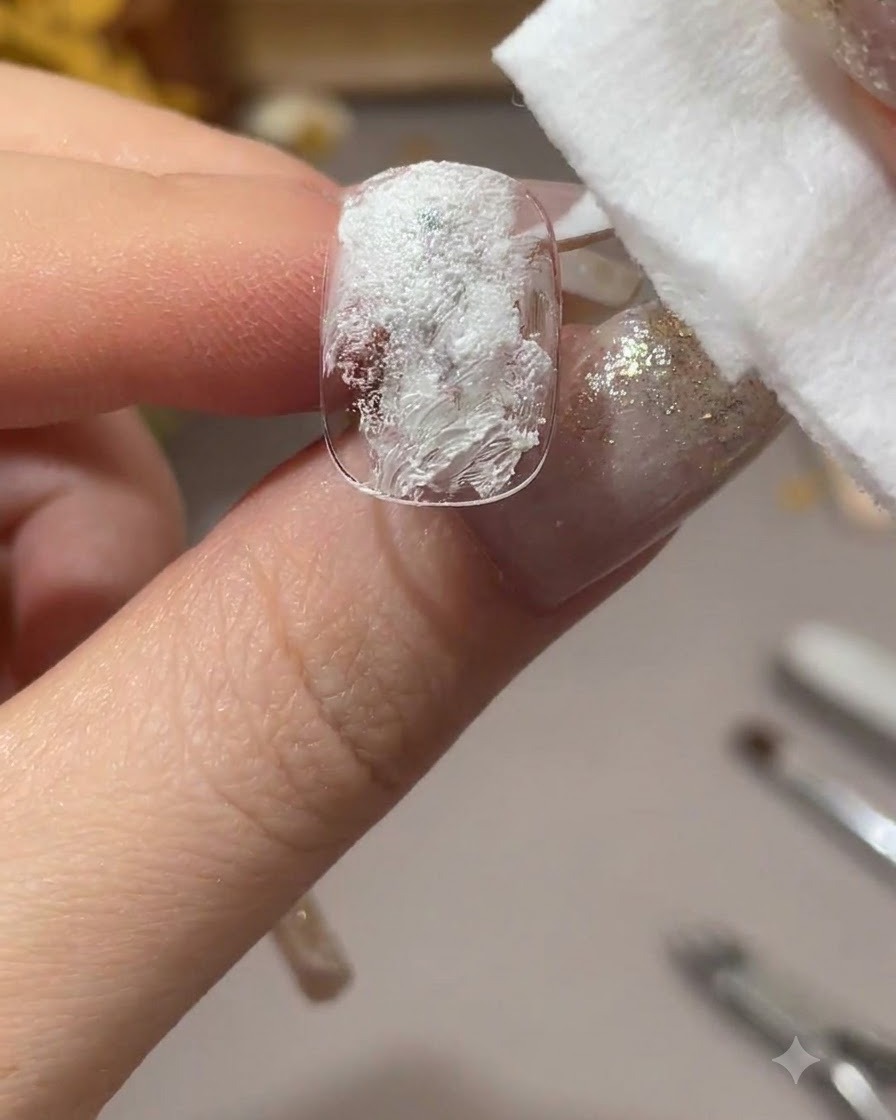
Take a dry cotton pad and gently press it repeatedly onto the freshly applied wet plaster gel. This action lifts parts of the gel, creating a rough, uneven, and highly textured three-dimensional stone or mountainous effect on the nail surface.
Tip: Do not press too hard or flatten the entire surface; you want to maintain a fluffy, rugged texture. - 2Apply light blue smudging liquid
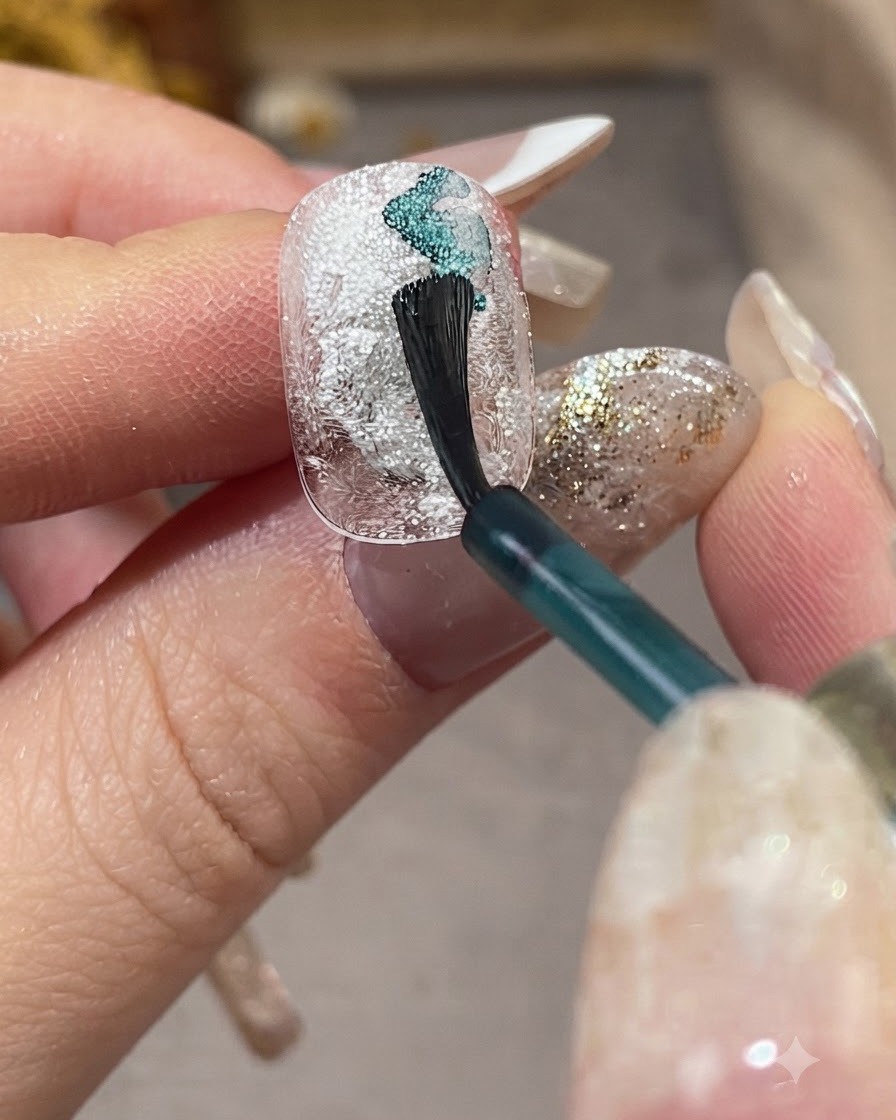
Using the bottles built-in brush, apply a light blue smudging liquid diagonally across the center of the textured white base layer. The liquid will naturally react and spread across the textured surface, forming organic watercolor-like patterns.
Tip: Apply lightly and let the fluid dynamics of the smudging liquid do the spreading work for you. - 3Layer white smudging liquid
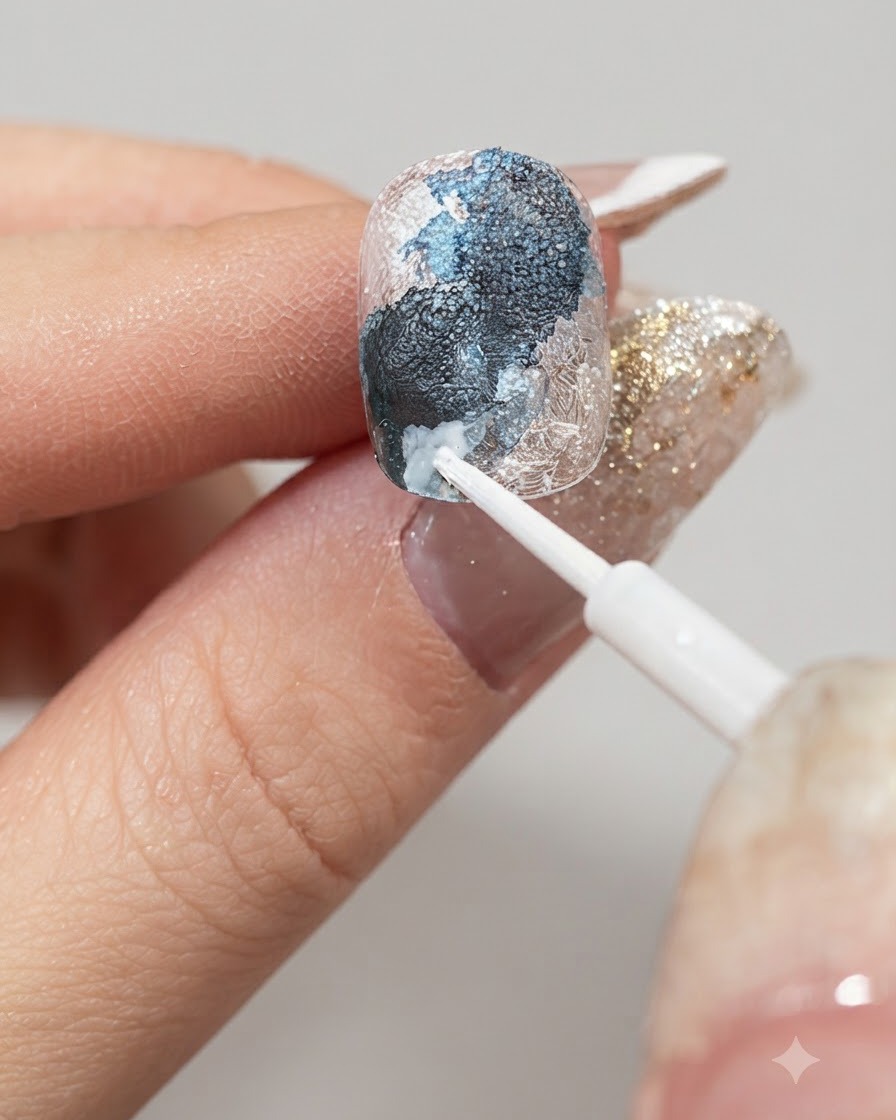
Using a fine brush, carefully apply white smudging liquid over the edges and boundaries of the previously painted blue sections. This creates soft highlights and breaks up the solid color blocks, giving a cloudy or snowy effect to the landscape design.
Tip: Target the upper peaks of the textured gel to make the white highlights pop more effectively. - 4Blend with transparent smudging liquid
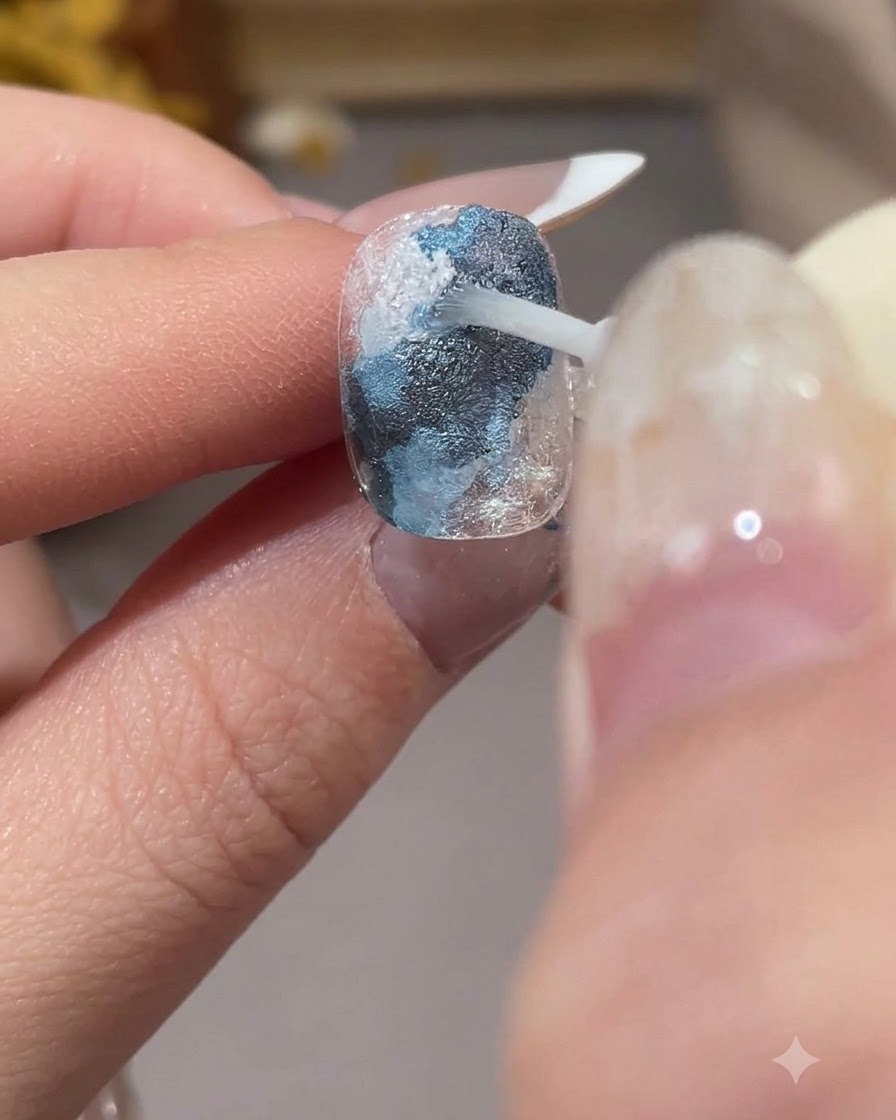
Apply a transparent smudging liquid directly over the white sections and transition zones. This acts as a blending agent to dilute the pigments, soften harsh edges, and create a smooth, seamless gradient effect between the blue and white areas.
Tip: Use a clean brush dampened with transparent liquid to help feather out the edges smoothly. - 5Apply dark blue smudging liquid
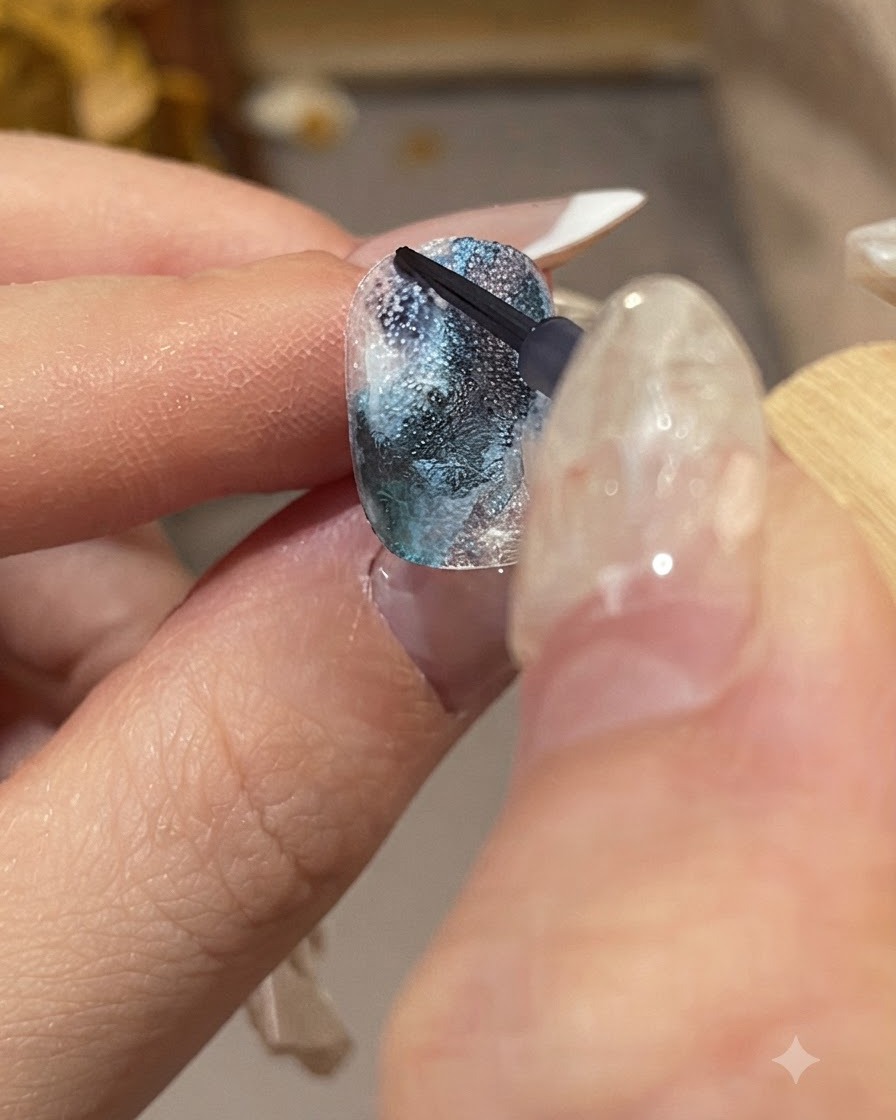
Using a fine detail brush, carefully apply dark blue smudging liquid directly into the center of the previously created blue sections. This step builds color concentration and adds optical depth to the multi-layered design. Allow the liquid to naturally disperse and blend into the damp layers beneath.
Tip: Keep the application concentrated in the center to maintain natural gradient shadows around the edges. - 6Layer pearlescent glitter liquid
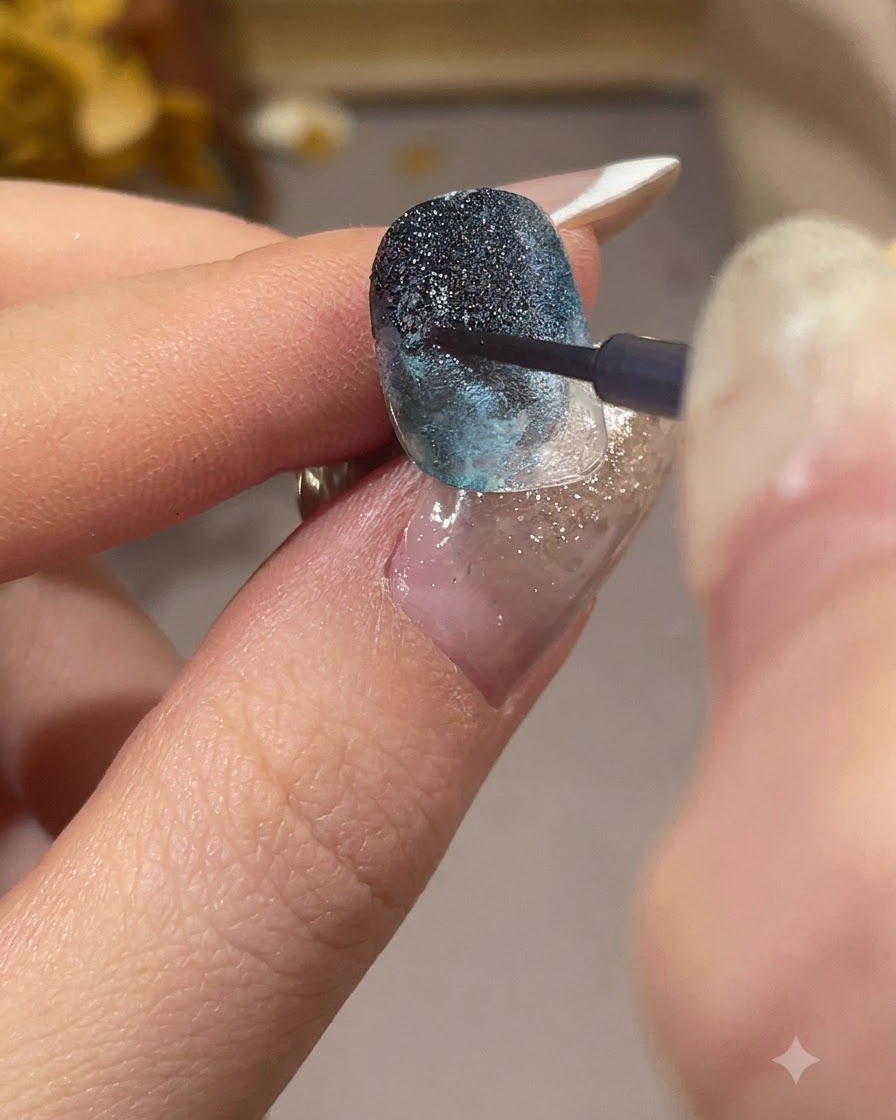
Apply a shimmering, pearlescent glitter smudging liquid directly over the concentrated dark blue center. This introduces a subtle sparkle and luminous highlight that mimics celestial or crystalline details within the design. Lightly feather the edges with your brush to disperse the glitter particles evenly.
Tip: A very light touch ensures the glitter stays localized without overwhelming the underlying dark depth. - 7Apply translucent blue glass jelly gel
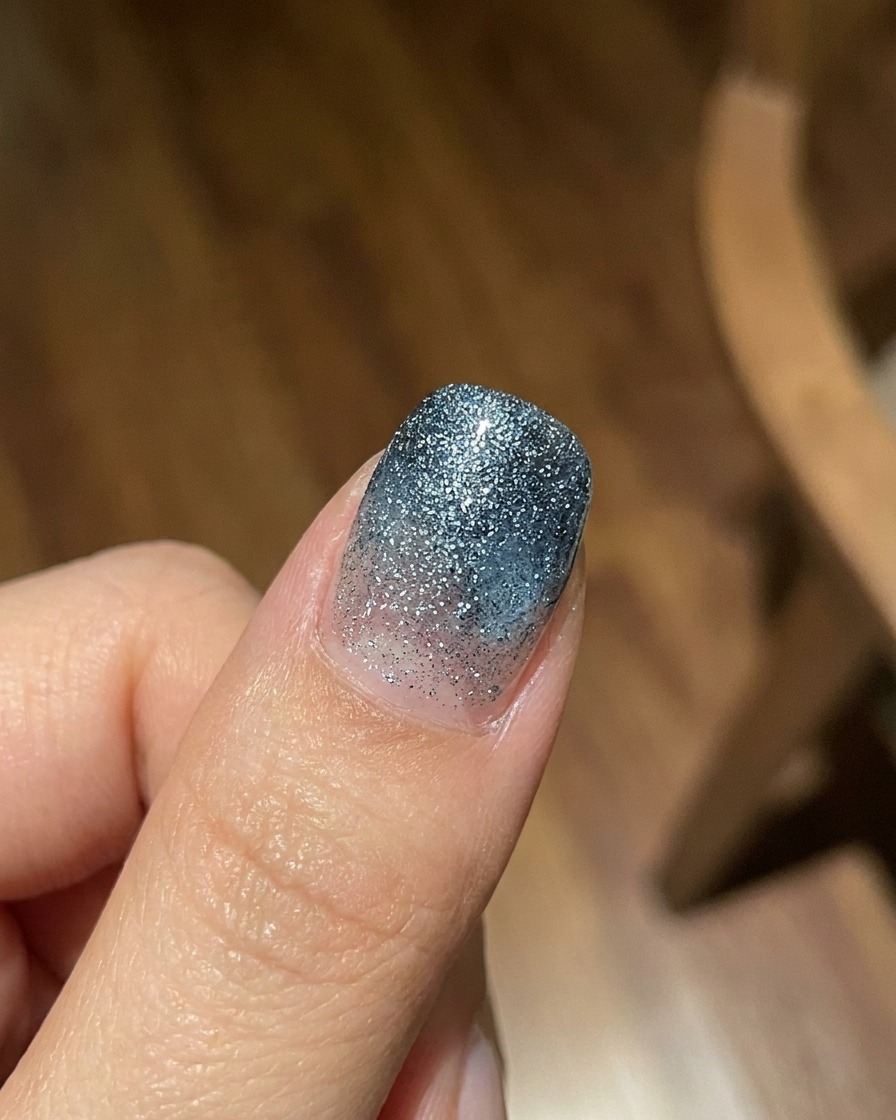
Using a flat gel brush, take a small amount of translucent blue glass jelly gel and apply an even layer over the entire blue design area. This jelly layer encapsulates the lower artwork, smoothing out minor texture irregularities while imparting a rich, glassy tint and glossy depth to the overall piece. Cure under a UV/LED lamp as directed.
Tip: Ensure the jelly gel layer is applied smoothly and thinly to prevent pooling around the cuticles. - 8Apply gold metallic smudging liquid along edges
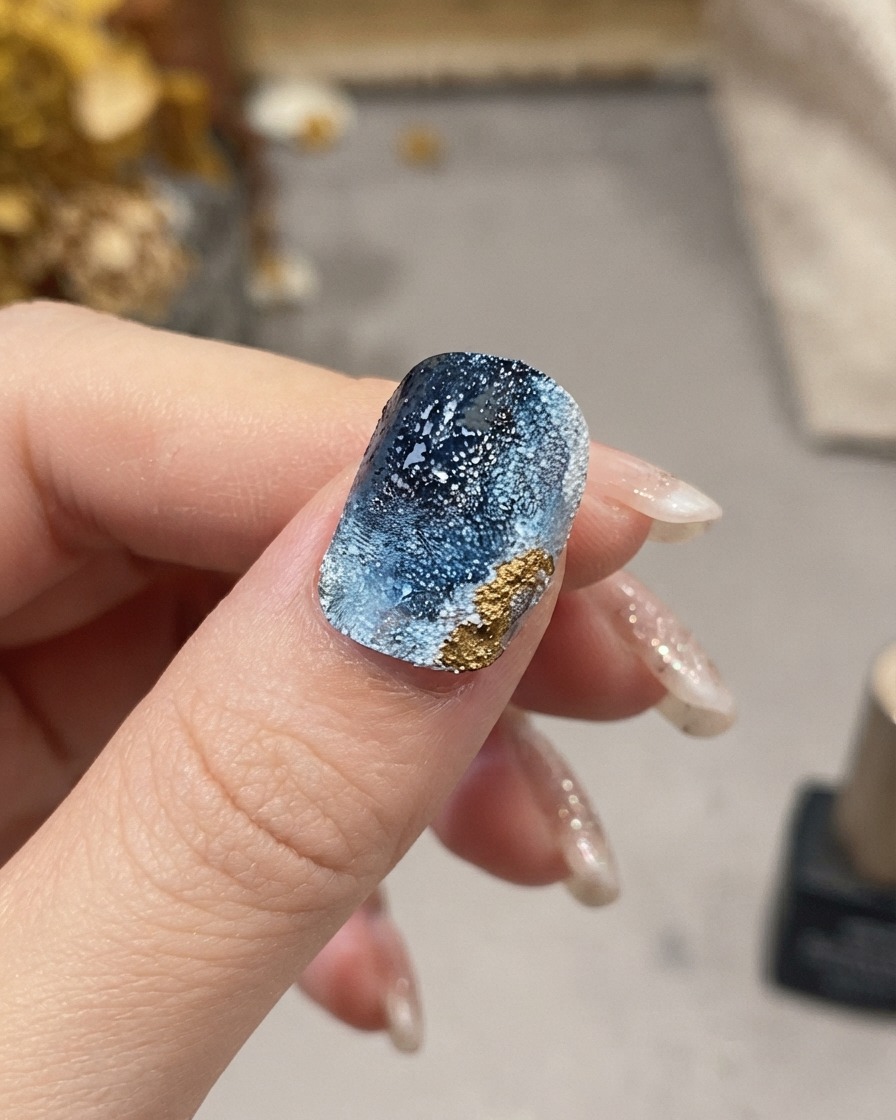
Take a fine detail brush dipped in gold metallic smudging liquid and delicately dab it along the rough, textured outer edges of the nail. This frames the abstract design with a luxurious metallic border that highlights the stone-like texture. Let it dry or cure according to your specific product instructions.
Tip: Light, dabbing motions work best on rough textures to achieve an organic, foil-like gilded edge. - 9Apply silver smudging liquid to edges
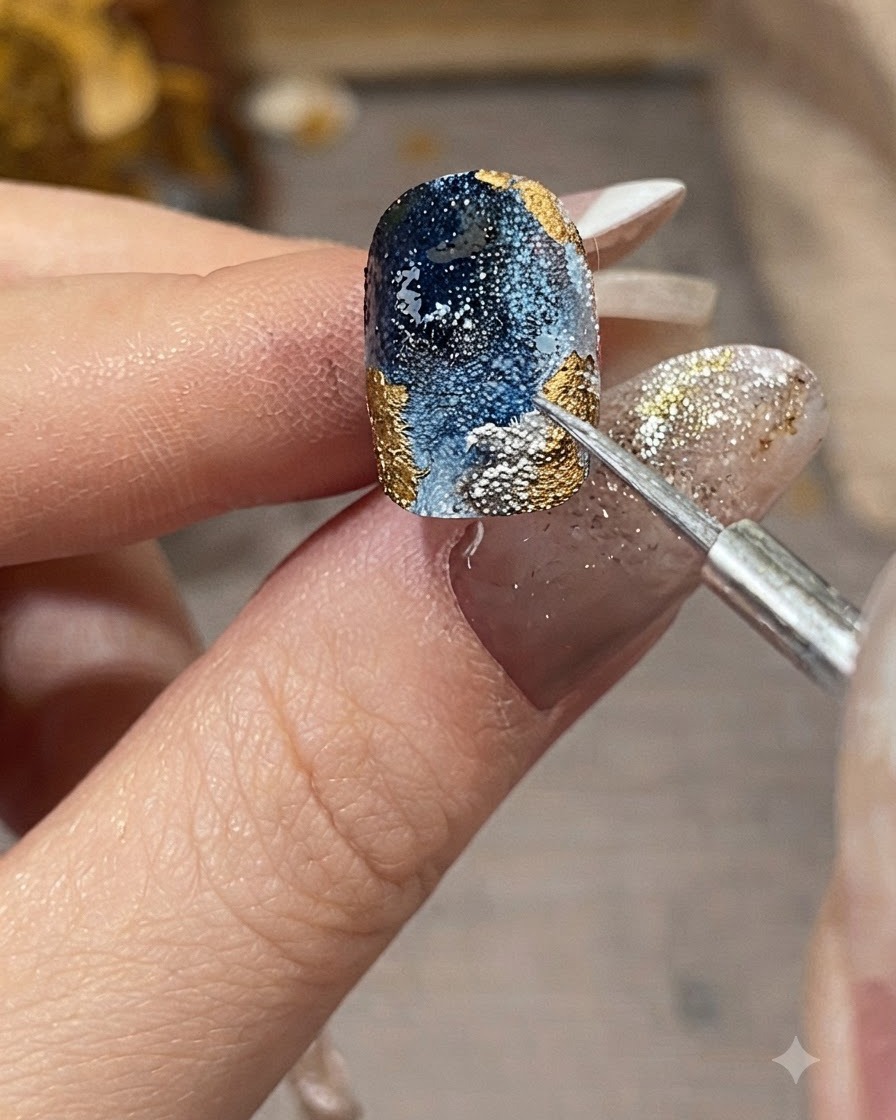
Using a fine detail brush, carefully dab silver metallic smudging liquid along the remaining exposed textured edges of the nail design. This creates a brilliant metallic border that highlights the complex multi-layered texture and adds a refined, polished finish to the cosmic art.
Tip: Keep your hand steady and apply the metallic liquid with light, dabbing motions to prevent smudging the intricate background layers. - 10Apply final glossy top coat
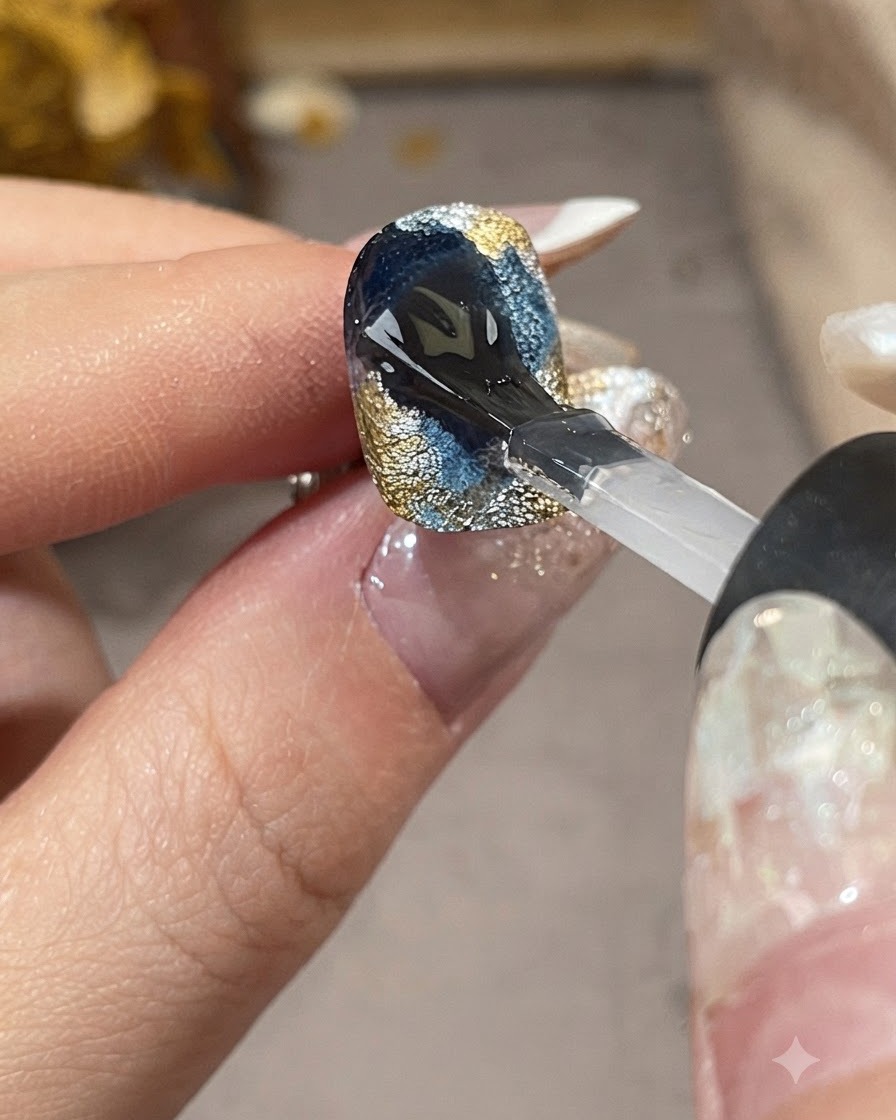
Apply a generous, clear, glossy top coat over the entire nail surface to seal in all the smudging layers, foils, and metallic details. Ensure the free edge is capped completely to protect the manicure from chipping and to give the entire cosmic design a smooth, high-shine finish.
Tip: Float the top coat brush gently across the surface so you do not drag or disturb the delicate smudging effects underneath.