Aurora Illusion Blue-Purple Cat Eye Nails — Summer Step-by-Step Tutorial
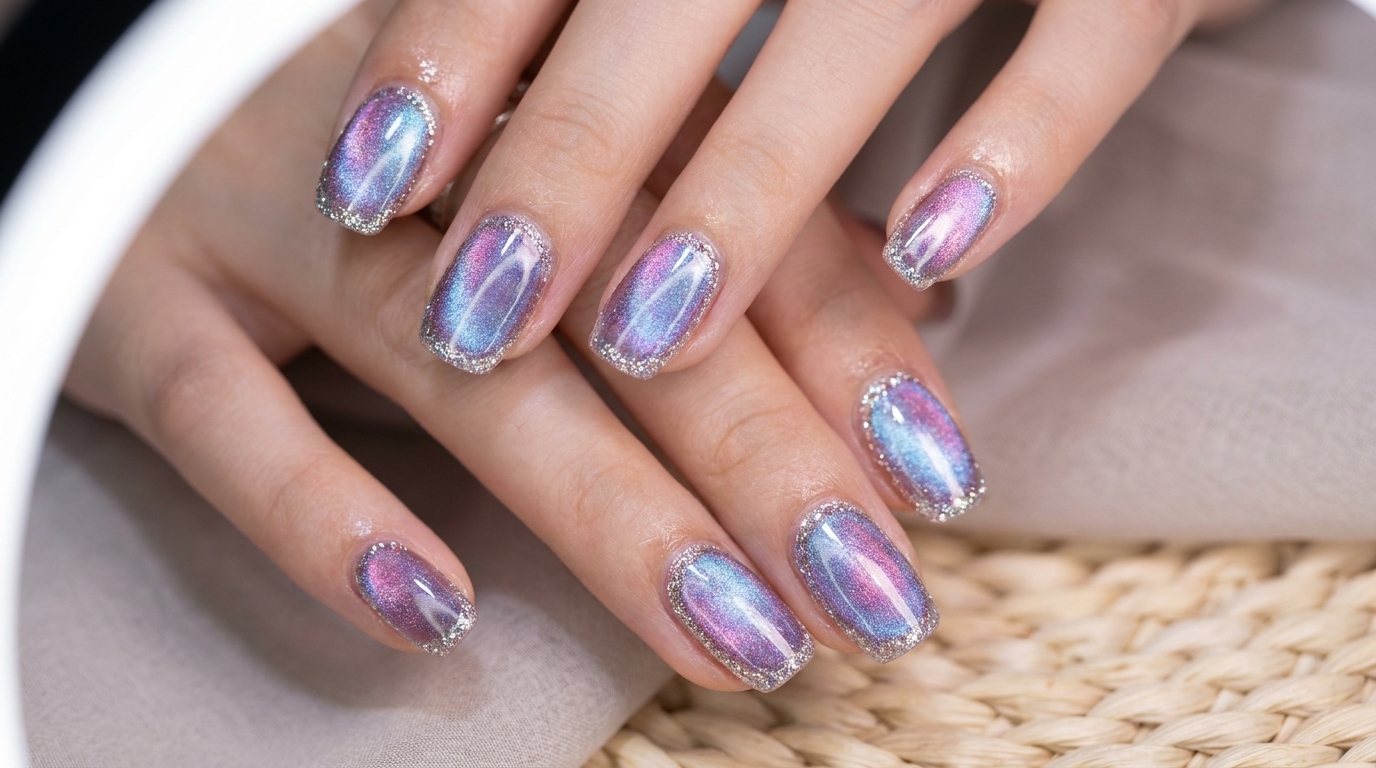
Create a magical summer manicure with these aurora illusion blue-purple cat eye nails. This base-coat-free gel technique features a glowing glass effect and sparkling glitter edges.
Blue and purple tones are absolutely magical for summer, especially when enhanced with a glass-like cat eye effect. This aurora illusion look uses a convenient one-step gel formula, meaning no base or top coat is required. The glowing, color-shifting center paired with a flash glitter outline creates a cool, classy finish that is surprisingly easy to achieve at home.
Steps
- 1Prep and cleanse the nail surface
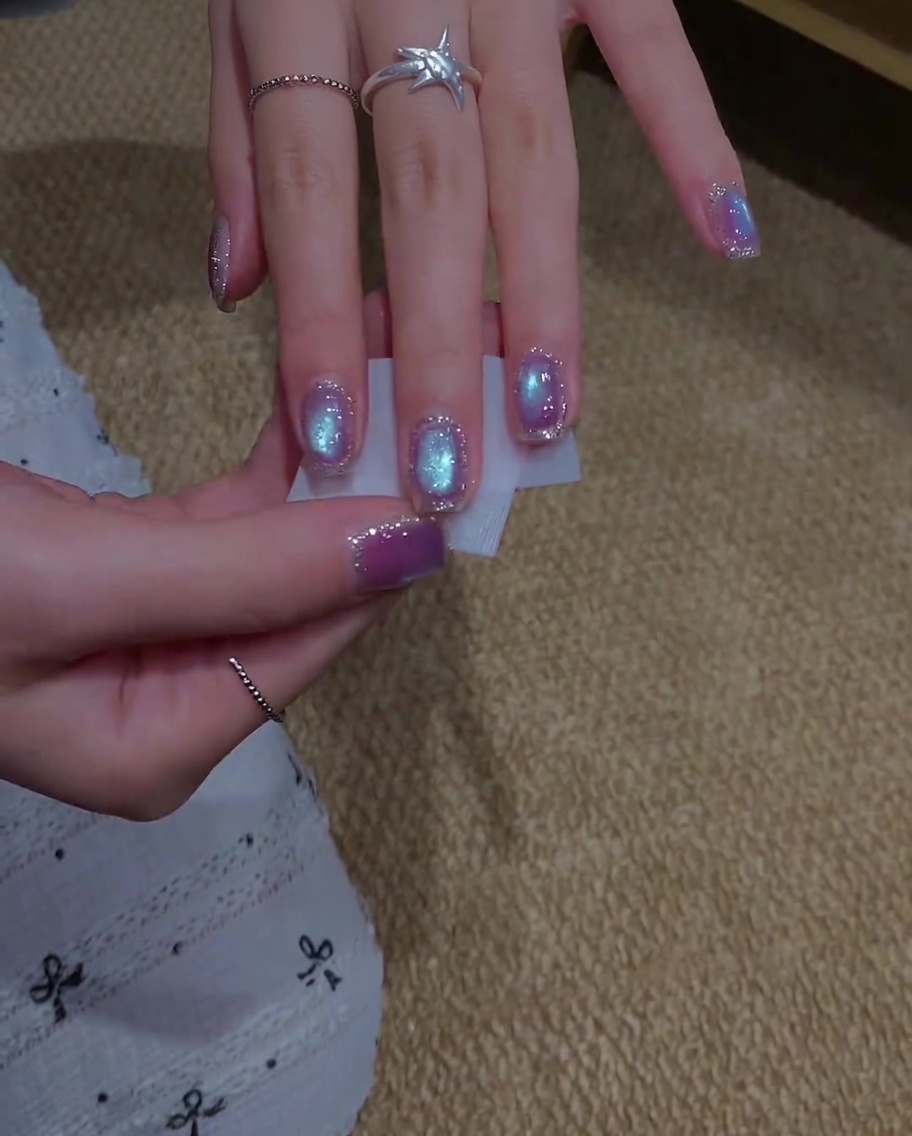
Take a lint-free wipe saturated with a cleanser prep pad and thoroughly wipe down the surface of each nail. This removes any dust, oils, or residues remaining from filing, ensuring a clean foundation for the gel application.
Tip: Make sure to clean around the cuticles and sidewalls where natural oils tend to accumulate. - 2Apply blue-purple cat eye gel polish
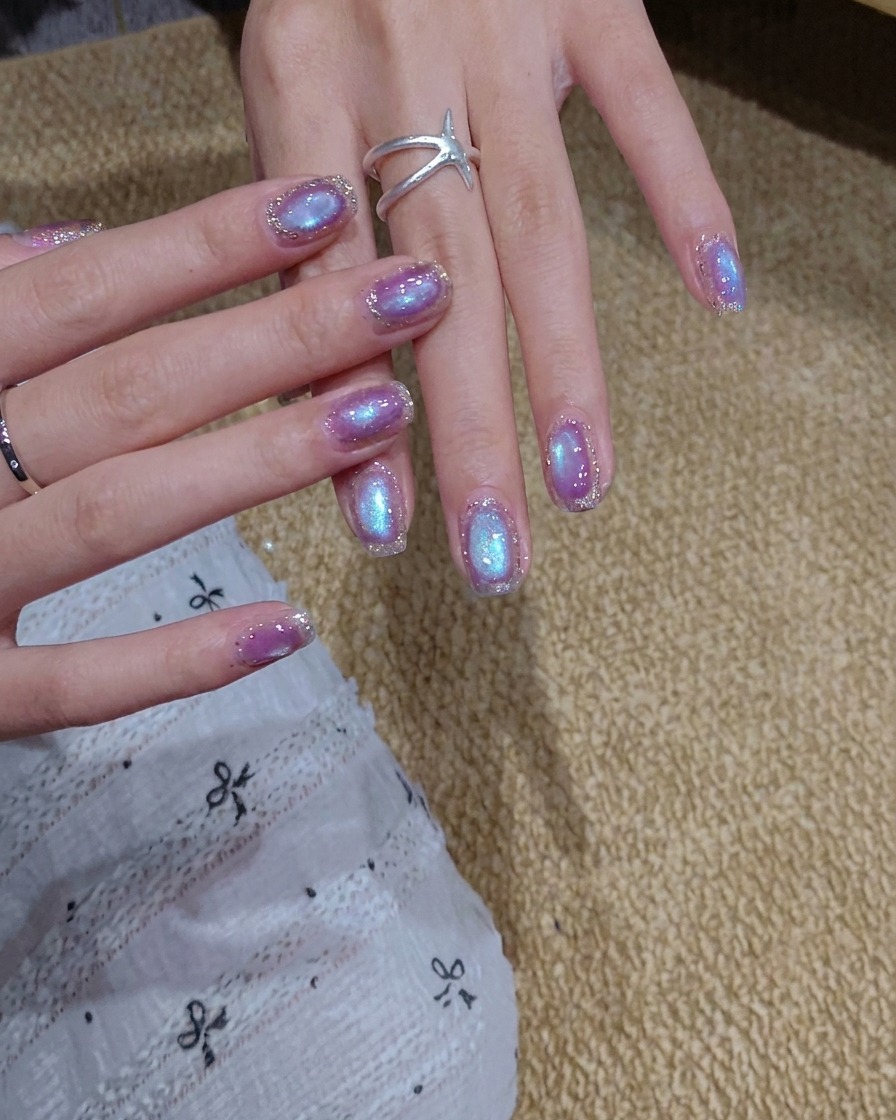
Using the brush applicator, apply an even coat of the blue-purple cat eye gel polish directly onto the prepped nail plate. Ensure smooth coverage across the entire nail without flooding the cuticles.
Tip: Apply a consistent layer so the magnetic particles have enough fluid medium to move freely when the magnet is applied. - 3Gather magnetic particles with a magnet
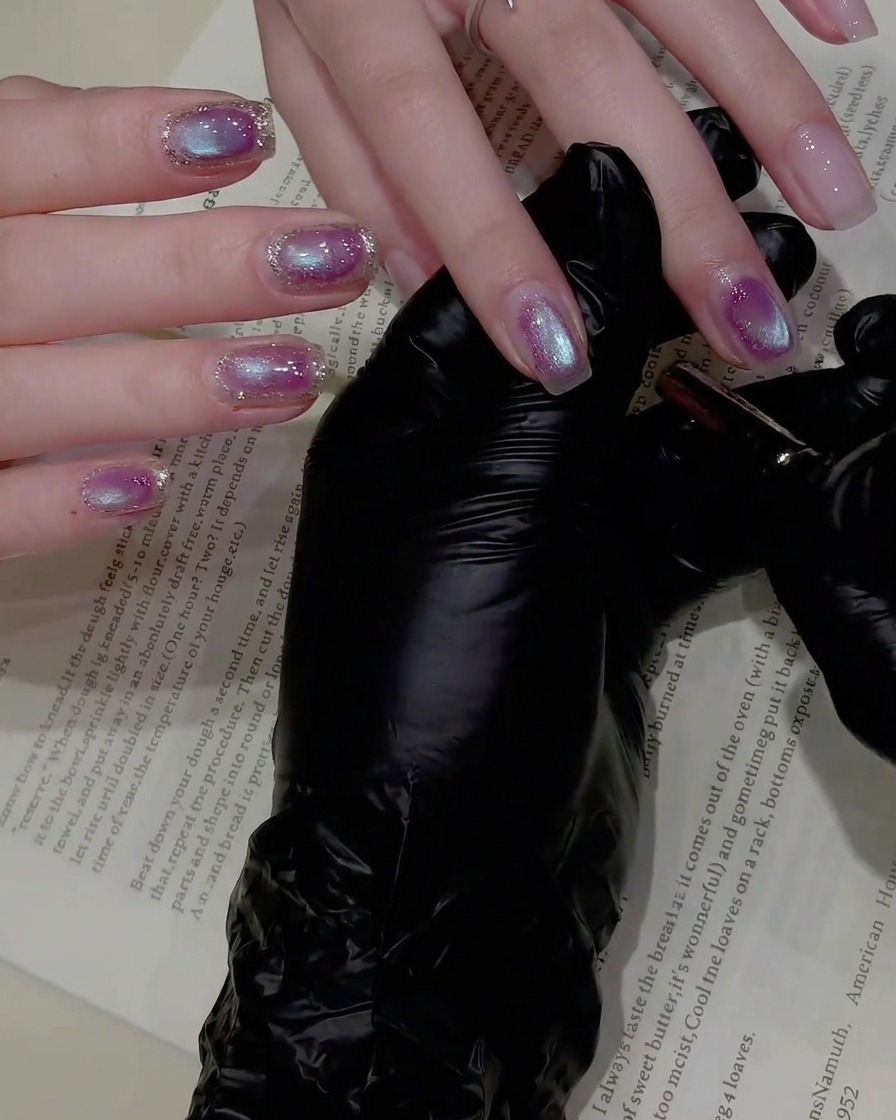
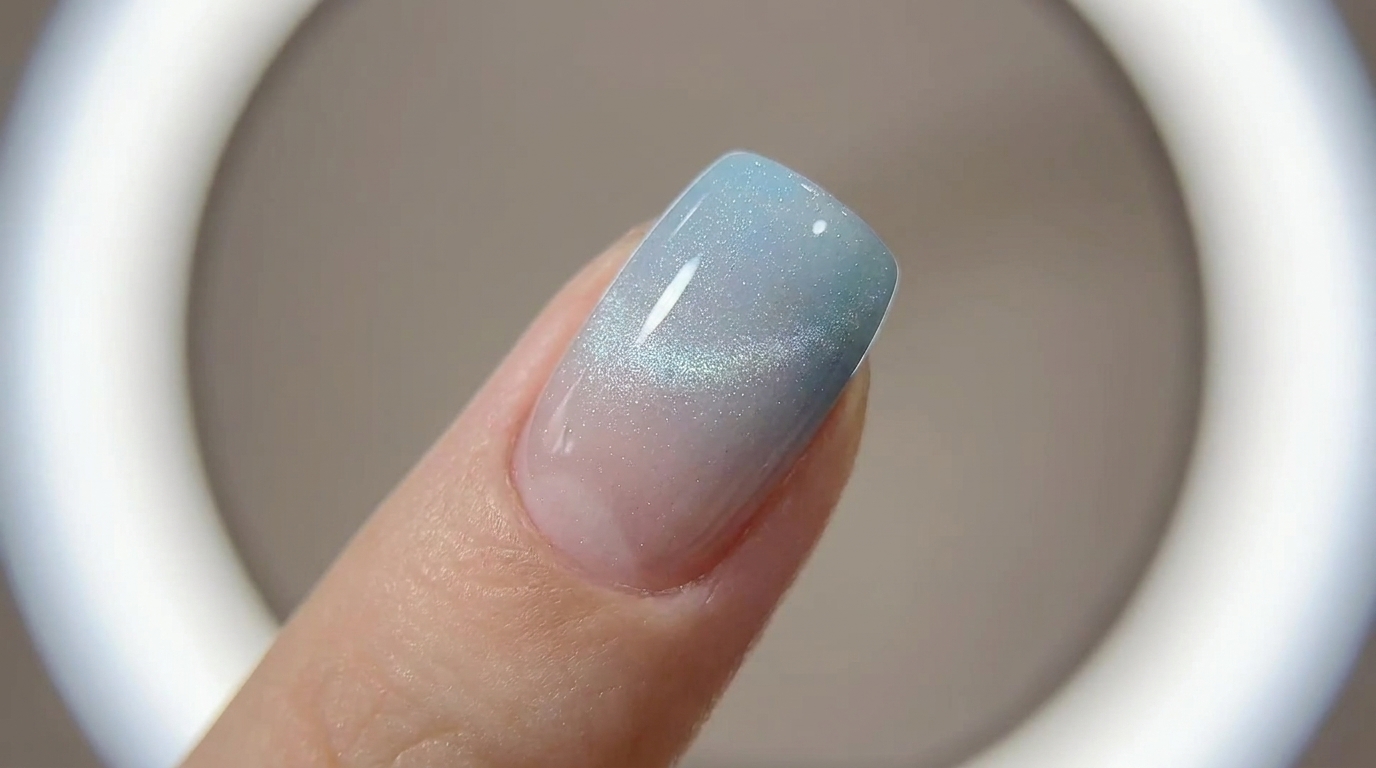
Hold a specialized magnet close to the uncured wet cat eye gel without touching the surface. Hover it steadily to pull and gather the magnetic particles into a glowing central glass-like aurora line.
Tip: Hold the magnet steady for a few seconds until the desired cat eye effect sharply forms before curing. - 4Cure the cat eye gel
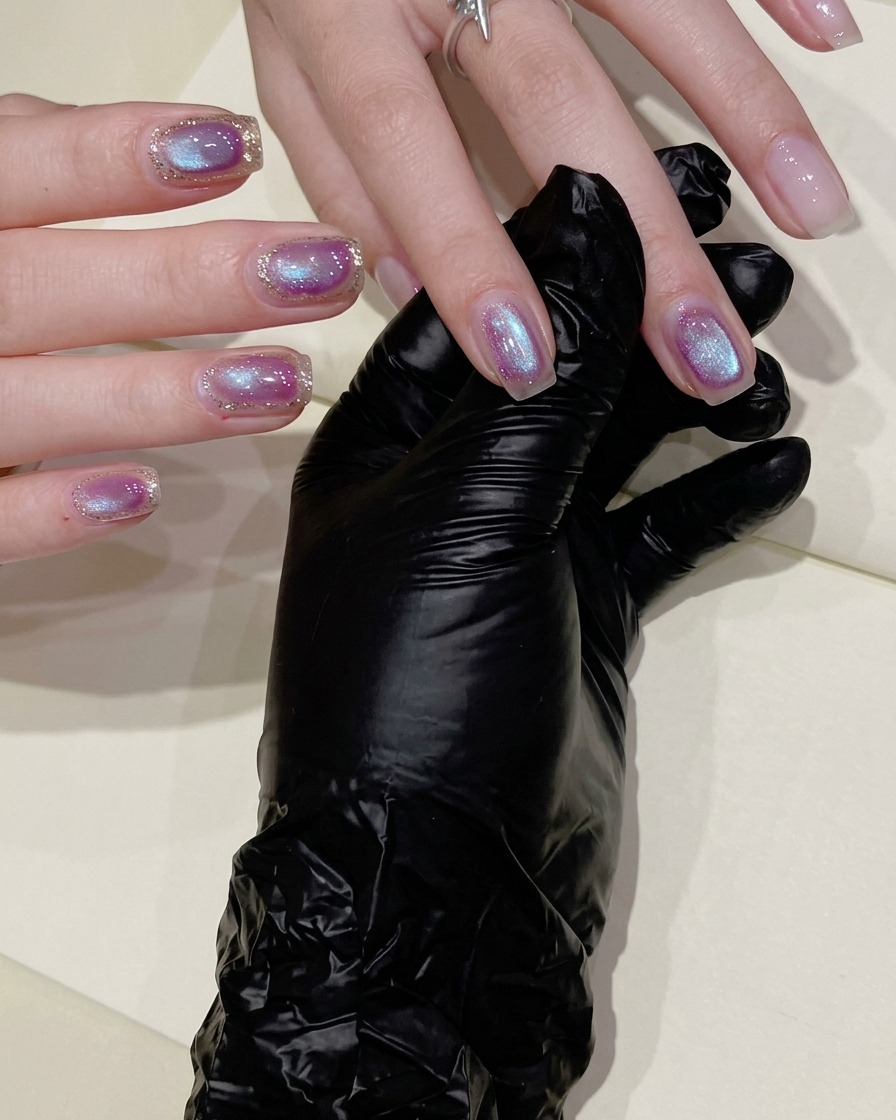
Place your hand inside the UV or LED nail lamp to cure the blue-purple cat eye gel layer. This locks the magnetic aurora effect in place and hardens the gel.
Tip: Keep your hand flat inside the lamp to ensure all fingers cure evenly under the light source. - 5Outline with flash glitter gel
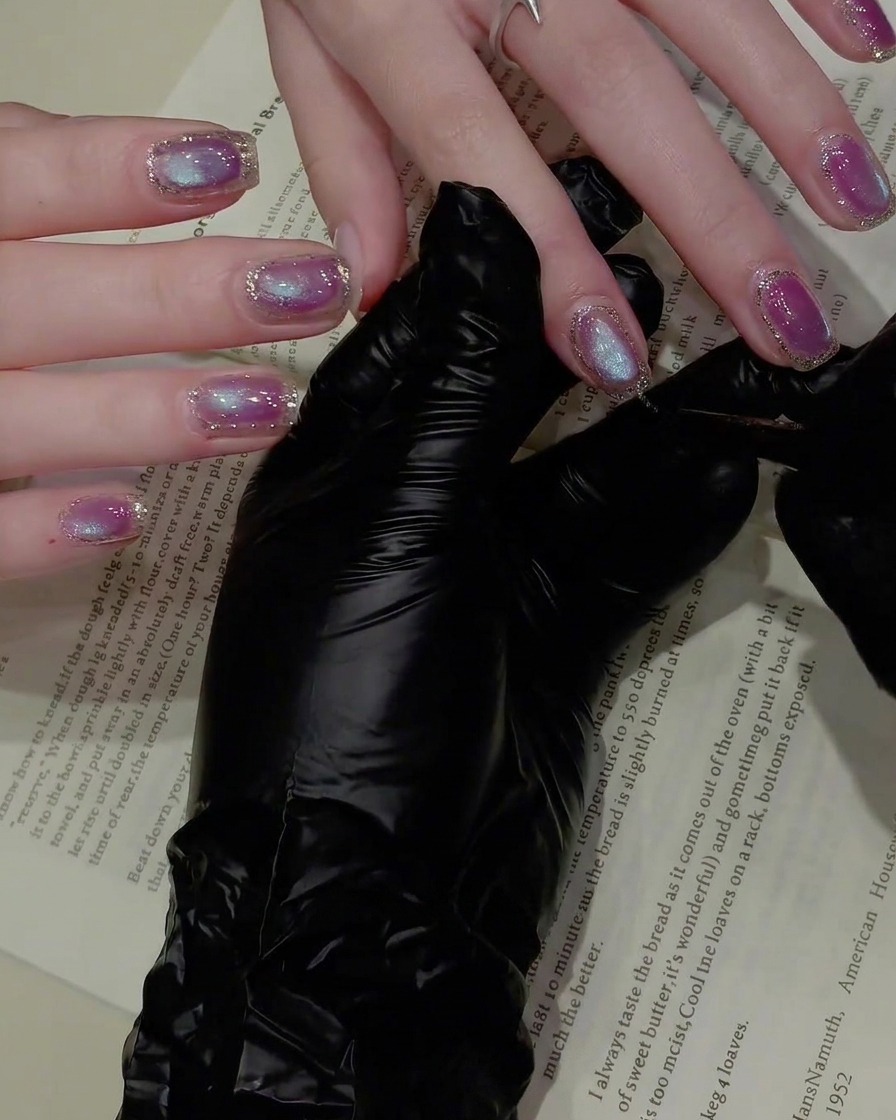
Dip a fine liner brush into flash glitter gel and carefully trace along the outer edges and cuticle line of each nail. This framing technique adds a sparkling border that enhances the overall manicure.
Tip: Use a light touch with the tip of the fine liner brush to create clean, thin, and precise glittering lines. - 6Cure the glitter outline
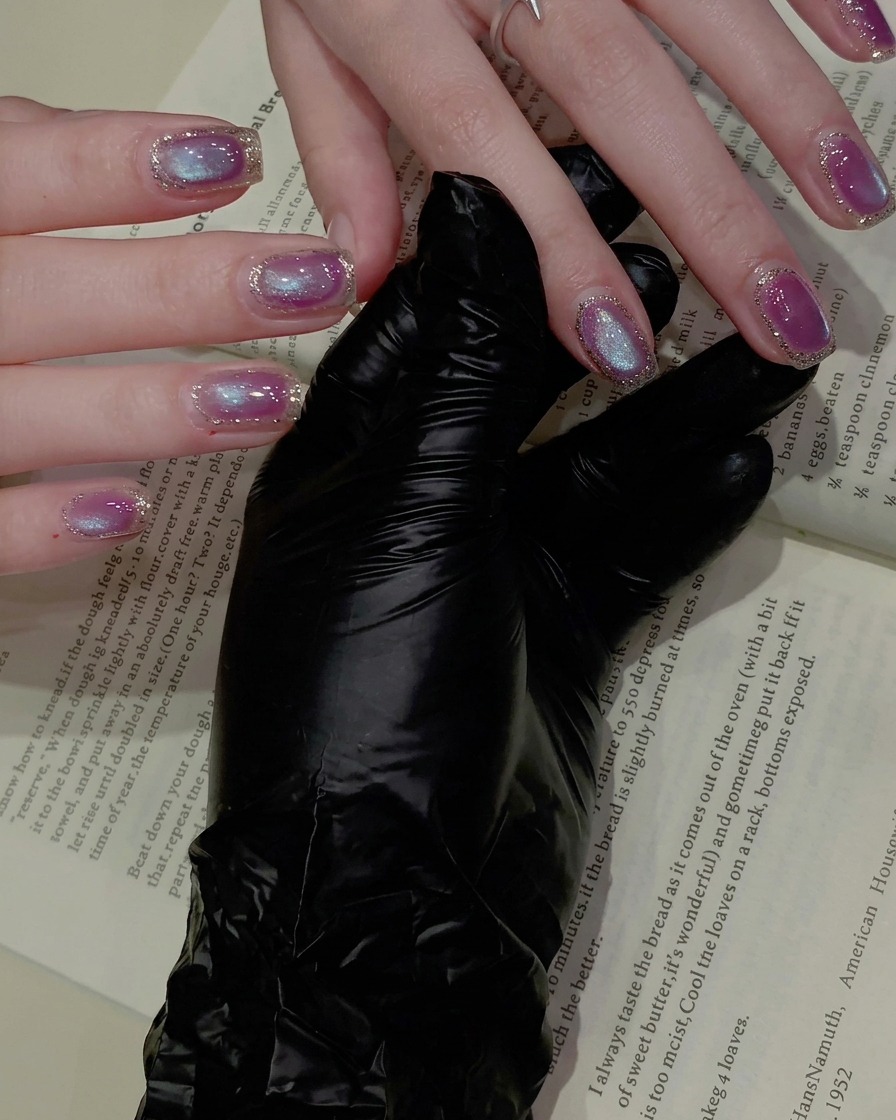
Place your hand back under the UV or LED lamp to cure the flash glitter outline for a full 60 seconds. This ensures the glitter border hardens completely with no sticky residue.
Tip: Ensure a full 60-second cure time for glitter gel layers to prevent shifting or peeling. - 7Perform a final cleanse
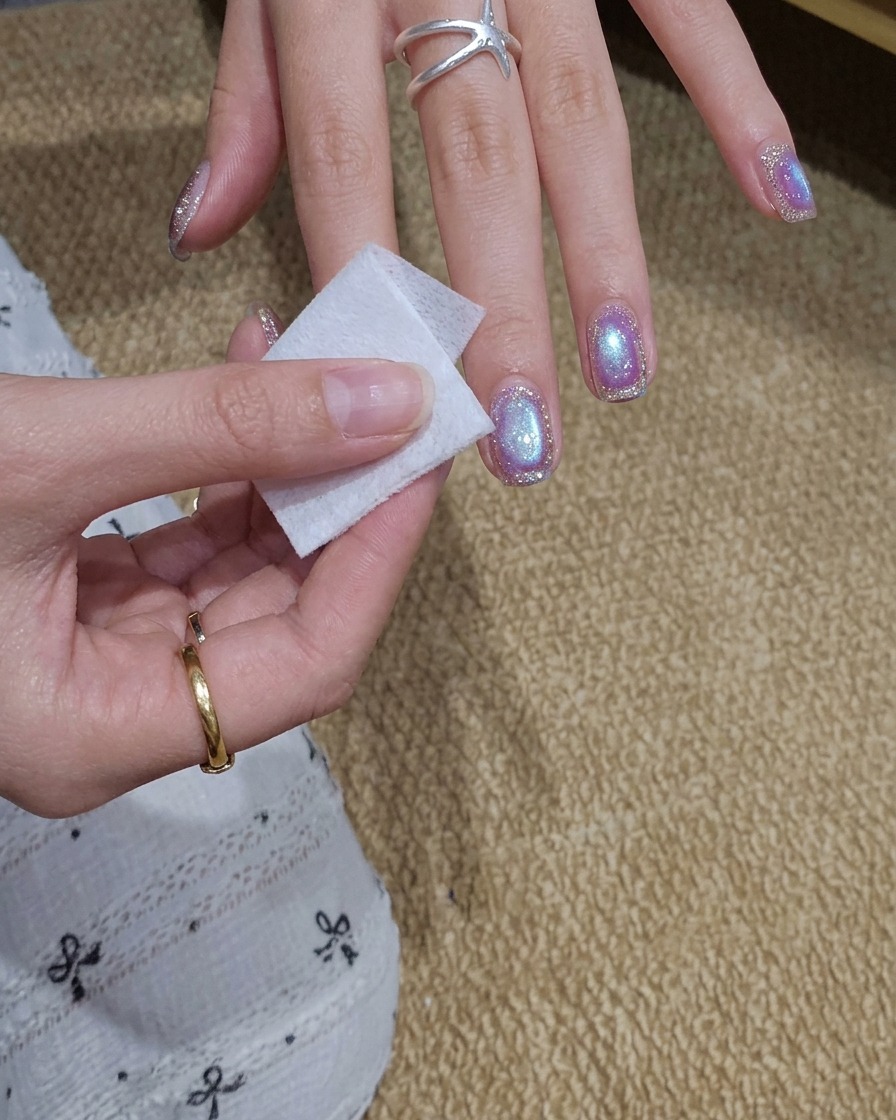
Take a cleanser pad and gently wipe the surface of each finished nail to ensure no trace residues remain. This reveals the true high-gloss, non-sticky finish of your one-step gel formula.
Tip: Use a fresh section of the cleanser pad for each nail to prevent smudging or transferring residue back onto the surface.