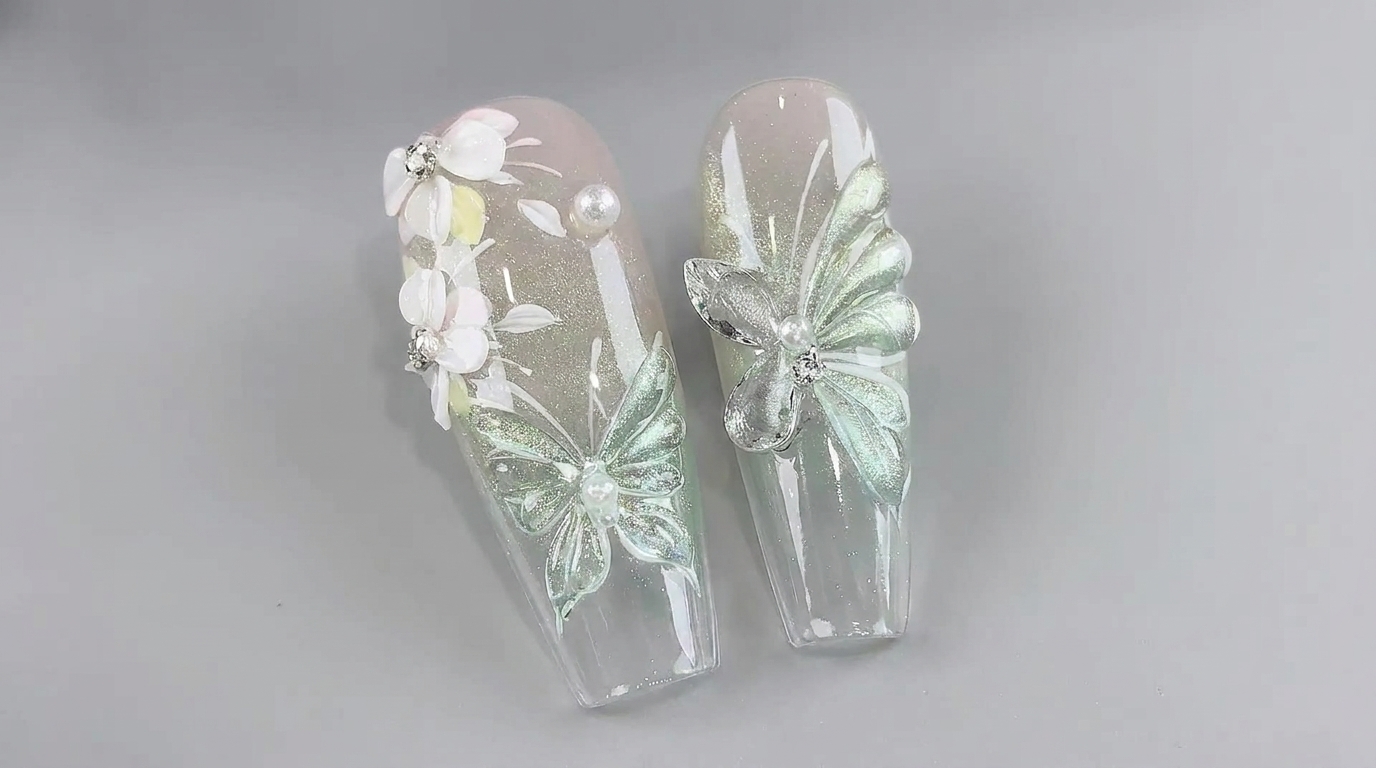
Ice Transparent Floral Butterfly Cat-Eye Gel Nails — Step-by-Step Tutorial
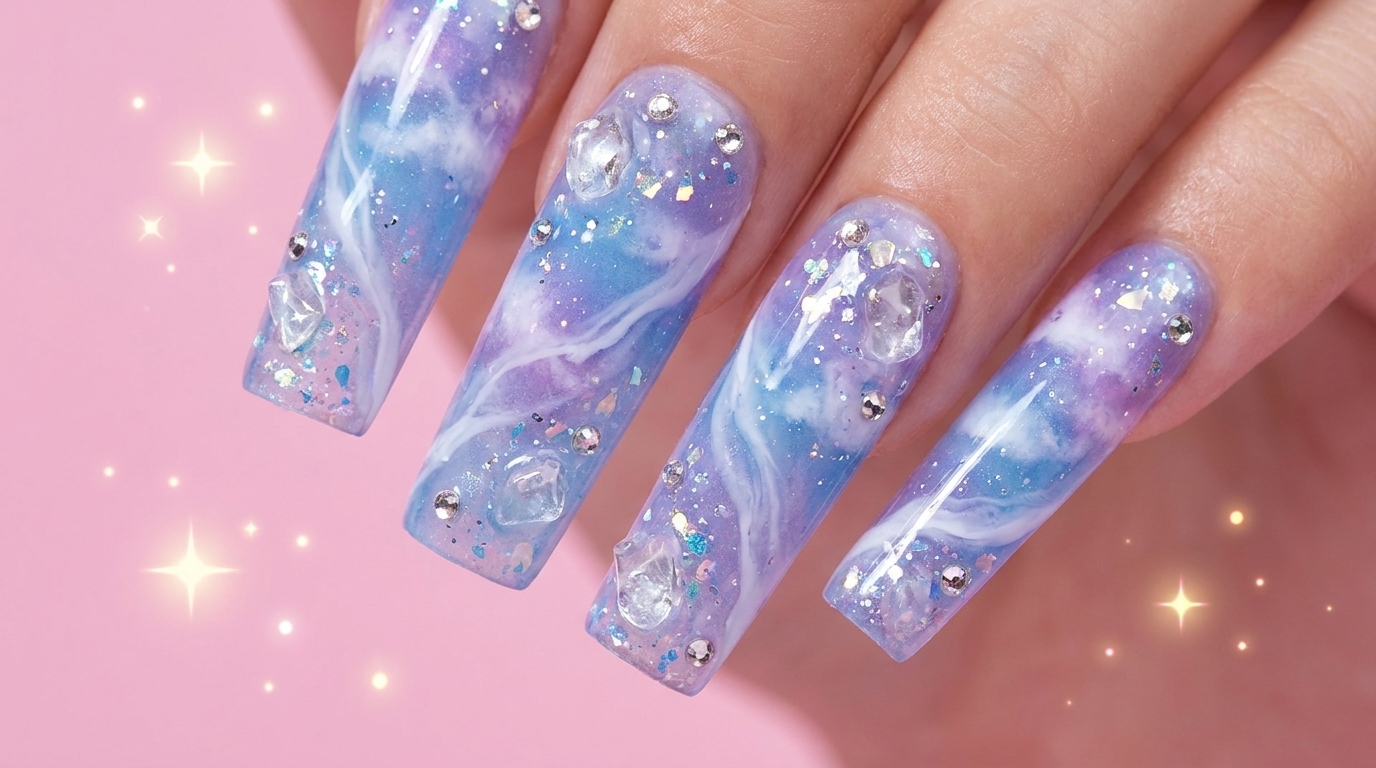
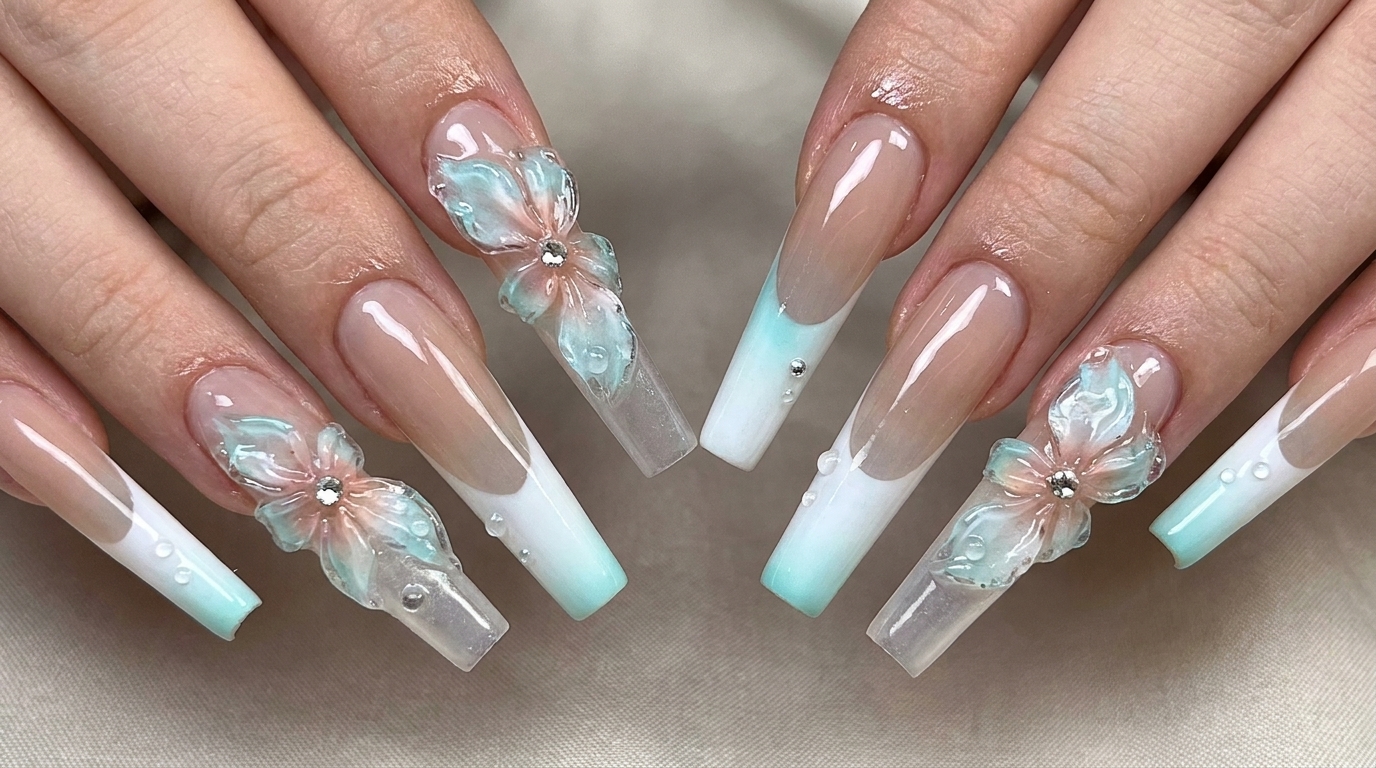
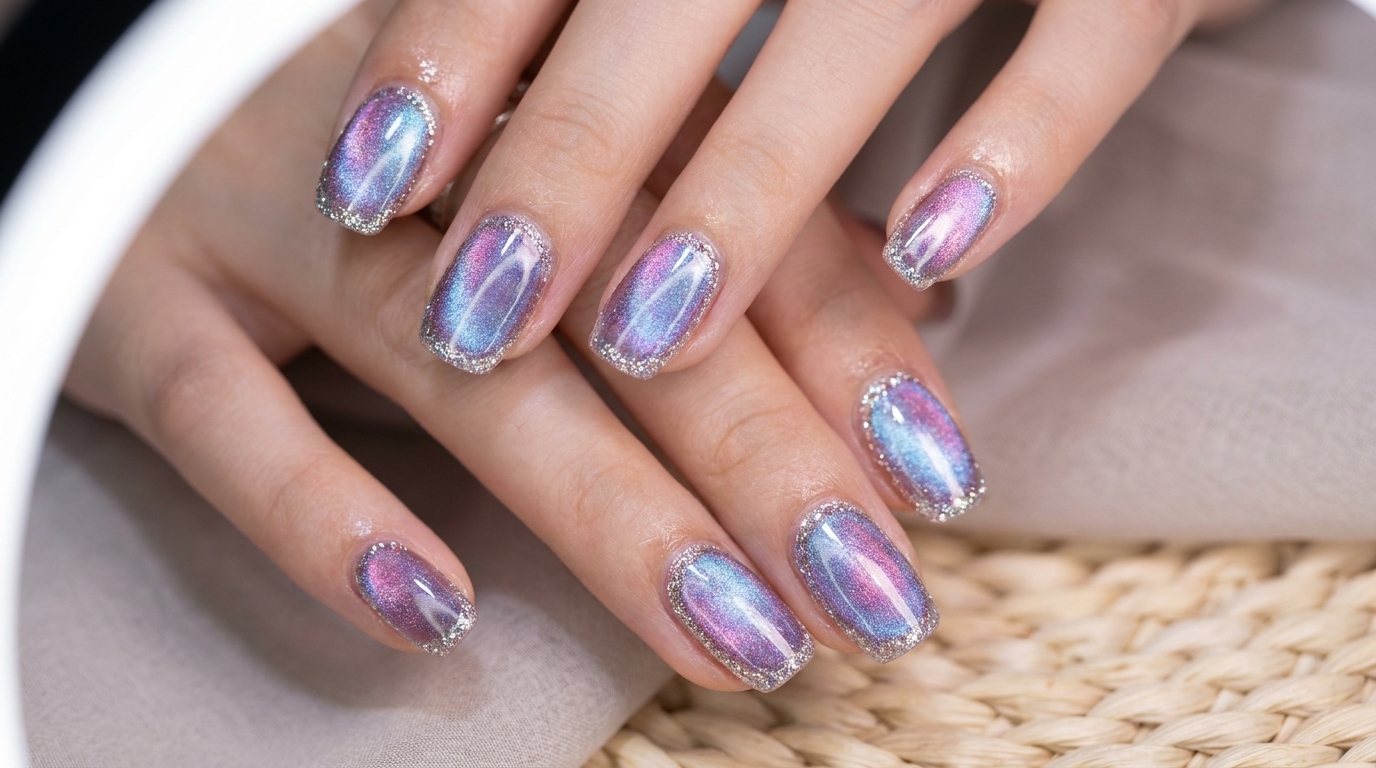
Create enchanting ice-transparent floral butterfly nails featuring jade cat-eye shimmer, 3D hand-sculpted petals, and delicate rhinestone embellishments.
Translucent jelly nails combined with dimensional cat-eye shimmer and intricate 3D butterfly wings create an ethereal, high-fashion aesthetic. This tutorial guides you through layering soft gradient bases, hand-crafting 3D floral elements, and sealing delicate rhinestones for a glass-like finish.
Steps
- 1Create pink base gradient
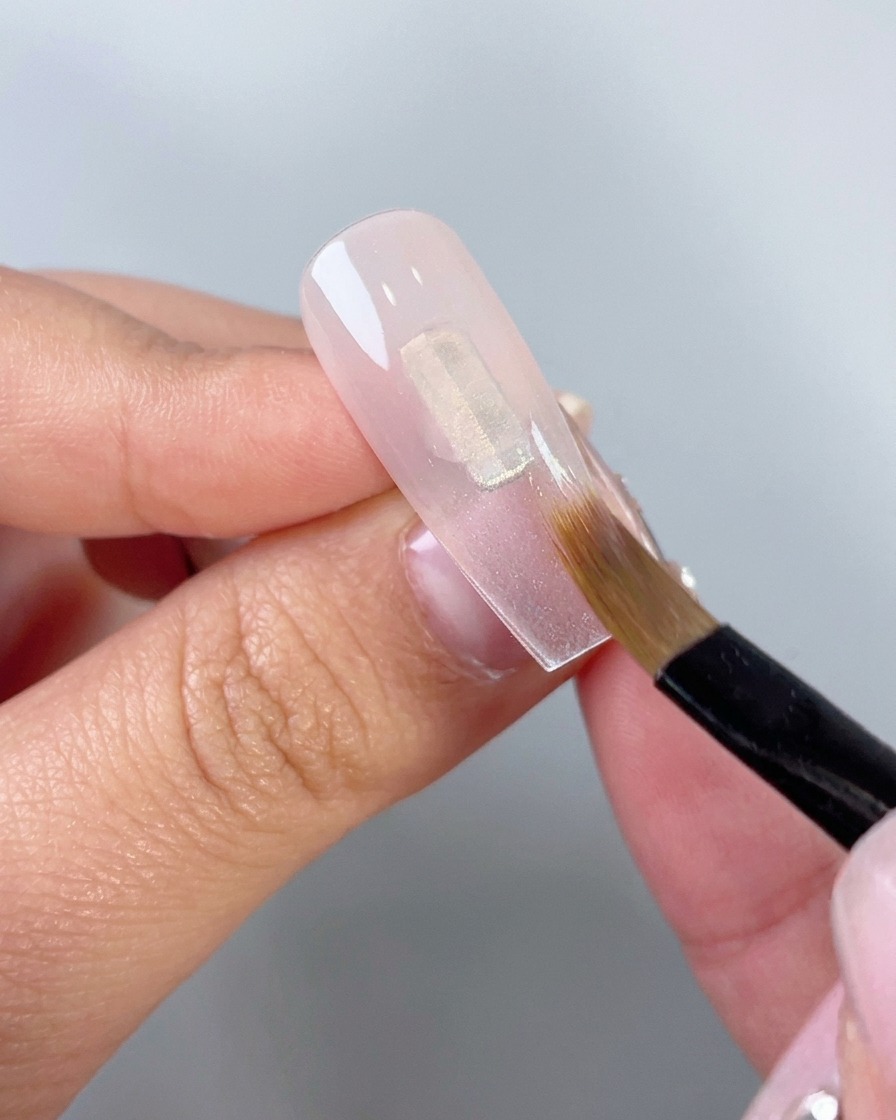
Apply D02 pink translucent resin base gel near the cuticle area of the clear nail tip. Using a flat, soft blending brush, gently sweep and fade the gel downwards along the nail plate to create a smooth, seamless gradient.
Tip: Keep your brush strokes light and feathery to avoid harsh lines and ensure a natural fade. - 2Apply honeydew cat-eye gel diagonally
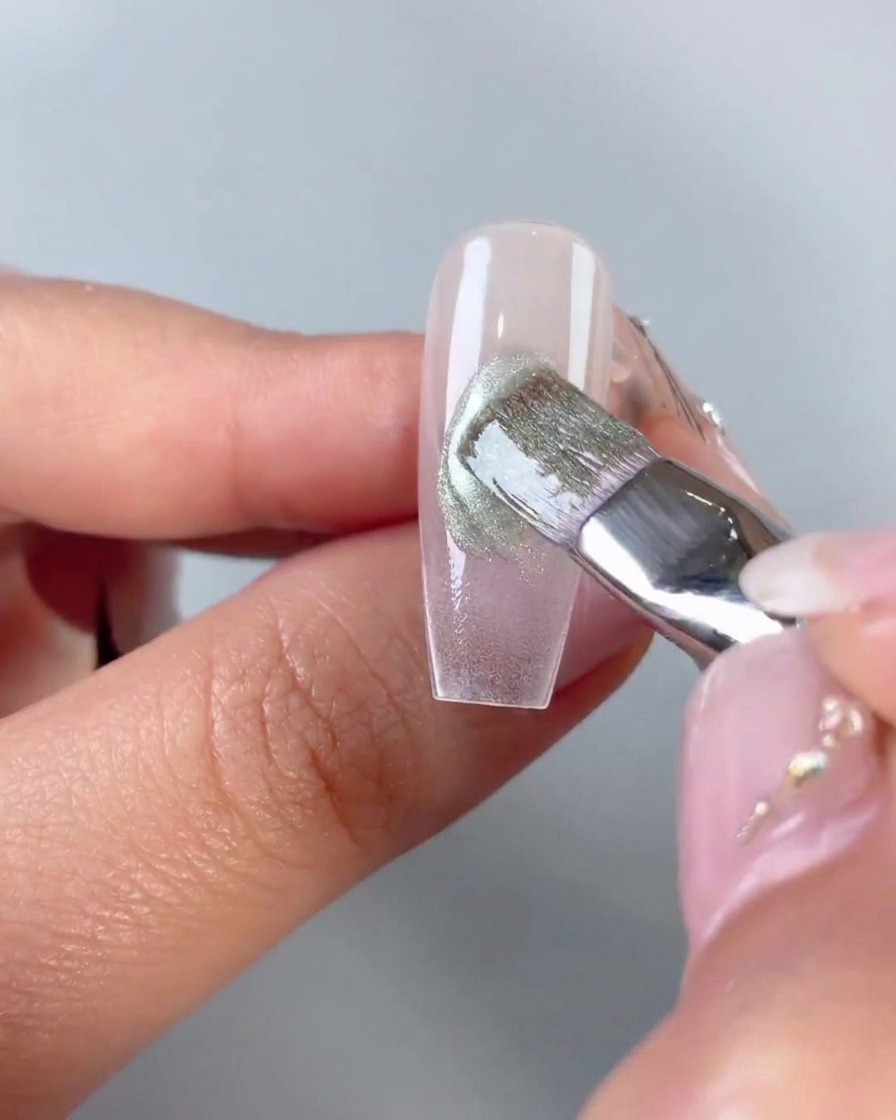
Apply the green honeydew cat-eye gel diagonally across the middle section of the nail to form a distinct color block section over the basecite: 1. Use a blending brush to softly feather and diffuse the edges so the transition looks smoothcite: 1.
Tip: Softening the edges with a blending brush prevents harsh lines and creates a natural-looking dimension in the color block. - 3Soften color block edges
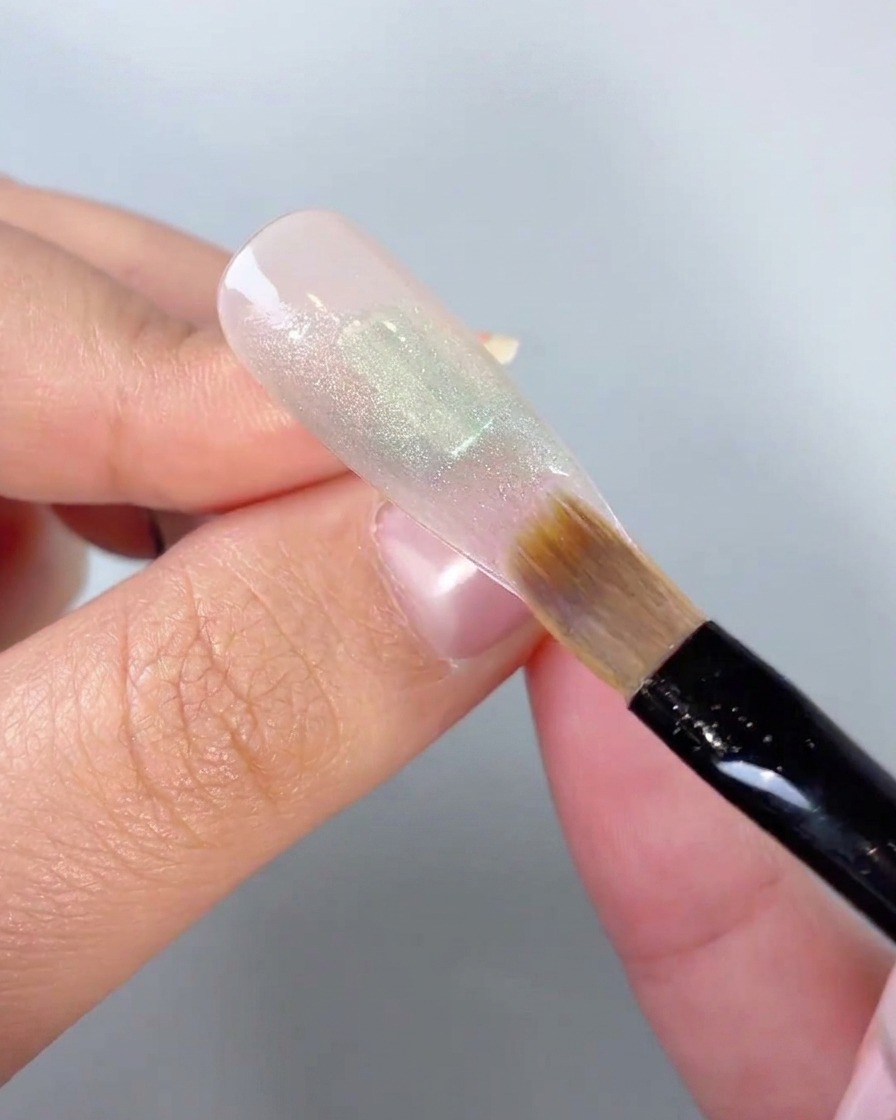
Using the flat blending brush, gently soften and blur the edges of the applied green cat-eye gel color block to ensure a smooth transition into the surrounding gradient base.
Tip: Clean your brush slightly if needed to prevent dragging too much product and keep the edges hazy. - 4Activate cat-eye shimmer
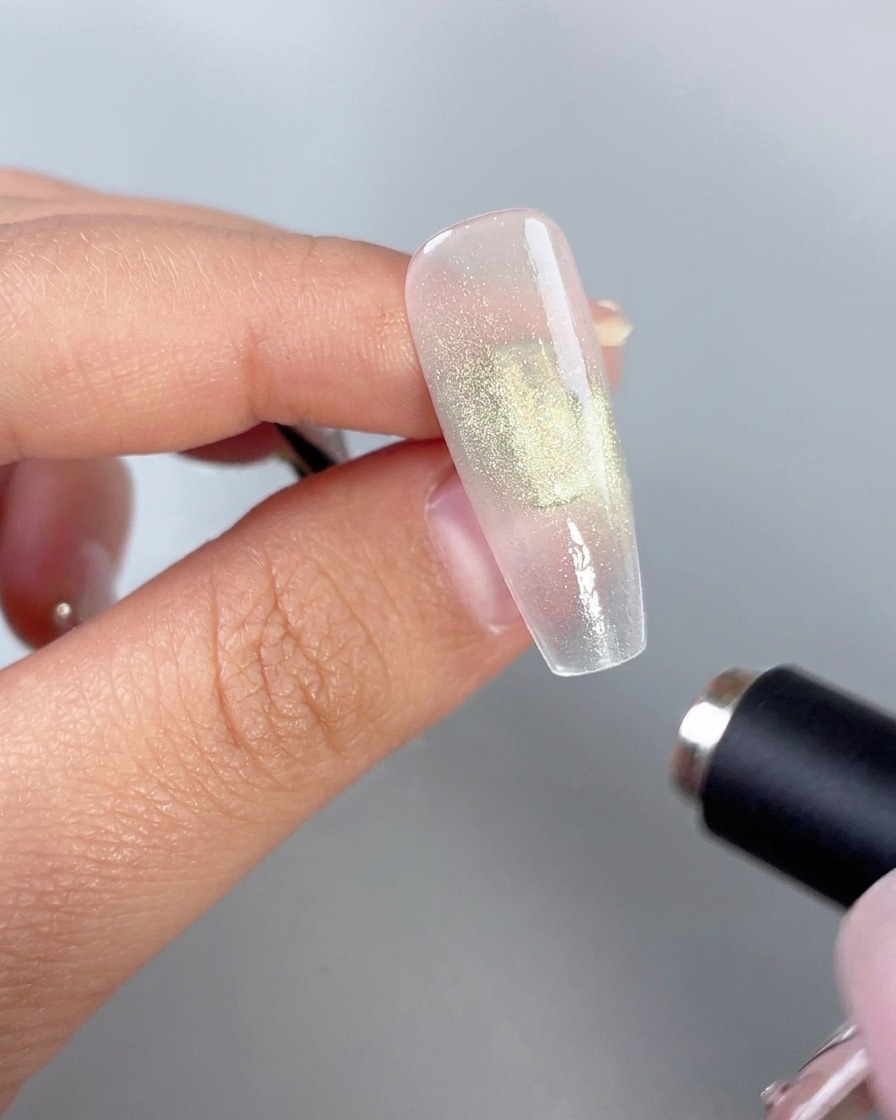
Position a strong cylindrical magnet close to the uncured green cat-eye gel to draw out the magnetic shimmer particles, creating the signature glowing cat-eye effect before curing under the lamp.
Tip: Hold the magnet steady for a few seconds until the desired cat-eye line or concentration appears clearly. - 5Outline upper butterfly wings
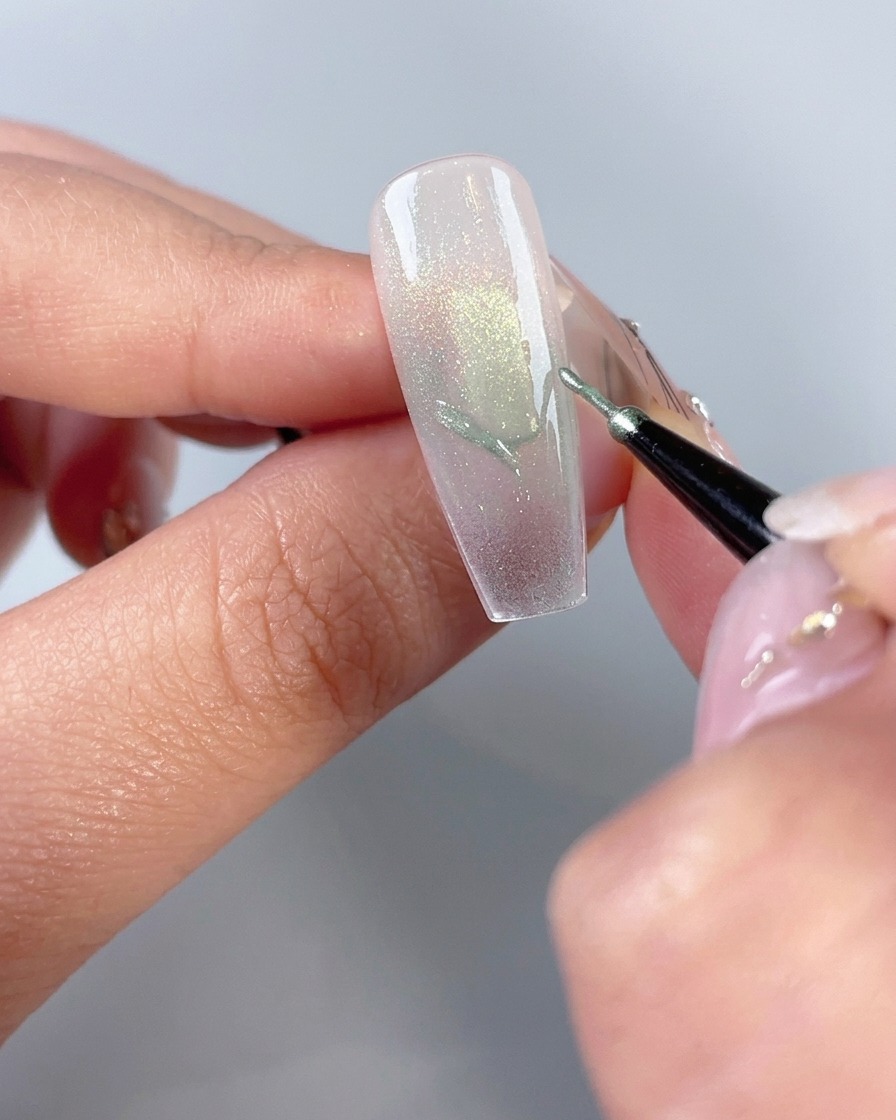
Using a fine liner brush with green cat-eye gel, carefully outline the upper butterfly wings over the gradient base. Pull the cat-eye effect with the magnet and cure.
Tip: Keep your hand steady and use light pressure to achieve clean, delicate wing outlines. - 6Activate shimmer on butterfly wings with magnet
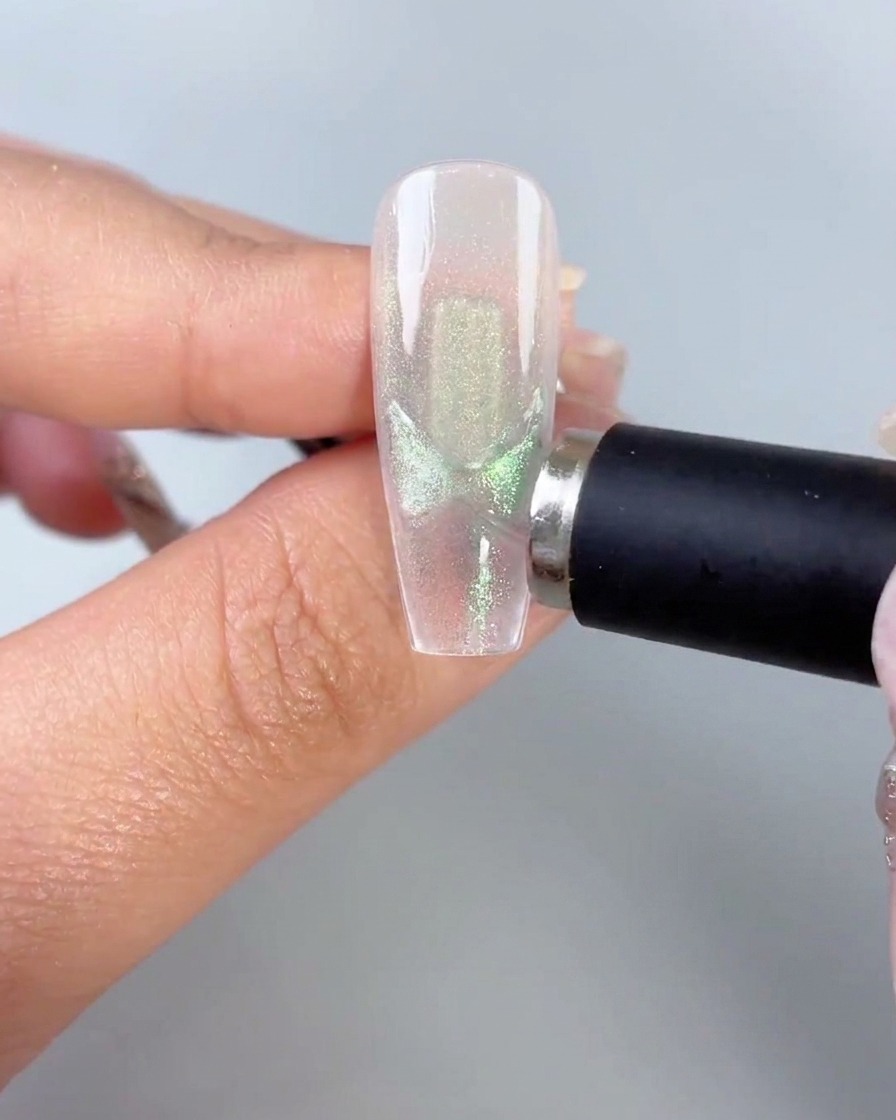
Position a strong magnetic tool close to the newly painted butterfly wing outlines on the nailcite: 1. Hold it steady for a few seconds to draw out and activate the super sheer cat-eye shimmer particles into sharp lines, then cure under the lampcite: 1.
Tip: Keep the magnet very close to the nail without touching the wet gel to get the most concentrated magnetic pull and sharpest lines. - 7Draw the lower butterfly wing tails
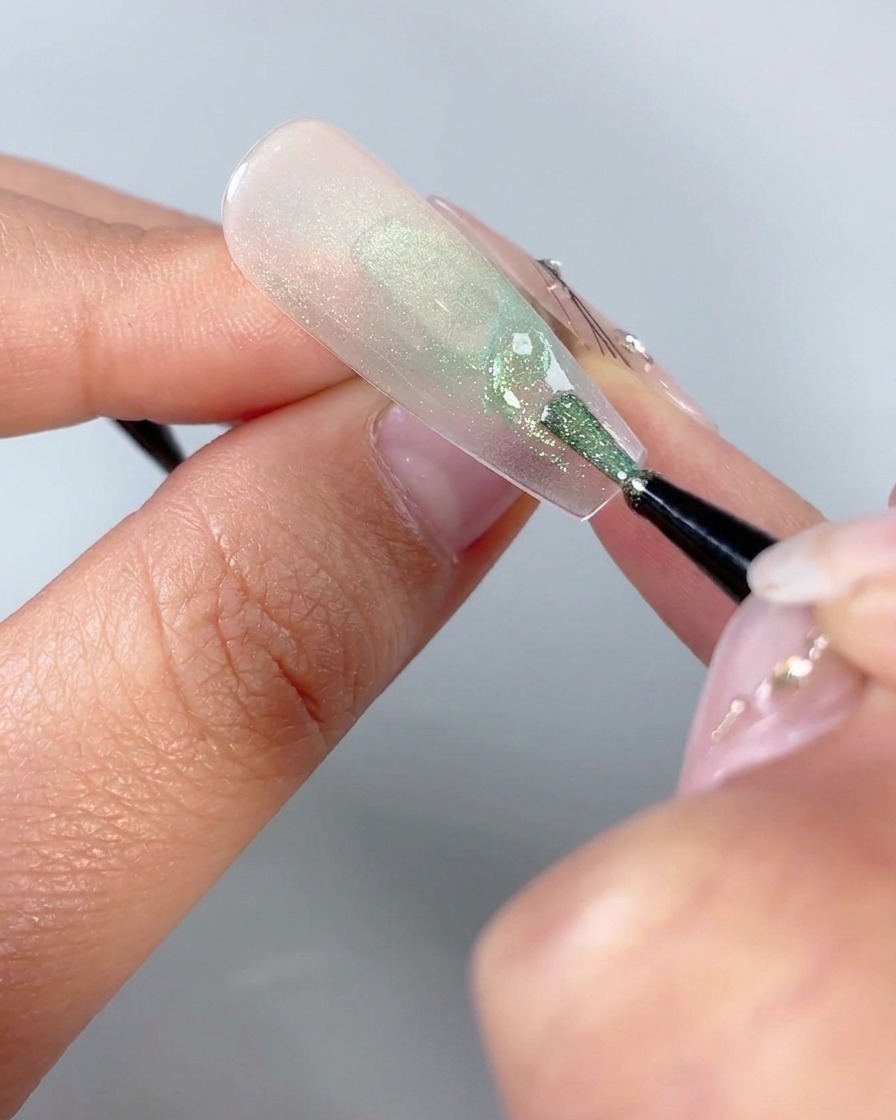
Using a fine liner brush with the honeydew cat-eye gel, draw two slightly curved inverted triangles at the bottom portion of the design to form the lower tails of the butterfly wings.
Tip: Keep your hand steady and use minimal product on your brush tip to ensure the small triangular tails remain crisp and clean. - 8Activate shimmer on lower wing tails
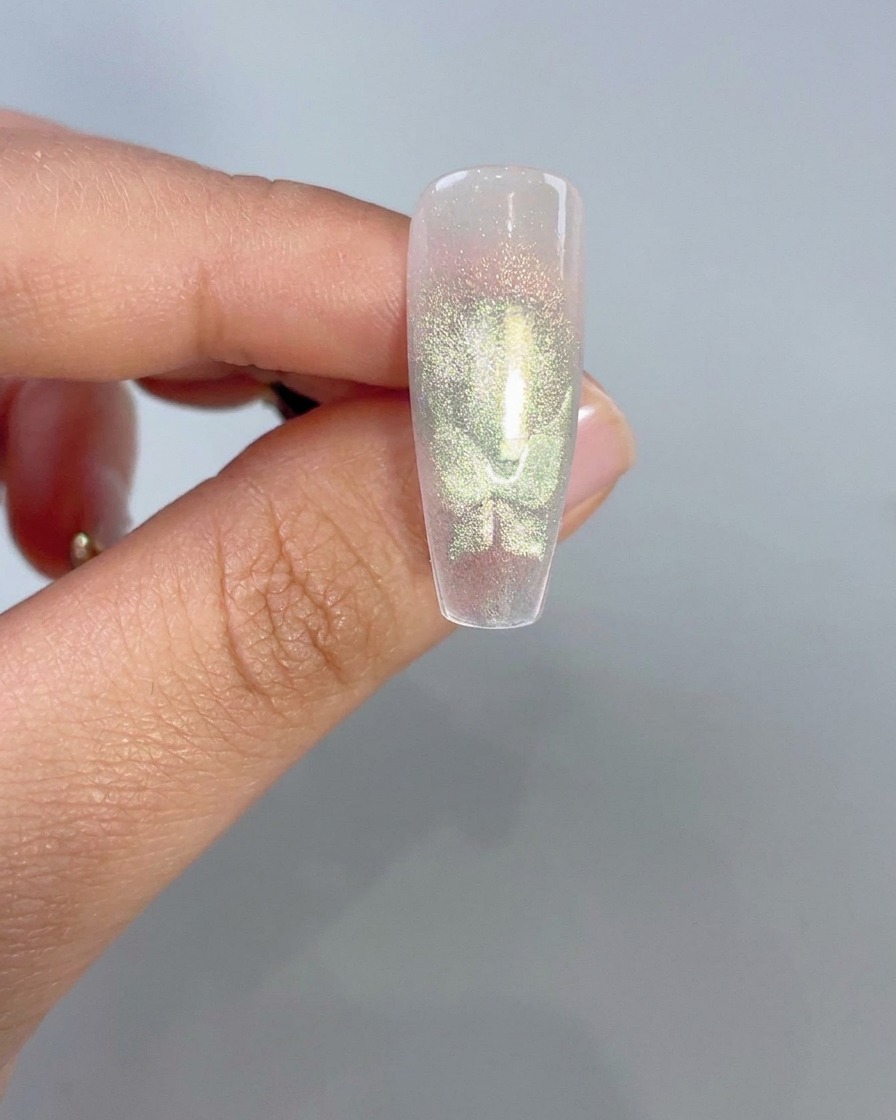
Hover the magnet once more directly over the lower inverted triangle wing tails to precisely activate and concentrate the shimmer effectcite: 1. Ensure the metallic particles catch the light cleanly before curing the layercite: 1.
Tip: Check the alignment of the magnetic pull from multiple angles to ensure symmetrical shimmer placement on both lower wings. - 9Paint large floral petals near cuticle
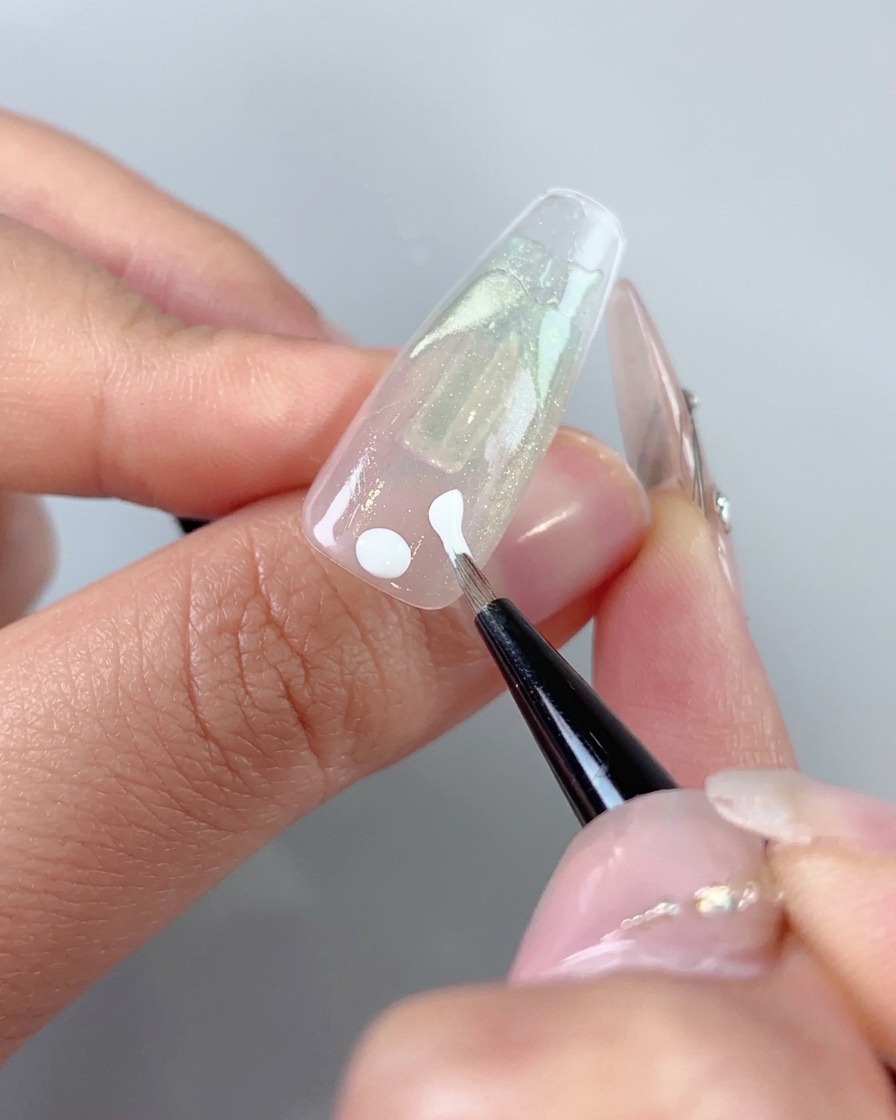
Take a large art brush loaded with solid white painting gel and press it down near the cuticle area, pulling outward to form large, prominent flower petalscite: 1. Vary the pressure to create organic, blooming petal shapescite: 1.
Tip: Use firm pressure at the base of the stroke and gently lift the brush as you pull outward to taper the petal tips nicely. - 10Paint smaller accent petals
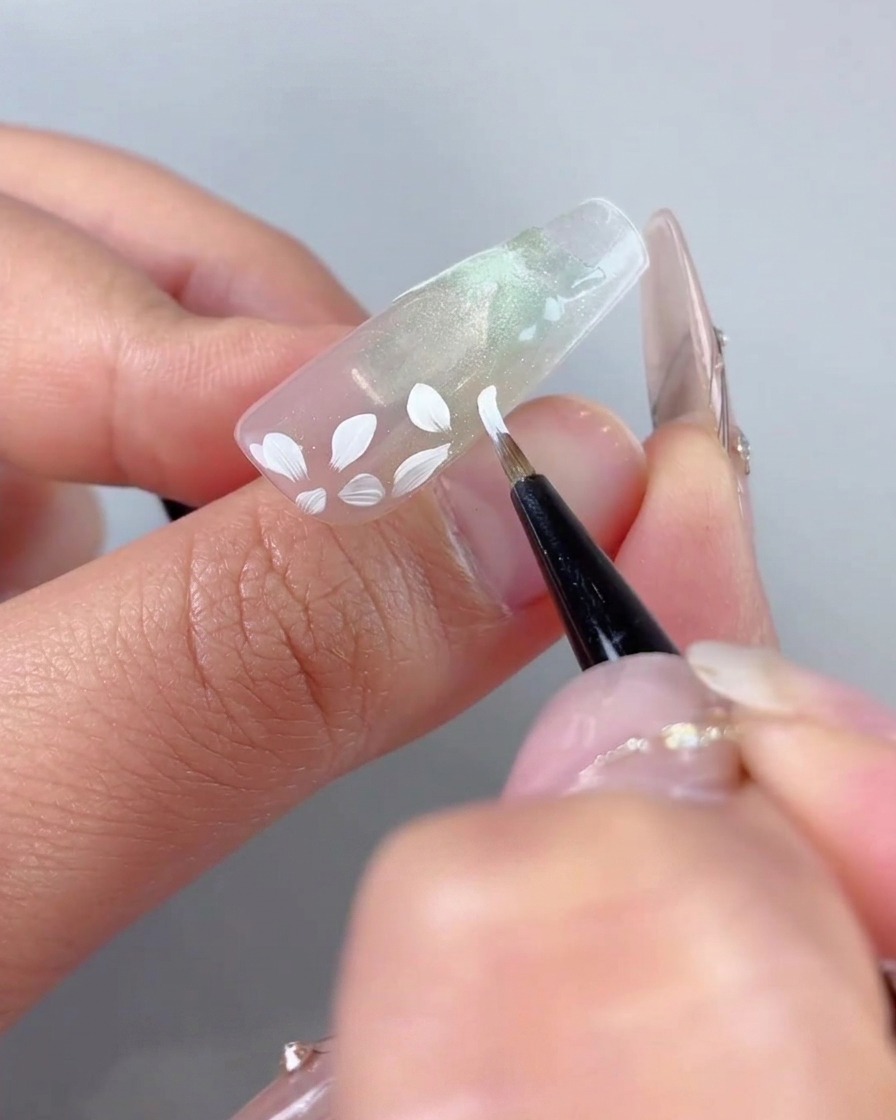
Continue using the white painting gel with a lighter touch and smaller brush strokes to paint delicate accent petals surrounding the larger ones. This builds a rich, multi-layered floral composition near the base.
Tip: Use a lighter hand and less gel on your brush for smaller petals to maintain proportion and balance across the floral cluster. - 11Tint petal centers with yellow gel
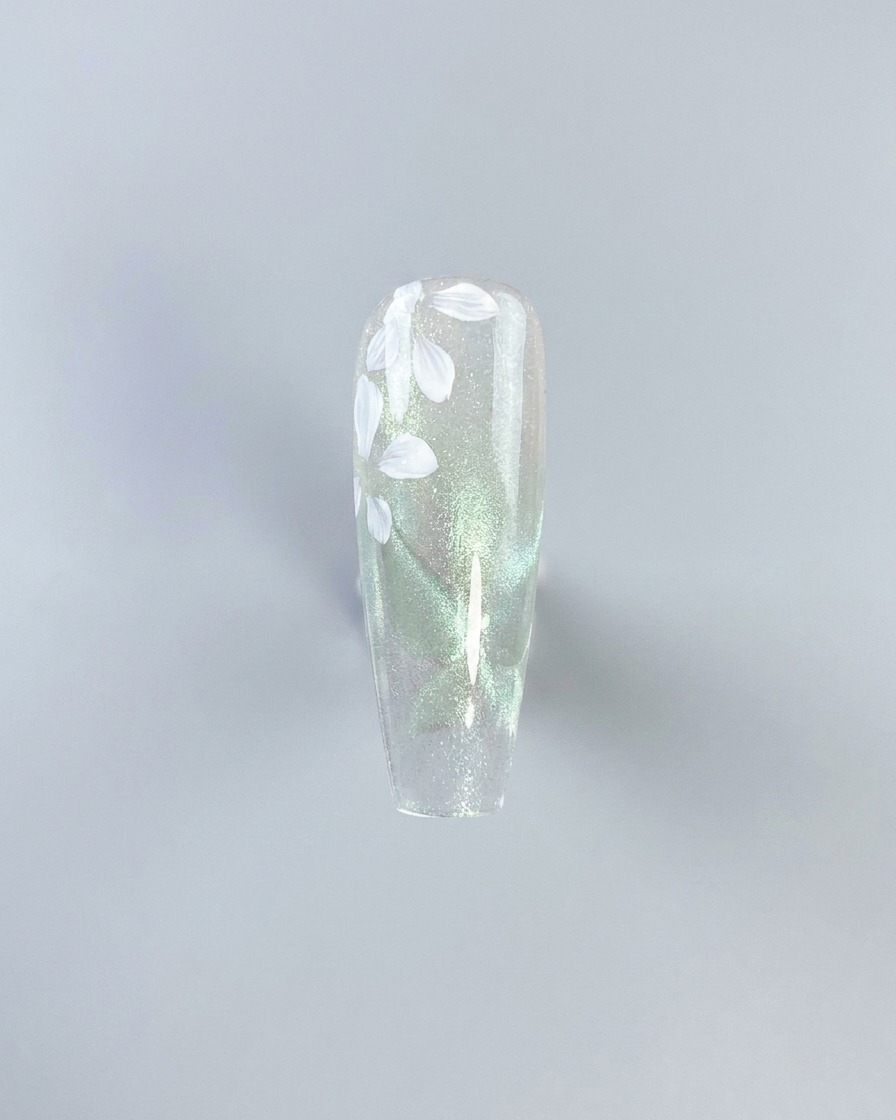
Using a fine detail brush, dab a touch of dynamic yellow/orange tint gel into the inner centers of select white painted petalscite: 1. This adds depth and a realistic watercolor floral gradient effect to the flower designcite: 1.
Tip: Apply the tint sparingly so it diffuses naturally into the white gel without overwhelming the bright petals. - 12Tint remaining petals with pink gel
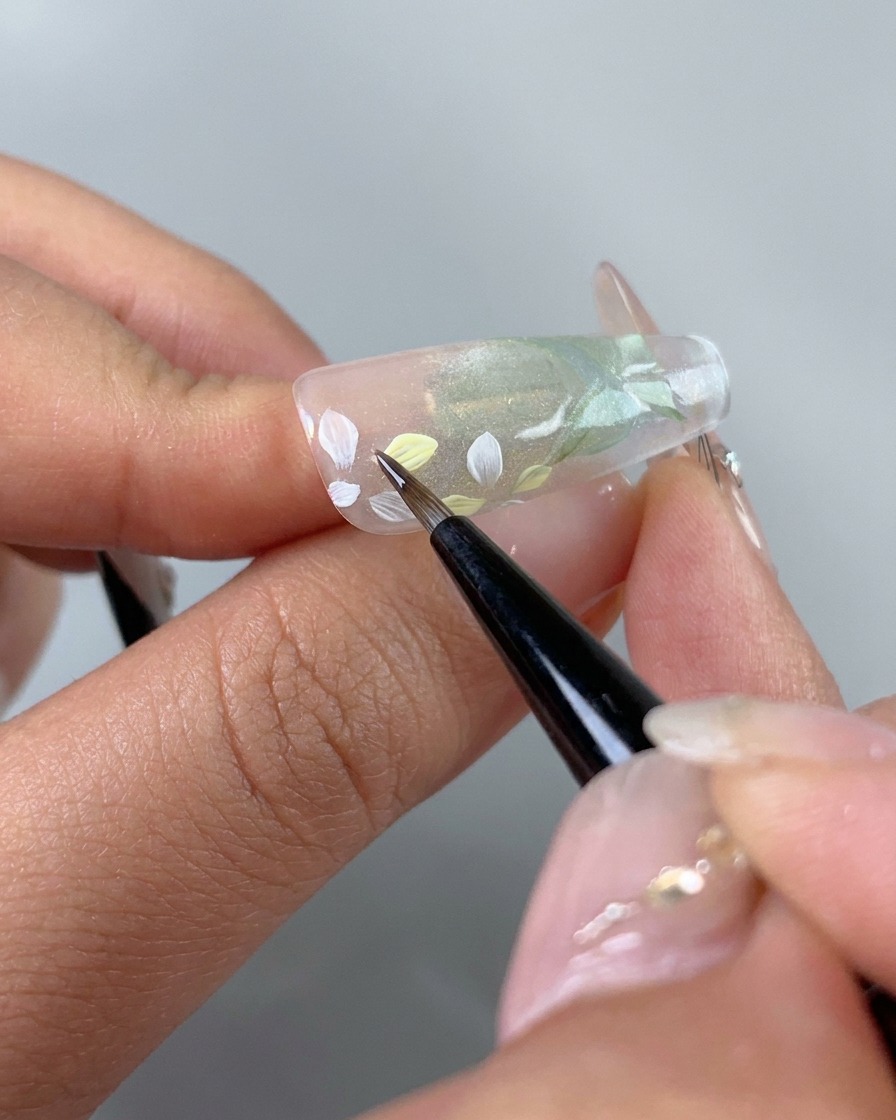
Switch to a fine brush and apply soft pink D04 jade resin gel tint to the rest of the uncolored white petalscite: 1. This creates a varied, multi-toned floral bouquet look across the cuticle areacite: 1.
Tip: Clean your brush between colors to keep the tint shades distinct and vibrant. - 13Draw Fine Atmosphere Lines
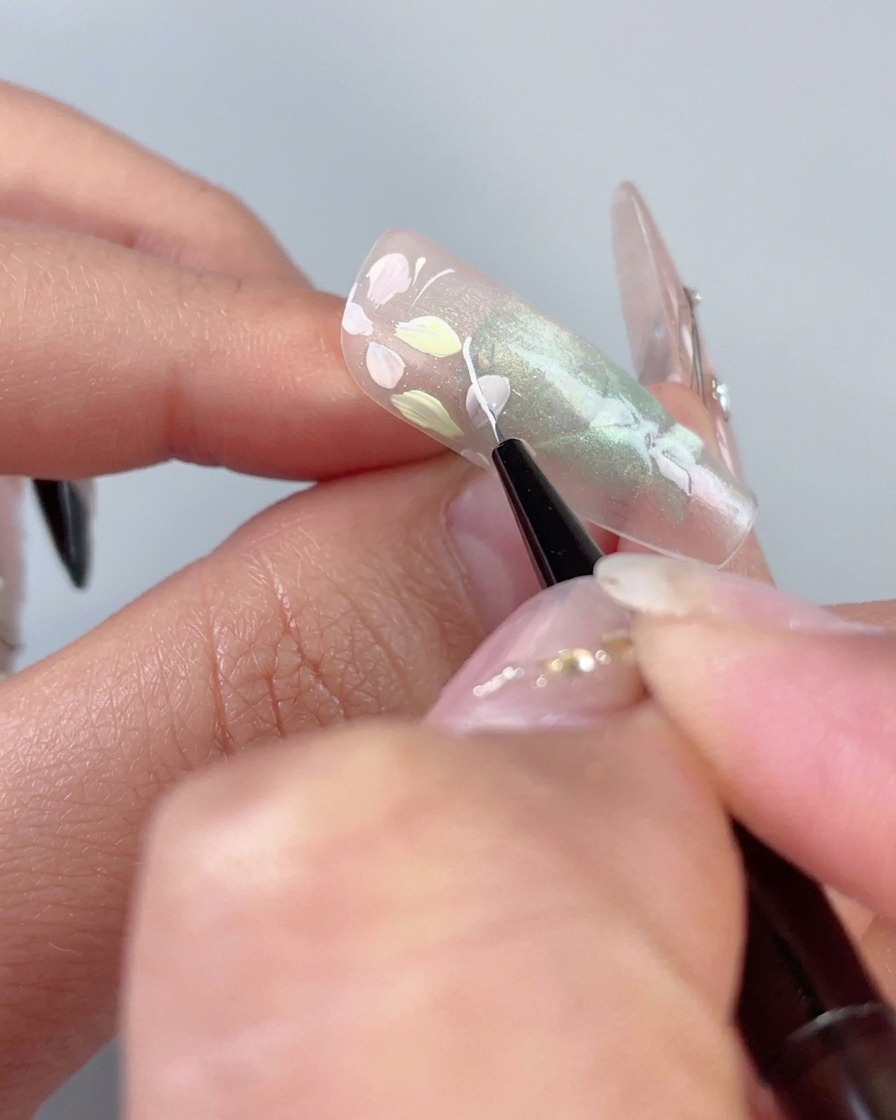
Using white stringing gel and a fine brush, carefully draw delicate, sweeping curved lines around the painted floral arrangement to create an elegant atmosphere and frame the design.
Tip: Keep your hand steady and apply light pressure to achieve smooth, ultra-thin lines. - 14Add Small White Leaves
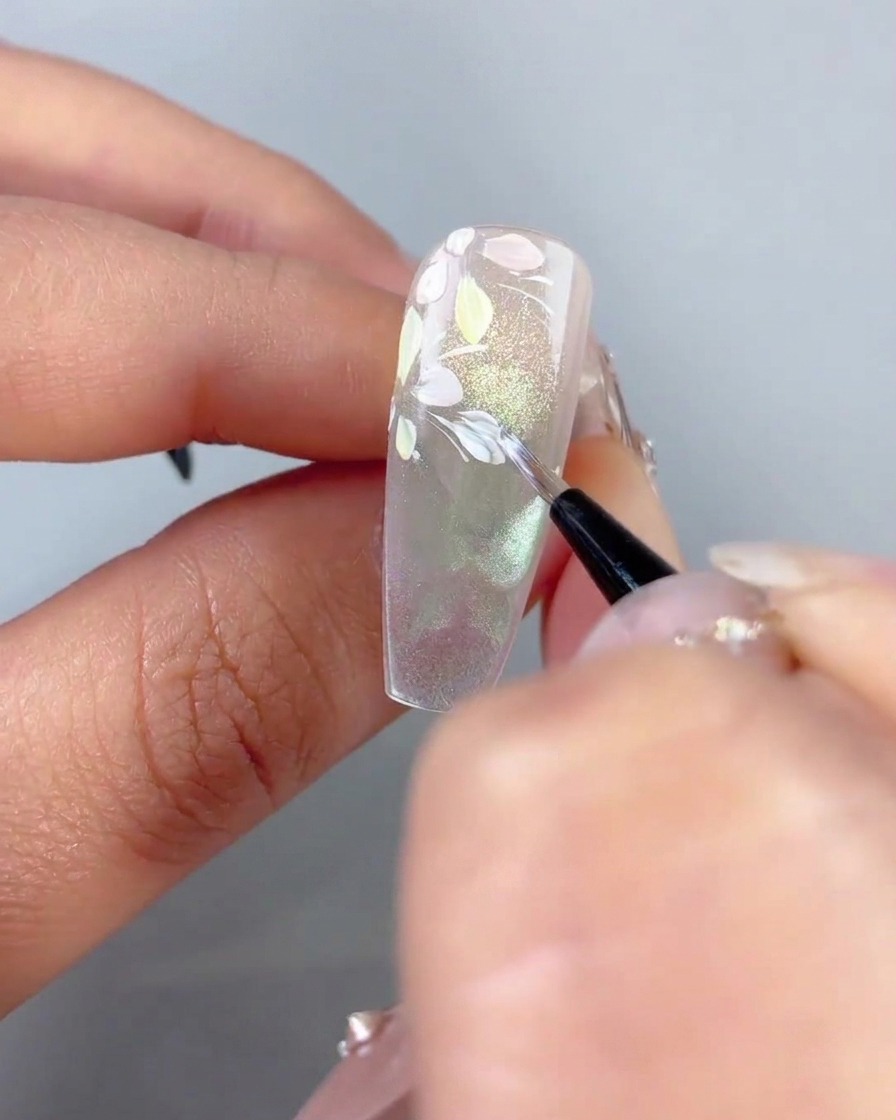
Dip a fine brush or detailing tool into white painting gel and dot small leaves along the curved background lines surrounding the floral design.
Tip: Vary the size and spacing of the leaves slightly to make the botanical arrangement look natural. - 15Outline Butterfly Wing Details
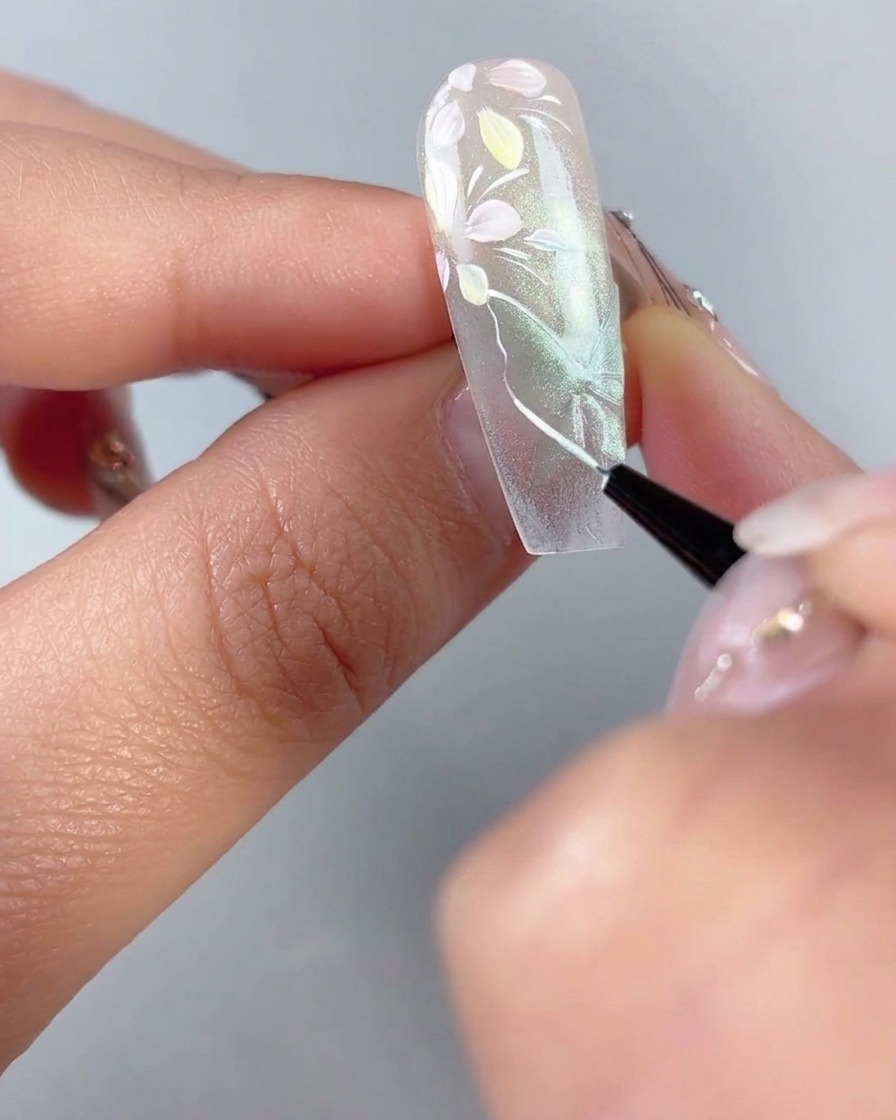
Switch to a fine liner brush and white painting gel to carefully outline the outer edges and inner veins of the green cat-eye butterfly wings.
Tip: Take your time on the inner veins to ensure they look symmetrical and delicate against the cat-eye background. - 16Seal Base Design with Top Coat
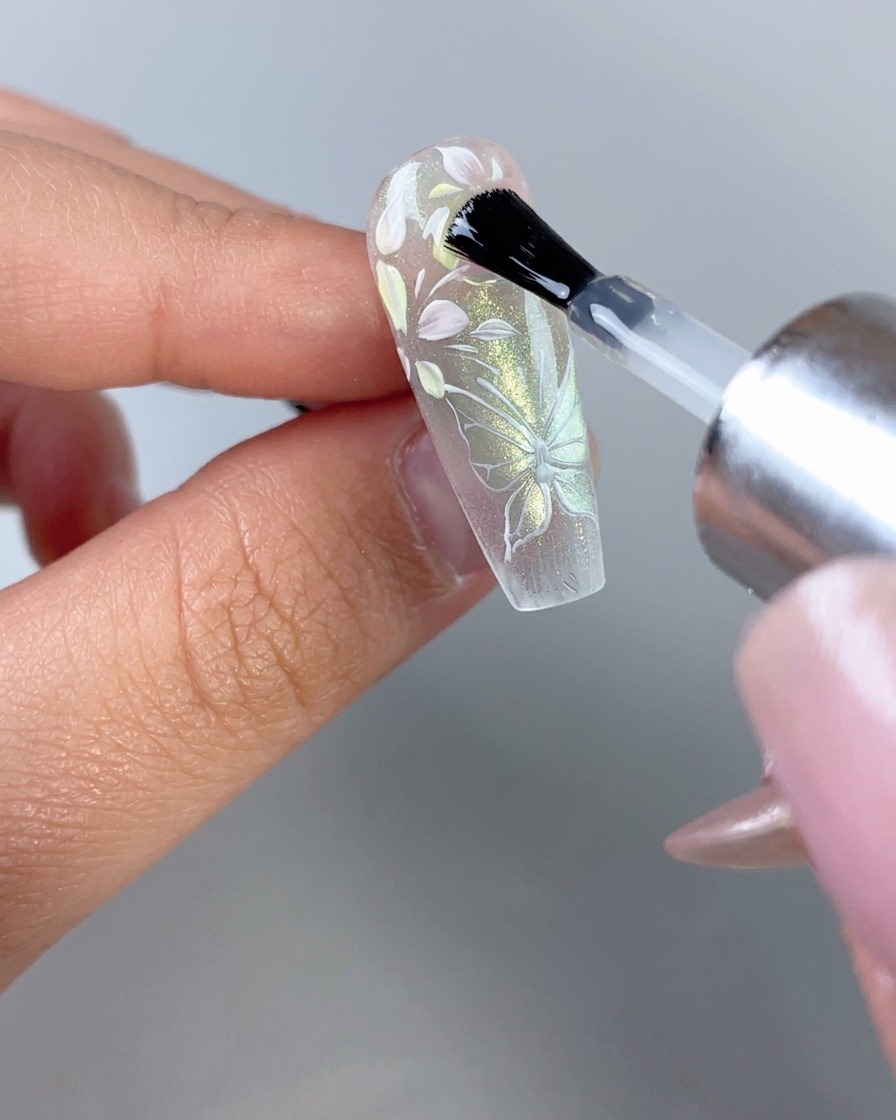
Apply a smooth, even layer of clear top coat over the entire nail to completely seal in the flat hand-painted flowers, leaves, and butterfly design before adding 3D elements.
Tip: Cap the free edge carefully to protect your flat art layers from chipping. - 17Form 3D Petal Shapes
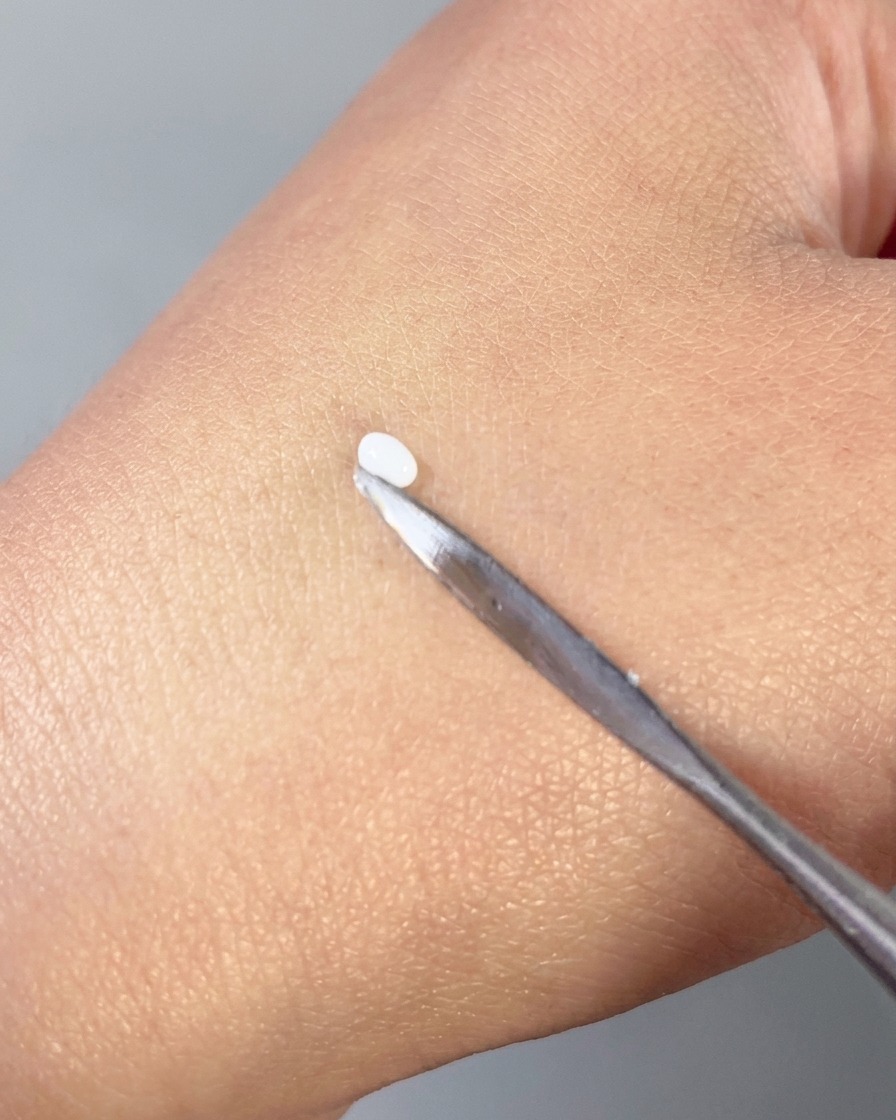
Scoop a small bead of white 3D carving gel onto the back of your hand and press its edges with a metal tool or spatula to flatten and shape it into a thin petal.
Tip: Working on the back of your hand allows you to pre-shape 3D elements before transferring them to the nail. - 18Apply Adhesive for 3D Petals
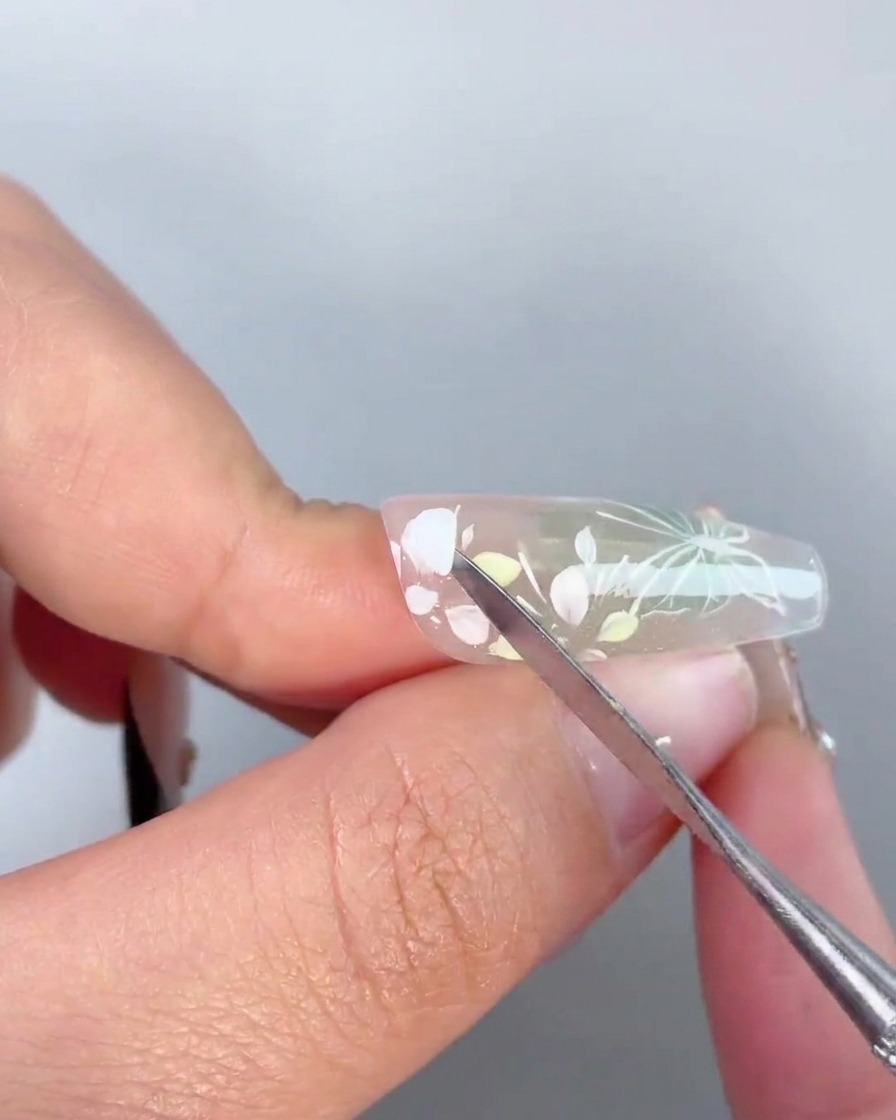
Dab a small amount of strong adhesive gel directly into the center of the painted flowers on the nail surface to prepare for attaching the pre-formed 3D petals.
Tip: Use just enough adhesive to secure the pieces without letting it spill over the surrounding painted details. - 19Place 3D white gel petals
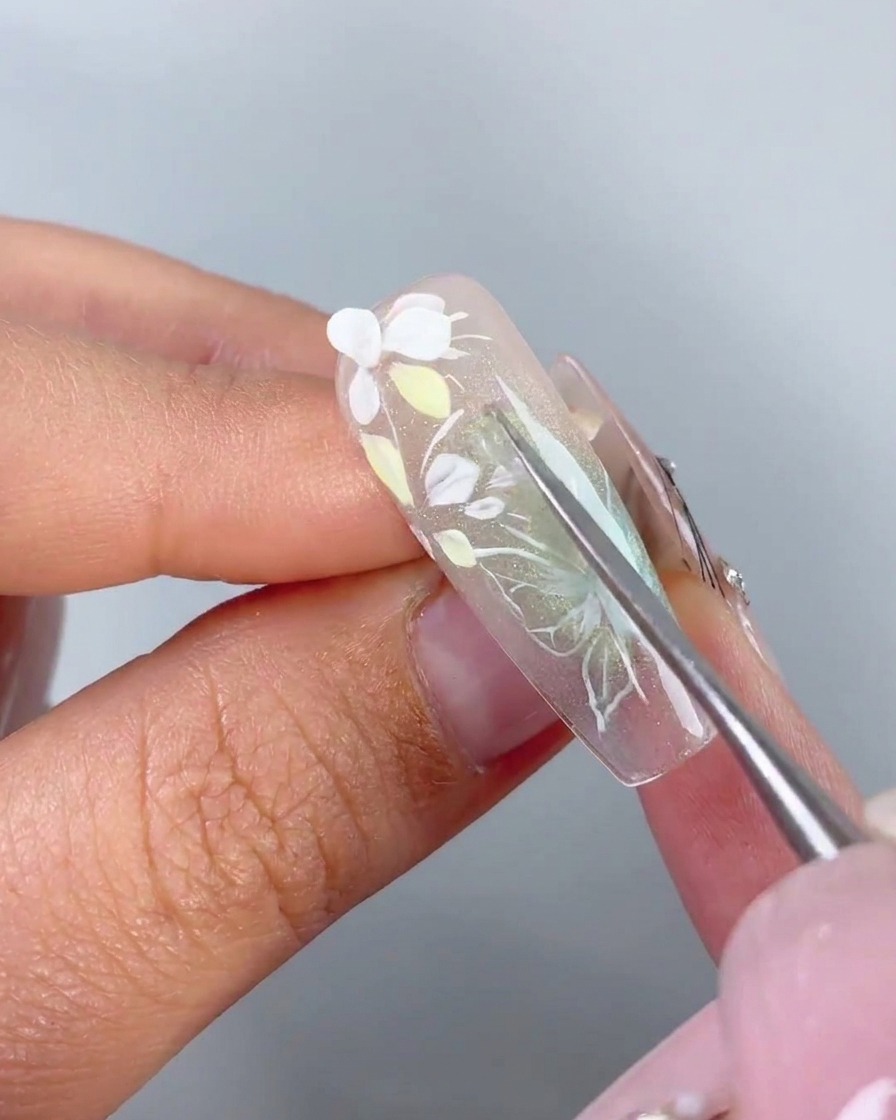
Using a metal tool, carefully pick up the pre-shaped 3D white gel petals and place them onto the uncured adhesive gel near the cuticle. Arrange them to create a dimensional, multi-layered floral design over the translucent base.
Tip: Work quickly to position the petals before curing, as the adhesive gel holds them in place while you build the layers. - 20Apply 3D modeling gel to butterfly wings
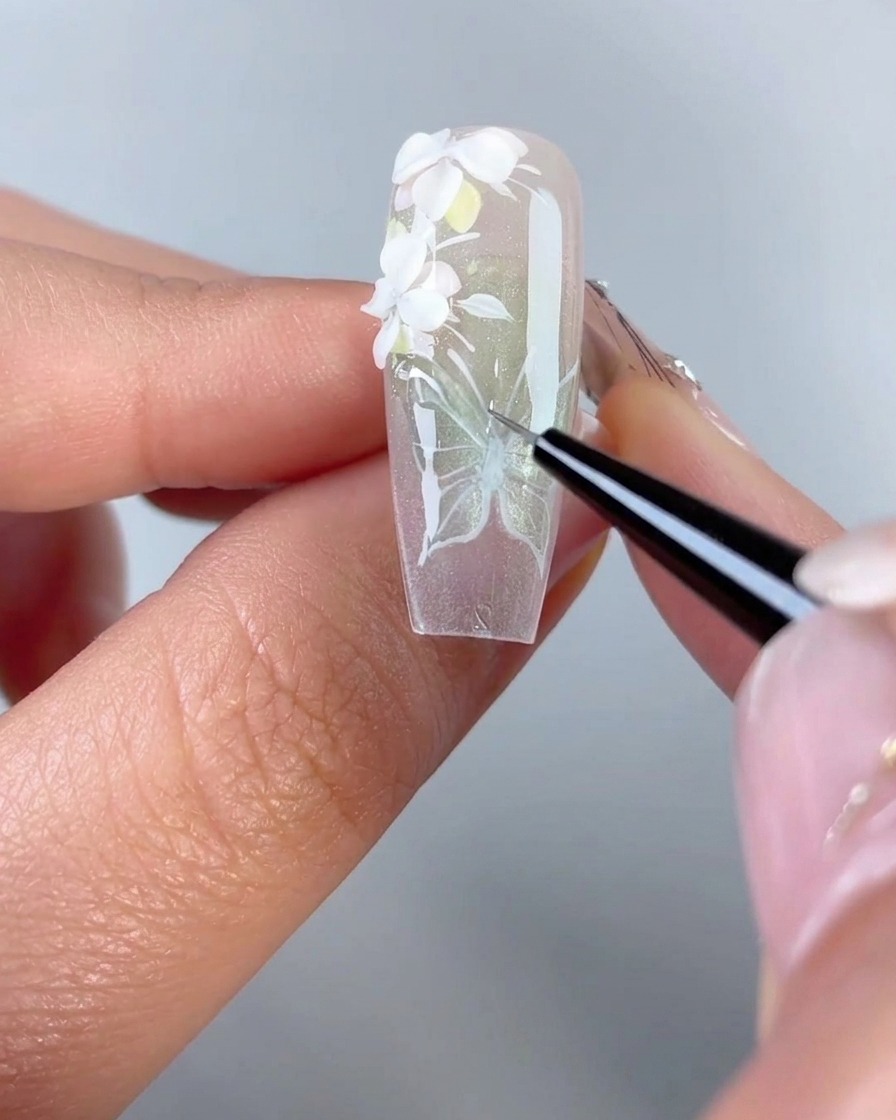
Using a fine liner brush, carefully apply thick, clear 3D modeling gel directly over the previously painted white butterfly wing lines. This builds a dimensional, raised texture that makes the wings pop off the nail surface.
Tip: Flash-cure individual lines if needed to prevent the thick 3D gel from spreading or losing its sharp edge before curing. - 21Add rhinestones and pearls
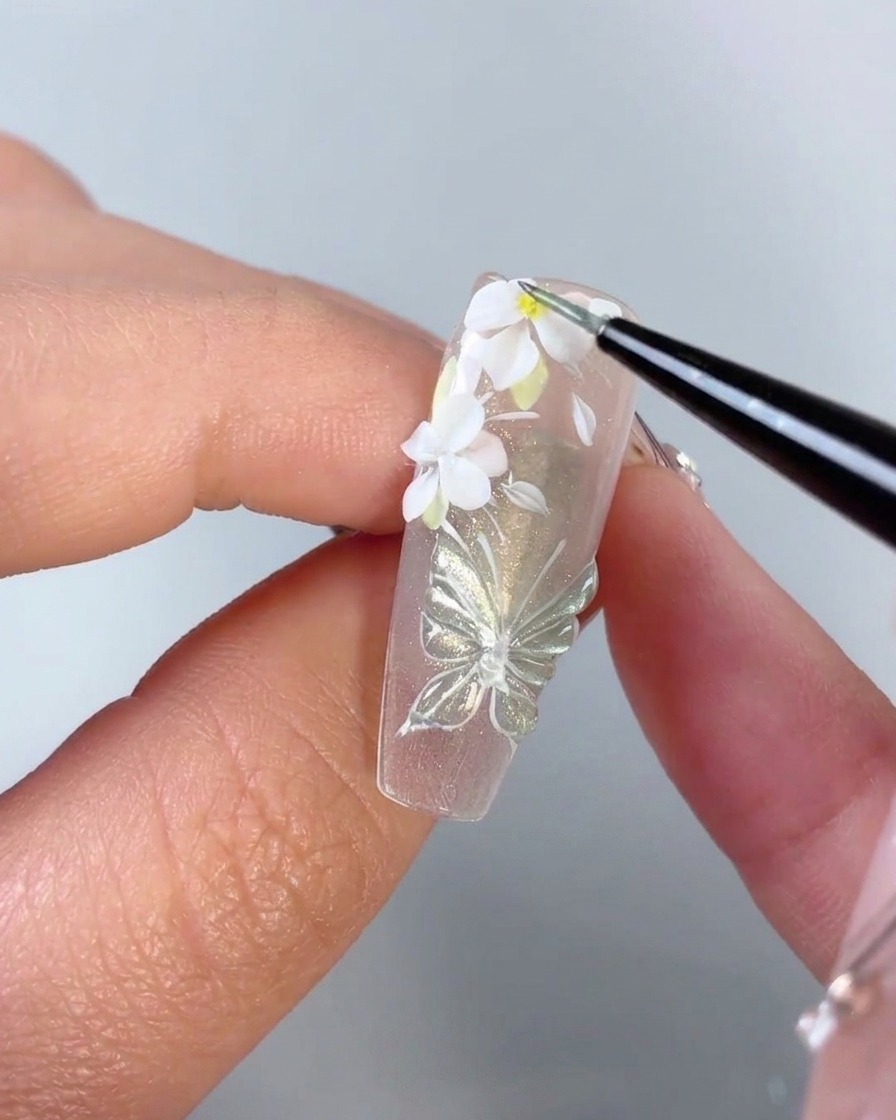
Use a fine liner brush and detailing tool to refine the flower centers and apply finishing touches. Carefully place small crushed rhinestones and tiny pearls into the flower centers to enhance the dimensional design.
Tip: A dab of base gel or sticky gel underneath the embellishments will keep them secure before flash curing. - 22Seal the 3D elements
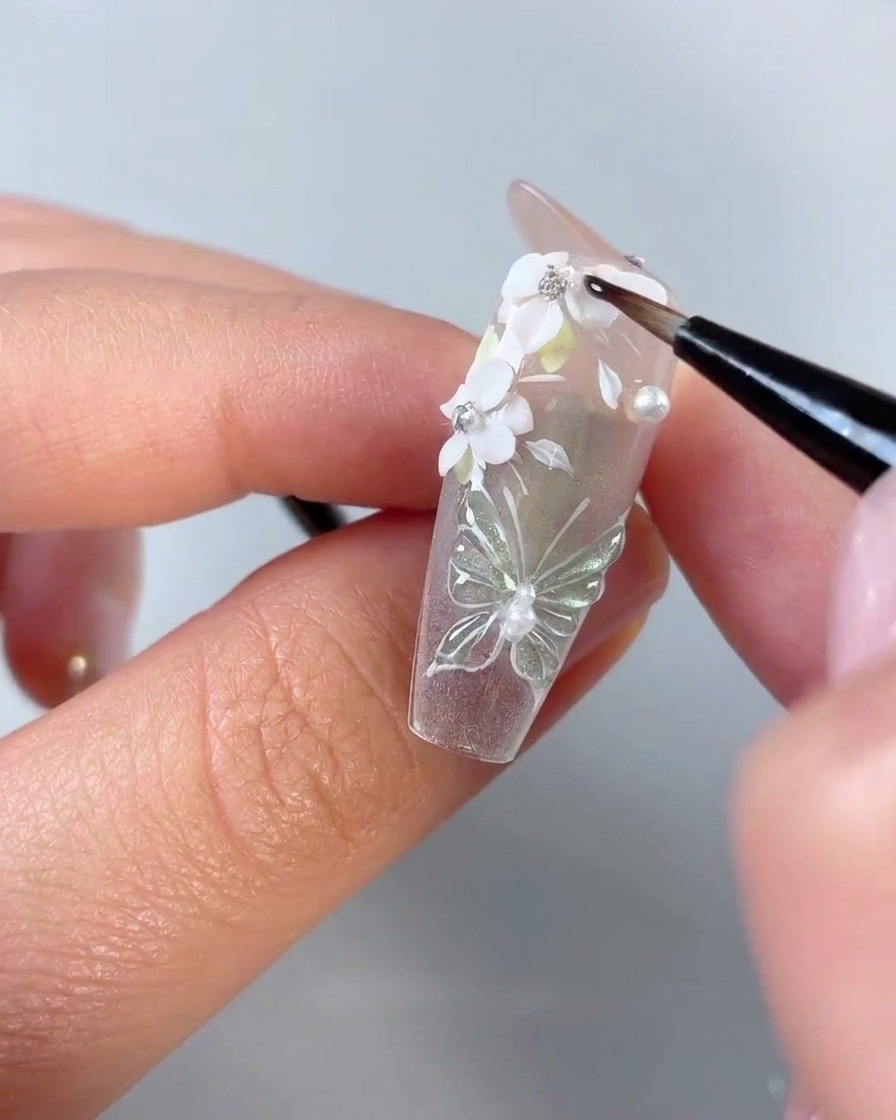
Using a fine detail brush and no-wipe gap-filling gel, carefully seal around the edges of the 3D petals and rhinestones. Wrapping the edges securely anchors the embellishments to the nail surface and prevents them from catching on hair or clothing.
Tip: Be extremely careful not to paint over the top of the rhinestones, as the gel will dull their faceted sparkle. - 23Seal underside of free edge
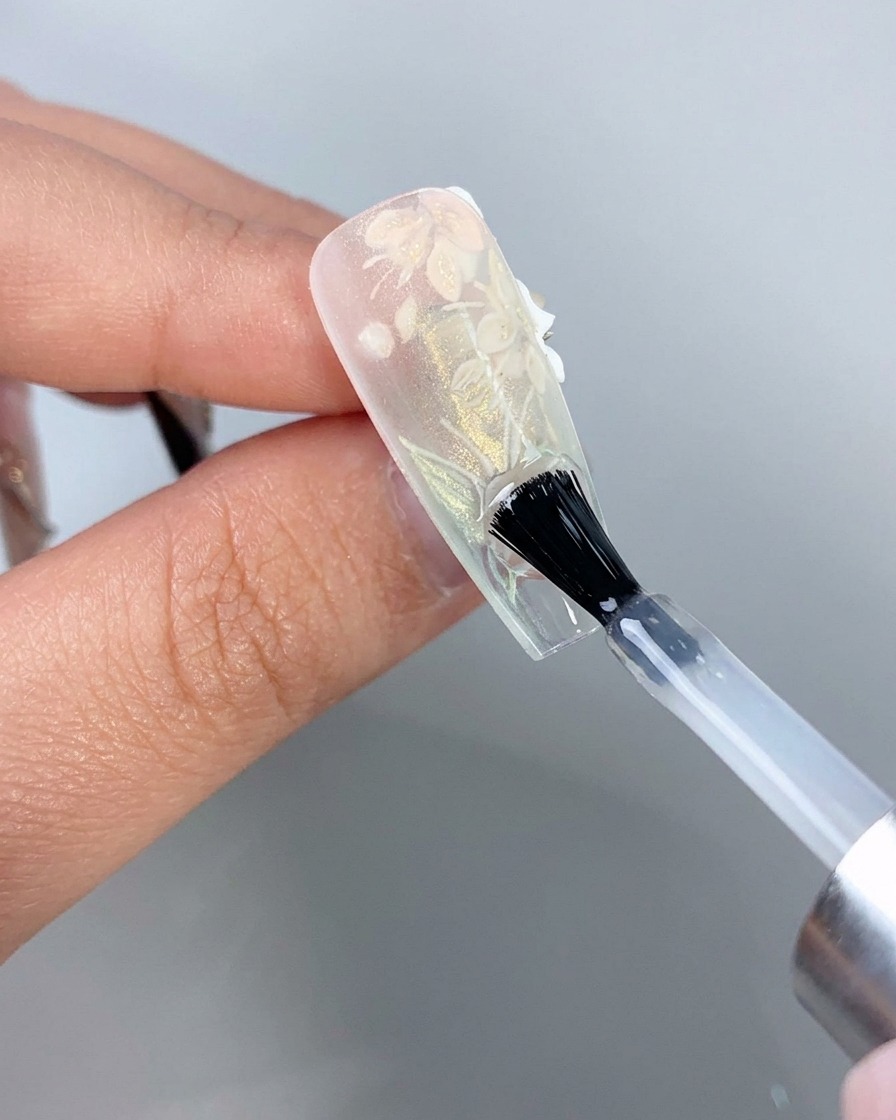
Flip the nail tip upside down and apply a smooth layer of clear top coat to the underside of the free edge. This seals the edge completely, protects the design from moisture, and ensures total clarity and glass-like shine.
Tip: Check the underside for any product bumps or uneven pooling before placing it into the UV lamp to cure. - 24Paint the second butterfly base
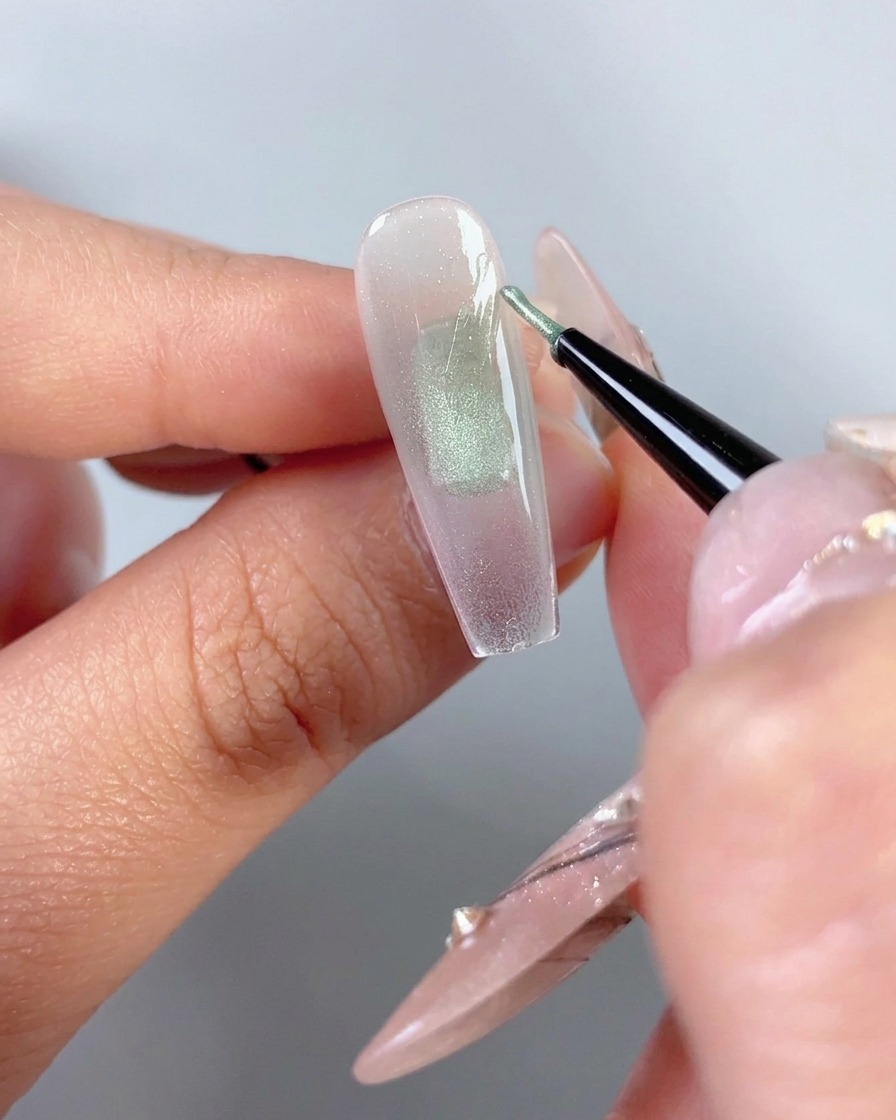
For the second nail design, start by applying green honeydew cat-eye gel to the right side of the nail using a fine liner brush. Roughly shape the gel into a large half-butterfly wing to set the foundation for the magnetic effect.
Tip: Keep the application sheer and even so the magnetic pigments can move freely when activated. - 25Magnetize the second nail
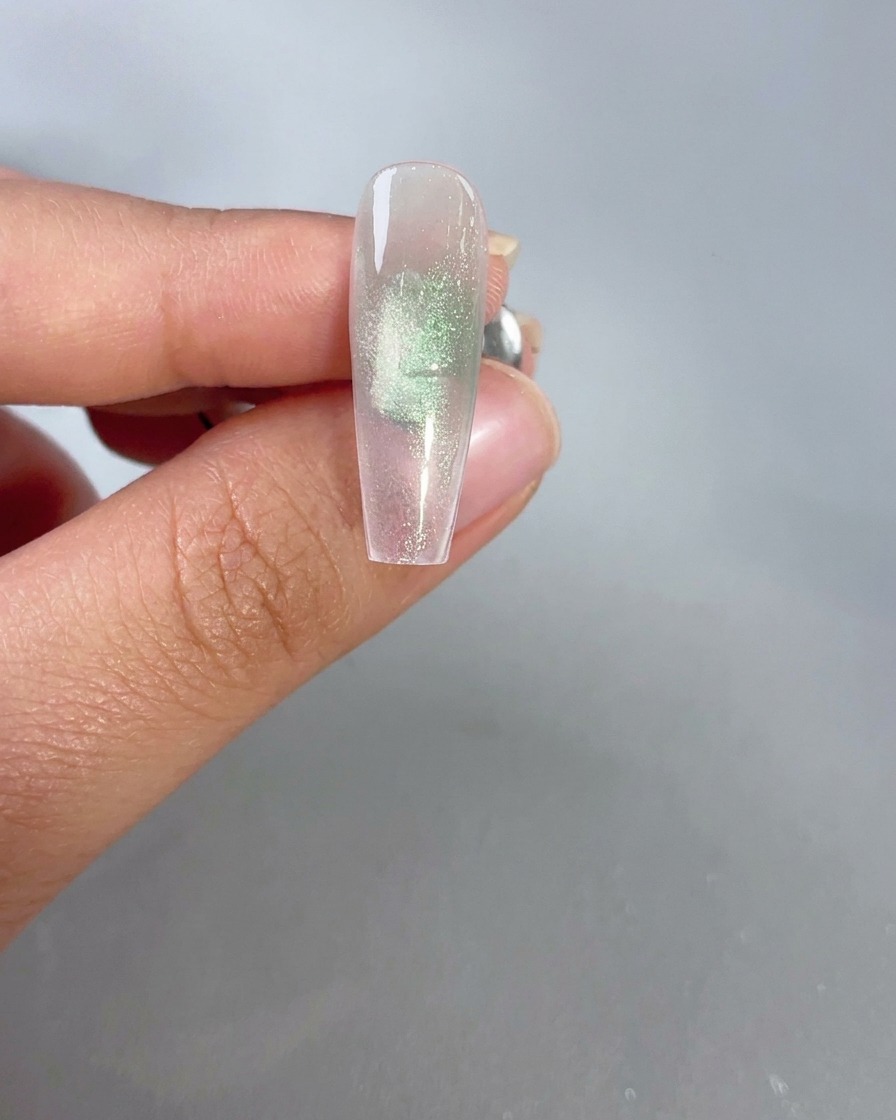
Hold a strong magnet near the second nails half-butterfly wing area to pull and concentrate the cat-eye shimmer effect into position. Cure under the lamp immediately after achieving the desired look.
Tip: Keep the magnet steady close to the surface to get a sharp, well-defined cat-eye line. - 26Outline half-butterfly veins
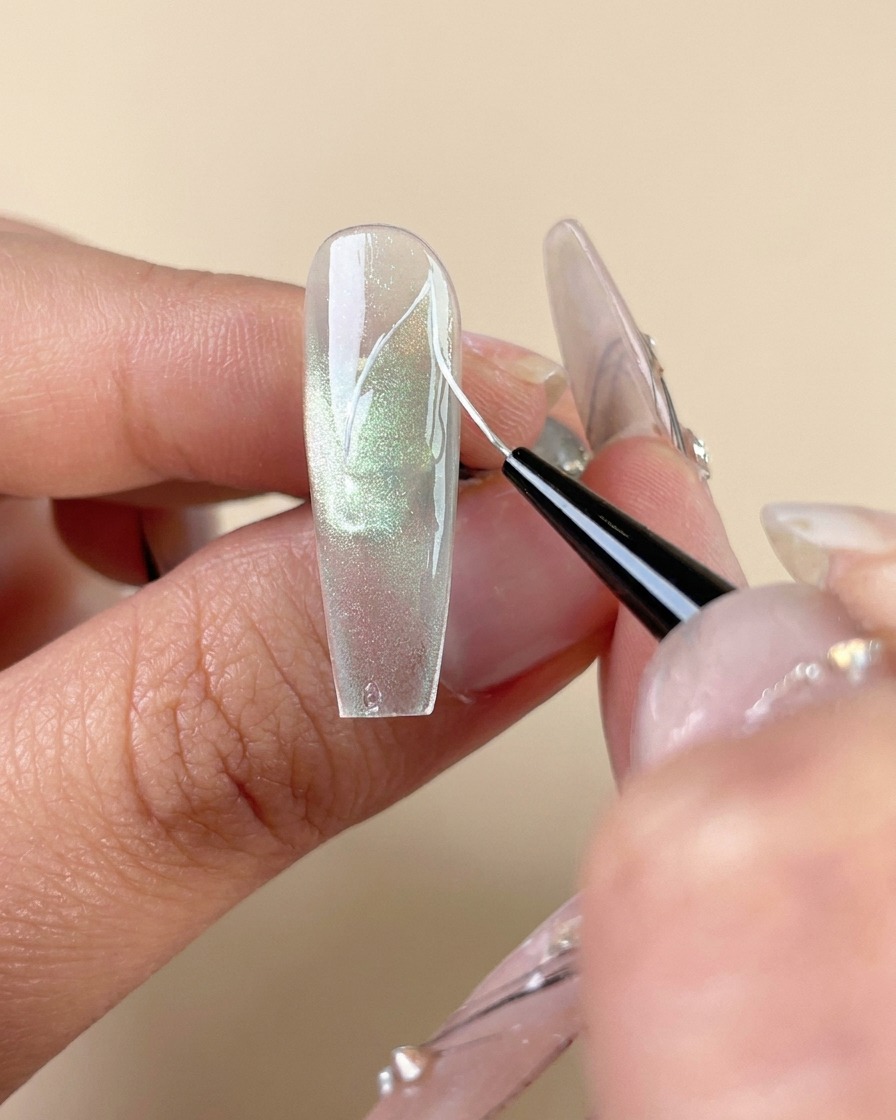
Using a fine liner brush and white painting gel, carefully outline the outer edges and draw delicate internal veins inside the half-butterfly wing. This creates definition and structure for the design.
Tip: Keep your hand steady and use minimal pressure on the liner brush to draw crisp, ultra-fine lines. - 27Apply top coat to second nail
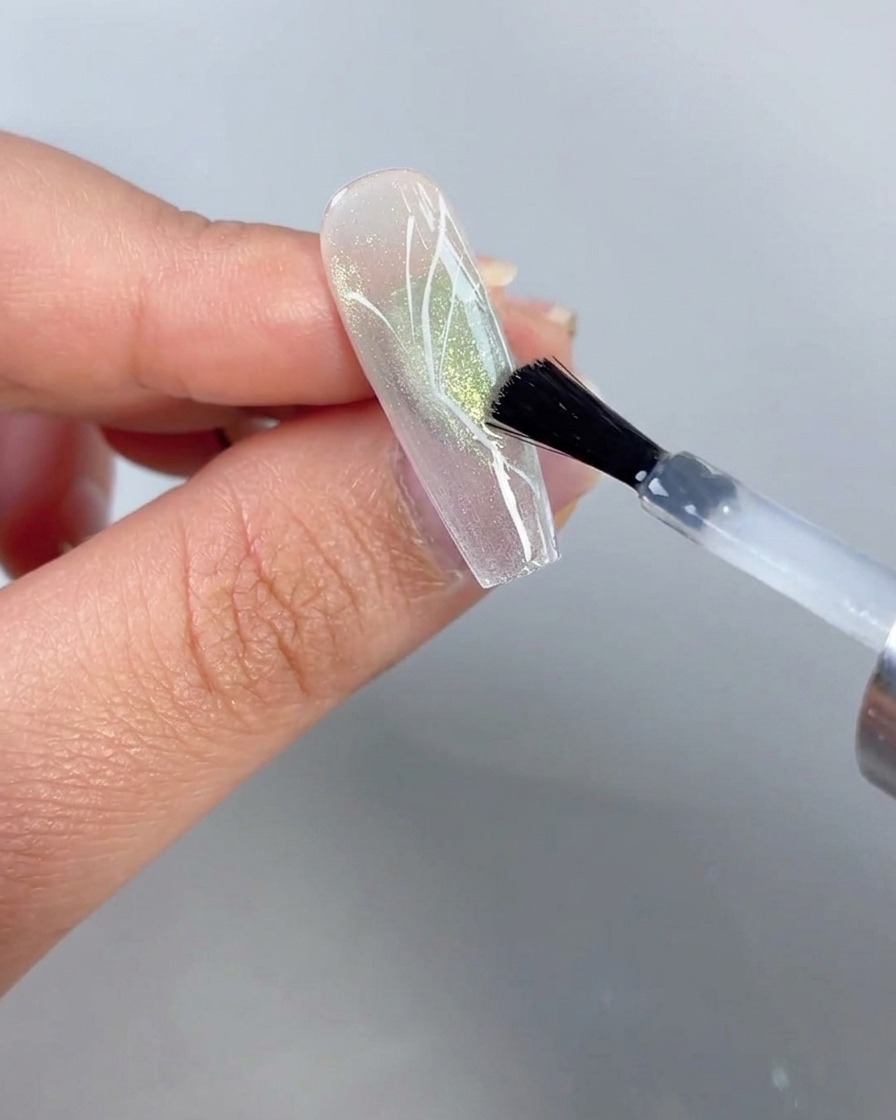
Apply a full, even layer of clear top coat over the entire surface of the second nail. This seals the painted half-butterfly design securely, protects the layers underneath, and provides a smooth, glossy foundation for subsequent 3D detailing.
Tip: Cap the free edge with top coat to prevent premature chipping and lifting. - 28Trace wing outlines with 3D gel
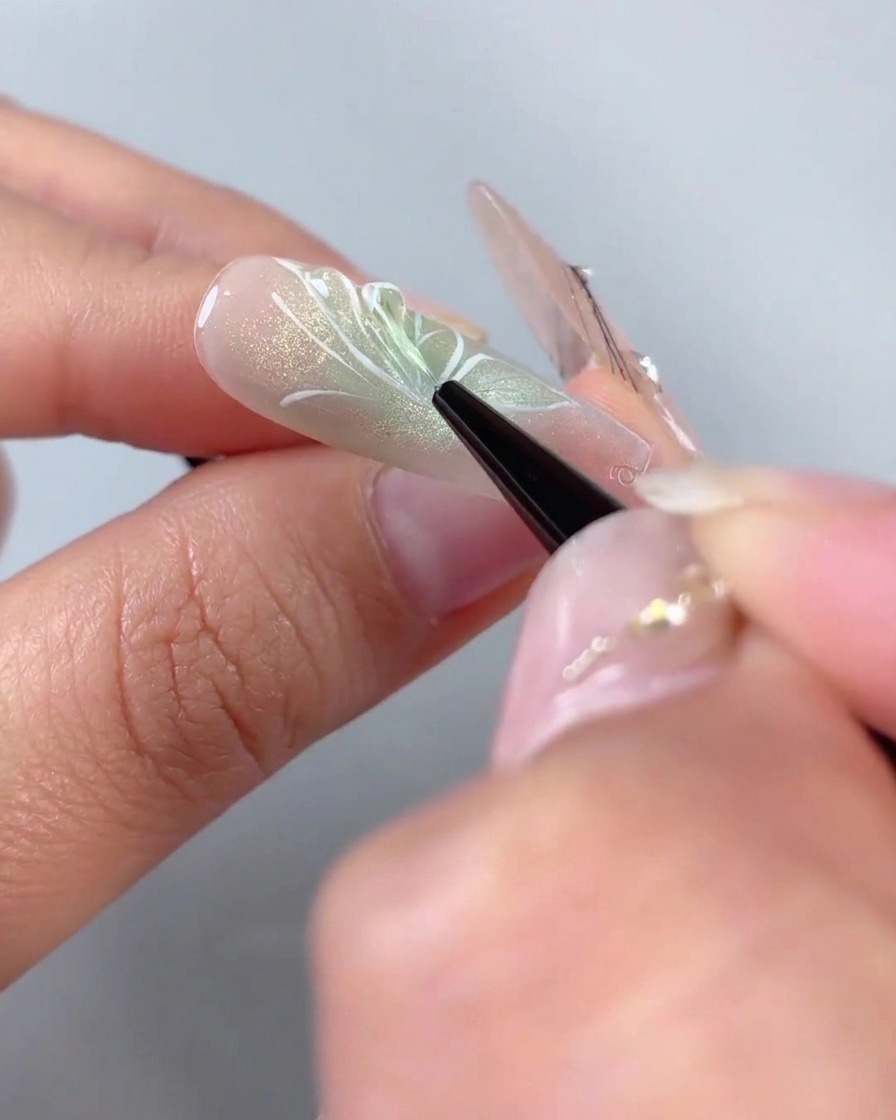
Using a fine liner brush and clear 3D modeling gel, carefully trace over the white wing outlines on the second nail. This creates a tactile, raised dimensional effect that mimics real butterfly wings.
Tip: Work slowly with a steady hand to keep the 3D lines crisp, clean, and uniform in thickness. - 29Attach rhinestone butterfly wing charm
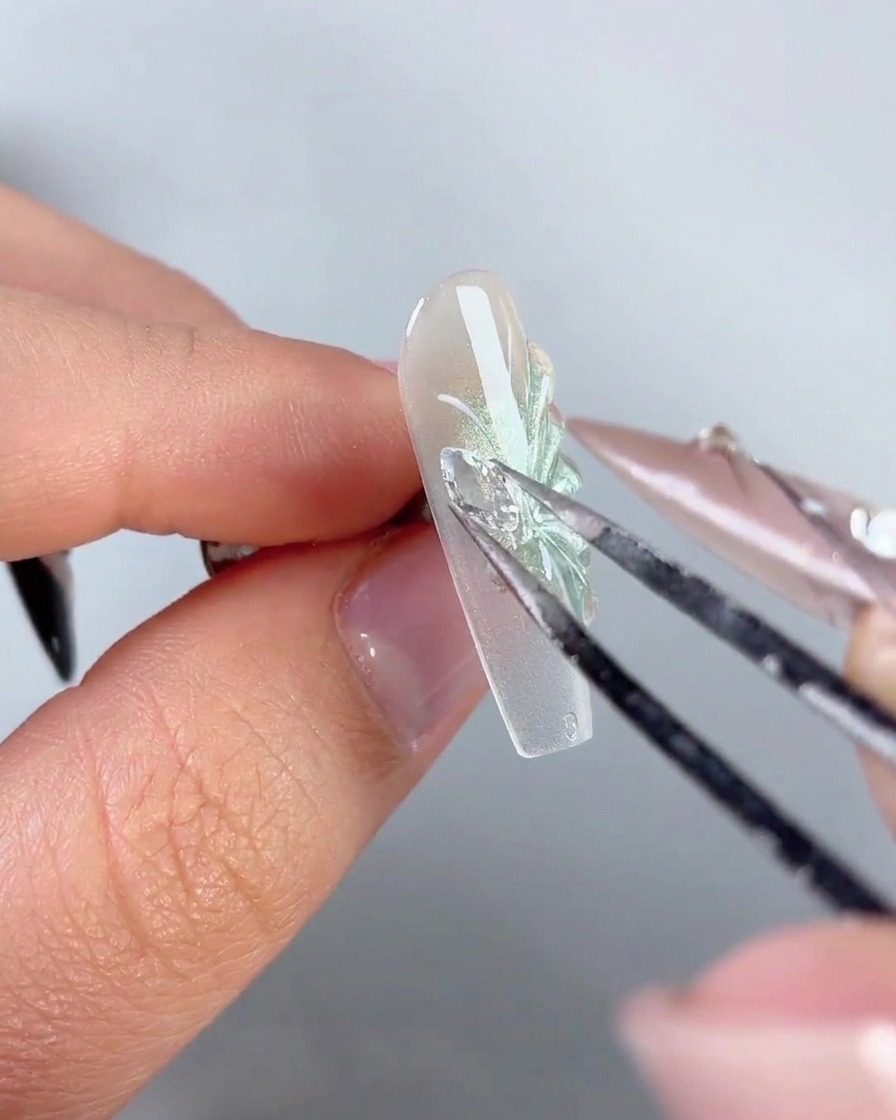
Apply a drop of strong adhesive gel to the designated area on the left side of the second nail. Use precision tweezers to pick up a large, pre-made rhinestone butterfly wing charm and press it firmly into the adhesive.
Tip: Position the charm carefully before curing, ensuring it sits flush against the nail surface and aligns with the painted half-butterfly base. - 30Secure charm edges with gap-filling gel
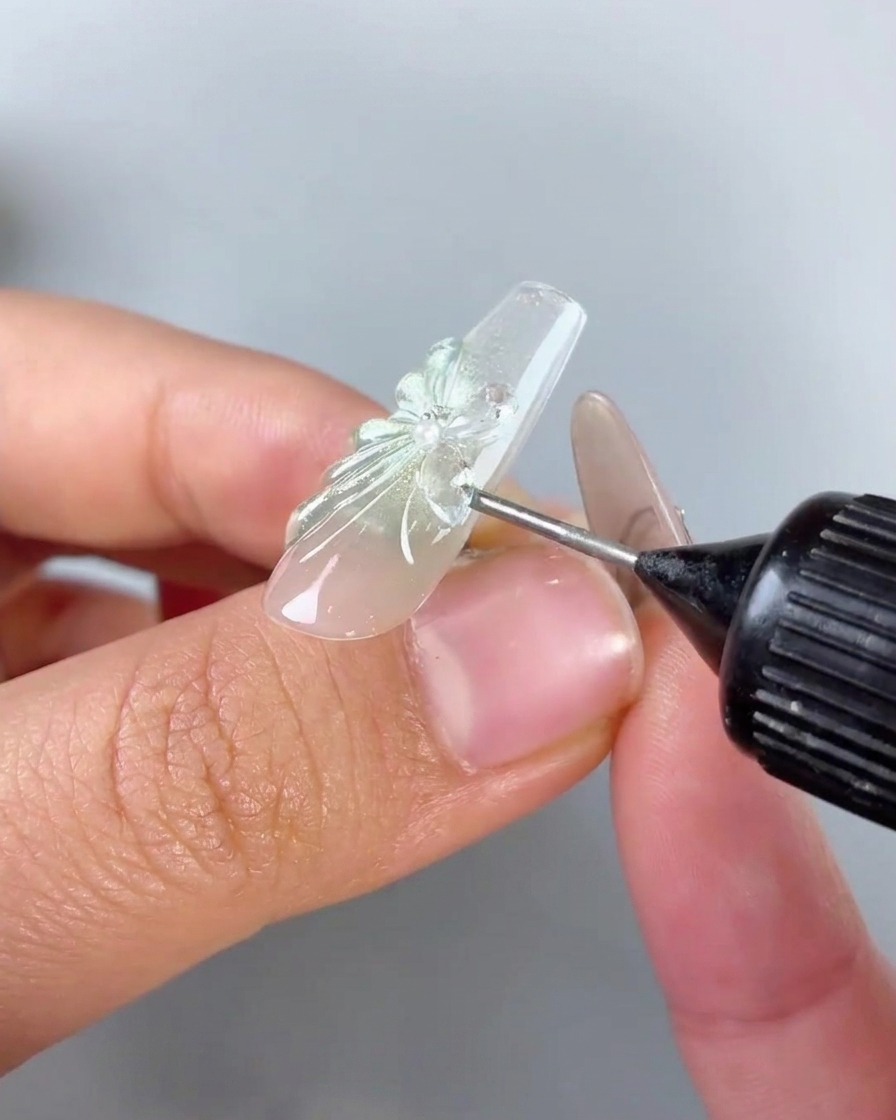
Using a needle-tip bottle, dispense no-wipe gap filling gel around the perimeter and base edges of the metal and rhinestone butterfly charm. This locks the charm securely in place, eliminates sharp gaps, and prevents hair or clothing from snagging on the edges.
Tip: A needle-tip bottle gives you precise control, allowing you to fill tiny gaps without flooding the face of the rhinestones. - 31Seal the underside
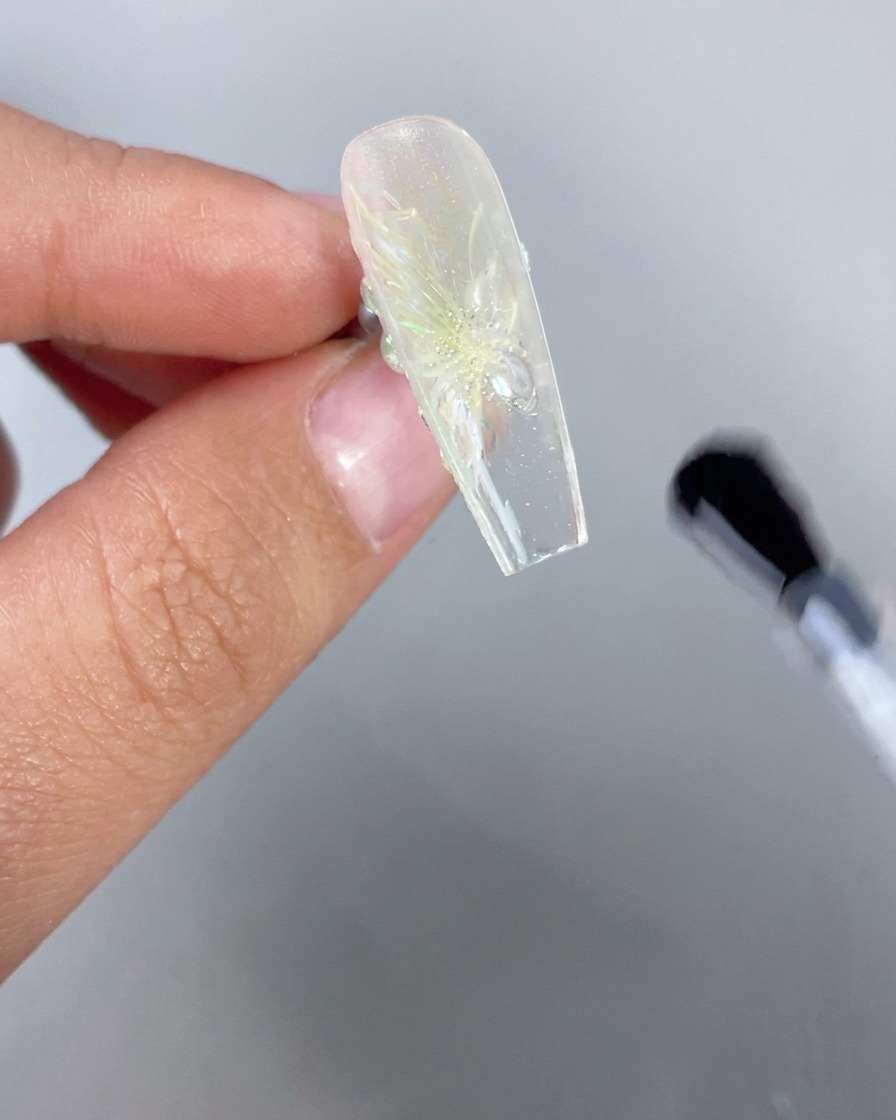
Flip the nail over and apply a layer of smooth, clear top coat to the underside of the free edge. This crucial step seals any exposed areas, enhances the ultra-sheer, ice-transparent effect of the design, and gives the finished nail a perfectly smooth and glassy appearance from all angles.
Tip: Applying top coat underneath the free edge prevents dirt buildup and maximizes the glass-like transparency of clear or jelly nail designs.