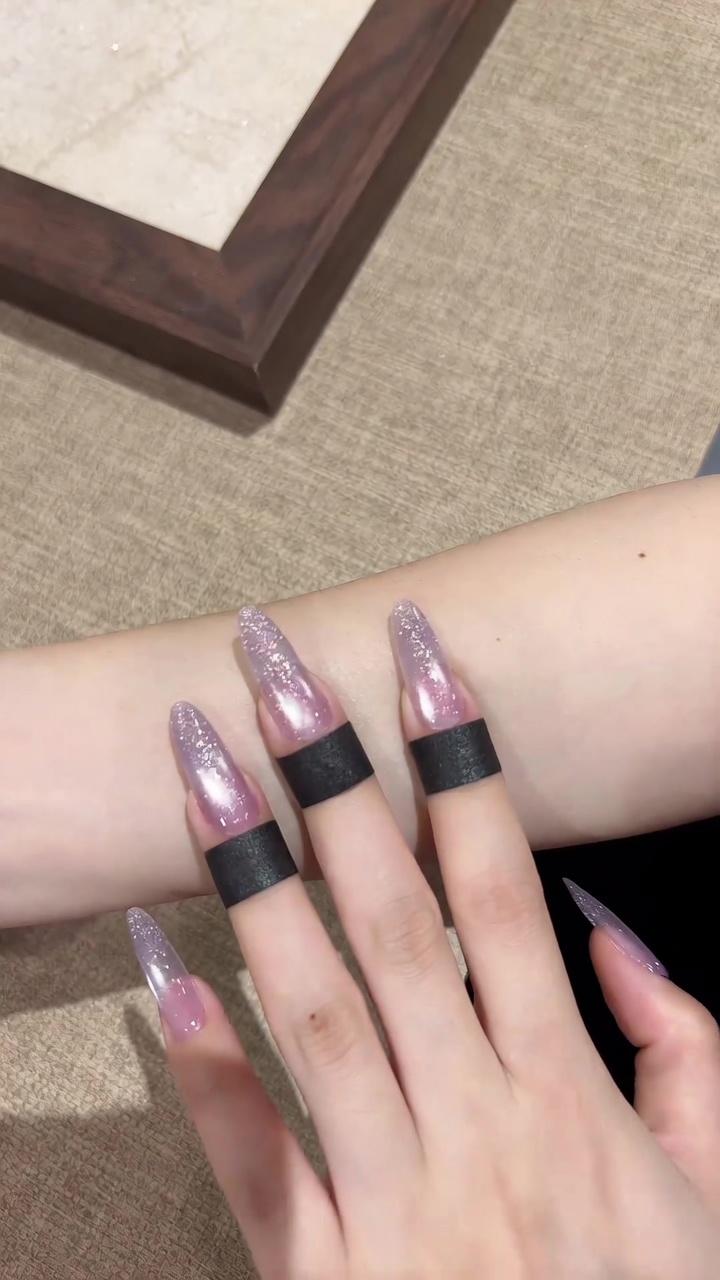
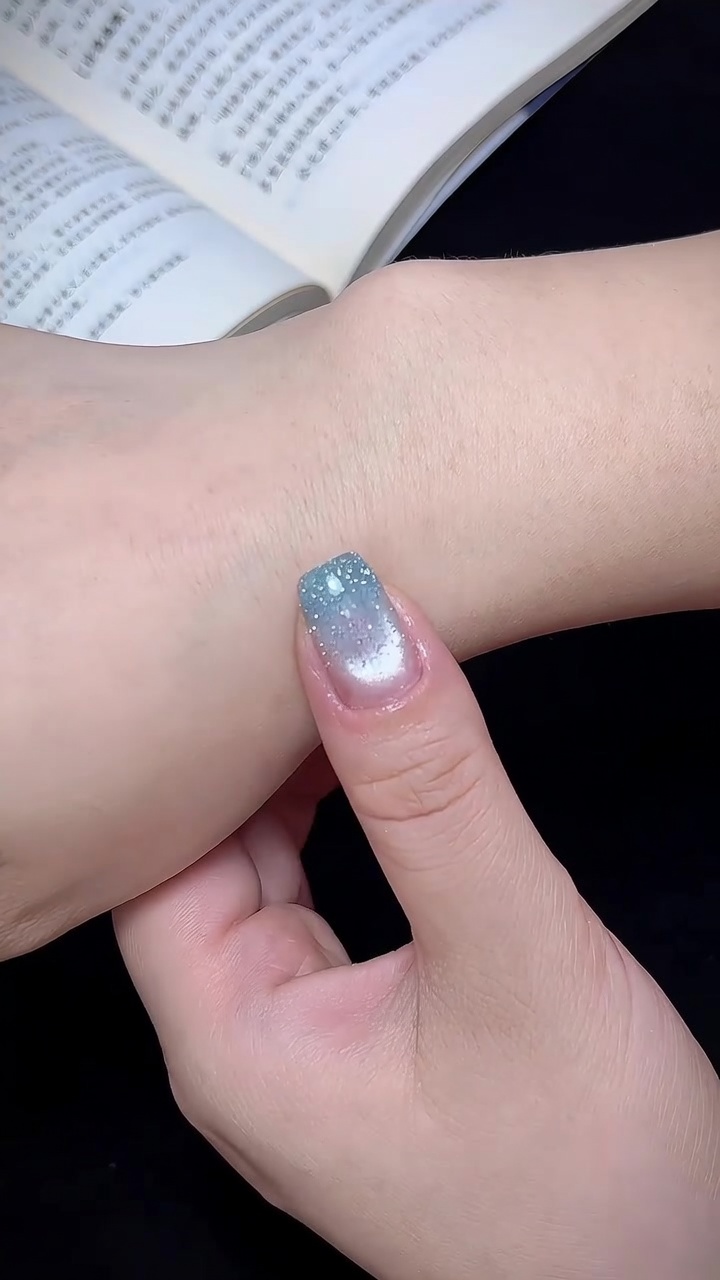
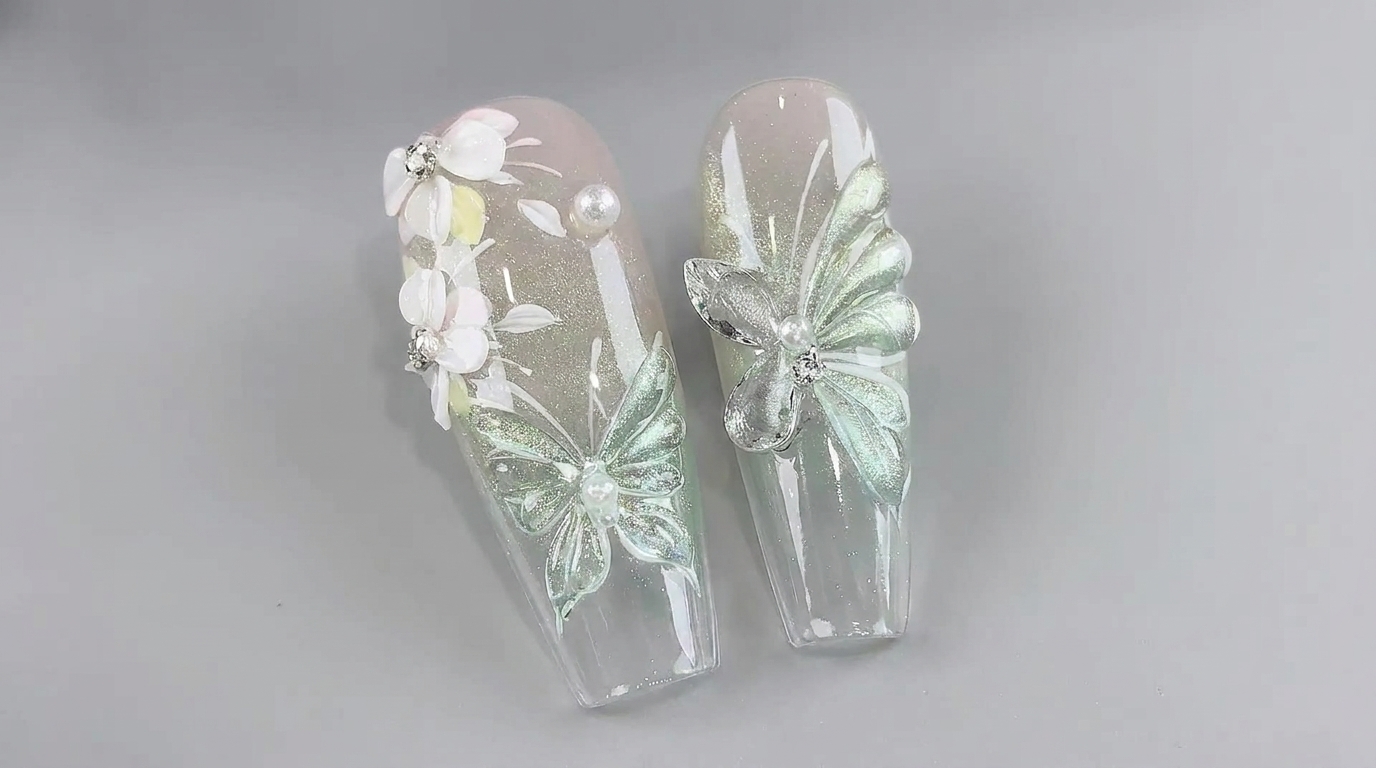
Dreamy Blue and Purple Cloud Smudge Nail Art
3D Crystals
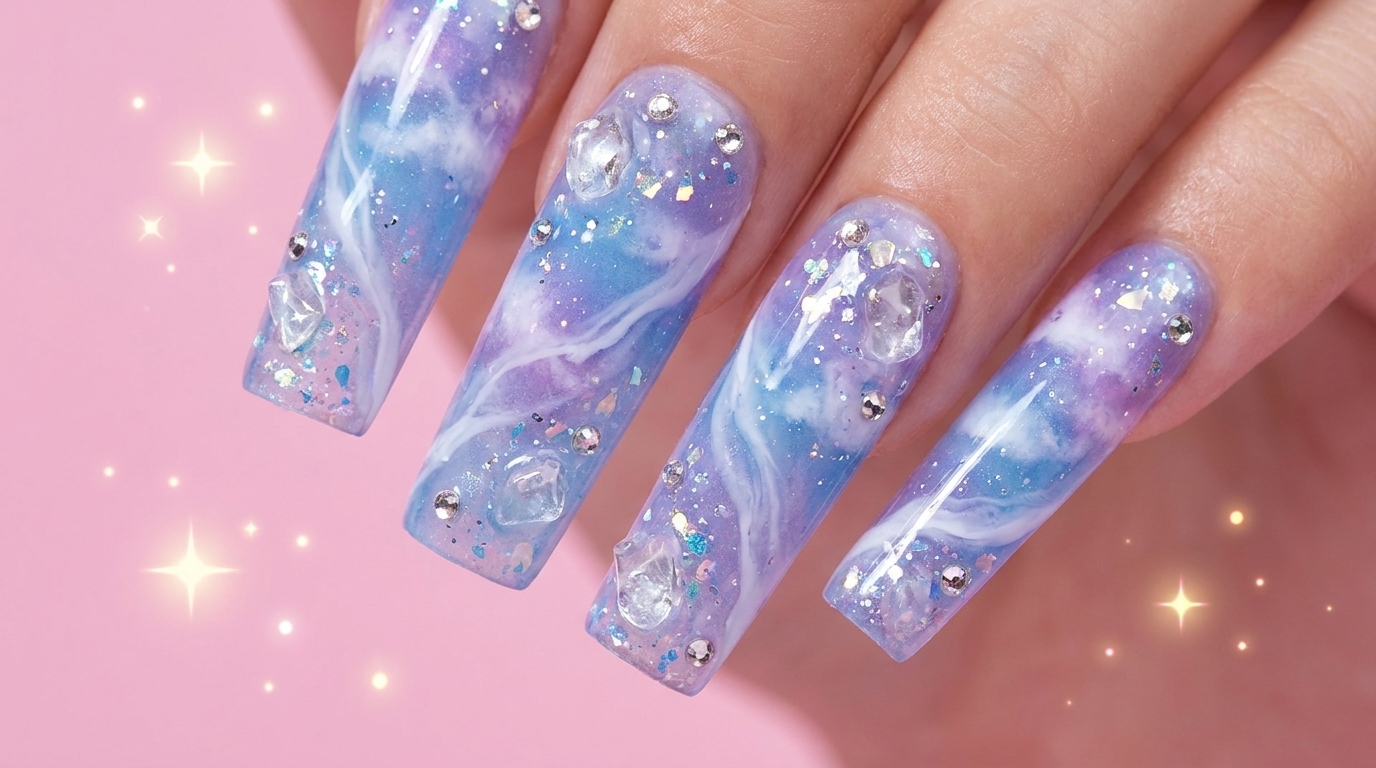
Create a magical, galaxy-inspired nail look with this dreamy blue and purple cloud smudge tutorial, featuring soft gradients and dazzling 3D crystal charms.
Cloud smudge and galaxy nail designs have taken the nail art world by storm, offering a mesmerizing, ethereal aesthetic. This look combines the depth of a crystal cat-eye base with sheer, buildable blue and purple gels to create a soft, watercolor-like gradient. Embellished with chunky holographic glitters and oversized 3D crystal charms, this manicure is perfect for anyone wanting to make a bold, magical statement.
Steps
- 1Apply crystal cat-eye gel
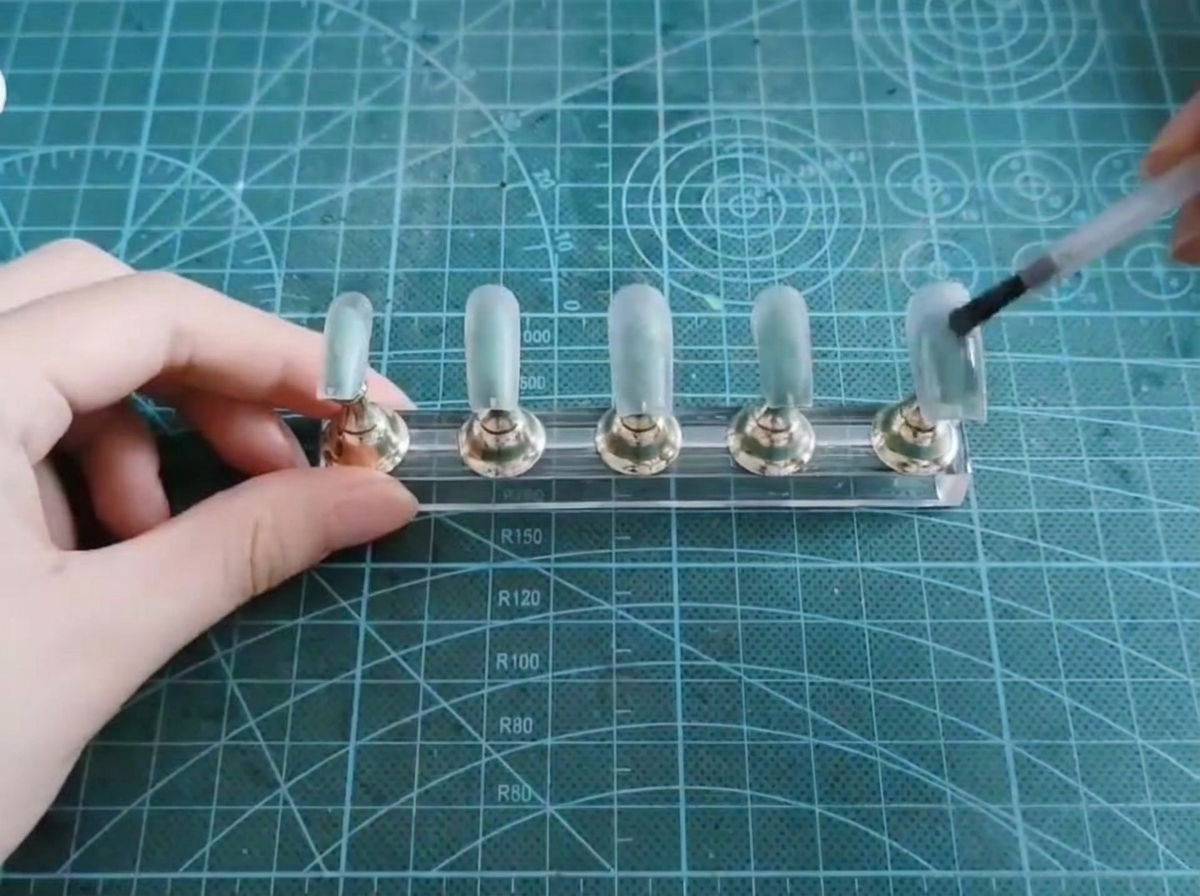
Brush a smooth, even layer of crystal cat-eye gel over the prepped nail tips mounted on the display stand. Ensure the coating covers the entire surface evenly before curing to prepare the base for the upcoming cloud smudge design effect.
Tip: Apply an even coat to ensure the cat-eye magnetic particles distribute uniformly. - 2Wipe sticky inhibition layer
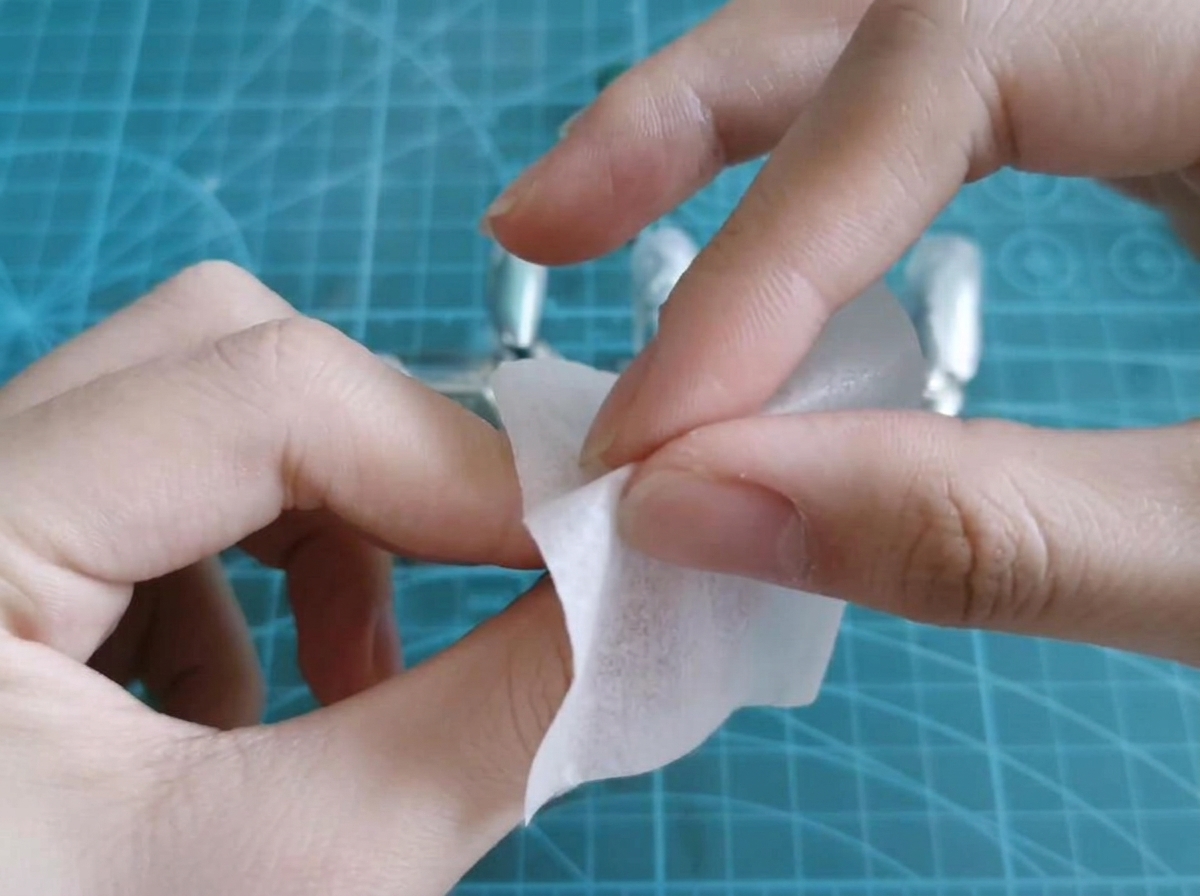
Take an alcohol prep pad and gently wipe down the surface of the cured nail to thoroughly remove any tacky inhibition residue. This creates a clean, non-sticky foundation for layering subsequent colors and textures.
Tip: Ensure the surface is completely dry and clean before moving on to the gel painting stage. - 3Pick up sheer blue and purple gels
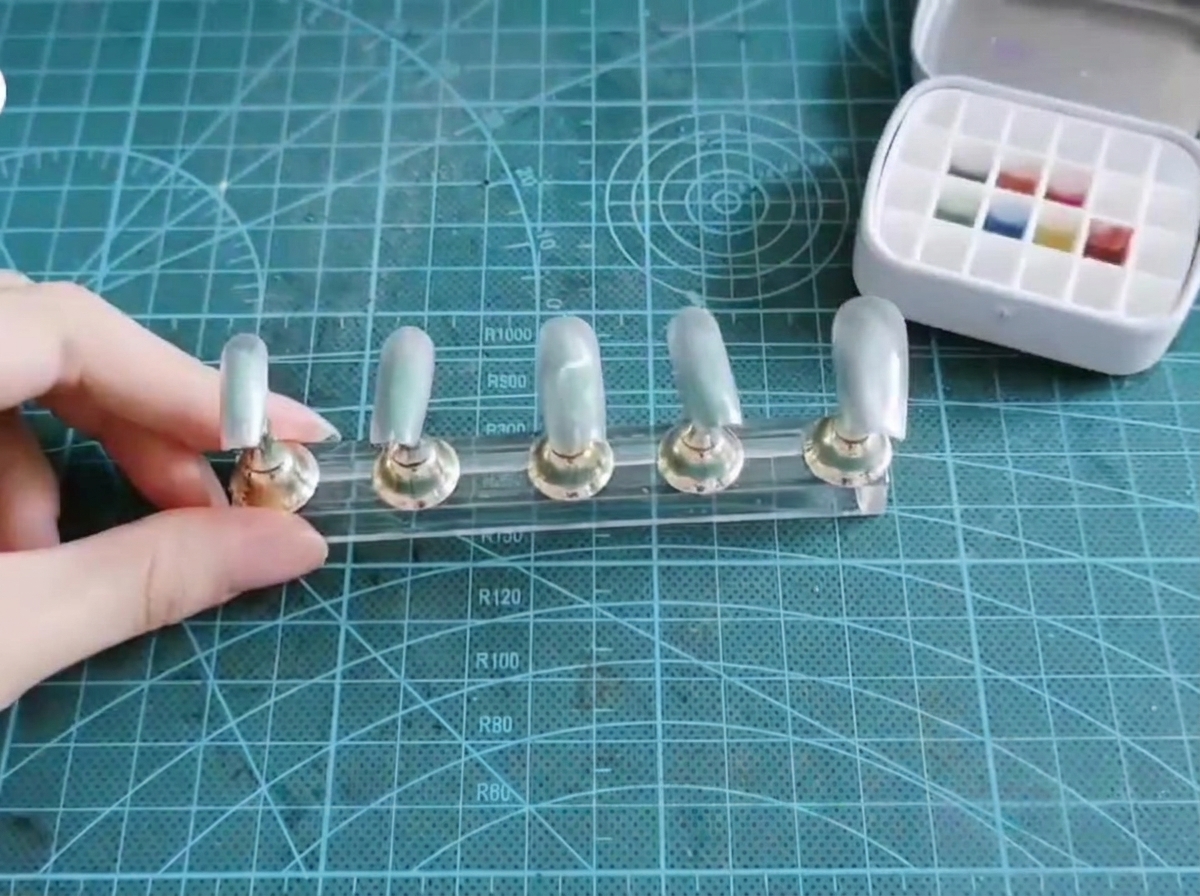
Using a flat brush, gently load sheer blue and purple gel polish colors directly from your multi-color solid gel palette. Lightly dab the bristles to control the amount of product before applying it to the nail surface.
Tip: Load only a small amount of product onto the brush to prevent clumping and maintain a sheer, translucent effect. - 4Dab sheer gels
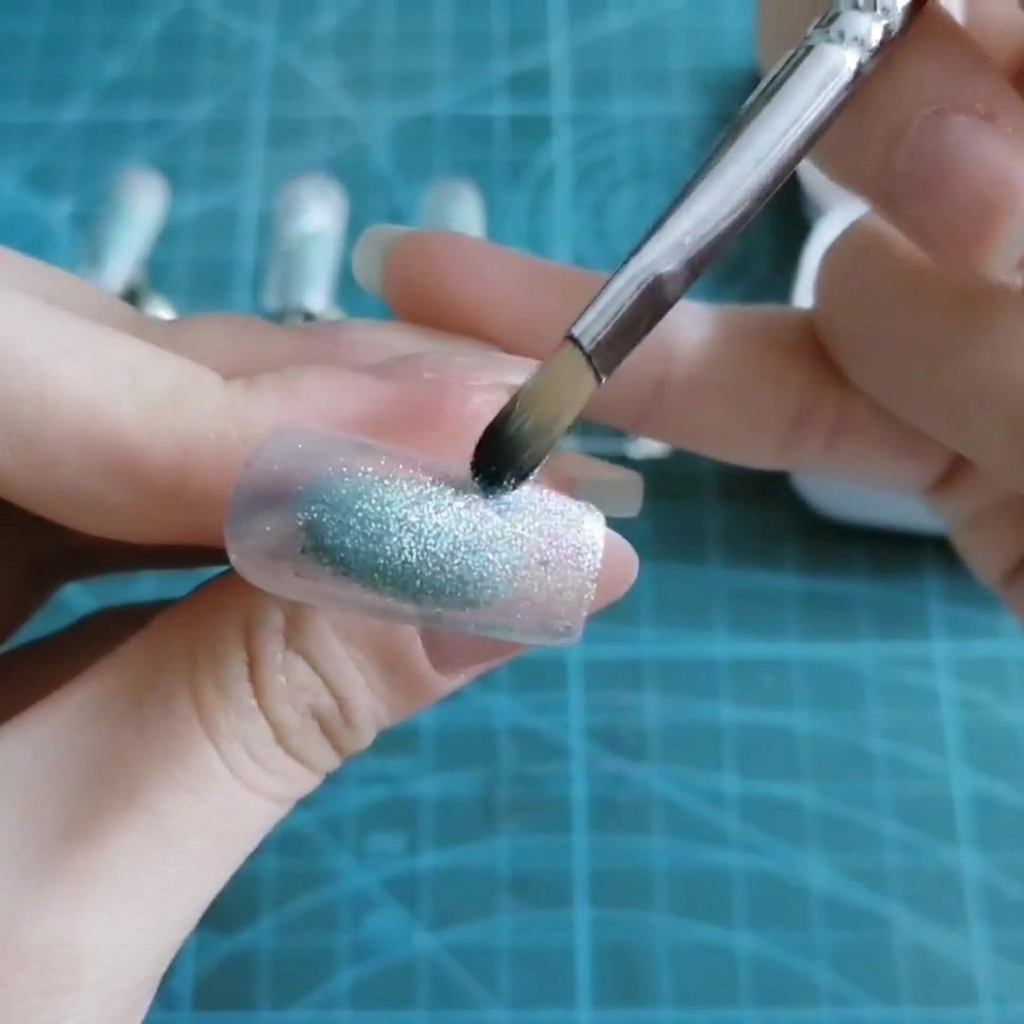
Randomly dab and brush the sheer blue and purple gels onto the center of the nail tip, creating an organic, cloud-like wash of color. Blend the edges softly to achieve a dreamy gradient appearance across the nail.
Tip: Keep brush strokes light and feathery for a seamless, soft-focus smudge effect. - 5Apply second layer of colors
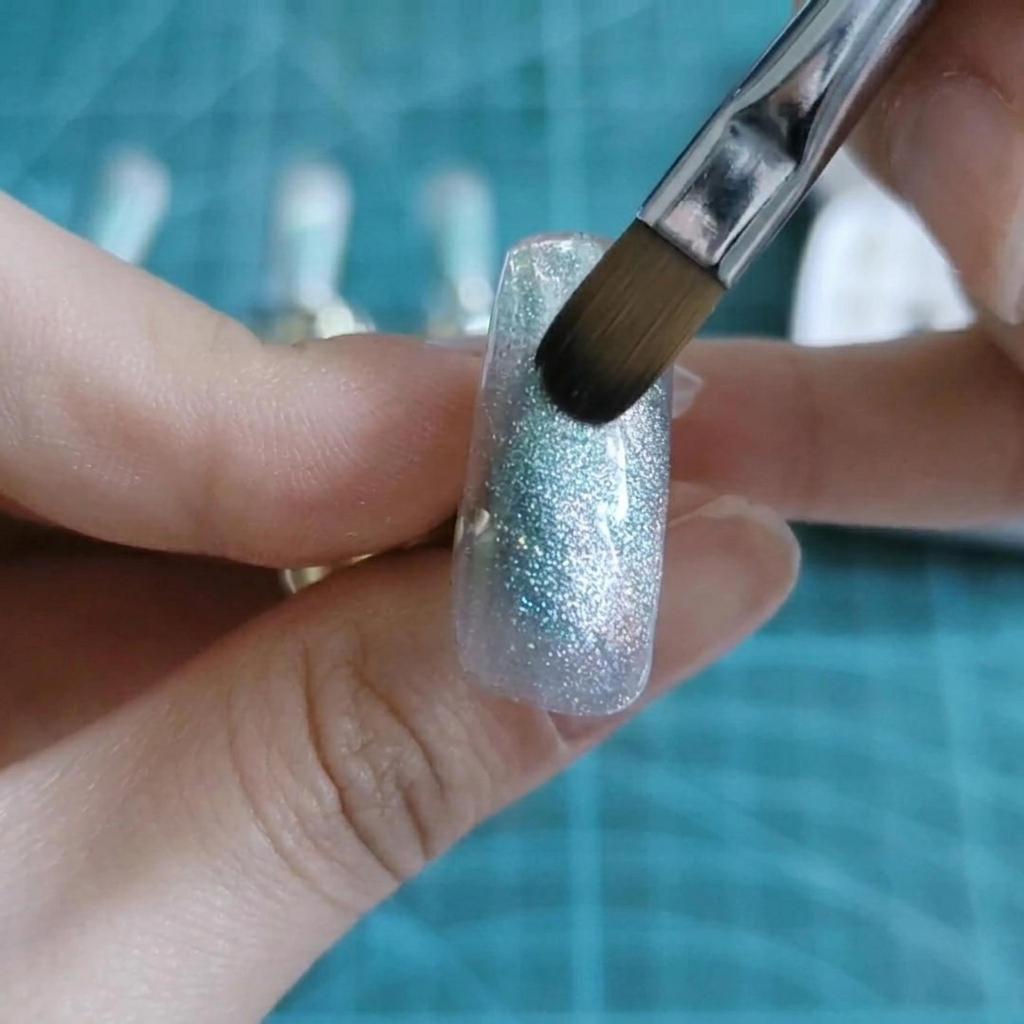
Apply a second layer of sheer blue and purple gels over the nail to deepen the saturation and intensify the cloudy, galaxy-like color effect. Blend gently to maintain the soft transitions between the shades.
Tip: Building color in thin, translucent layers prevents the gel from becoming too heavy or thick. - 6Review gradient base progress
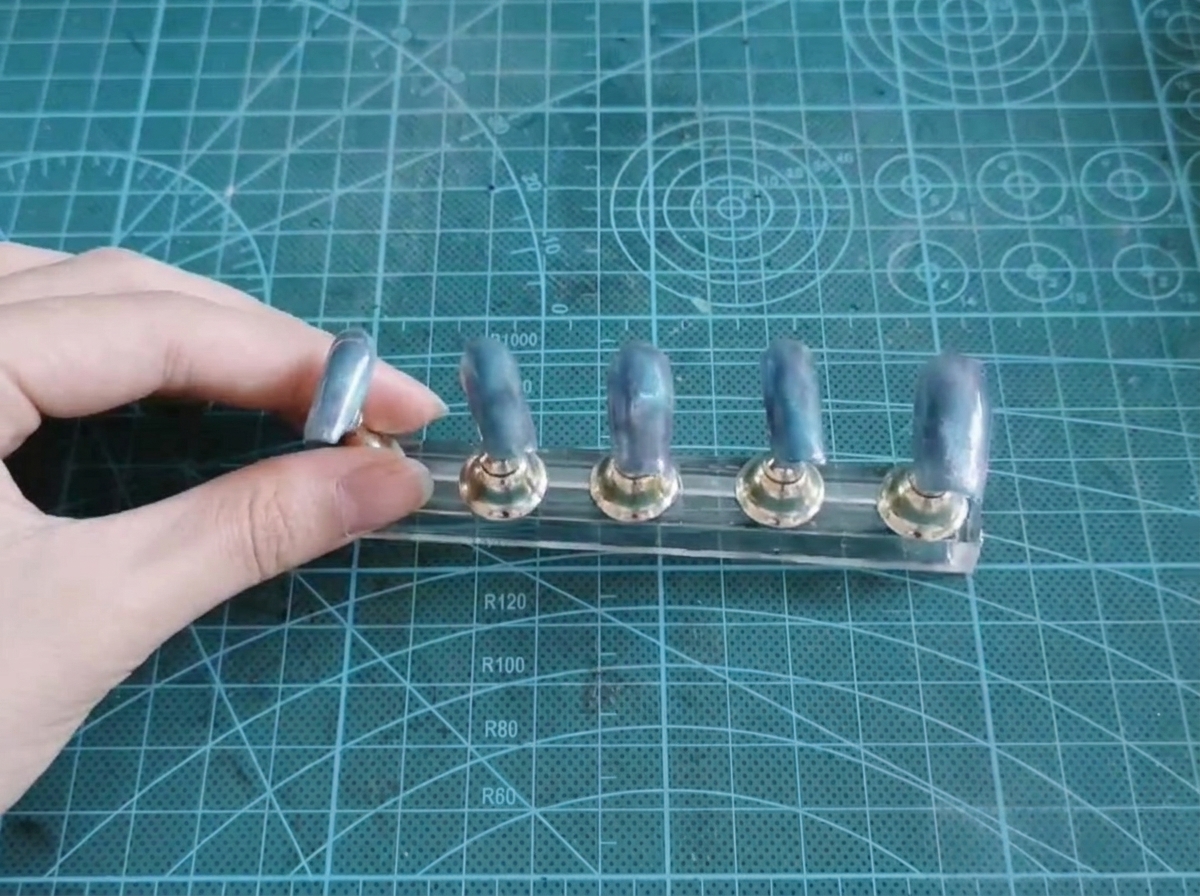
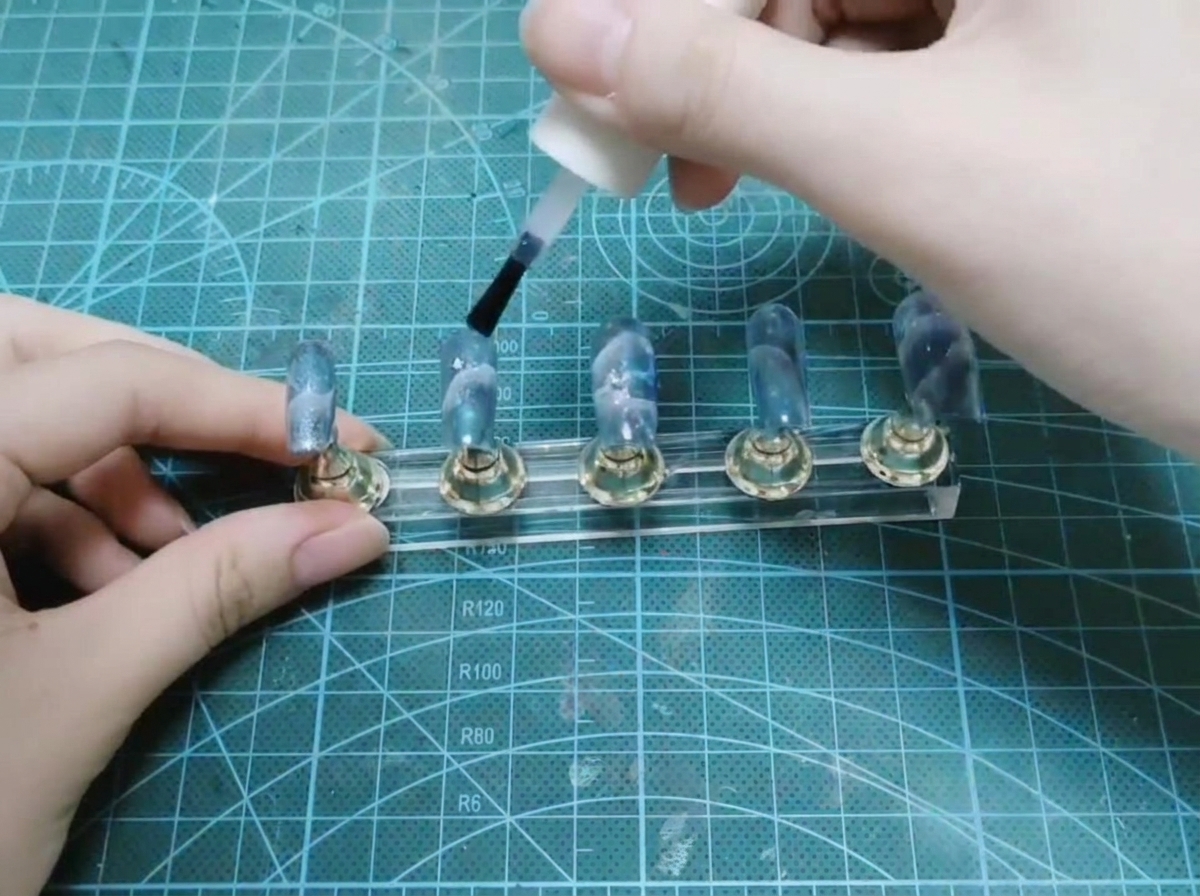
Inspect all five nail tips mounted on the display stand to ensure the blue and purple gradient base is fully coated and cured. This intermediate check verifies that the cloud smudge foundation is uniform across the entire set.
Tip: Check that all edges are fully covered and the color transitions look balanced across all nails. - 7Buff the nail surface
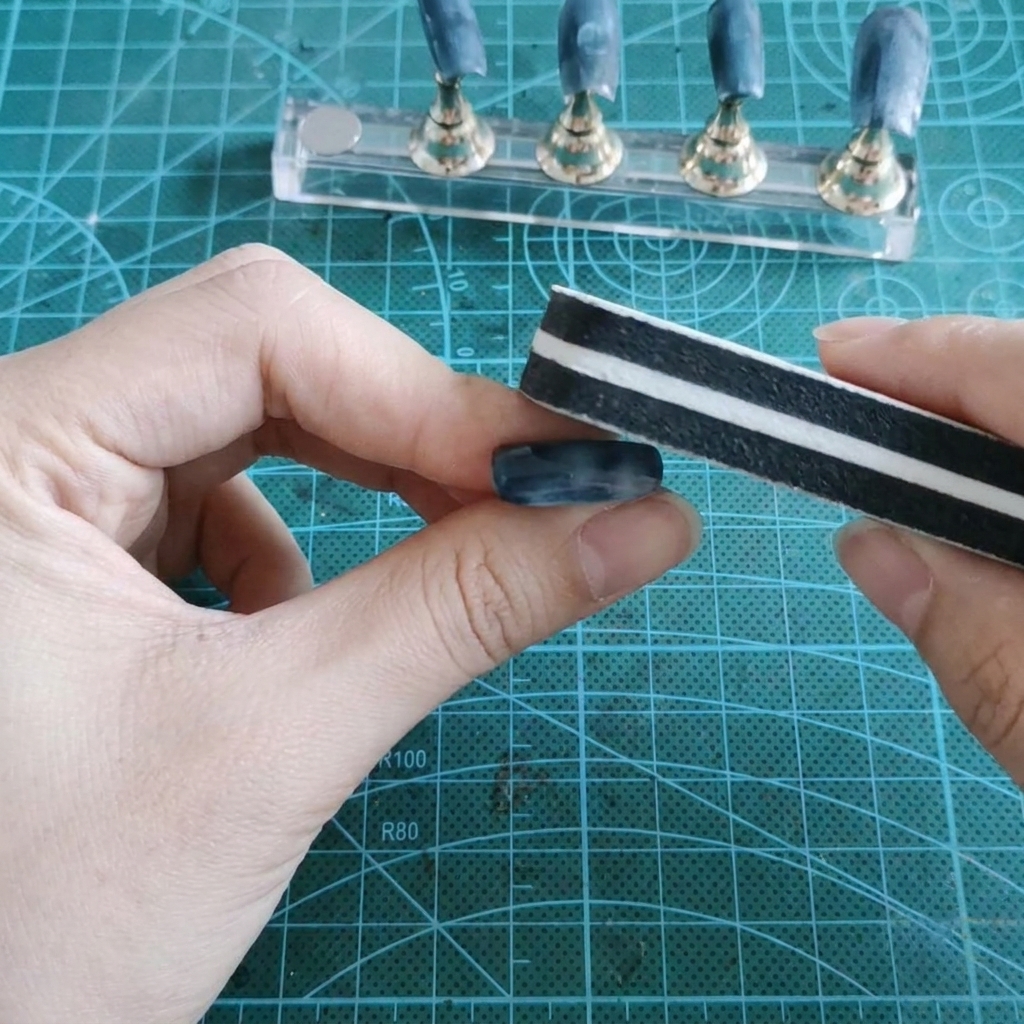
Using a block sponge buffer, gently buff the cured gel surface of the nail to create a matte finish. This removes the glossy shine and creates a textured grip that helps the subsequent line work adhere smoothly without sliding or beading up.
Tip: Buff gently in light, even strokes to avoid thinning out or damaging the underlying gel layers. - 8Draw wavy white lines
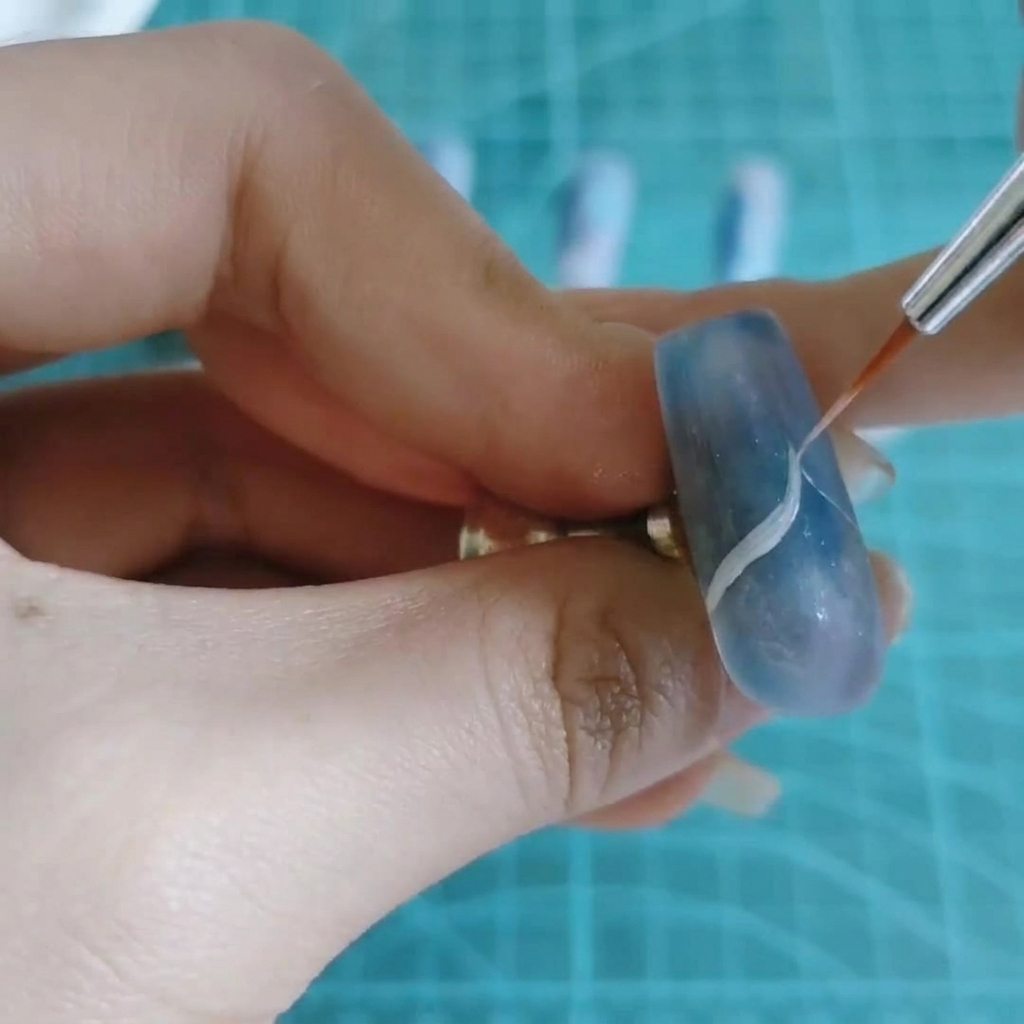
Dip a fine liner brush into white gel and carefully draw crisp, wavy, mountain-like curved lines diagonally across the matte nail surface. These lines will serve as the base for the soft cloud or hill effect.
Tip: Keep a light hand and use the tip of the liner brush to maintain smooth, fluid curves. - 9Blend and feather the lines
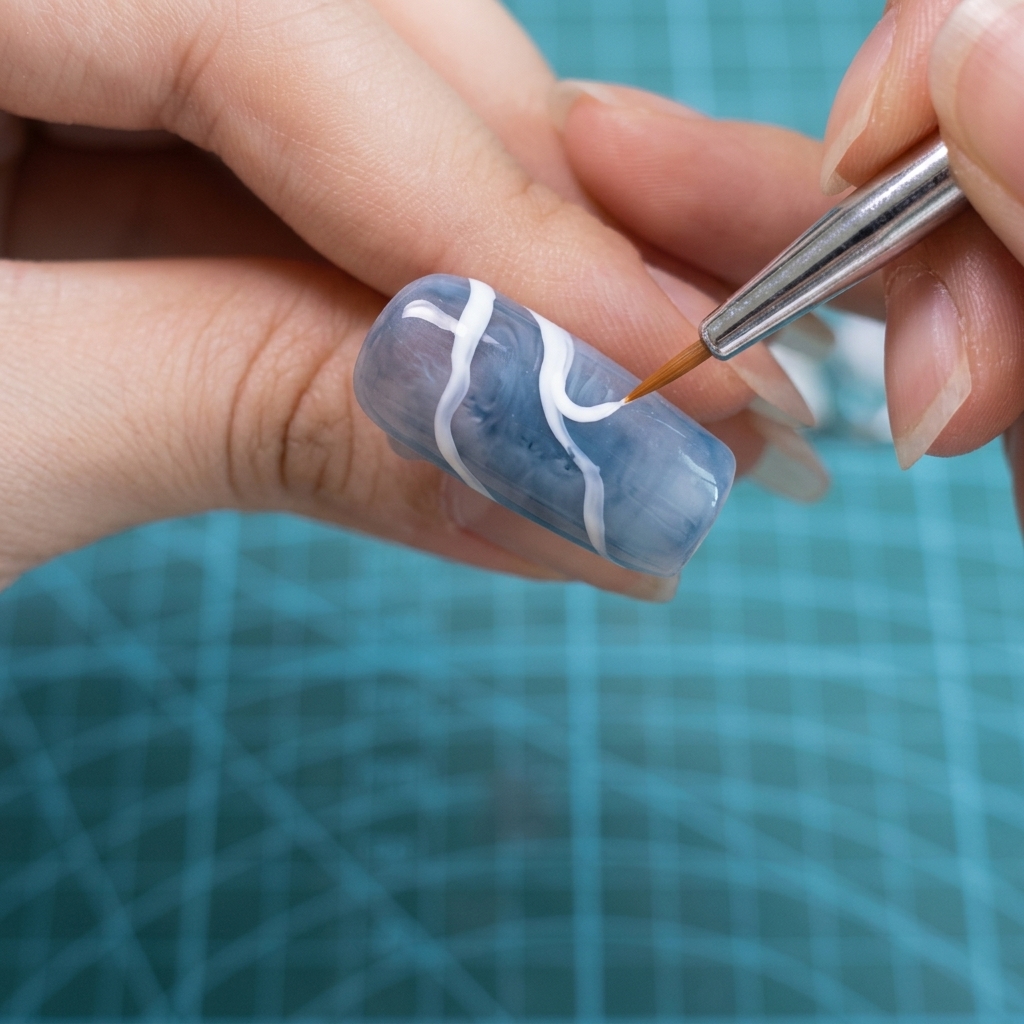
Take a clean flat brush and gently feather or pull the bottom edge of the white lines downward. This diffuses the pigment to create a soft, misty gradient effect that resembles dreamy clouds or distant hills.
Tip: Lightly dab or sweep downward with a nearly dry brush to achieve a smooth, smokey fade. - 10Apply clear reinforcement gel
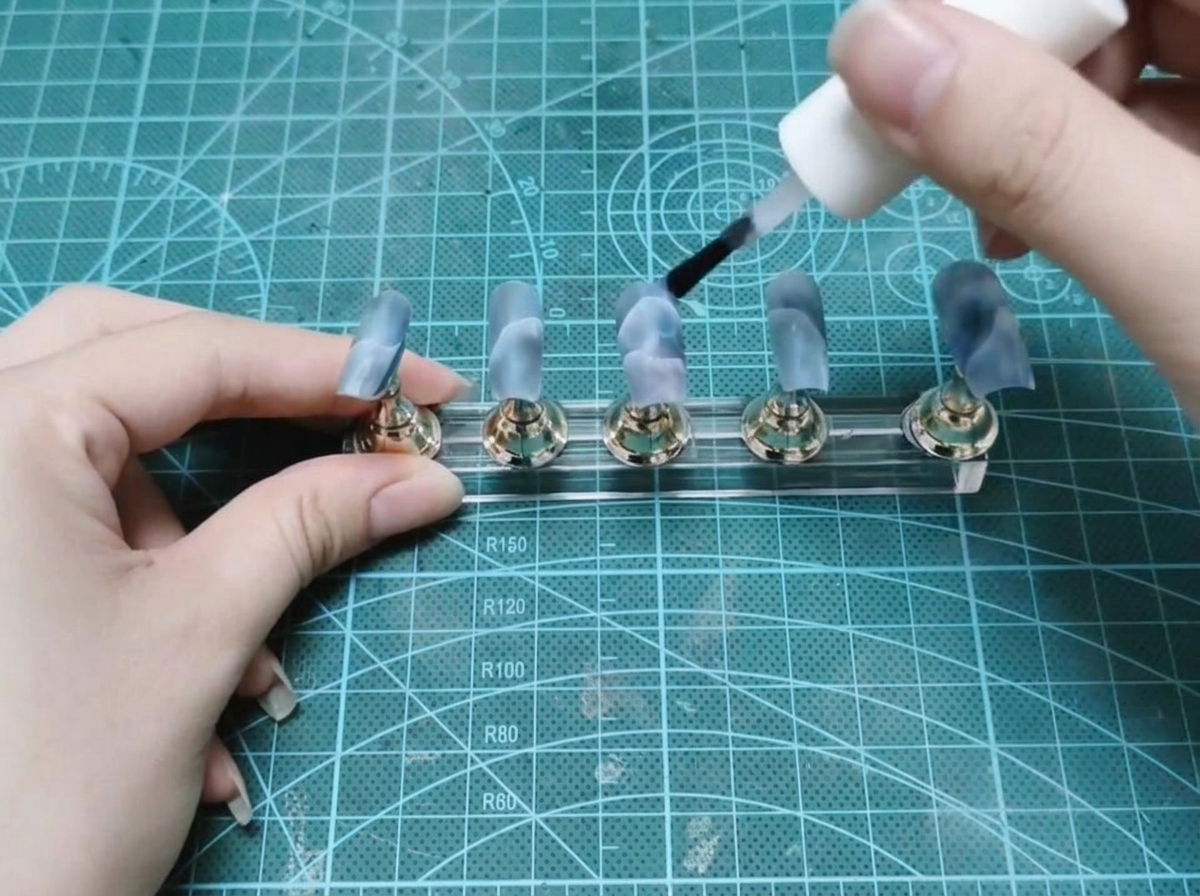
Apply a generous layer of clear reinforcement gel over the entire nail surface. This builds structural strength, smooths out any uneven texture, and provides a tacky base to securely hold decorative glitters in place.
Tip: Ensure the gel is evenly distributed across the entire nail so glitters stick uniformly without bald spots. - 11Embed iridescent glitter flakes
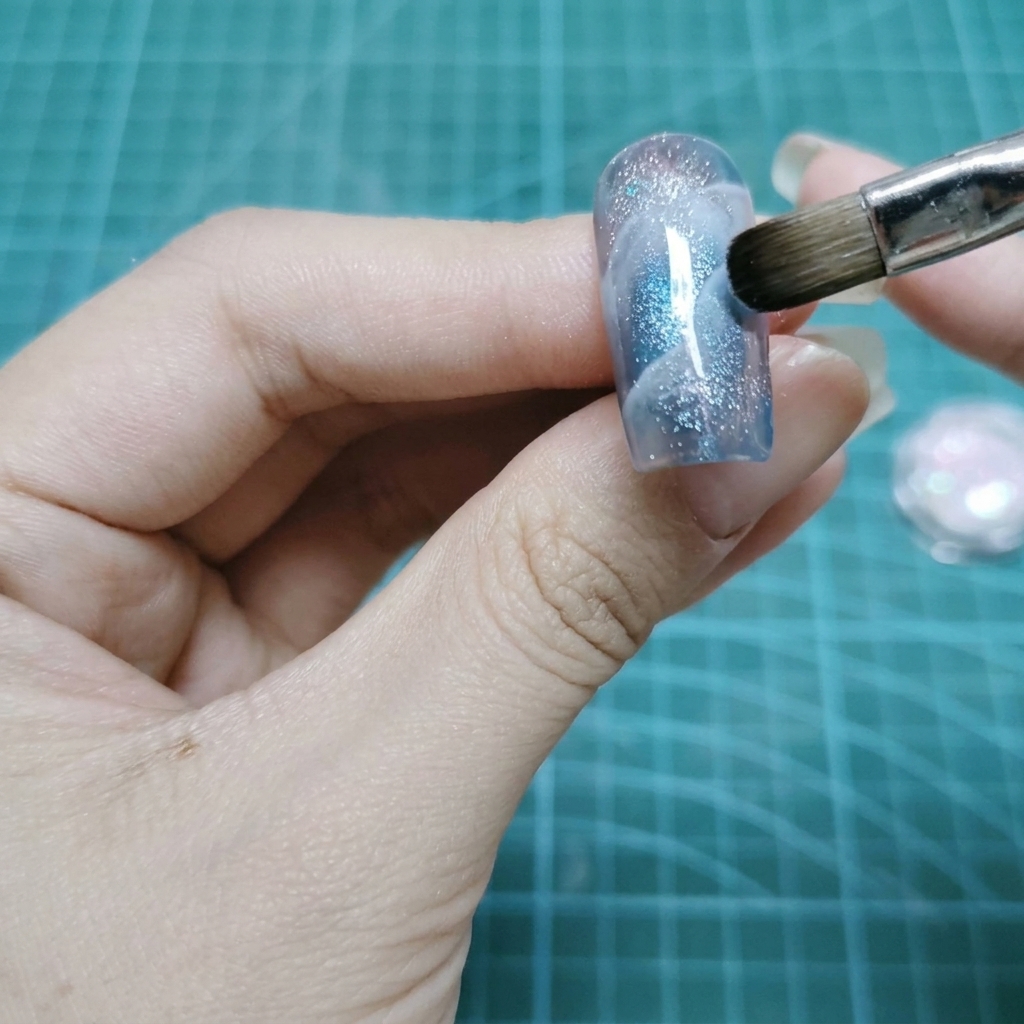
Using a flat brush, gently tap and spread chunky iridescent white glitter flakes onto the wet reinforcement gel layer. Distribute the sparkles evenly to catch the light and add a magical, starry dimension to the design.
Tip: Tap lightly rather than dragging the brush to keep the glitter flakes neatly embedded within the wet gel. - 12Review the glitter application
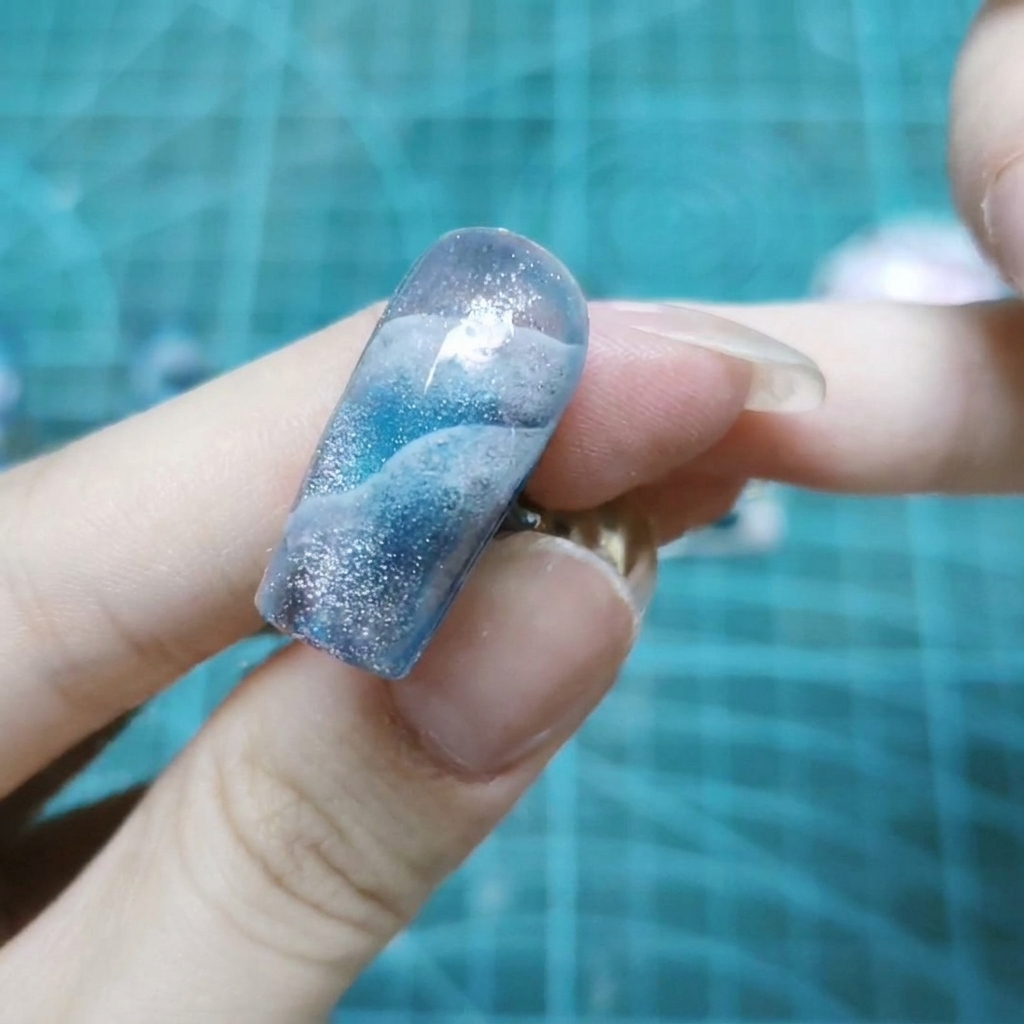
Take a close-up look at the nail to ensure the holographic glitters are evenly embedded throughout the clear gel layer before moving on to cure. Check that the sparkle density matches your desired look.
Tip: Catch the light at different angles to verify that the glitter coverage is even and well-balanced. - 13Apply rhinestone glue
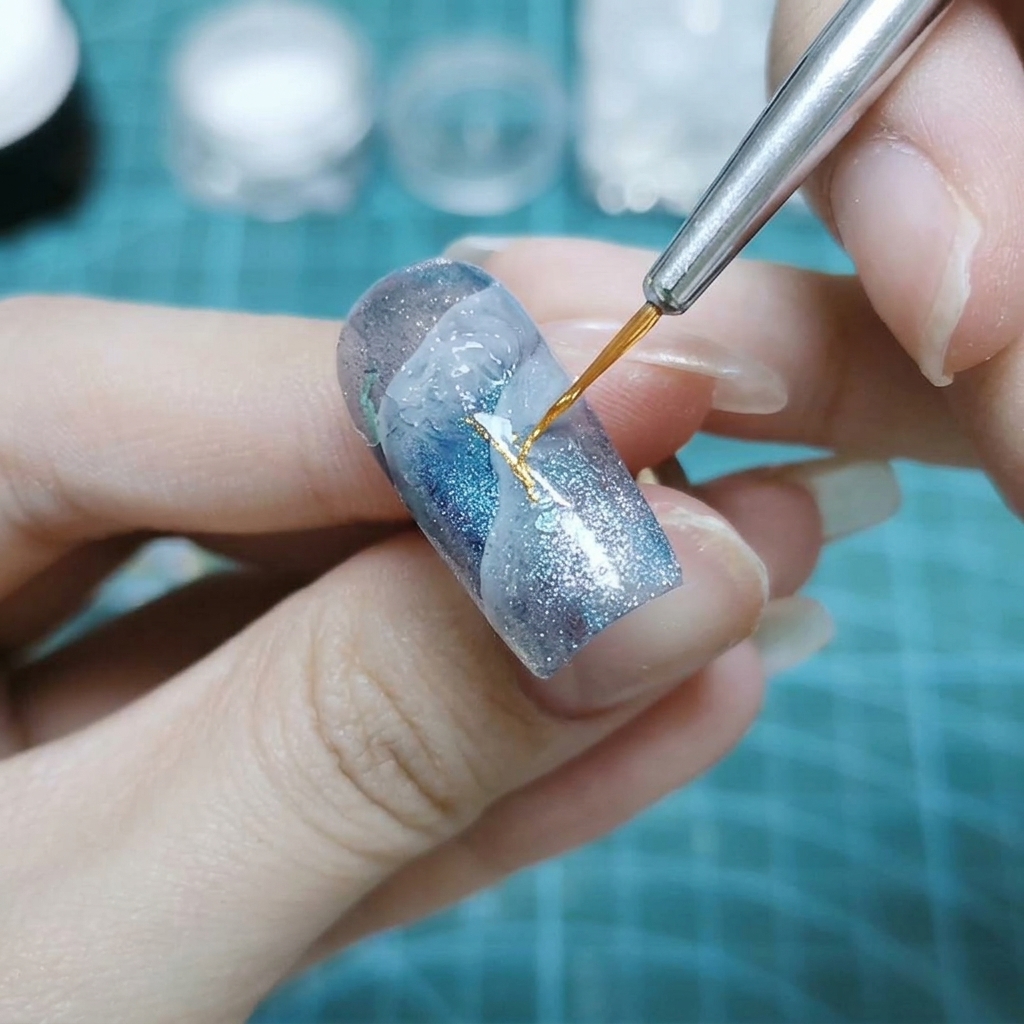
Using a fine detail brush, apply a small, localized patch of thick rhinestone adhesive gel onto the center of the nail where you plan to place your main embellishment.
Tip: Thick gel glue prevents large charms from sliding around before curing. - 14Attach the crystal charm
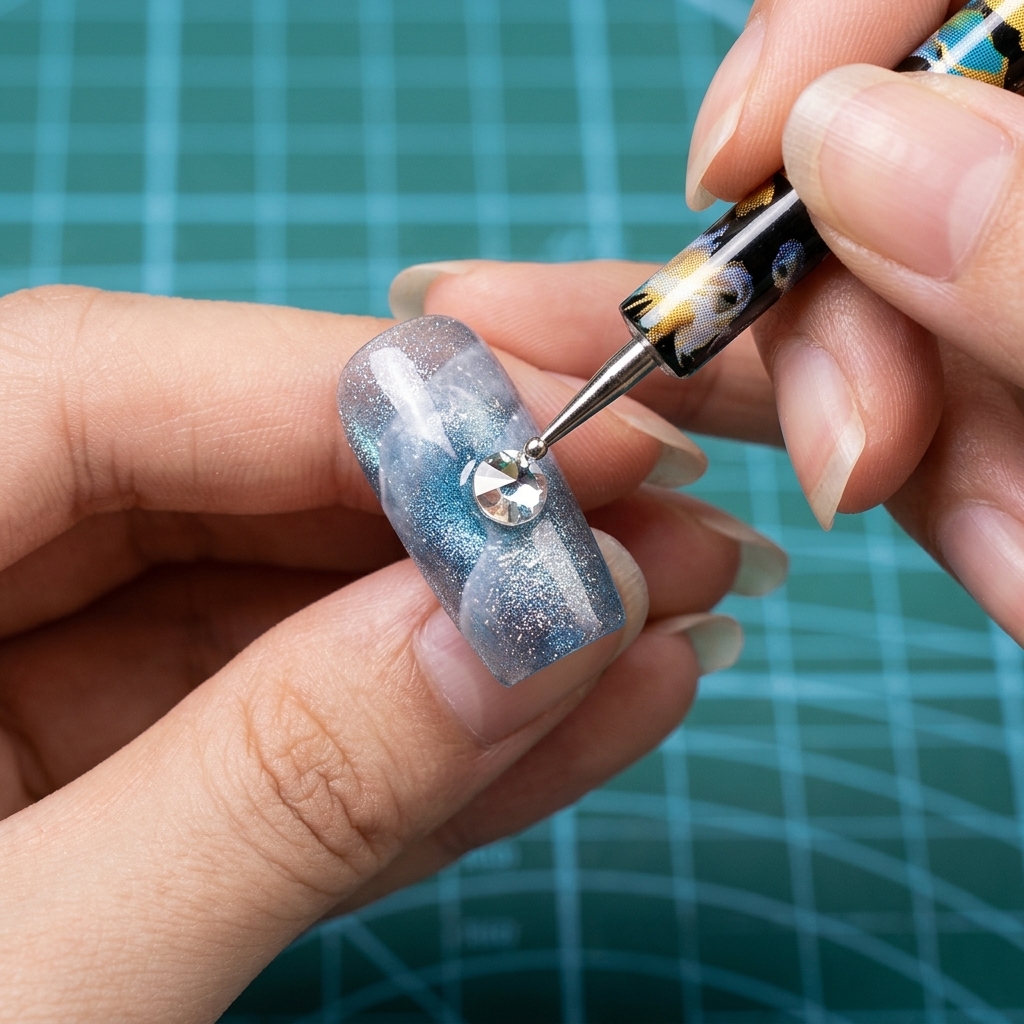
Use a wax picking pen to pick up your large custom-made 3D crystal charm and place it directly into the wet adhesive gel. Gently press it down to ensure it sits securely against the nail surface.
Tip: Adjust the placement of the charm before curing to make sure its perfectly centered. - 15Add rhinestone and microbead accents
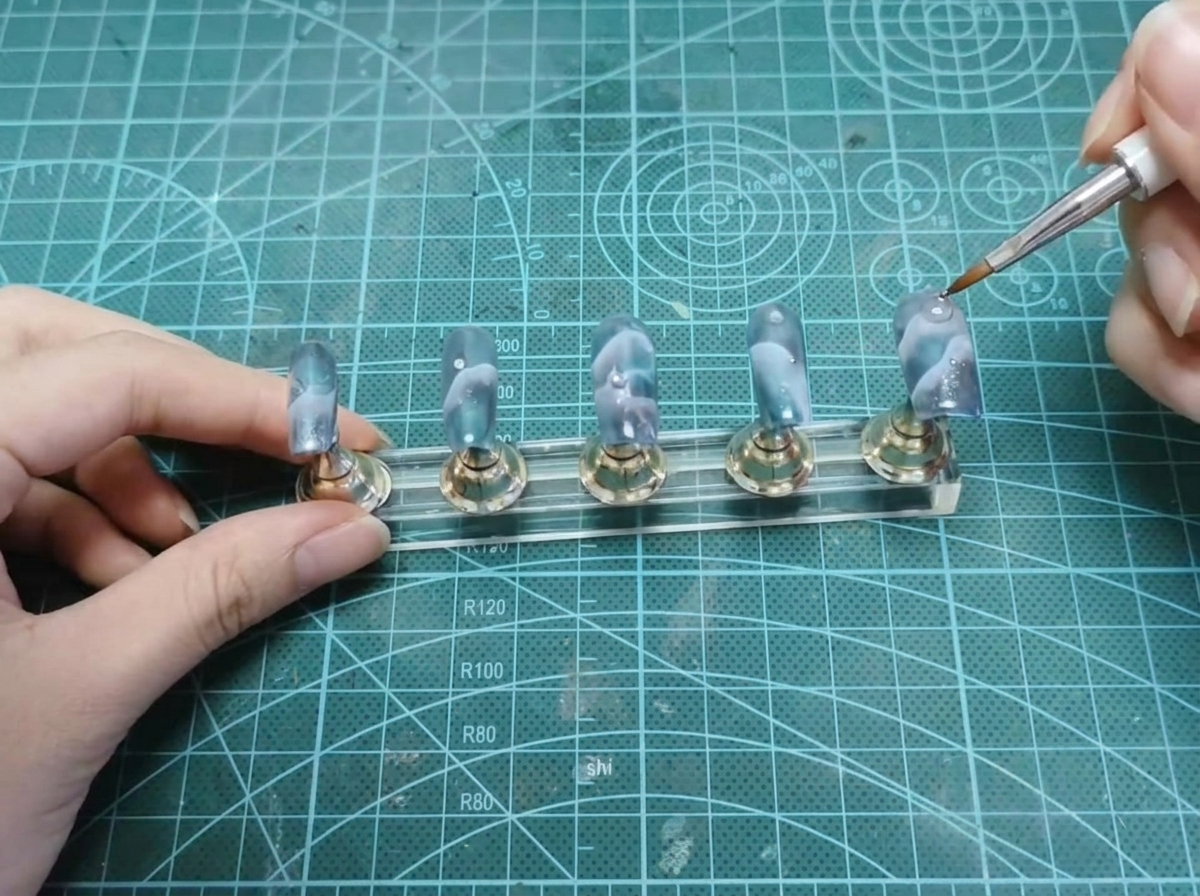
Pick up tiny silver rhinestones or metal caviar microbeads and place them carefully into the adhesive. You can place them around the main crystal charm or as standalone accents on the other fingers.
Tip: Using a dotting tool or fine brush with a tiny bit of top coat makes picking up small beads much easier. - 16Apply final top coat
Finish the look by brushing a layer of glossy top coat over the exposed parts of the nail. Use a thin brush to carefully seal around the edges of any charms or rhinestones to secure them without dulling their shine. Cure for the final time.
Tip: Never apply top coat directly over the top of faceted rhinestones, as it will ruin their sparkly facets.