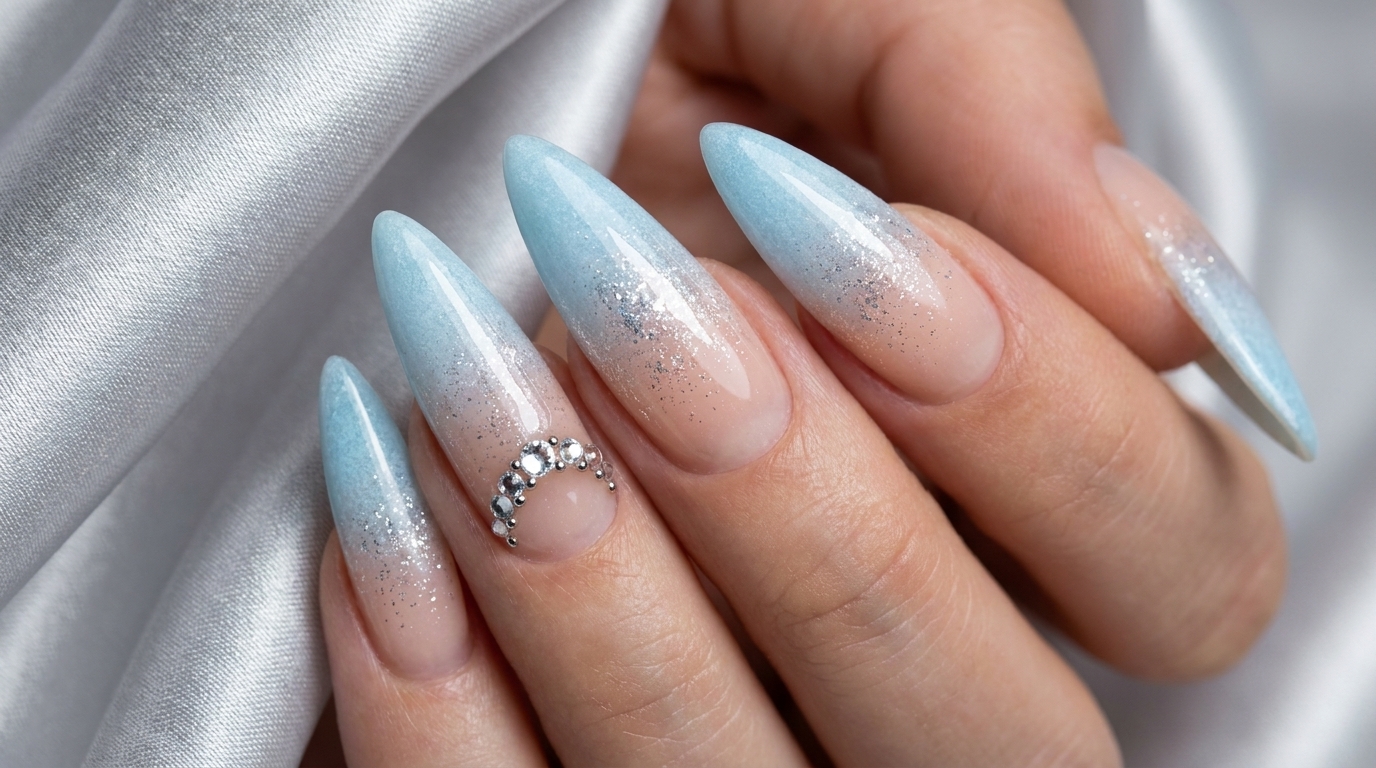
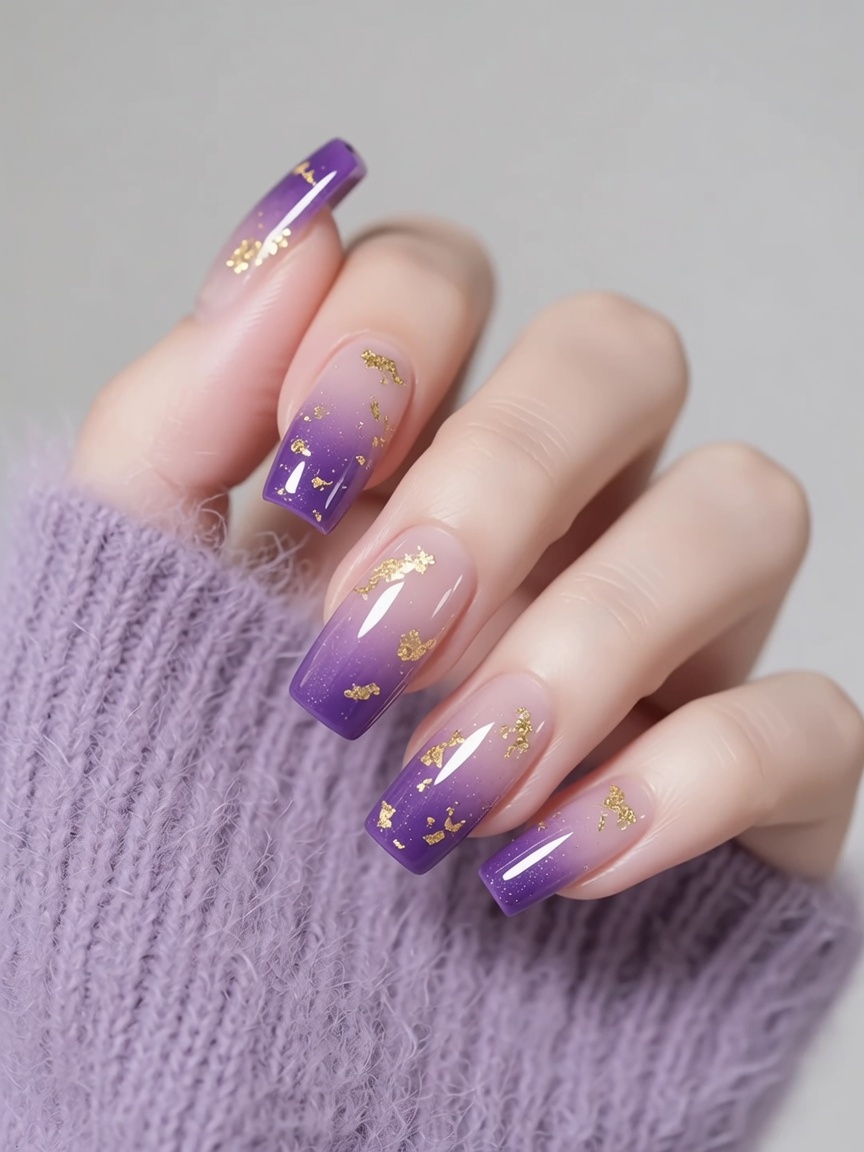
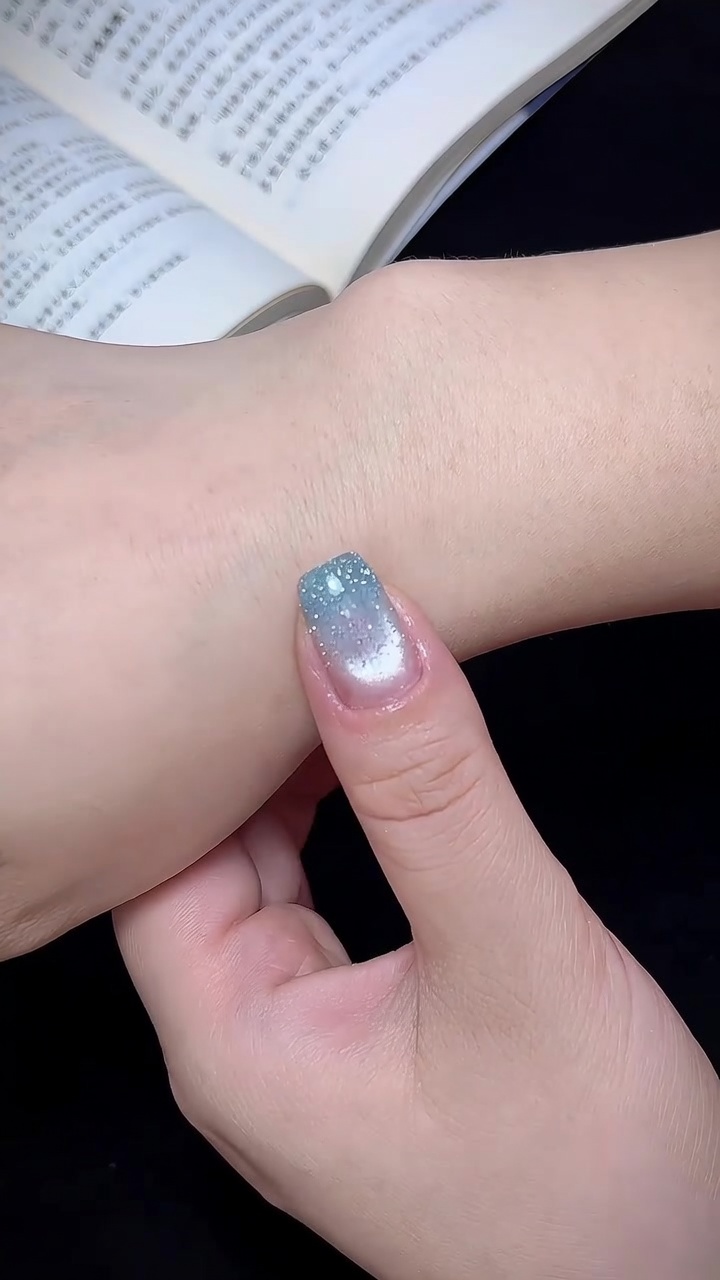
Purple Glitter Gradient Cat Eye Nails — Sophisticated Galaxy Tutorial
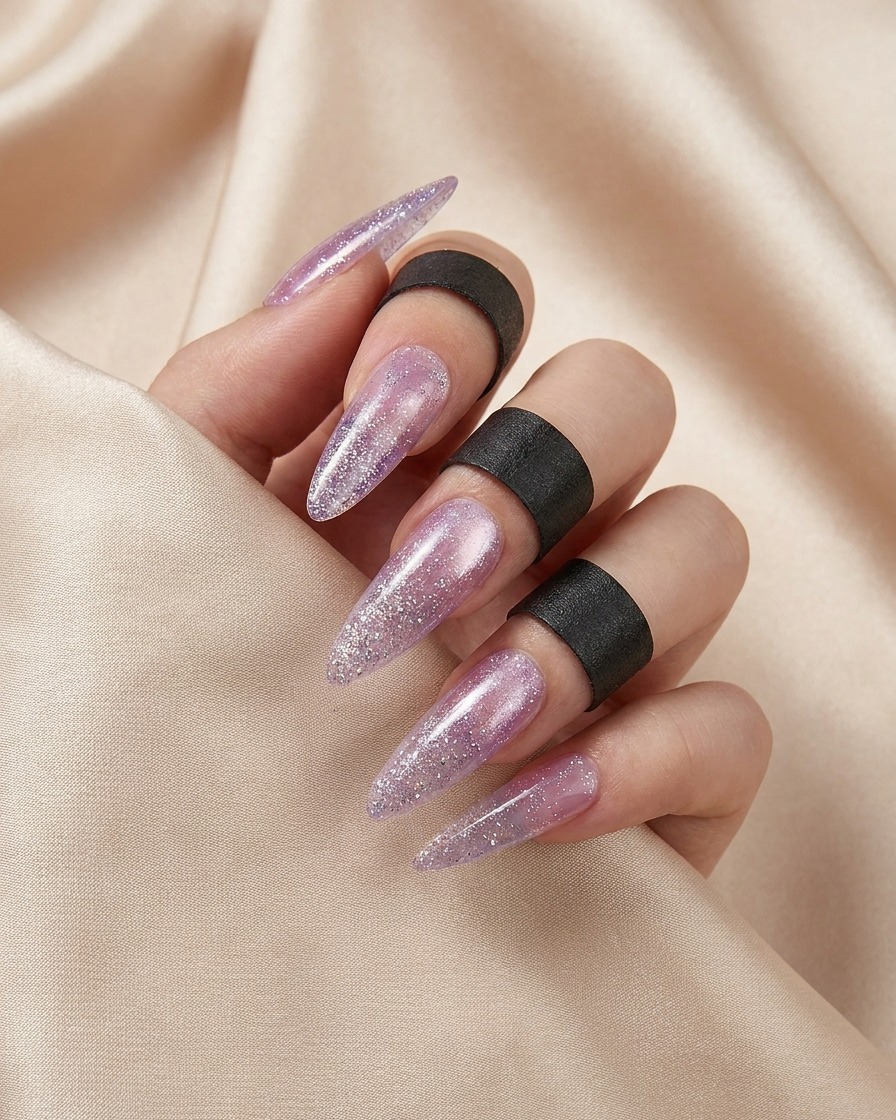
Create a mesmerizing, celestial look with this purple glitter gradient cat eye tutorial. Master the magnetic technique for a deep, galaxy-inspired finish.
Bring the mystery of the cosmos to your fingertips with this stunning galaxy-inspired manicure. By combining a deep, magnetic cat eye base with a sparkling glitter gradient, you can achieve a design that feels both dimensional and elegant. This tutorial breaks down the essential magnetic manipulation techniques needed to create that signature shimmering depth, resulting in a professional-grade look perfect for any special occasion.
Steps
- 1Apply base gel
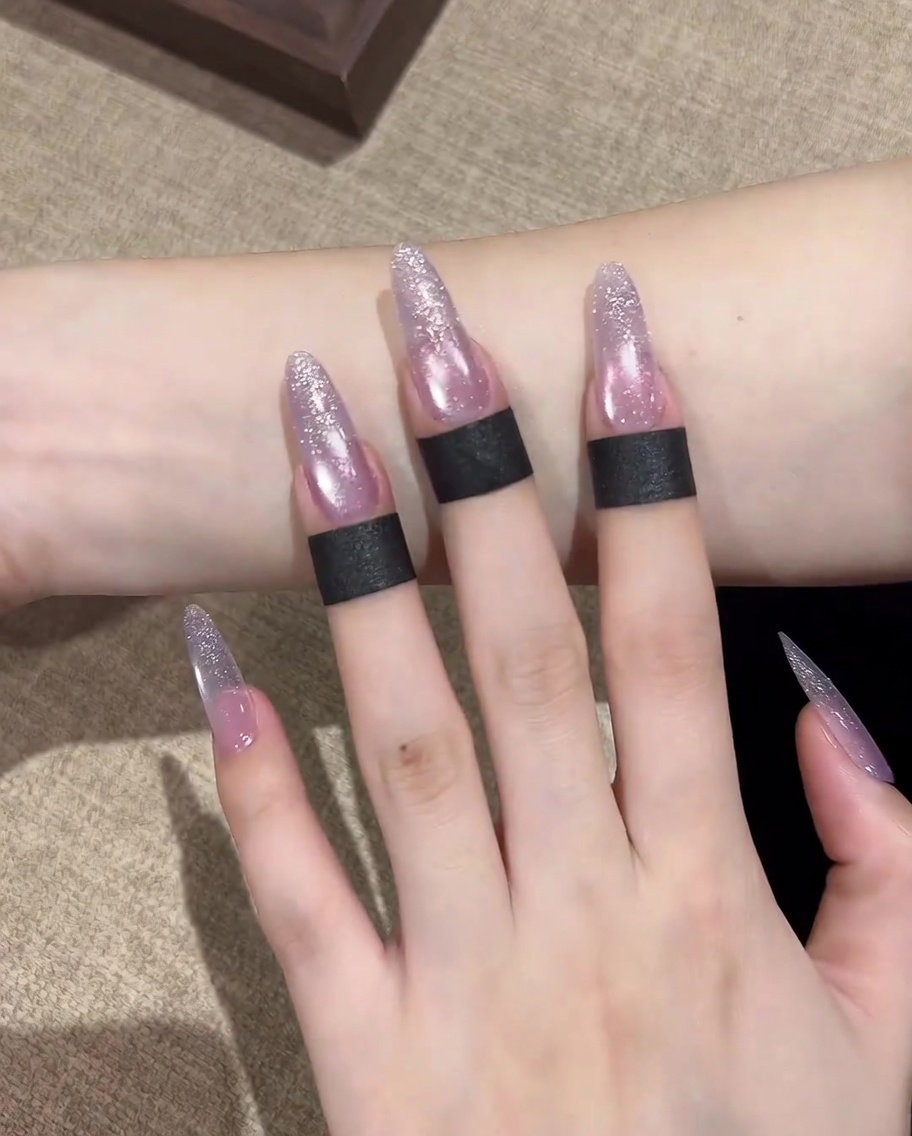
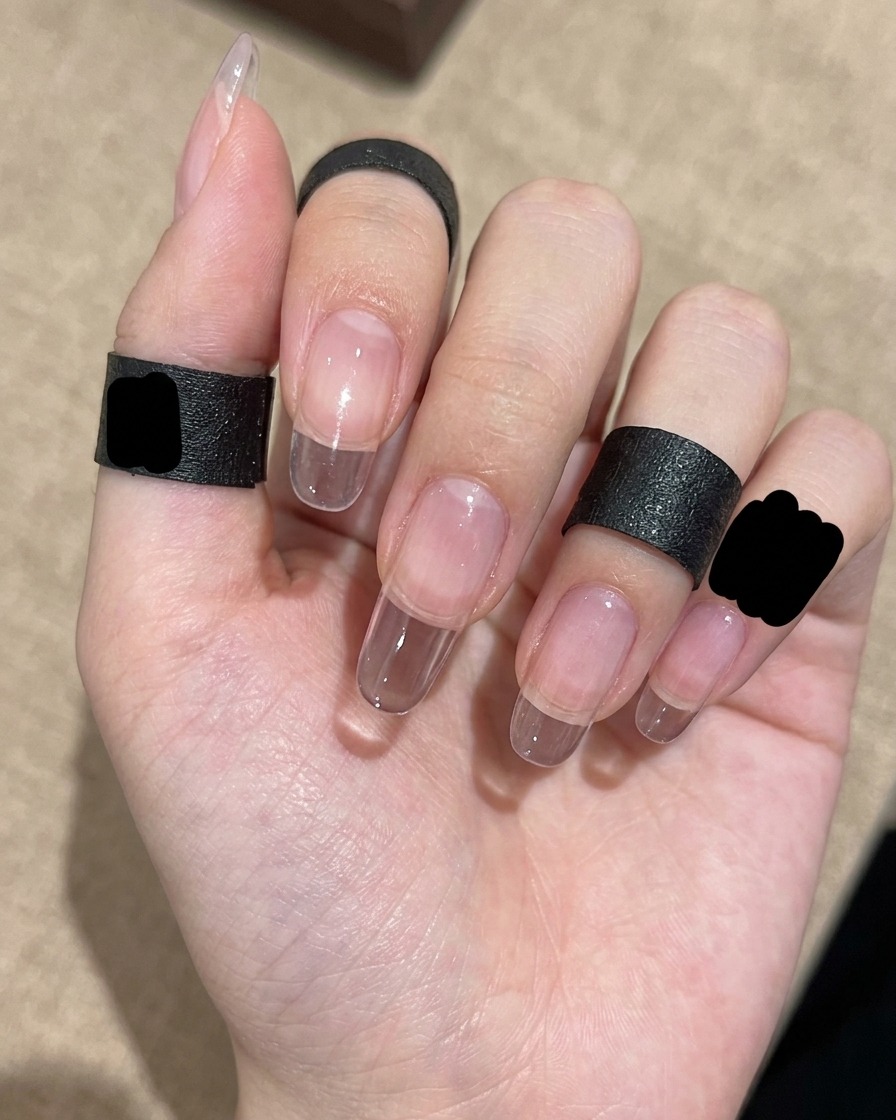
Clean and prep your nails, then apply a thin layer of base coat gel to the entire nail surface. Ensure the layer is even and cap the free edge to provide a smooth foundation for the color layers and to promote better adhesion.
Tip: Applying a thin, even layer prevents the gel from pooling around the cuticles. - 2Apply cat eye polish
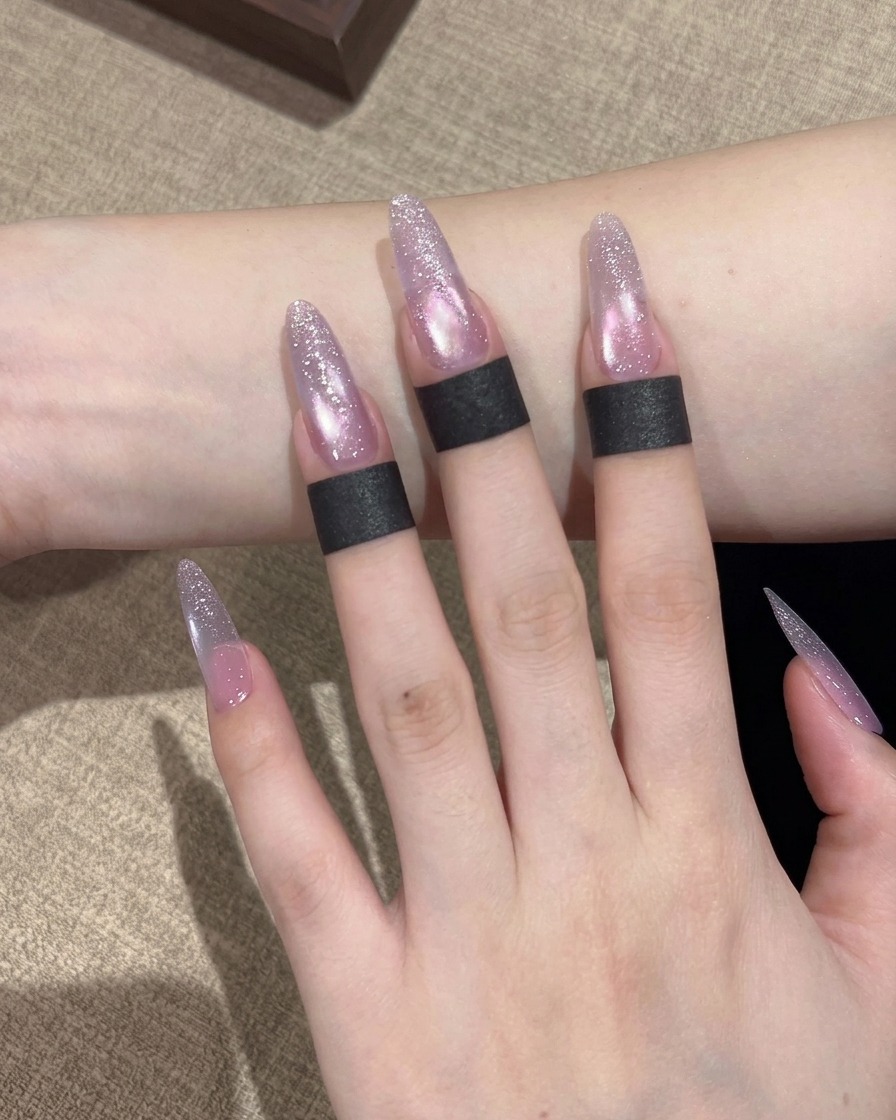
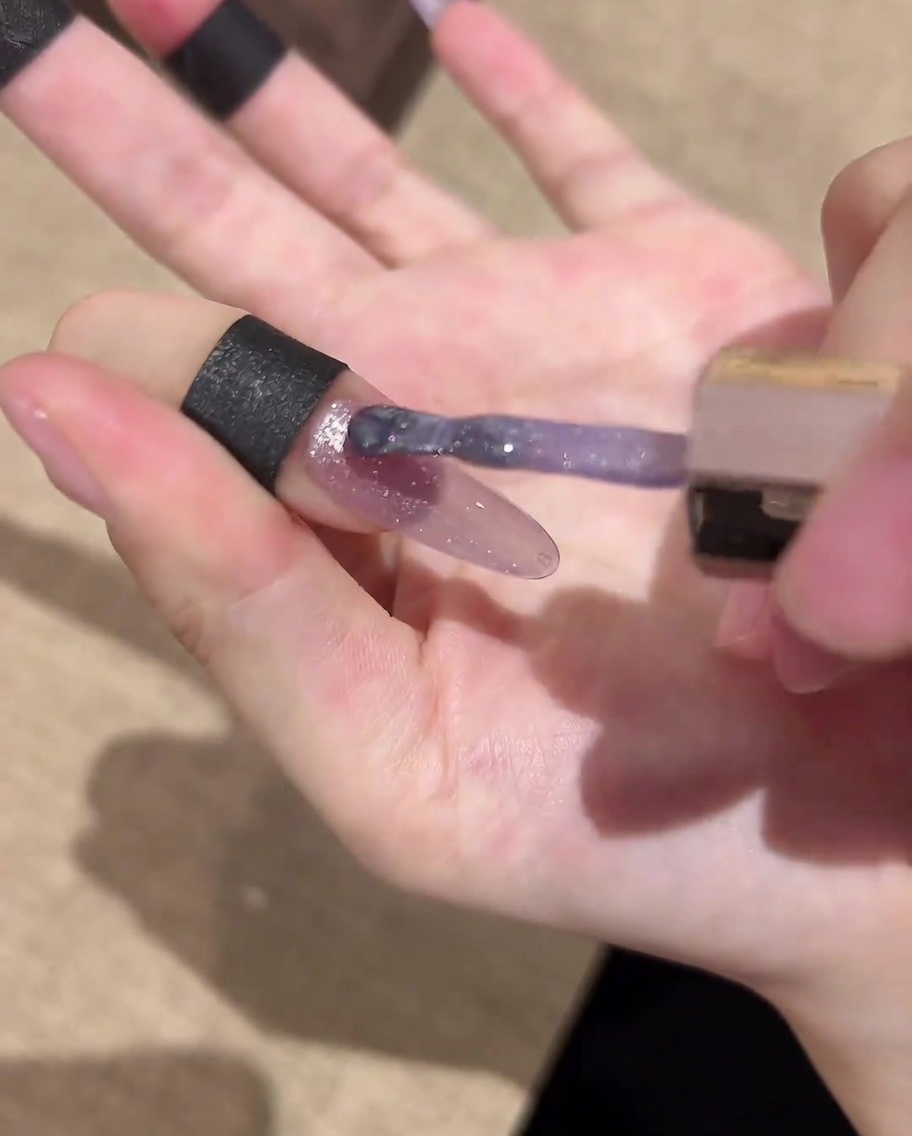
Apply a layer of the Water Spirit Cat Eye polish in shade 05 over the base coat, covering the entire nail surface. Do not cure this layer yet, as you will need the polish to remain wet to manipulate the magnetic particles.
Tip: Keep the layer uniform to ensure the magnetic effect looks consistent across the entire nail. - 3Create wide cat eye effect
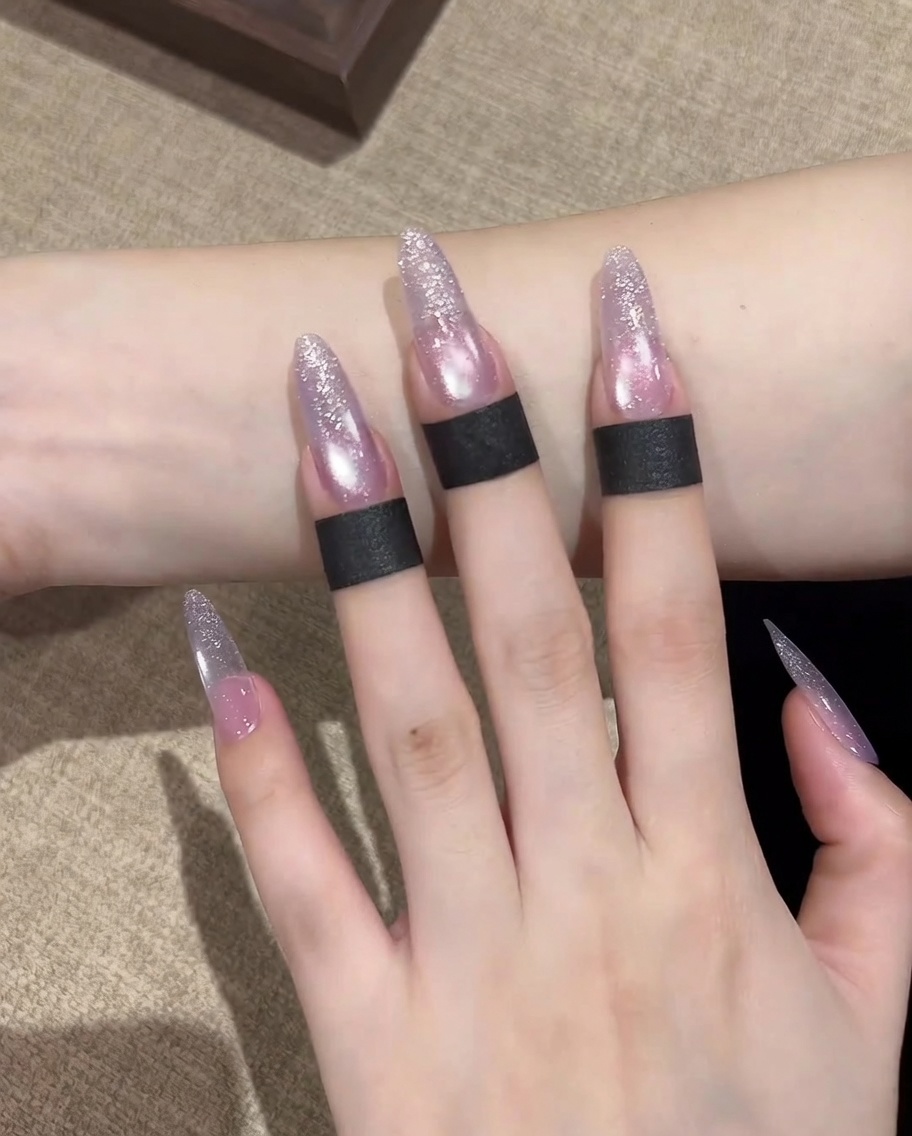
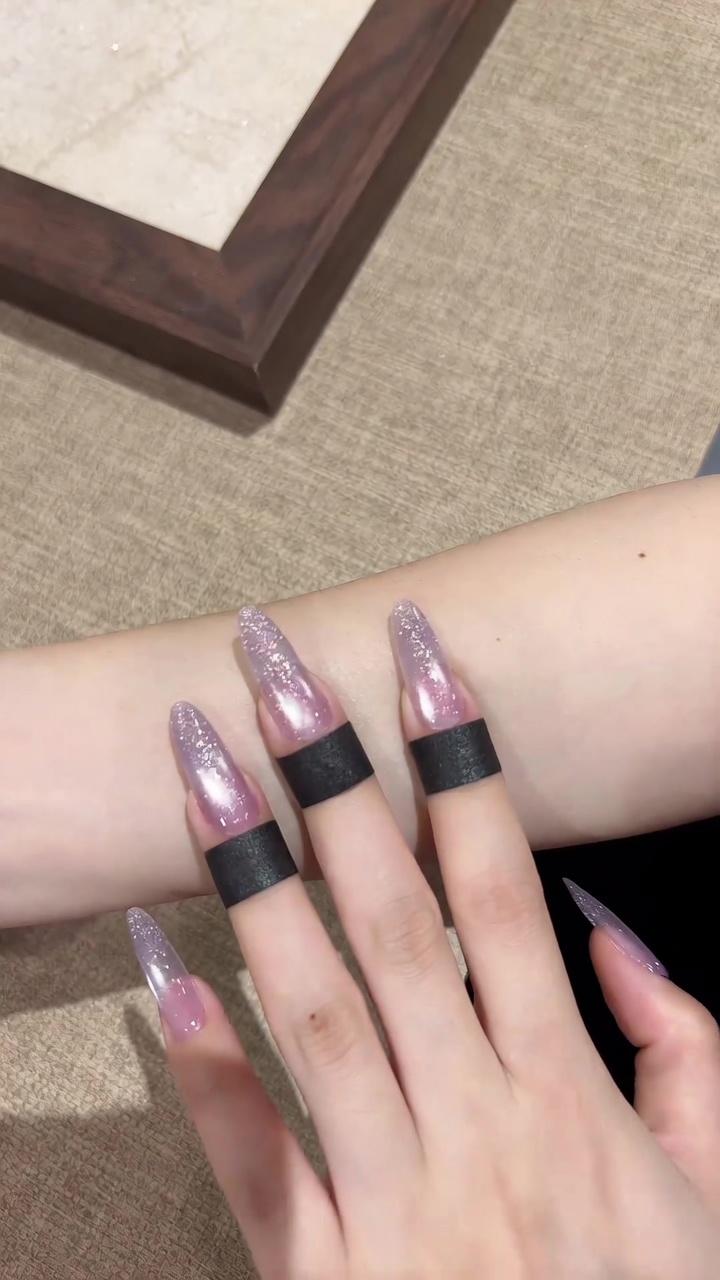
Hold the magnet parallel to the nail surface and move it slowly from the left side to the right side of the nail. This motion gathers the magnetic particles to create a broad, glowing cat eye band across the center of the nail, providing the foundation for the galaxy depth.
Tip: Keep the magnet close to the nail for the strongest effect, but be careful not to touch the wet polish. - 4Form a circular magnetic highlight
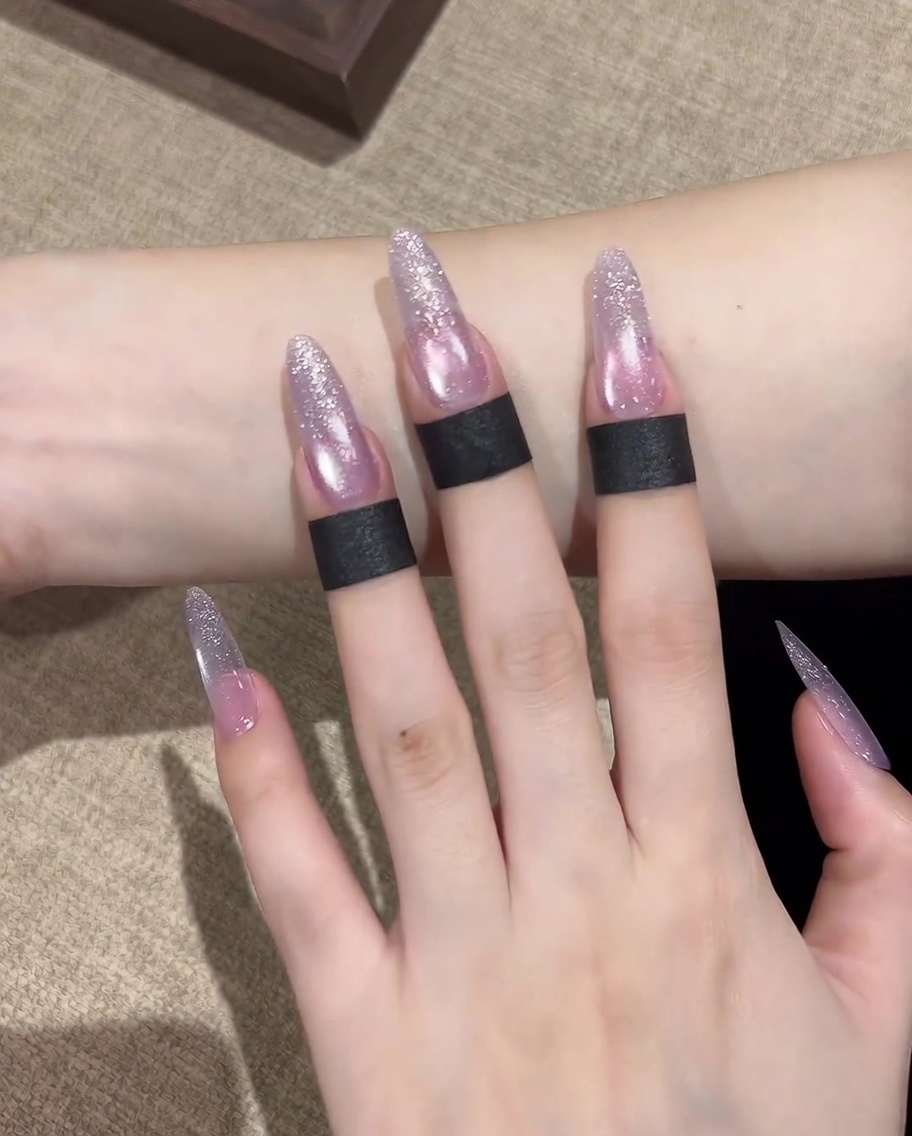
With the cat eye polish still wet, adjust the magnet to focus the particles into a defined circular shape in the center of the nail. Take your time with slow, steady movements to gather the shimmer into a crisp orb before immediately proceeding to cure.
Tip: Small, steady movements with the magnet will help you refine the circular shape precisely. - 5Cure the polish
Place your hand into the UV or LED lamp to cure the polish. Ensure all fingers are positioned correctly to allow for even curing of the cat eye effect you just created.
Tip: Curing locks the magnetic particles in place, ensuring the design doesnt shift before it sets. - 6Apply gradient tip
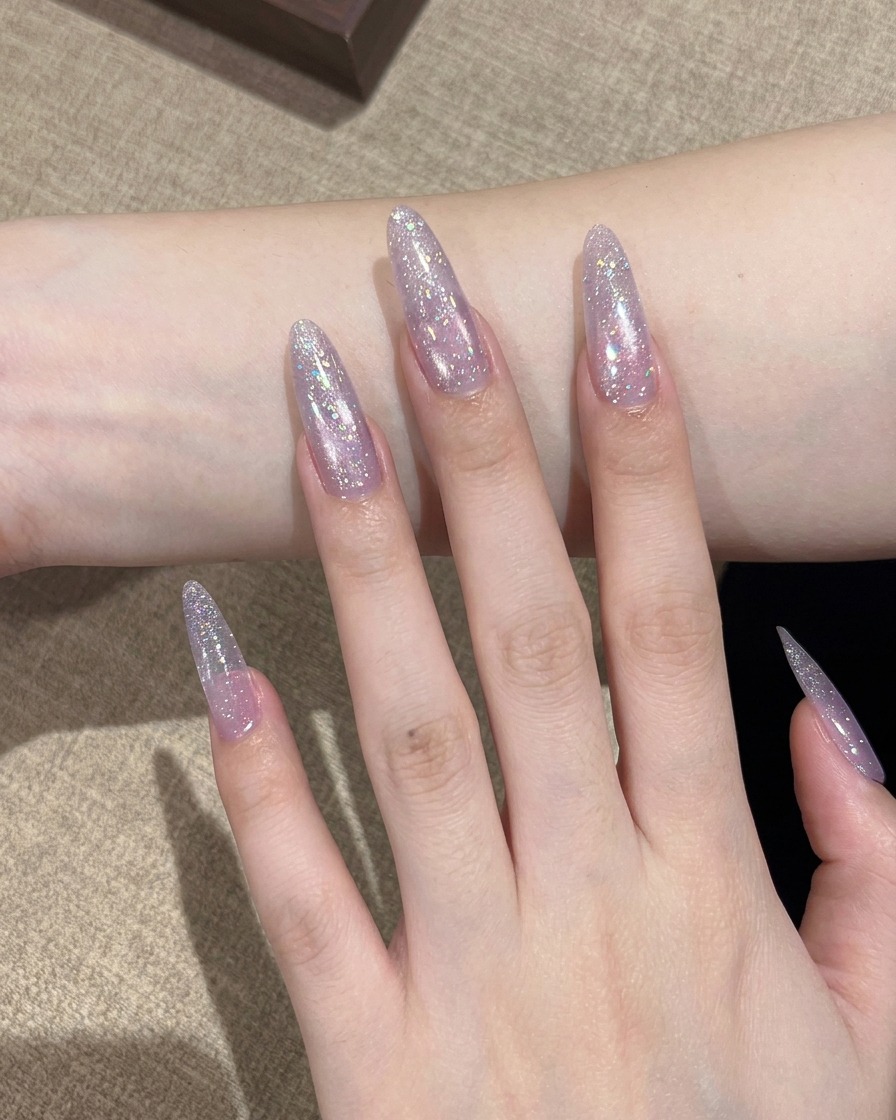
Using a detail brush, apply the Star River polish in shade 01 specifically to the tips of the nails. This creates a beautiful gradient effect that transitions from the purple cat eye base at the cuticle to the sparkly, star-like finish at the tips.
Tip: Use a light tapping motion with the brush to blend the sparkles smoothly into the base color. - 7Blend the glitter gradient
Using a dedicated gradient brush, gently blend the Star River glitter applied at the tips toward the center of the nail. Use light, tapping motions to feather the glitter into the base, ensuring a smooth transition that does not disturb the underlying cat-eye pattern.
Tip: Work with a very light touch to keep the gradient soft and to avoid moving too much product away from the tip. - 8Seal with top coat
Apply a generous, even layer of clear gel top coat over the entire nail surface. Ensure you cap the free edge to protect the design from chipping. Cure under the lamp for the full recommended duration to achieve a high-gloss, durable finish that locks in the galaxy cat-eye effect.
Tip: Check for any uneven spots or bubbles before curing to ensure a perfectly smooth and shiny result.