Purple Gradient Gel Nails
Gold Foil Accents: A Step-by-Step Guide
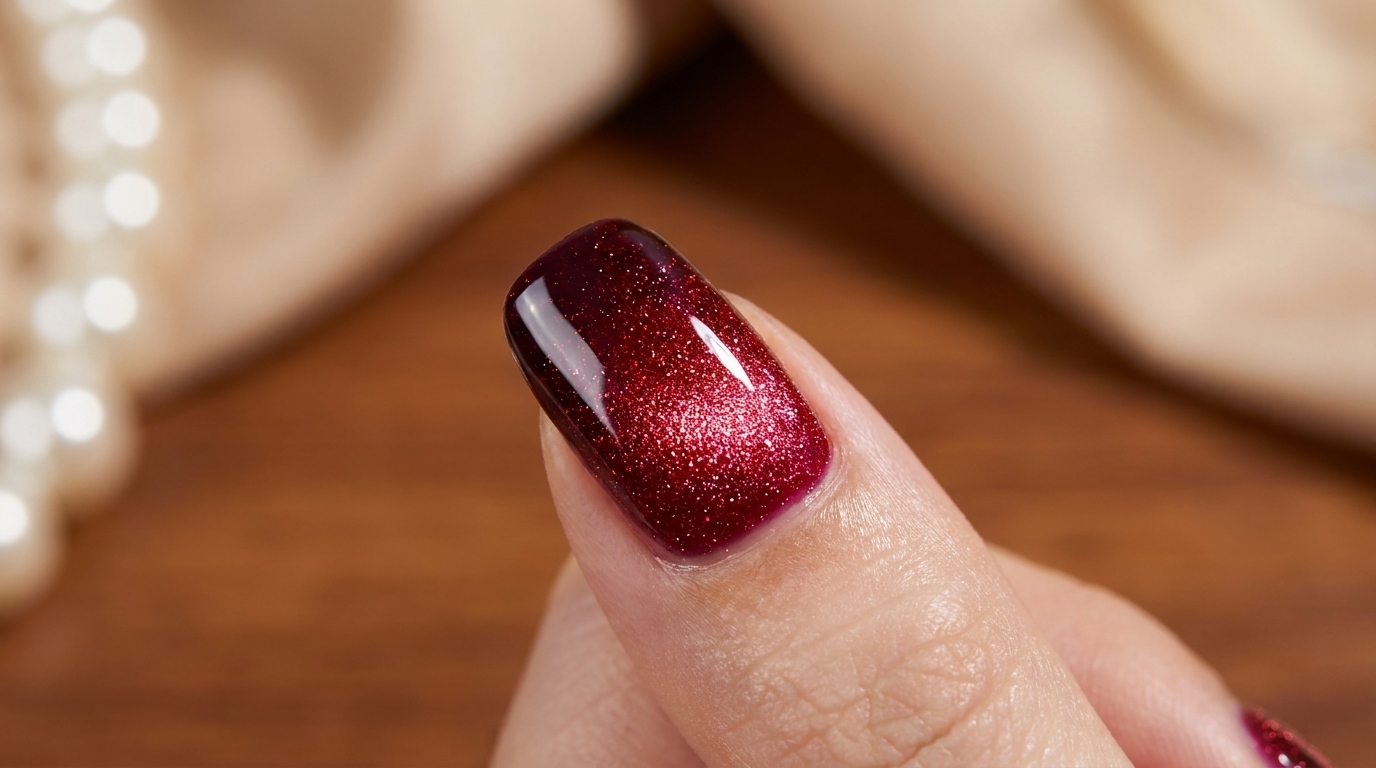
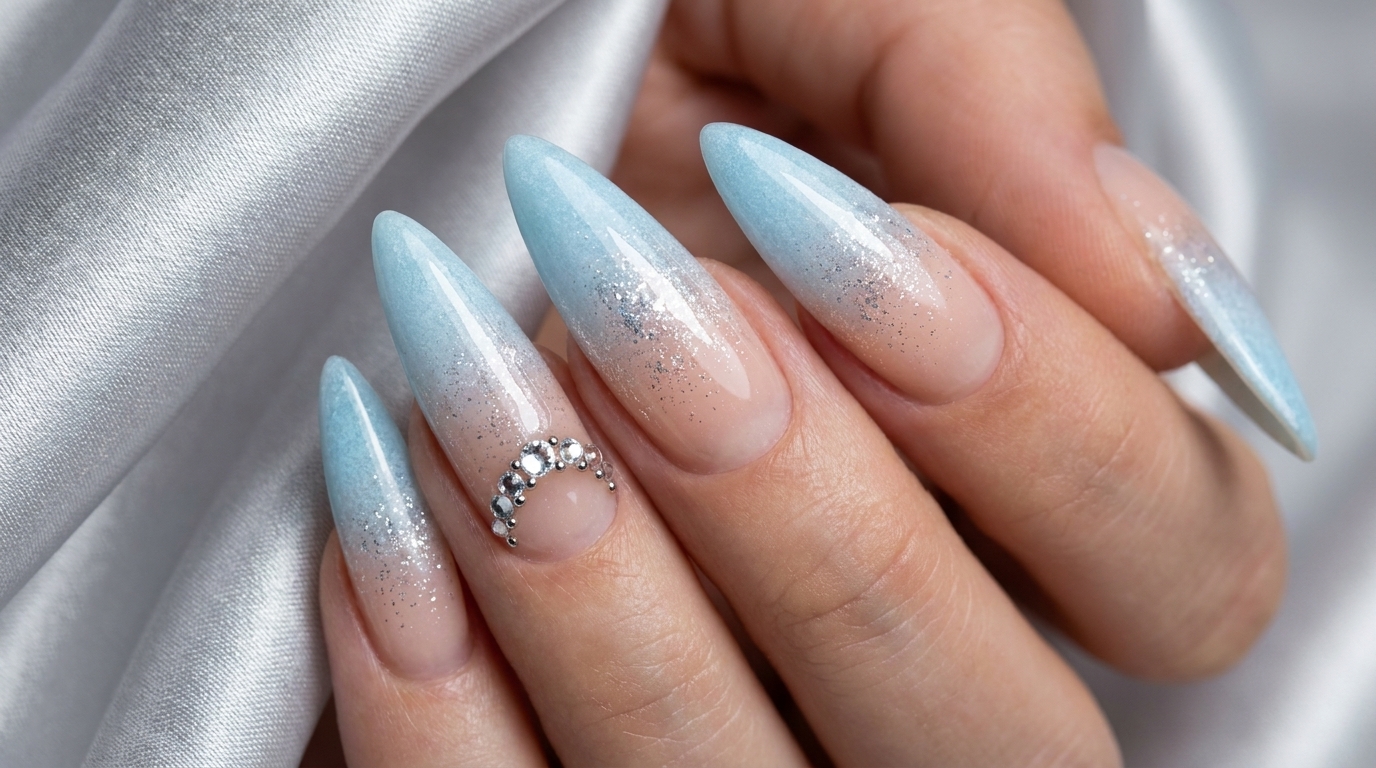
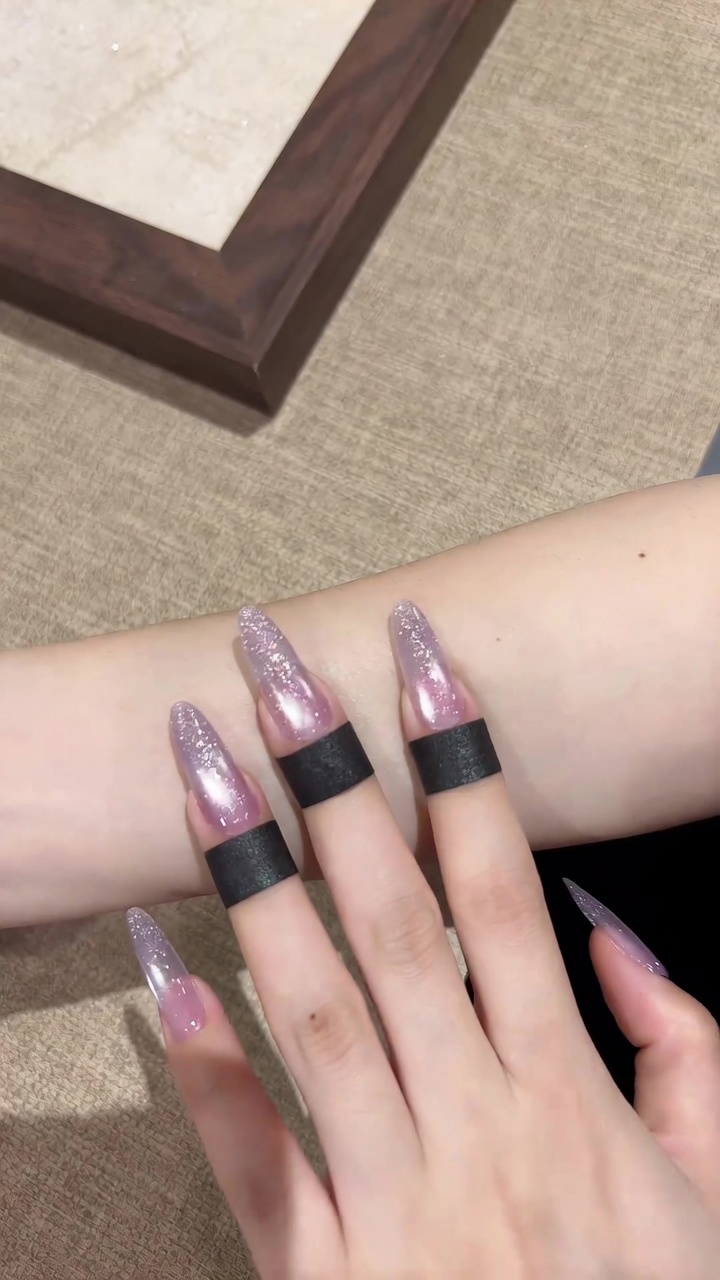
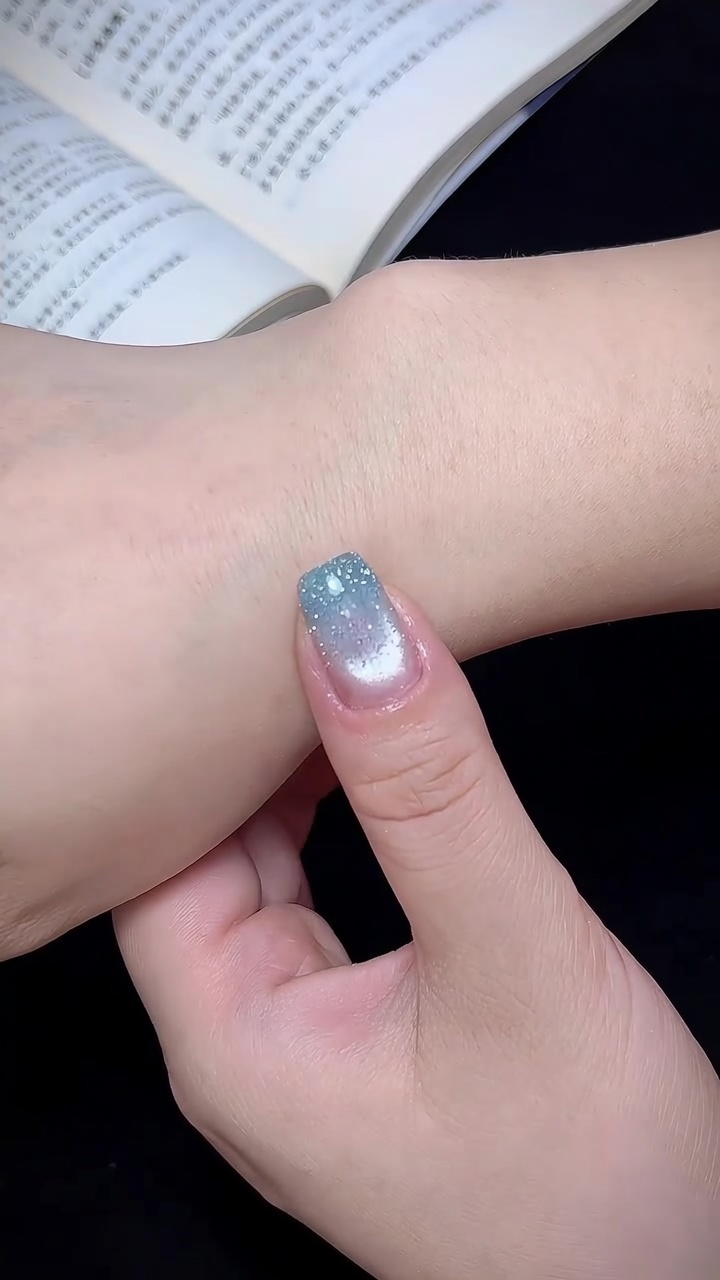
Elevate your manicure with this dreamy purple gradient look. Featuring delicate gold foil flakes, this style blends romantic elegance with modern luxury.
Who can resist these gentle purple nails? They perfectly blend romance and elegance for a look that is both low-key and luxurious. The soft gradient transition combined with gold foil sparkles is incredibly flattering for warm skin tones, helping your hands look brighter and more sophisticated. Whether you are prepping for a busy work week or a special date night, these nails offer a versatile finish that will instantly lift your mood.
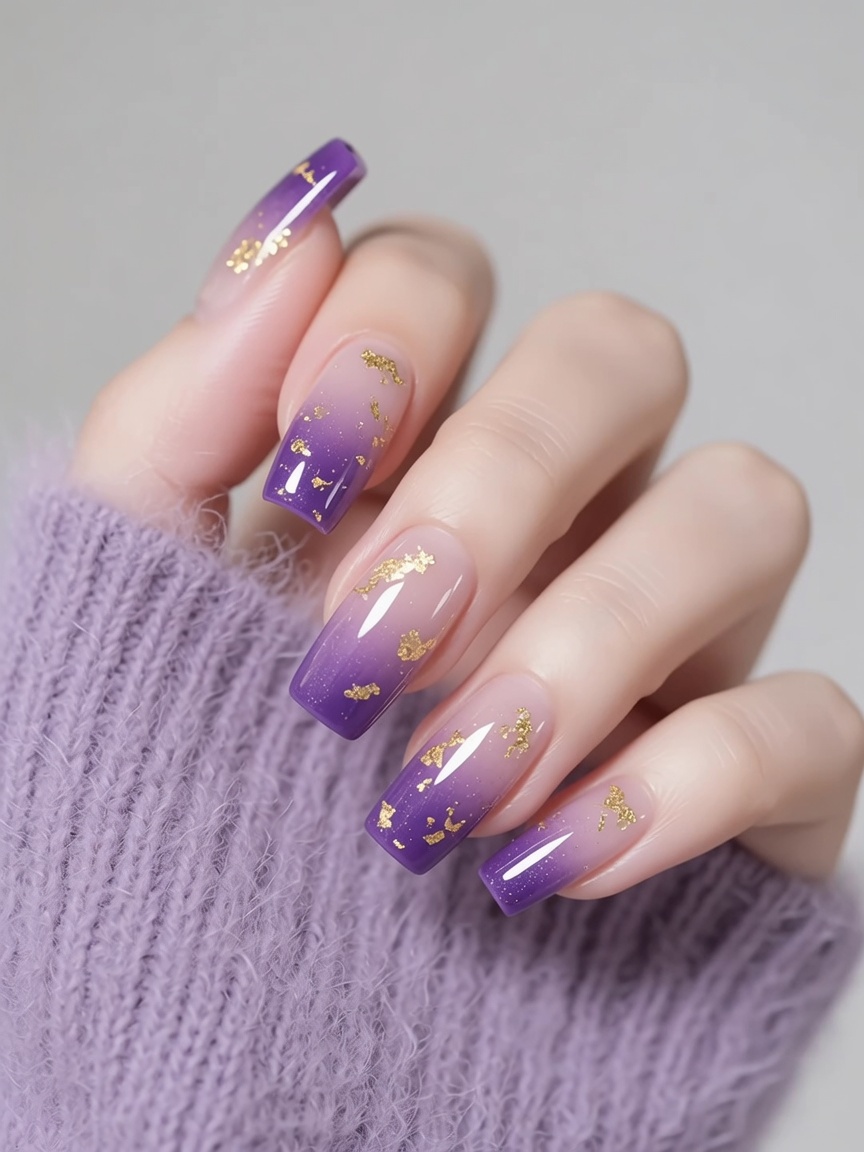
Steps
- 1Apply base coat

Apply a thin, even layer of gel base coat to your clean, prepped nails. Ensure you cap the free edge to enhance durability. Cure under a UV/LED lamp according to your gel polish manufacturers instructions.
Tip: Keep the layer thin to prevent the gel from pooling around your cuticles. - 2Cure the base coat
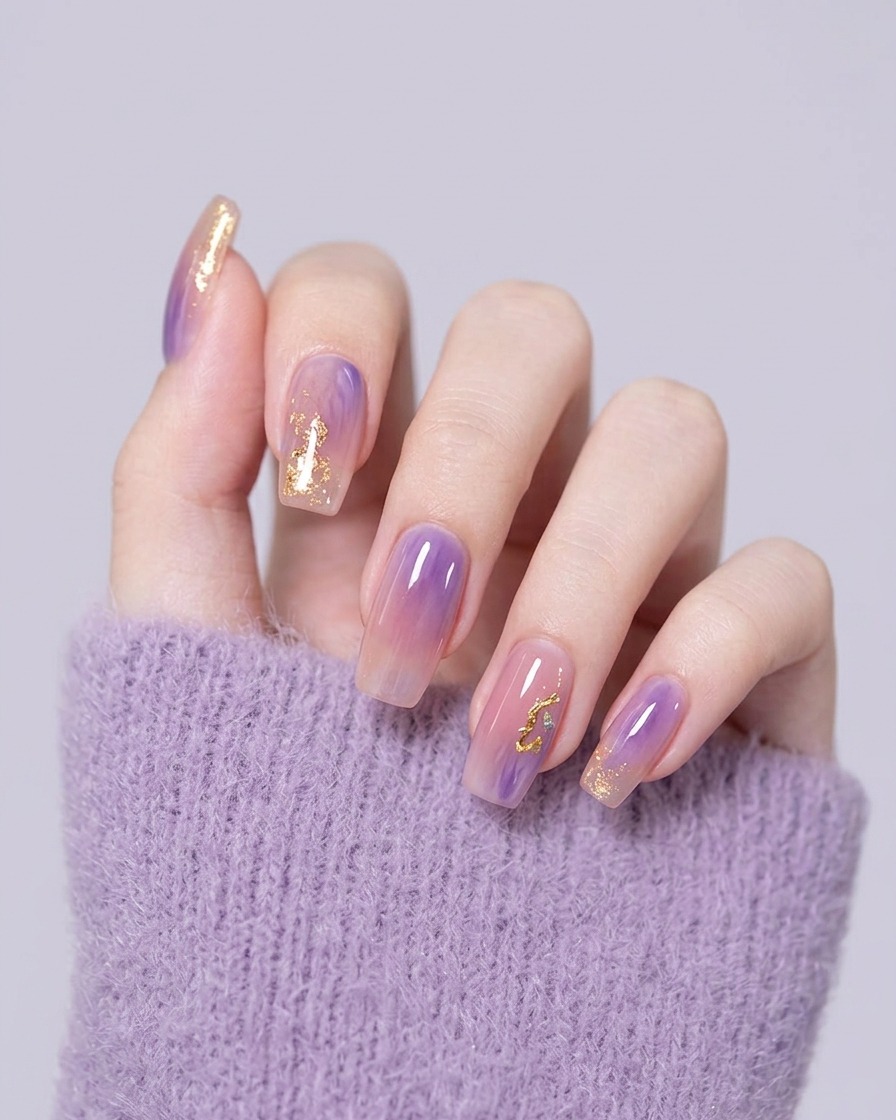
Place your hand inside the UV/LED lamp. Cure for the full recommended duration to ensure the base layer is completely set and ready for color application.
Tip: Ensure your fingers are spread flat inside the lamp for even light distribution. - 3Apply first color coat
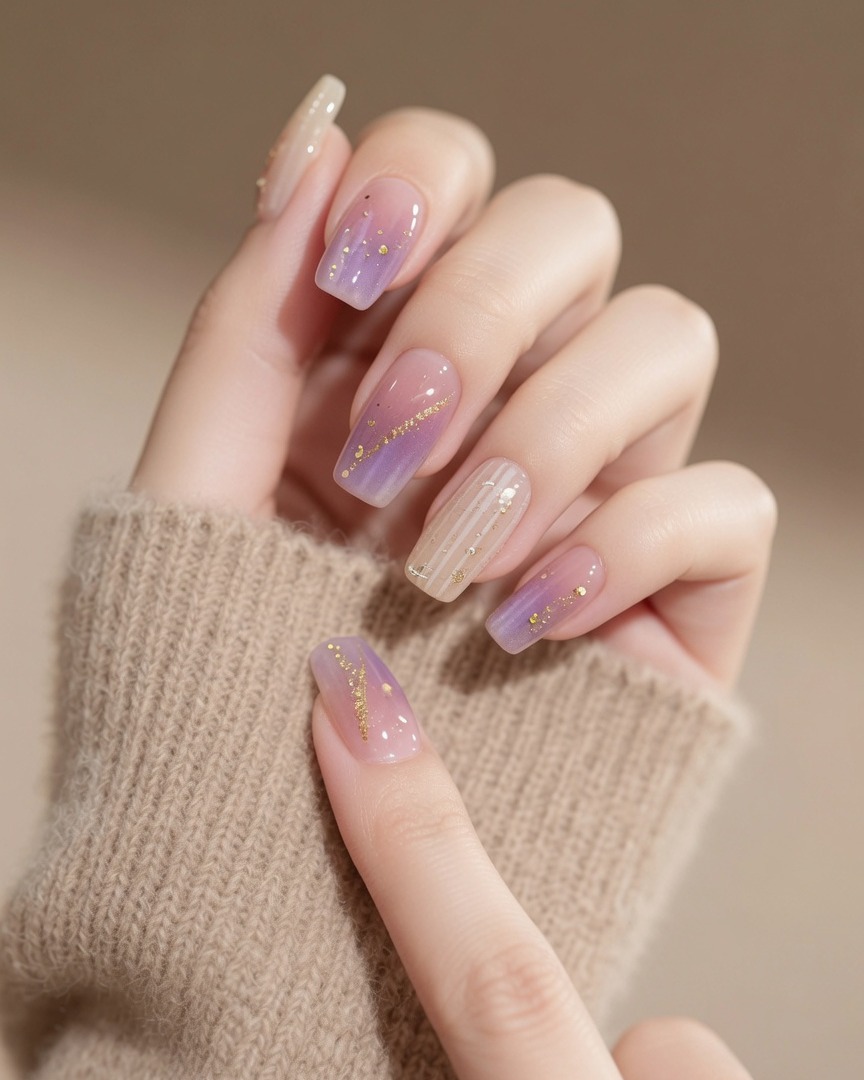
Apply a thin first coat of your light pink-purple gel polish. Work carefully near the cuticle and side walls to maintain a clean edge. You do not need full opacity on this first pass.
Tip: Thin coats are key to a smooth, long-lasting manicure and prevent bubbling. - 4Apply second color coat
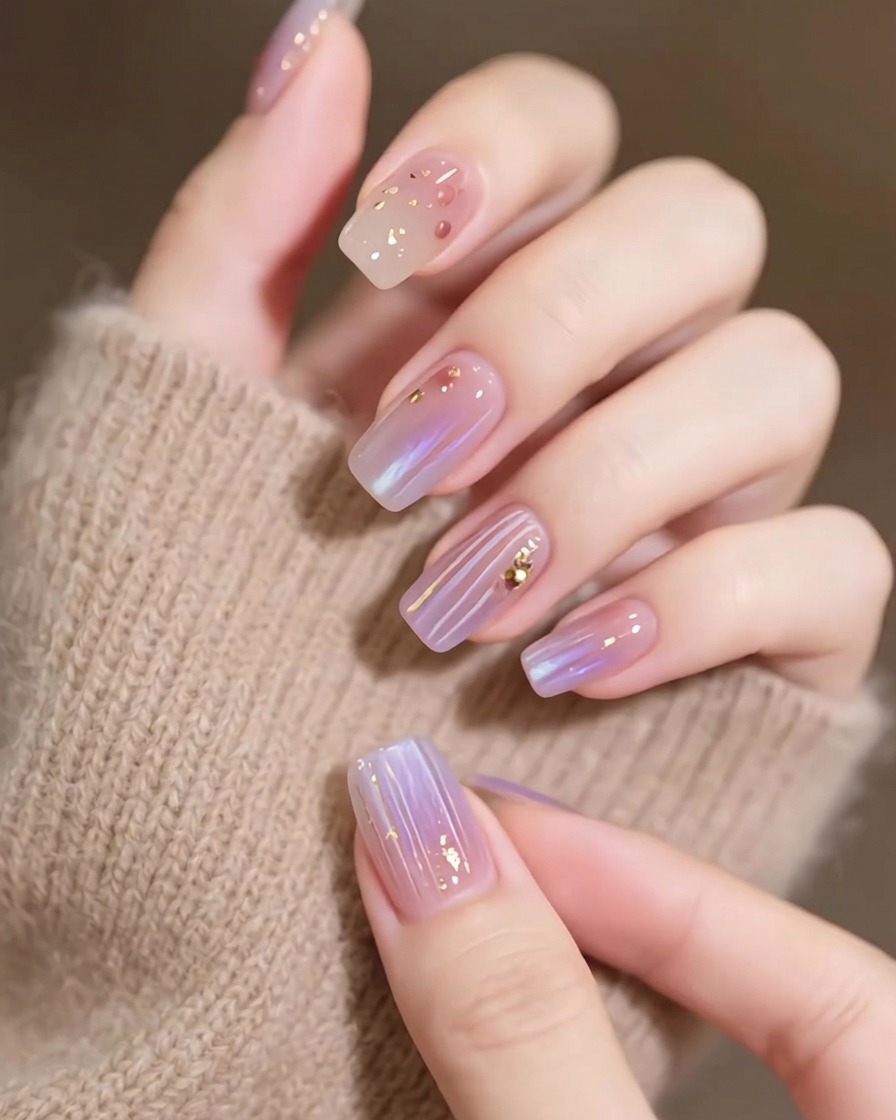
Apply a second, slightly more generous coat of the purple gel polish. This will build up the color and ensure a rich, opaque finish across the nail plate.
Tip: If the color pools, use a clean brush to gently guide the gel away from the cuticles before curing. - 5Create the gradient
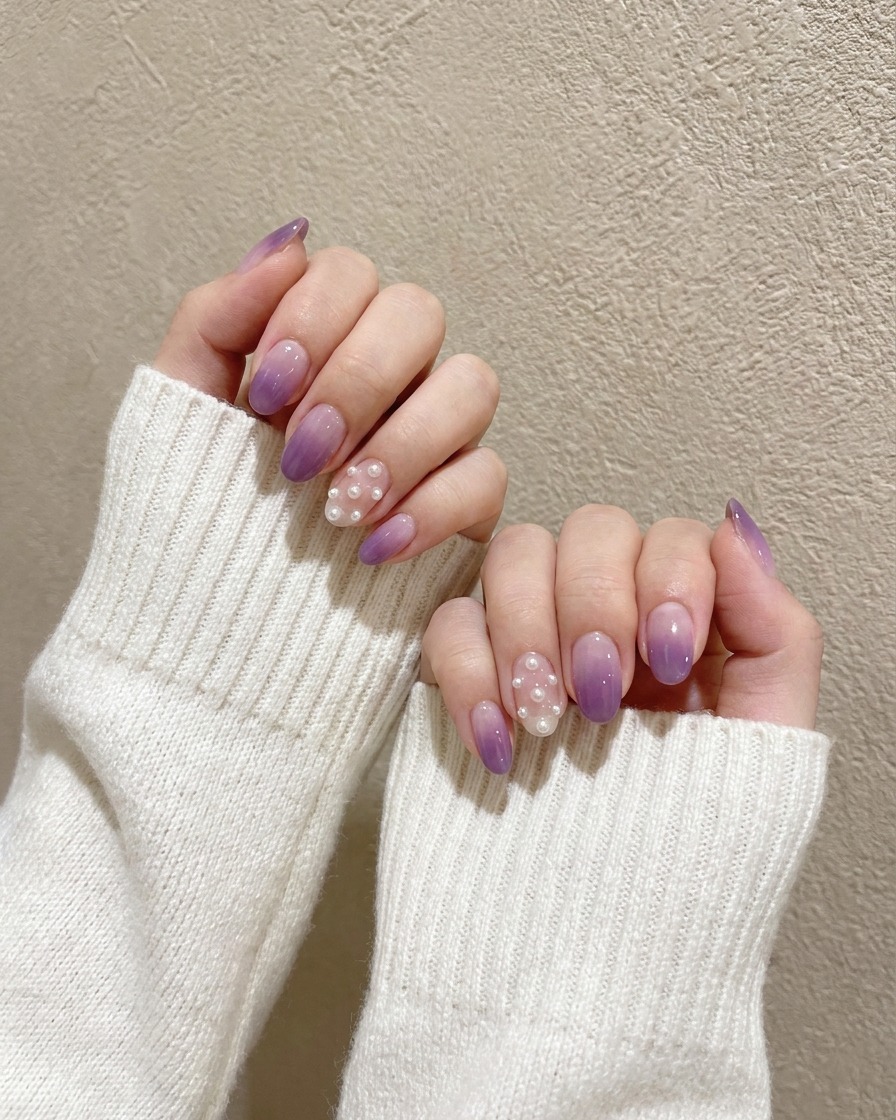
Using a darker shade of purple, carefully dab the gel onto the tips of the nails. Focus the product on the free edge, fading it slightly toward the middle of the nail to begin the ombre effect.
Tip: Dabbing rather than brushing helps build the pigment concentration at the tip for a more defined gradient. - 6Blend the ombre
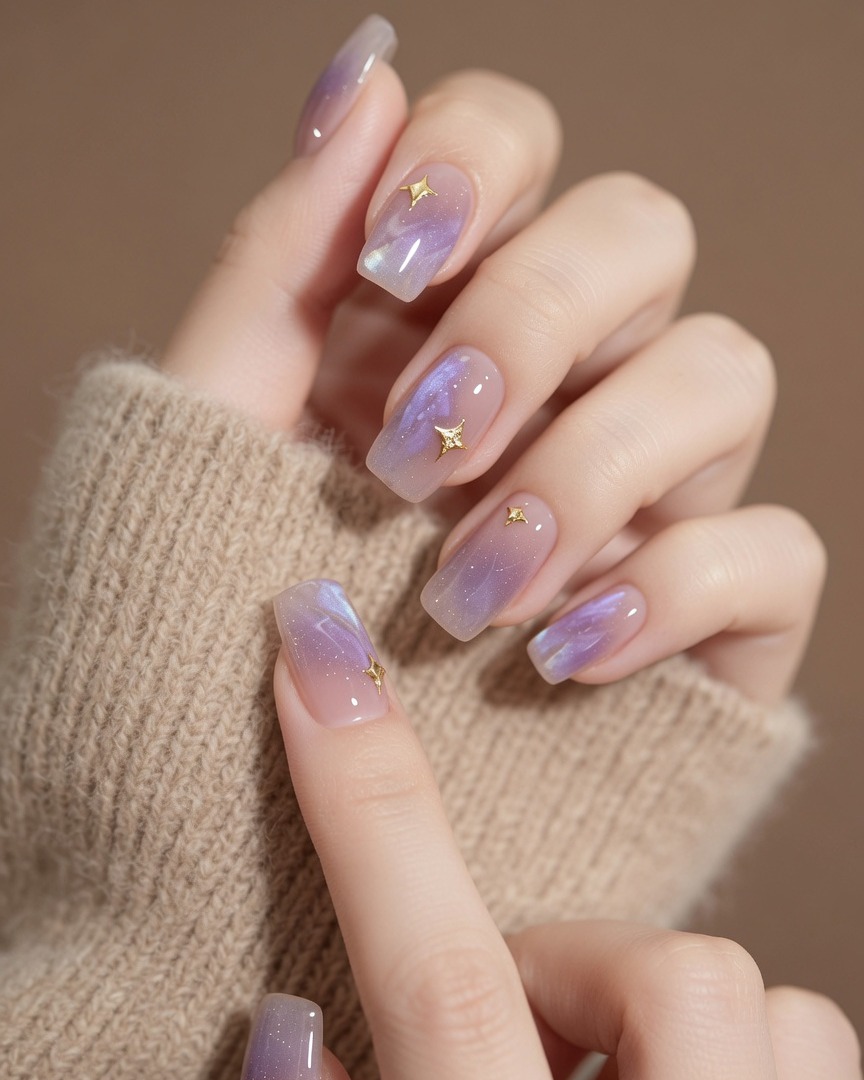
Using a soft, clean blending brush, gently sweep over the area where the two purple shades meet. Use light, fluttering motions to blur the boundary line until the transition between the dark tip and light base is completely seamless.
Tip: Wipe your blending brush on a lint-free pad frequently to avoid dragging too much color back up the nail. - 7Apply gold foil flakes
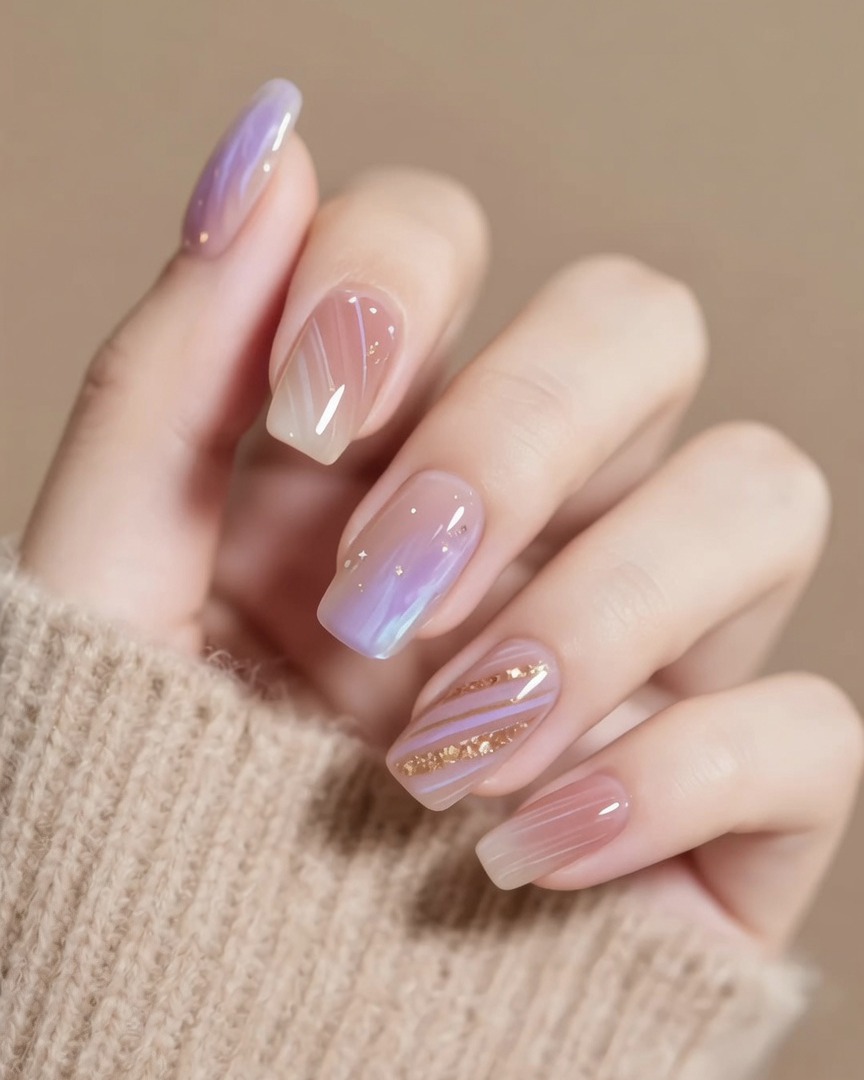
While the gel surface is still slightly wet or tacky, carefully place delicate gold foil flakes onto the nail using tweezers or a clean brush. Distribute the flakes strategically to enhance the purple gradient, focusing on adding a subtle touch of luxury without overwhelming the base design.
Tip: If the flakes arent sticking, you can apply a very thin layer of uncured top coat or gel base to act as an adhesive before placing the foil. - 8Apply final glossy top coat
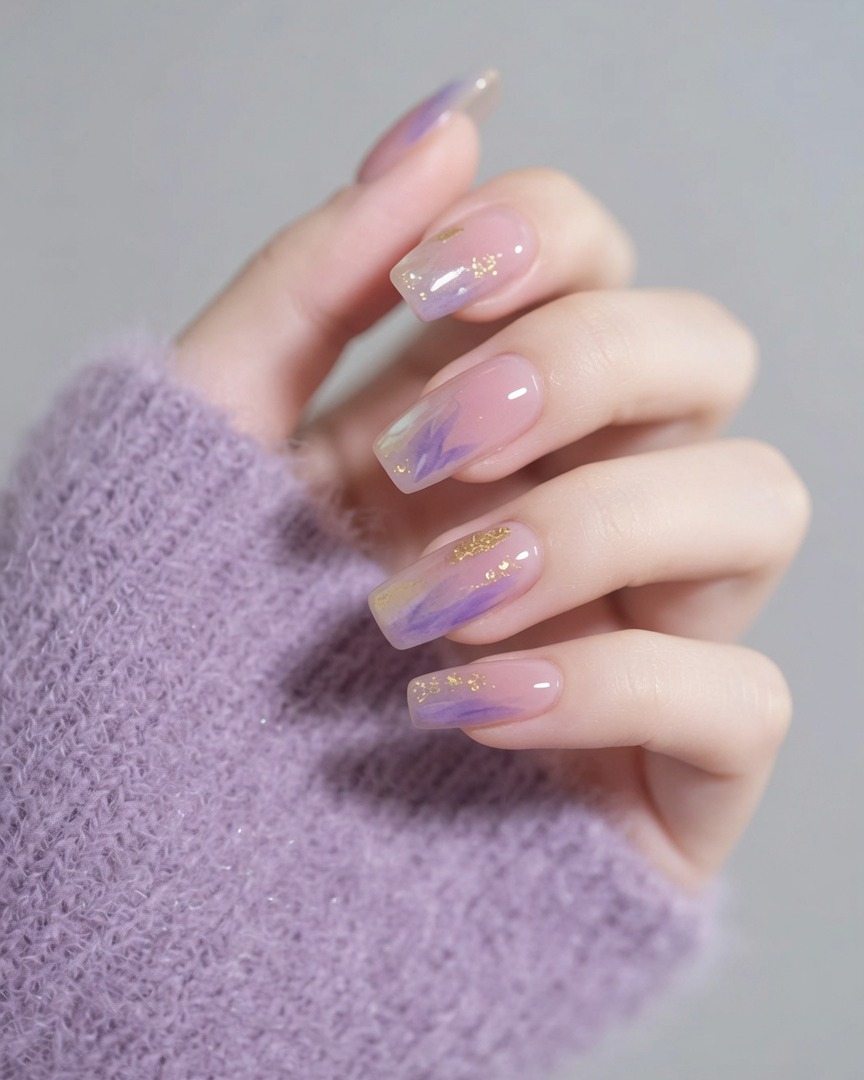
Apply a final layer of glossy top coat over the entire nail, ensuring you cap the free edge for long-lasting protection. Cure the nails thoroughly under your UV or LED lamp according to your gel systems instructions to seal the design, lock in the gold foil, and provide a high-shine finish.
Tip: A smooth, even application of the top coat is key to making the gold foil look embedded and polished rather than bumpy.