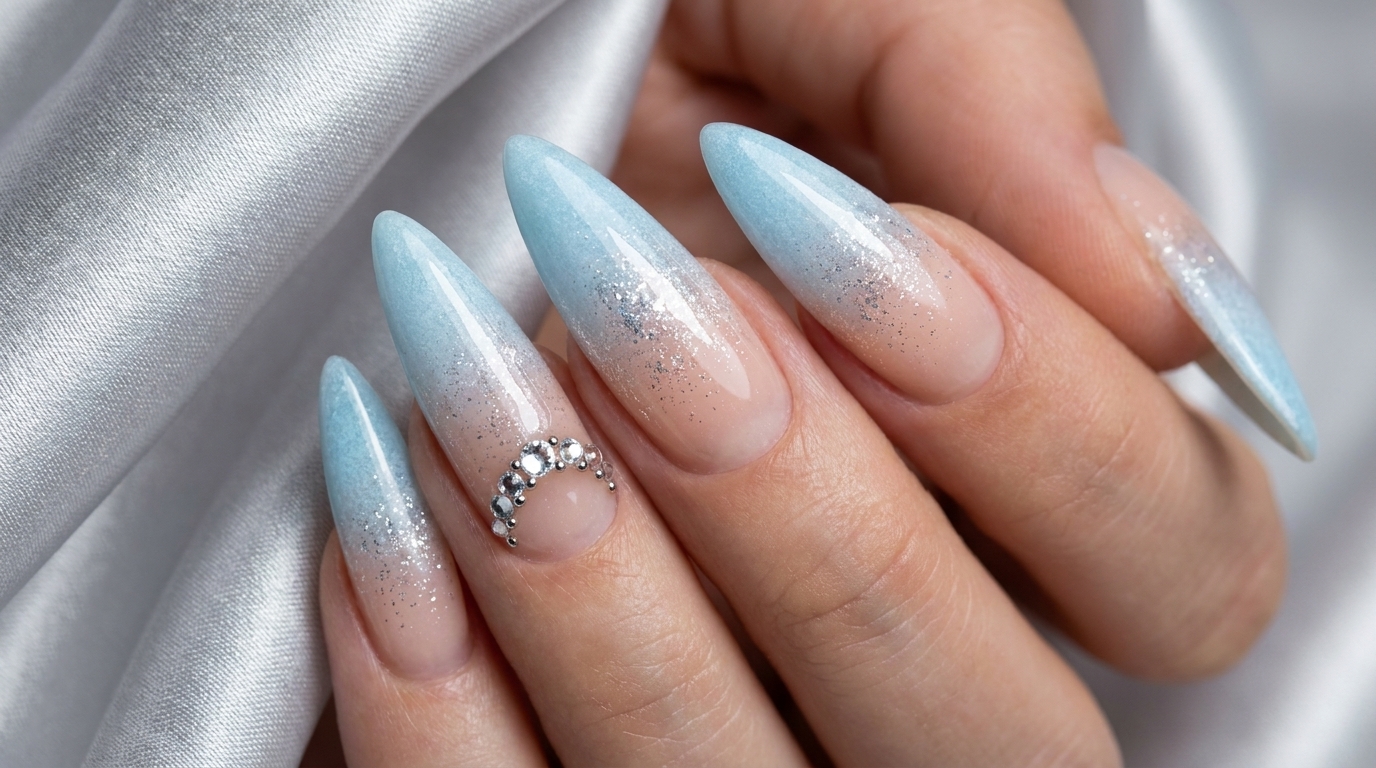
Frosty Blue Ombre Stiletto Nails — Elegant Glitter
Rhinestone Tutorial
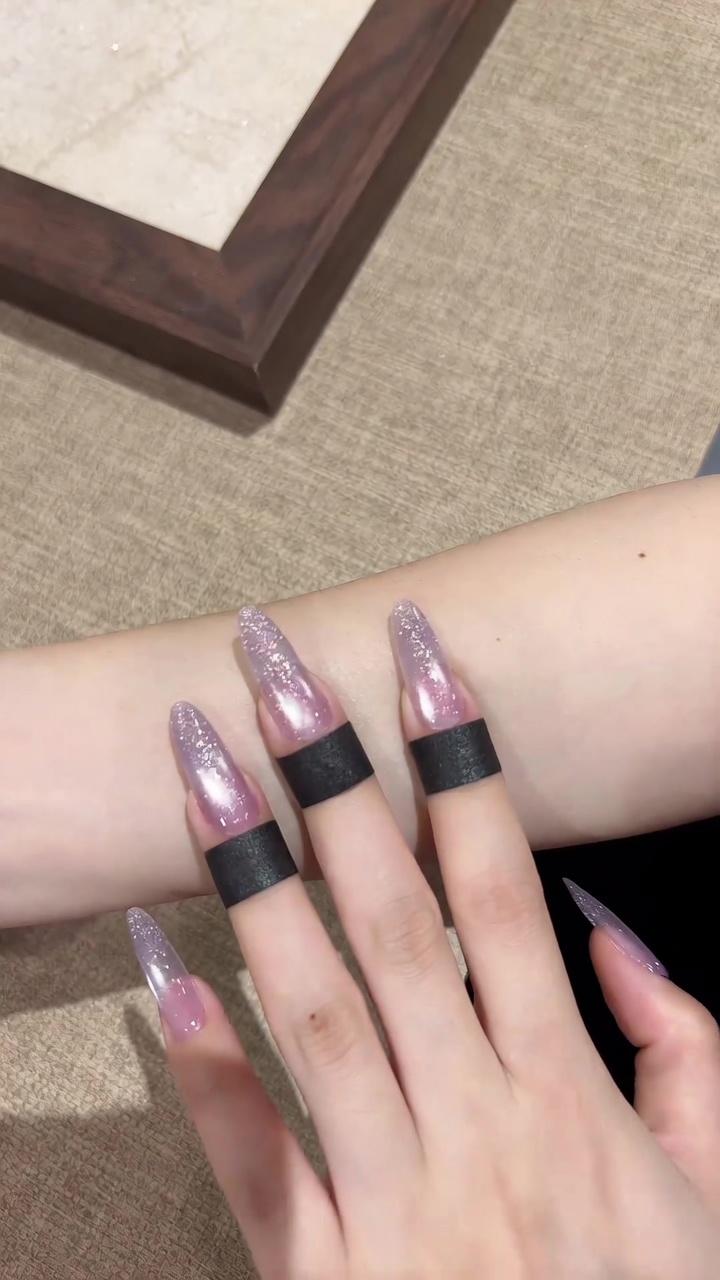
Elevate your look with this dreamy blue-to-peach gradient design featuring a starlight silver glitter fade and delicate rhinestone embellishments.
The frosty blue and milky peach gradient creates a sophisticated, ethereal aesthetic perfect for special occasions. This design combines the seamless soft-focus transition of an ombre with the high-impact sparkle of curated zircon stones. Follow this technique to master the balance between diffused glitter and precision gem placement for a salon-quality finish.
Steps
- 1Apply base color
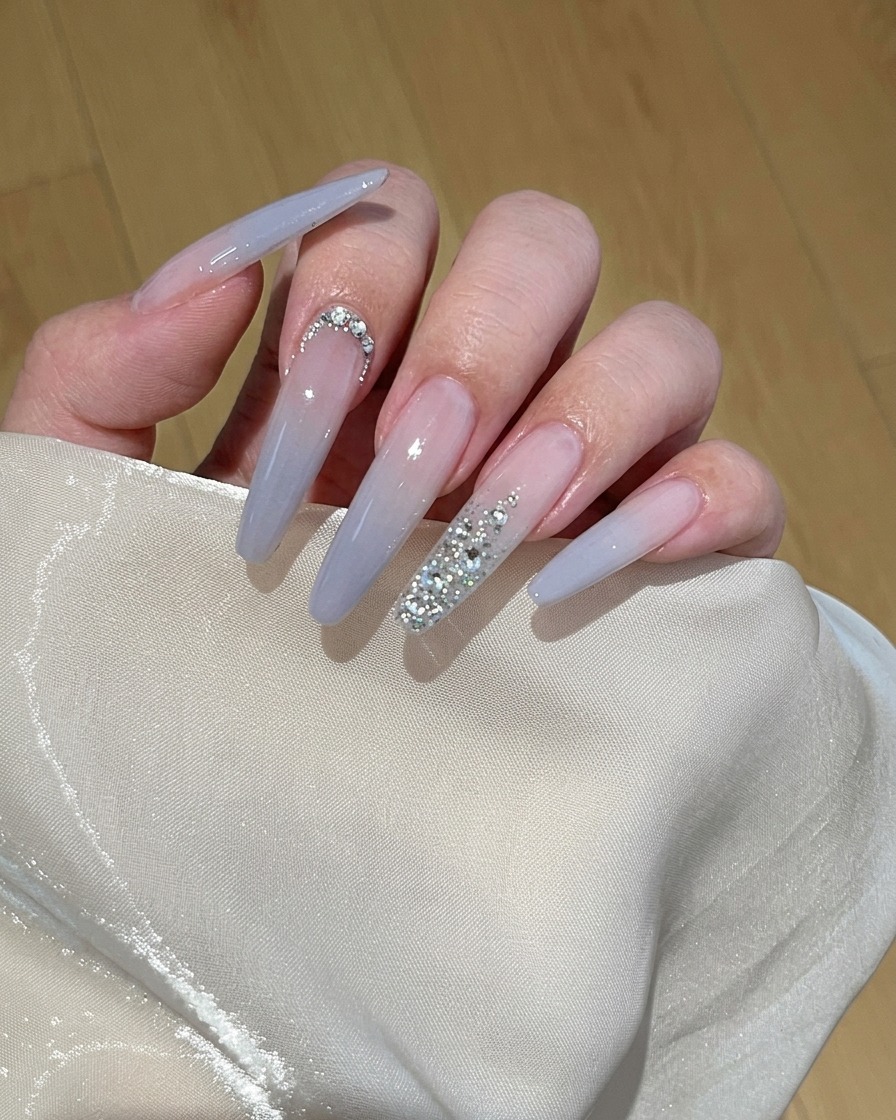
Apply a coat of milky white peach gel polish to the entire nail plate using the polish bottle brush for an even, smooth application. Ensure the coat is thin to prevent uneven curing. Cure the nails under an LED or UV lamp as directed by your polish manufacturer.
Tip: For a more opaque finish, repeat this step with a second thin layer after curing the first. - 2Apply second coat of base color
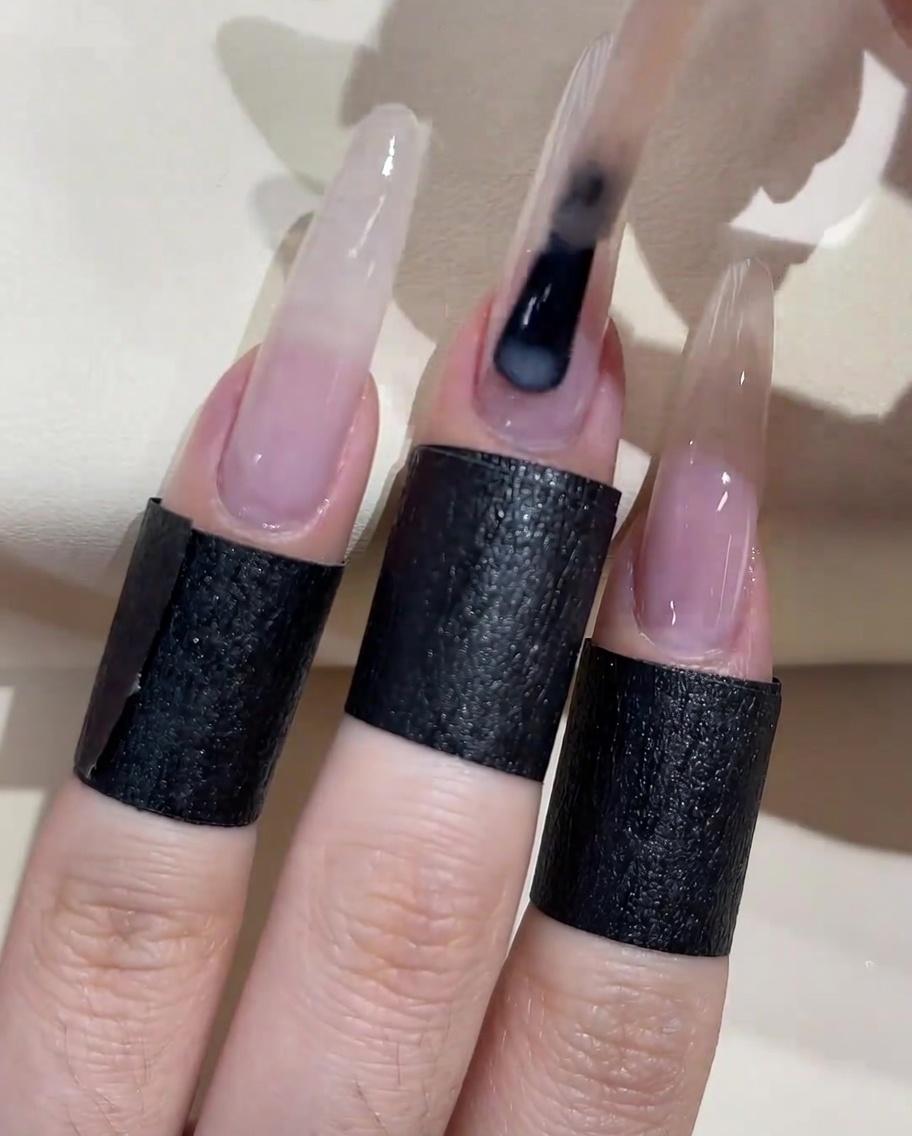
Apply a second thin, even layer of the milky white peach gel polish over the entire nail plate. Ensure smooth, streak-free coverage to build an opaque base for the ombre design. Cure under your UV or LED lamp as per the product manufacturers instructions.
Tip: Apply in thin layers to avoid pooling around the cuticles and ensure even curing. - 3Apply grey-blue polish for ombre
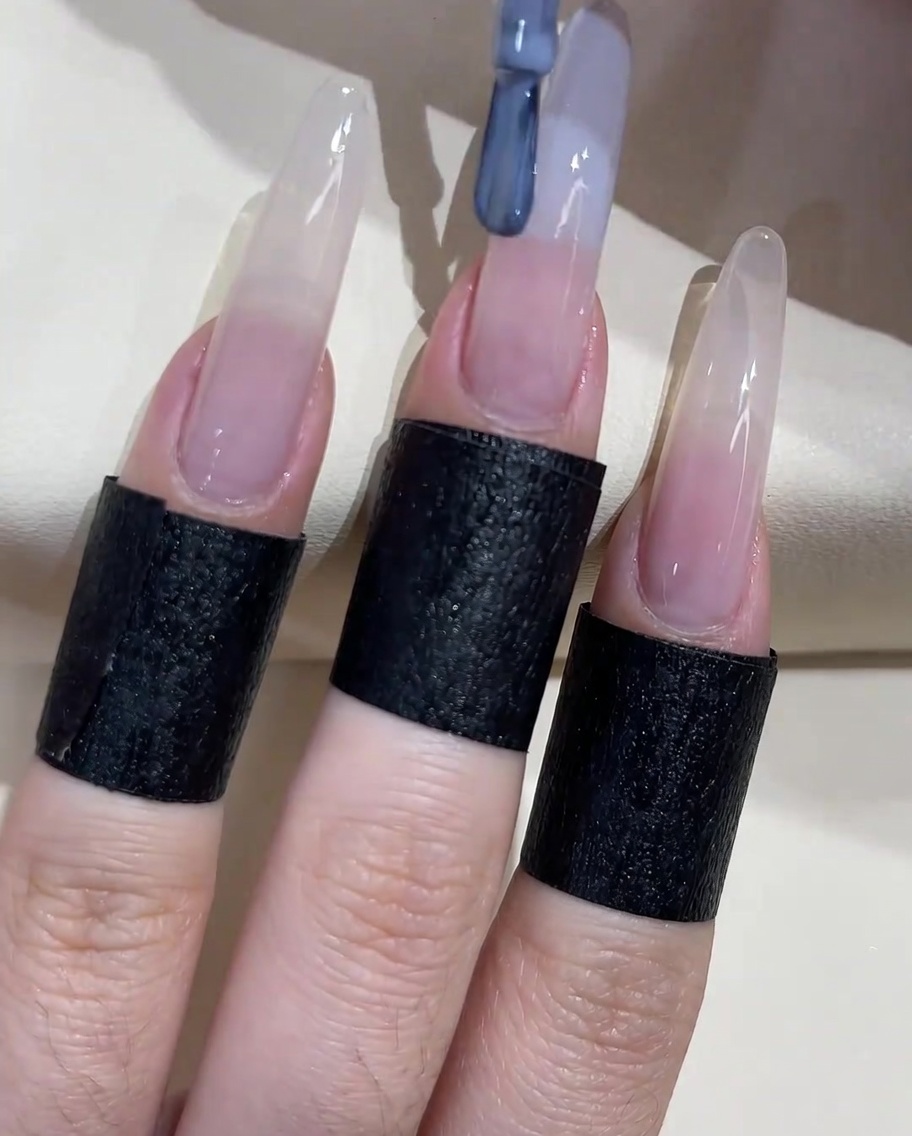
Take the premium grey-blue gel polish and apply it to the top half (the free edge area) of the nail. You do not need perfect precision here, as this will be blended in the next step to create the gradient effect.
Tip: Keep the color concentrated on the top half to make blending the gradient easier. - 4Blend the ombre gradient
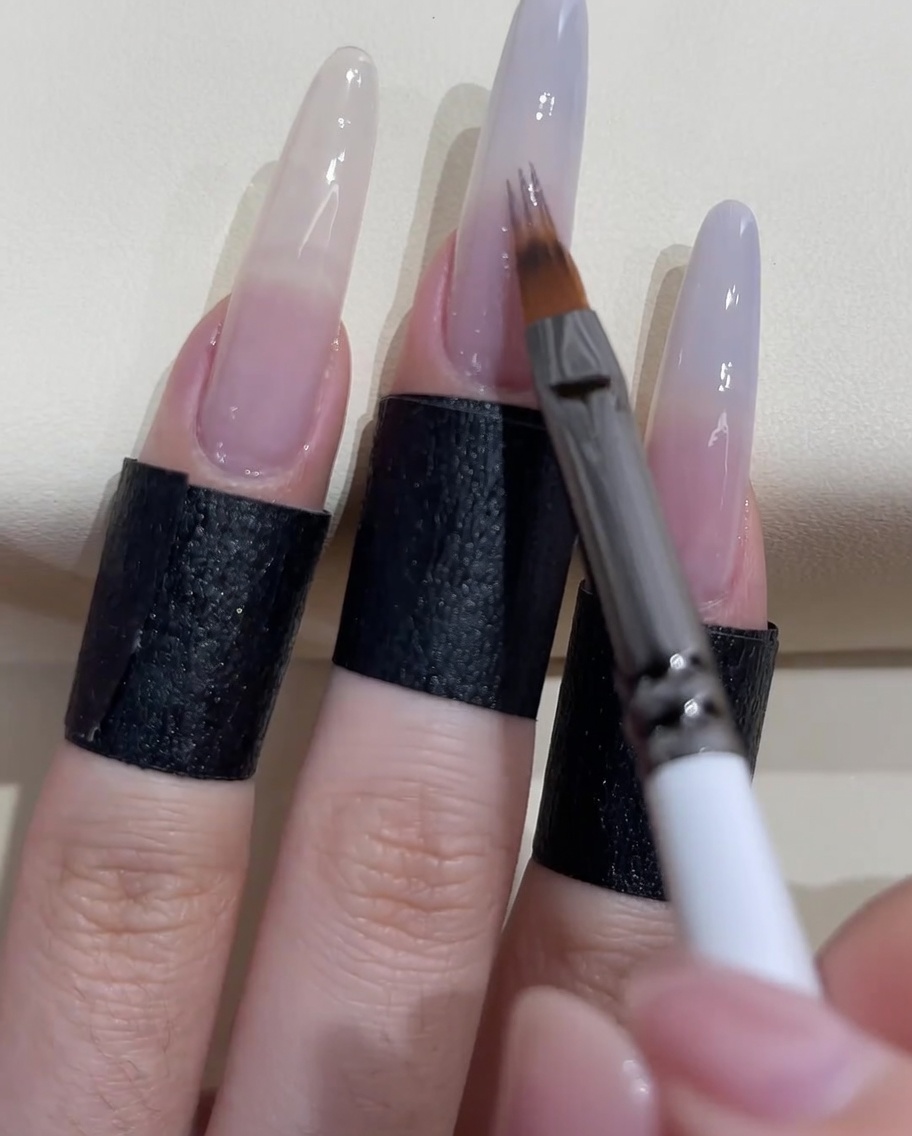
Using a clean, specialized sweeping brush, gently tap and sweep the lower edge of the grey-blue polish downwards toward the center of the nail. Continue this motion until the color transitions smoothly into the base peach color for a seamless ombre effect. Cure the nail once the desired blend is achieved.
Tip: Use a light, tapping motion rather than heavy pressure to maintain a soft transition. - 5Deepen the gradient tip
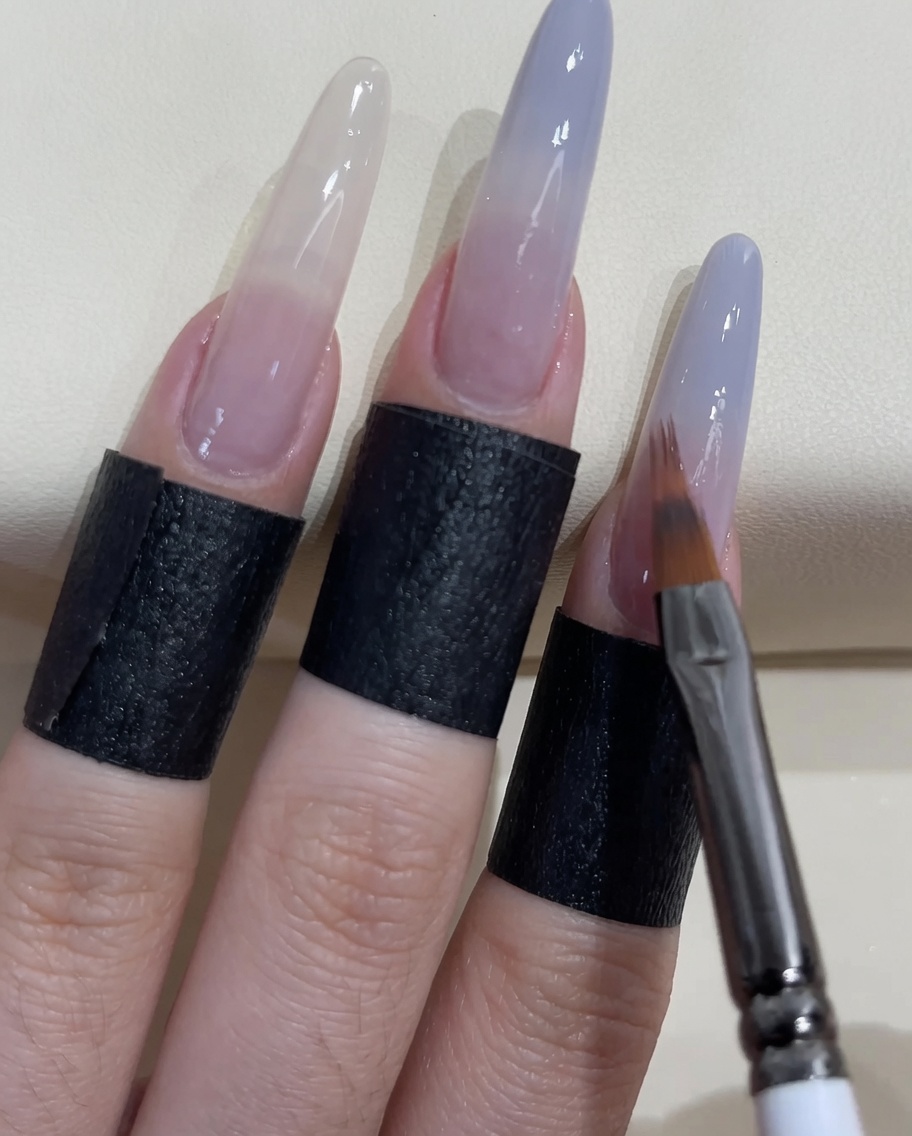
To increase the intensity of the color at the tips, apply a second layer of the grey-blue gel polish specifically to the free edge. Use the sweeping brush again to blend the transition zone slightly so it remains smooth. Cure under the lamp.
Tip: Focus the second application primarily on the tip to build depth without ruining the gradient. - 6Apply silver glitter transition
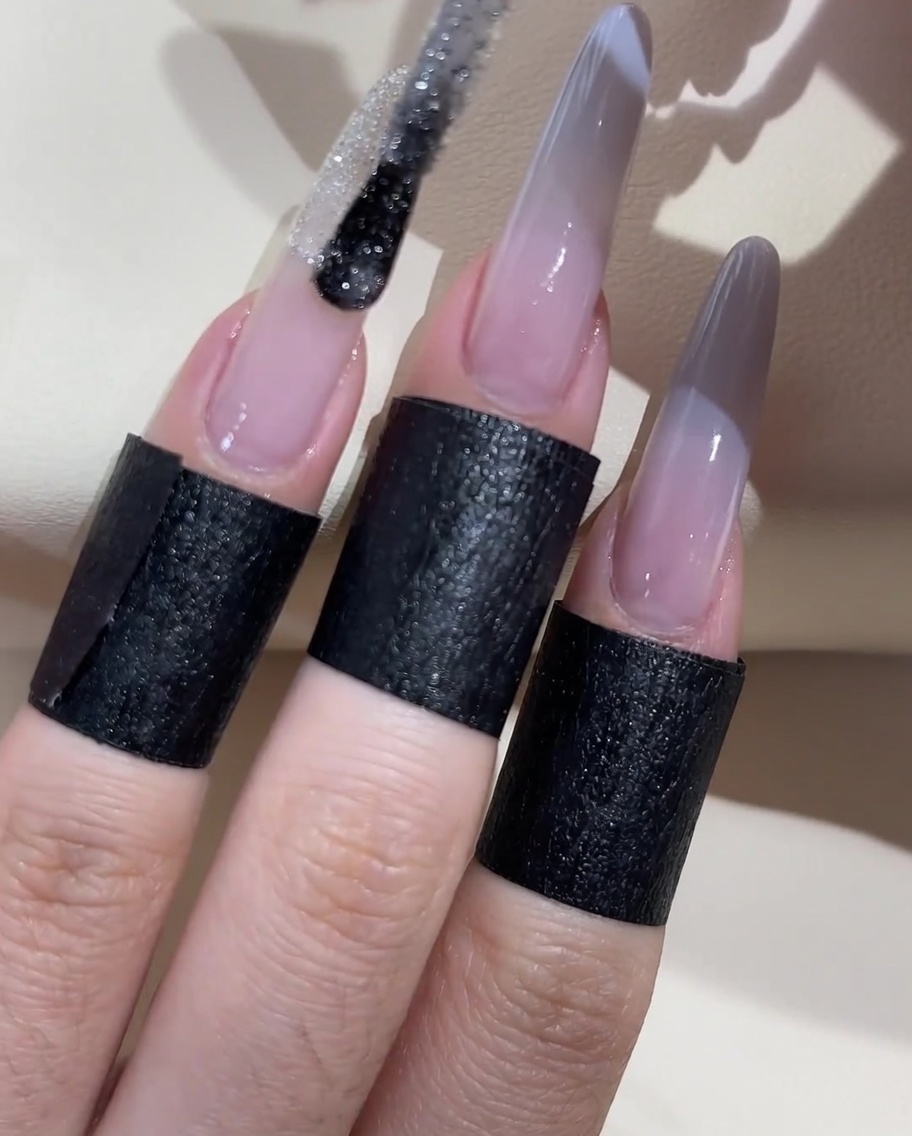
Apply a horizontal stripe of dense starlight silver glitter polish across the transition line between the peach base and the grey-blue tip. This adds a decorative sparkle to the middle of the ombre design.
Tip: Use a small amount of product to keep the glitter concentrated in the center. - 7Blend glitter gradient
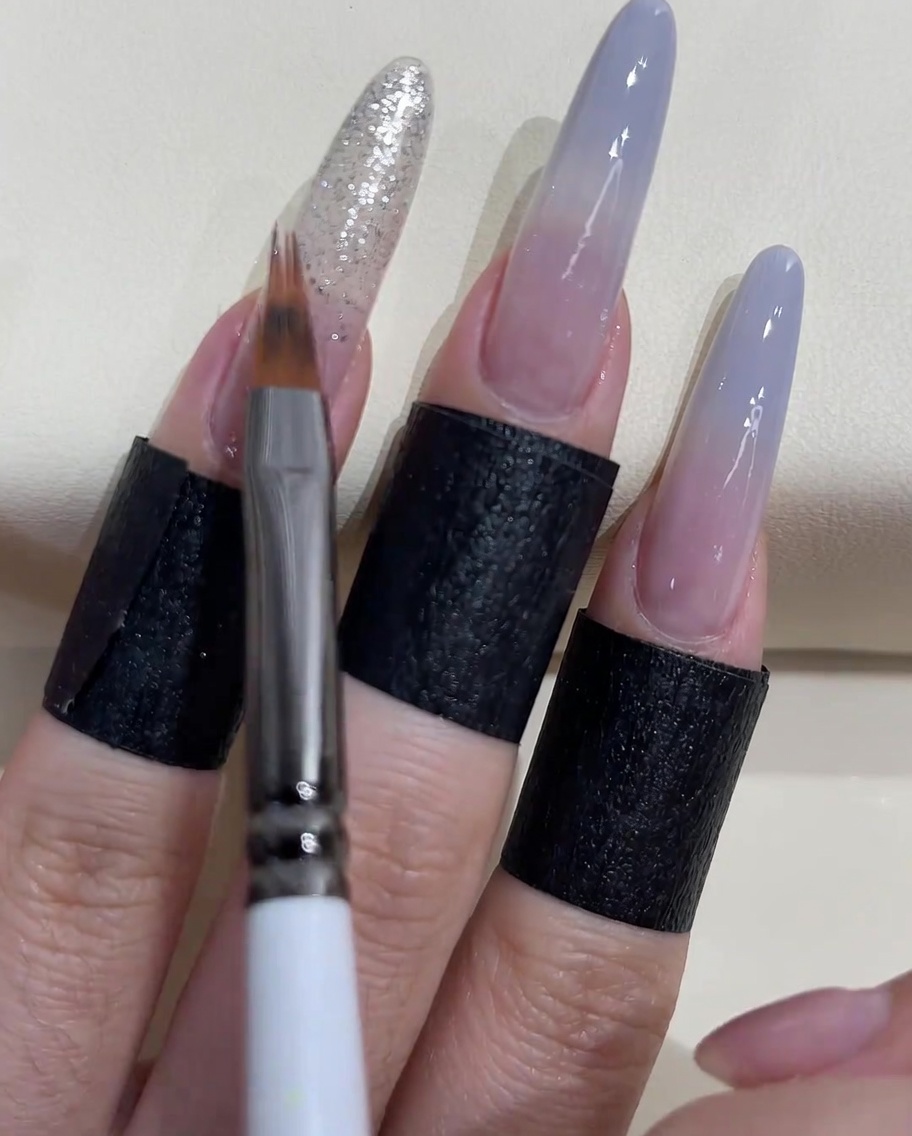
Using a clean sweeping brush, gently tap and blend the starlight silver glitter applied in the previous step. Move the brush upwards and downwards to create a diffused, starry gradient transition across the nail surface. This ensures the glitter looks natural and blended rather than clumped.
Tip: Keep the brush strokes light to maintain the dispersed, starry effect. - 8Apply adhesive gel
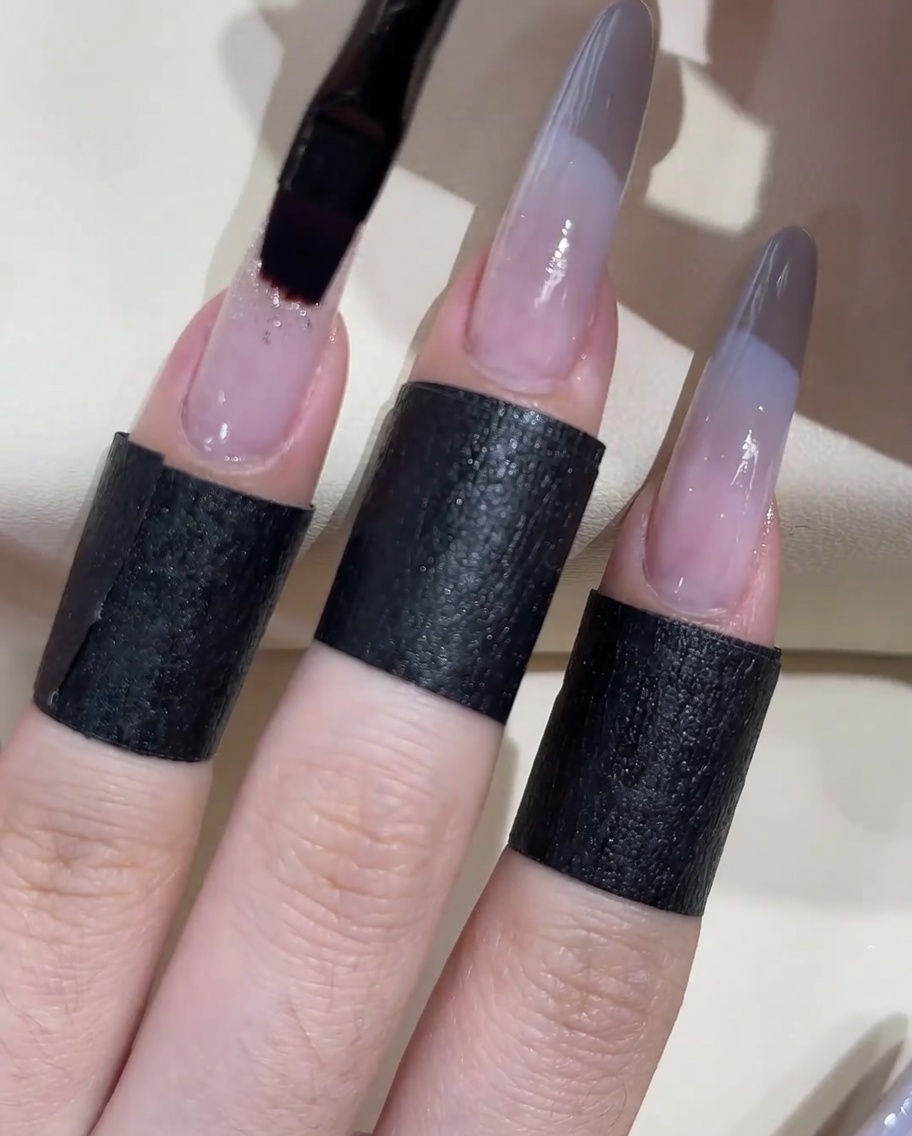
Use a small, flat gel brush to apply a thick layer of clear rhinestone adhesive gel onto the area where you plan to place your embellishments. The thick consistency helps hold the stones securely in place before you cure them.
Tip: Do not cure the adhesive yet; work while it is still wet to allow for easy placement of the stones. - 9Place large rhinestones
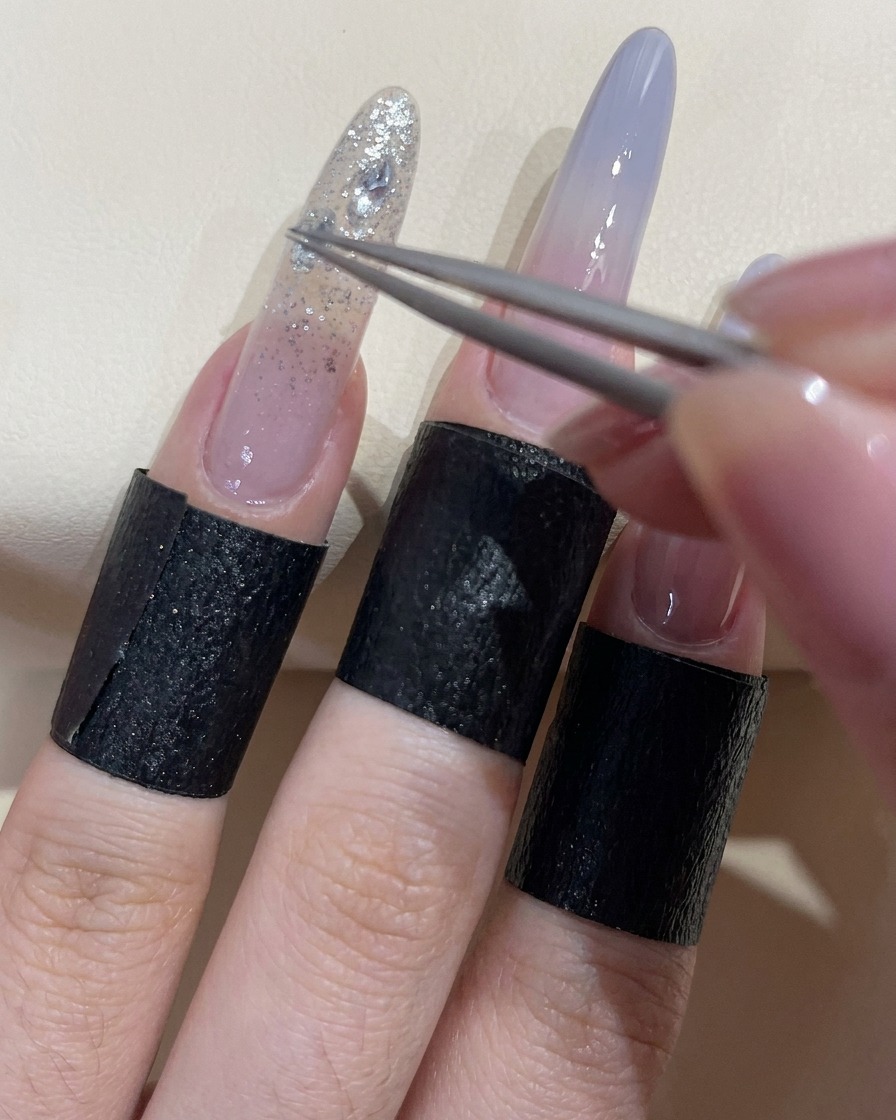
With precision tweezers, carefully pick up the large clear zircon rhinestones and place them into the wet adhesive gel you applied to the nail. Position them to match your desired design before moving on to smaller accents.
Tip: Press the stones slightly into the gel to ensure they are firmly set before curing. - 10Place accent stones and beads
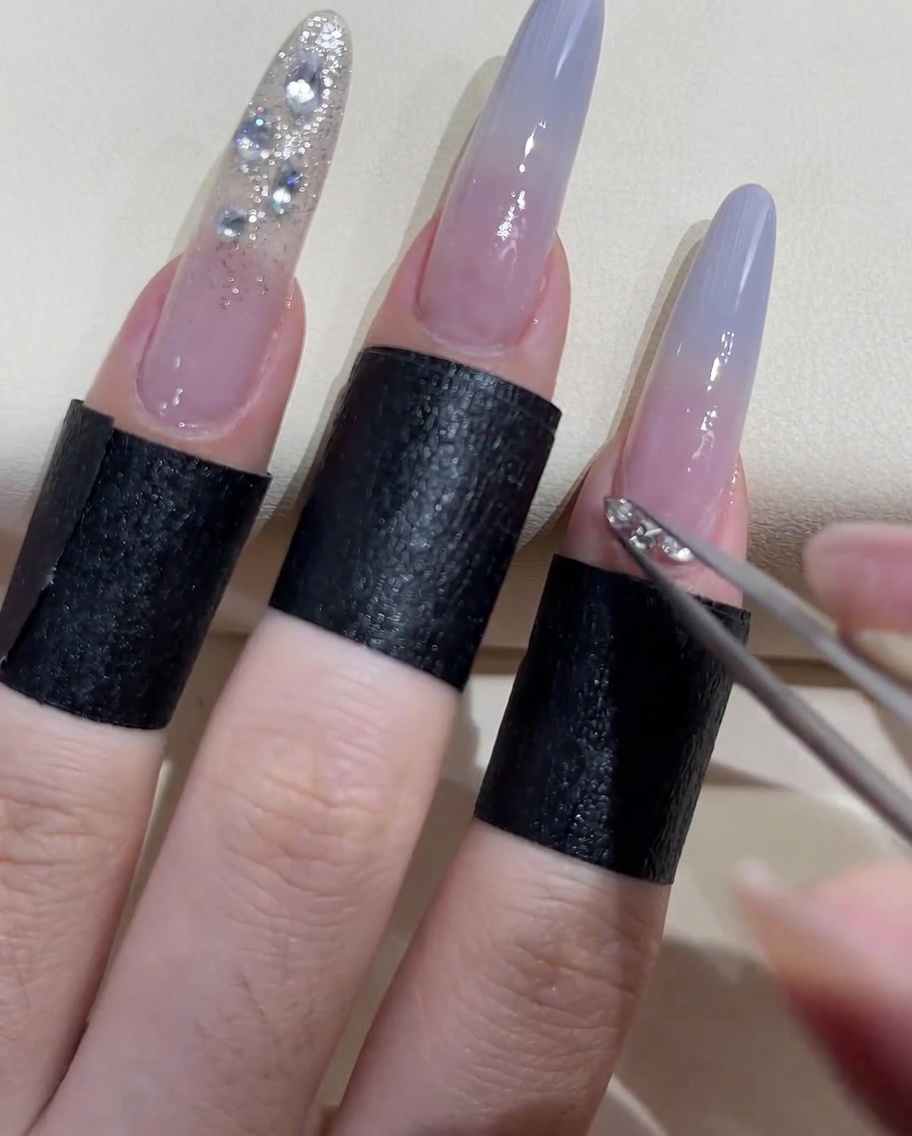
Using your tweezers, pick up the smaller zircon stones and tiny steel beads. Arrange them in a delicate semi-circle pattern around the cuticle area of the index finger to complement the larger stones. This adds texture and intricate detail to the design.
Tip: Use the tip of the tweezers to nudge beads into place if they are slightly off-center. - 11Secure gems with gap-filling gel
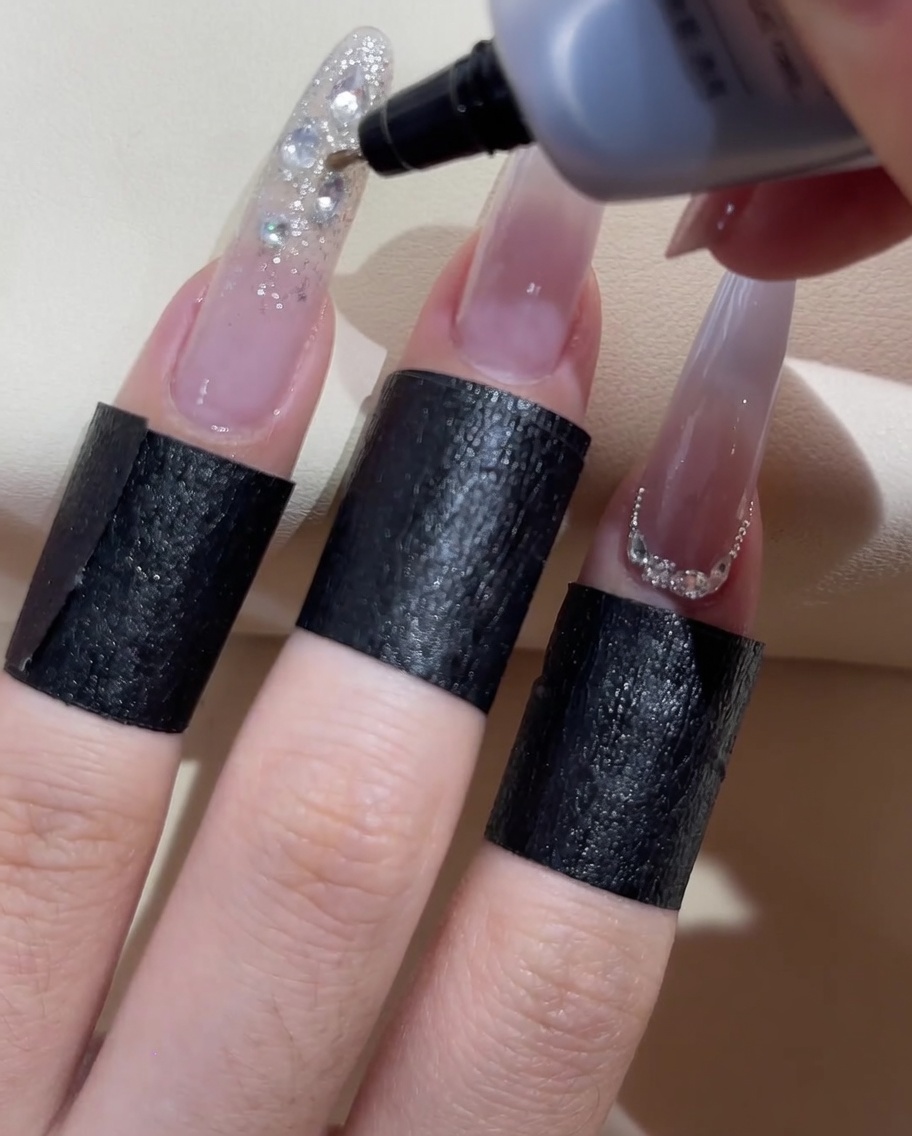
Using a fine-tip nozzle bottle, squeeze clear gap-filling gel around the base of all rhinestones and beads. This encapsulates the stones, filling any gaps to ensure they do not snag and remain securely attached to the nail. Once applied, cure the entire nail thoroughly.
Tip: Be careful not to cover the face of the rhinestones with gel, as this can dull their sparkle. - 12Apply glossy top coat
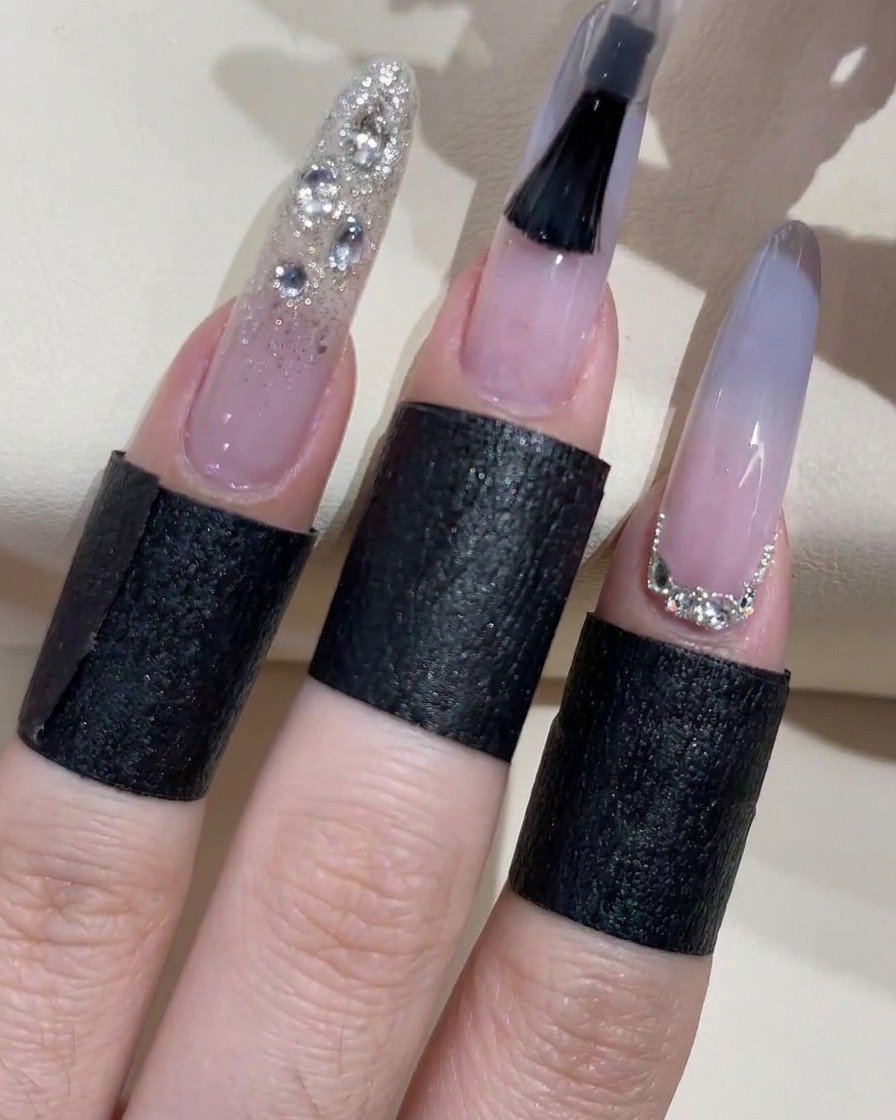
Apply a final generous layer of glossy top coat over the entire nail plate to seal in the ombre and glitter design. Be extremely careful when working around the embellished nails—use the brush to apply the top coat around the edges of the zircon stones and beads, completely avoiding the tops to preserve their sharp facets and maximum shine.
Tip: Applying top coat over rhinestones will dull their sparkle. Only seal around the base of the gems.