Milky White Gradient Cat-Eye Star Nails — Professional Tutorial
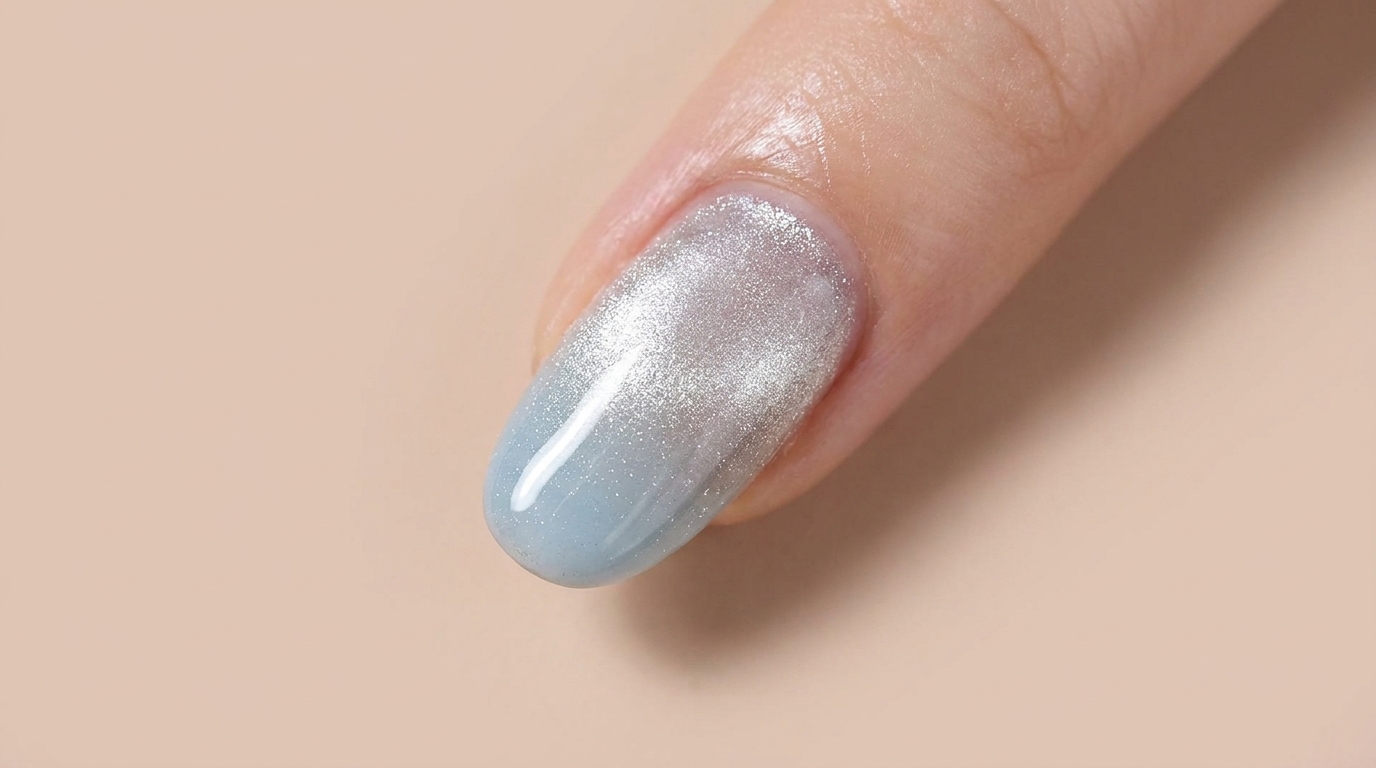
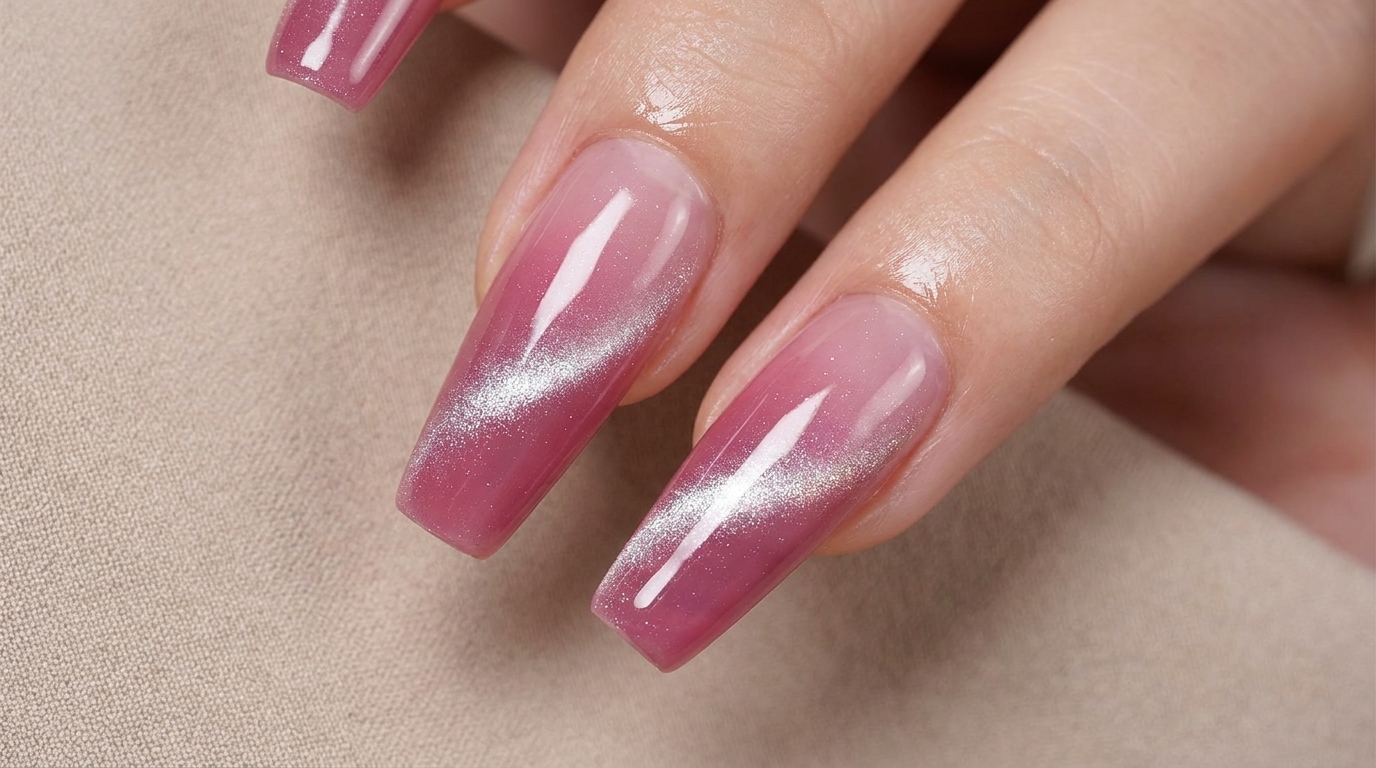
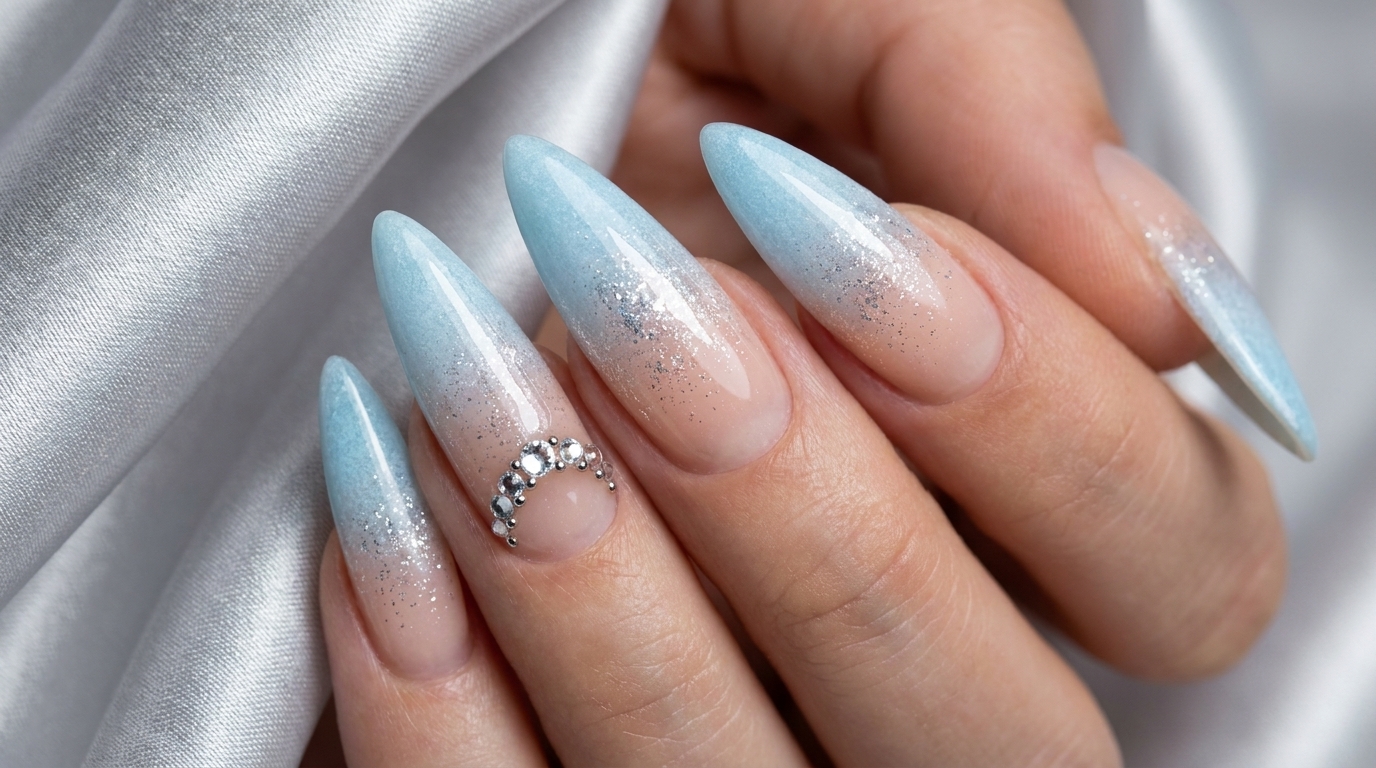
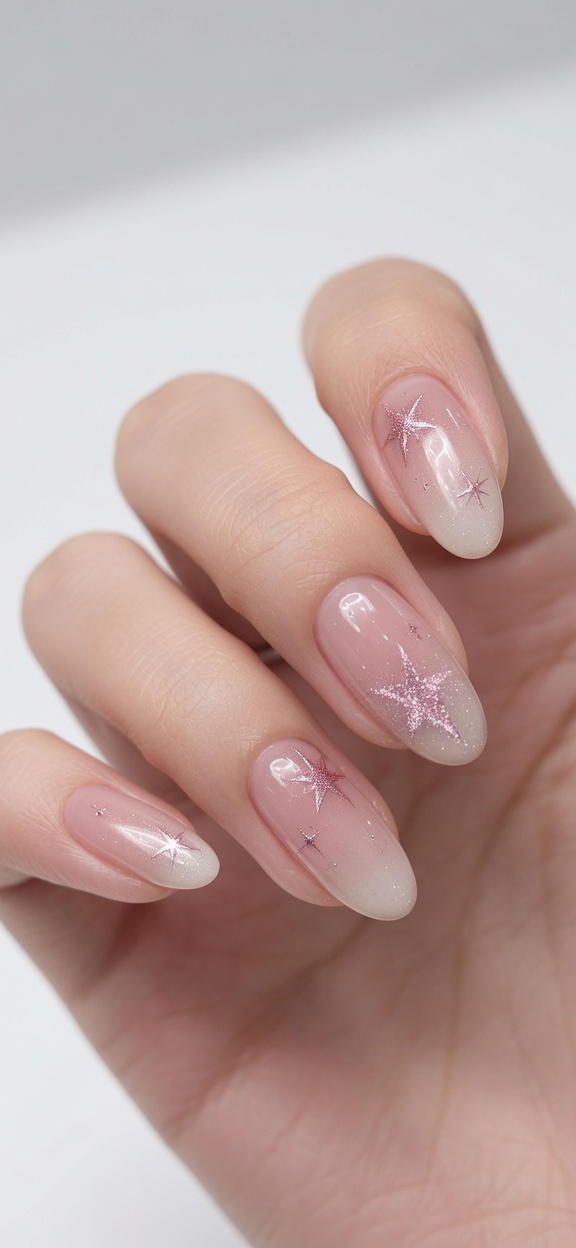
Create dreamy milky white gradient nails with a shimmering pink cat-eye star finish. Follow our easy guide to achieving this elegant, salon-quality look.
Combining the soft, clean aesthetic of a milky gradient with the celestial allure of cat-eye stars, this manicure is perfect for anyone wanting a sophisticated yet playful style. The key to this look lies in the patience and precision used to blend the white gel, followed by the careful activation of the magnetic shimmer to make your stars truly pop. Whether for a special event or daily wear, these stars add just the right amount of sparkle to your fingertips.
Steps
- 1Apply nude base color
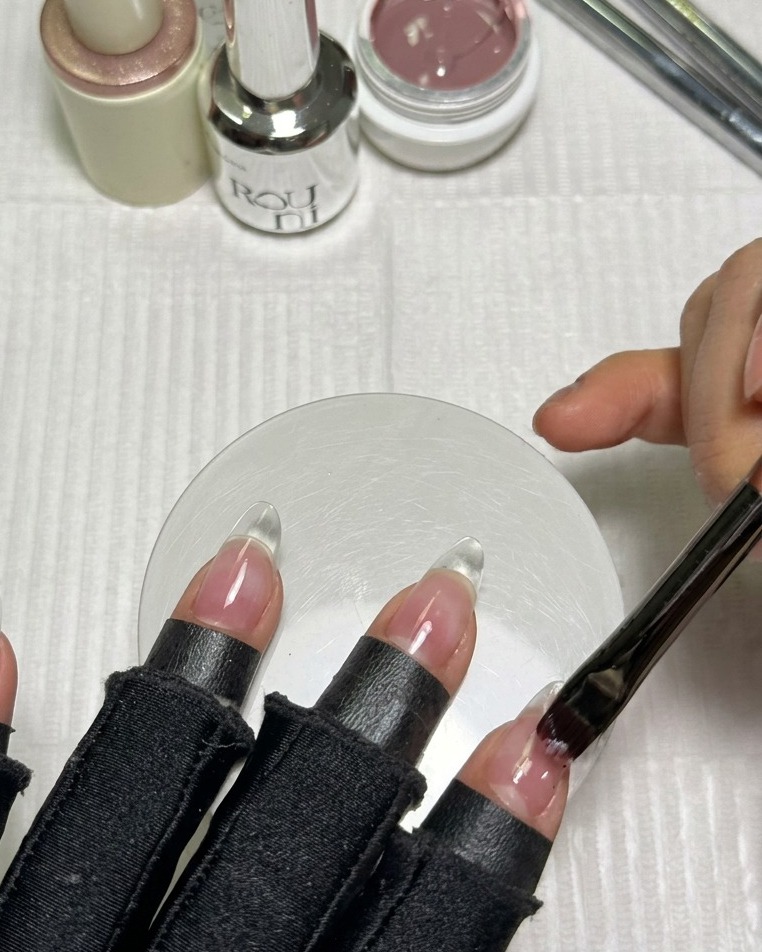
Apply a pinkish-nude gel polish over the entire clear nail extension as your foundation color. This creates a healthy, natural-looking canvas that will beautifully contrast with the milky white gradient to follow. Ensure the application is smooth and even across the nail surface.
Tip: Using a nude base with pink undertones helps brighten the final look and makes the white gradient pop. - 2Cure the nude base
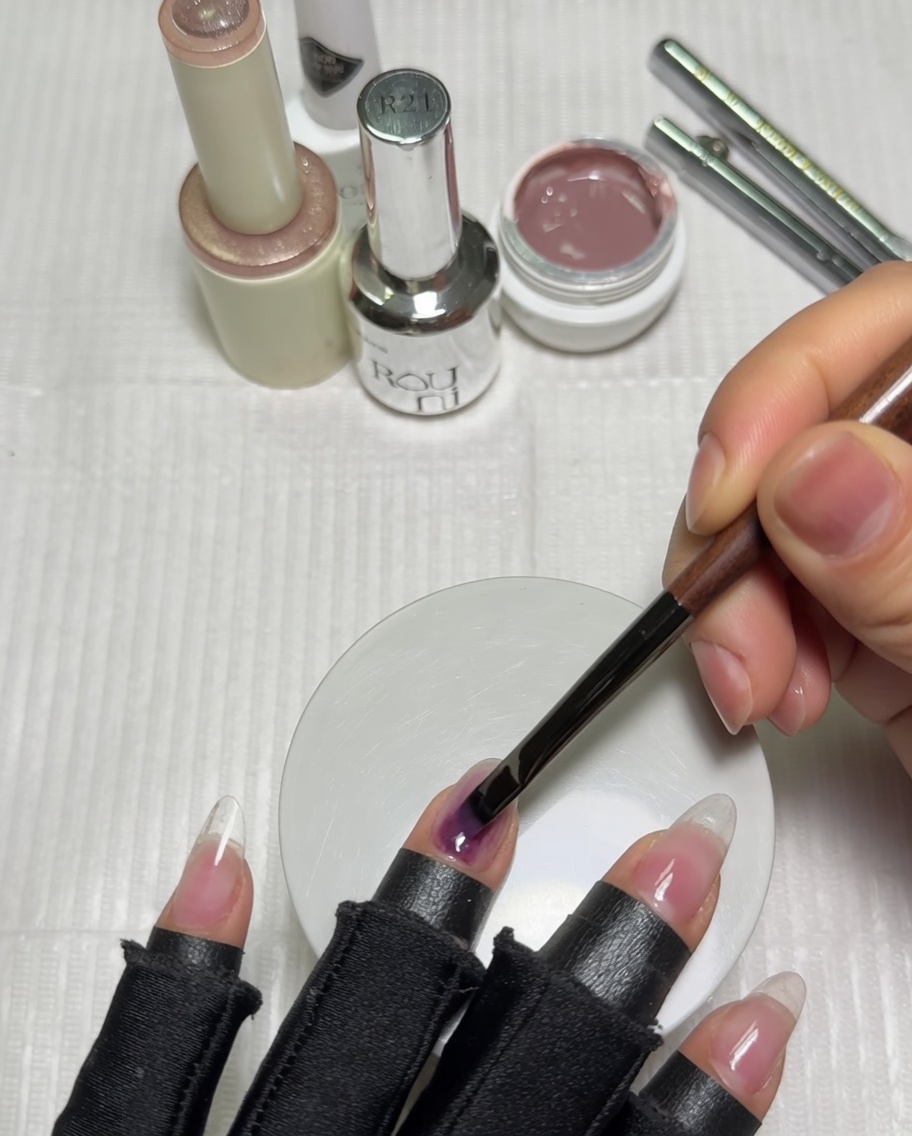
Place the hand under your UV or LED lamp to cure the applied nude base coat. Follow the curing time recommended by your gel polish manufacturer to ensure the base layer is completely set and provides a durable foundation for the gradient.
Tip: Keep your hand centered under the lamp to ensure all five nails cure evenly. - 3Apply milky white gel
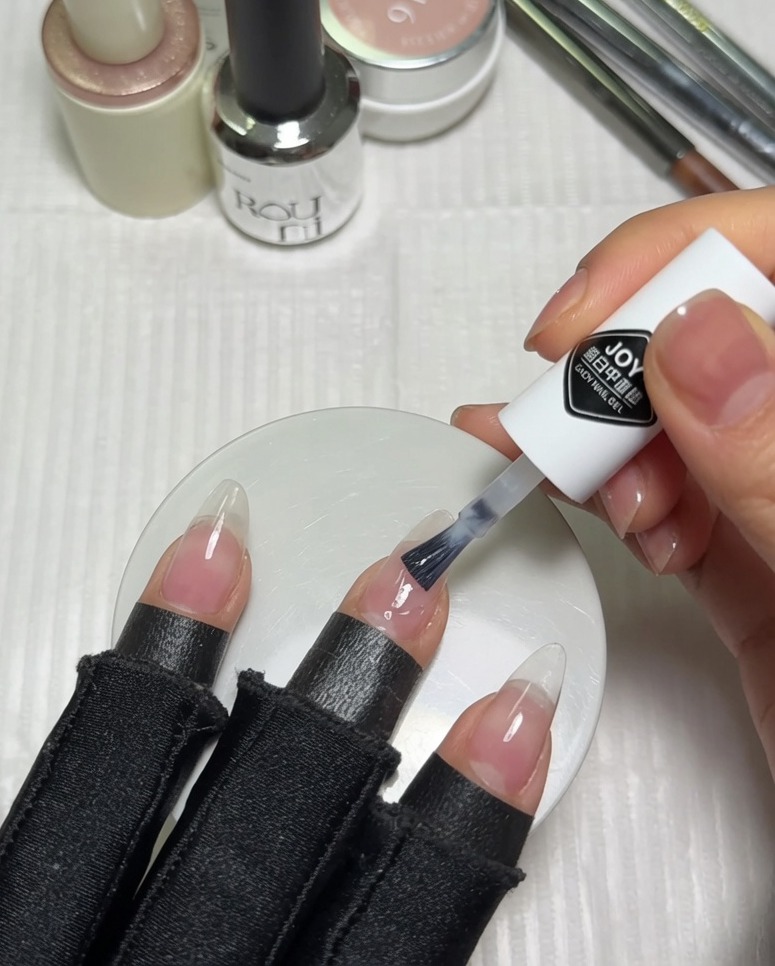
Take a milky white gel polish and apply it directly to the upper half of the nail using the brush from the bottle. You dont need to be overly precise with the lower edge, as this section will be diffused shortly to create the gradient effect.
Tip: Applying the white polish only to the top half ensures the pinkish-nude base remains visible near the cuticle for a seamless transition. - 4Blend the gradient
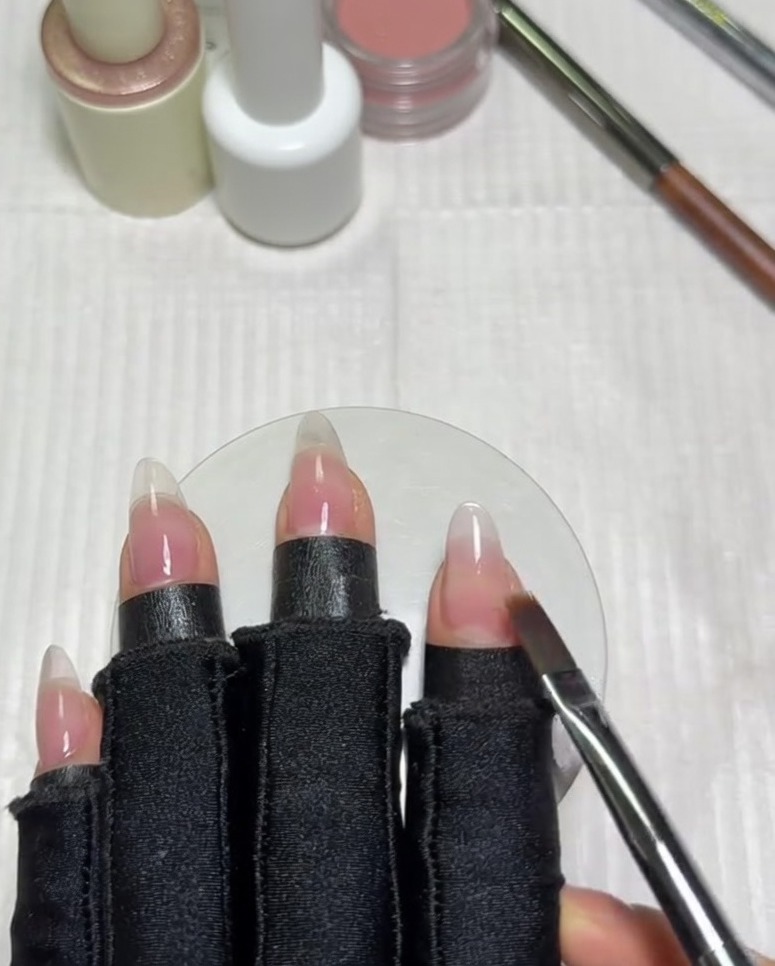
Using a flat gradient brush, keep the bristles parallel to the nail surface and gently sweep across the lower edge of the wet white polish. Use light, feathery horizontal strokes to drag the white pigment down slightly, diffusing the harsh line into the nude base color.
Tip: Keep a very light hand while blending. Pressing too hard will scrape the product away rather than creating a cloudy, soft fade. - 5Clean the gradient brush
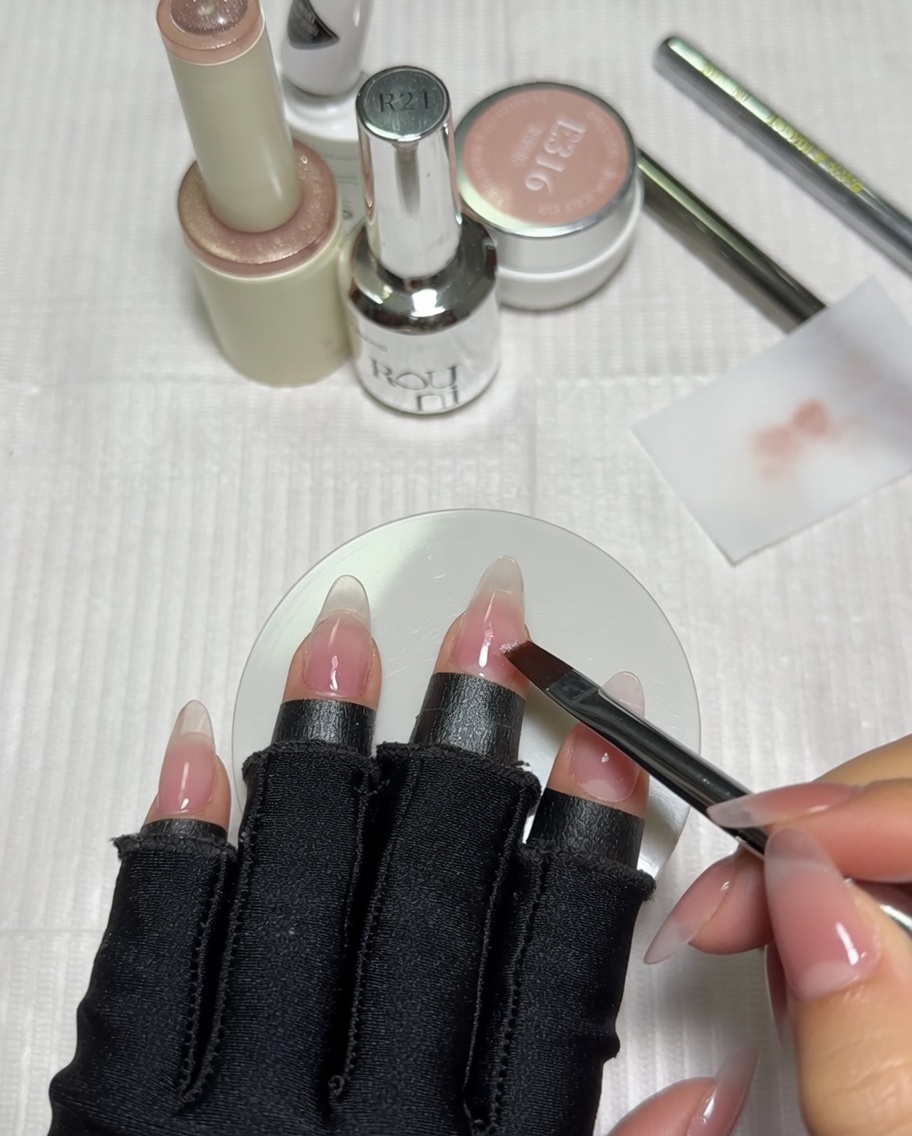
After each blending stroke, wipe the gradient brush clean on a lint-free cotton pad. Keeping the brush bristles free of excess gel is essential for achieving a smooth, seamless gradient effect without streaking.
Tip: Work quickly but gently, as gel polish will begin to self-level once applied. - 6Blend the remaining nails
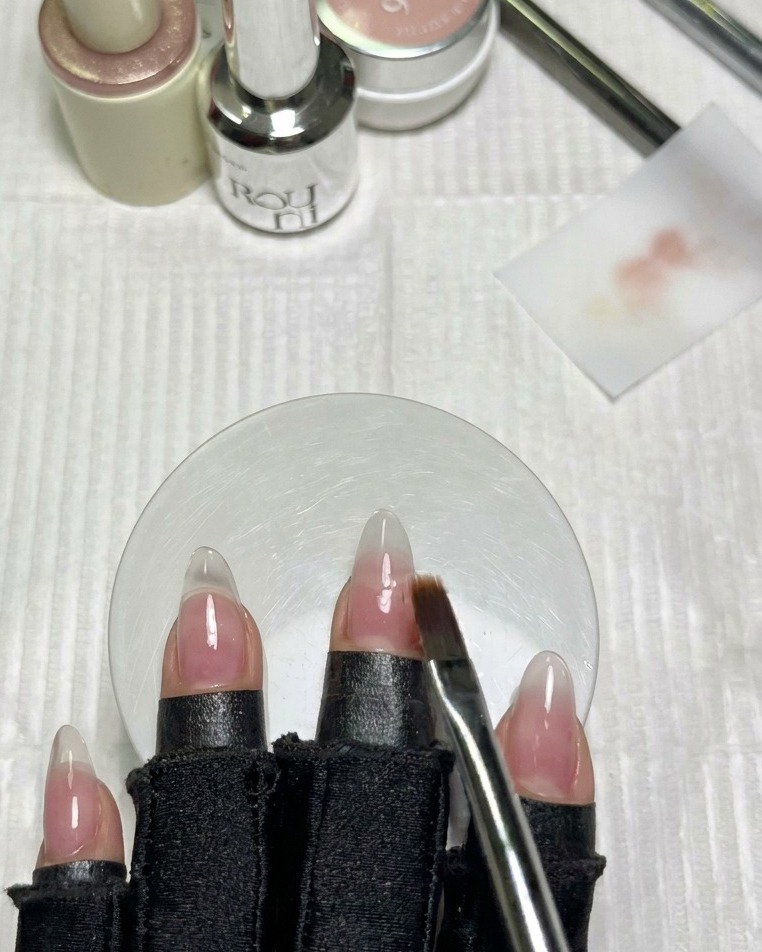
After thoroughly cleaning your brush, move on to the next nail and repeat the sweeping and blending process. Maintaining the brush parallel to the nail is key to achieving a smooth transition. Remember to wipe the brush clean after every single stroke to prevent dragging excess product.
Tip: Working with a perfectly clean brush for every stroke is the secret to a flawless, non-streaky gradient. - 7Cure the first gradient layer
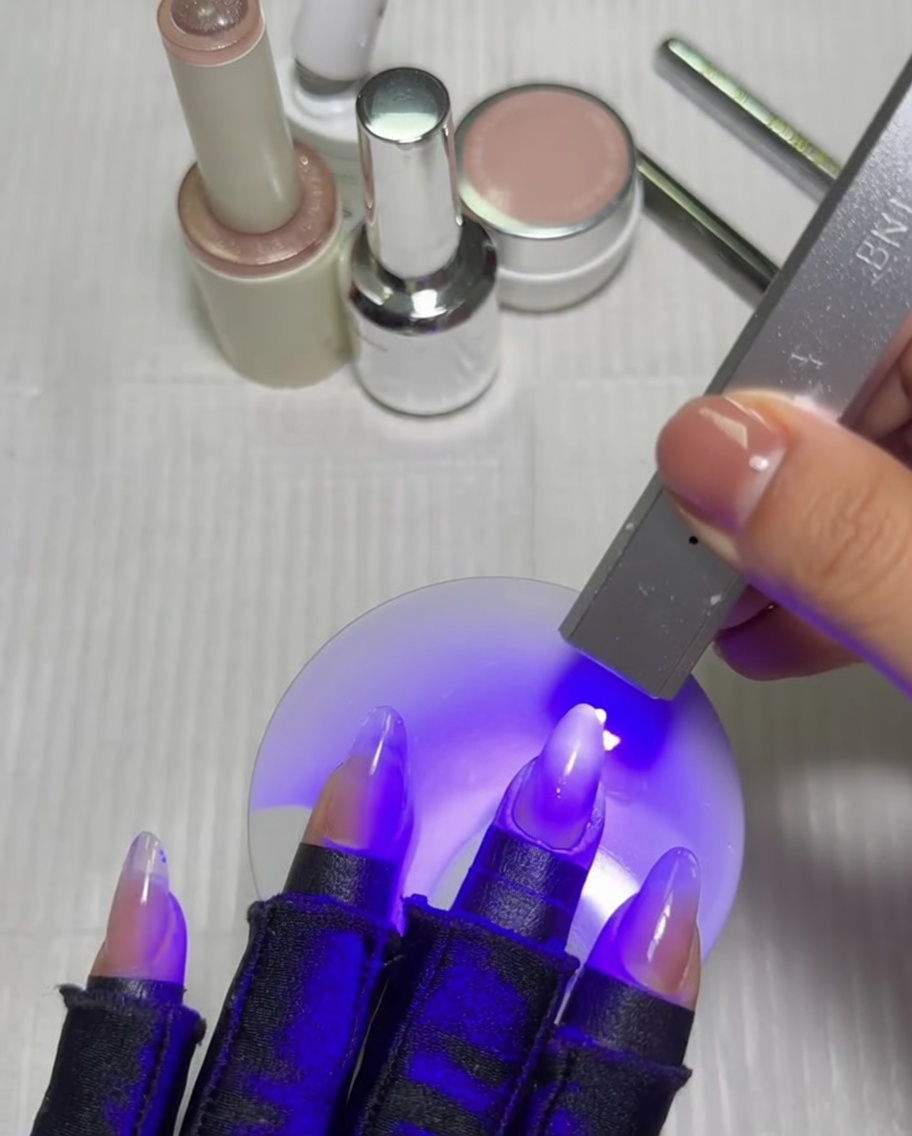
Once you have finished blending the first layer of milky white gel polish, place your hand under the UV or LED lamp to cure. This cures the gradient and prepares the nail for the second, more concentrated layer.
Tip: Ensure the nails are fully under the light to prevent any uncured spots. - 8Apply second gradient layer
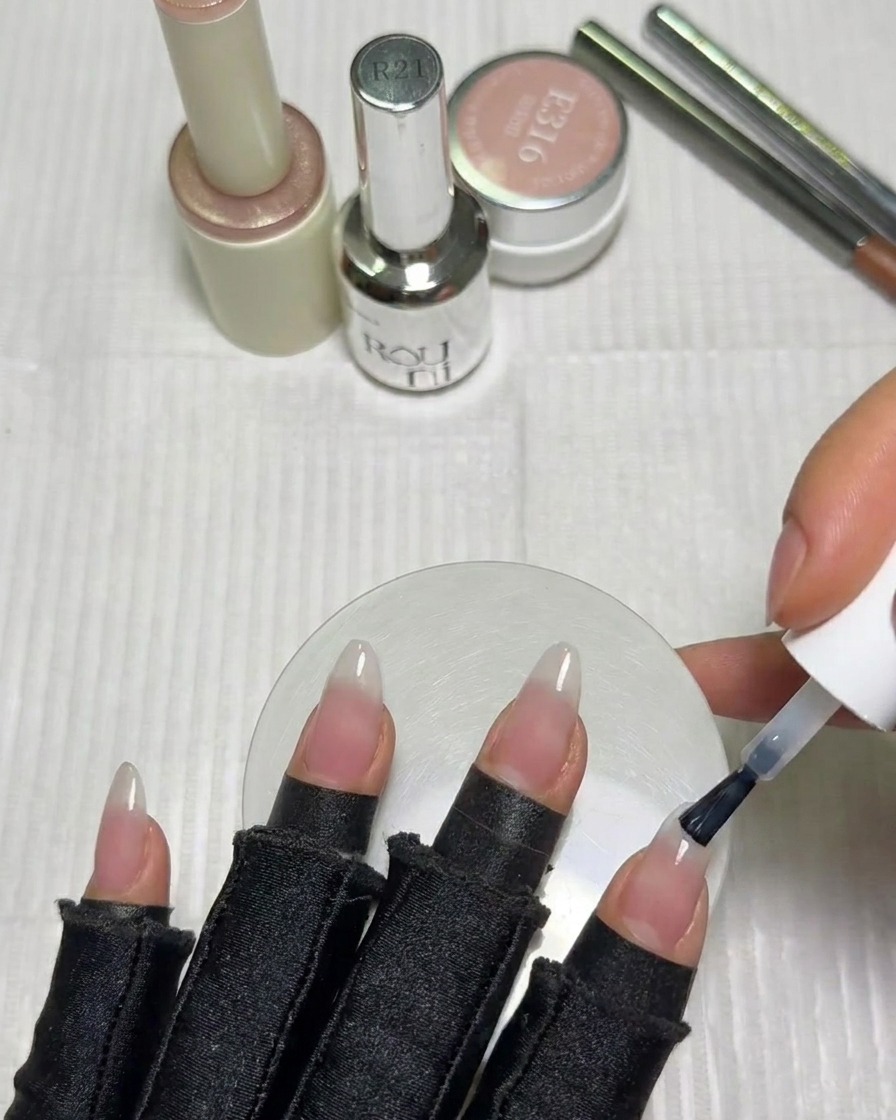
Apply a second layer of milky white gel polish, focusing only on the tips of the nails. This concentrated application deepens the white gradient effect, creating a more opaque and defined look at the nail edge.
Tip: Use a light touch to keep the layer thin and manageable for blending. - 9Blend the second layer
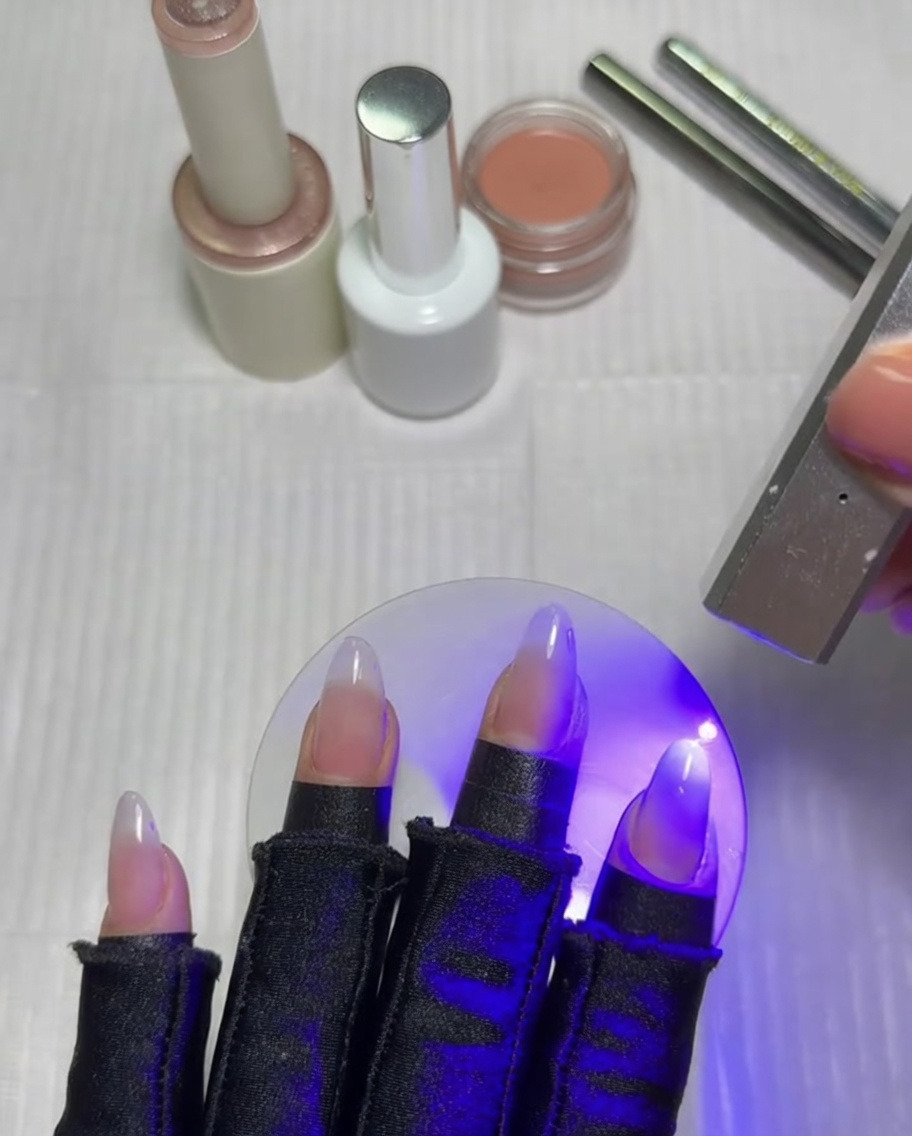
Using the flat gradient brush held parallel to the nail surface, gently sweep over the edge of the second white layer to blend it into the rest of the nail. This helps soften the transition and ensures the ombre looks natural and smooth.
Tip: Maintain a light, sweeping motion to avoid pulling too much polish off the nail. - 10Cure the second layer
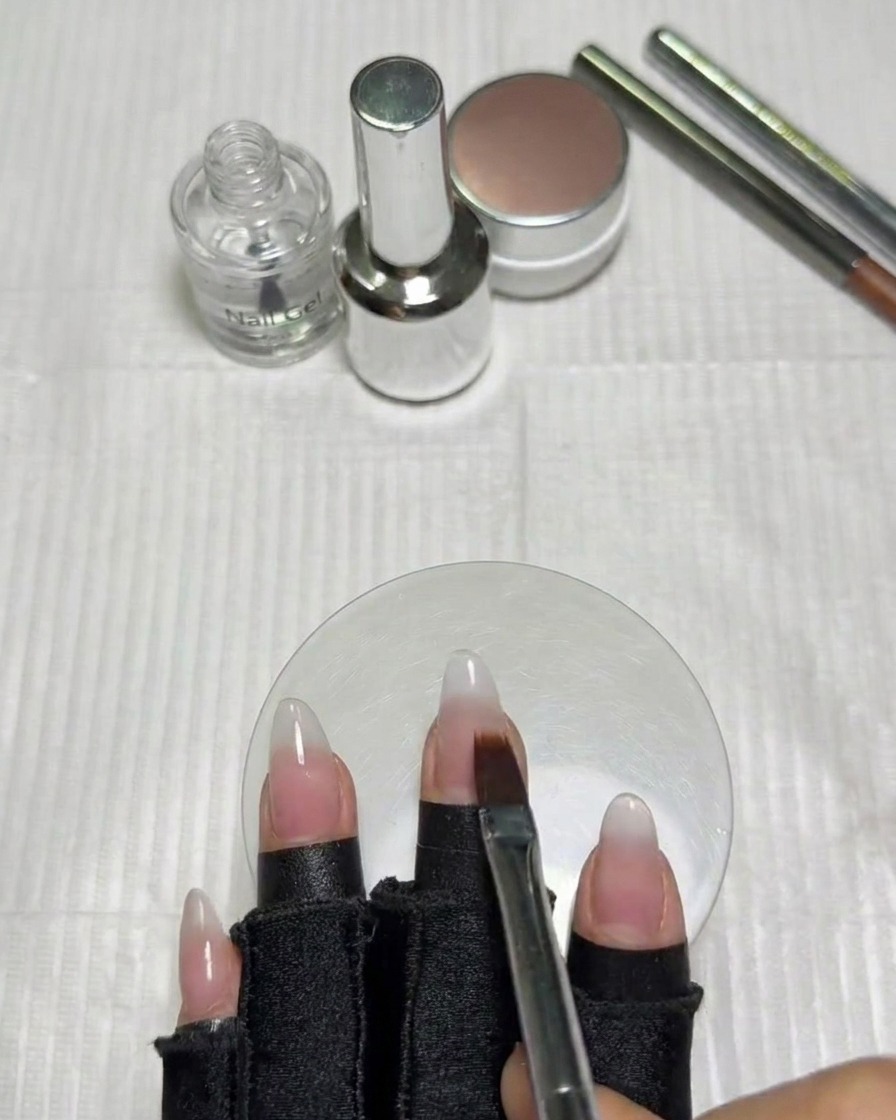
After blending the second layer of white gel, cure your nails under the UV or LED lamp. This finalizes the milky white gradient base before you move on to drawing the star details.
Tip: Check that the edges are perfectly blended before curing, as you cannot adjust them once the gel is set. - 11Draw the star outline
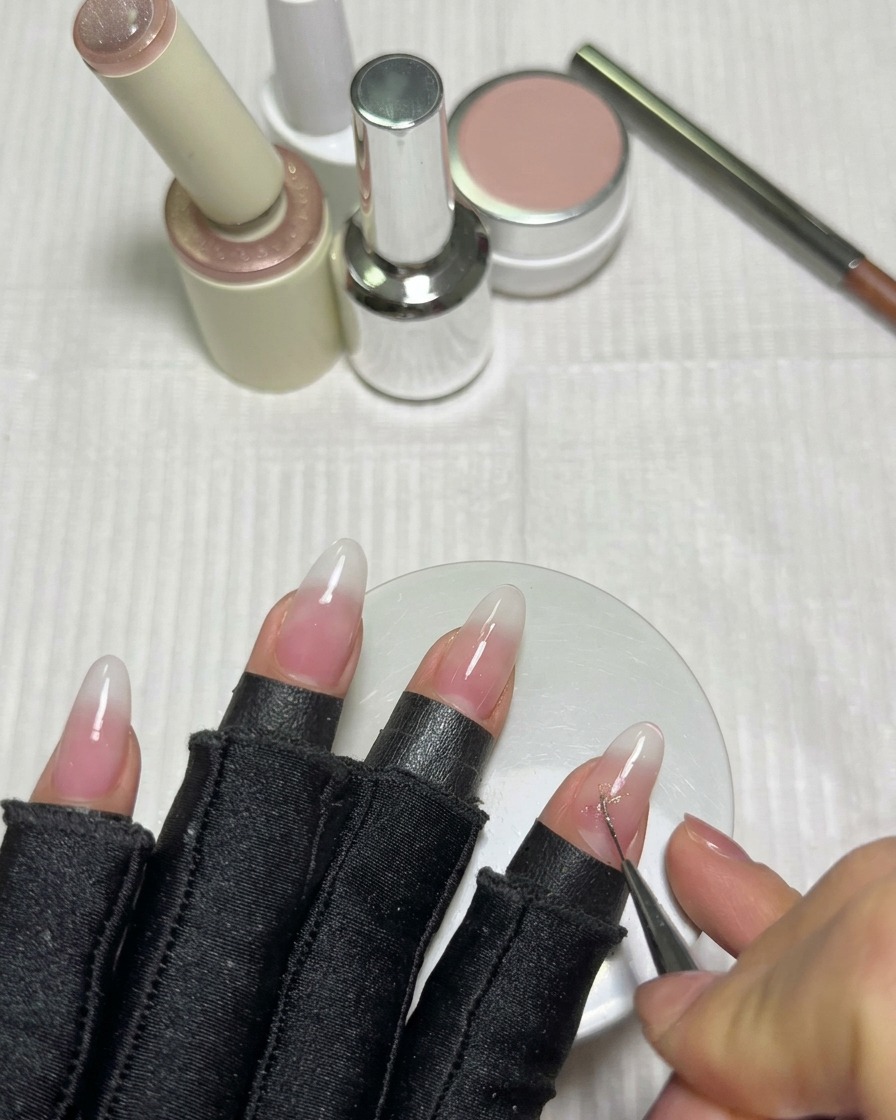
Using a fine liner brush loaded with pink magnetic cat-eye gel, begin outlining a five-point star on the nail. Start by drawing five intersecting lines to map out the basic skeletal shape and placement of the star.
Tip: A long liner brush is highly recommended for this step as it helps maintain straight and steady lines. - 12Fill and refine the star
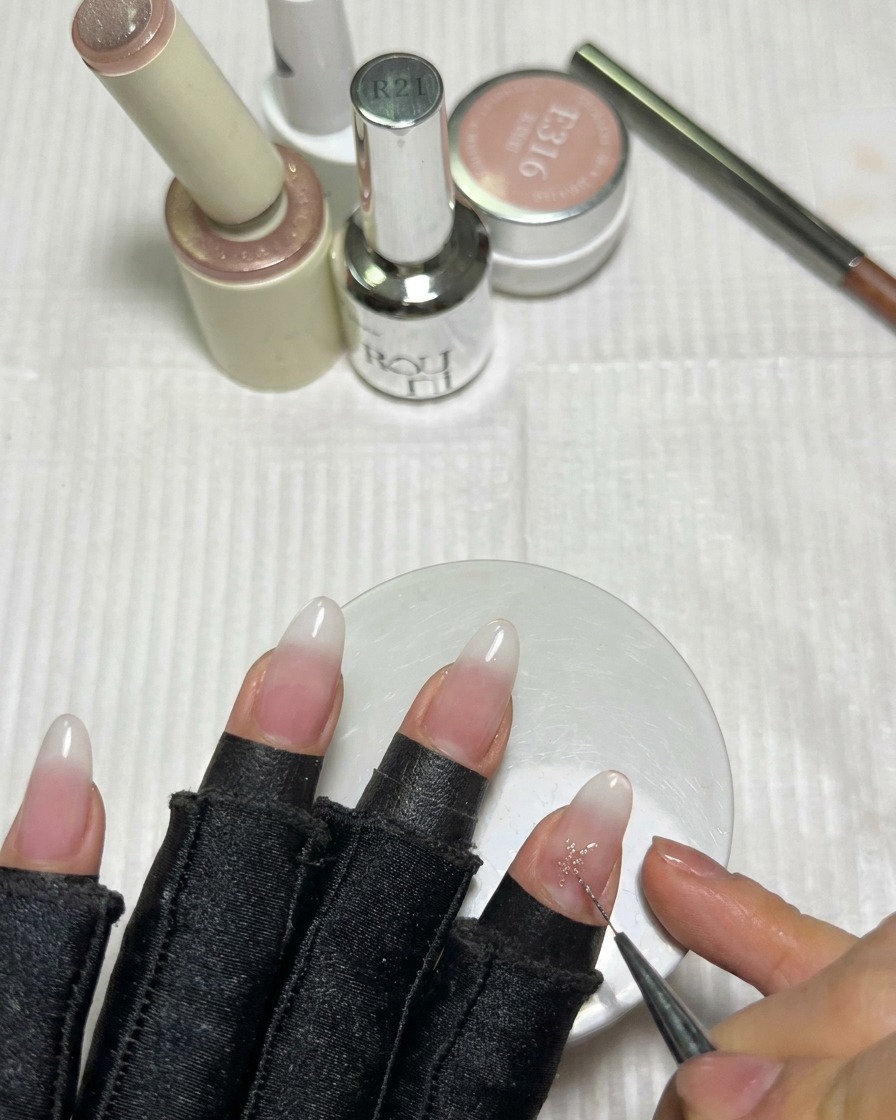
Once the foundational lines are drawn, use your liner brush to carefully fill in the center of the star. Gently pull the gel outward to sharpen each of the five points, ensuring the shape is crisp and clearly defined.
Tip: Work with a light hand to avoid applying too much bulk, keeping the star design flat against the nail surface. - 13Activate the cat-eye shimmer
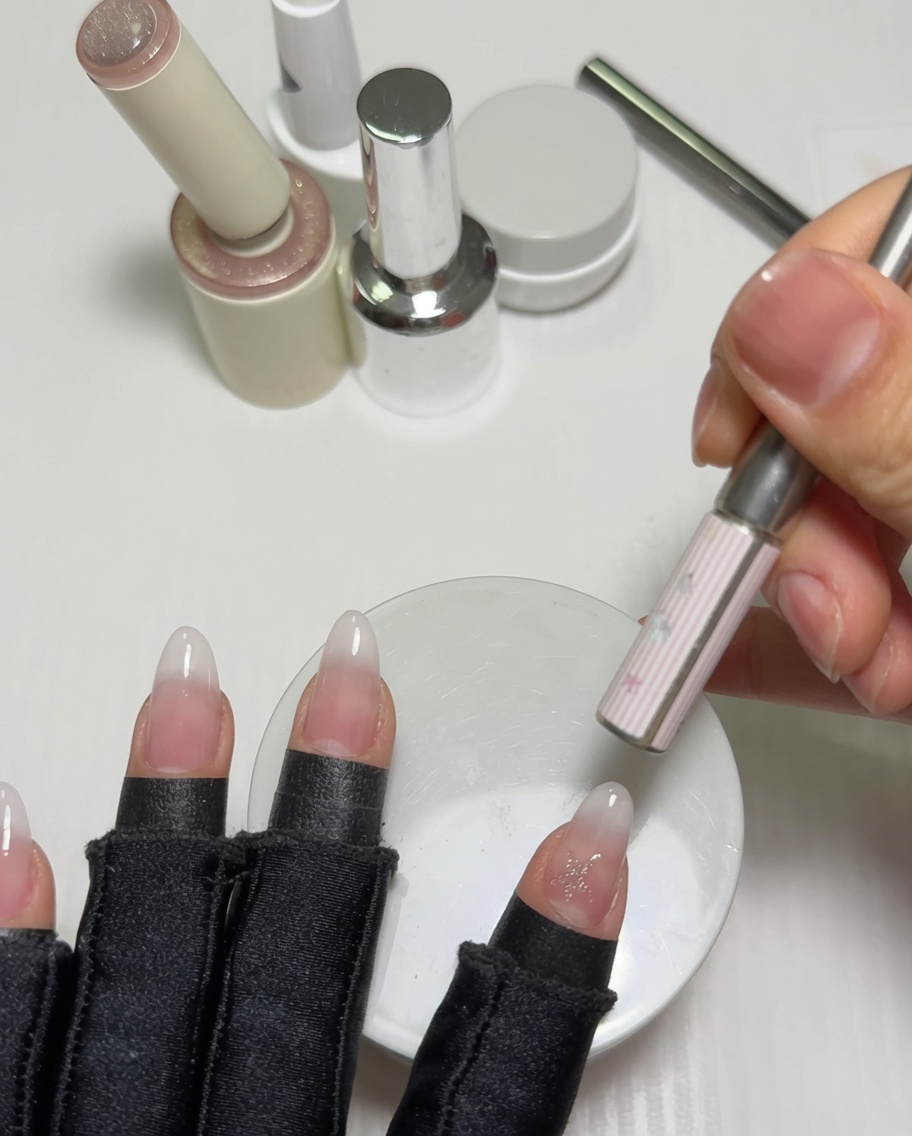
Hover a cylindrical magnet closely parallel to the nail surface for 5–10 seconds to activate the magnetic cat-eye shimmer in the star. This creates the strongest visual impact before you set the polish.
Tip: Keep the magnet as close to the wet gel as possible without making contact to achieve the strongest and sharpest magnetic effect. - 14Cure the star design
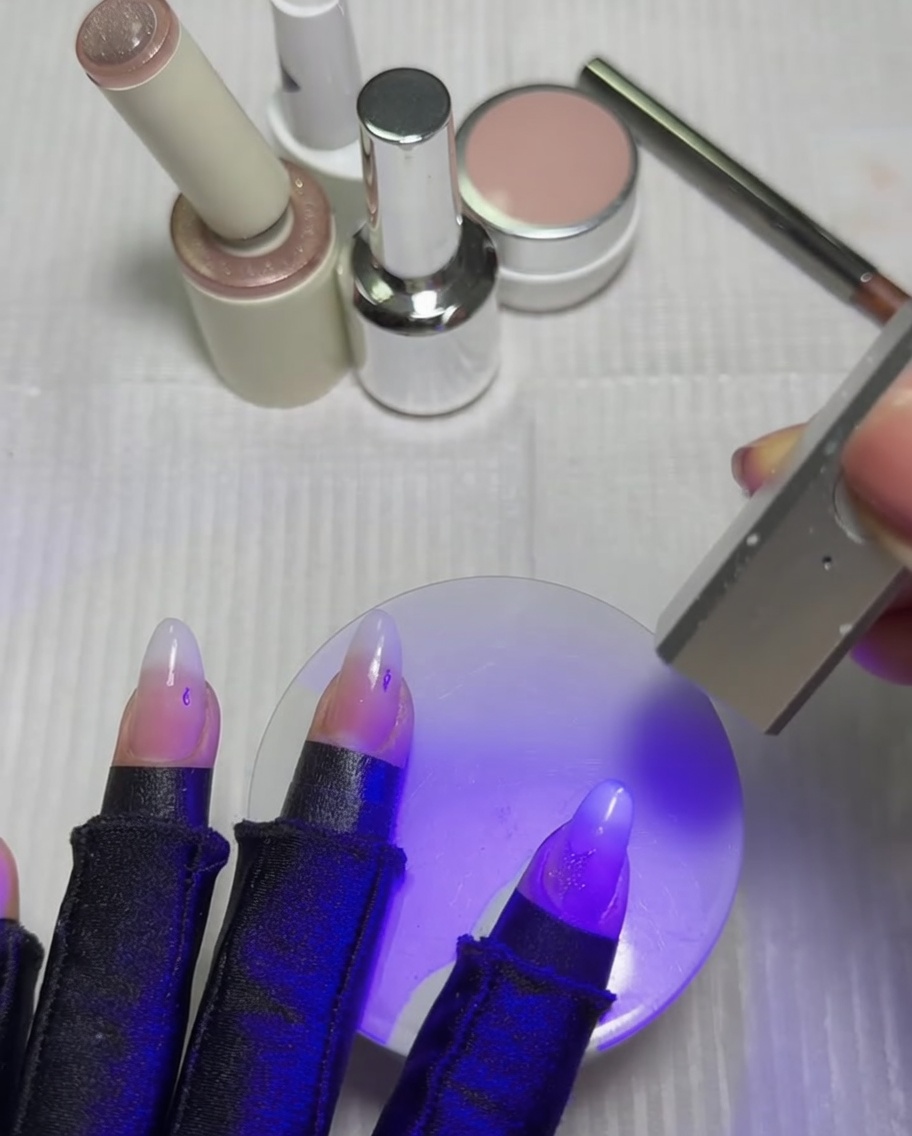
Immediately place your hand under the UV or LED lamp to cure the design. This quickly locks the magnetic particles in place so the star retains its bright, activated shine without the particles dispersing back into the gel.
Tip: Always cure magnetic gel immediately after using the magnet, as the effect will start to fade or spread if left uncured for too long. - 15Paint cat-eye star on the thumb
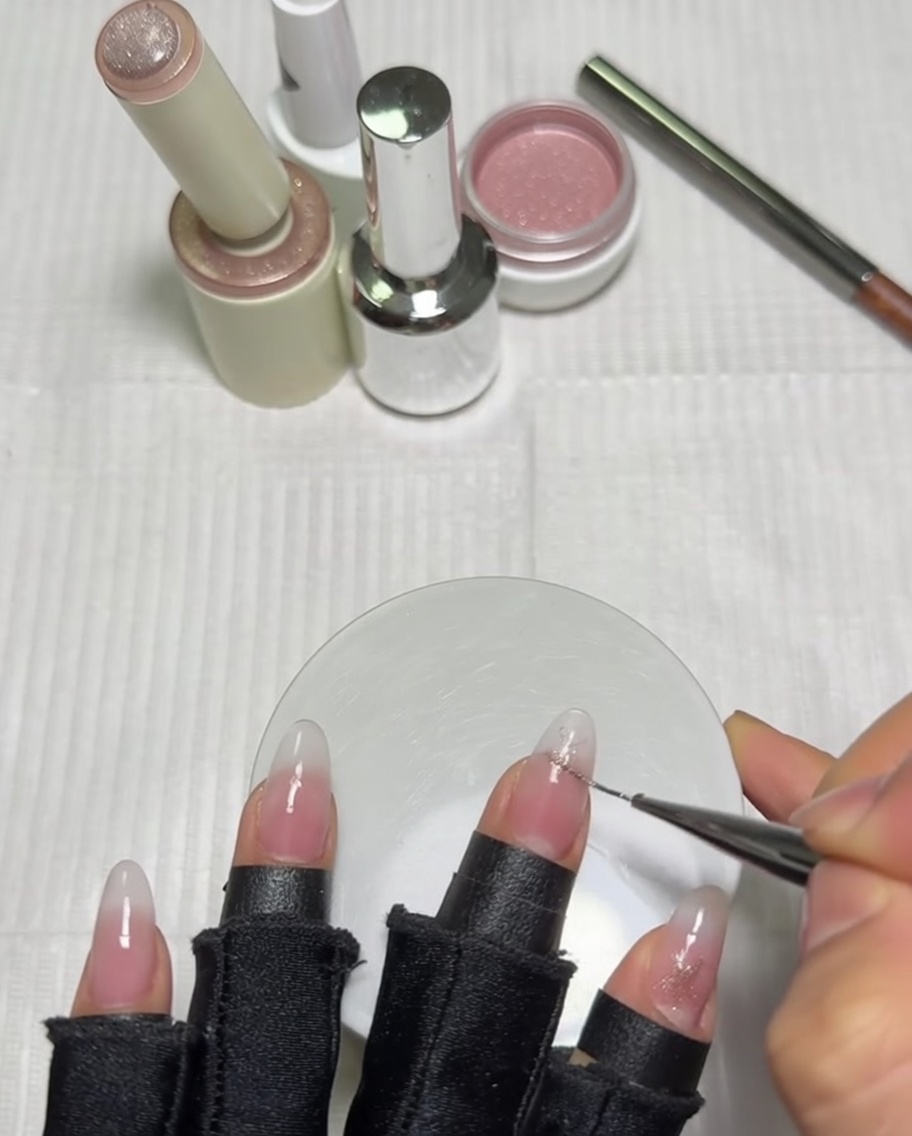
Using a long liner brush, carefully draw a star shape onto the thumb nail using the pink cat-eye gel polish. Create the star by drawing five intersecting lines and then fill them in to add dimension and detail, following the technique used for the other fingers.
Tip: A long liner brush provides better control for drawing intricate details like stars; keep your hand steady for crisp lines. - 16Activate cat-eye magnetic shine
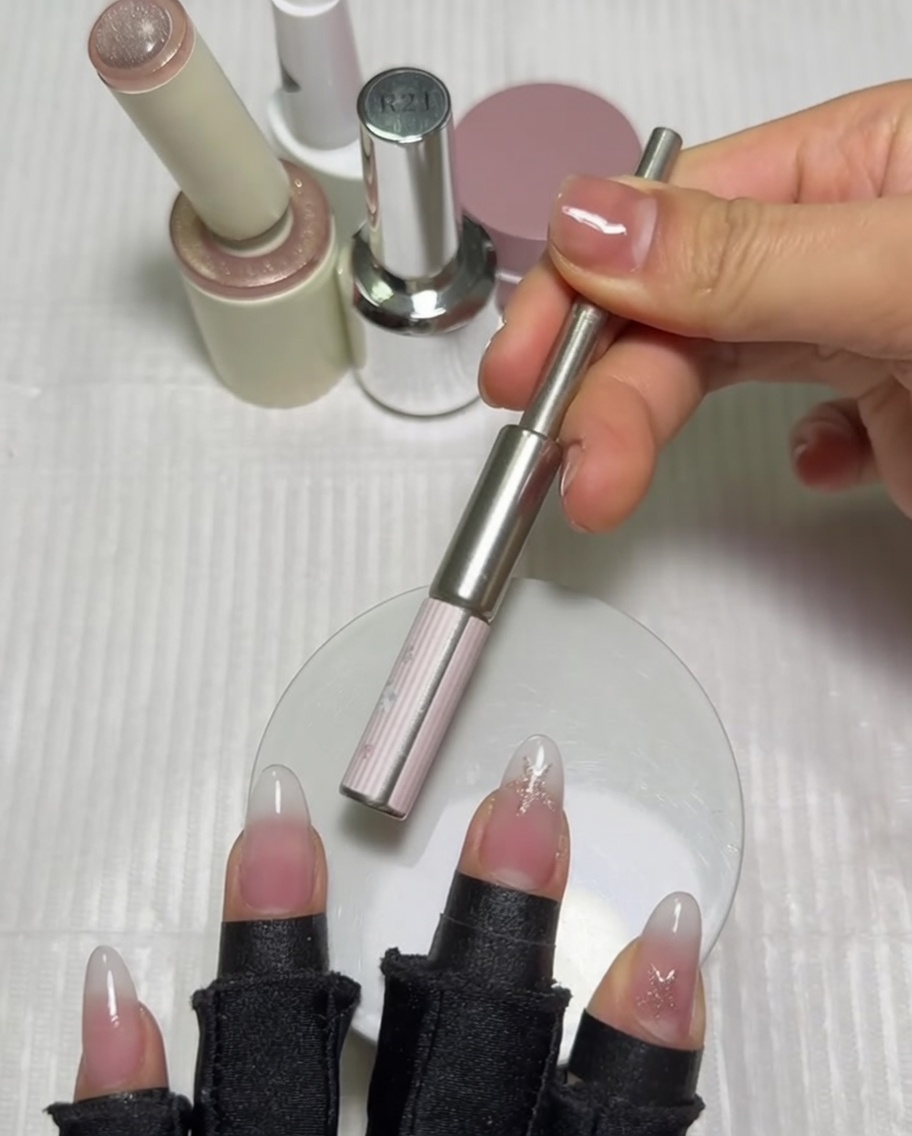
Hold the cylindrical magnet flat and parallel to the surface of the thumb nail. Keep it close to the nail for a few seconds to pull the magnetic particles into the desired shape, creating the characteristic cat-eye glow and brightness.
Tip: Keeping the magnet parallel to the nail surface is crucial for pulling the magnetic powder effectively and achieving a uniform, bright shine. - 17Cure the thumb nail
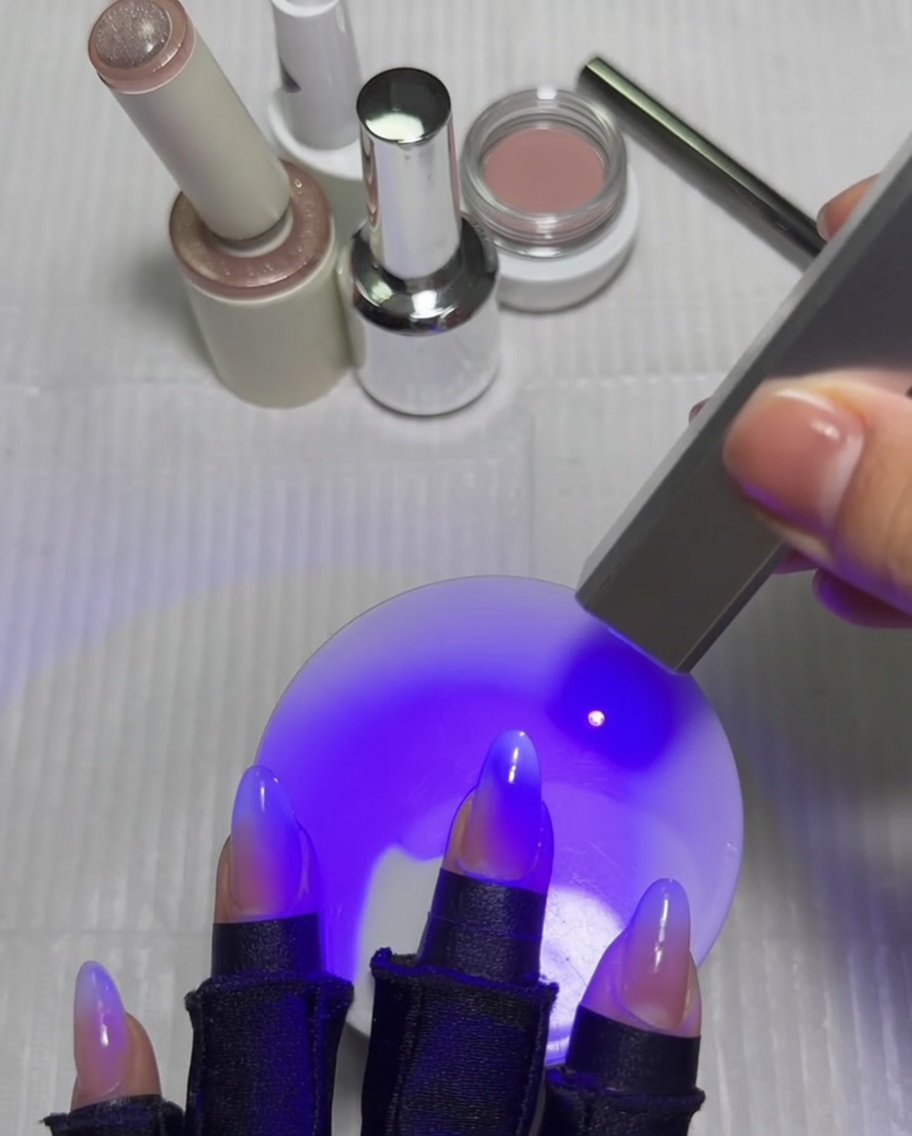
Place the thumb under the UV or LED lamp to cure the star design and the activated cat-eye magnetic effect. This ensures the polish sets completely and locks in the shine.
Tip: Ensure the thumb is positioned directly under the light source for an even cure, as the thumb often sits at a different angle than the other fingers. - 18Apply clear top coat
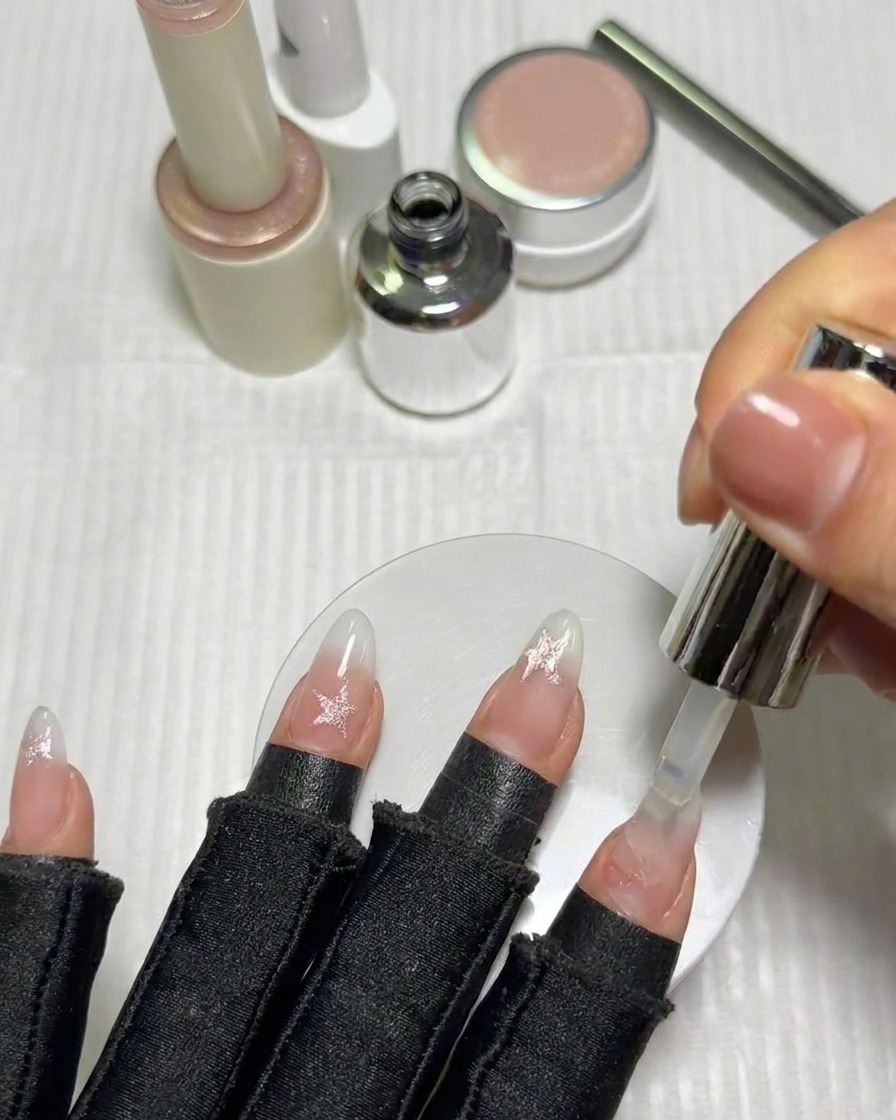
Apply a generous layer of clear top coat over the entire nail surface to seal and protect the star design. This adds a protective layer that ensures the longevity of the manicure.
Tip: I am using the Rouni R21 top coat, which has a resilient brush head that makes application smooth and provides an extremely clear, shiny finish. - 19Final cure
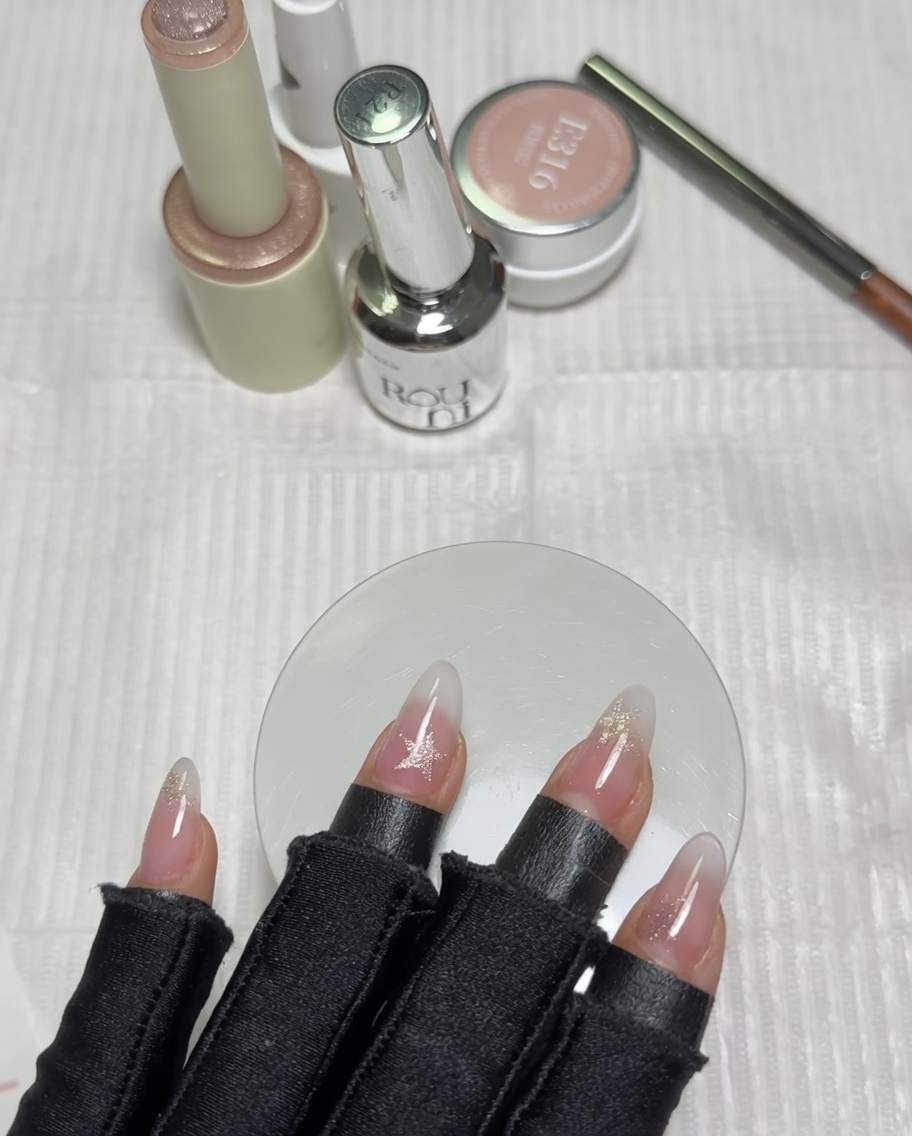
Place your hand under the UV or LED lamp for a final cure to harden the top coat. This step locks in the entire design, ensuring a durable, high-gloss finish.
Tip: Ensure all fingers are fully under the light to guarantee that the top coat cures evenly across the entire hand.