Baby Blue Gradient Cat-Eye Nails — Step-by-Step Tutorial
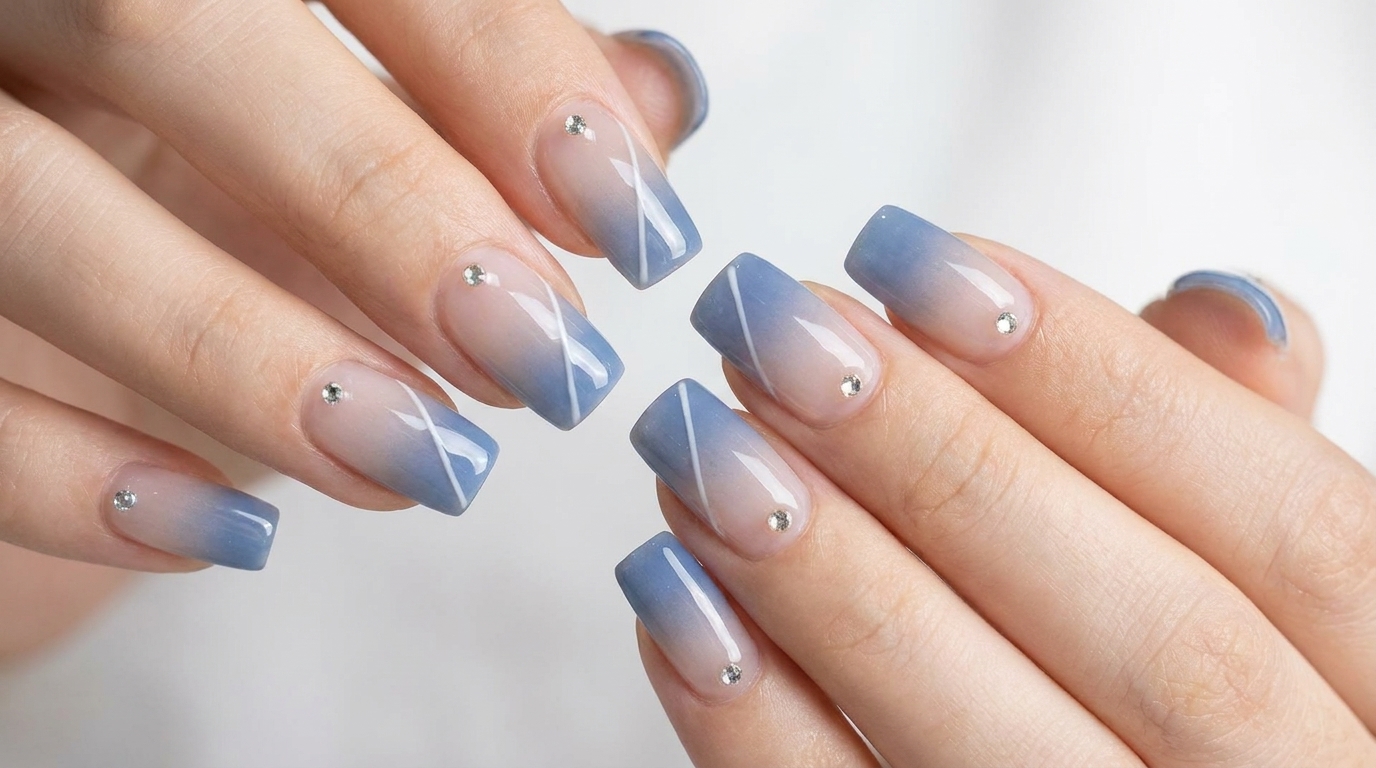
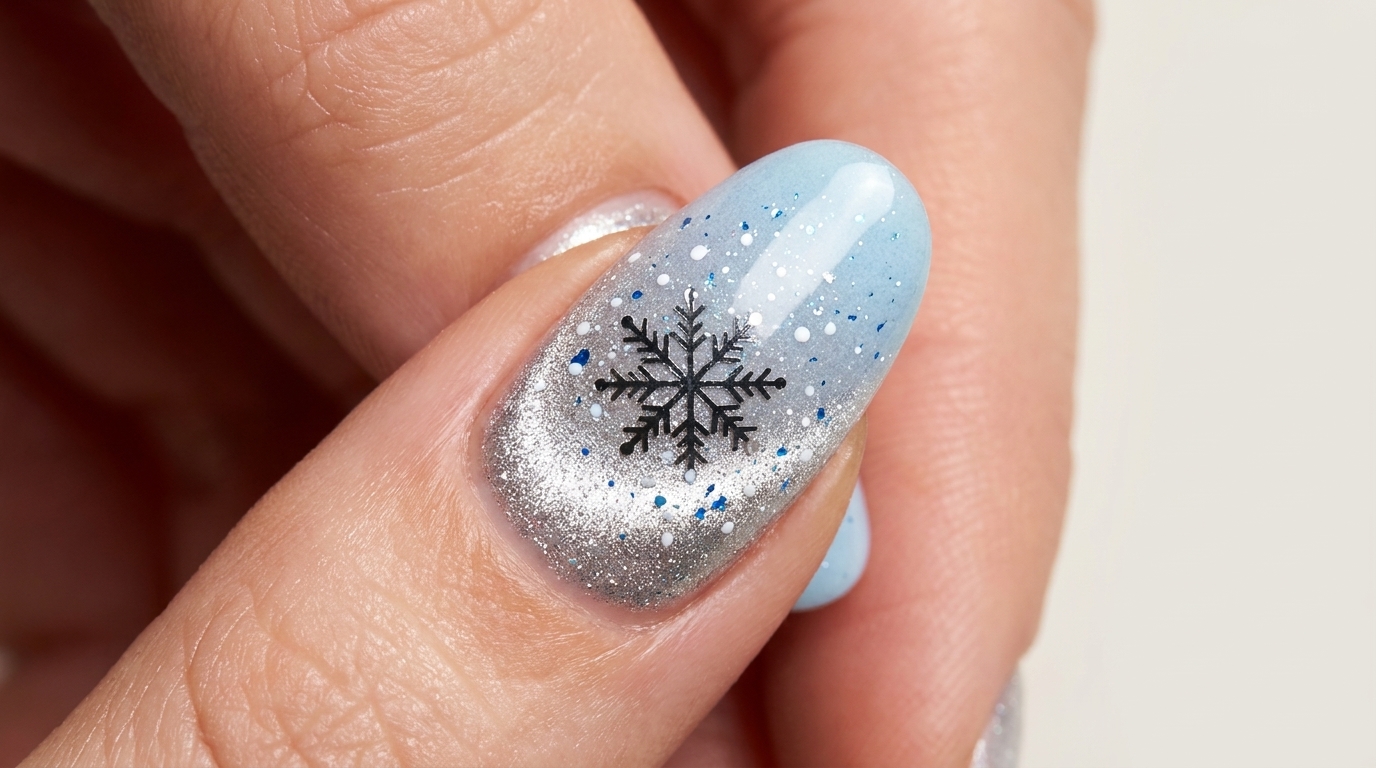
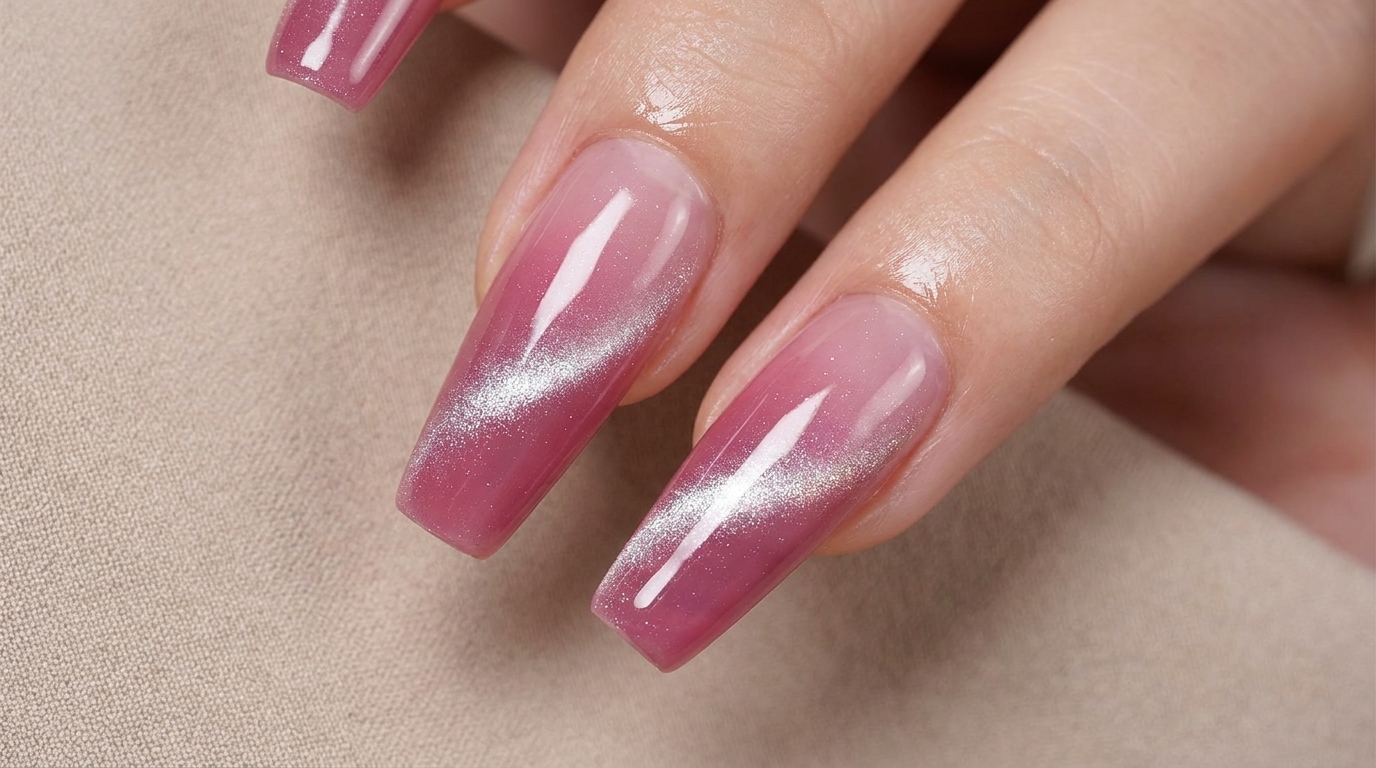
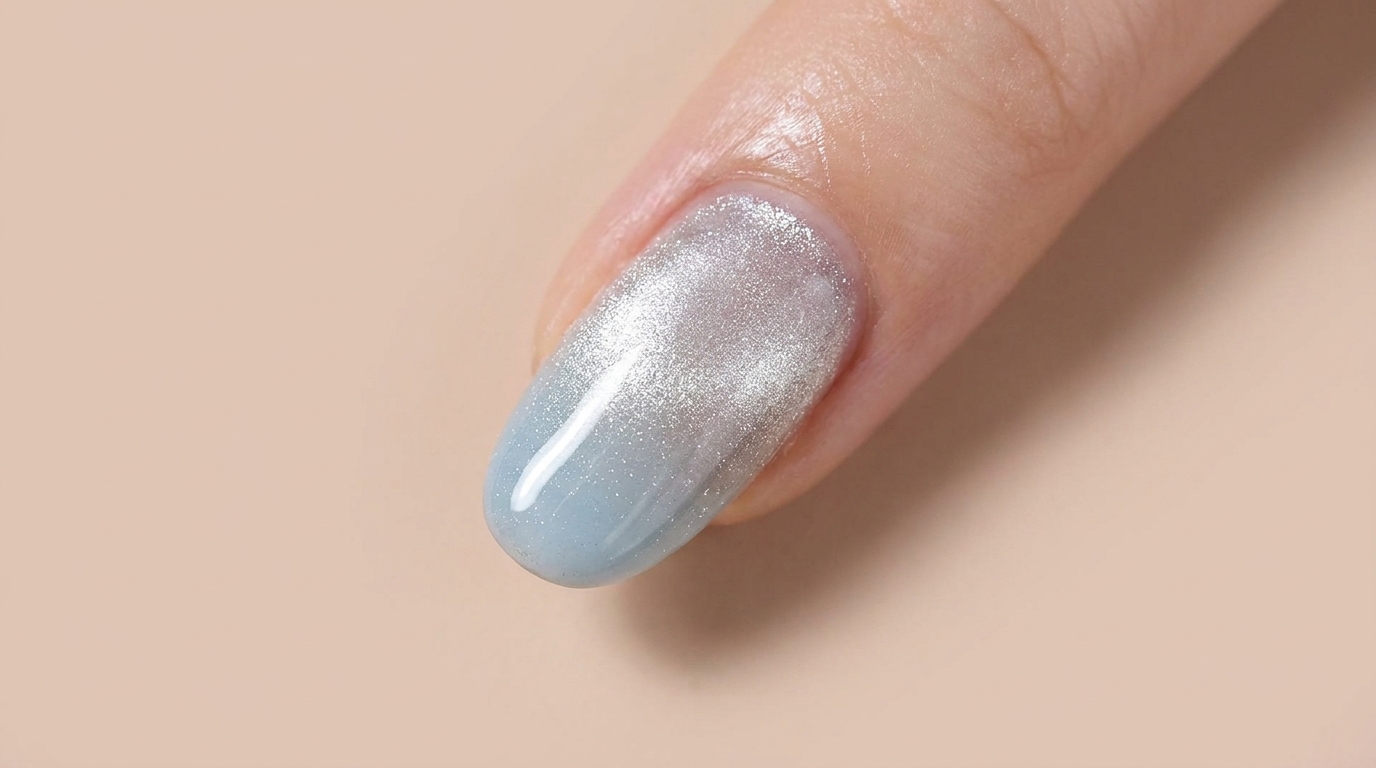
Elevate your manicure with this dreamy baby blue gradient featuring a mesmerizing magnetic cat-eye finish for an ethereal, glowing look.
The fusion of a soft blue gradient with a shimmering cat-eye effect creates a sophisticated, modern manicure that catches the light beautifully. This style relies on strategic layering and magnetic manipulation to achieve its signature deep, luminous glow. Perfect for those who love ethereal, high-shine designs with a touch of artistic flair.
Steps
- 1Apply Blue Gel to Nail Tip
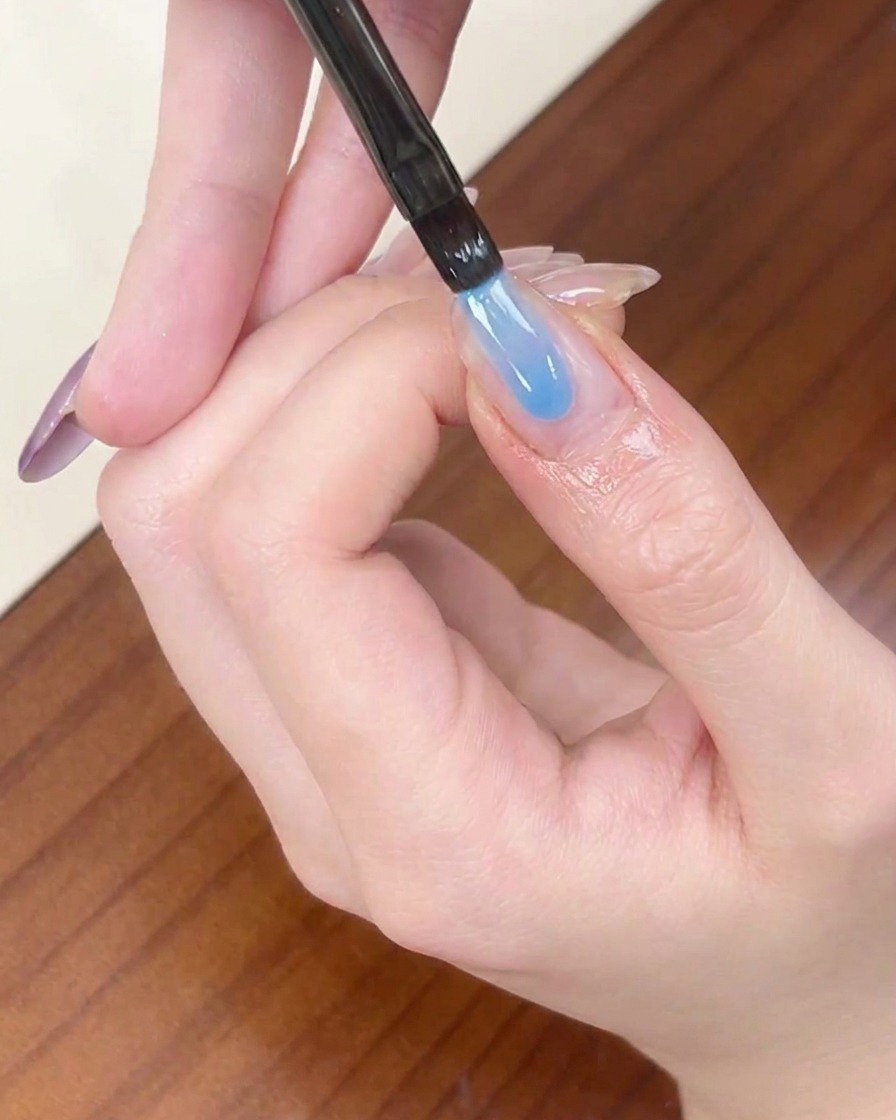
Using a liner brush, apply a thin layer of blue gel polish directly to the free edge of the prepped nail. Concentrate the color at the very tip, as this will act as the base for your upcoming gradient effect.
Tip: Keep the gel application thin to prevent it from pooling at the free edge and to make blending much easier in the next step. - 2Blend the Blue Gradient
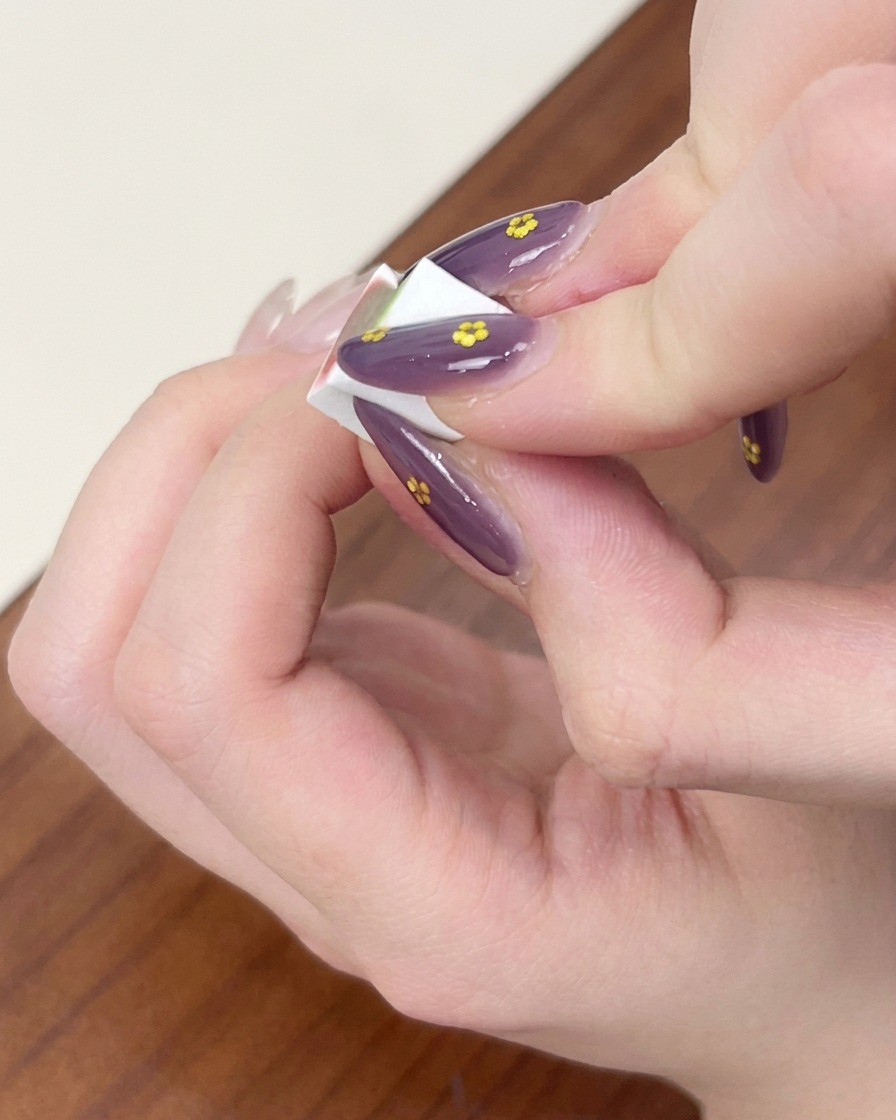
Take a small, clean piece of a makeup sponge and gently dab the inner edge of the blue gel. Lightly pat the color upwards toward the middle of the nail bed to feather it out, creating a smooth, seamless ombre effect.
Tip: If the gradient appears patchy or if the sponge absorbs too much product, apply a tiny amount of extra blue gel to the tip and dab again to blend. - 3Cure the blue gradient
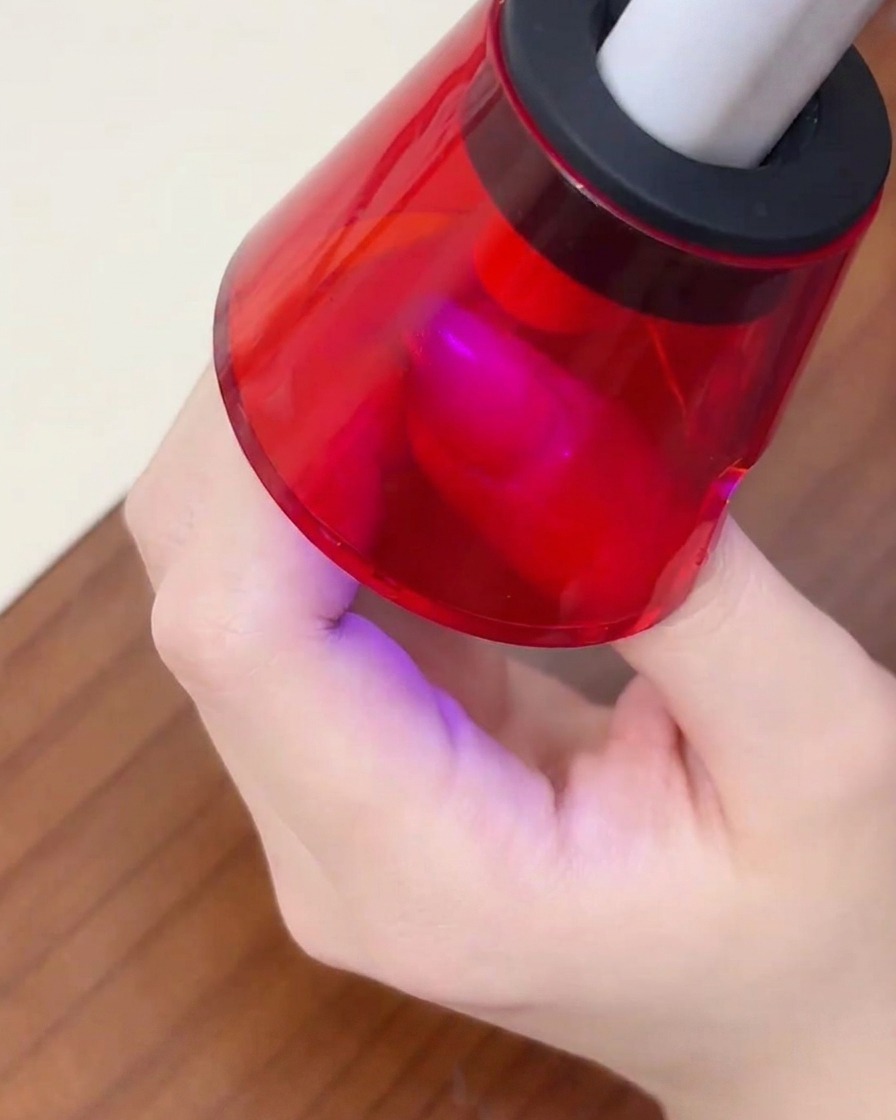
Once you are satisfied with the blended blue gradient at the tip, place the nail under a mini portable UV or LED lamp to cure. Ensure it is fully set before moving on to the next layer to prevent the colors from smudging.
Tip: Using a mini portable lamp is great for flash-curing individual fingers quickly during intricate art. - 4Apply Cat-Eye Gel Polish
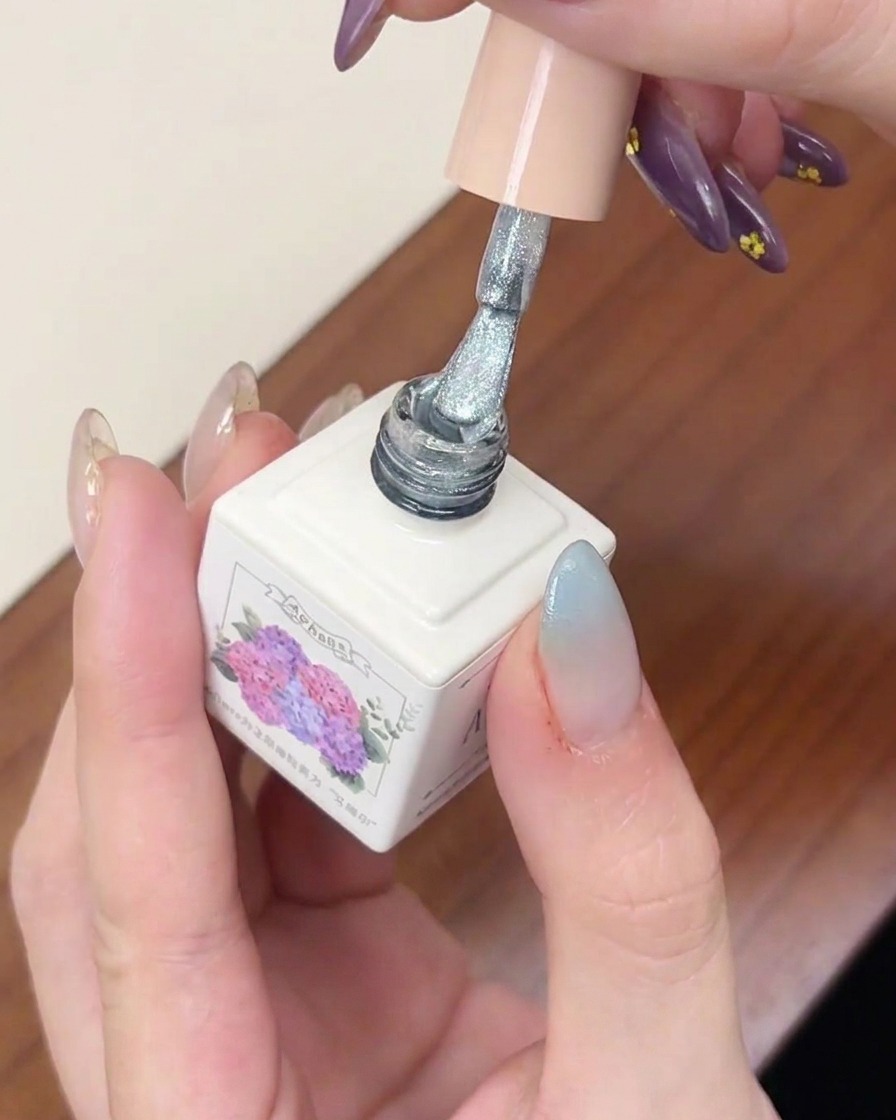
After curing the blue gradient, apply a full, even coat of shimmery white cat-eye gel polish over the entire surface of the nail. Do not cure this layer yet, as it needs to remain completely wet for the magnet to work properly.
Tip: Make sure this coat is applied evenly, as any patchiness or pooling can disrupt the way the magnetic particles move and settle. - 5Magnetize the Cat-Eye Effect
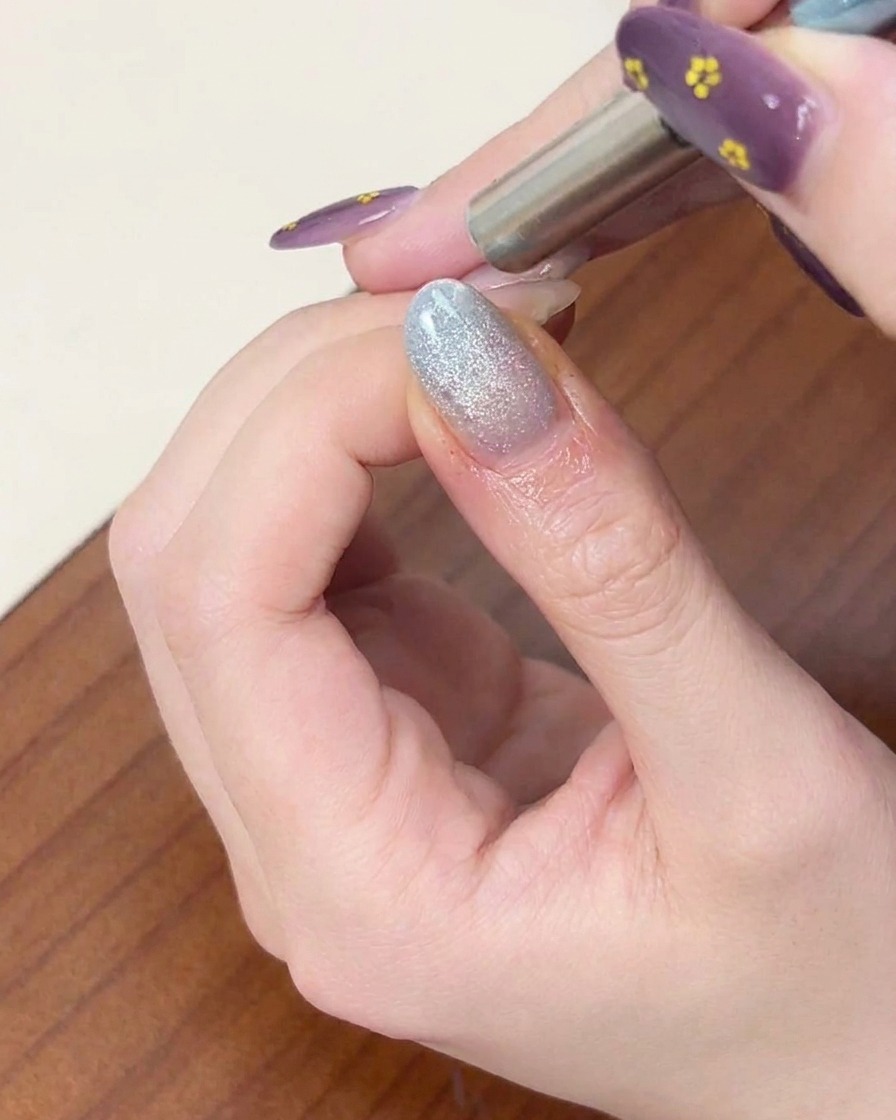
While the cat-eye gel is still wet, hold a cylindrical magnet close to the side of the nail. Slowly sweep the magnet back and forth to push and pull the magnetic particles until you achieve a glowing, illuminated look across the nail.
Tip: Hover the magnet as close to the nail surface as possible without accidentally touching the wet polish to get the sharpest magnetic shift. - 6Cure the cat-eye gel
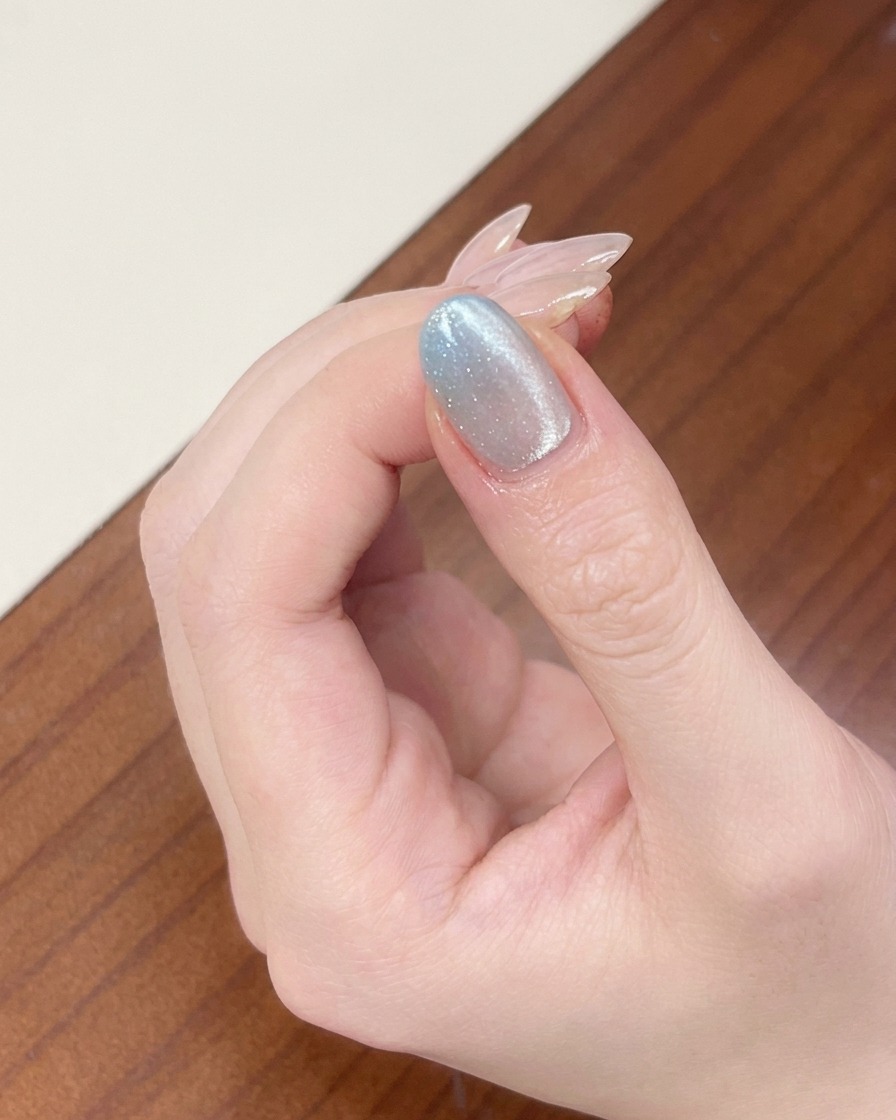
Place your nail under the mini portable UV/LED lamp to cure the shimmery cat-eye gel polish. Ensure the nail is positioned directly under the light for the full recommended curing time to set the magnetic effect and harden the polish.
Tip: Keep your finger steady inside the lamp to avoid any smudging or shifting of the cat-eye shimmer while it cures. - 7Deepen the blue gradient tip
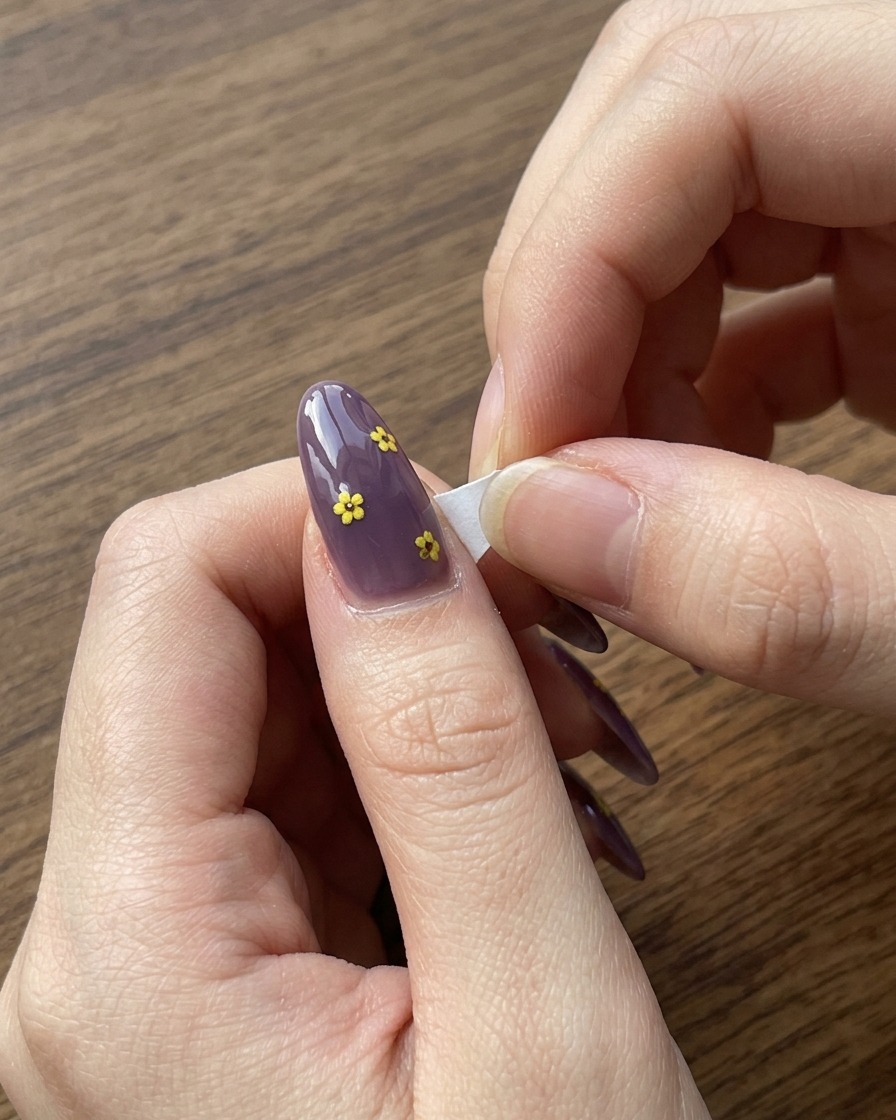
Apply a small amount of the original blue gel polish onto a clean sponge. Carefully dab the sponge onto the tip of the nail to layer and intensify the blue color, deepening the gradient effect established in earlier steps.
Tip: Use a light dabbing motion with the sponge to avoid pulling up the layers of polish underneath. - 8Final cure of the blue tip
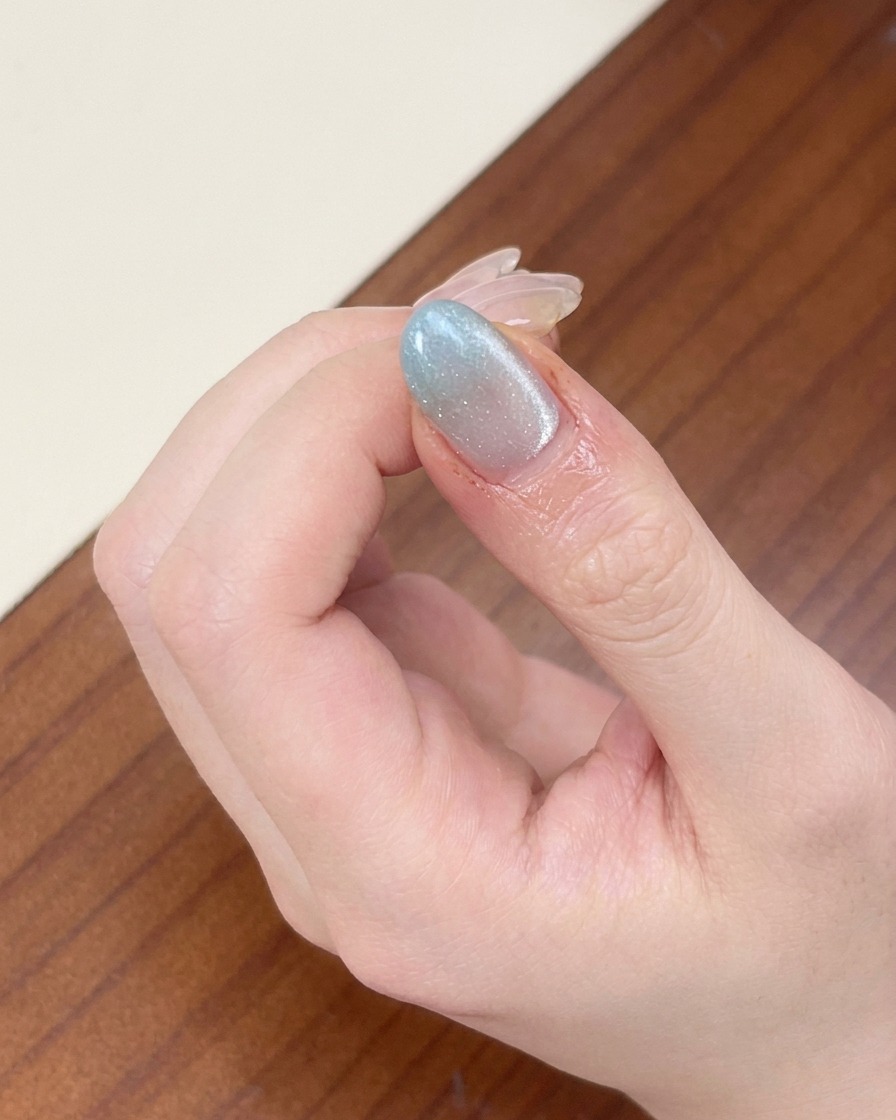
Place the nail under the mini portable UV/LED lamp one final time to cure the newly applied blue polish on the tip. This ensures the intensified color layer is fully set and durable.
Tip: Check that the nail is positioned correctly under the lamp to ensure an even and complete cure for this final color layer. - 9Apply clear top coat
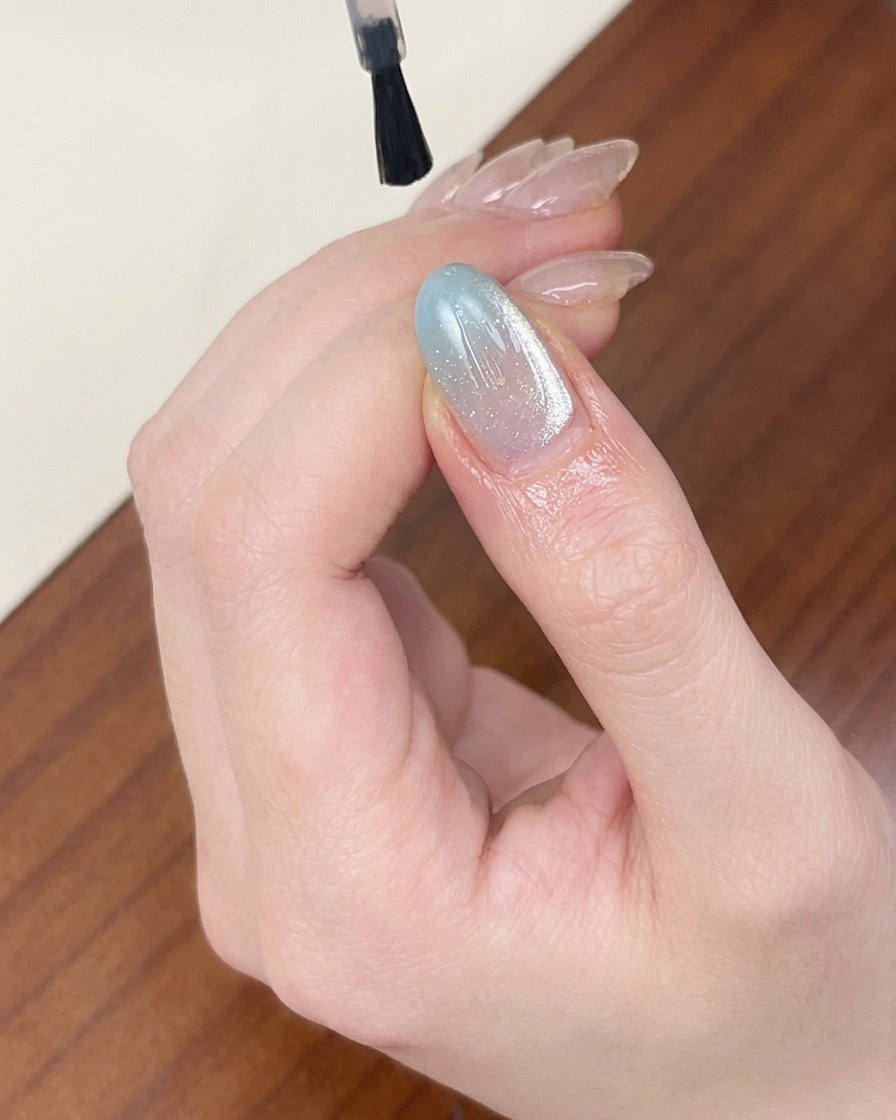
To seal in the beautiful blue gradient and cat-eye effect, apply an even layer of clear glossy top coat over the entire nail. Make sure to cap the free edge for maximum longevity and protection against chipping.
Tip: Floating the top coat brush slightly over the nail surface helps prevent dragging any of the delicate pigments underneath. - 10Final cure
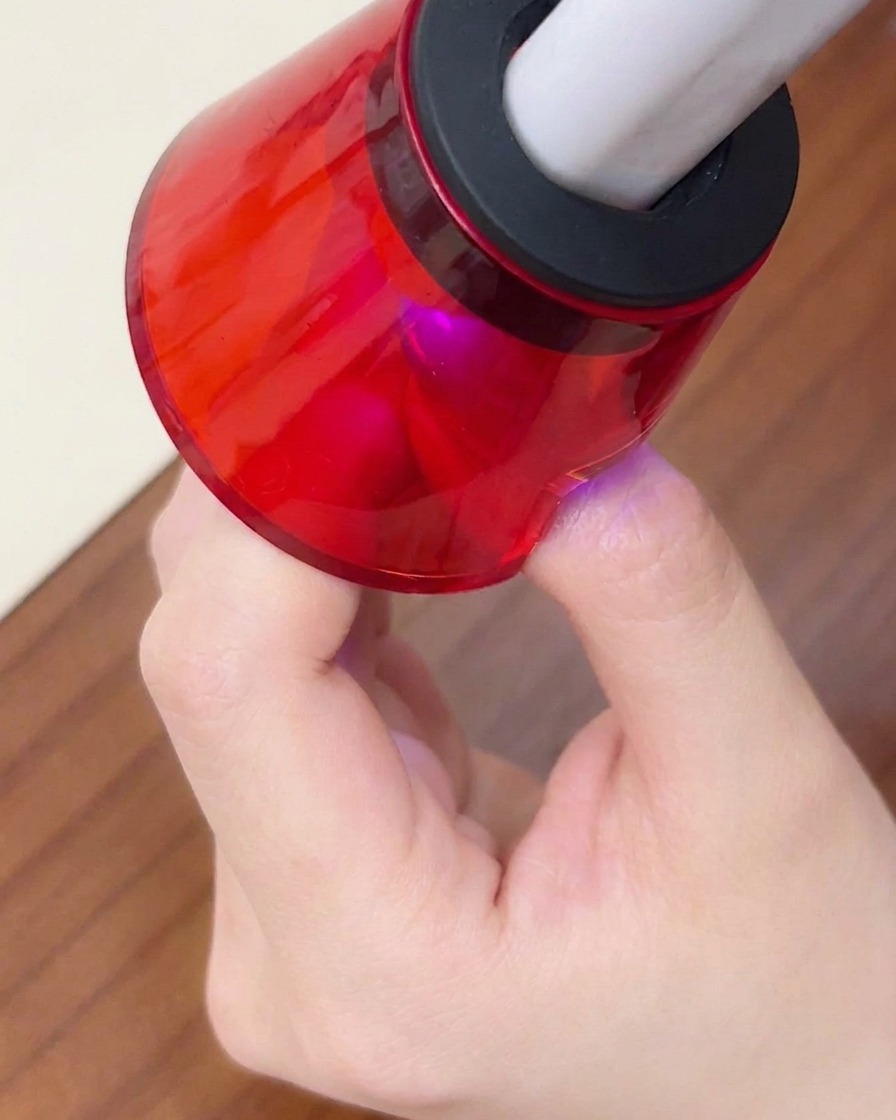
Place the nail under the mini portable UV/LED lamp one last time to fully cure the top coat. Follow the manufacturers guidelines for curing time to ensure a durable, high-gloss finish.
Tip: A complete final cure is essential for locking in the design and achieving maximum shine.