Blue Gradient Gel Nails
Rhinestone Art — Step-by-Step Tutorial
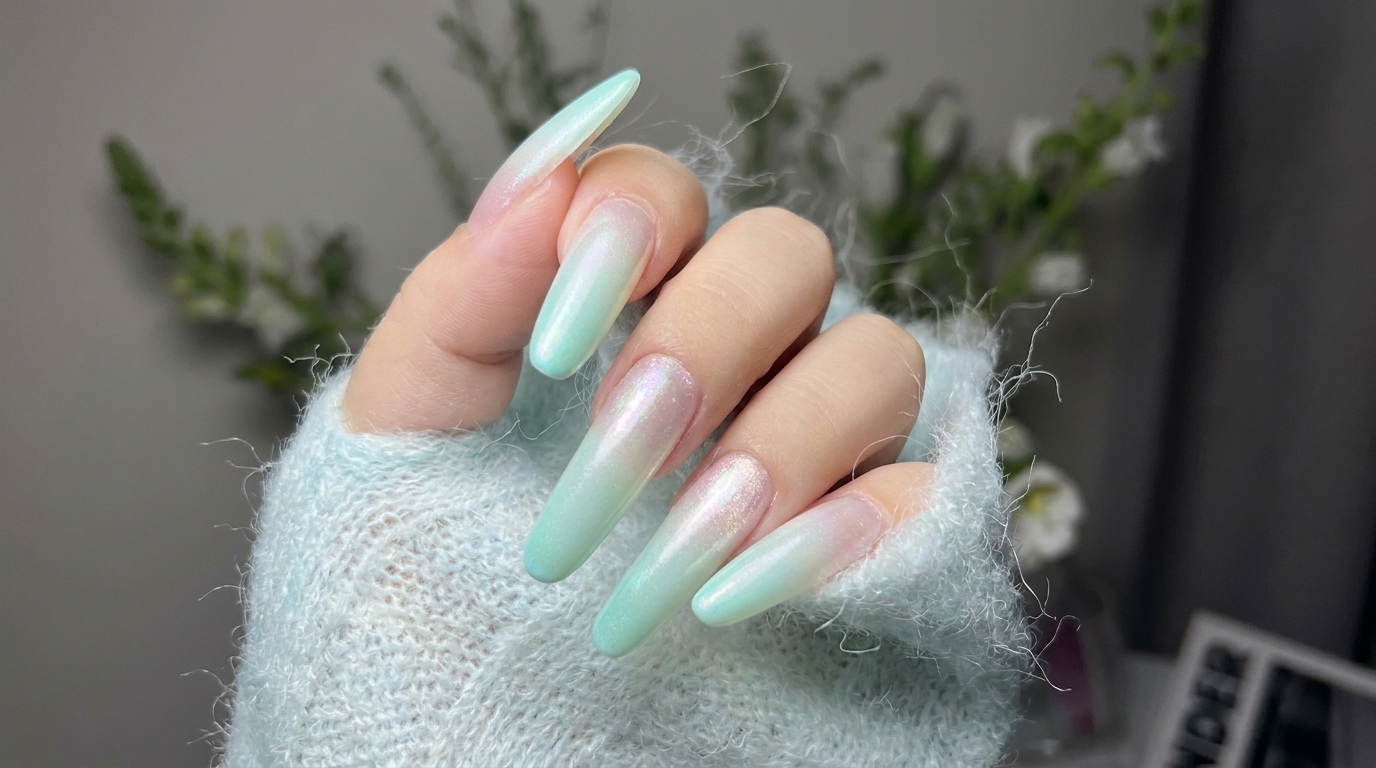
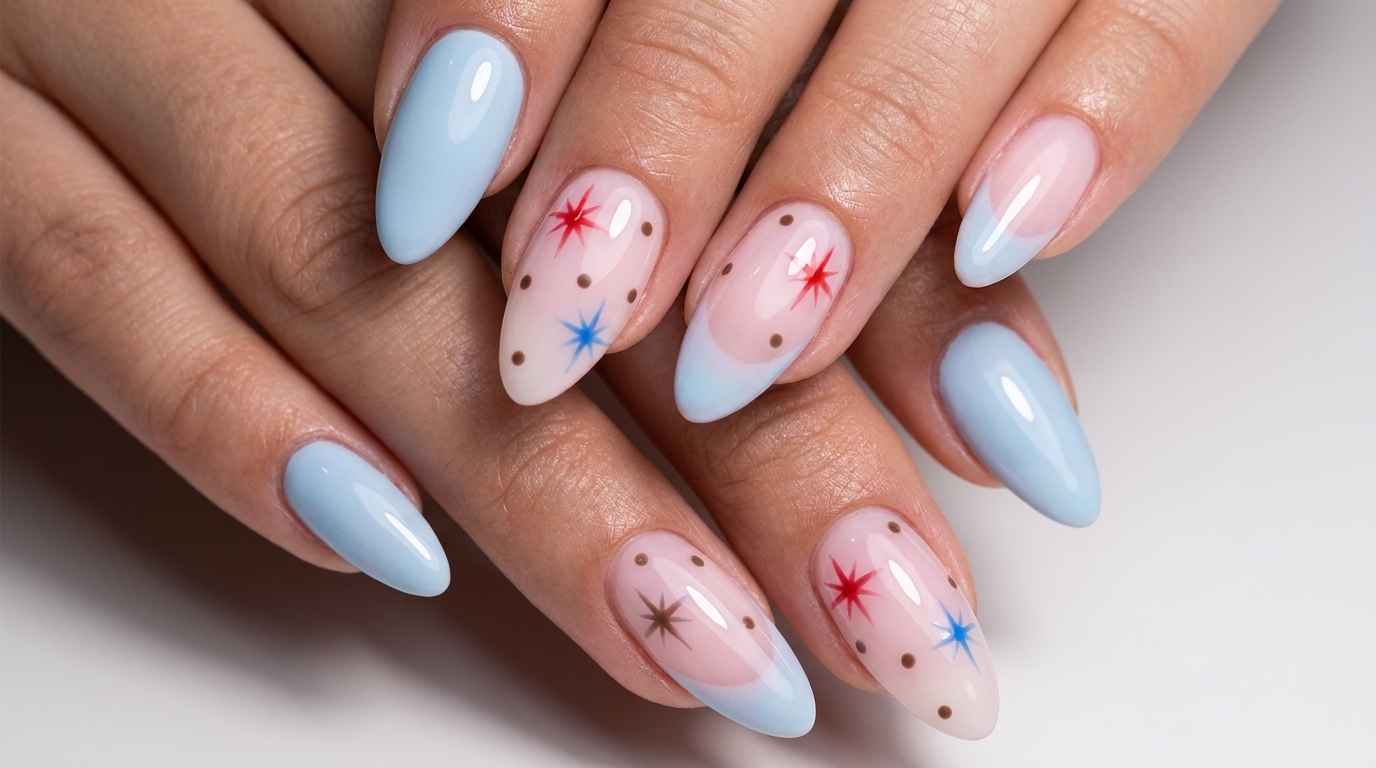
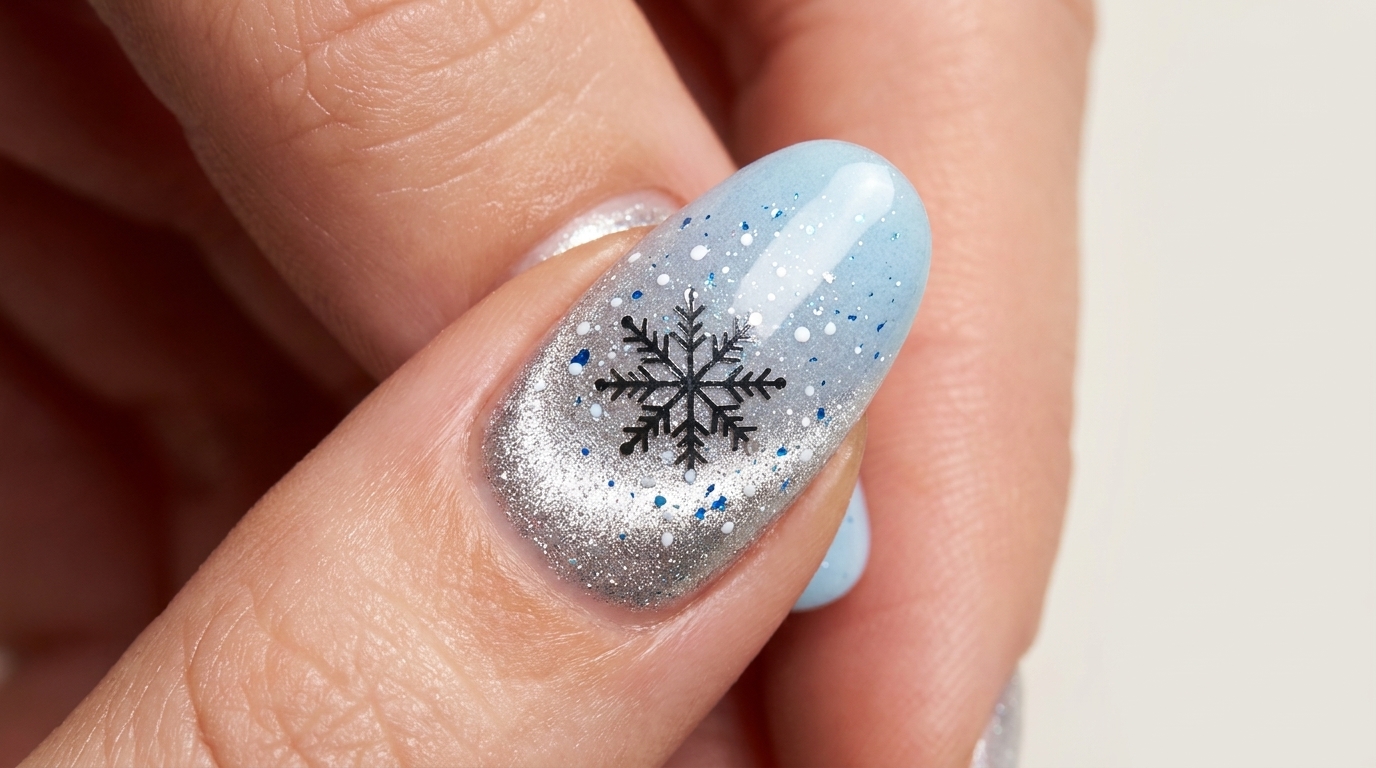
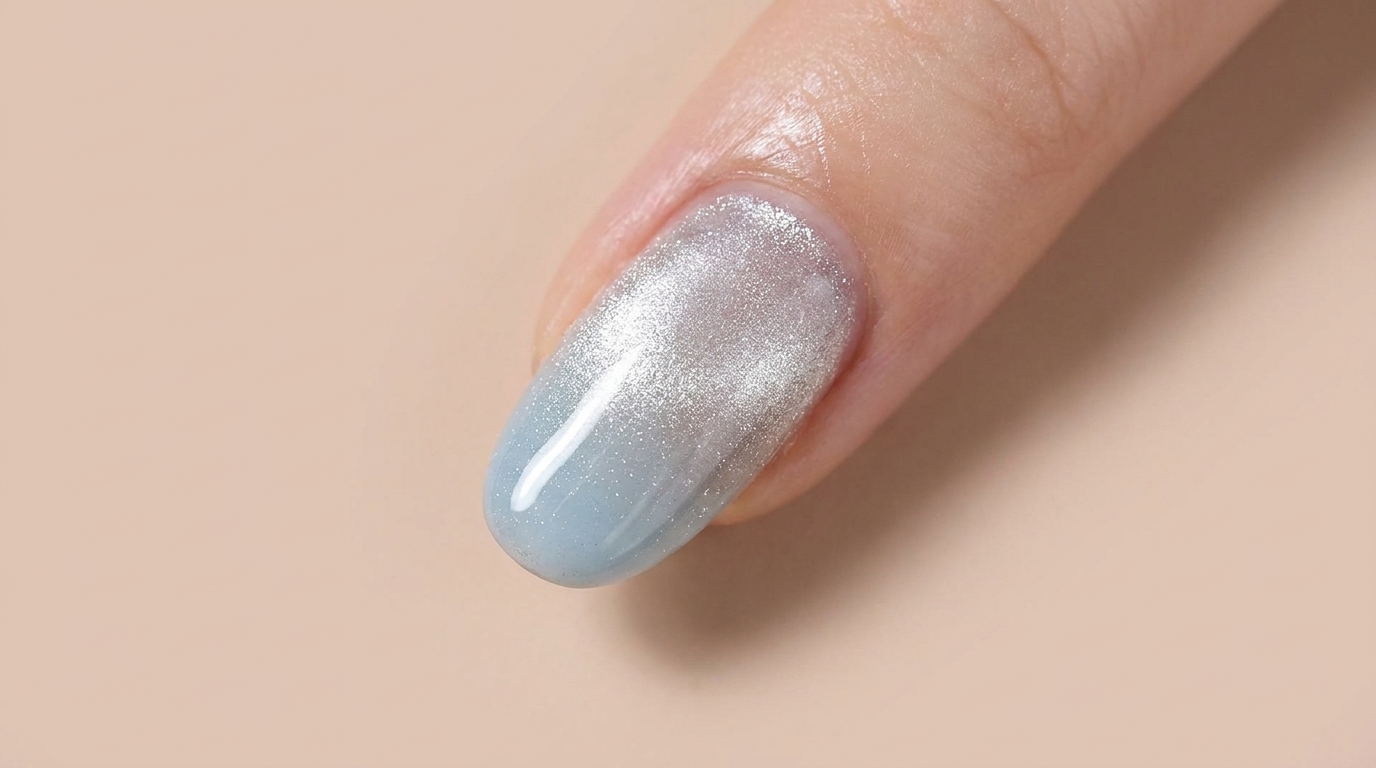
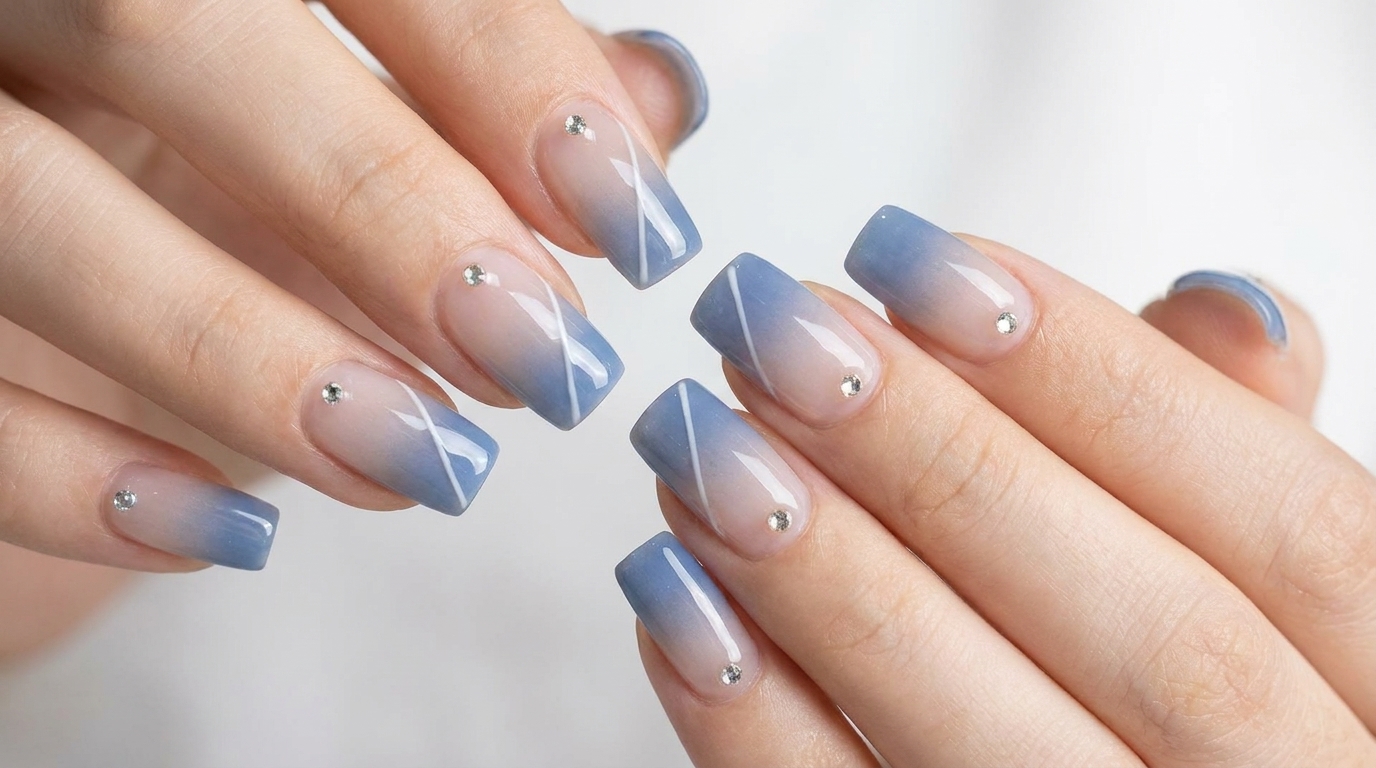
Create a stunning blue gradient gel nail design. This step-by-step tutorial features a soft ombre transition, crisp white lines, and delicate rhinestones.
Blue gradient nails offer a tranquil and sophisticated aesthetic that looks beautiful on any nail shape. By blending a dusty blue gel polish into a sheer or clear base, you can achieve a seamless and airy ombre effect. The addition of a minimalist diagonal white line and a single rhinestone elevates the design, giving it a refined, salon-quality finish.
Steps
- 1Apply blue gel to the tips
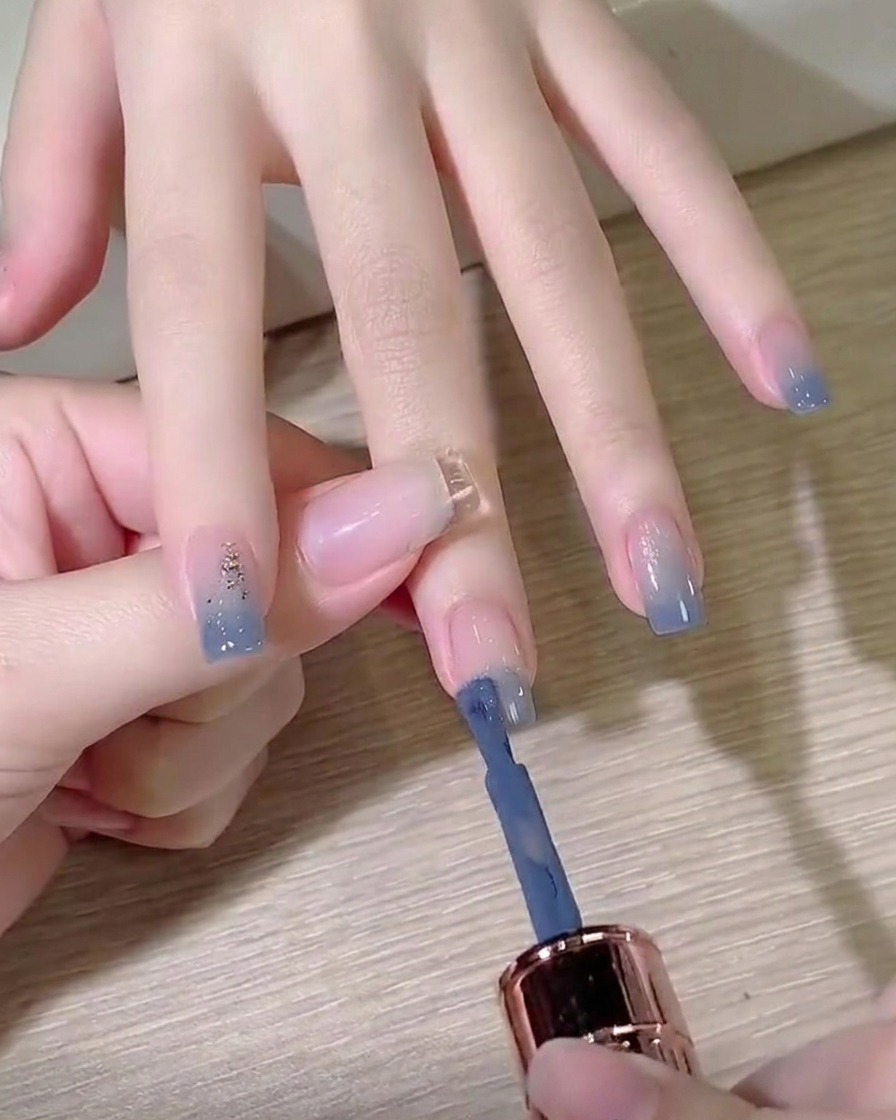
Using the brush from the bottle, apply a layer of dusty blue gel polish across the free edge of the nail. You do not need to make the inner edge perfectly neat, as this will be blended out shortly to create our gradient effect. Ensure you have enough product deposited to achieve a solid color at the very tip.
Tip: Keep your application relatively thin. A thick layer of gel polish can wrinkle or fail to cure properly underneath the UV light. - 2Create the blue gradient
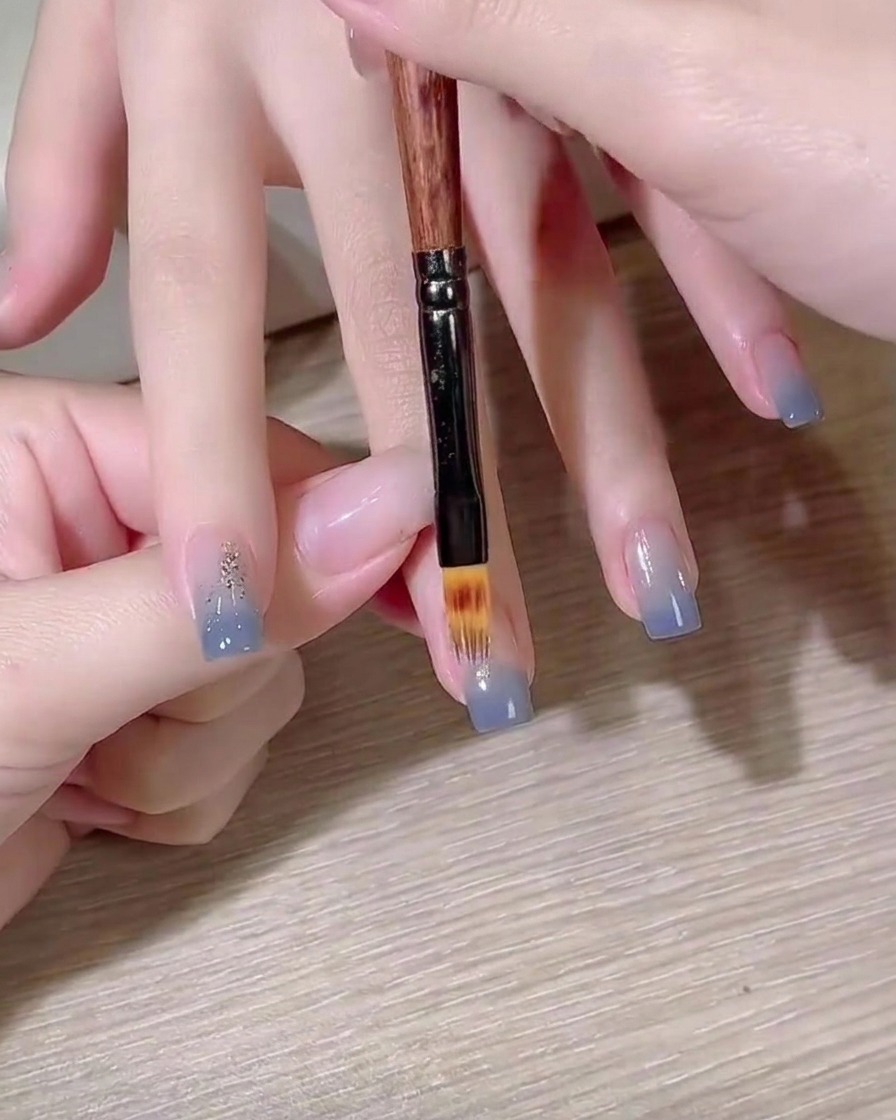
Take a clean flat brush to gently blend the blue gel polish upward from the tip toward the cuticle. Use light, feathery strokes to transition the color, ensuring the gradient remains soft and seamless without harsh lines.
Tip: Keep the brush slightly damp with a bit of base coat or slip solution to help the gel blend smoothly without dragging. - 3Apply fine line detail
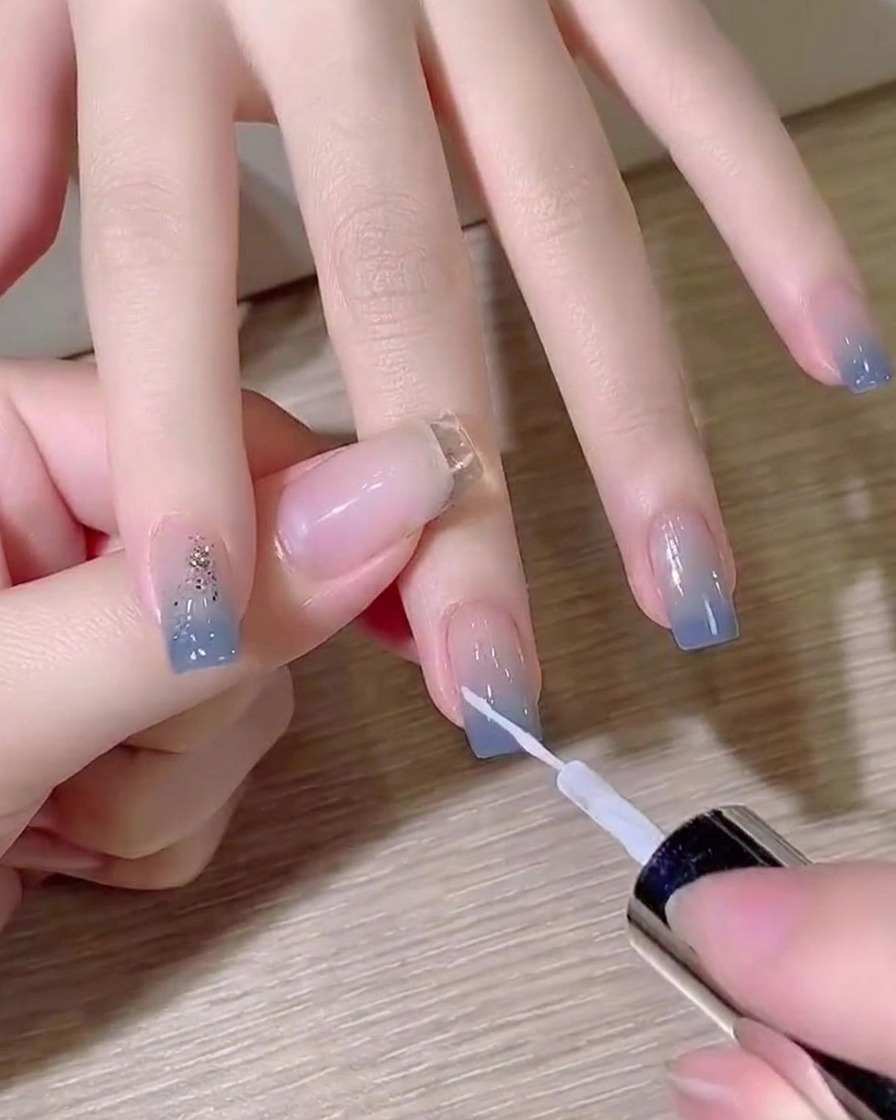
Using a thin liner brush and white gel polish, draw a delicate, diagonal line across the nail. This adds a refined artistic touch to the gradient base.
Tip: Apply steady, light pressure to the brush to keep the line crisp and consistent throughout the stroke. - 4Paint the white accent line
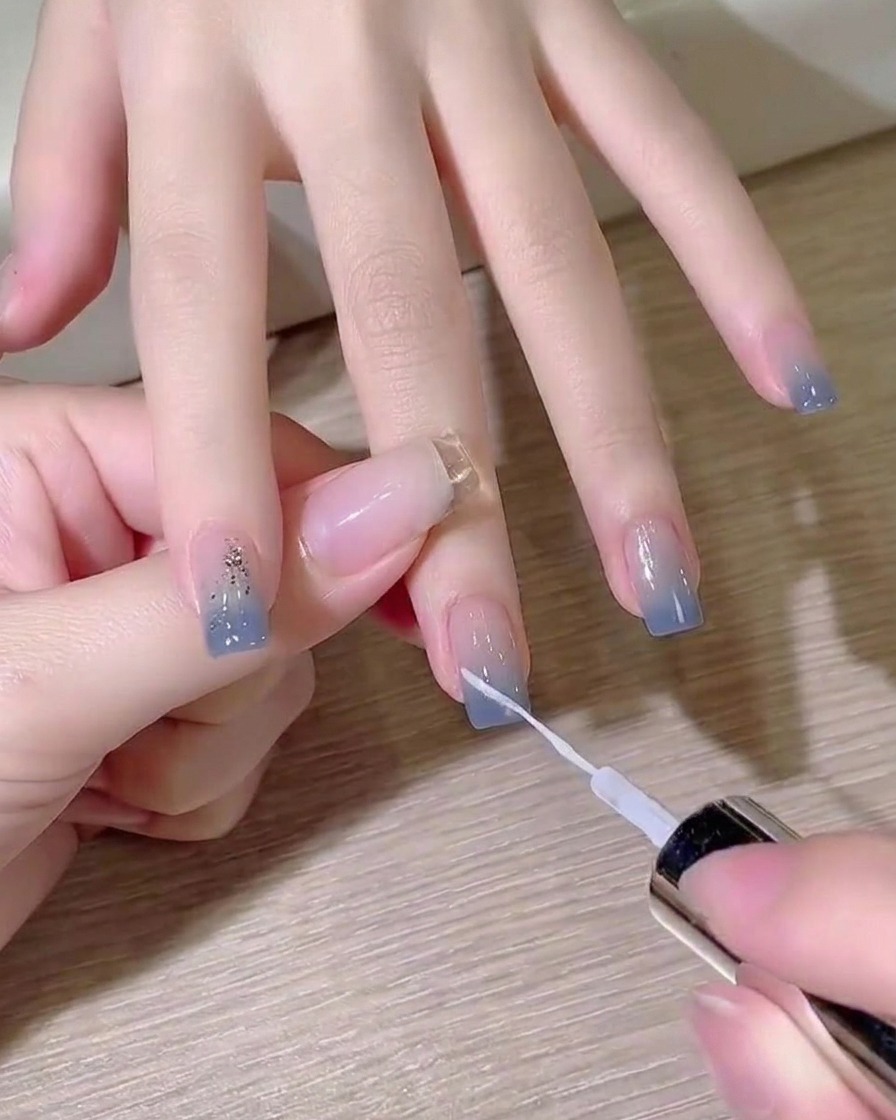
Load a fine liner or detail brush with bright white gel paint. Carefully draw a crisp, diagonal line across the lower half of the blue gradient. Keep a steady hand and use light, even pressure to ensure the line stays thin and uniform across the nail surface.
Tip: Anchor your pinky finger on your other hand to stabilize your movements while painting fine details. - 5Apply adhesive for gems
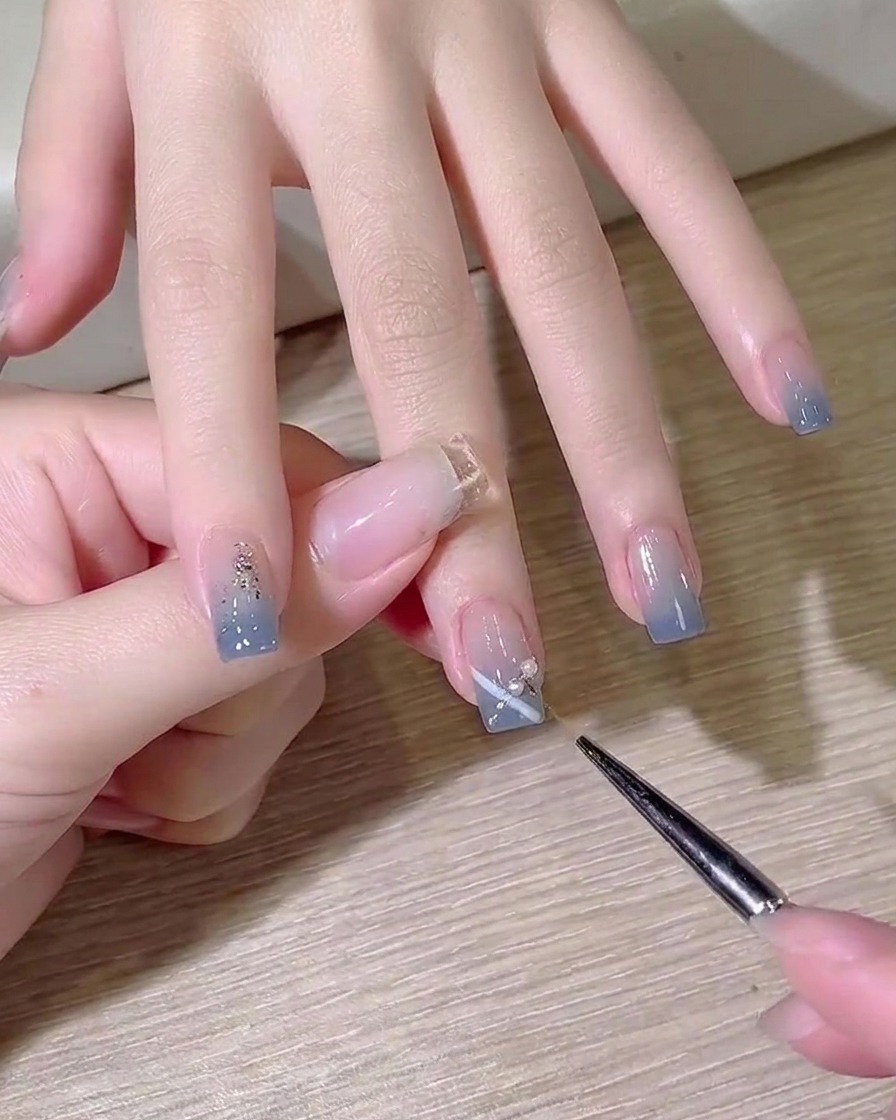
Pick up a tiny amount of thick, clear builder gel or rhinestone glue using a detail brush. Place small, precise dots directly onto the white line where you want your pearls or gems to sit. This acts as a strong adhesive base to ensure the embellishments stay firmly attached.
Tip: Use a thick viscosity gel rather than regular top coat; it will prevent the gems from sliding around before you have a chance to cure them. - 6Add rhinestone accents
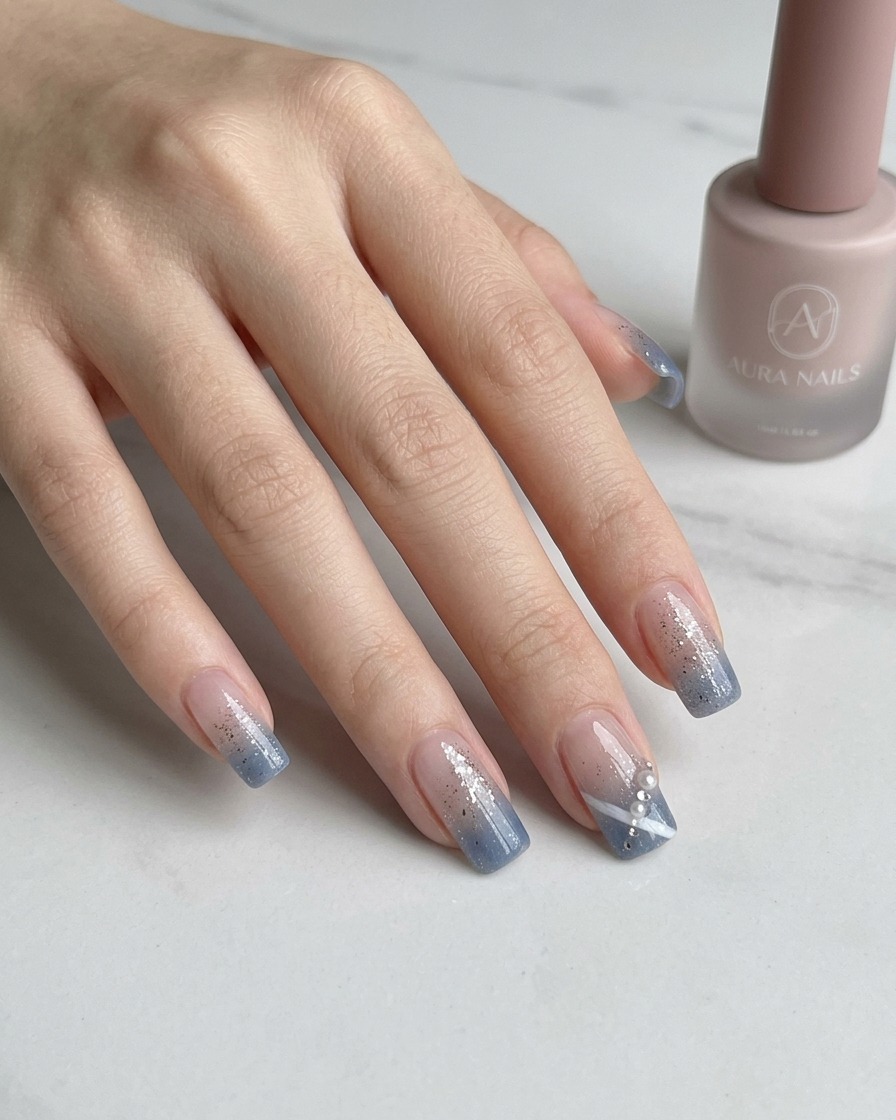
Using a rhinestone picker or a pair of fine tweezers, carefully place the small rhinestone directly onto the dot of clear gel adhesive you applied in the previous step. Gently press the gem into place to ensure it is fully seated before curing it under your lamp.
Tip: Use a specialized gem picker tool for better precision and to avoid getting sticky gel on your tweezers. - 7Seal with glossy top coat
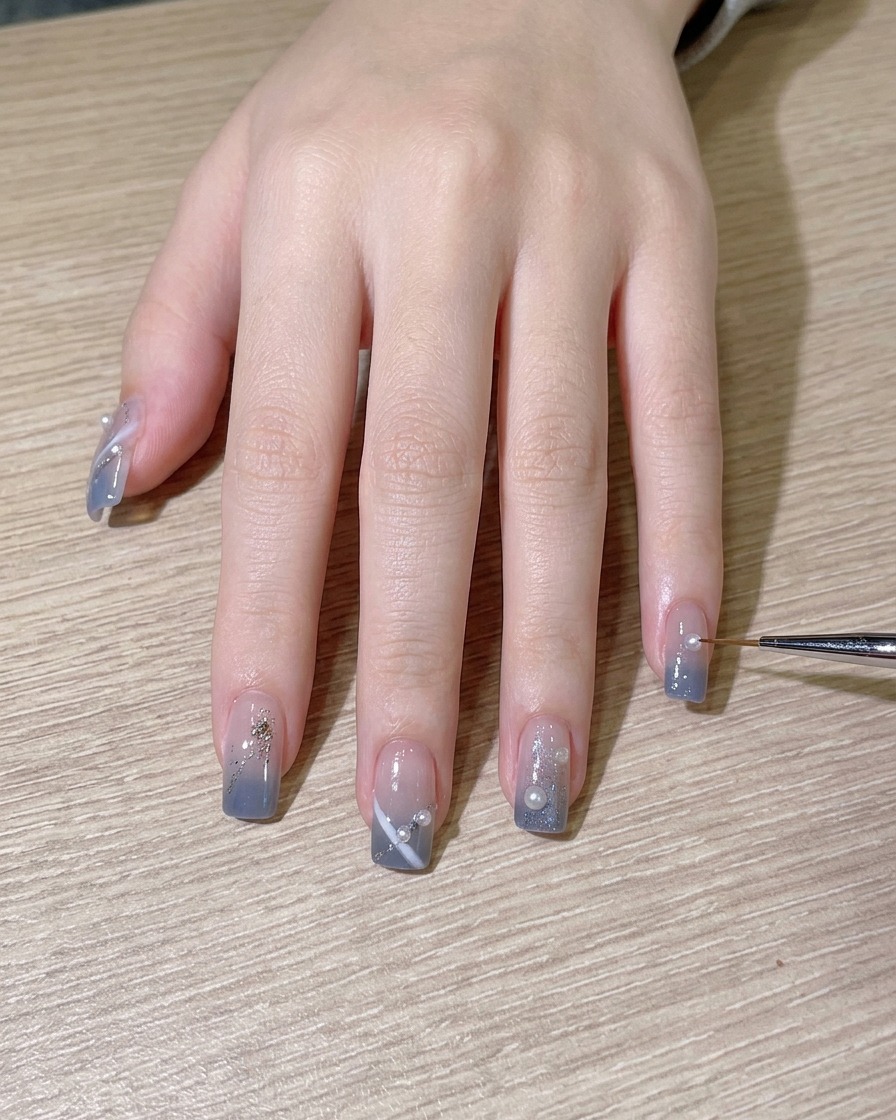
Apply a generous, even layer of glossy top coat over the entire nail, ensuring you cover the rhinestone and cap the free edge. This protects the nail art and adds a high-shine finish.
Tip: Gently glide the brush around the edges of the rhinestone to ensure it is completely sealed without pooling.