Mint Blue-Green Aurora Gradient Nails — Step-by-Step Tutorial
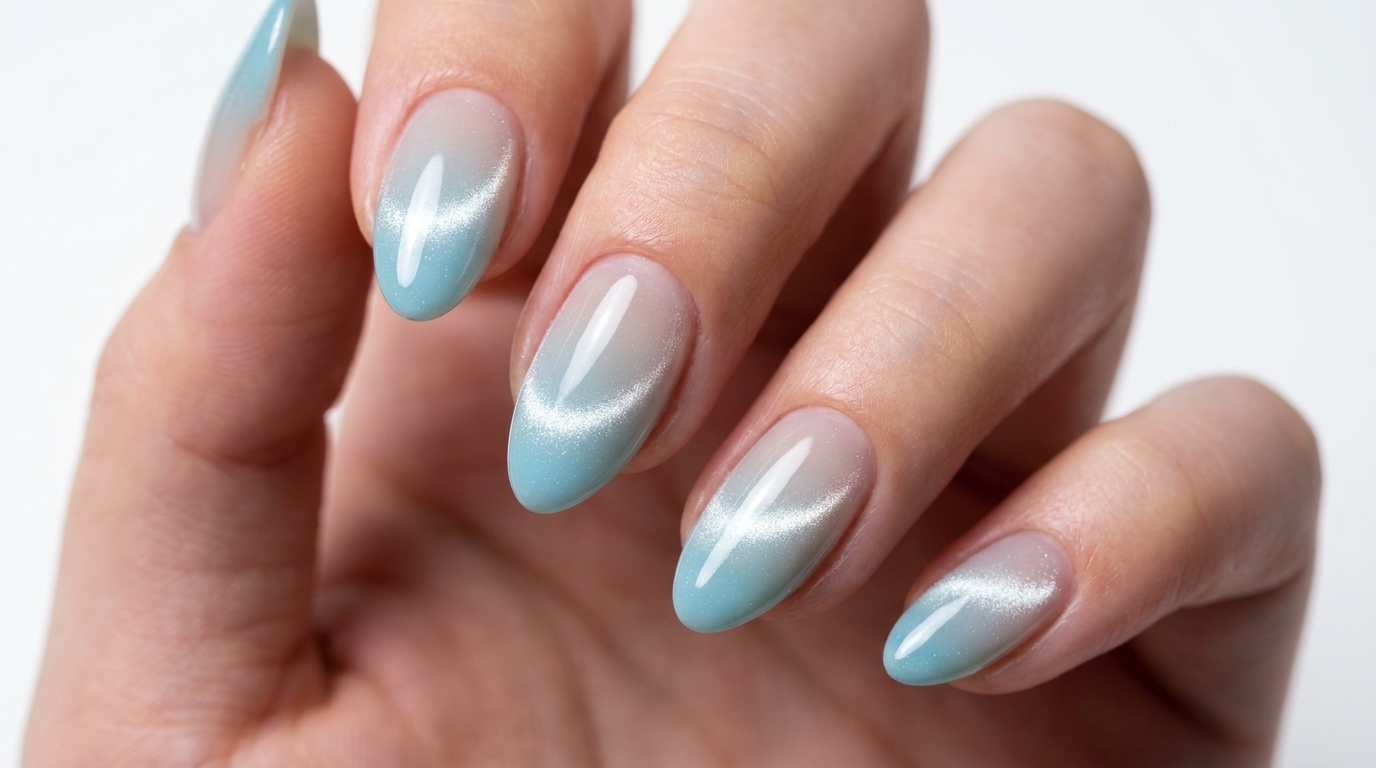
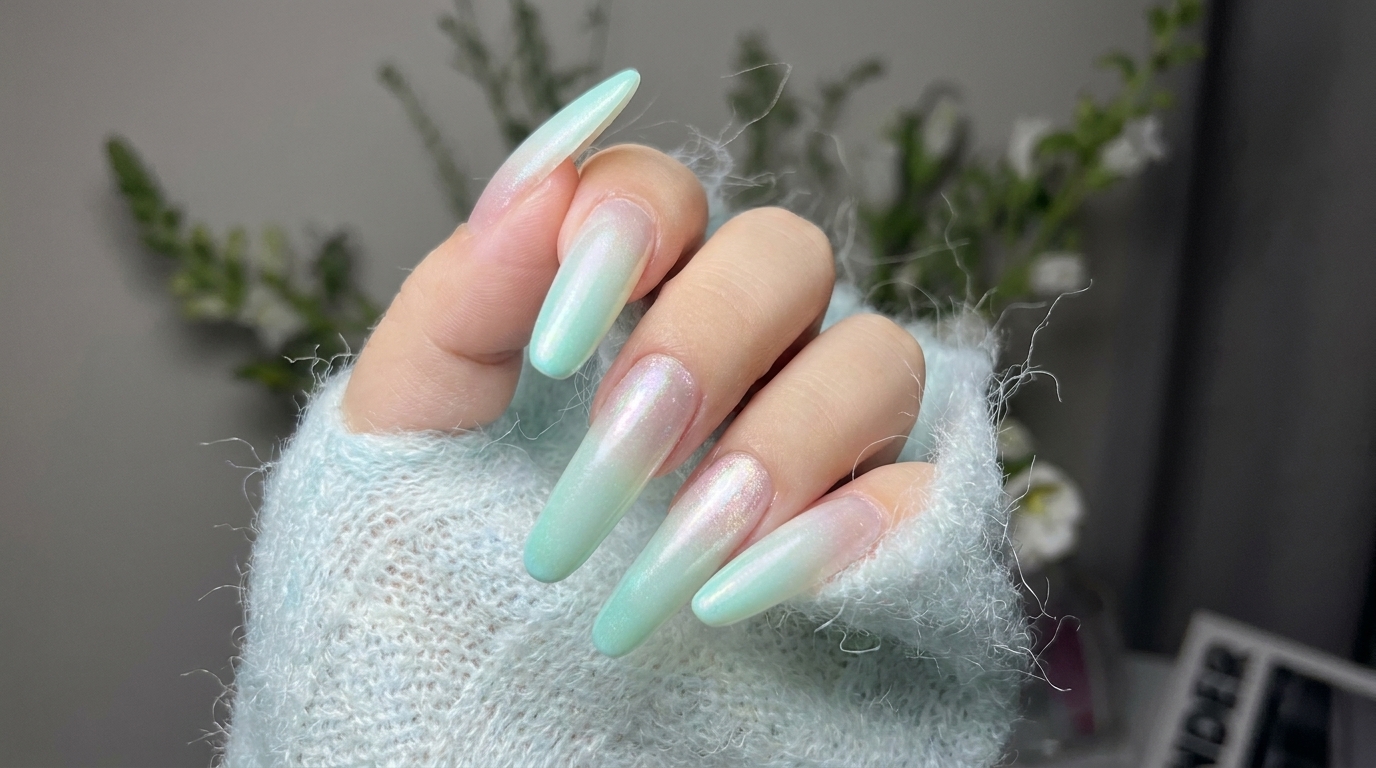
Create stunning, ethereal nails with this mint blue-green aurora gradient tutorial. This pearlescent chrome look is perfect for long almond nails.
The ethereal beauty of aurora chrome powder combined with a soft, minty gradient makes this nail look absolutely mesmerizing. This tutorial walks you through a unique layering technique, applying the pearlescent powder under the colored gradient to achieve depth and a luminous, lit-from-within glow. It is perfect for long almond extensions and adds a magical, mermaid-inspired touch to your style.
Steps
- 1Trim existing nail extensions
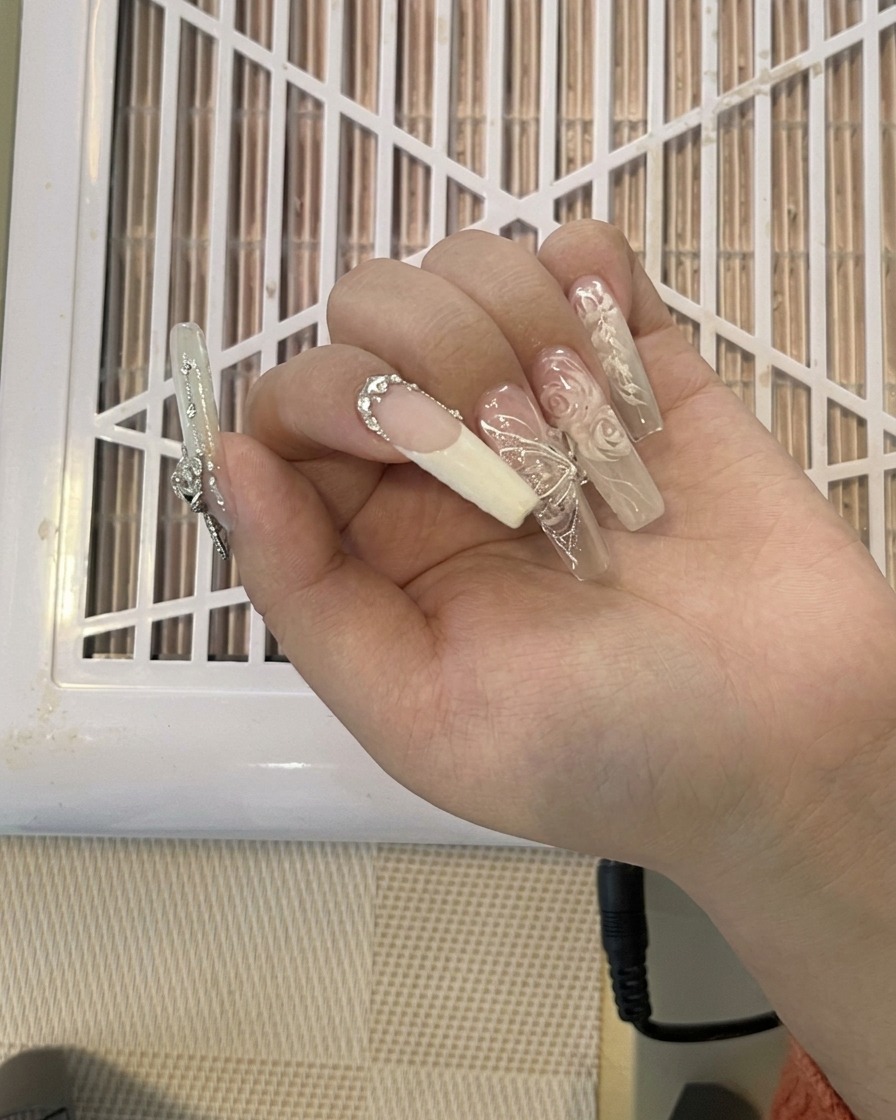
Using a pair of nail clippers, carefully trim down the existing nail length to remove the old design and prepare for the new shape. Take your time to cut close to the desired length to make the subsequent filing process faster and easier.
Tip: Be gentle when clipping to avoid cracking or damaging the natural nail plate underneath. - 2Refine nail shape with electric drill
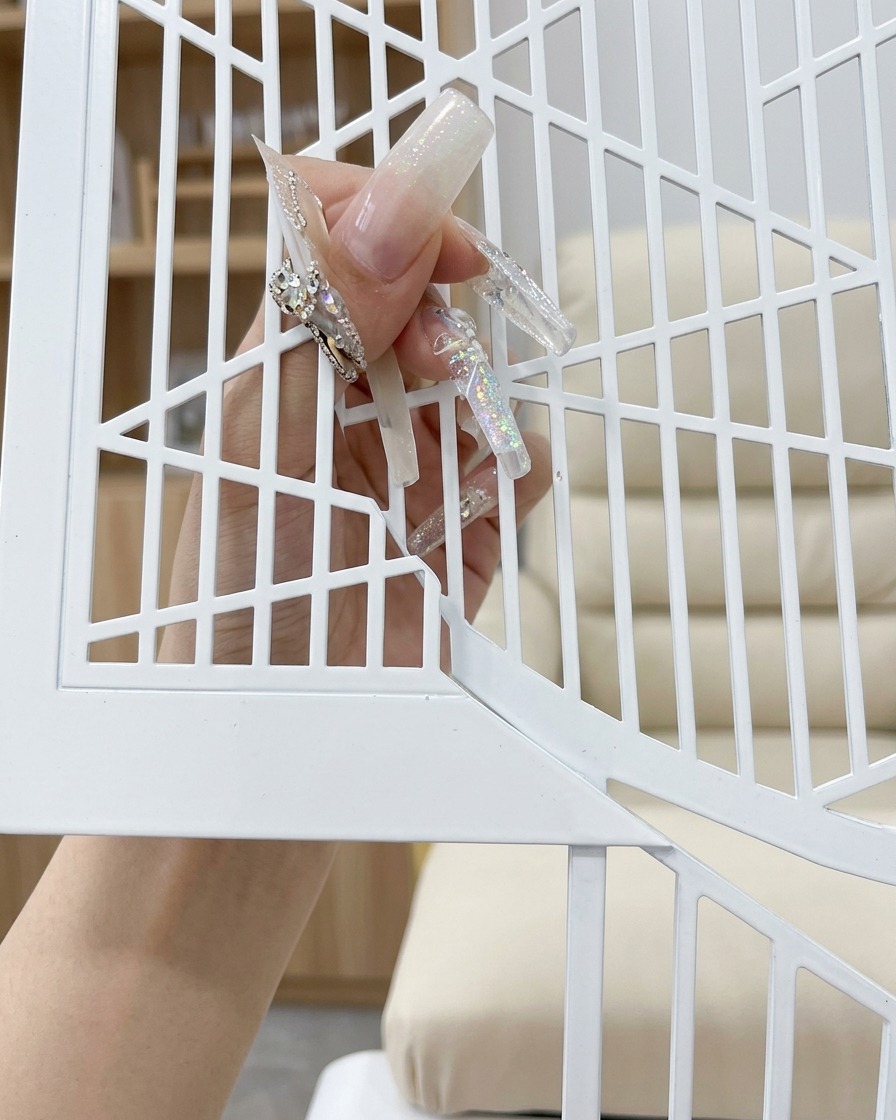
Using an electric nail drill, gently file and refine the shape of the nail. Keep the drill moving constantly to prevent heat buildup and ensure a smooth, even edge.
Tip: Use a medium-grit drill bit for shaping and go slowly to maintain control over the nail contour. - 3Clean and push back cuticles
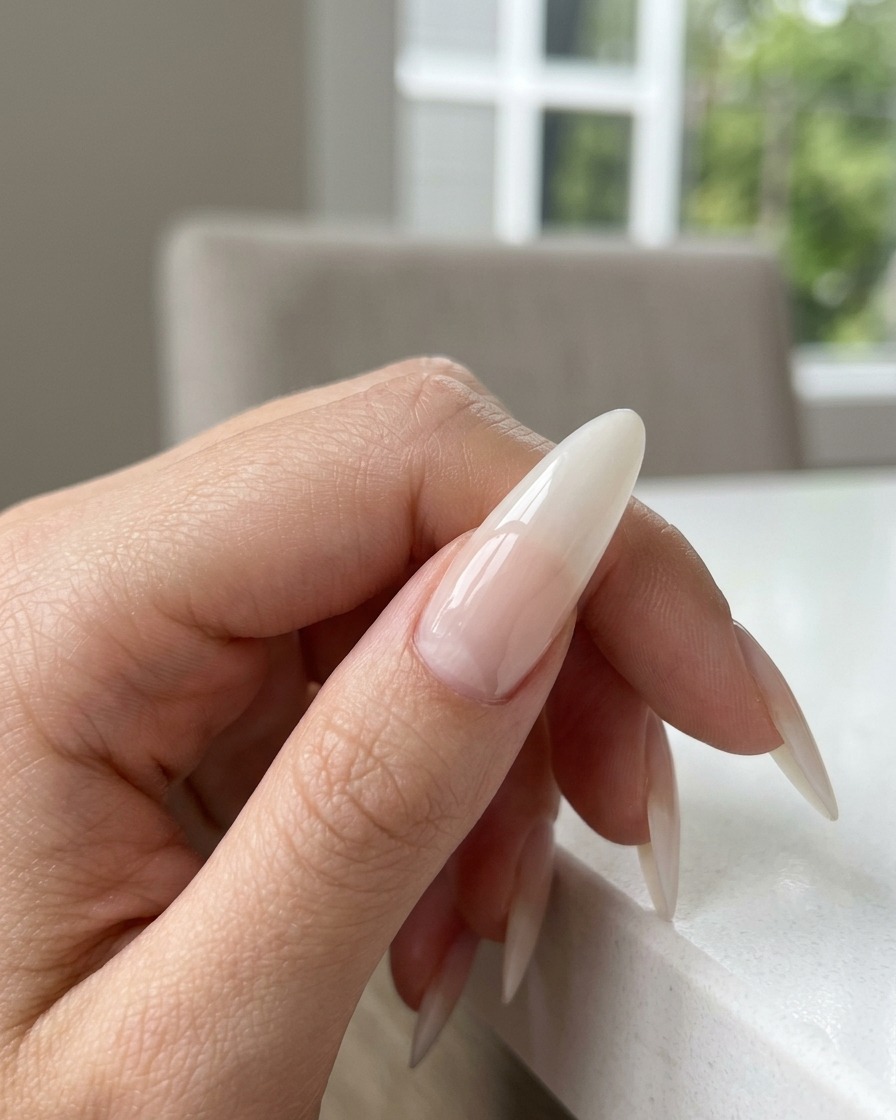
Gently push back the cuticles using a metal cuticle pusher tool. After pushing, carefully remove any dead skin or debris around the nail bed for a clean application surface.
Tip: Do not press too hard against the nail matrix, as this can damage the nail growth area. - 4Apply base coat gel
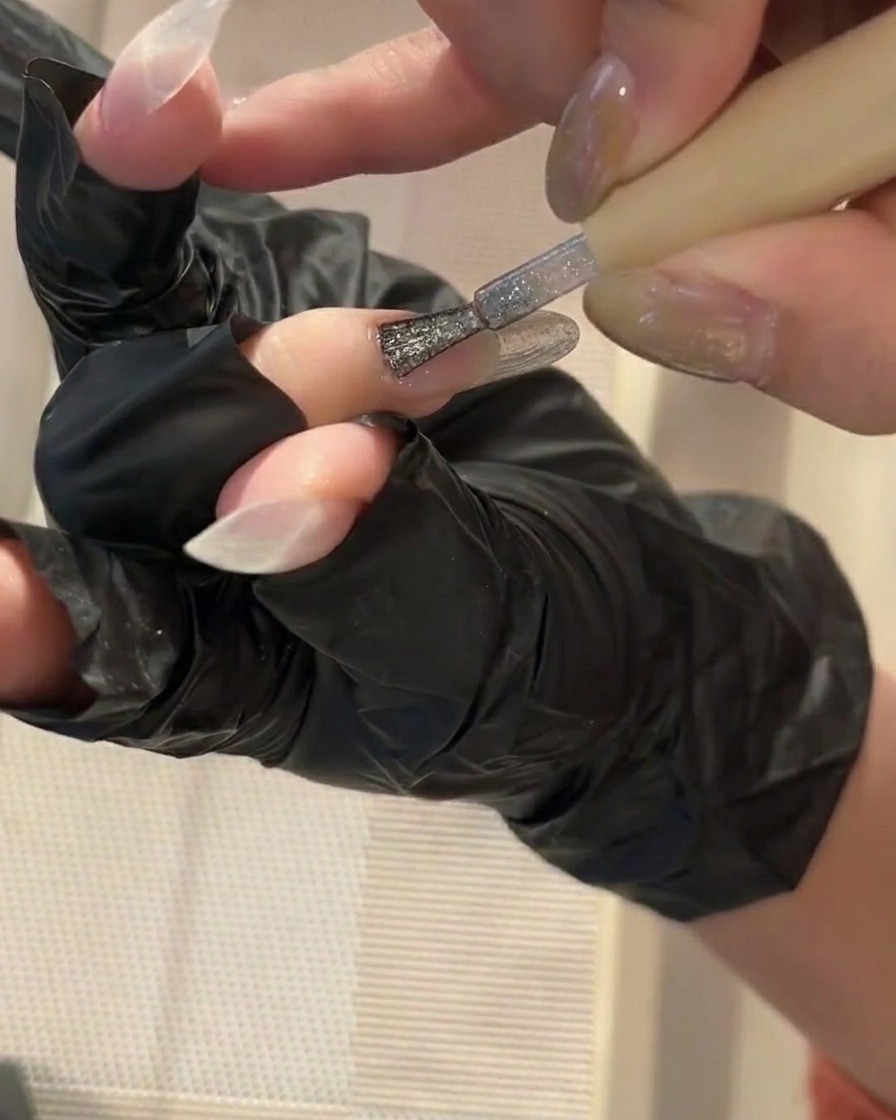
Apply a thin, uniform layer of base coat gel to the entire nail plate. Ensure you cap the free edge to maximize durability and prevent lifting.
Tip: Applying a very thin layer helps to prevent the gel from pooling at the cuticles or sidewalls. - 5Cure the base coat
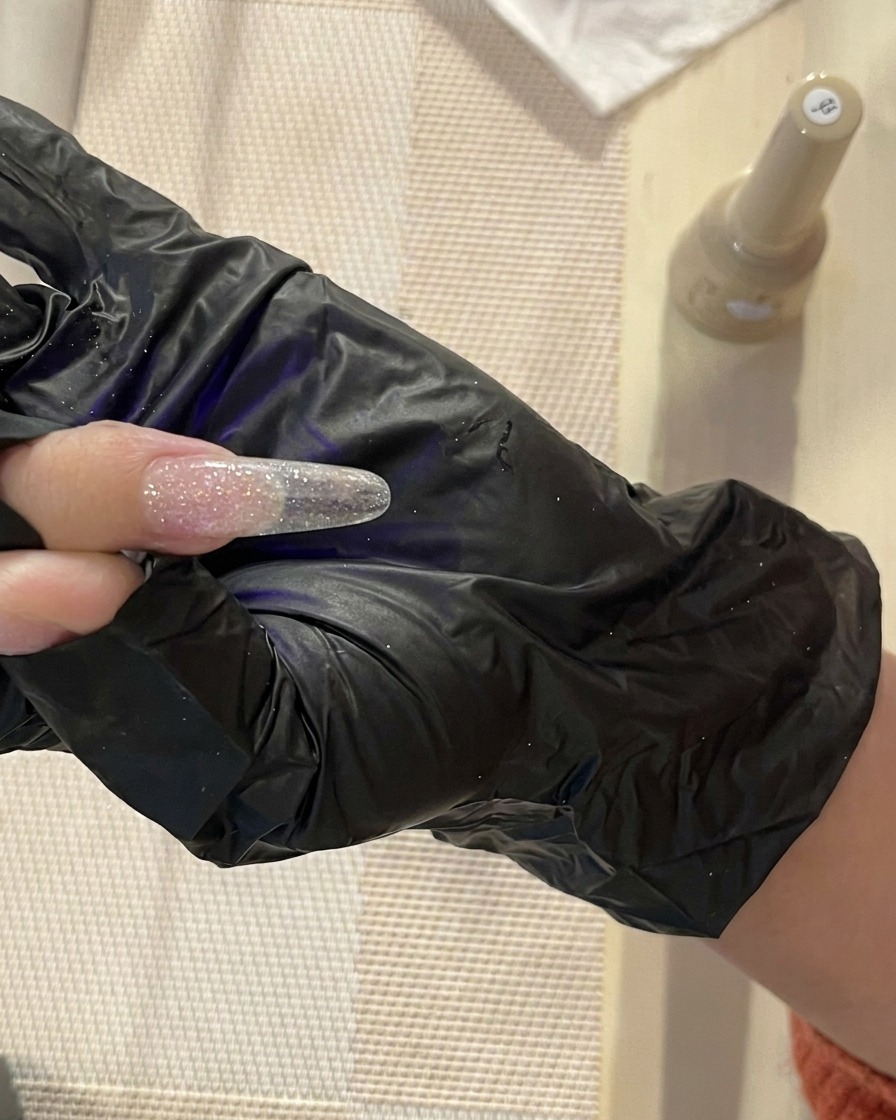
Place your hand inside the UV/LED lamp and cure the base coat for the manufacturers recommended time. Ensure all nails are positioned directly under the light for a complete cure.
Tip: Avoid touching the nails immediately after curing, as they may have a sticky inhibition layer. - 6Apply top coat for powder
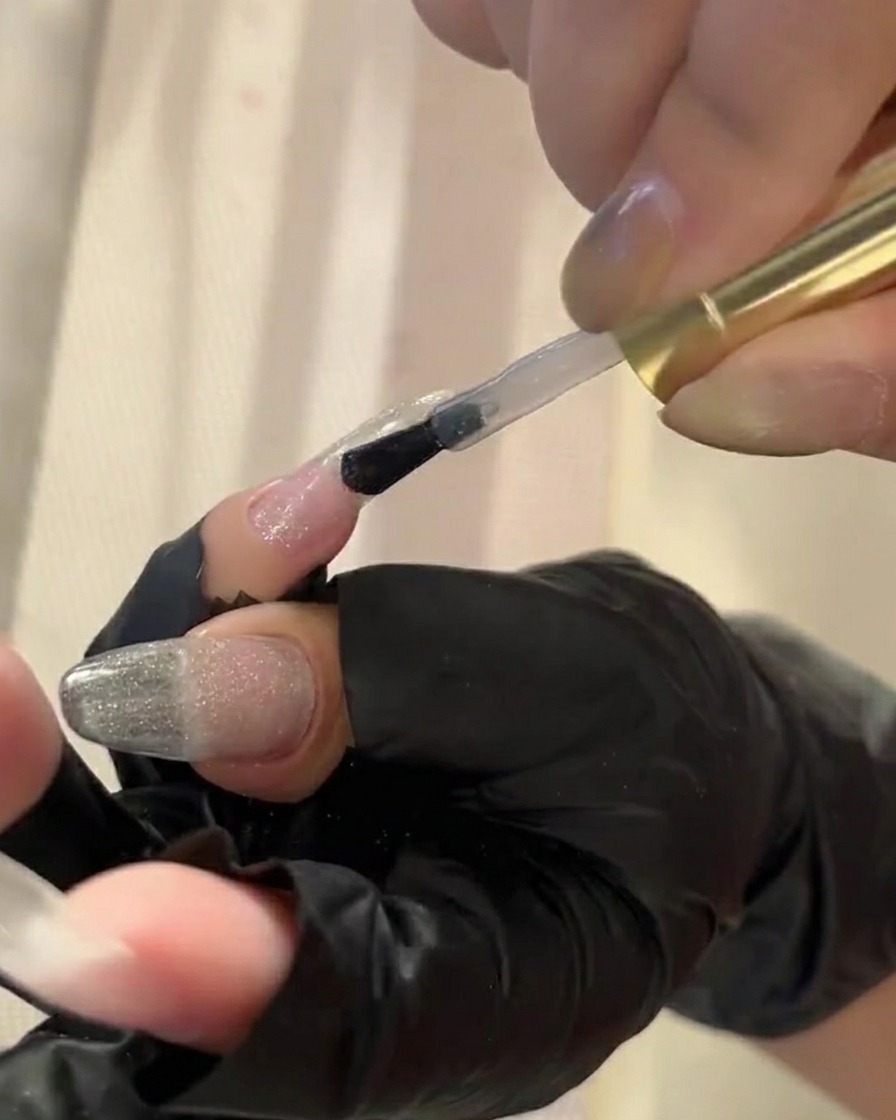
Apply a layer of no-wipe top coat to the nails. This provides the smooth, non-tacky surface needed for the pearl aurora powder to adhere properly.
Tip: Ensure the application is smooth and streak-free, as any imperfections will show under the powder. - 7Apply pearl aurora powder
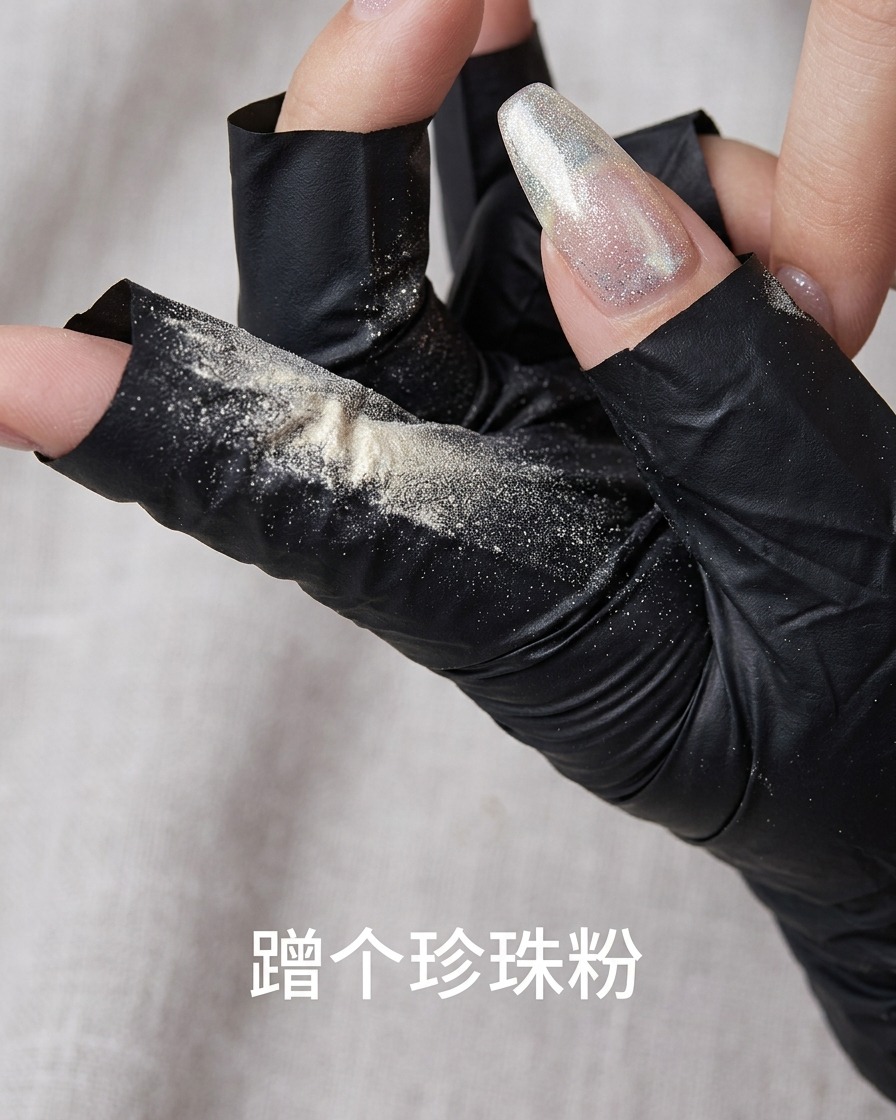
Using a soft sponge applicator, gently rub the pearl aurora powder over the surface of your cured top coat. Apply in small circular motions to ensure an even, mirror-like shimmer across the entire nail.
Tip: A little powder goes a long way—start with a small amount on your applicator and build up the intensity until you reach the desired pearlescent finish. - 8Refine nail edges
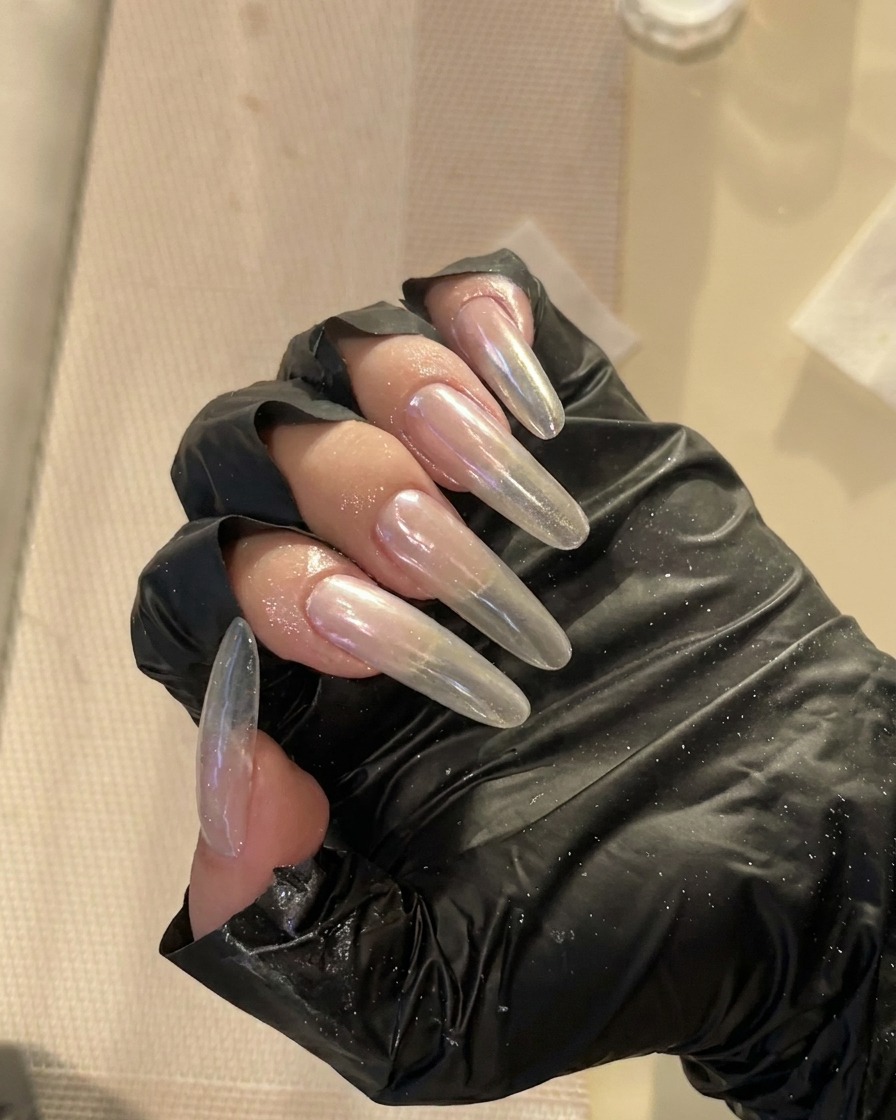
After applying the powder, use a fine-grit nail file to carefully smooth the side walls and the free edge of the nails. This step removes any excess powder buildup and ensures the structure is perfectly defined and uniform.
Tip: Keep the file parallel to the side of the finger to maintain a clean, crisp shape without over-filing the product. - 9Apply building gel
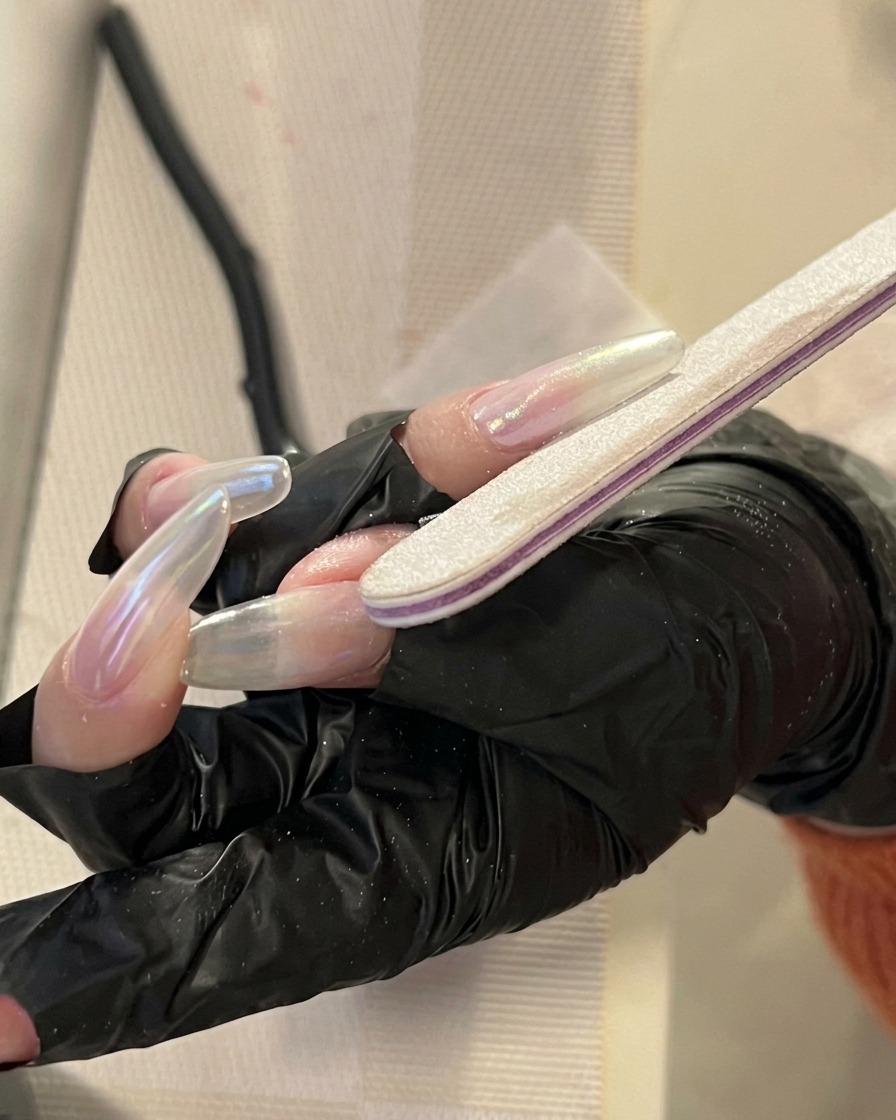
Apply a layer of structure or building gel over the nails to add durability and create a perfect, smooth apex. Allow the gel to self-level slightly before curing to ensure a strong, even foundation for your color.
Tip: Work in thin, controlled strokes to avoid pooling at the cuticles, which keeps the final look natural and sleek. - 10Cure the building gel
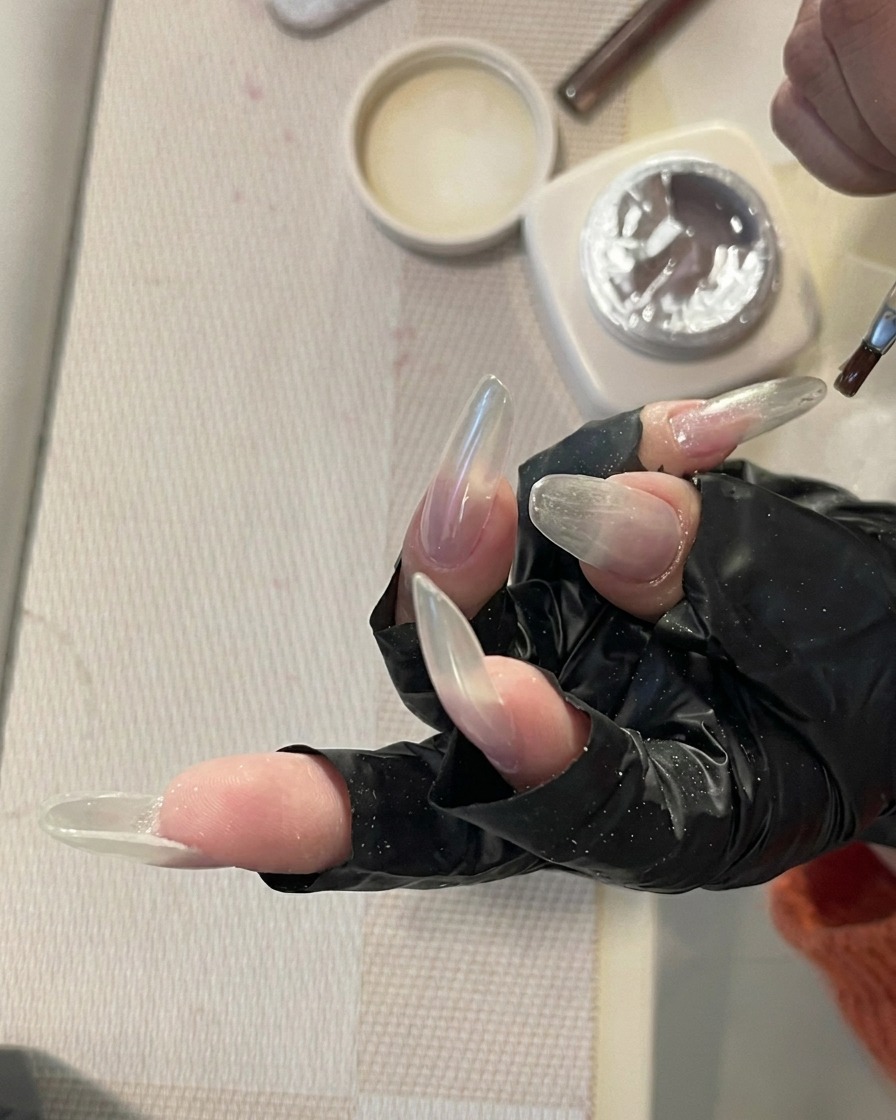
Place your hands into the UV or LED lamp and cure the building gel for the duration specified by the product manufacturer. Proper curing is essential for the strength and longevity of the structural layer.
Tip: Ensure your fingers are positioned flat inside the lamp to get uniform light exposure on all nails. - 11Create the color gradient
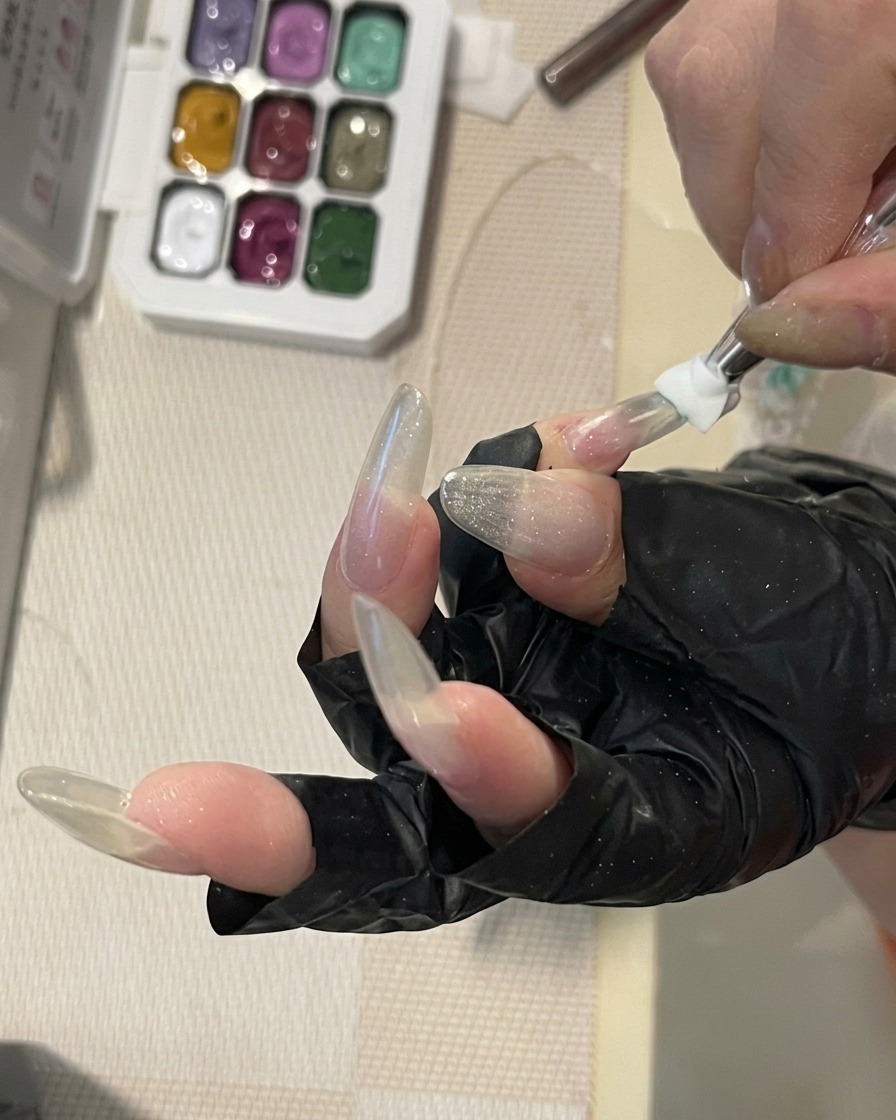
Apply the mint blue-green gel polish, concentrating the intensity at the base or mid-section, then gently blend it towards the tips to create a soft, seamless gradient effect. Use a clean detail brush if needed to soften the transition between the colored gel and the clear nail.
Tip: Work in thin layers and cure between applications if you need to build up the opacity of the gradient for a more vibrant effect. - 12Apply final top coat
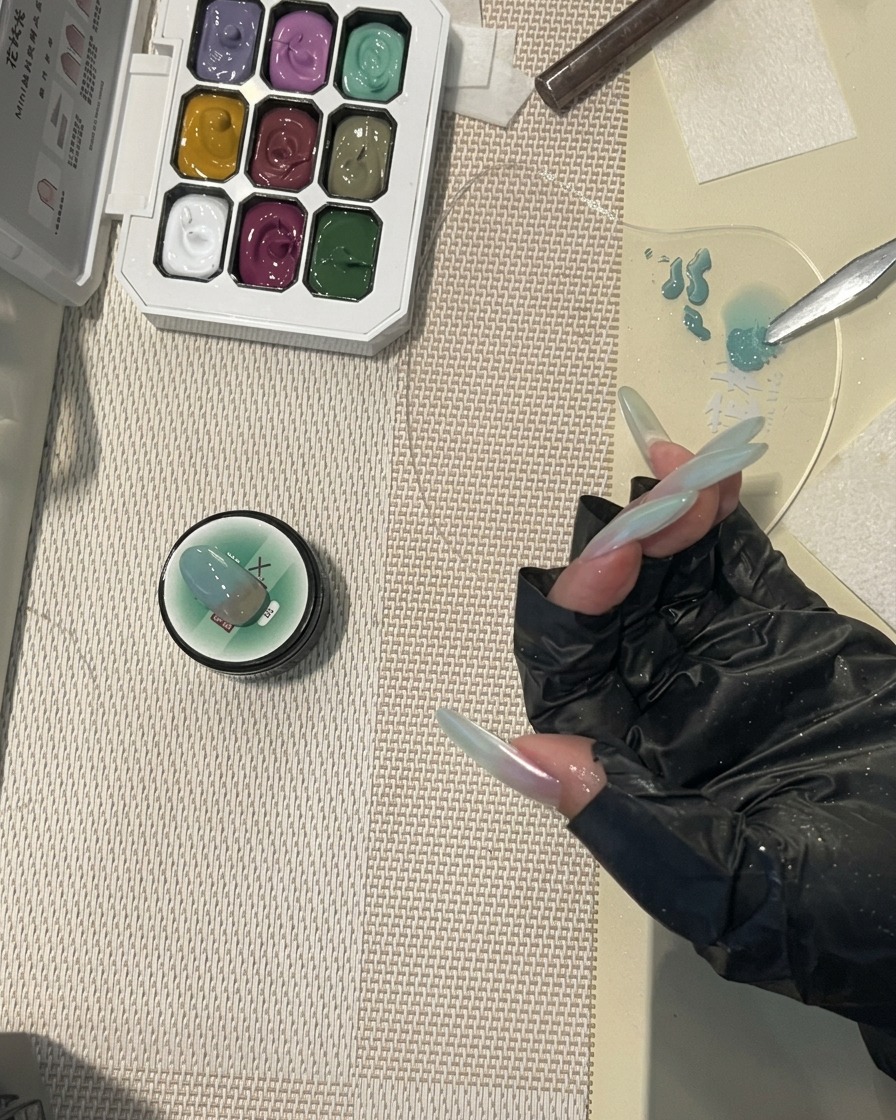
Apply a final, generous layer of high-shine top coat to seal your gradient design and add a protective, glossy finish. Cap the free edge carefully to prevent chipping, then cure fully under your lamp.
Tip: A smooth top coat application is the final step to leveling out the color and making your gradient pop with brilliance.