Midnight Blue Cat-Eye French Manicure — Sophisticated Nail Art Tutorial
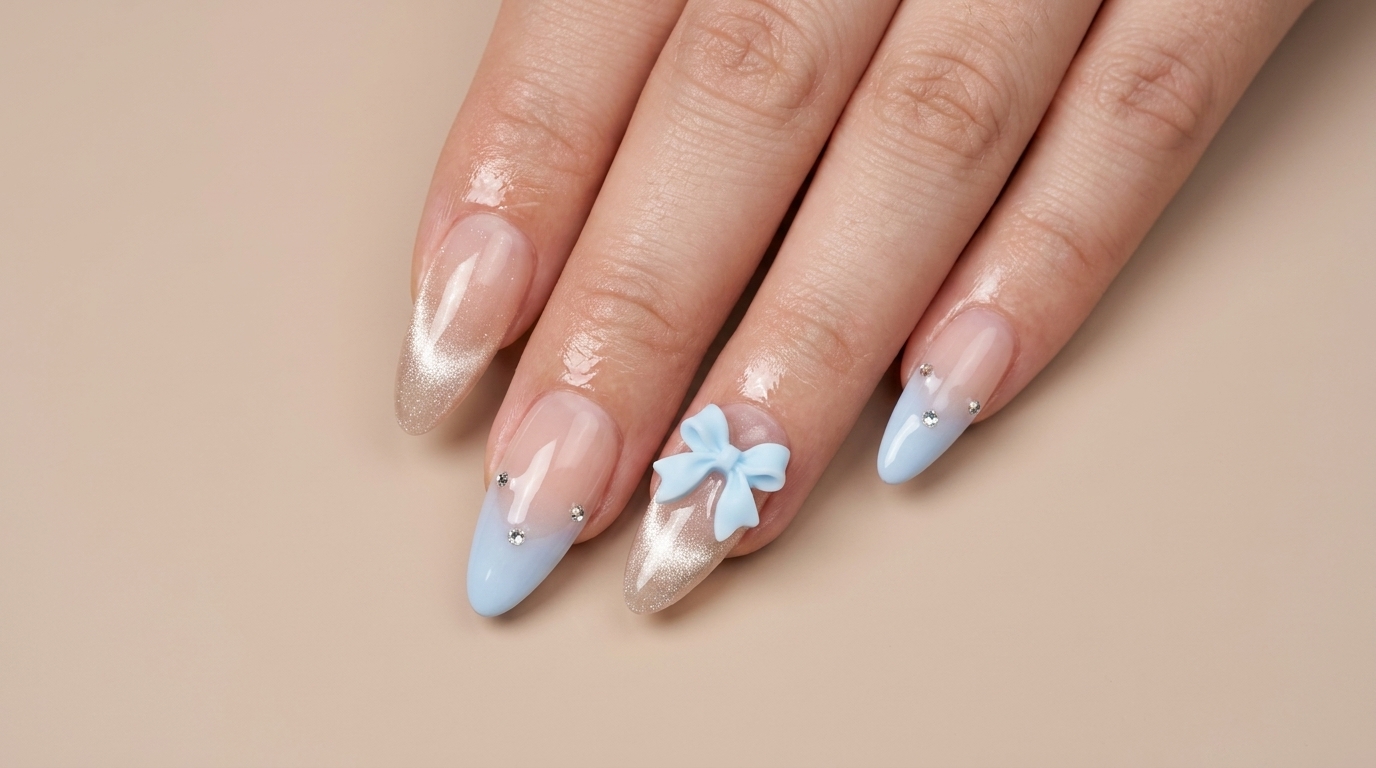
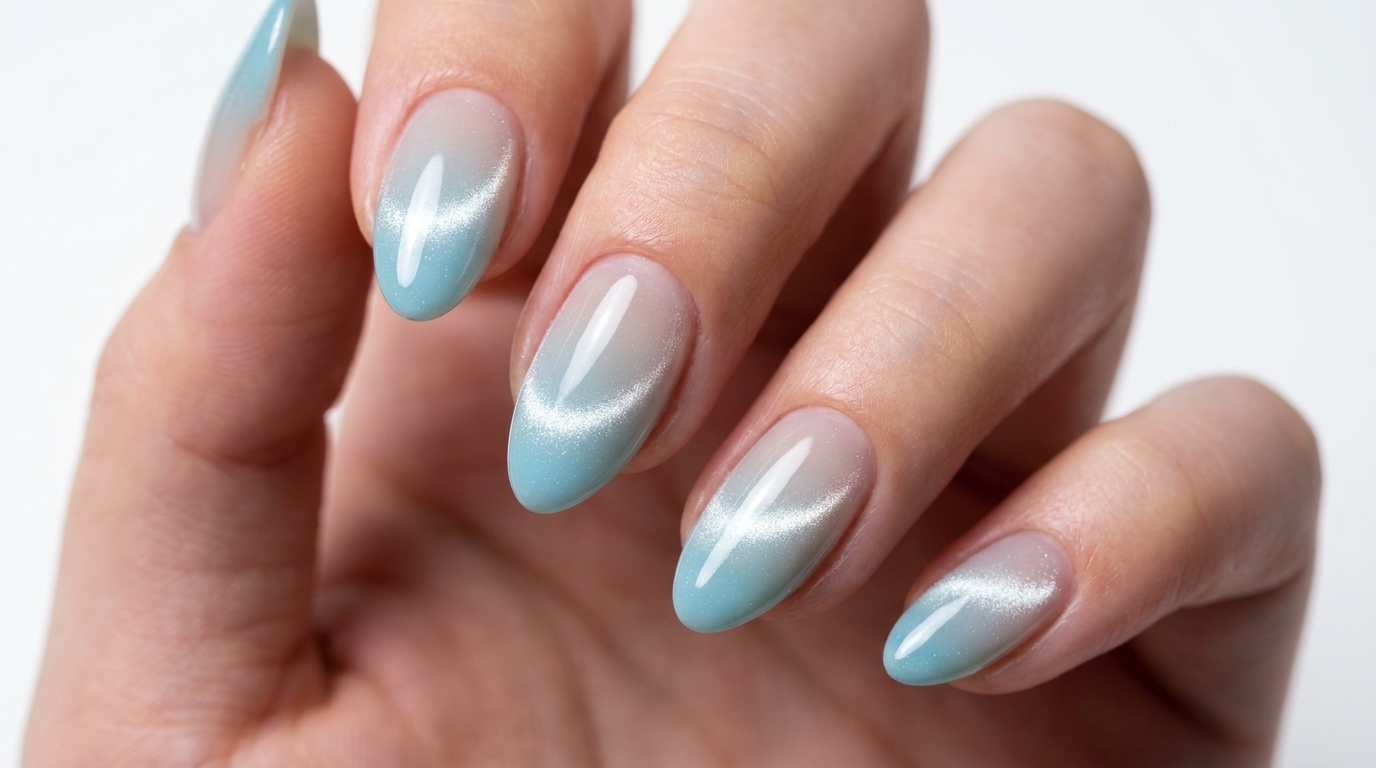
Elevate your look with this stunning midnight blue cat-eye French manicure, featuring a deep gradient base, crisp silver lines, and elegant rhinestones.
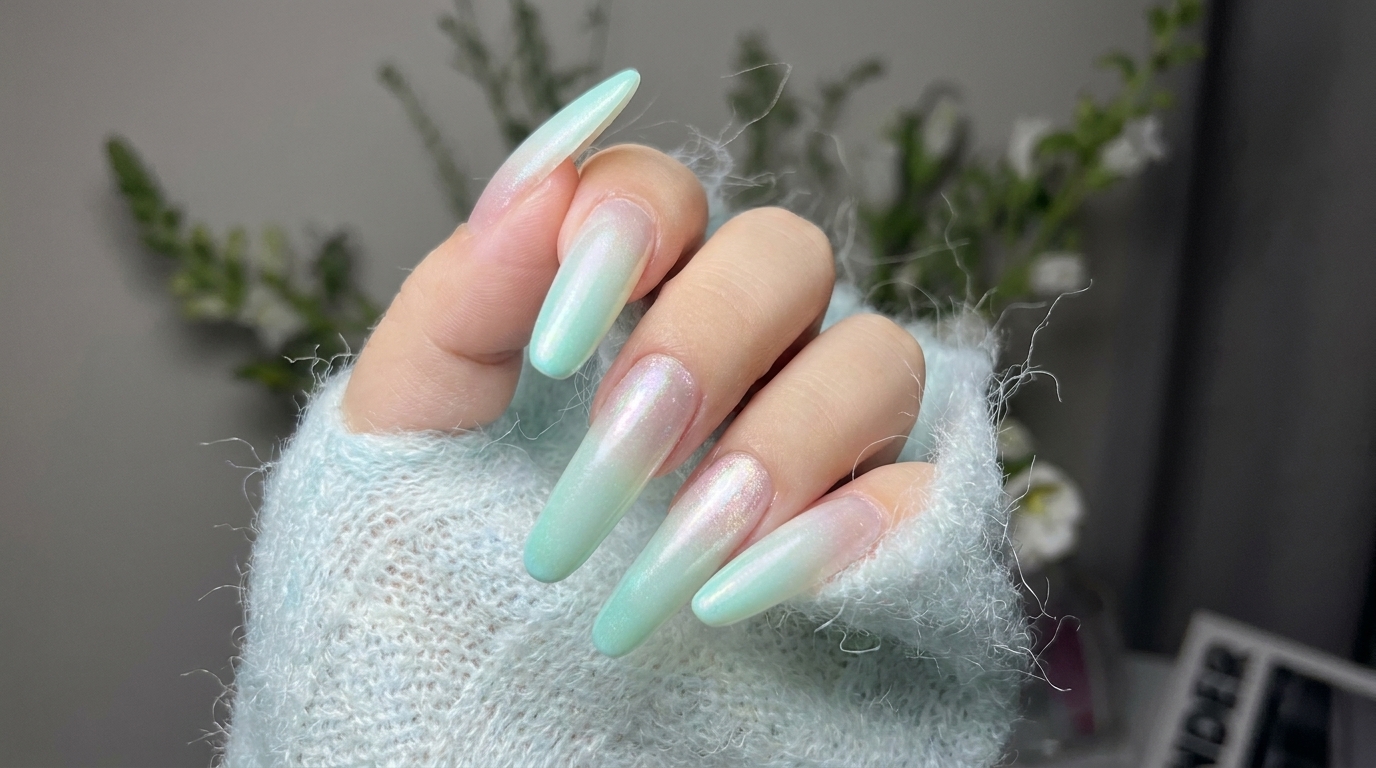
This midnight blue cat-eye manicure offers a sophisticated twist on the classic French tip, perfect for those seeking a bold yet refined style. By layering high-density magnetic gel and accenting with platinum silver, you can create a luxurious, dual-light effect that truly stands out. It is a fantastic, modern alternative to traditional seasonal colors, bringing a unique depth and sparkle to your nail wardrobe.
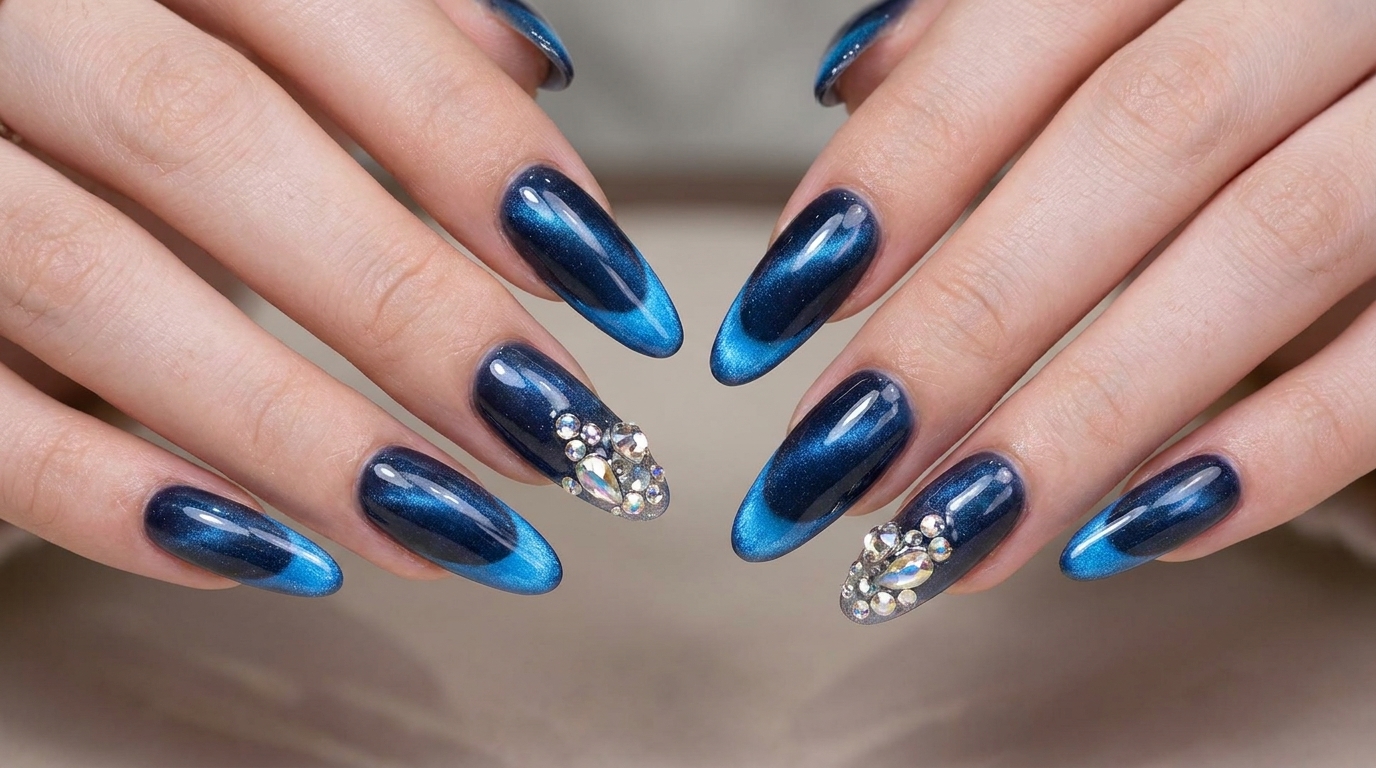
Steps
- 1Create a gradient with blue cat-eye gel
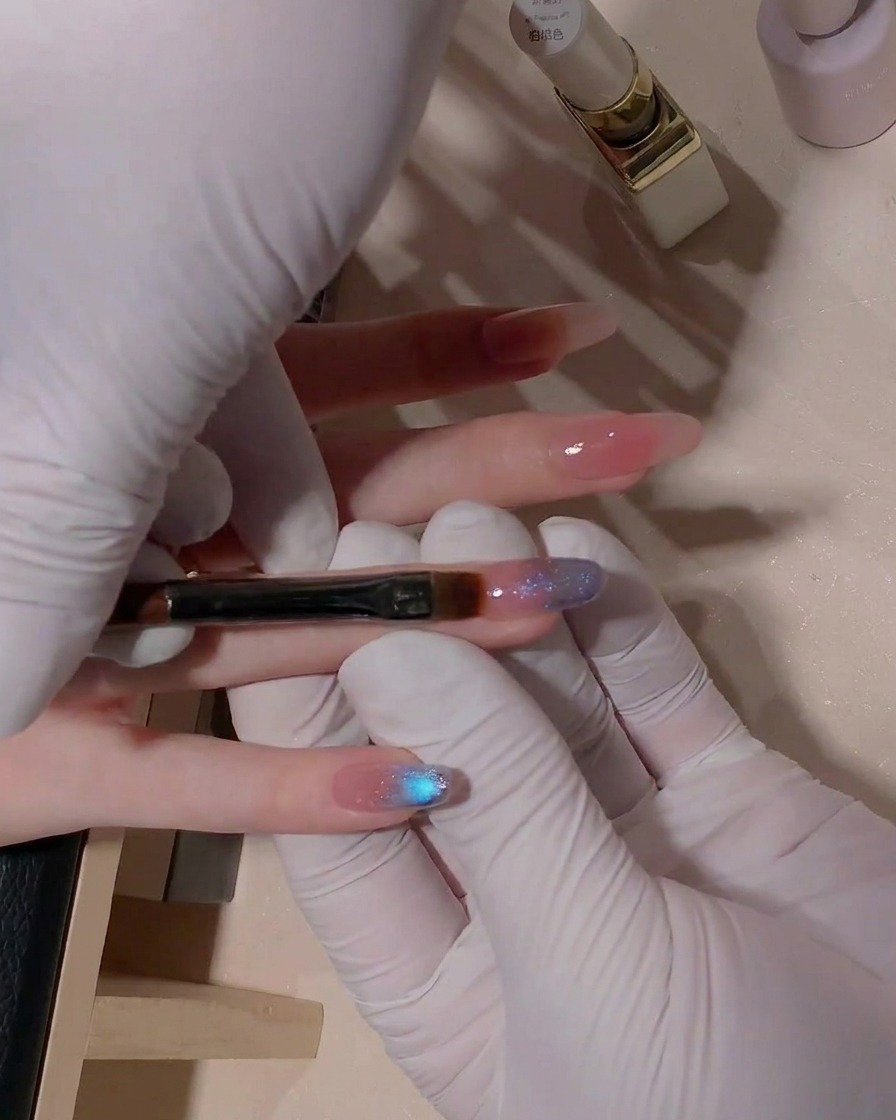
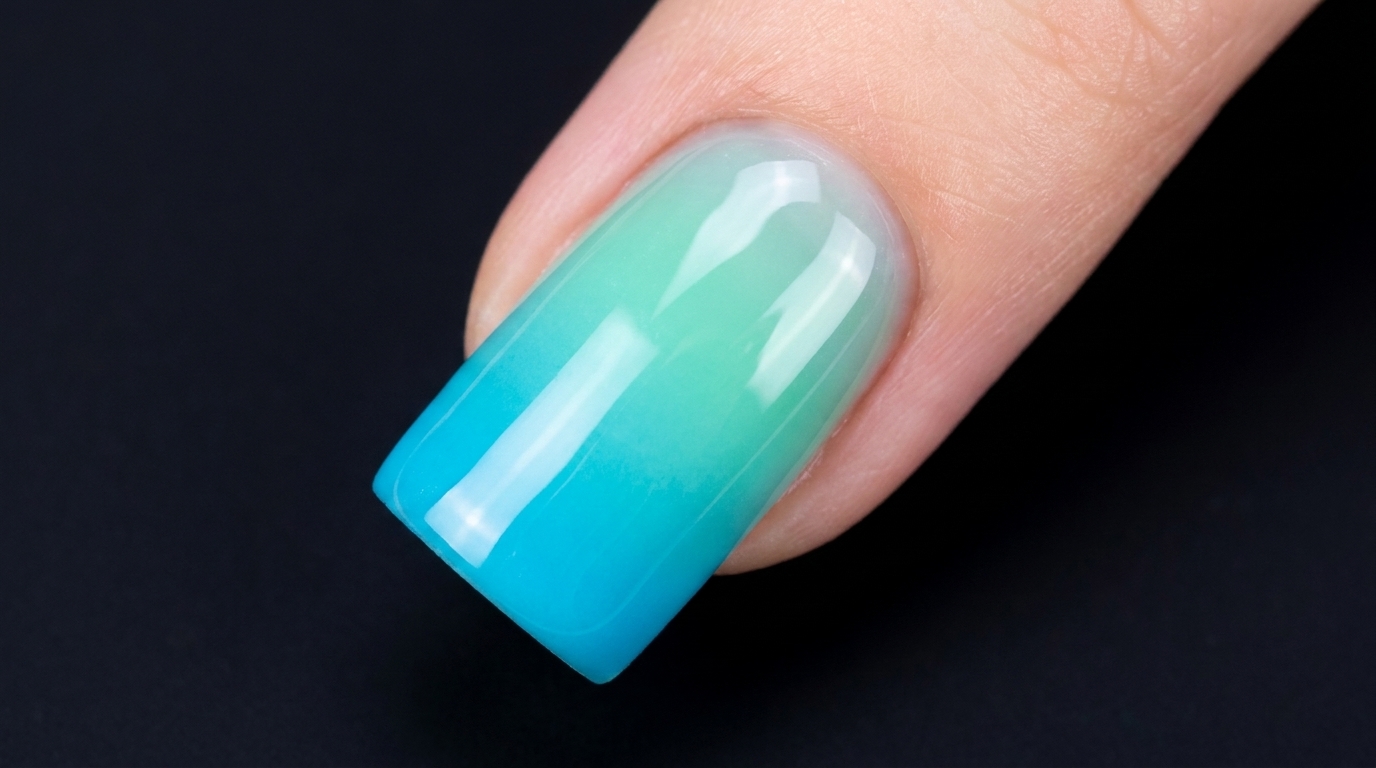
Apply a thin layer of the blue cat-eye gel to the top half of the nail. Using a flat brush, gently blend the edges of the gel toward the center of the nail to create a smooth, seamless gradient effect, ensuring the color is concentrated at the tip and fades out towards the cuticle.
Tip: Work in thin layers to prevent the gel from pooling and ensure the magnetic particles can move easily during the next step. - 2Activate the cat-eye effect
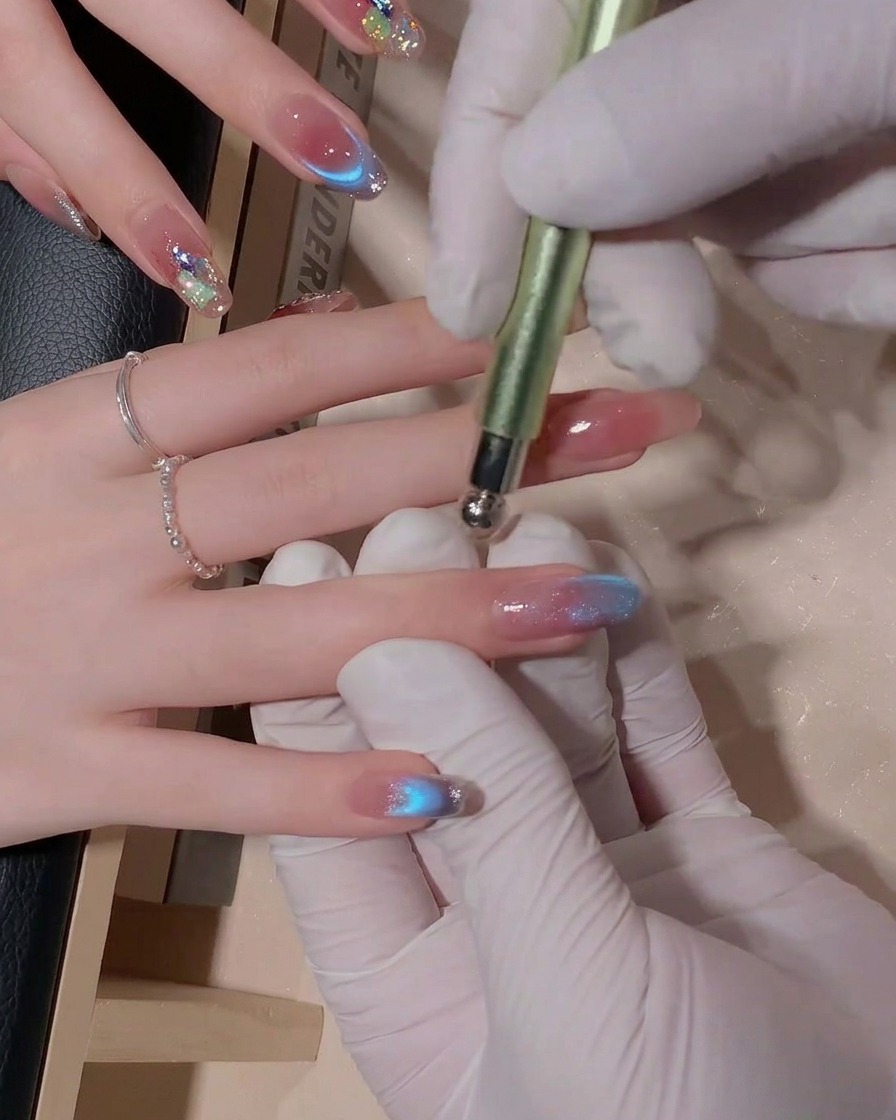
While the gel is still wet, hold a strong circular magnet close to the nail surface. Move the magnet to draw the magnetic powder particles towards the center, creating a bright, concentrated cat-eye highlight.
Tip: Keep the magnet steady and close to the nail for maximum intensity, but be careful not to touch the wet gel surface. - 3Shape the French tip light
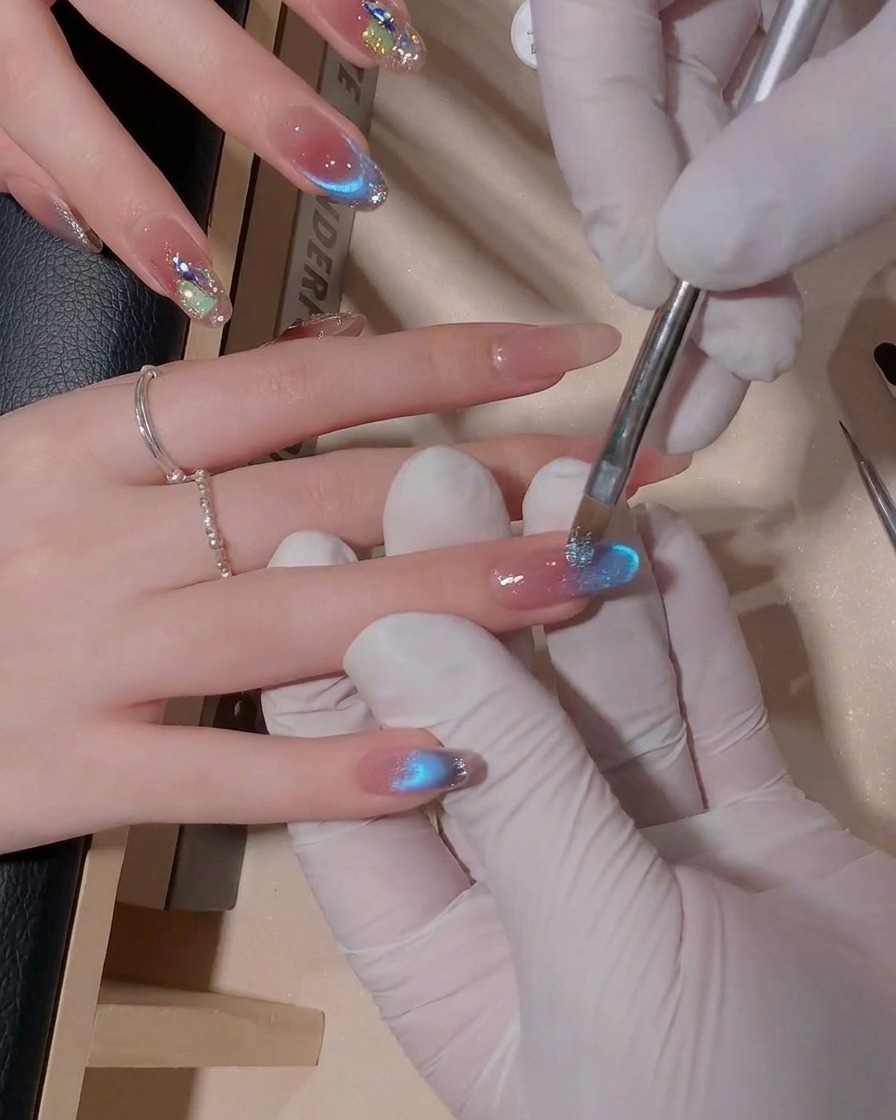
Using a strip magnet, hold it at a 45-degree angle near the free edge of the nail. This will shift the cat-eye particles into a crisp, angled line that mimics the appearance of a French manicure tip.
Tip: The 45-degree angle is crucial for achieving that defined, modern French-line look with the cat-eye pigment. - 4Apply platinum silver French line
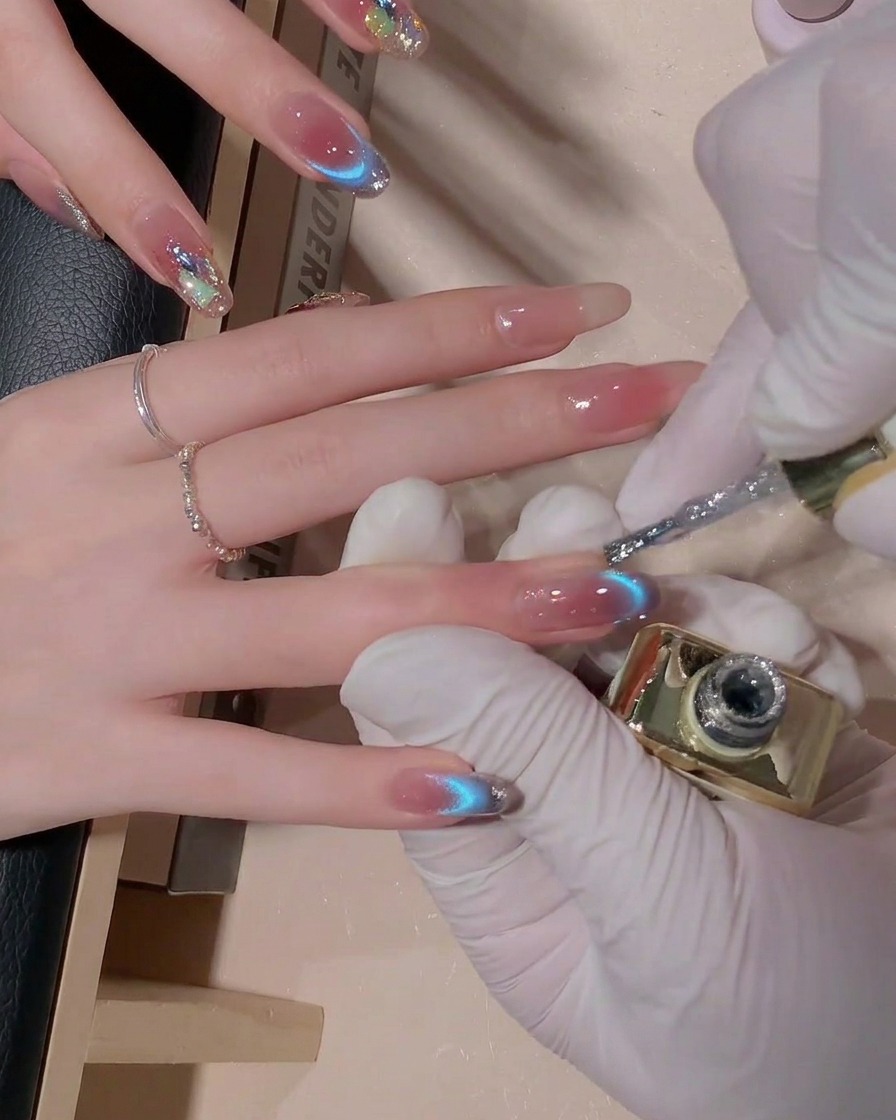
Once the cat-eye effect is set, take a fine detail brush and apply high-density platinum silver gel to the very tip of the nail. This adds a brilliant, crisp sparkle that defines the French tip and complements the blue cat-eye base.
Tip: Use a thin detail brush for precise application, ensuring a sharp line that covers the area not enhanced by the cat-eye light. - 5Apply accent gel to middle finger
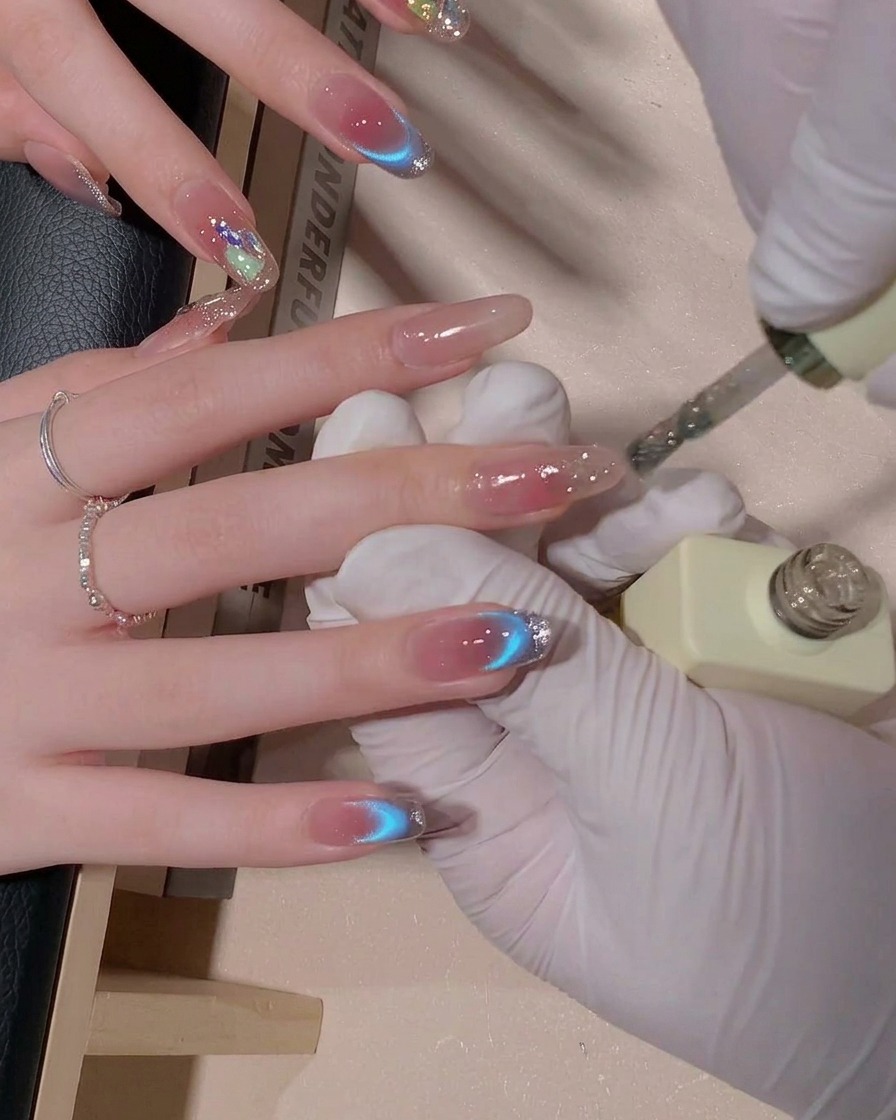
On the middle finger, apply the Quiet Sea Moon gel to the top half of the nail. Blend it to create a gradient similar to the other nails, then proceed to place decorative rhinestones onto the nail surface before curing.
Tip: Ensure your rhinestone placement is intentional and secure; use a small dab of clear builder gel or top coat to hold them in place. - 6Create the middle finger gradient
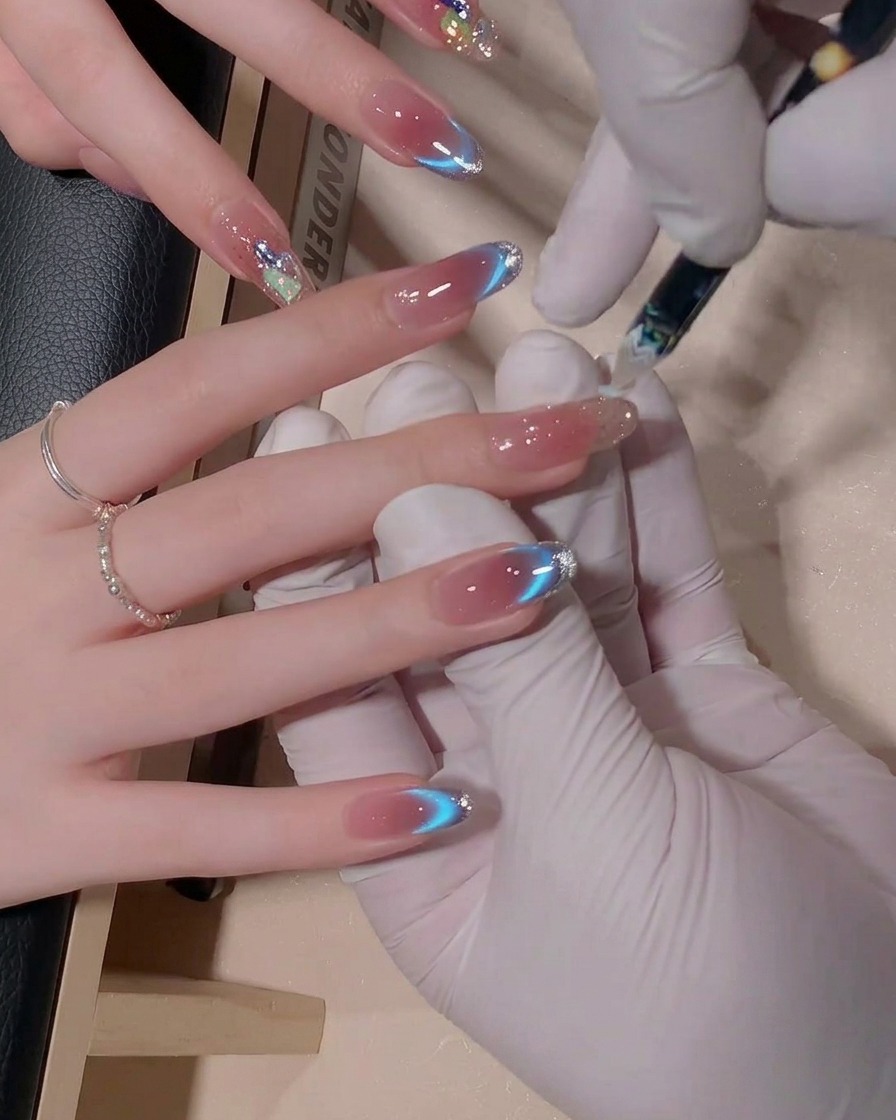
Apply the Quiet Sea Moon gel to the middle finger, focusing on the half-position to establish a gradient effect. Use a detailing brush to gently blend the gel toward the cuticle, ensuring a smooth transition for the gradient look.
Tip: Keep your brush strokes light and steady to avoid dragging too much product and to maintain the soft, faded appearance of the gradient. - 7Place rhinestones
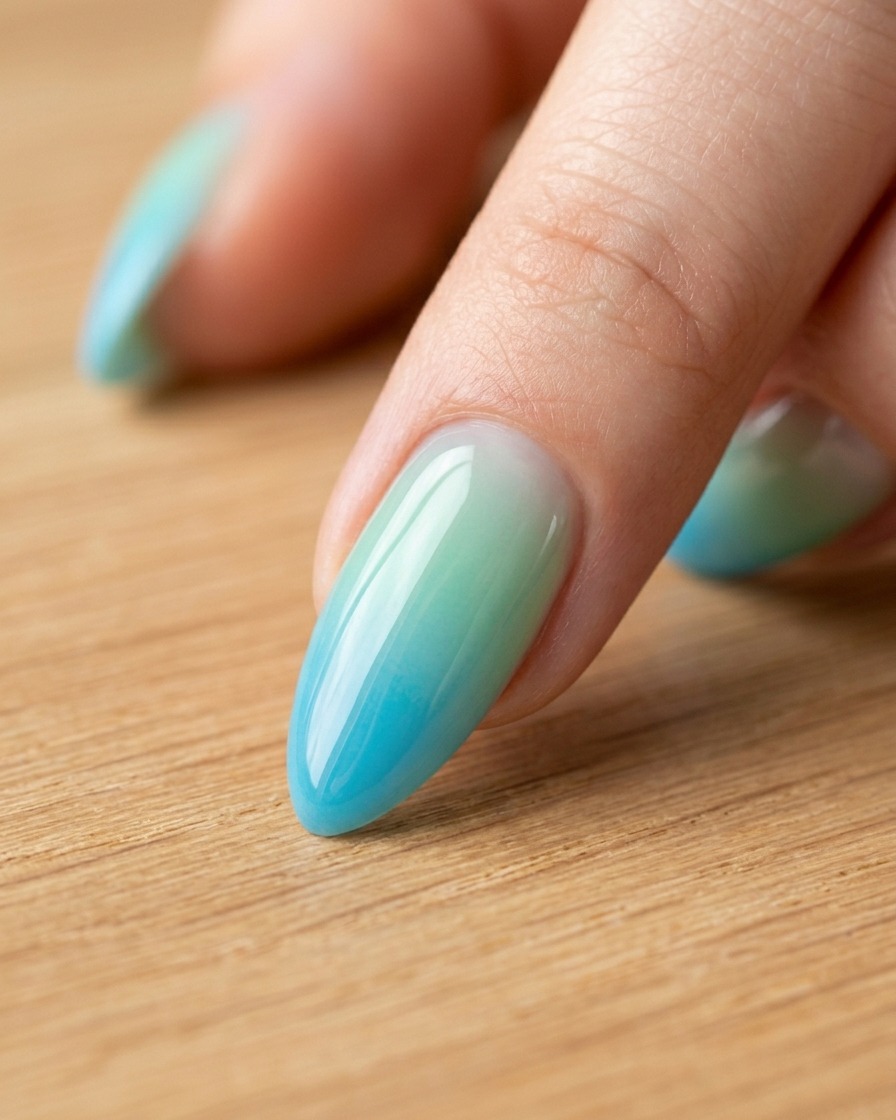
Once the gradient is set, use a rhinestone picker tool to carefully place decorative stones onto the middle finger nail. Position them to complement the cat-eye and French tip elements of the design.
Tip: Apply a small dot of clear builder gel or rhinestone adhesive under each stone to ensure they stay securely in place until the top coat is applied. - 8Apply top coat
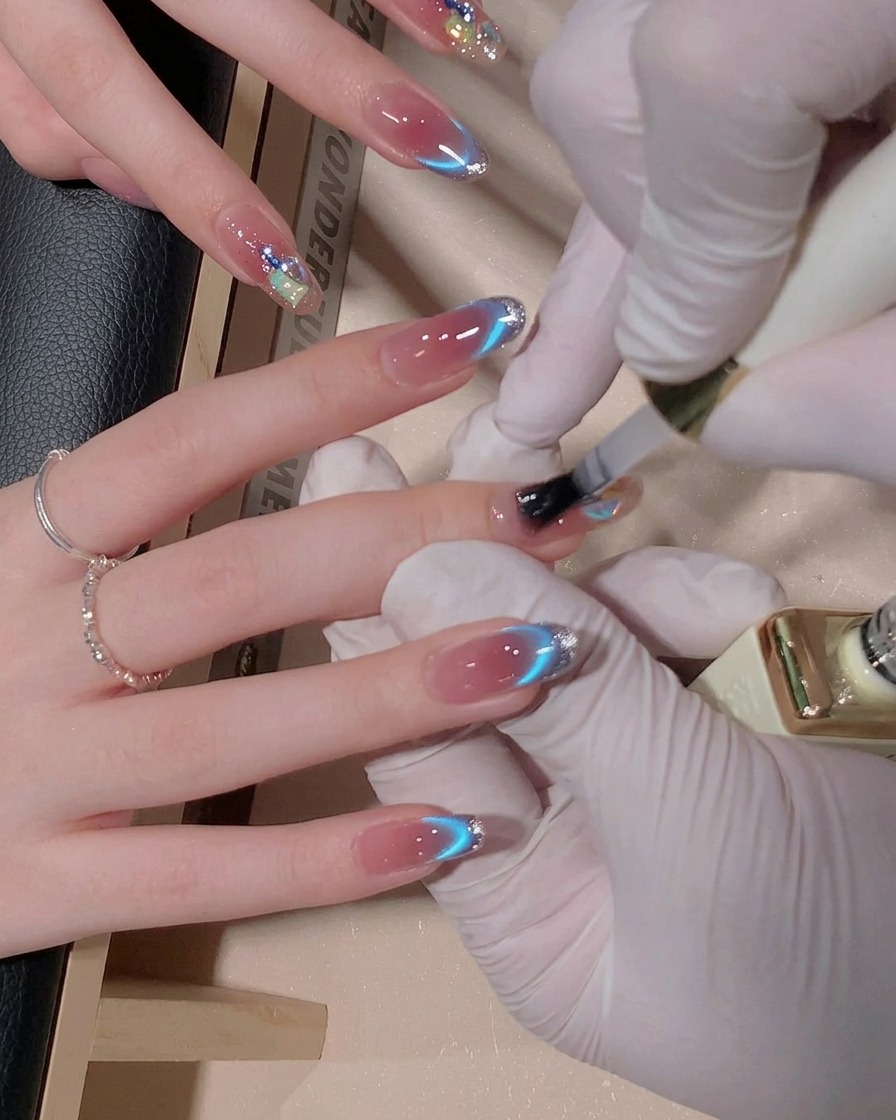
Apply a generous layer of high-shine top coat over every nail to seal in the cat-eye effect, French tips, and rhinestones. Ensure the free edges are capped to protect the design from chipping.
Tip: Use a slightly thicker top coat to encapsulate the rhinestones so they feel smooth to the touch and dont catch on clothing. - 9Cure the nails
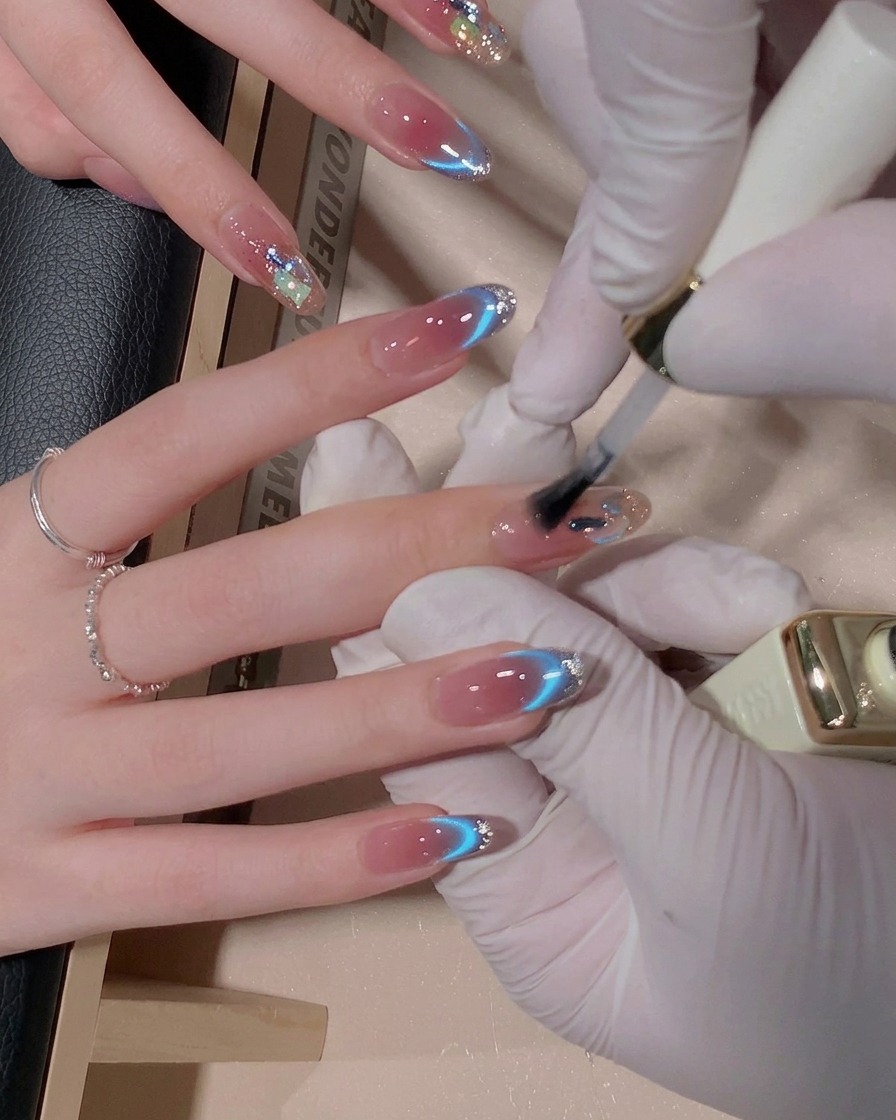
Place your fingers into an LED lamp to cure the top coat. Follow the recommended curing time for your specific gel polish brand to ensure the design is fully hardened and high-gloss.
Tip: Ensure all fingers are positioned directly under the light source for an even cure, especially for the thumbs if they are cured separately.