Blue Gradient Cat-Eye Nails
3D Bows — Step-by-Step Tutorial
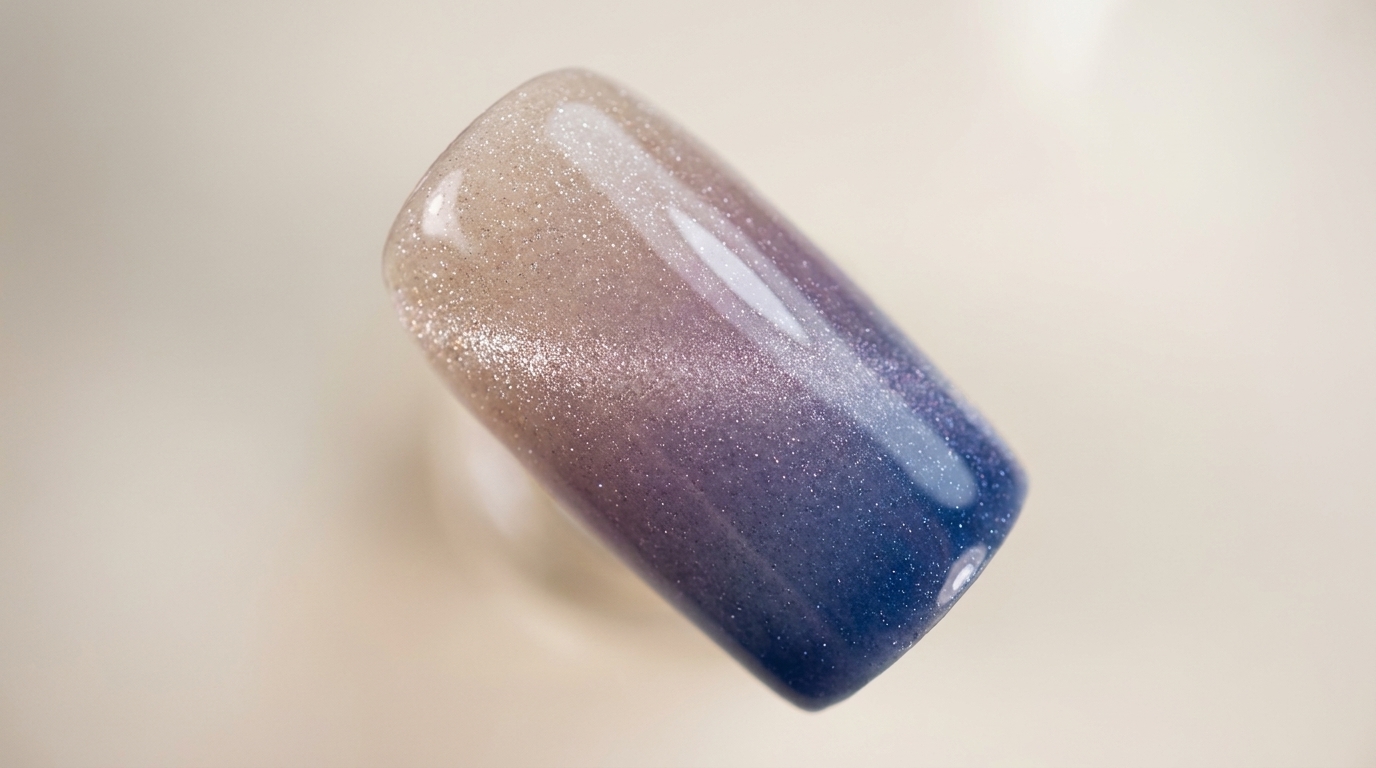
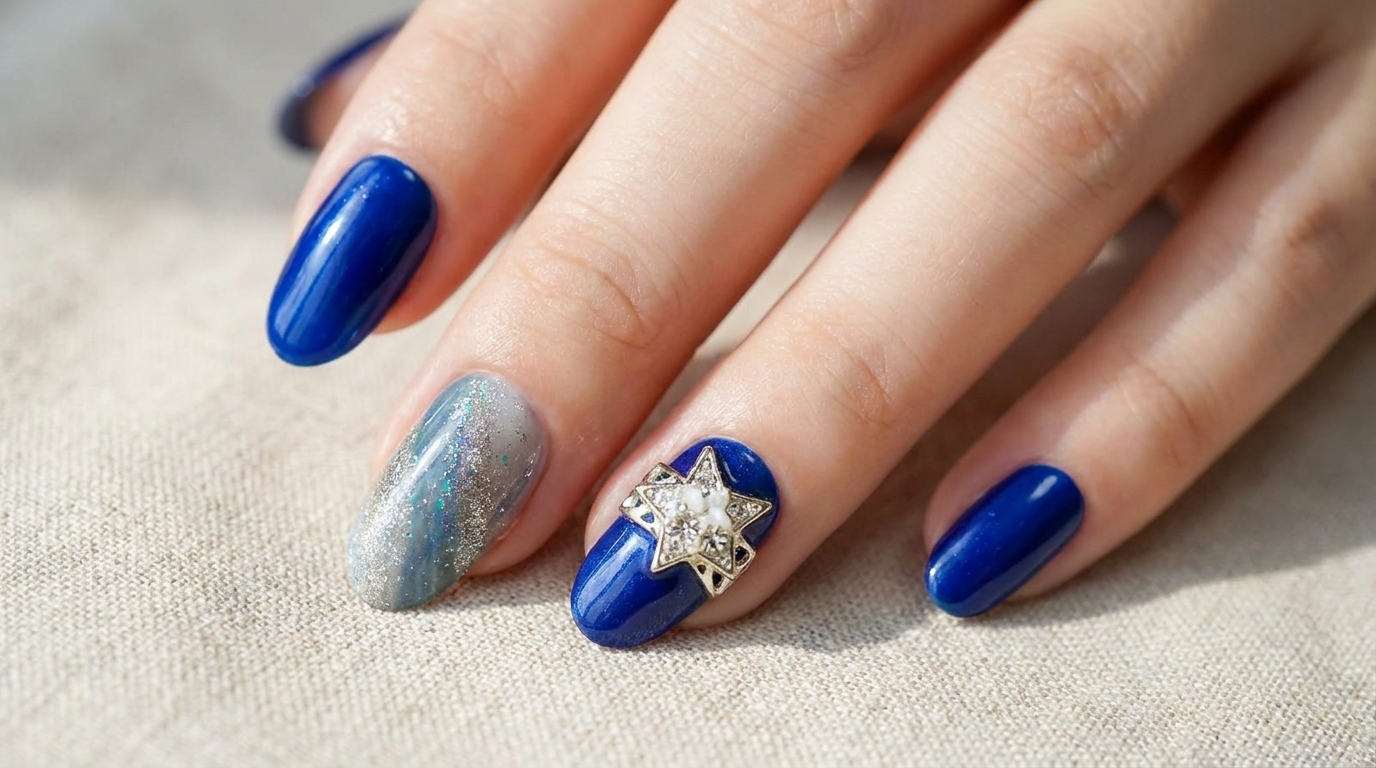
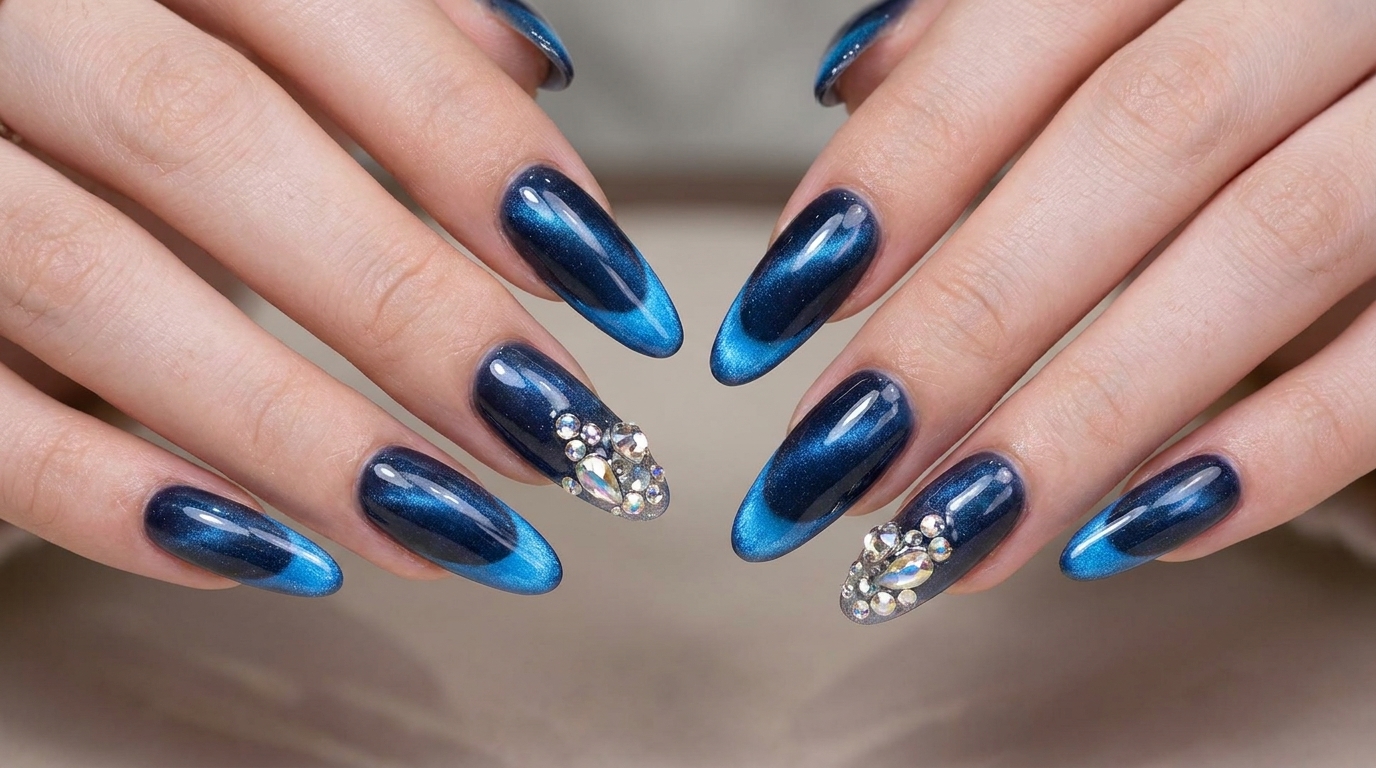
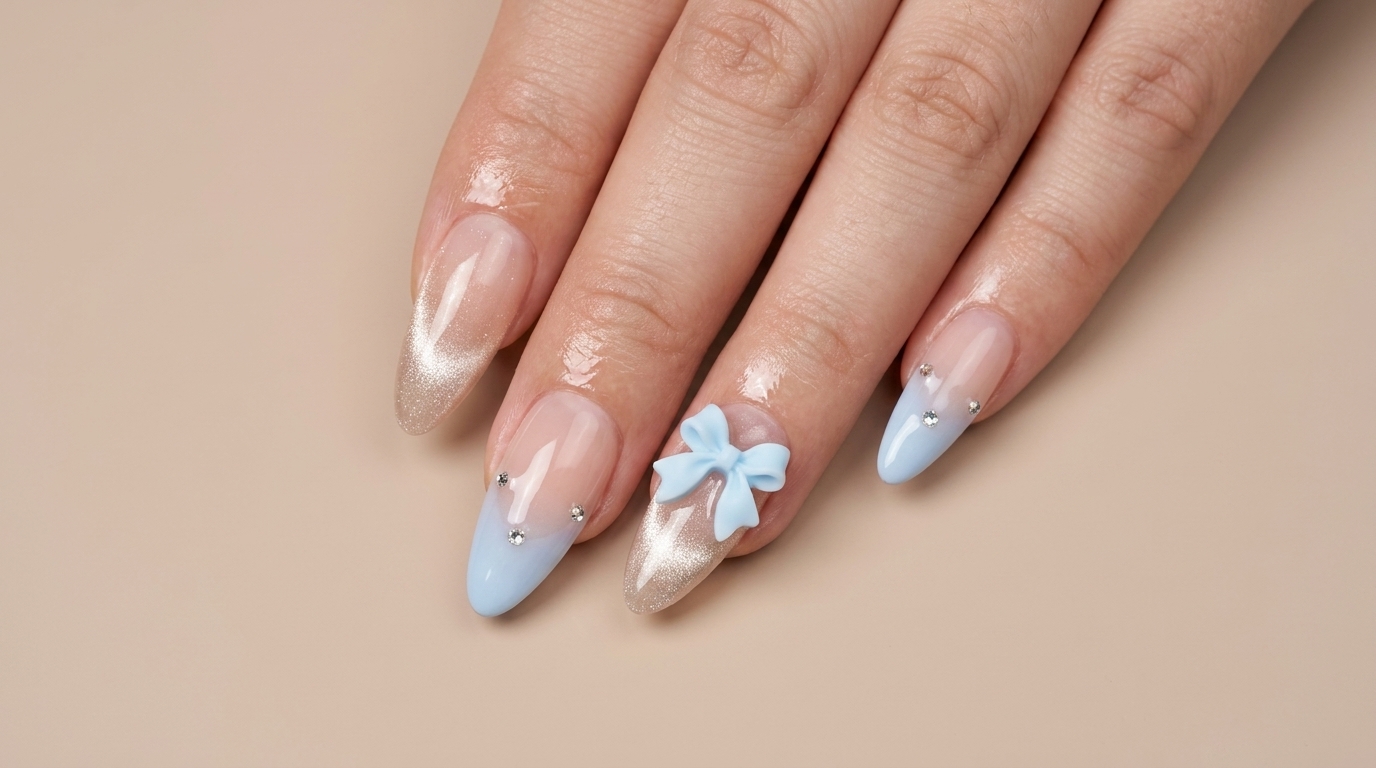
Elevate your manicure with this dreamy blue gradient and champagne cat-eye look. Featuring delicate rhinestones and a custom-tinted 3D bow charm.
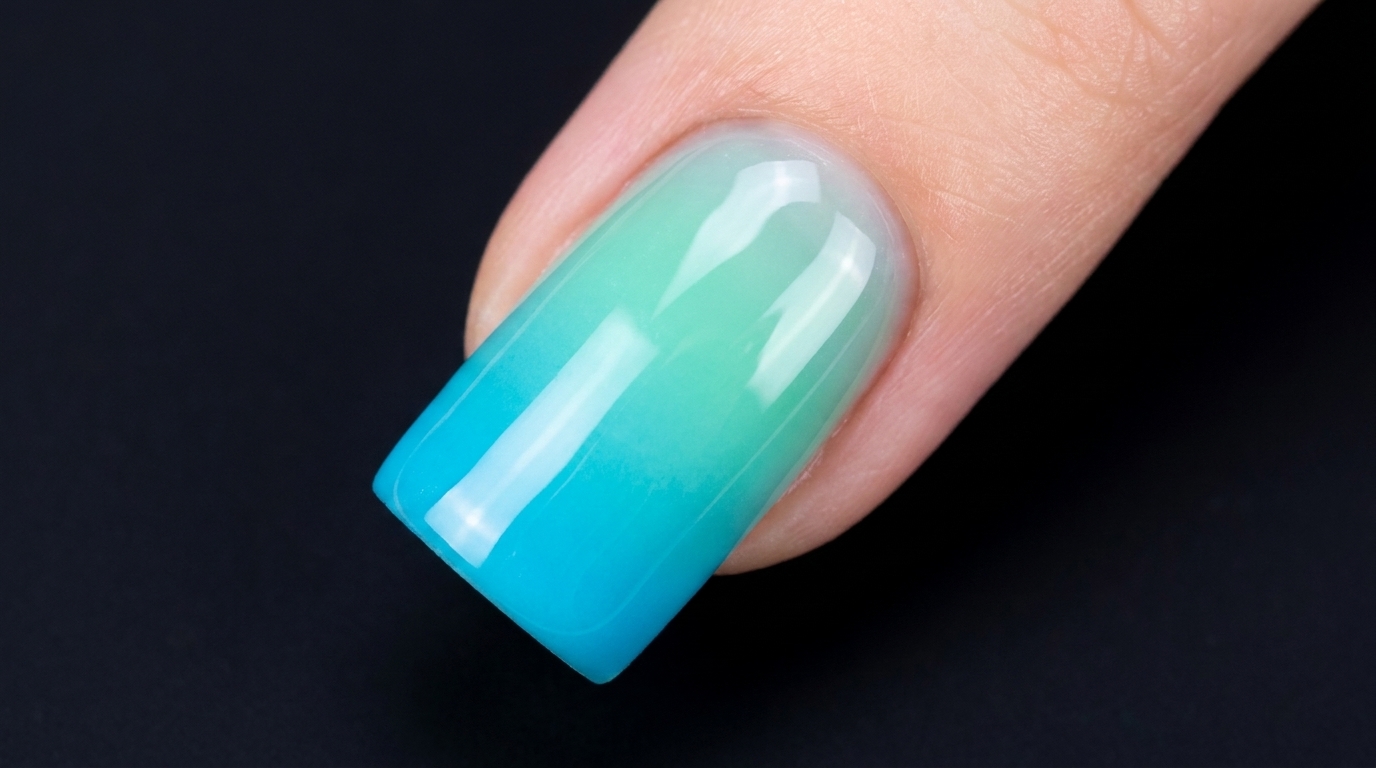
This ethereal nail design perfectly balances soft, pastel aesthetics with the modern, shimmering depth of cat-eye gel. By combining a classic sponge-blended gradient with magnetic pigment and charming 3D accents, this look offers a sophisticated yet playful style. It is the ideal choice for those who love intricate details and want to experiment with mixed-media nail art techniques.
Steps
- 1Apply nude base color
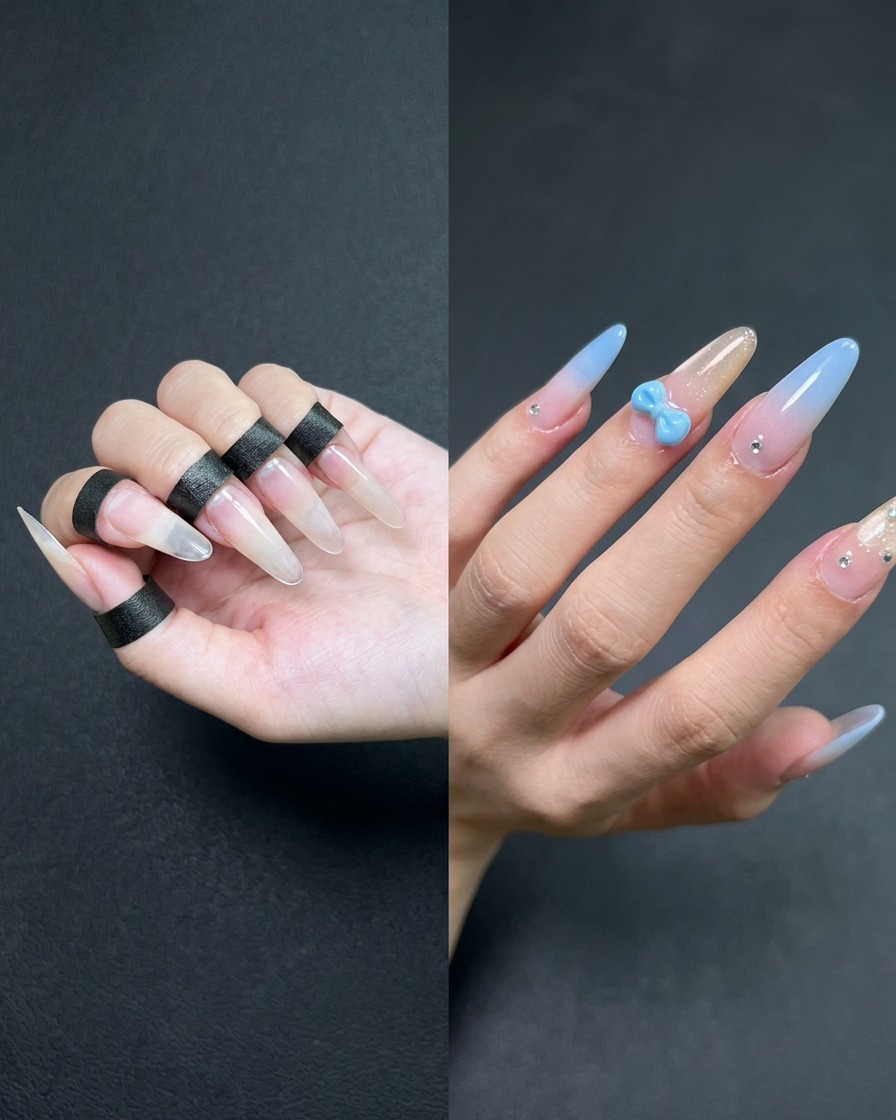
Using a flat gel brush, carefully apply a thin, uniform layer of sheer nude gel over the nail surface. Focus on covering the free edge line to ensure a seamless foundation. Cure under the UV/LED lamp as directed by your gel polish manufacturer.
Tip: Keep the layer thin to prevent the gel from pooling near the cuticles or sidewalls. - 2Continue foundation layer
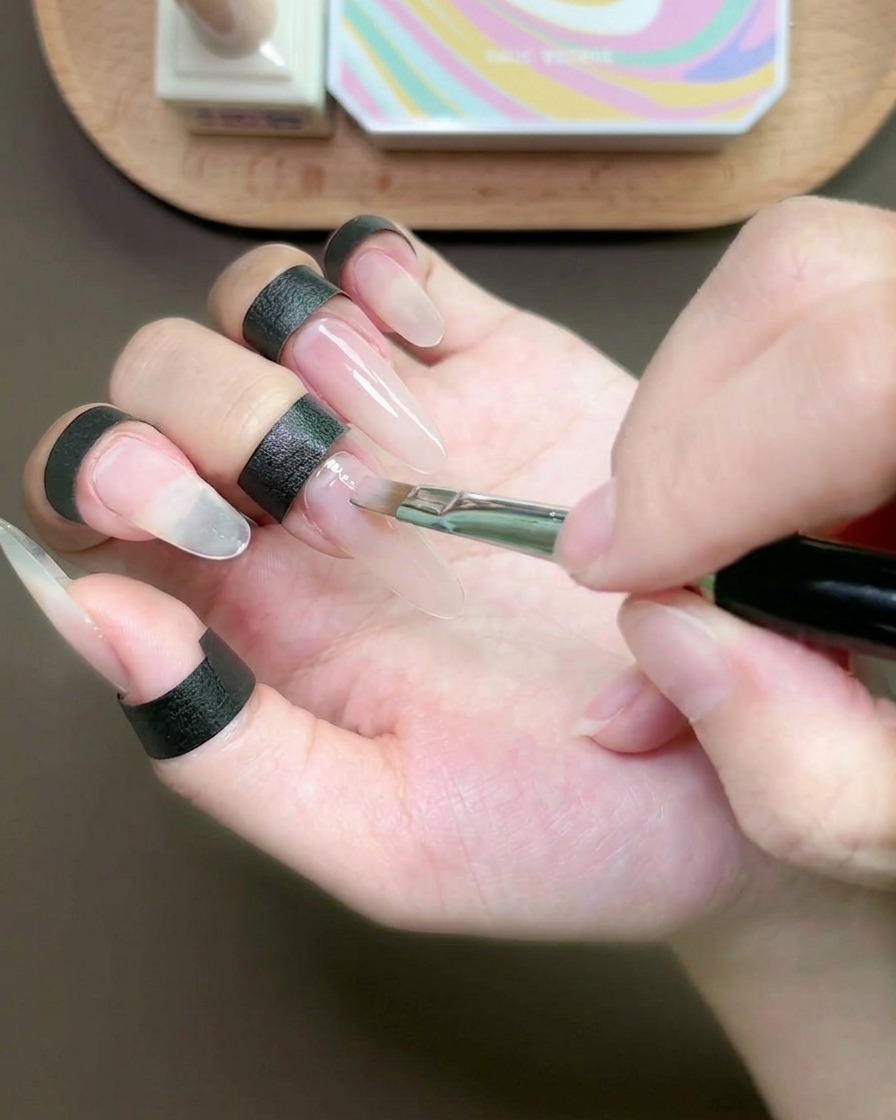
Continue the foundation application by brushing the nude gel onto the middle finger. Ensure consistent coverage and smooth out any brush strokes for an even base across the hand.
Tip: Work with a light touch to keep the gel surface smooth before curing. - 3Begin the blue gradient
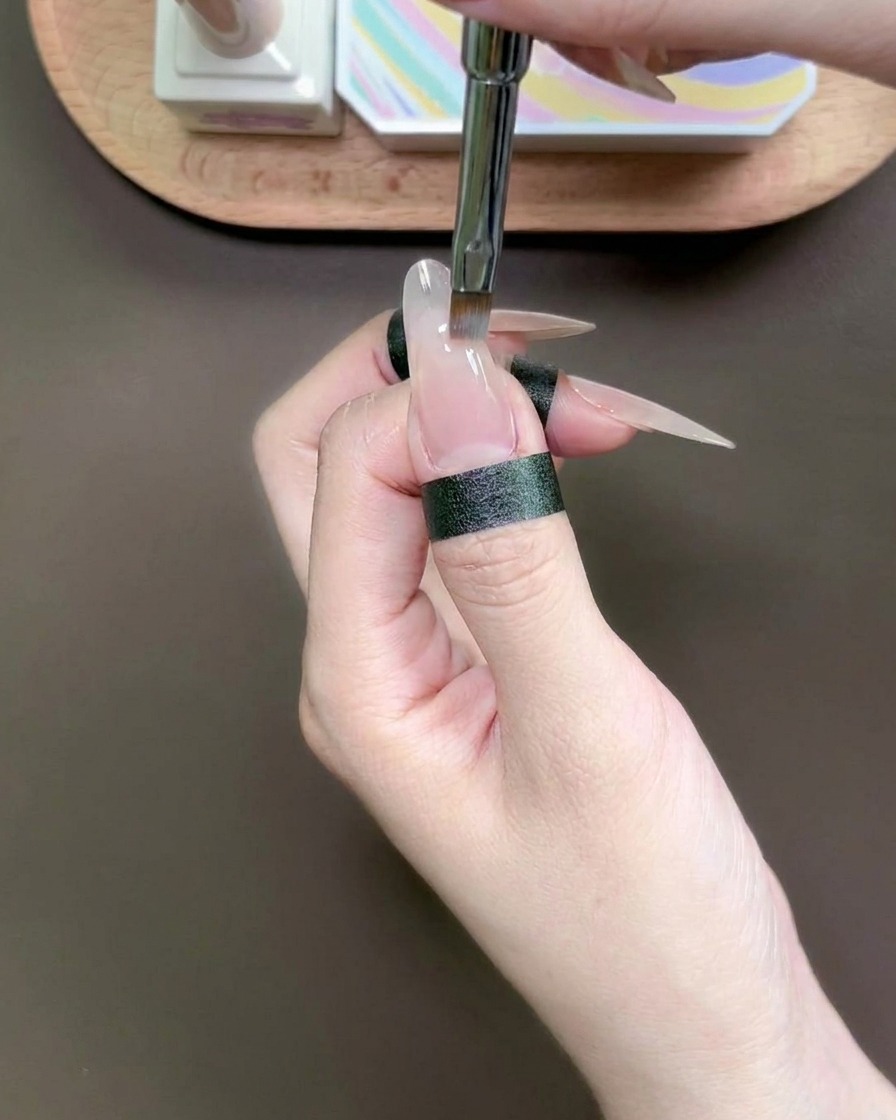
Apply a small amount of light blue gel onto the tip of the middle finger. Using a dabbing sponge tool, start placing the pigment to establish the foundation of your gradient.
Tip: Start with a small amount of product; you can always add more if the pigment is too sheer. - 4Blend gradient effect
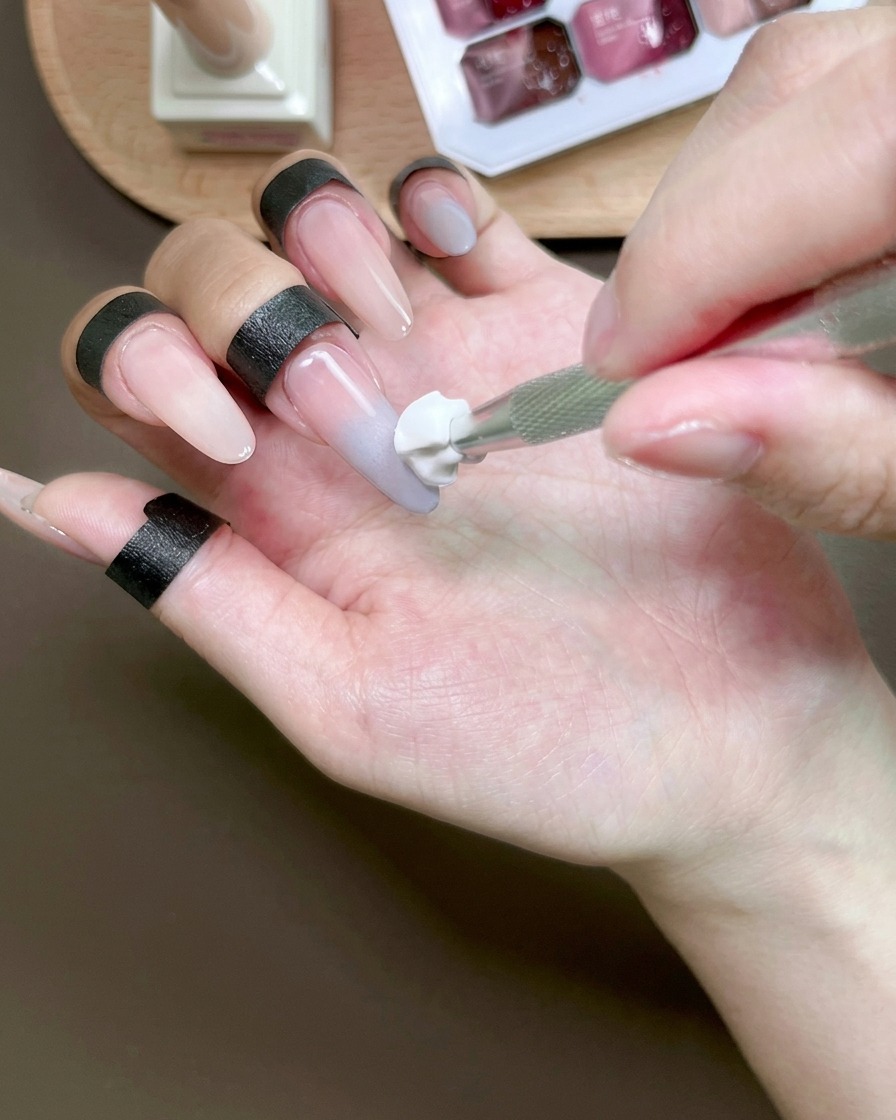
Using the sponge tool, gently pat and blend the blue gel downwards toward the center of the nail. Use light, repeated motions to soften the transition and create a smooth, diffused gradient effect.
Tip: Use a feathering motion when blending to avoid harsh lines in the ombre. - 5Apply gradient to thumb
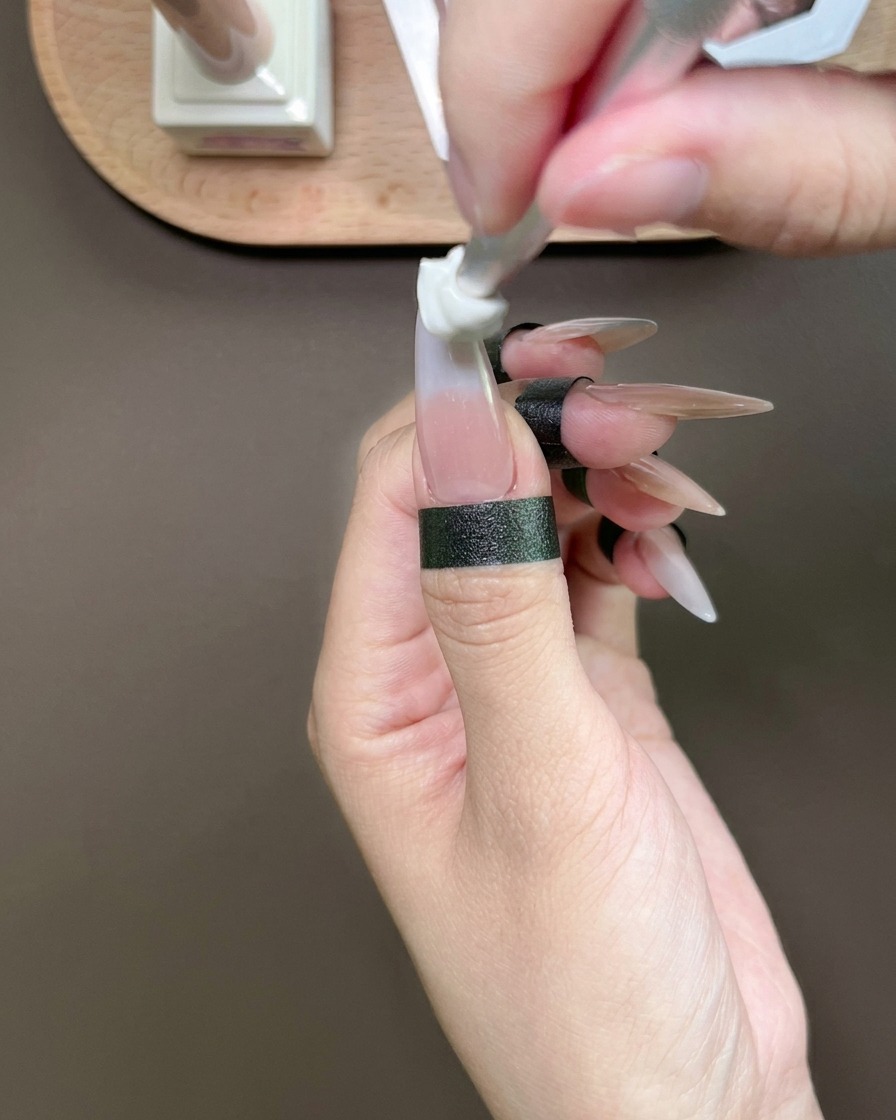
Repeat the gradient process on the thumb by dabbing and blending the light blue gel onto the tip. Ensure the intensity and blending technique match the other fingers for a cohesive look.
Tip: Rotate your thumb to ensure even blending across the entire tip area. - 6Apply champagne cat-eye base
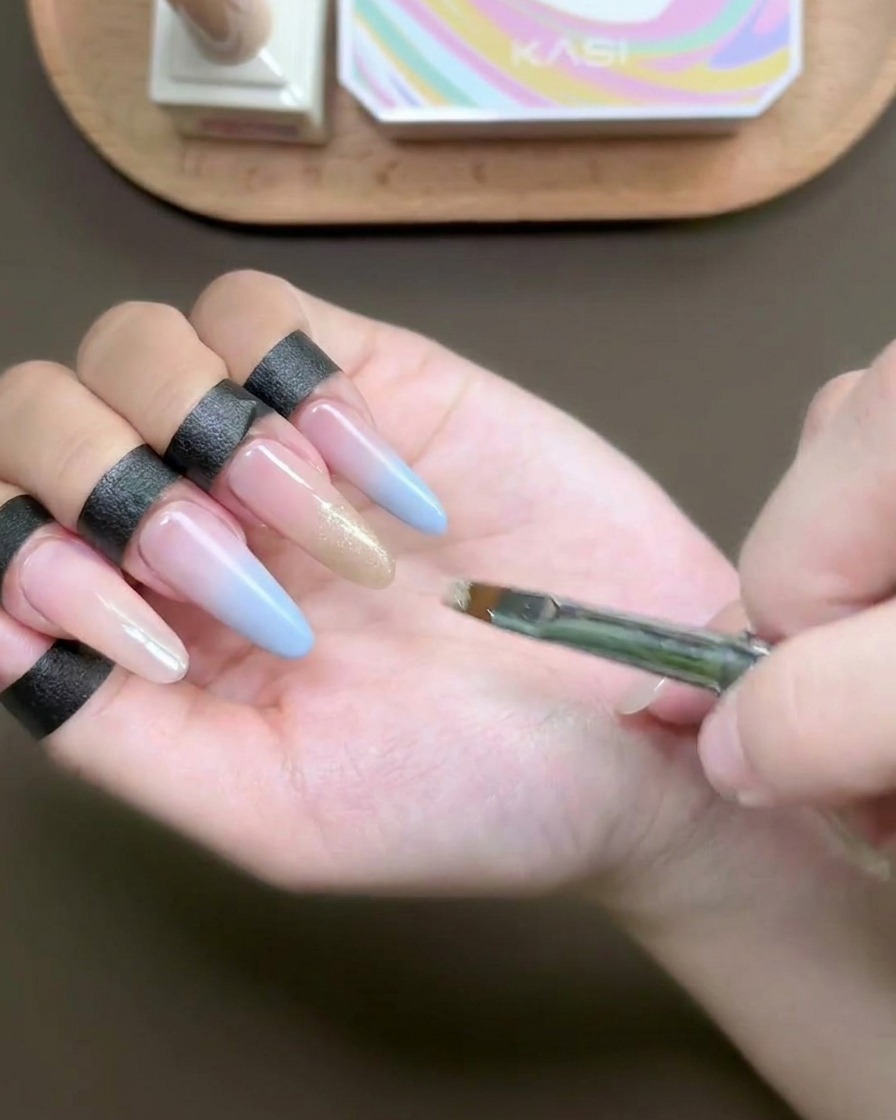
Apply the shimmering champagne cat-eye gel to the tip of the ring finger using a flat brush. This creates the reflective base needed for the magnetic effect.
Tip: Apply the gel in thin, even strokes to ensure the cat-eye pigment settles correctly. - 7Apply cat-eye gradient to the ring finger
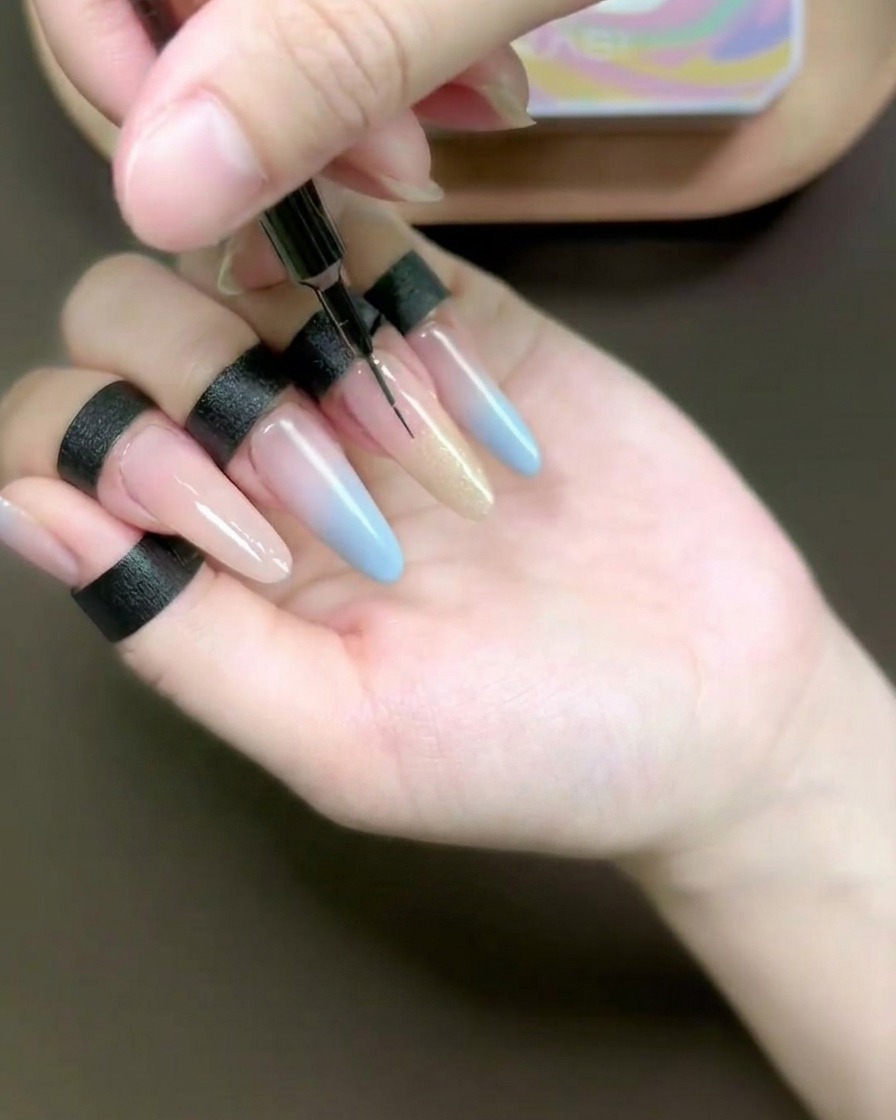
Using a fine liner brush, gently stroke and blend the champagne cat-eye gel from the cuticle area down towards the tip of the ring finger. This technique creates a soft, seamless gradient effect while ensuring the magnetic particles are distributed evenly for a smooth transition.
Tip: Work with a light touch to avoid removing too much product while blending. - 8Activate cat-eye magnetic effect
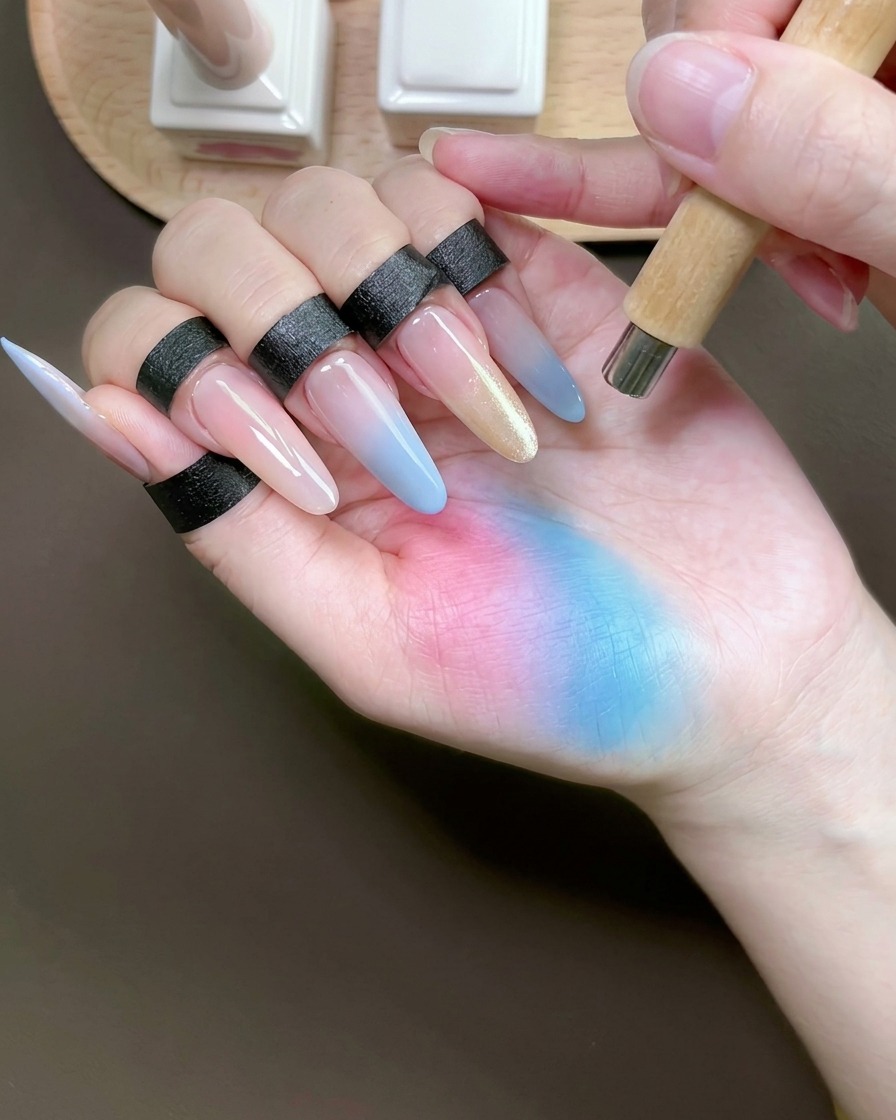
Hold a cylindrical magnet diagonally over the ring finger to activate the magnetic particles within the cat-eye gel. Keep the magnet close to the nail surface without touching it to shift the shimmer into a crisp, bright streak, then cure under the lamp.
Tip: Experiment with the angle of the magnet to customize the position and intensity of the cat-eye line. - 9Apply cat-eye gel to the index finger
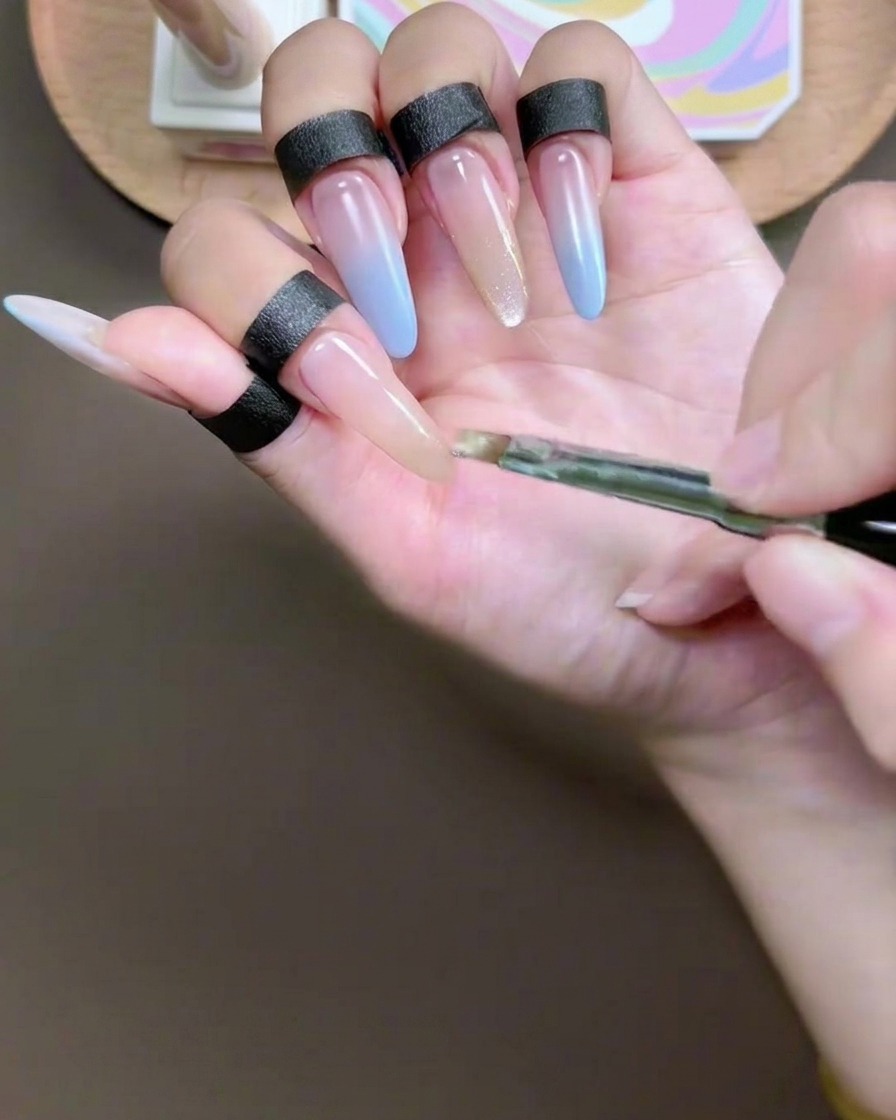
Carefully brush a layer of champagne cat-eye gel onto the tip of the index finger. Ensure the application is focused on the area intended for the gradient, mirroring the technique used on the ring finger.
Tip: Apply the gel in a thin, controlled layer to ensure easier blending and a more refined final look. - 10Blend the index finger gradient
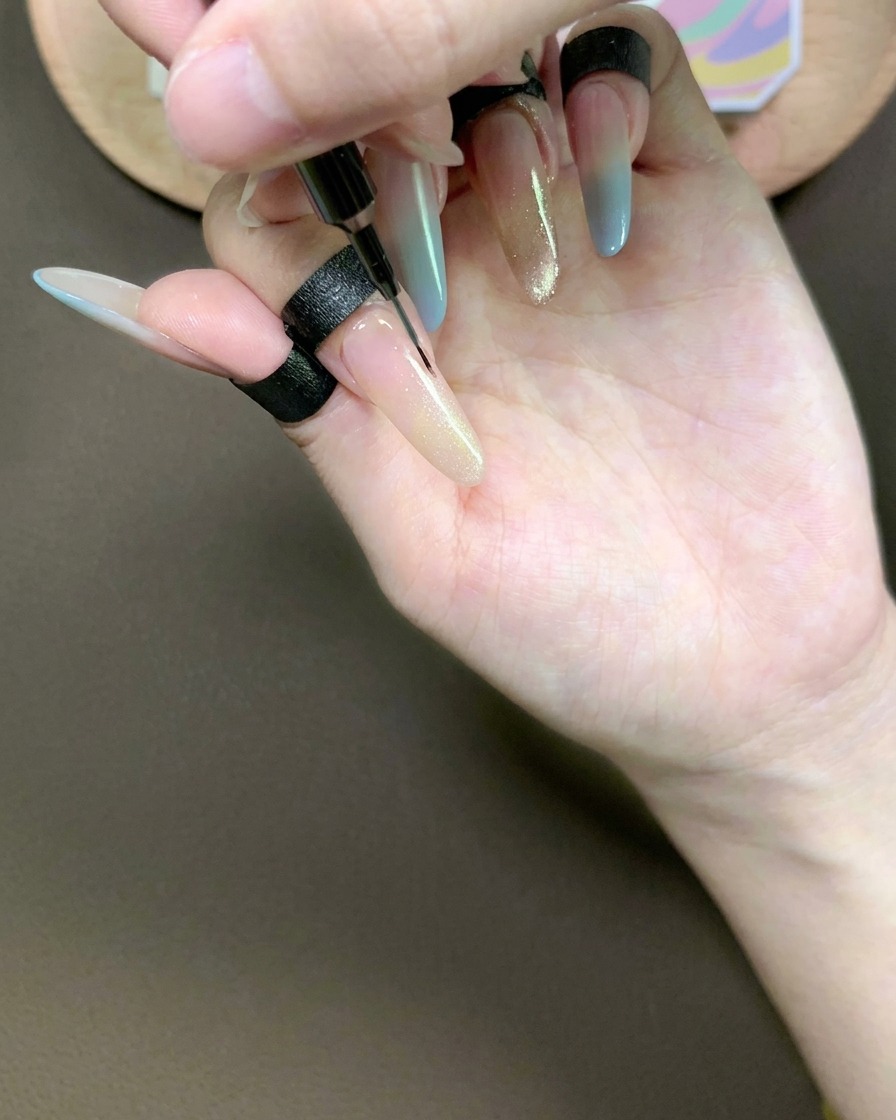
Use a fine liner brush to blend the applied cat-eye gel down the index finger, creating a smooth gradient. Match the intensity and blend consistency to the ring finger to ensure a cohesive design across the hand.
Tip: Clean your liner brush with a lint-free wipe dipped in alcohol between nails if any excess product builds up. - 11Create cat-eye effect on index finger
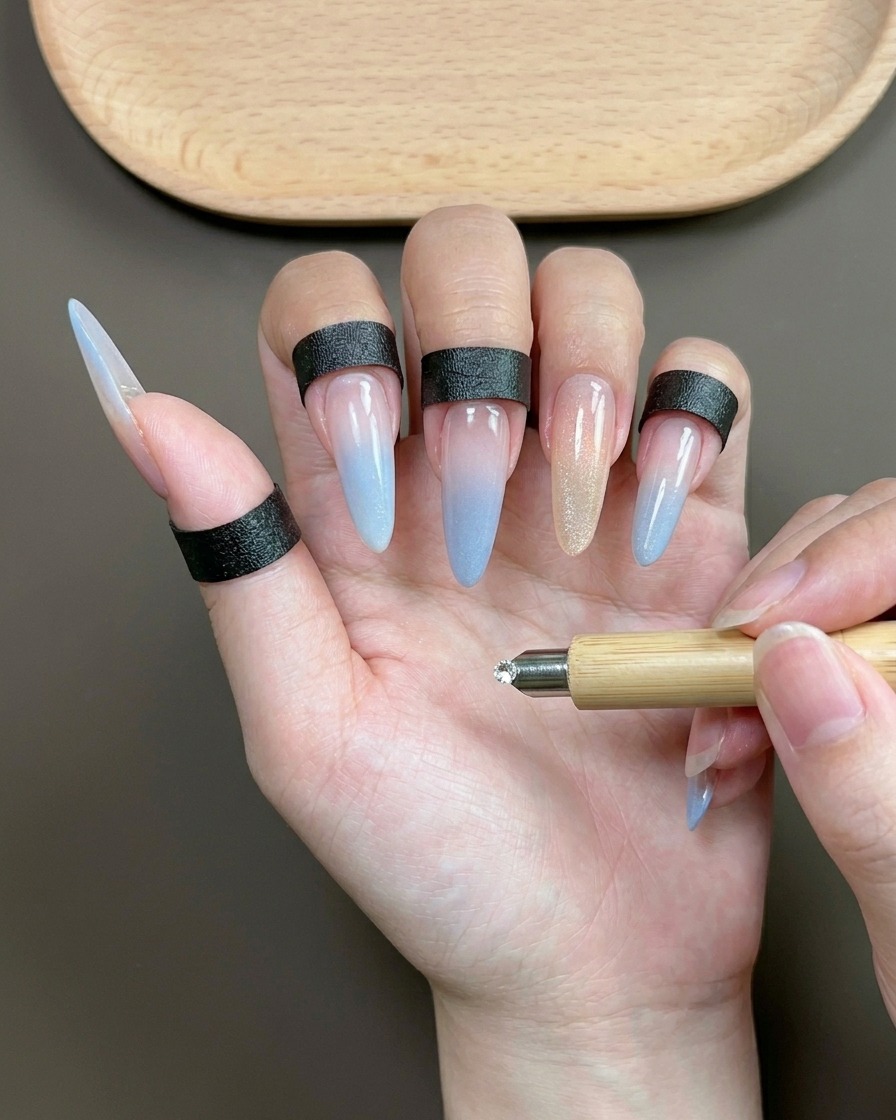
Hover the cylindrical magnet over the index finger to attract the magnetic particles, creating the characteristic cat-eye shimmer. Once the desired effect is achieved, place the hand under the UV lamp to cure.
Tip: Keep the magnet steady to prevent the particles from shifting once you have achieved the perfect line. - 12Encapsulate the design
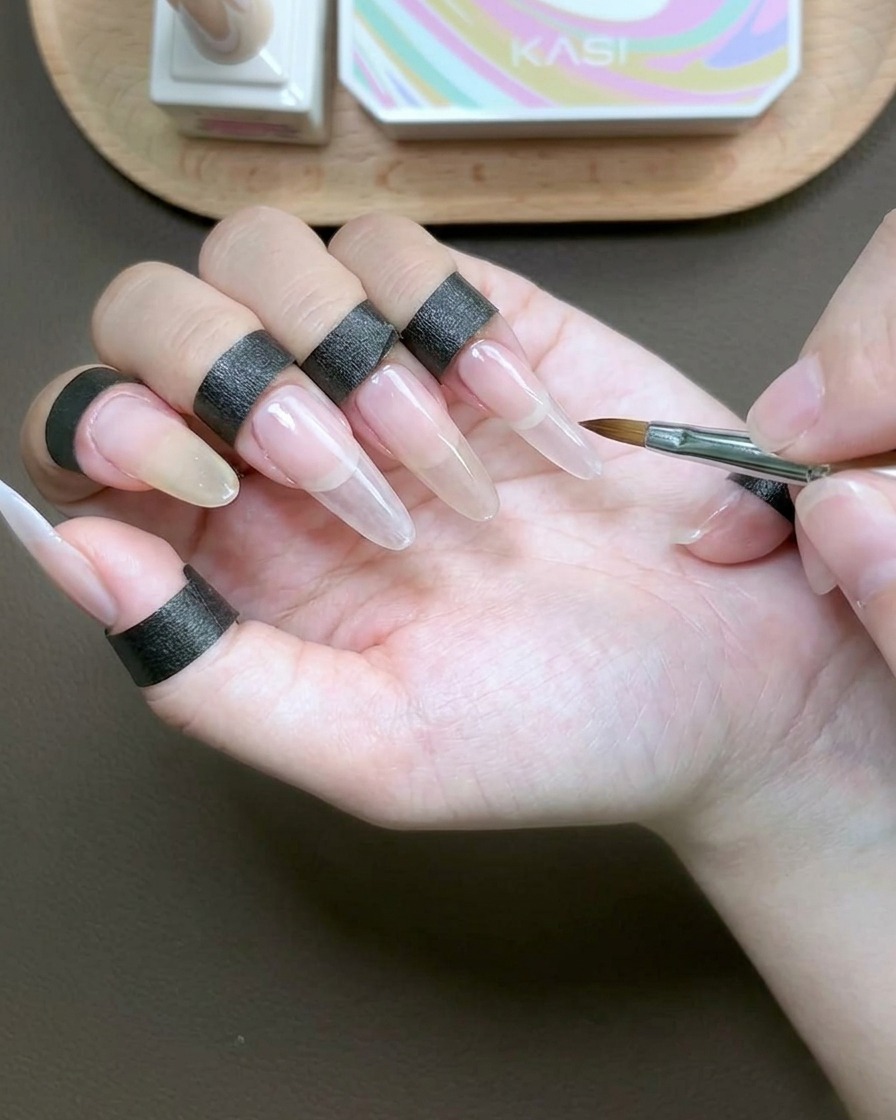
Apply a final, slightly thicker layer of clear encapsulating gel over the entire index finger nail. This step seals the cat-eye design, levels out any uneven texture, and provides a durable, glossy finish.
Tip: Ensure the gel is applied to the free edge to fully encapsulate the tip and prevent any chipping. - 13Apply rhinestone glue
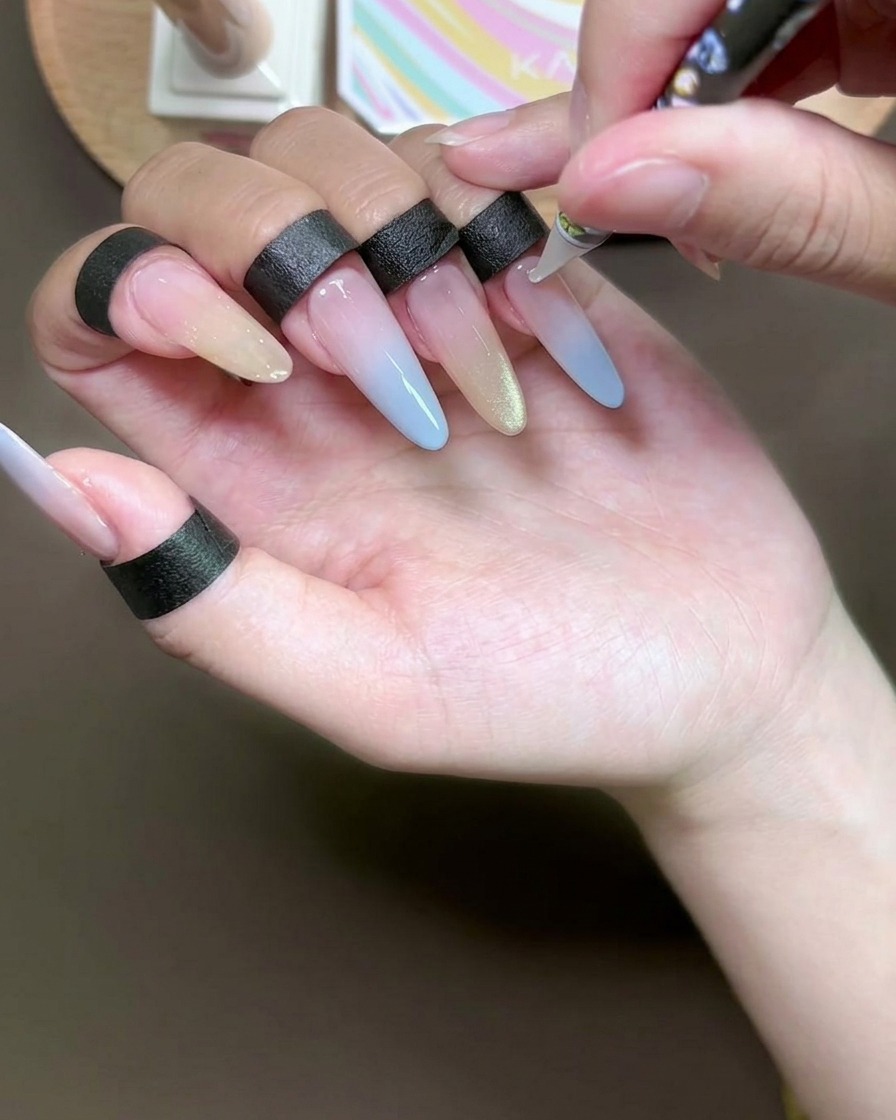
Using a precision dotting tool, apply small, evenly spaced dots of rhinestone glue along the gradient line on the middle finger. This acts as the adhesive base for the rhinestones.
Tip: Apply just enough glue for each stone to prevent overflow, which can cloud the finish of the gel. - 14Place silver rhinestones
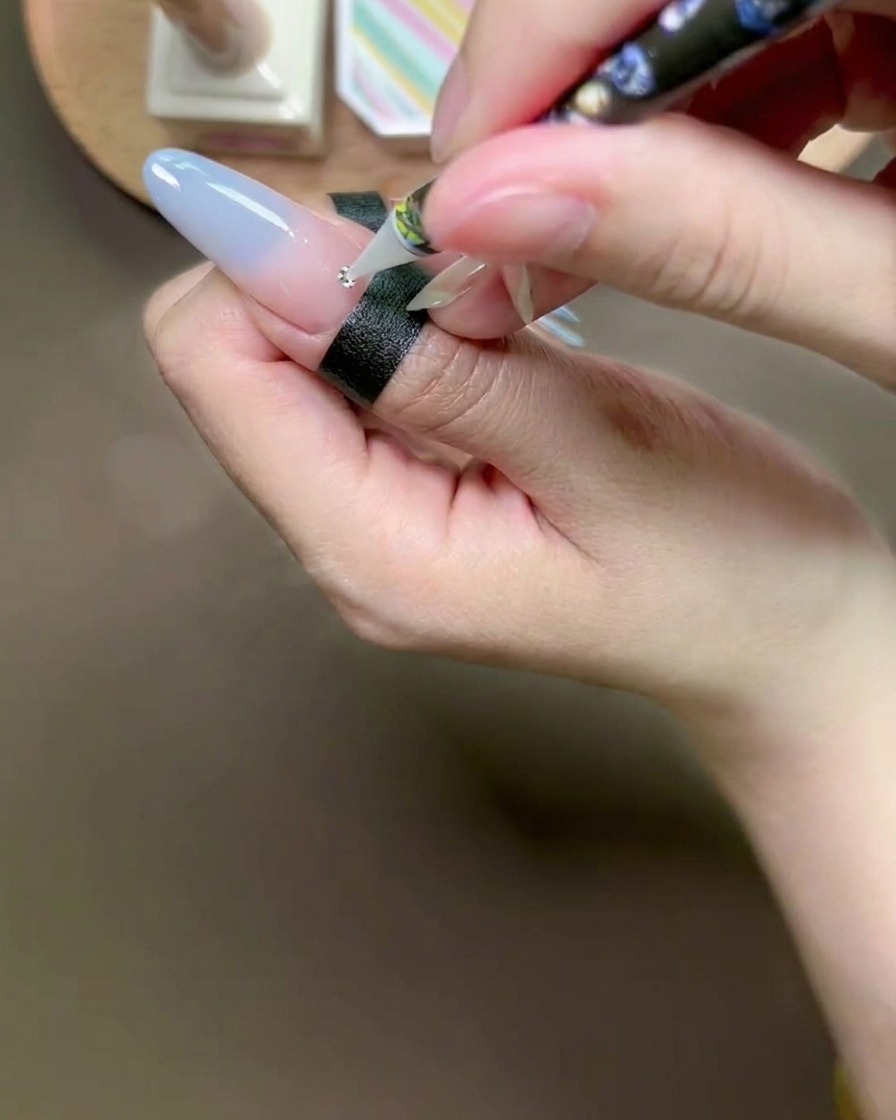
With a wax picker pen, carefully pick up individual small silver rhinestones and press them firmly into the glue dots on the middle finger. Ensure they are well-seated in the adhesive.
Tip: Press the stones down gently to ensure they adhere flat against the curved surface of the nail. - 15Apply glue to index finger
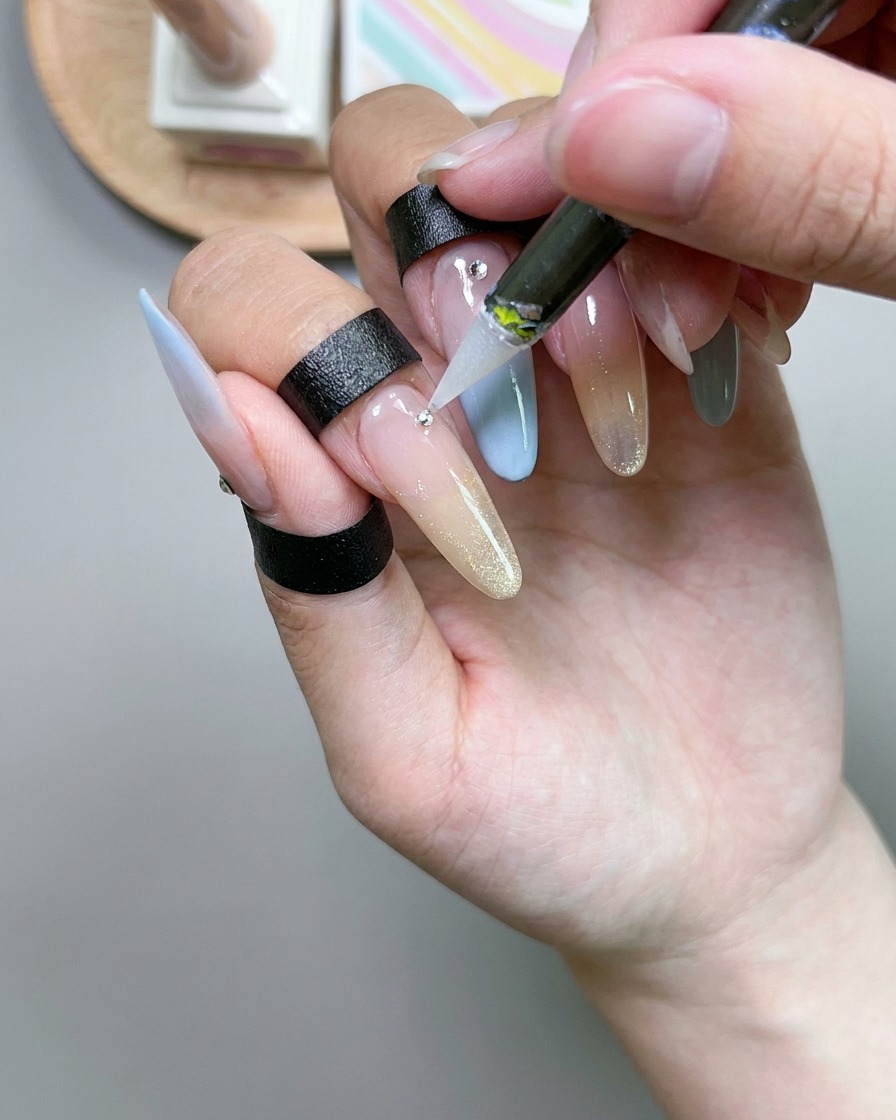
Repeat the process by dabbing small, precise spots of rhinestone glue onto the surface of the index finger where the stones will be placed.
Tip: Maintain consistent spacing between the glue dots for a professional and uniform appearance. - 16Place rhinestones on index finger
Using the wax picker pen, place silver rhinestones onto the glue spots previously applied to the index finger. Press each one gently to secure.
Tip: Work efficiently to place the stones before the glue begins to set or run. - 17Attach 3D bow charm
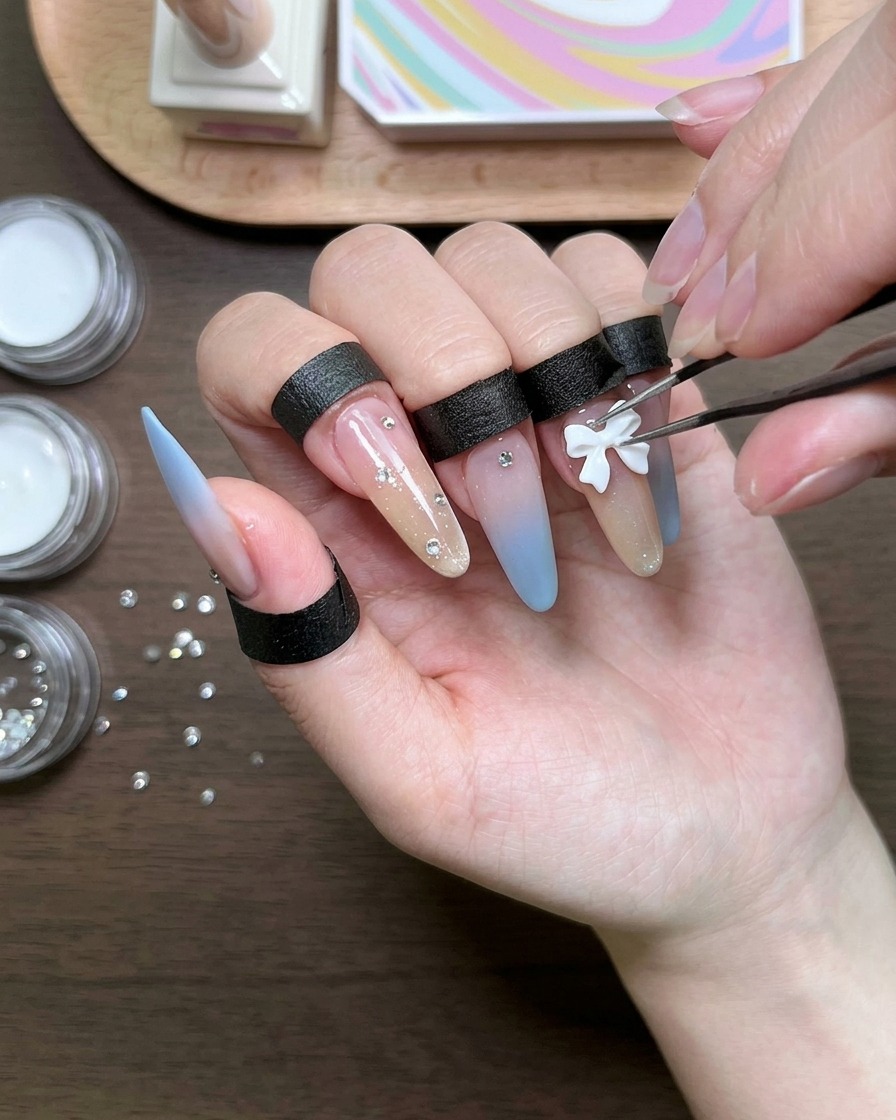
Apply a bead of rhinestone glue to the ring finger. Using fine-tipped tweezers, place the 3D bow charm into the glue and press firmly to secure it to the nail surface.
Tip: Hold the bow in place for a few seconds if necessary to allow the glue to grip the charm effectively. - 18Tint the bow charm
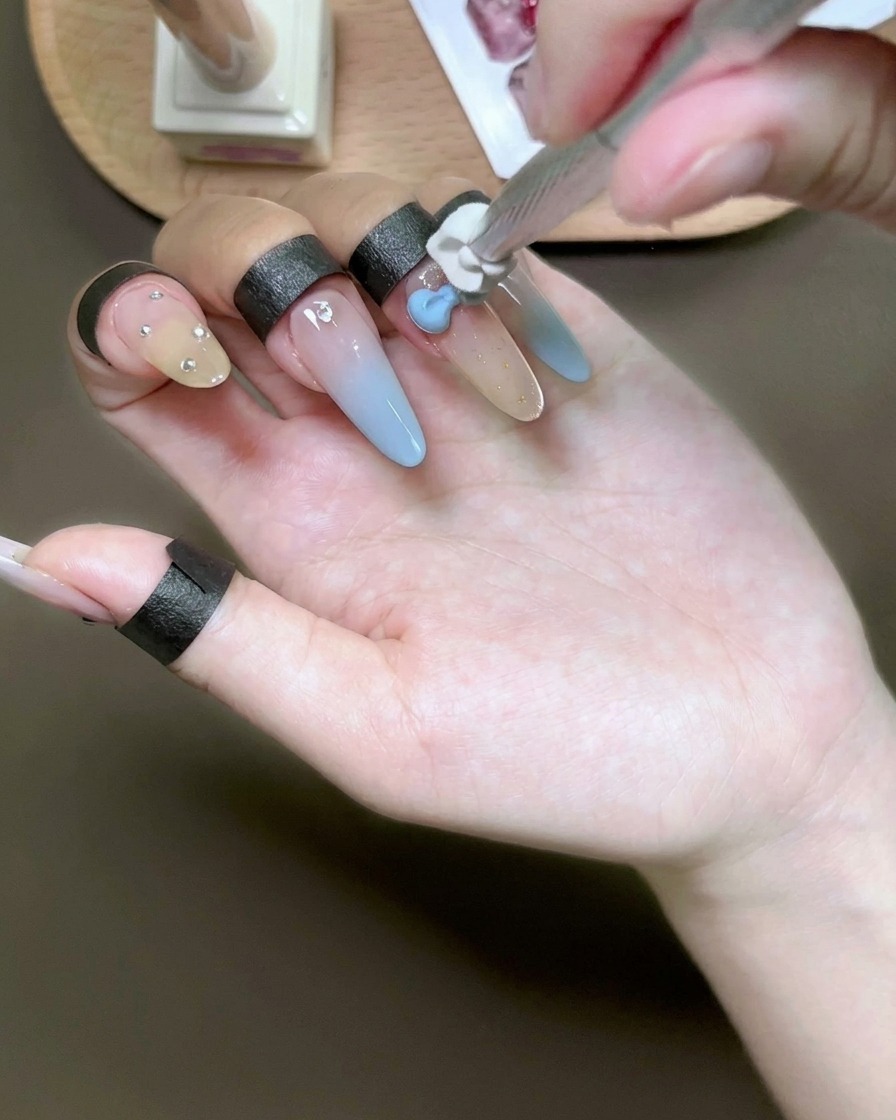
Using a sponge dabbing tool, gently press light blue gel over the white bow charm to tint it, ensuring the color matches the gradient on your nails.
Tip: Apply the gel in a thin, light layer to avoid obscuring the details of the 3D charm.