Fresh Blue-Green Two-Tone Ombre Gel Nails — Step-by-Step Tutorial
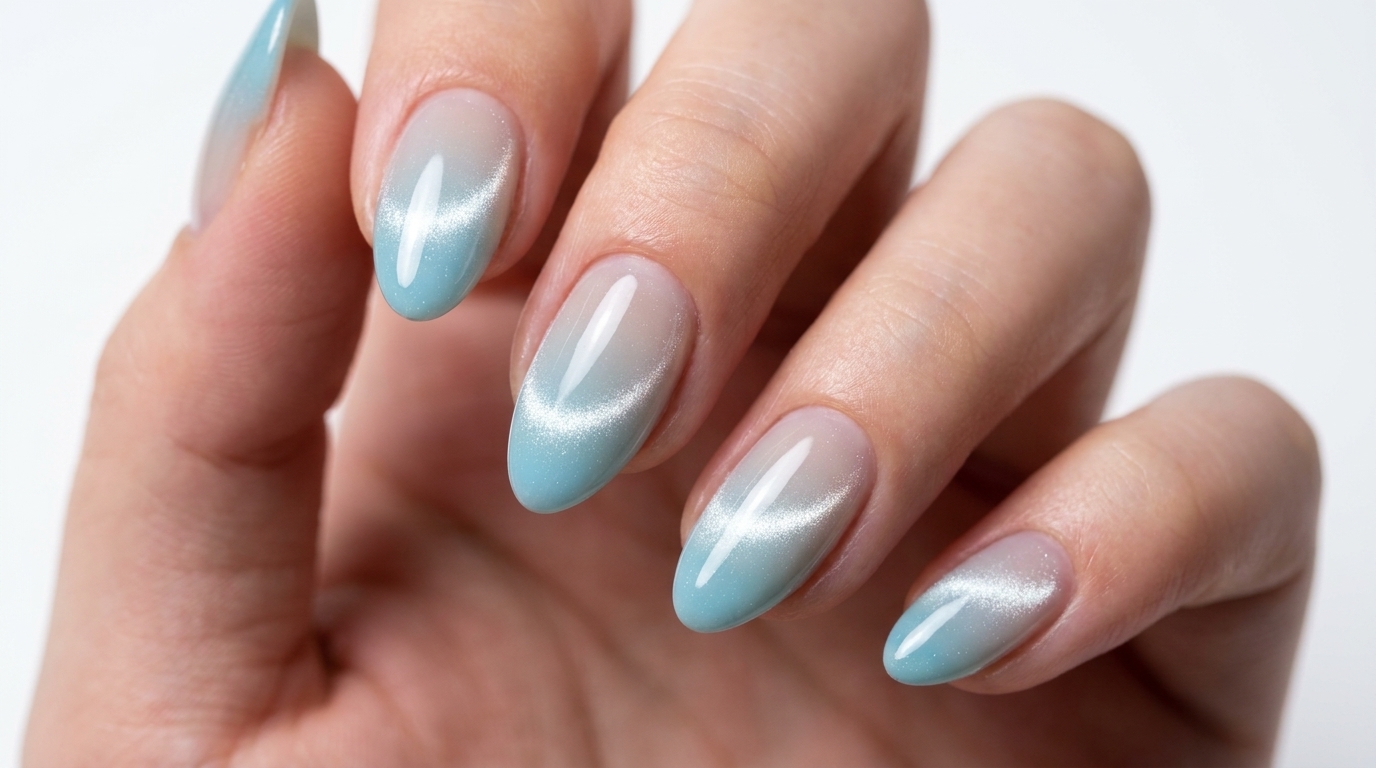
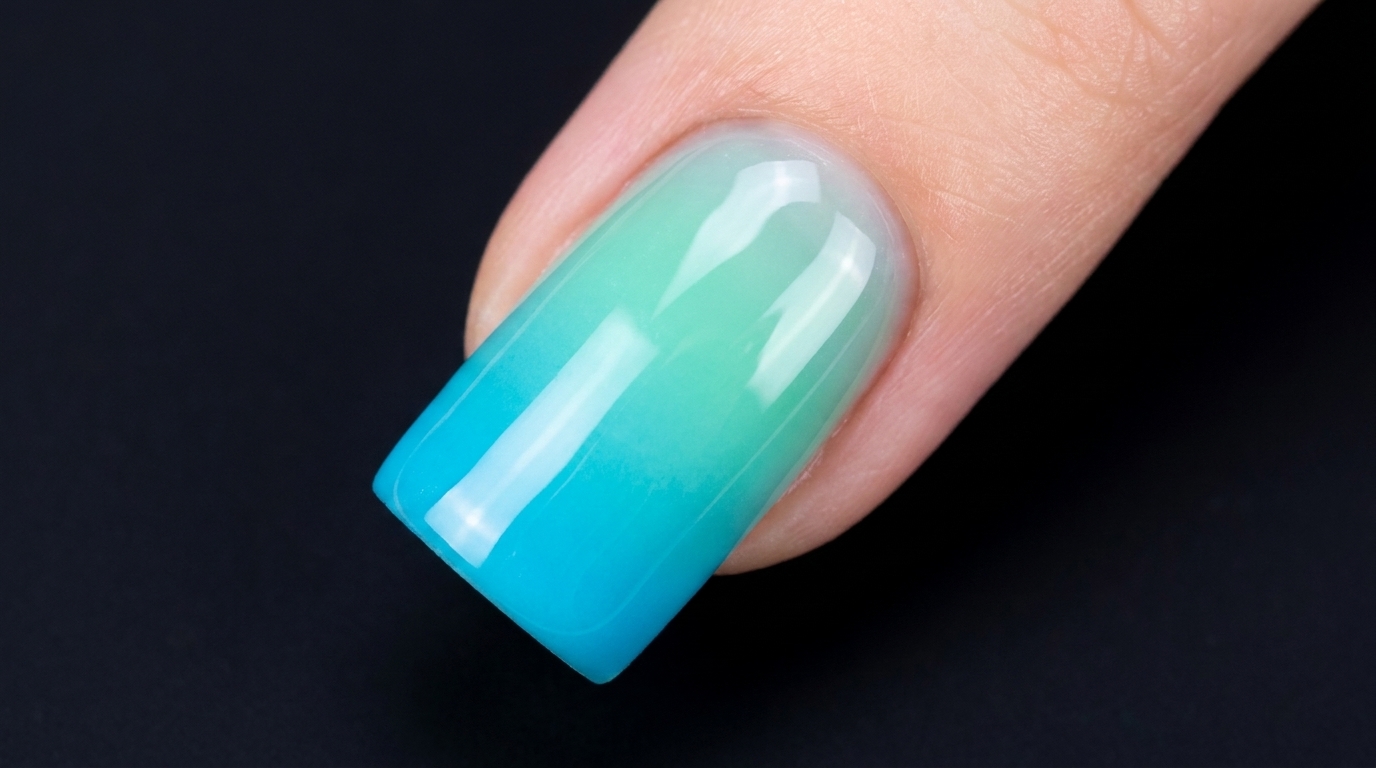
Master this dewy, two-tone ombre look with our easy gel polish tutorial. Perfect for a fresh, icy blue-green gradient finish.
The blue-green two-tone ombre nail look offers a refreshing and dewy aesthetic that captures a modern, icy vibe. By layering translucent tones and expertly blending the transition, you can achieve a sophisticated, salon-quality gradient right at home. This tutorial guides you through the process of building depth and seamless color fusion using professional gel techniques.
Steps
- 1Apply icy green base coat
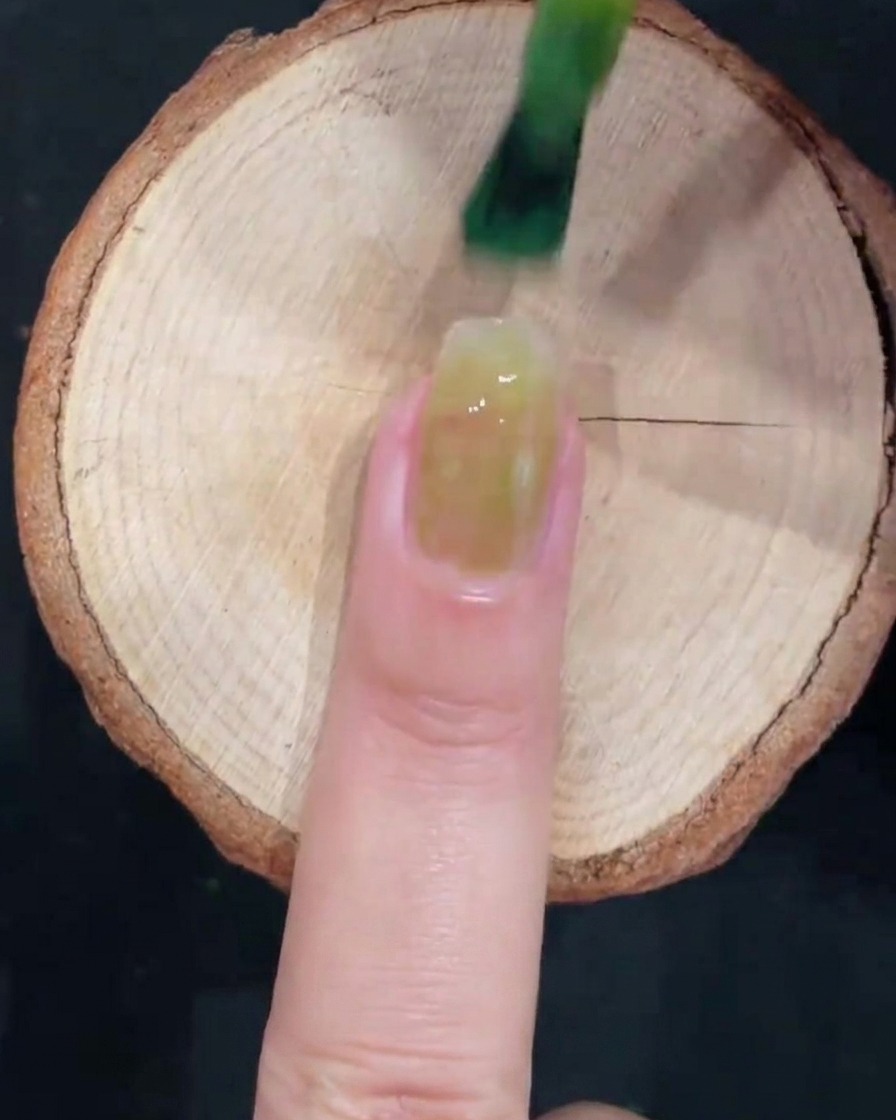
Begin by brushing a thin layer of the translucent imperial green gel polish onto the center of the nail plate. Use a light, controlled touch to ensure the sheer color lays down smoothly.
Tip: When working with translucent gels, start in the center and work your way out to avoid flooding the side walls. - 2Apply the green base layer
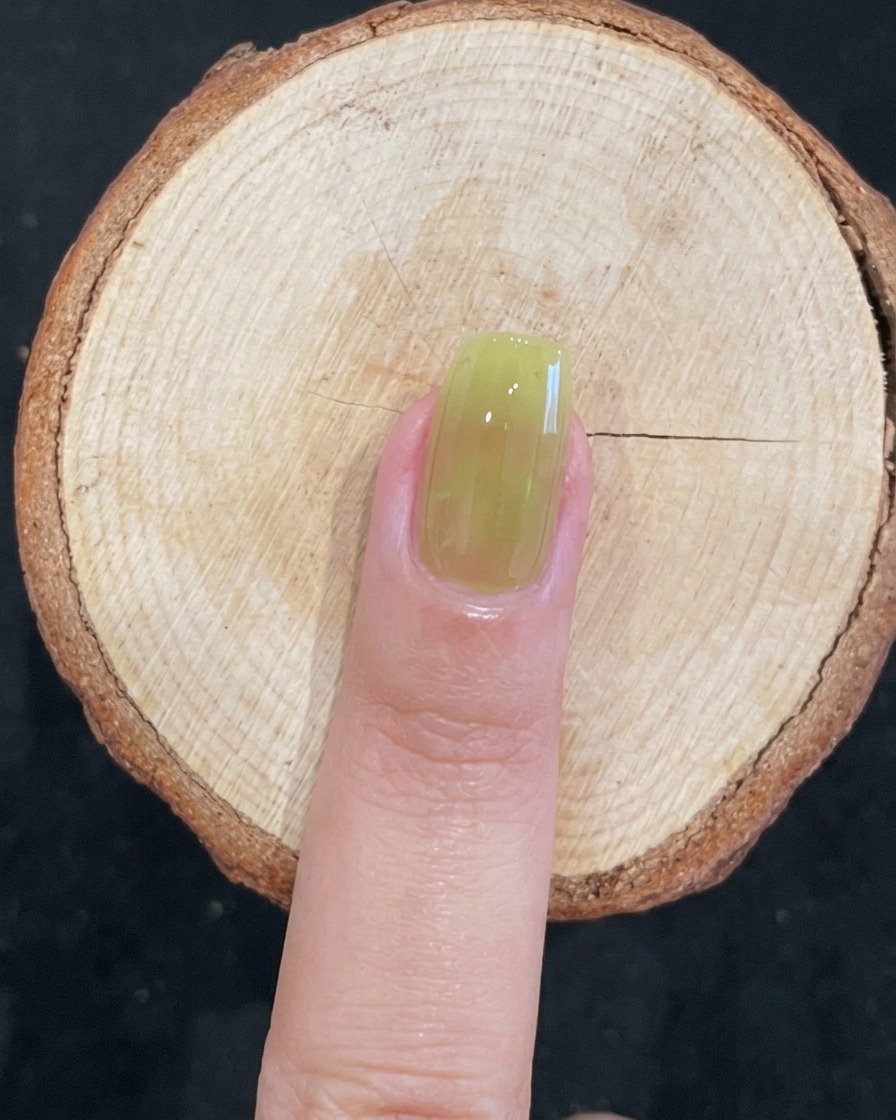
Apply an even, thin layer of the translucent imperial green gel polish down the center of the nail, then gently distribute it toward the sides. Ensure smooth coverage over the entire nail surface for an even base.
Tip: Keep your brush strokes light and consistent to avoid pooling at the cuticle. - 3Refine the green base application
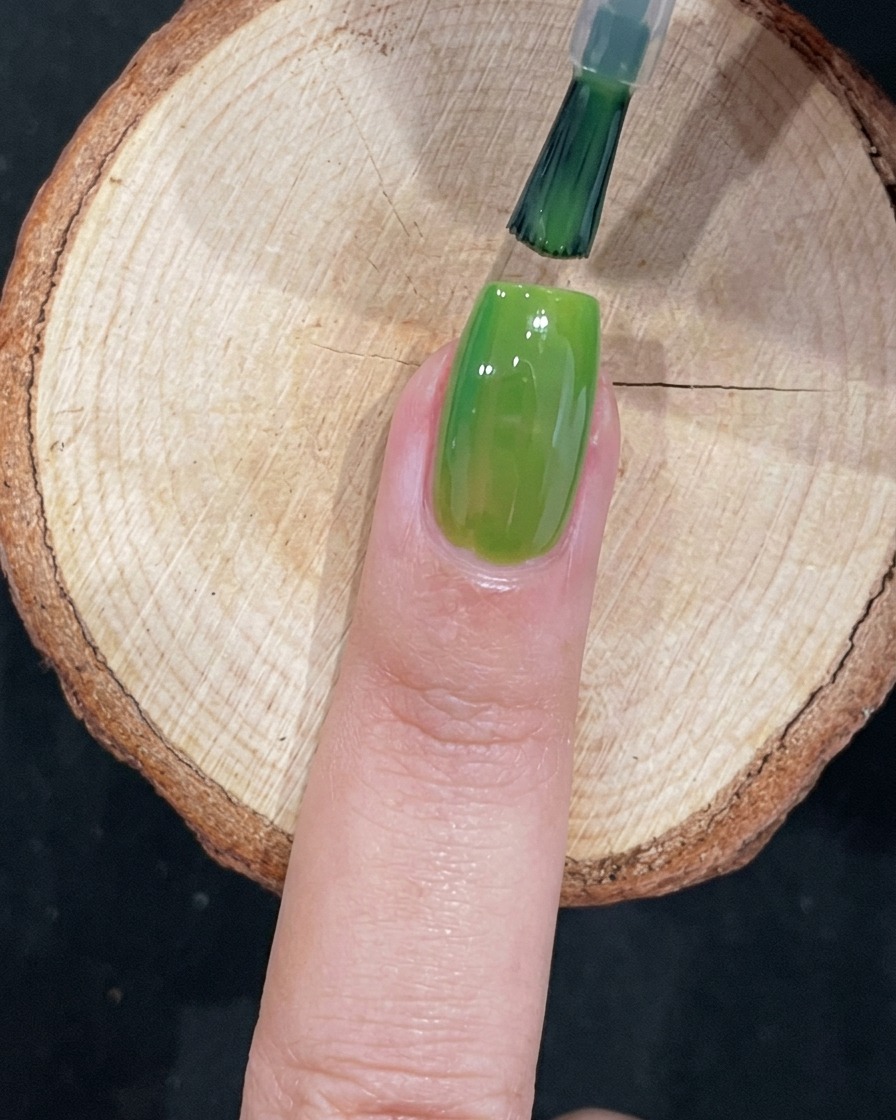
Using the tip of the brush, carefully guide the translucent green gel near the cuticle and along the sidewalls, maintaining a thin, clean application. Take your time to ensure the color is evenly distributed without flooding the surrounding skin.
Tip: Working slowly around the cuticle prevents lifting and creates a professional finish. - 4Smooth the first green base layer
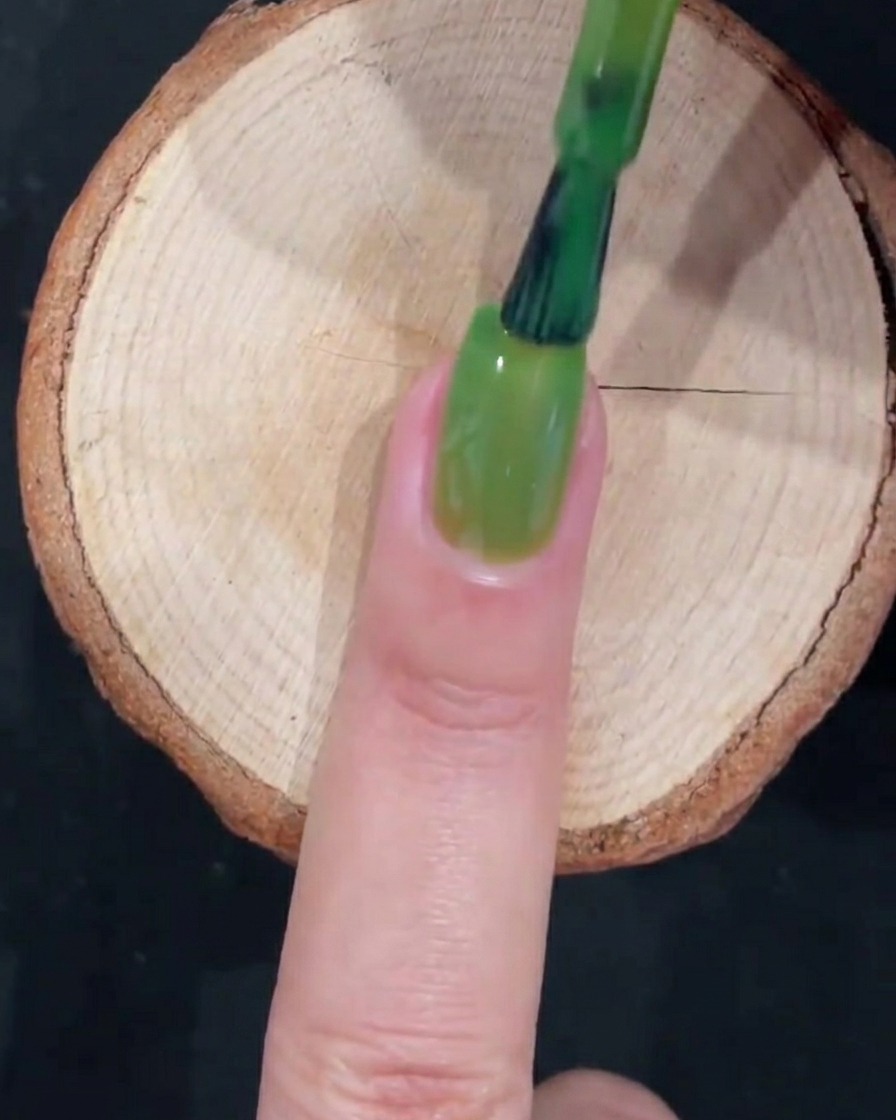
Finish applying the first layer of the green gel by extending the polish down to the free edge. Use gentle, sweeping brush strokes from the cuticle to the tip to level out the translucent color and create a uniform, glassy surface.
Tip: Keep your brush relatively flat and parallel to the nail surface to smooth out the gel without dragging the pigment. - 5Cured base layer
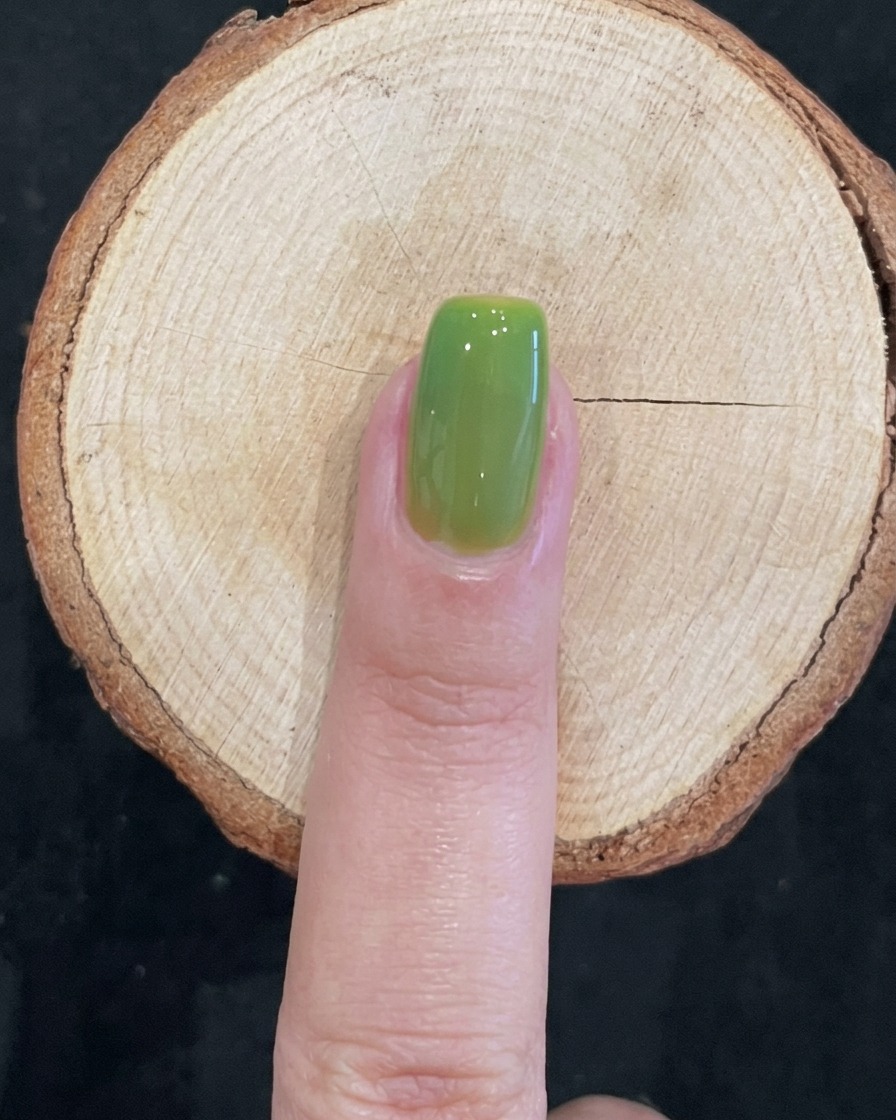
After curing, the nail should show a smooth, glossy, and translucent green finish. Verify that the coverage is even across the entire nail plate before moving on to the next color.
Tip: Ensure the nail is fully cured to provide a stable foundation for the ombre effect. - 6Add the vivid blue tip
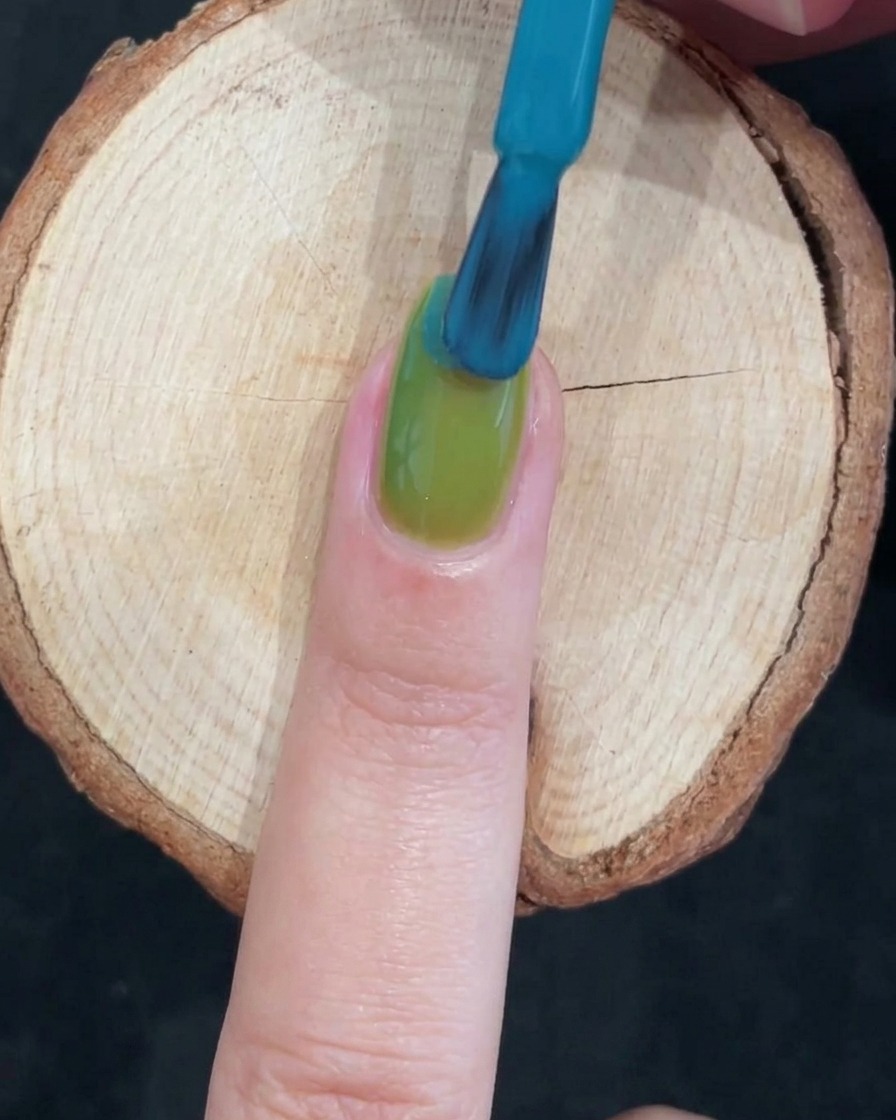
Once the green base layers are applied and dried, take a vivid blue-teal gel polish and brush it across the top half of the fingertip. Focus the density of the color toward the free edge to establish the two-tone gradient effect.
Tip: Dont worry about creating a perfect horizontal line at the midpoint, as this edge will be naturally blended out in the next step to create a dewy ombre look. - 7Apply blue gel to the tip
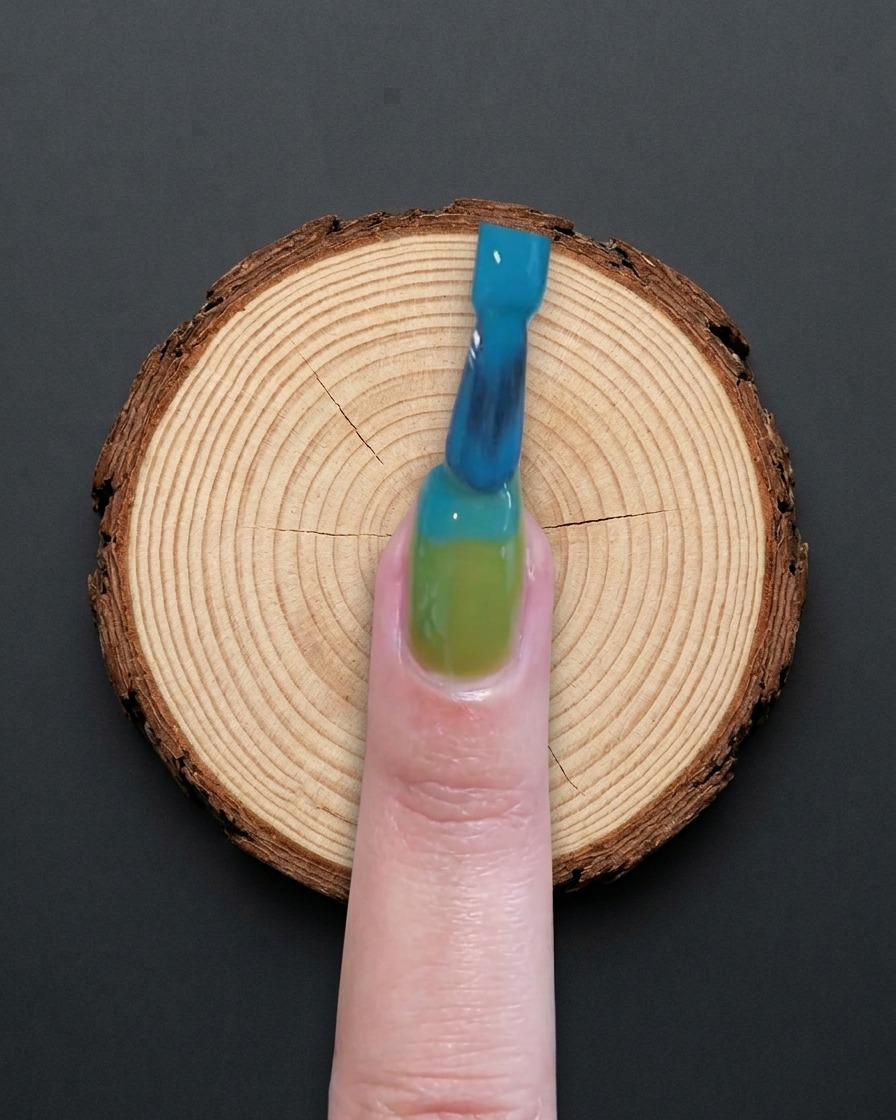
Apply a layer of blue gel polish starting from the free edge and working toward the middle of the nail. Smooth out the product evenly across the tip area to prepare for blending.
Tip: Apply the blue gel slightly thicker at the very tip for better color saturation. - 8Begin the ombre blend
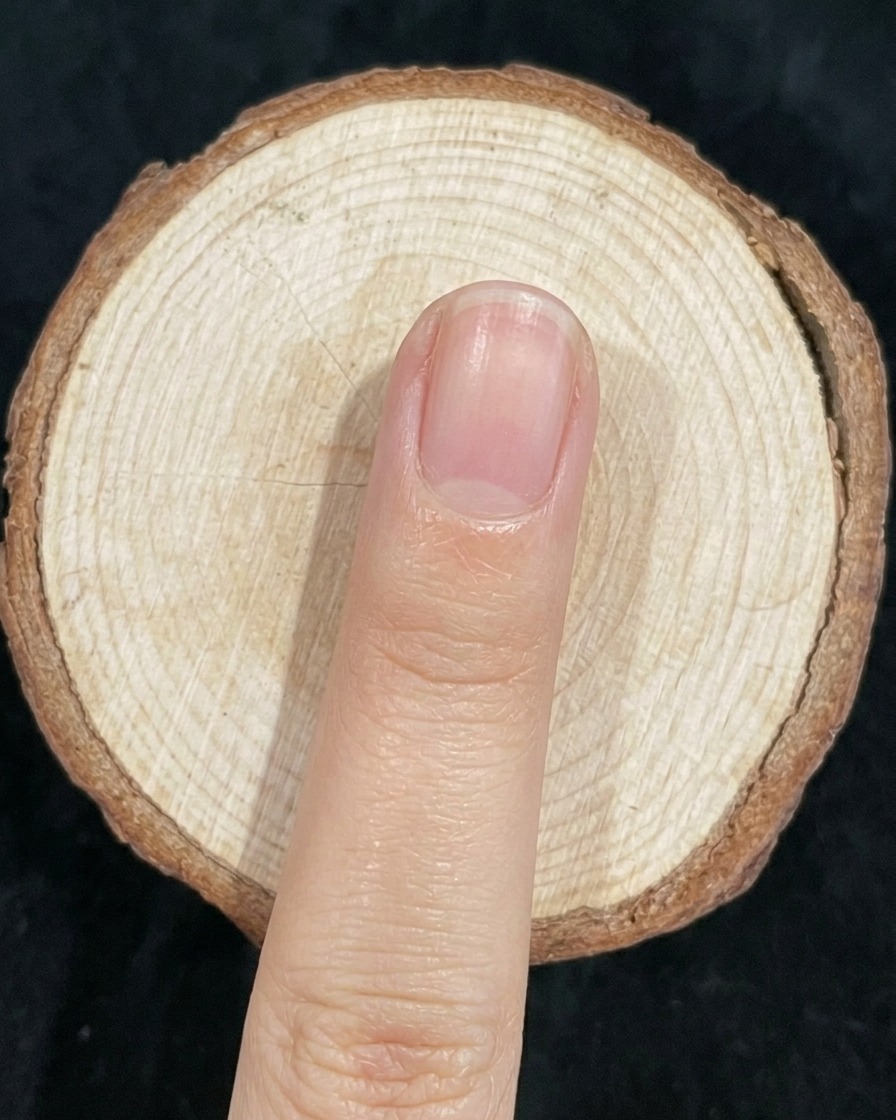
Wipe excess product off your brush, then use a light touch to gently drag across the transition line where the green and blue colors meet. This initial motion softens the seam to prepare for a seamless blend.
Tip: Use a light hand to avoid pulling too much color away from the nail. - 9Diffuse the color transition
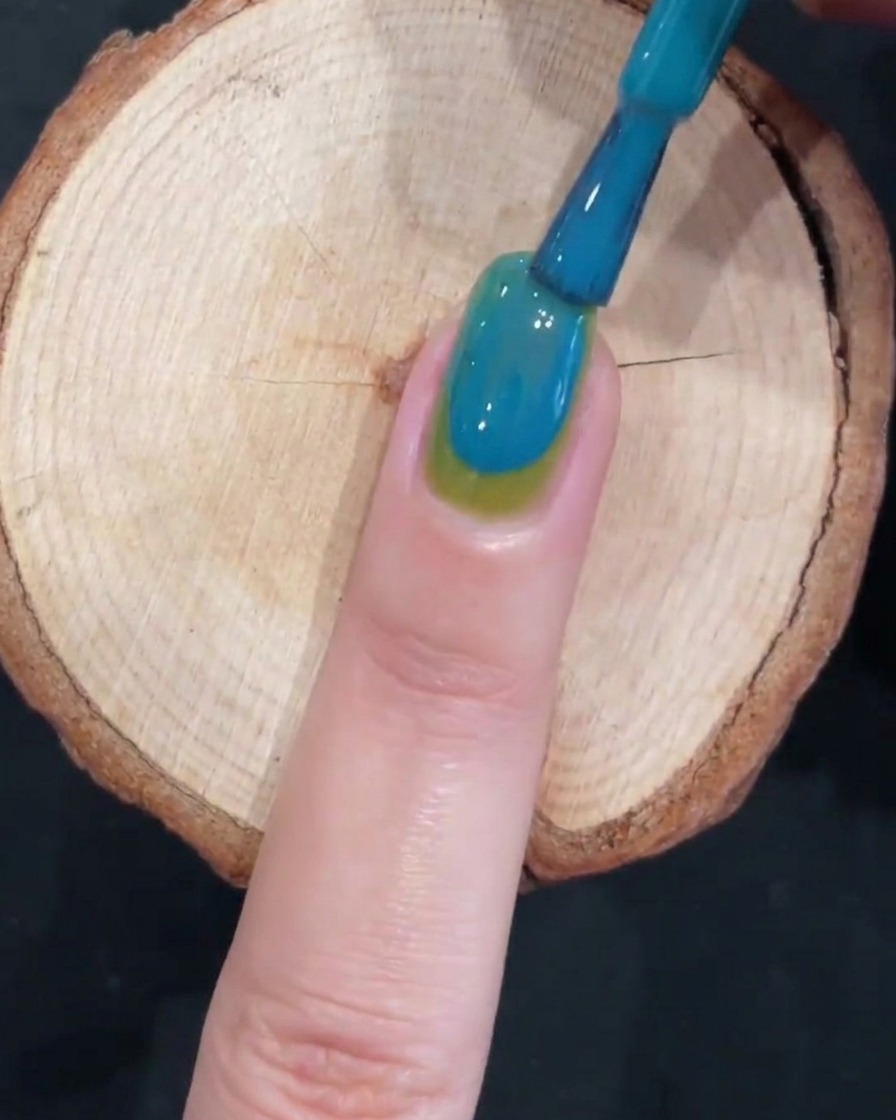
Continue using gentle, vertical brushing motions across the transition area to diffuse the blue color into the green base. Use short, light strokes to create a natural, seamless gradient between the two colors.
Tip: Short, light strokes will create a finer, more seamless transition.