Blue Gradient Cat-Eye Manicure — Step-by-Step Tutorial
Achieve a dreamy, ethereal look with this blue gradient cat-eye manicure. Learn how to blend colors and create stunning magnetic shimmer effects at home.
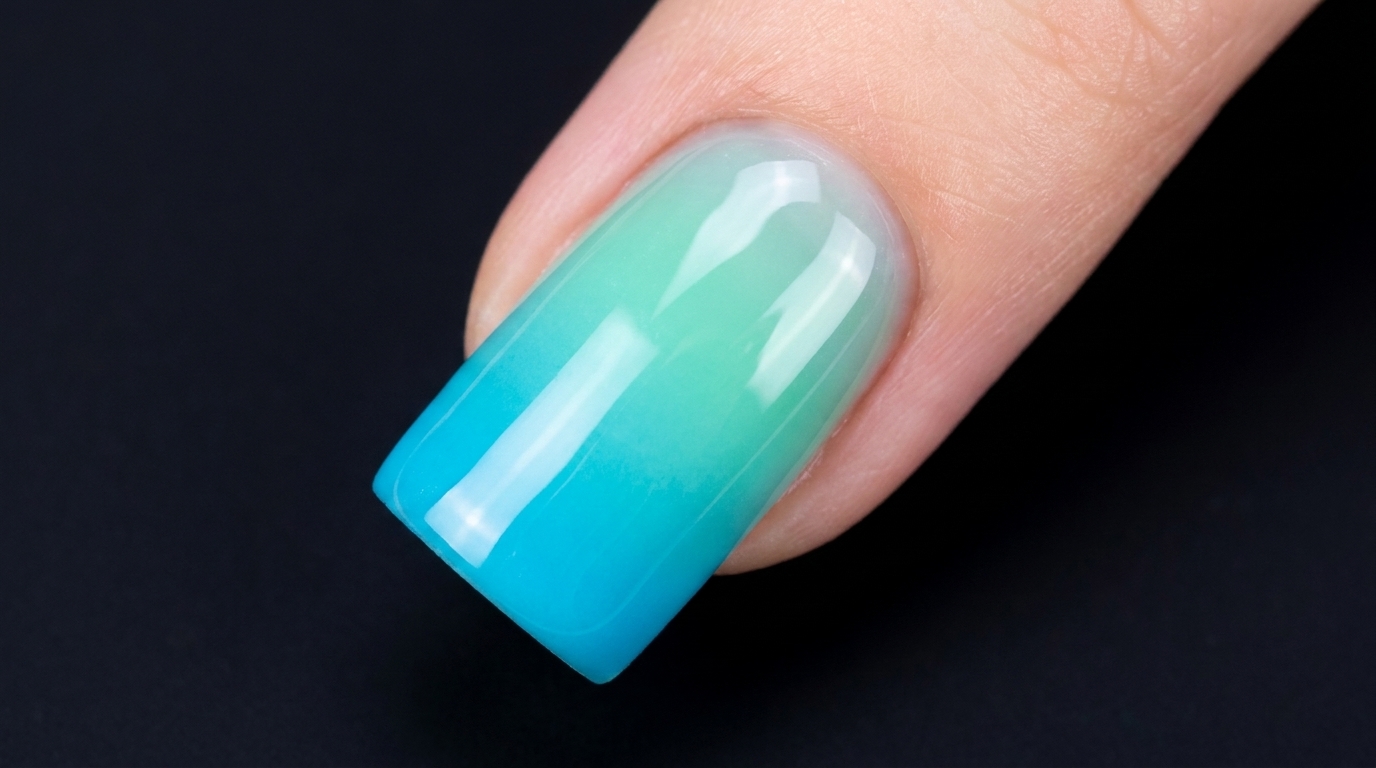
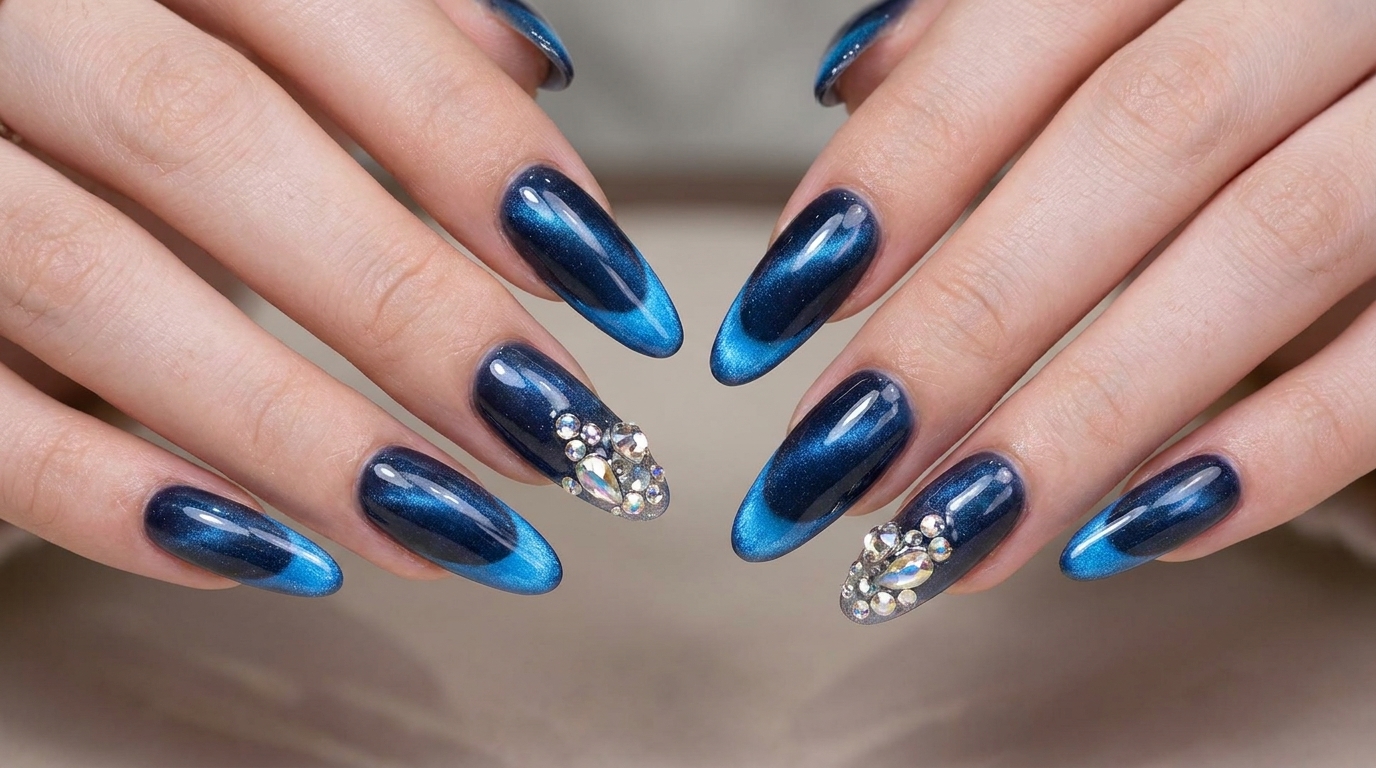
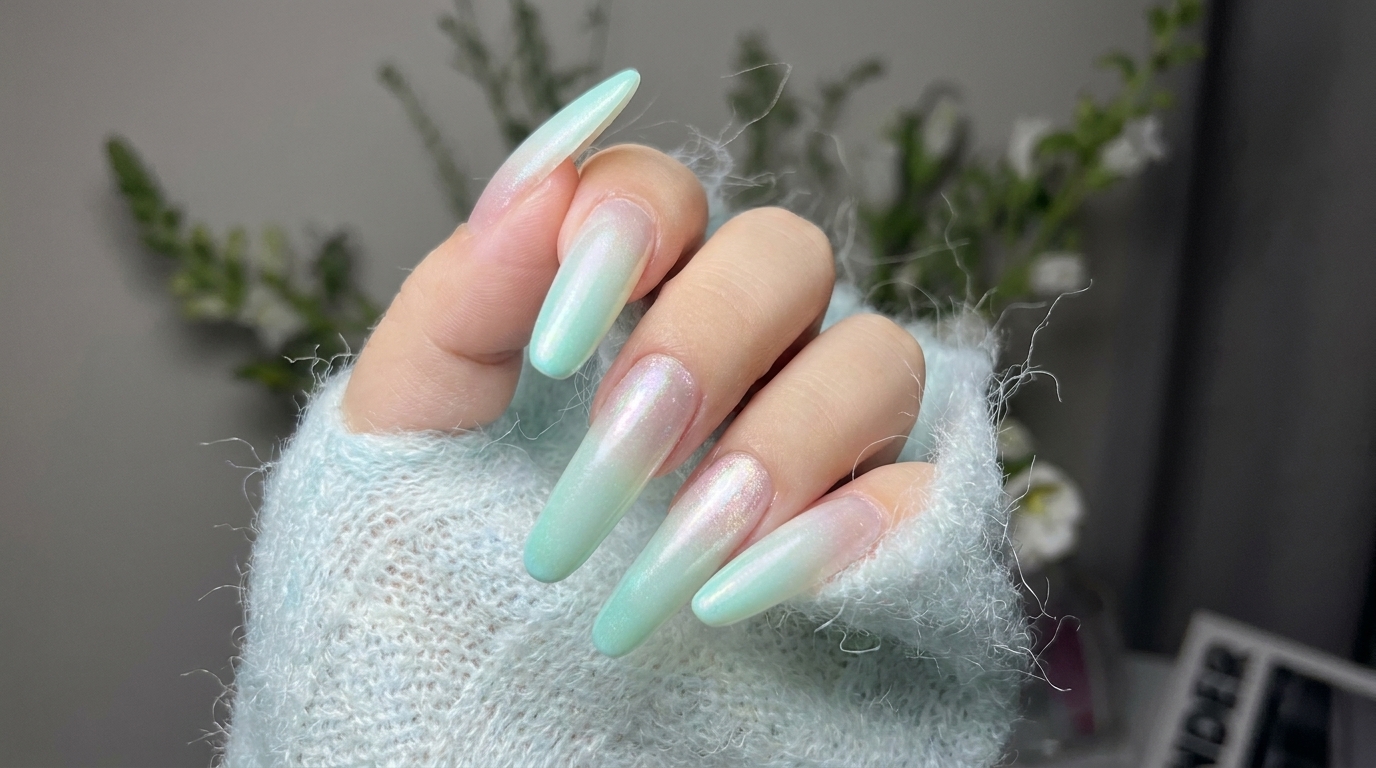
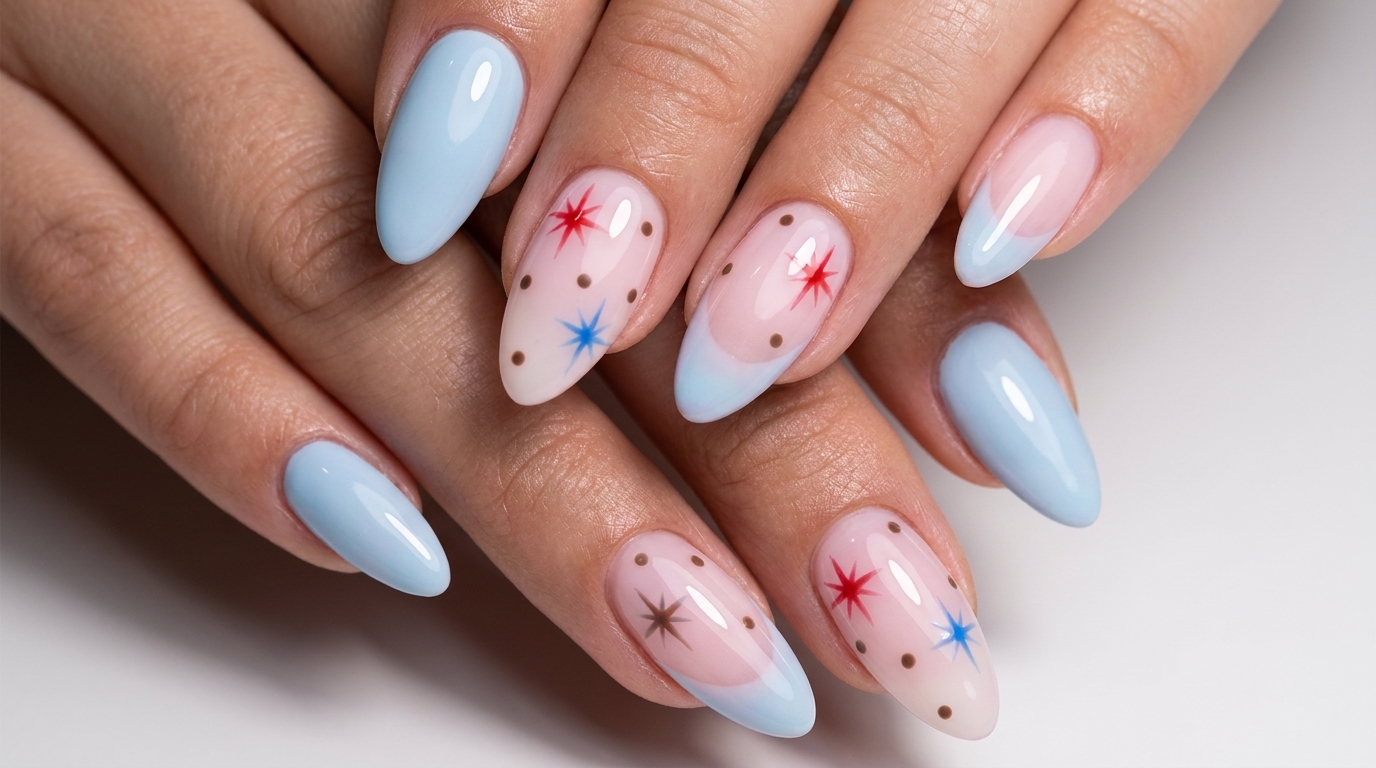
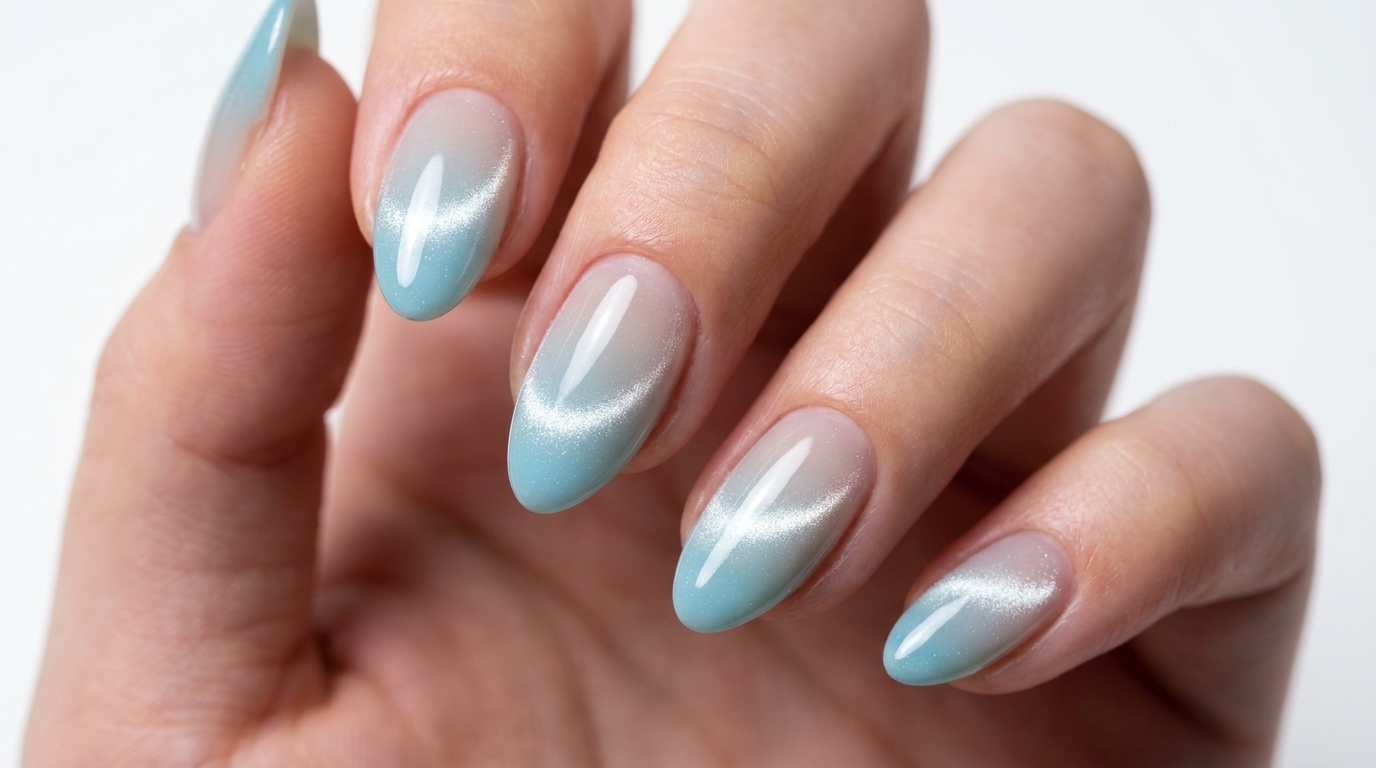
This blue gradient cat-eye look combines the soft, diffused beauty of an ombre with the modern, high-shine appeal of magnetic cat-eye polish. It is a sophisticated design that feels both refreshing and elegant, making it perfect for those who want a transparent, light-catching finish. By mastering a simple sponge-blending technique and strategic magnet placement, you can achieve professional results that add a luminous, multidimensional shimmer to your nails.
Steps
- 1Prepare and clean cuticles
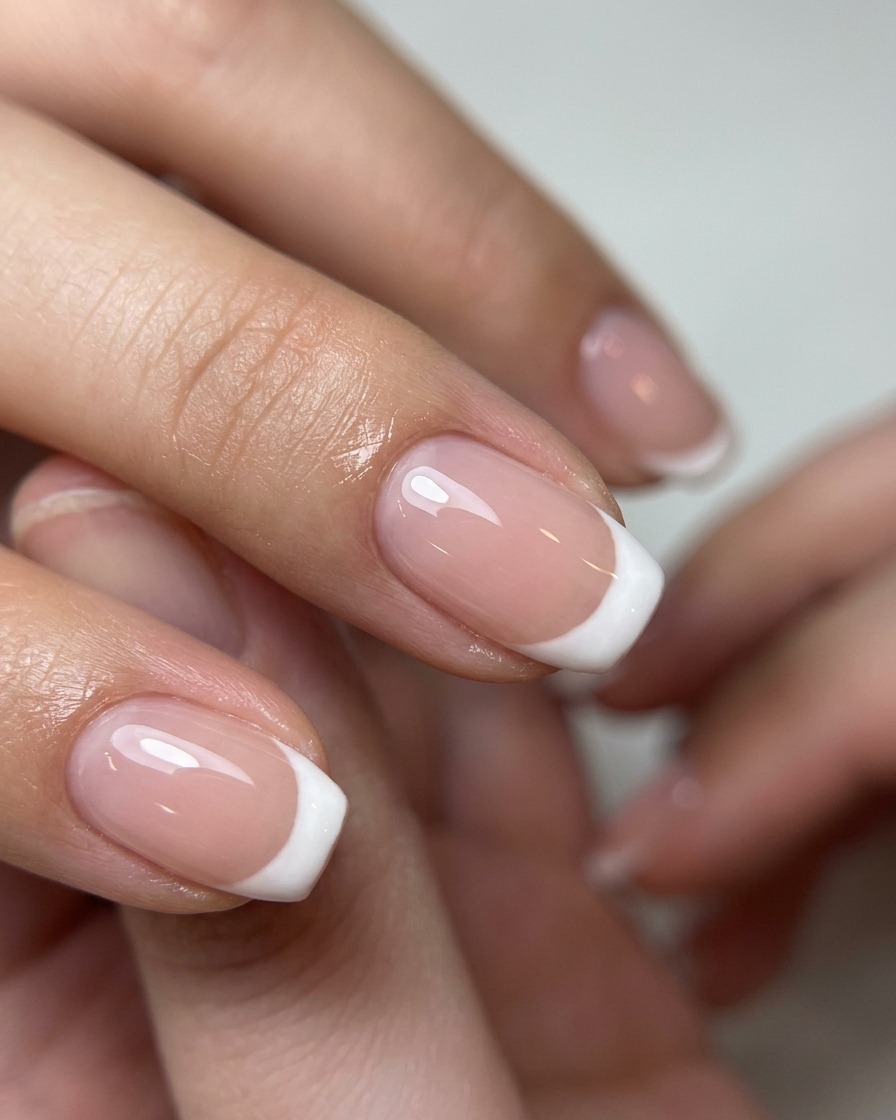
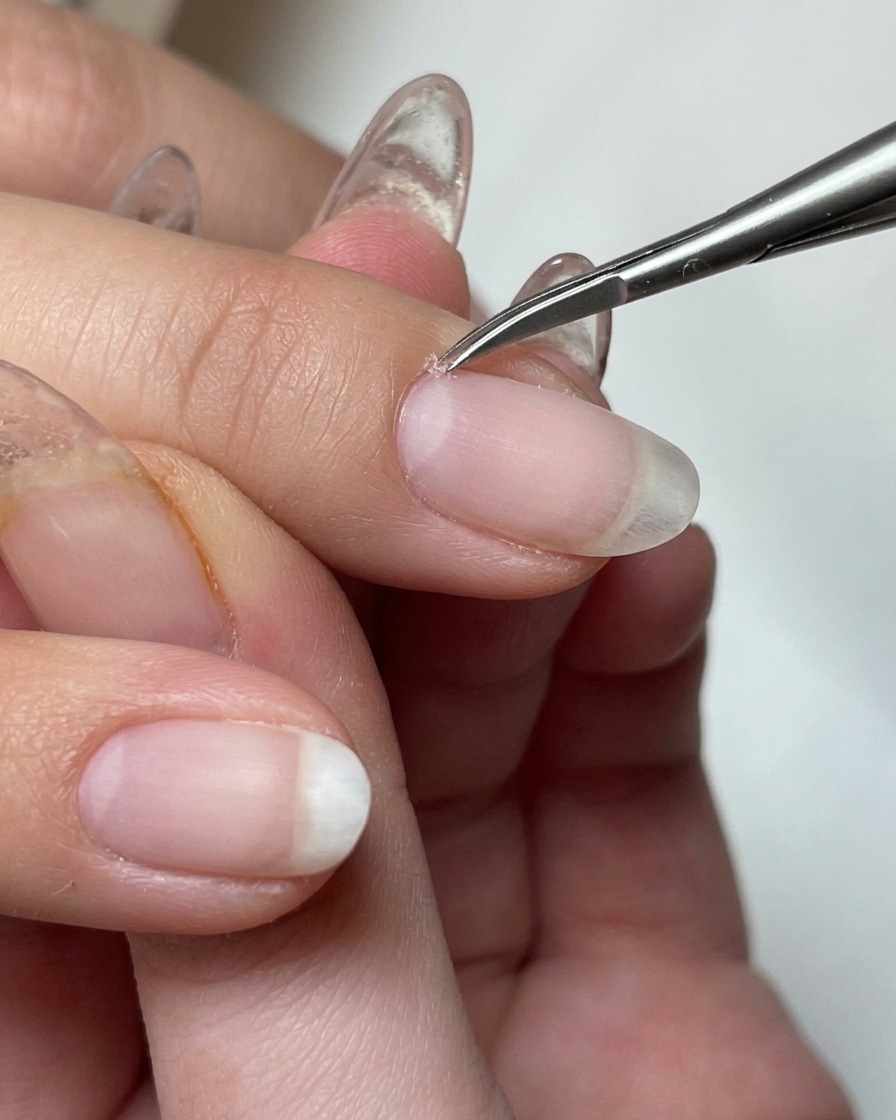
Use a metal cuticle pusher to gently push back the cuticles on each nail, creating a clean, prepped surface. This step is essential for ensuring smooth gel adhesion and a professional, long-lasting manicure.
Tip: Be gentle with the metal pusher to avoid damaging the delicate matrix of the nail. - 2Remove dead skin
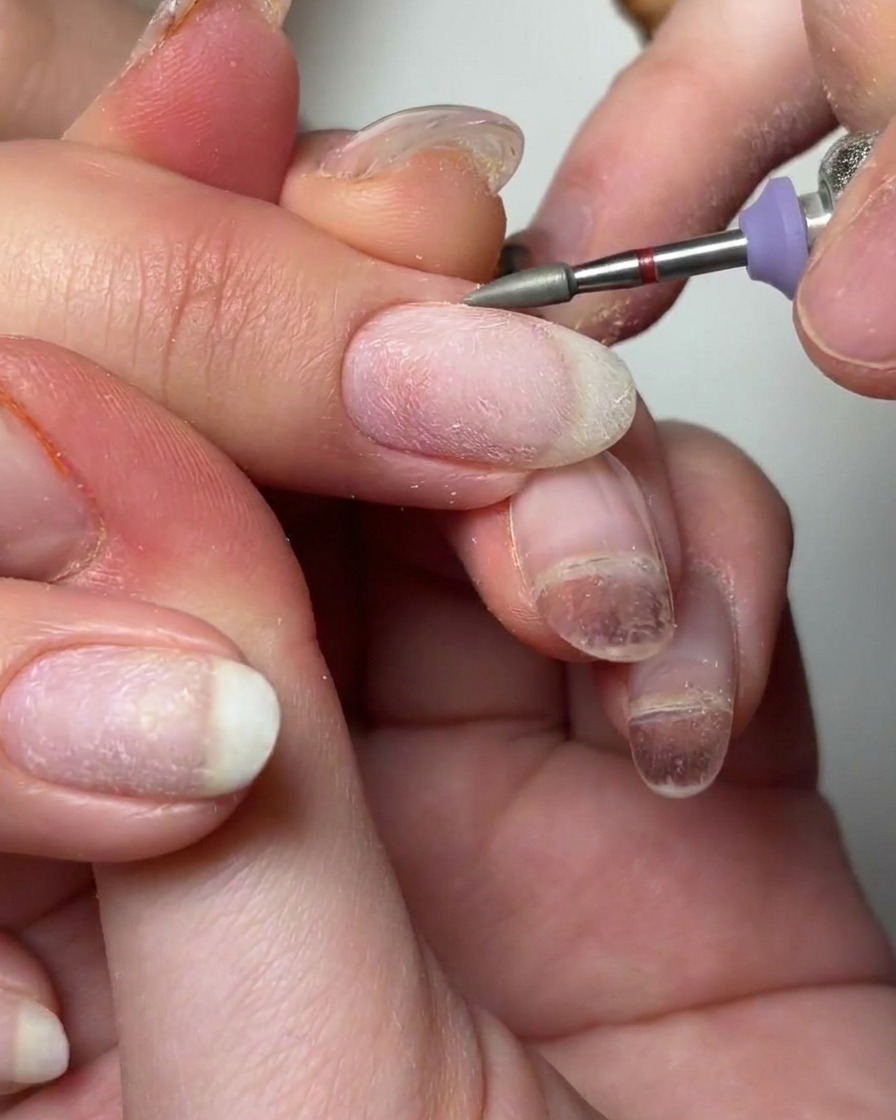
Use an electric file with a specialized cuticle bit to gently remove the dead skin around the nail plate. Ensure you use a low speed and light touch to avoid damaging the surrounding live tissue.
Tip: Keep the bit moving constantly to prevent heat buildup on the nail bed. - 3Refine the cuticle area
Using a cone-shaped bit lightly dipped in 75% alcohol, carefully clean around the cuticle area. The alcohol helps remove surface oils and fine debris, sanitizing the nail bed for the upcoming gel application.
Tip: Using alcohol on the bit helps to sanitize the area while simultaneously removing surface oils. - 4Apply builder gel
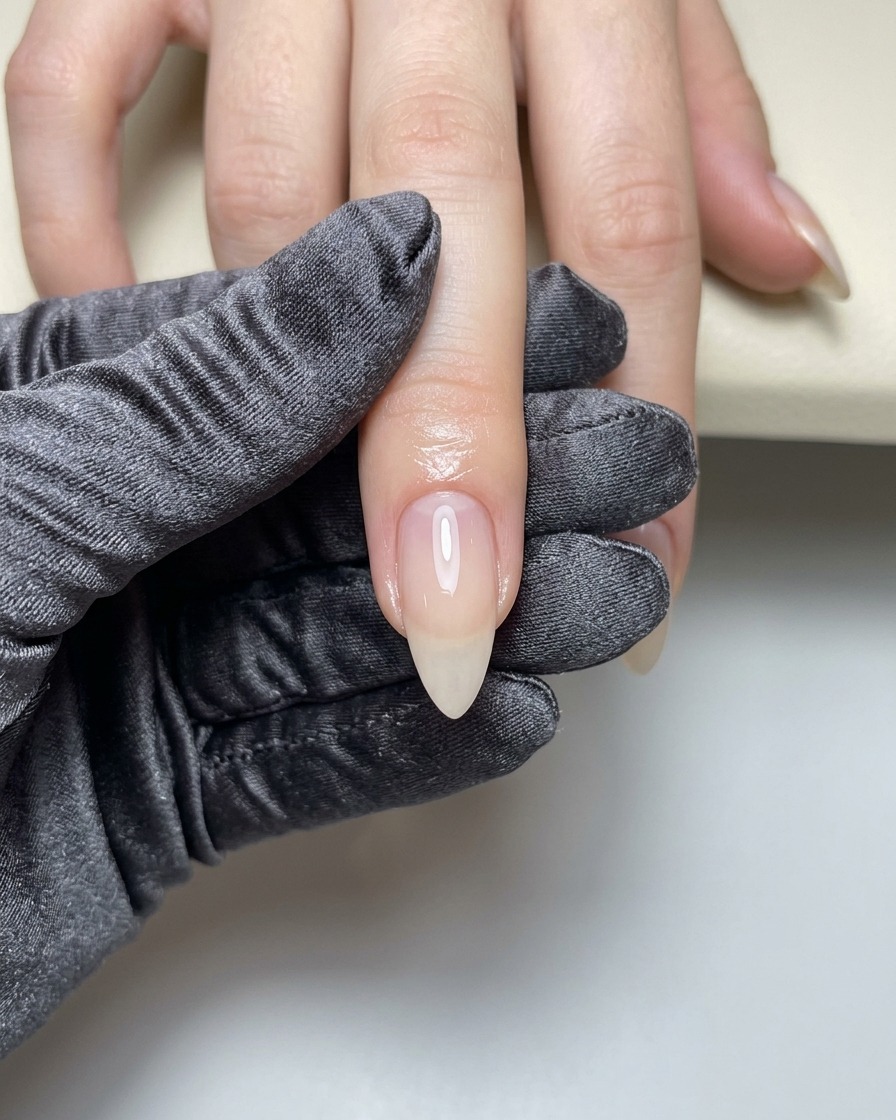
Apply a layer of low-heat builder extension gel to the nail plate. This gel has a moderate flow speed, making it easier to control and ideal for creating a smooth, durable structure.
Tip: Keep the layer thin and even to maintain a natural look while providing necessary strength. - 5Cure the builder gel
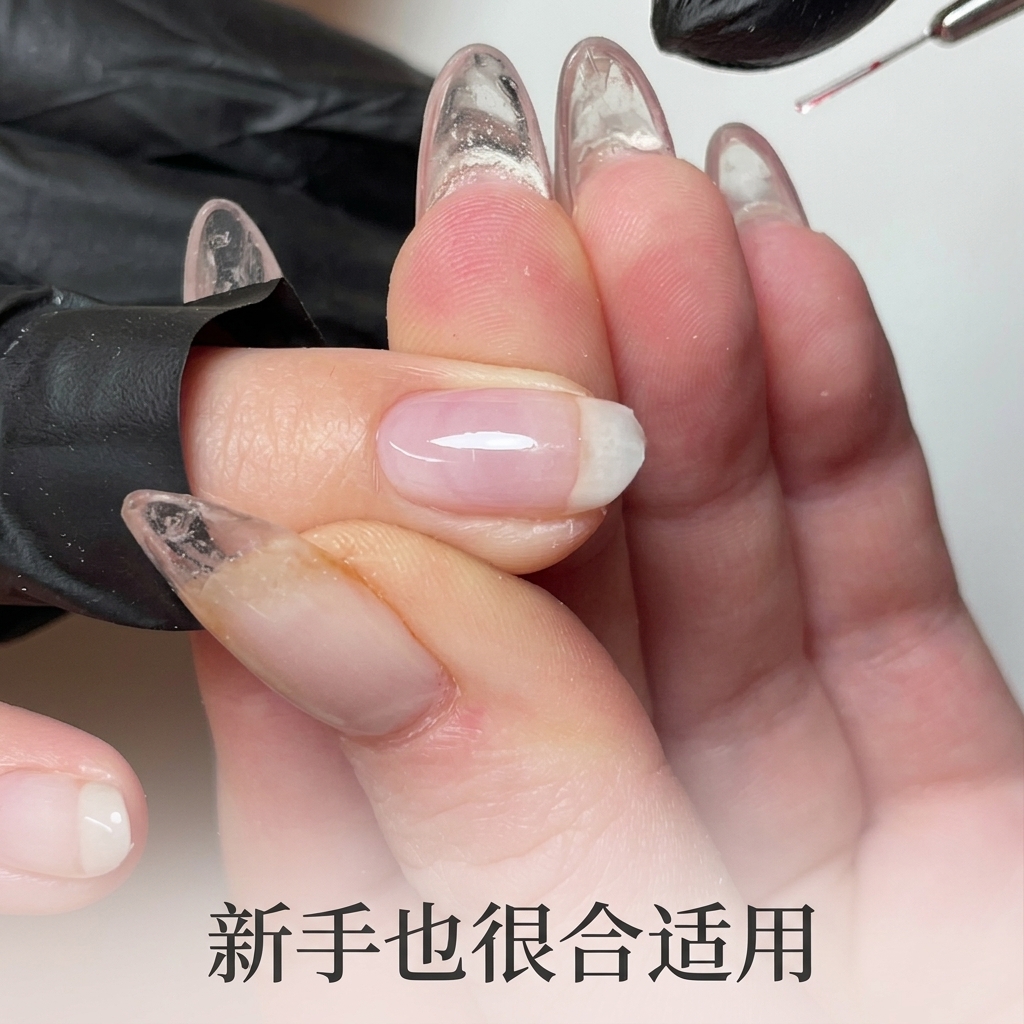
Place the hand under an LED lamp to cure the builder gel. This specific gel formula is designed to cure without overheating, ensuring a comfortable experience for the client.
Tip: Ensure the entire nail is evenly exposed to the light for a complete, uniform cure. - 6Apply builder gel base
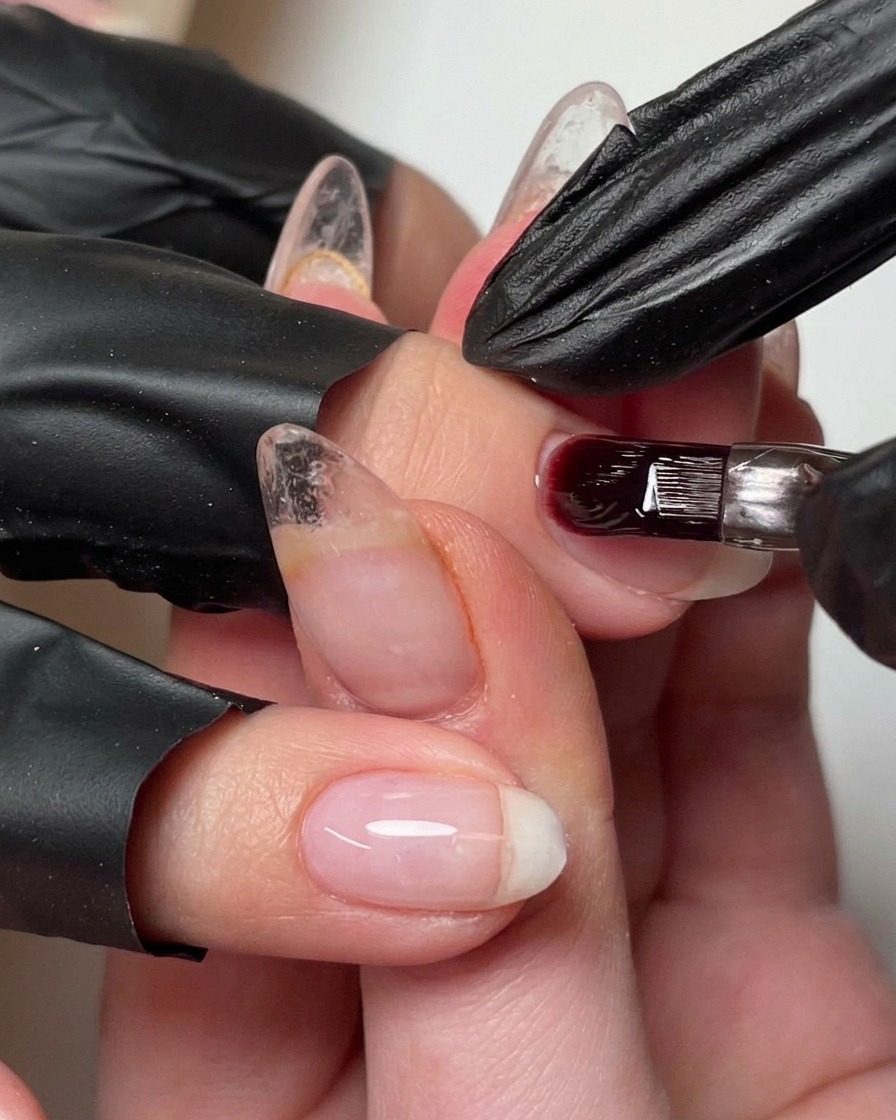
Apply a thin, even layer of low-heat builder extension gel to the nail plate. This creates a durable, clear foundation that will support the gradient design without turning yellow.
Tip: Allow the gel to self-level for a moment before curing to achieve a perfectly smooth surface. - 7Cure the structural gel
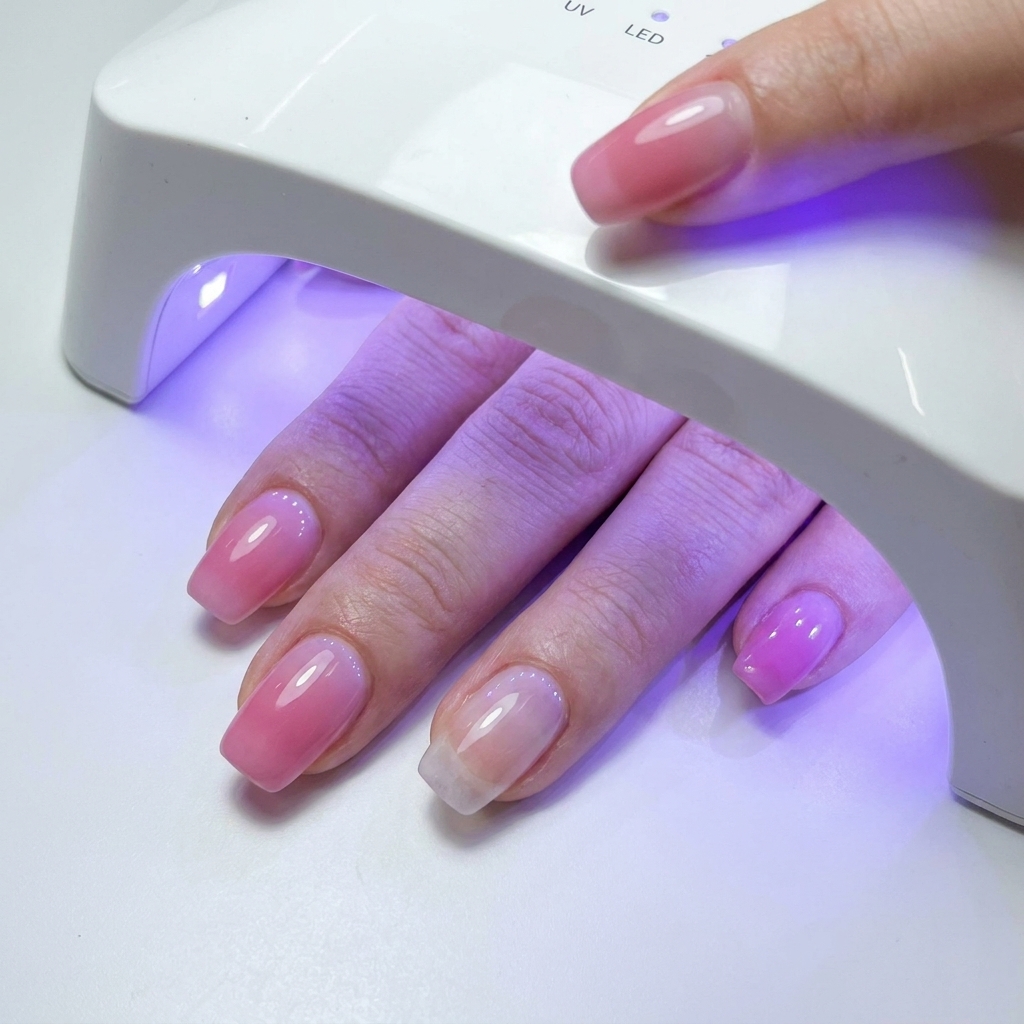
Place your hand inside the UV/LED lamp to cure the applied structural gel. Ensure all fingers are positioned correctly under the lights for a full, even cure as recommended by the gels instructions.
Tip: Keep your hand flat inside the lamp to ensure the light reaches all parts of the nail evenly. - 8Blend the gradient
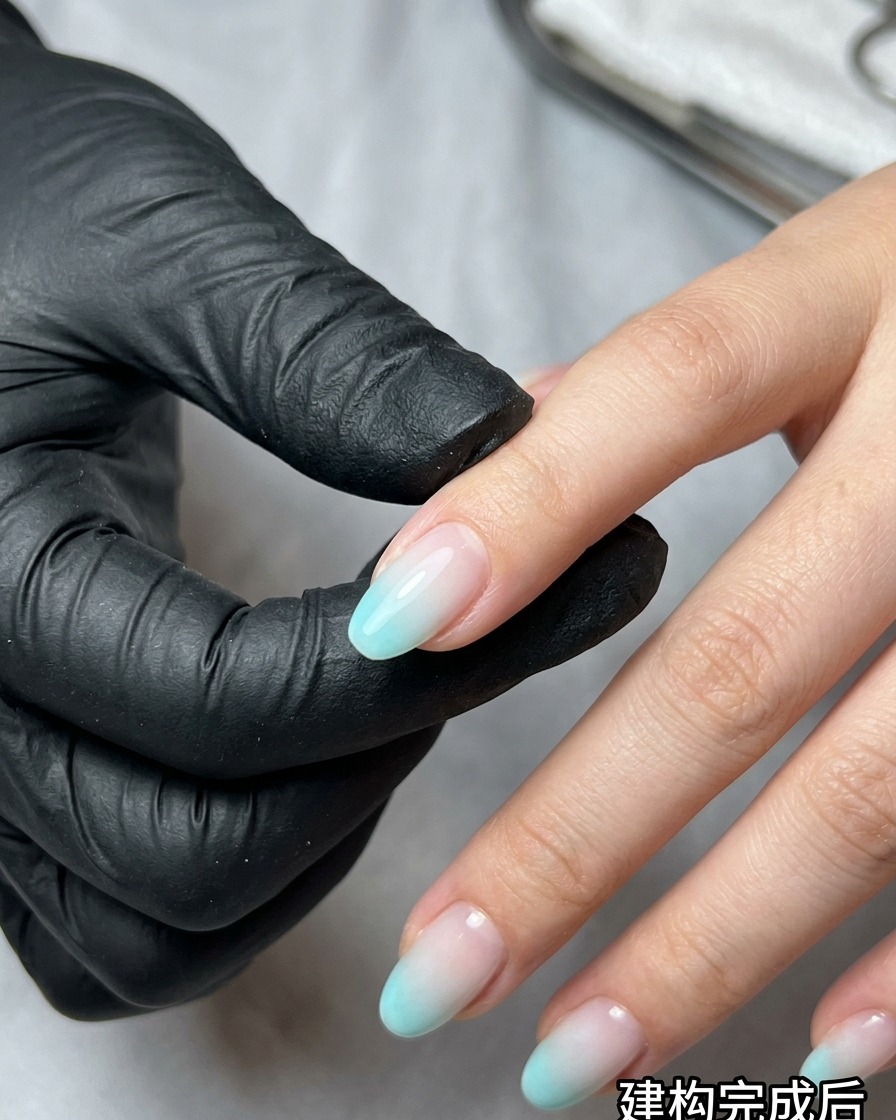
Apply blue and beige gel colors to a makeup sponge, then gently dab them onto the nail using a light tapping motion. Repeat with a second layer to achieve a seamless, opaque transition between the two shades.
Tip: Use a light, tapping motion with the sponge to avoid creating visible bubbles or streaks in the gel.