Blue and Pink Star Nail Art — Celestial Gel Manicure Tutorial
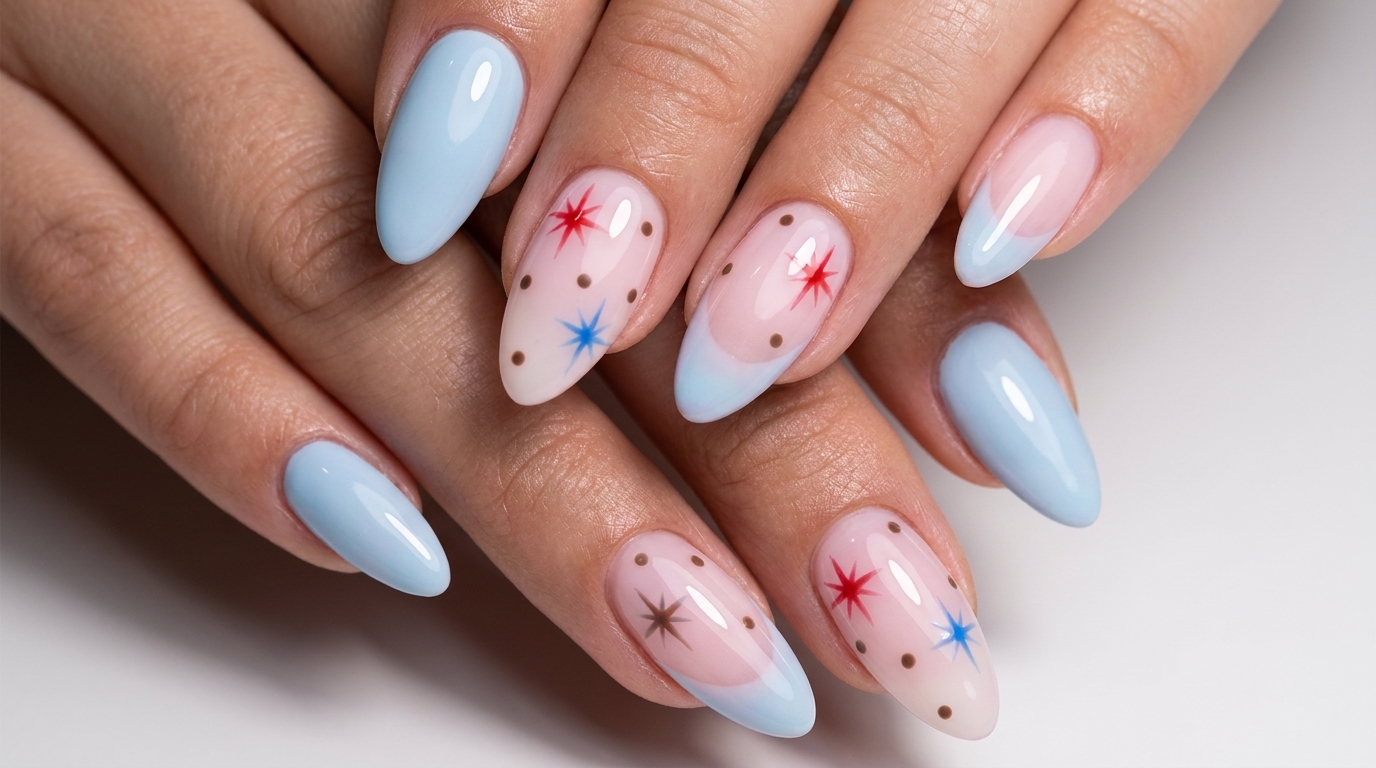
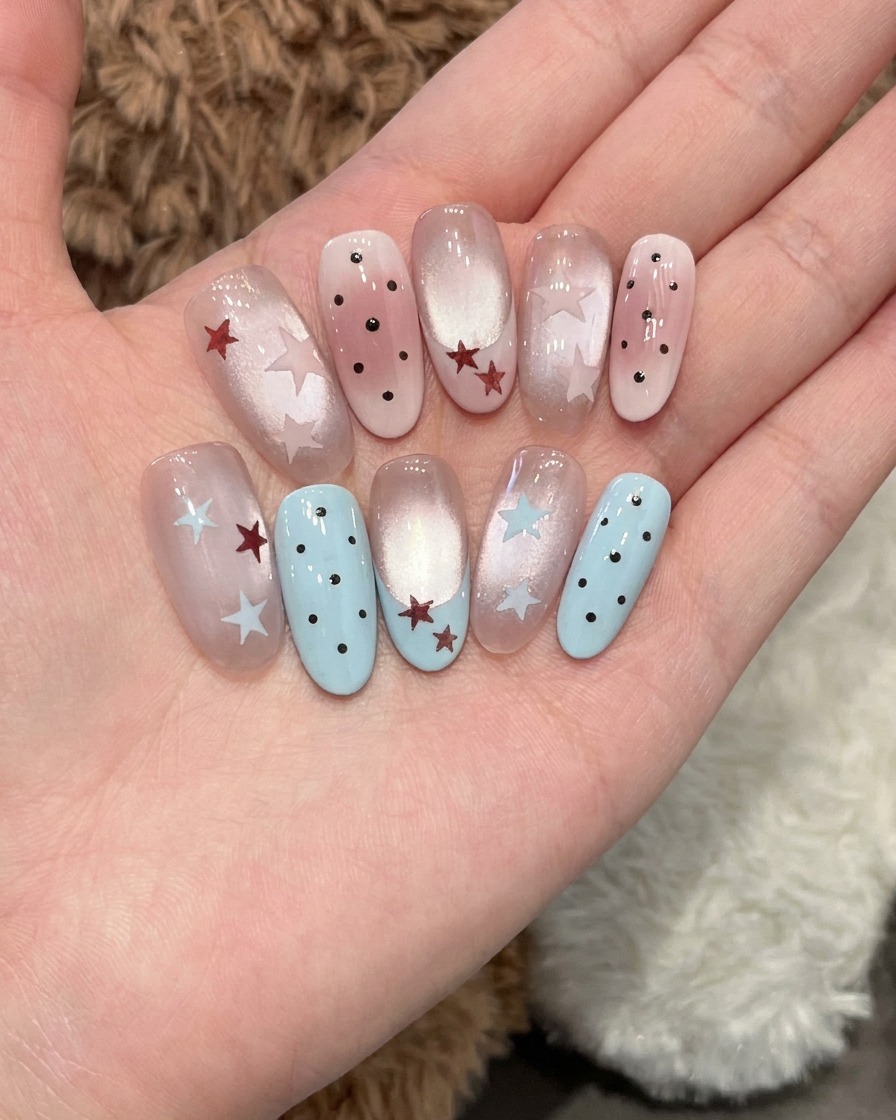
Master this whimsical celestial nail art look featuring soft pastel tones, dimensional cat-eye effects, and hand-painted star motifs.
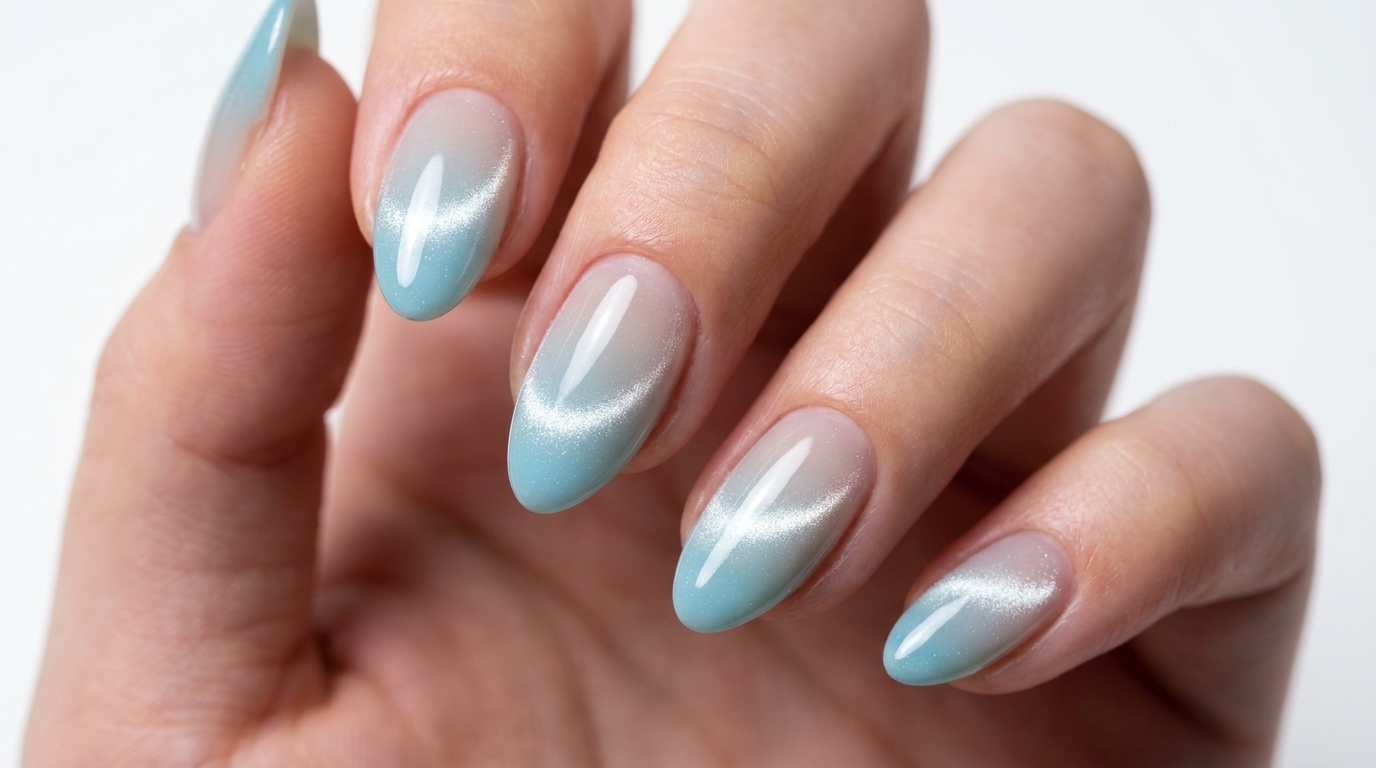
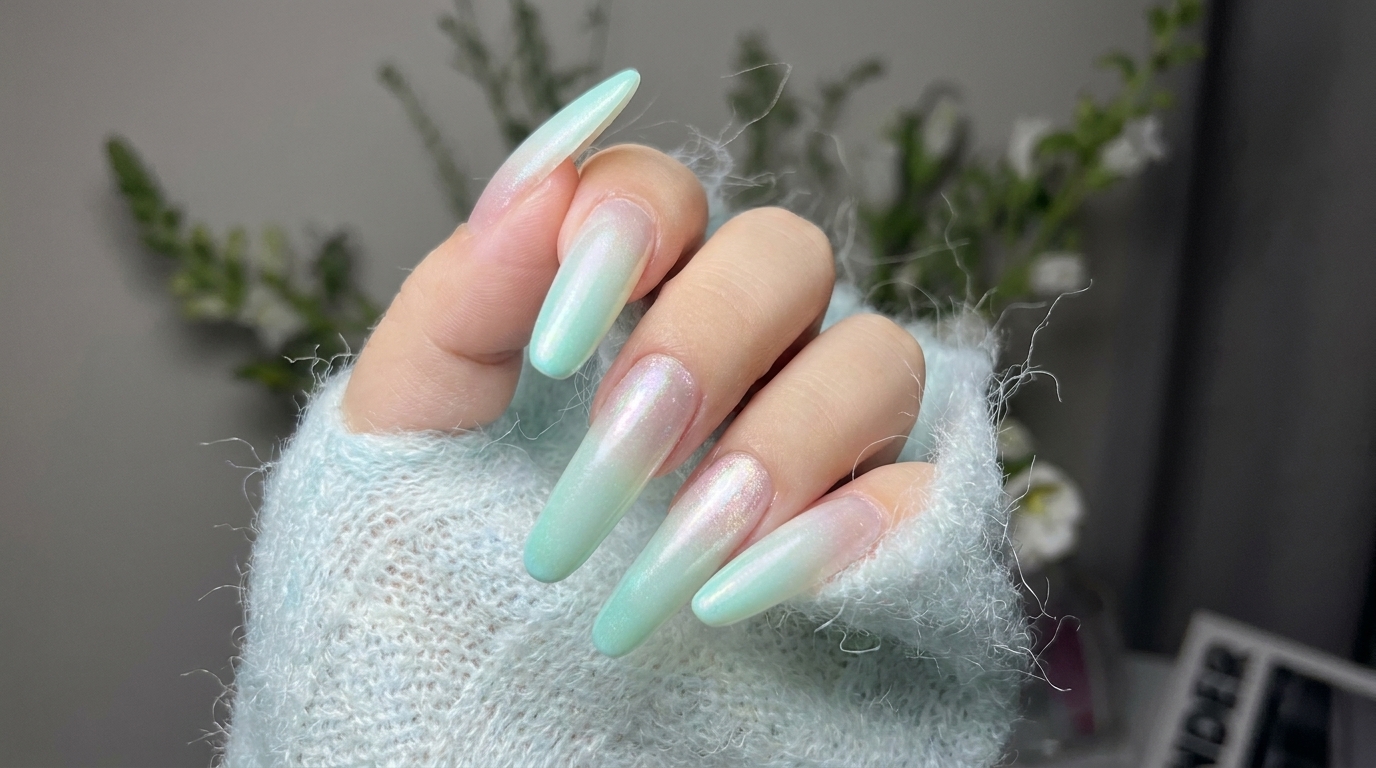
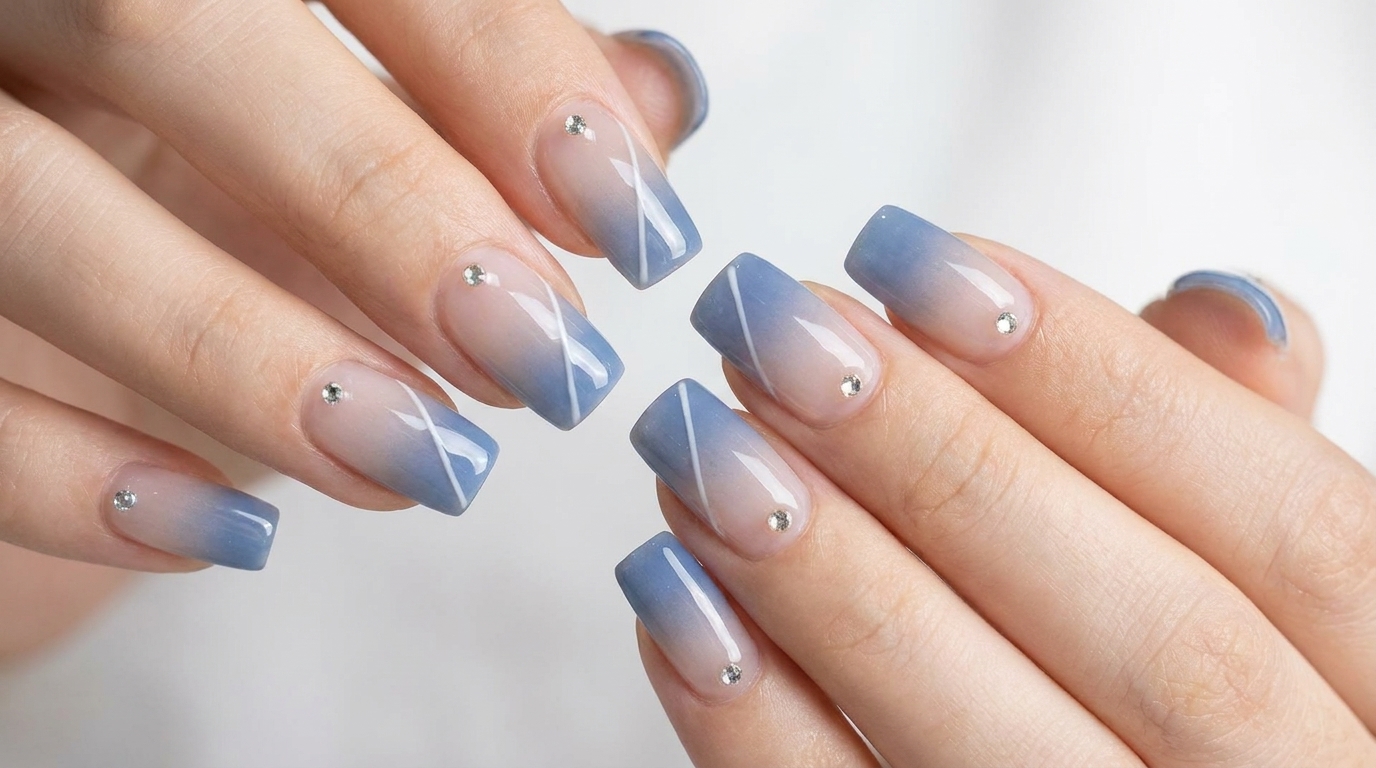
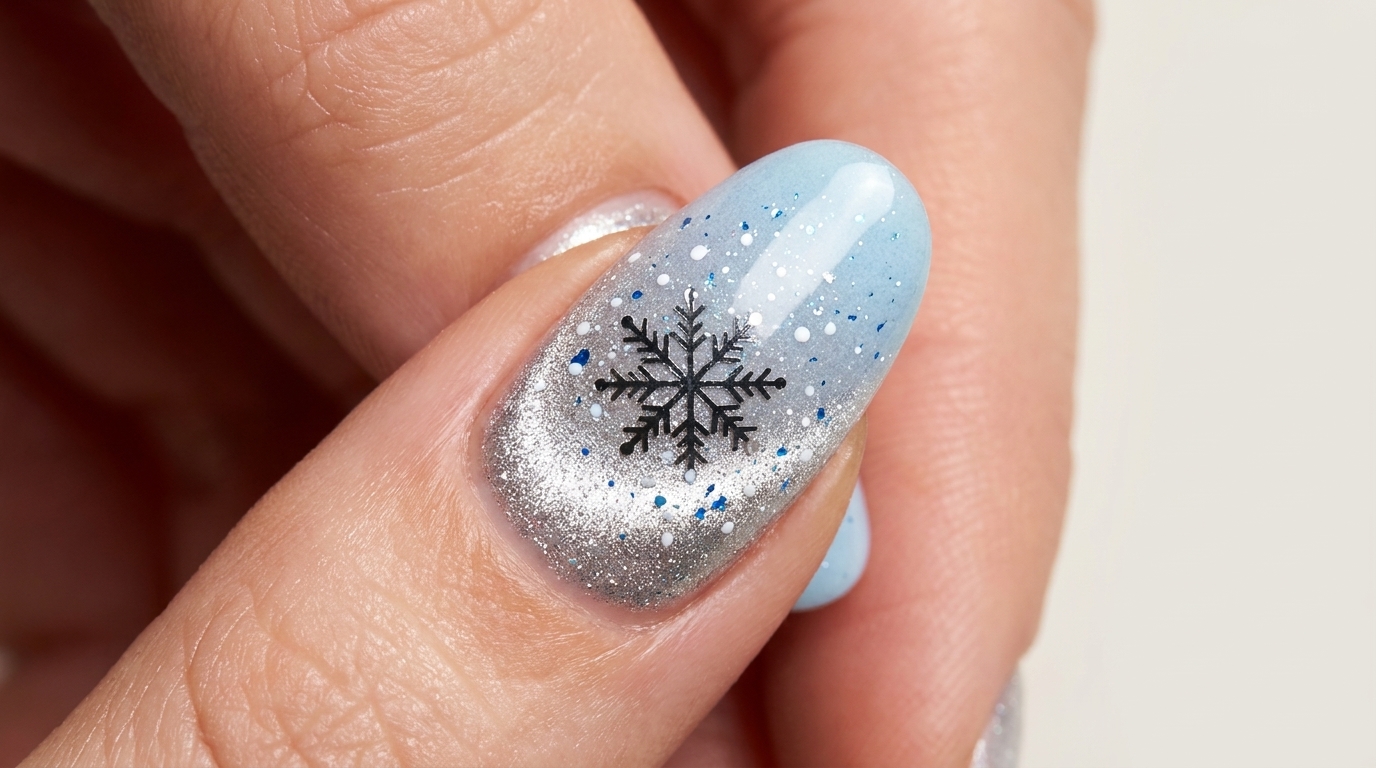
Celestial-inspired nail art is a charming way to add a bit of magic to your manicure. This design combines the depth of cat-eye polish with delicate star motifs and soft gradients, creating a look that is both playful and sophisticated. Perfect for those who love a mixed-media aesthetic, this tutorial guides you through achieving these professional results at home.
Steps
- 1Apply milky base gel
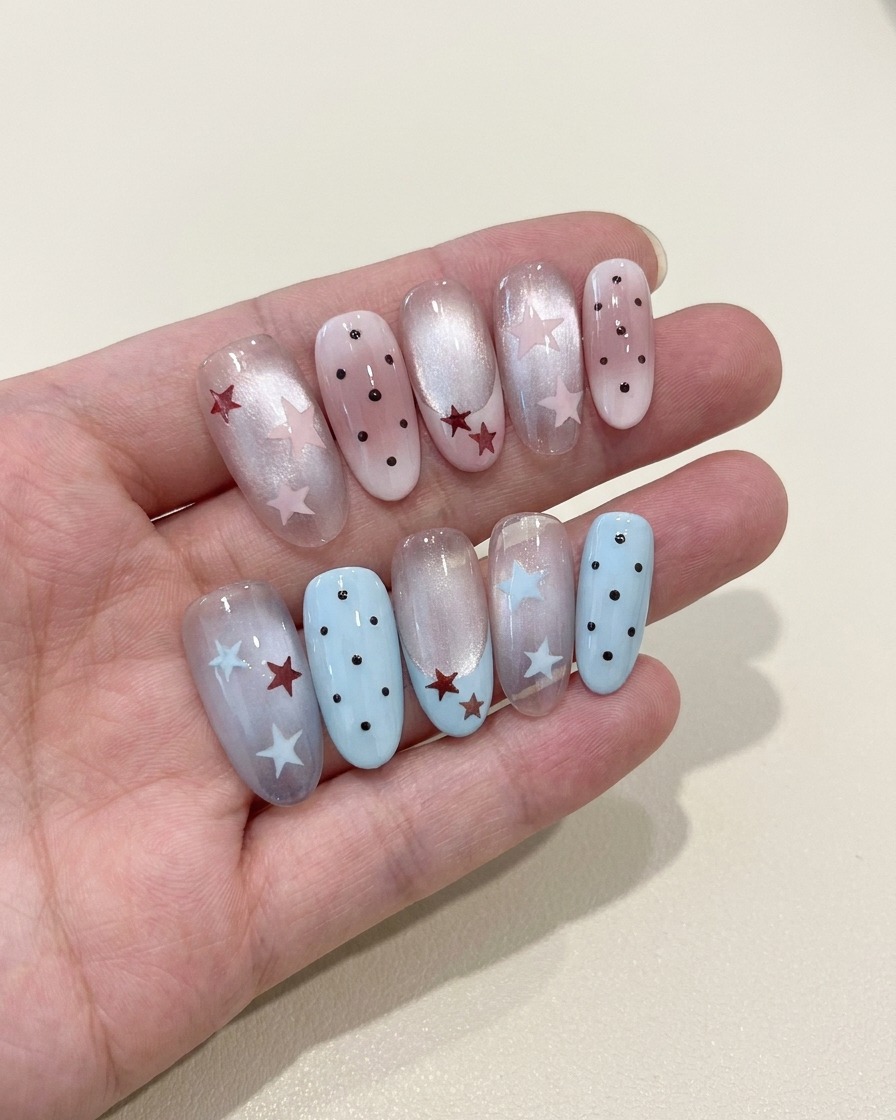
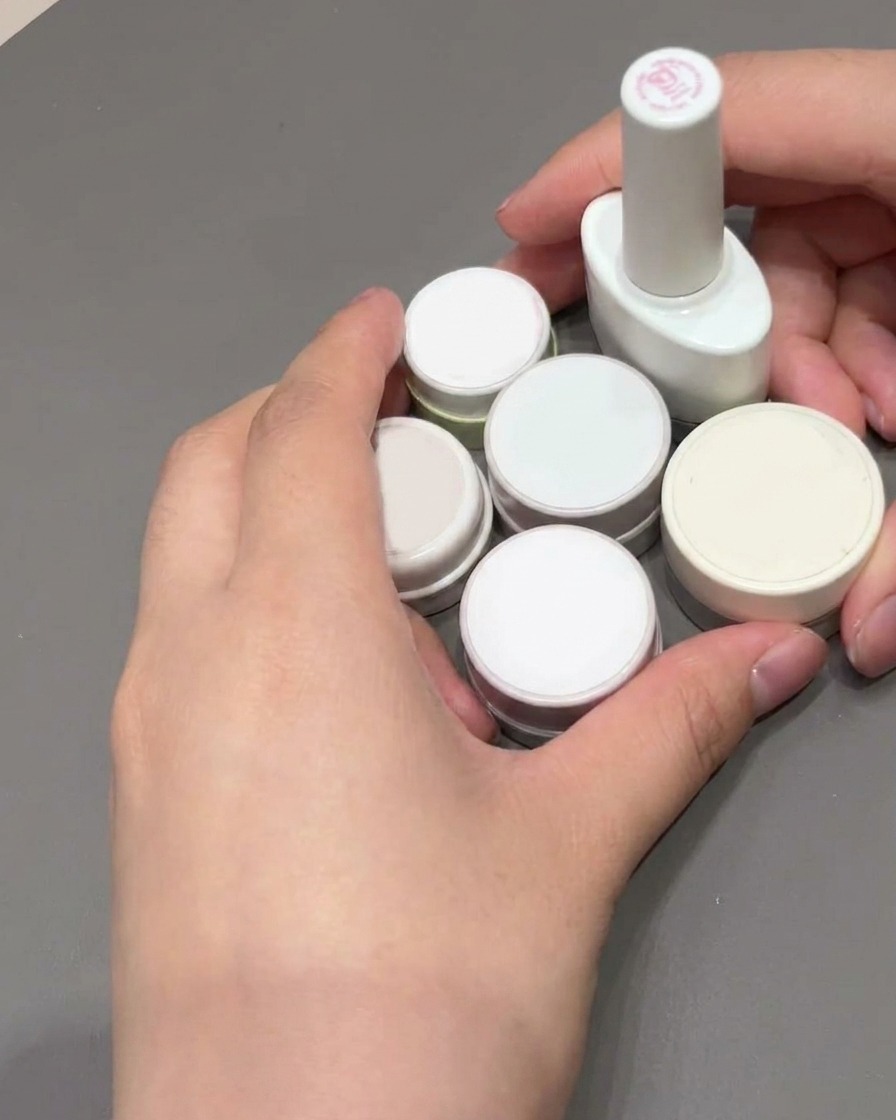
Begin by applying a layer of milky-colored gel over the entire surface of the nail, ensuring you cover the free edge completely for a smooth, semi-sheer finish. This provides a clean, neutral foundation for the nail art design that follows. Cure under your lamp as instructed by the product label.
Tip: Applying the gel thinly and evenly helps maintain a natural-looking base without adding excessive bulk to the nail. - 2Apply pink cat-eye gel
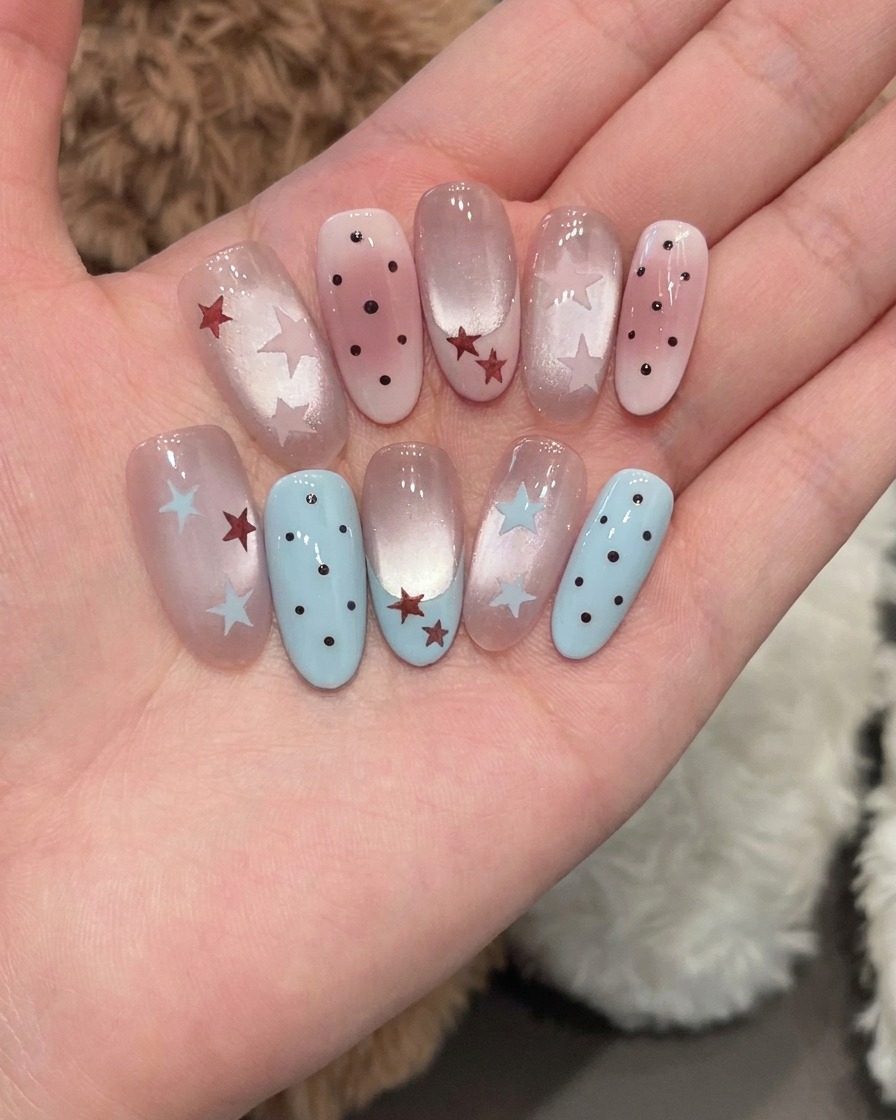
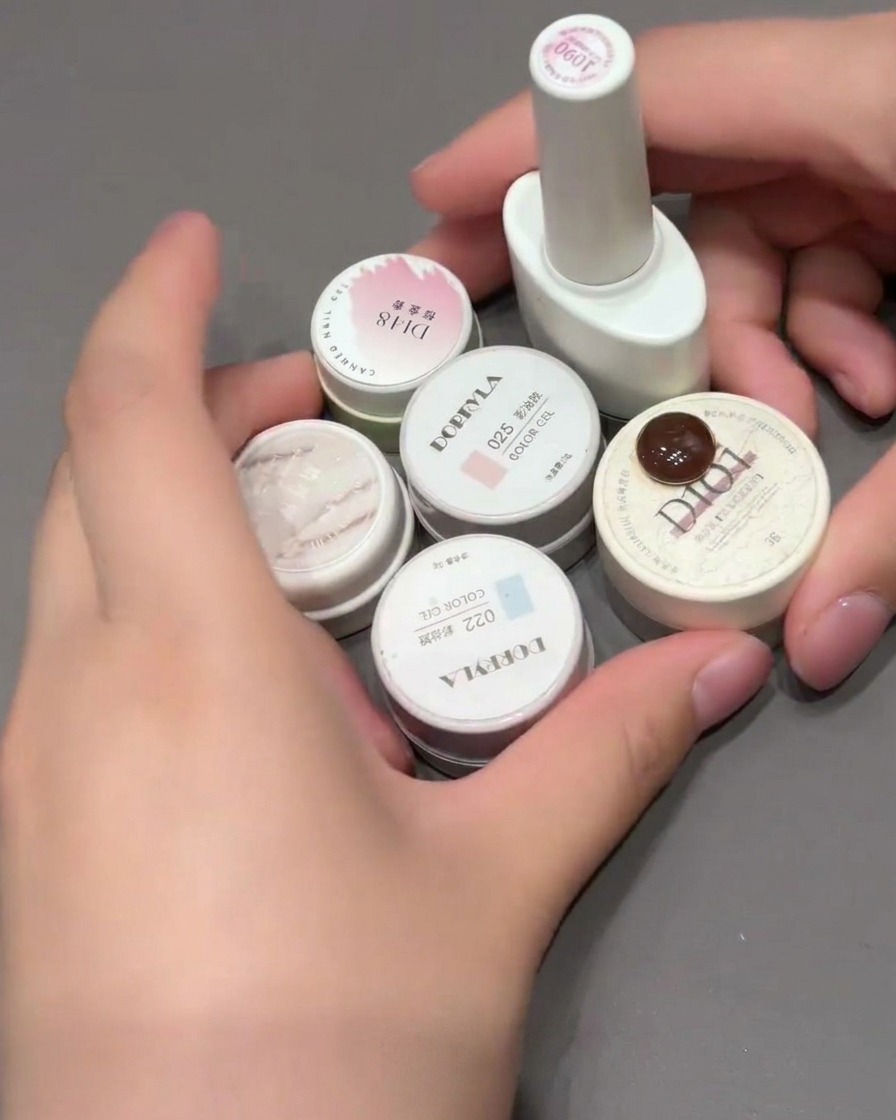
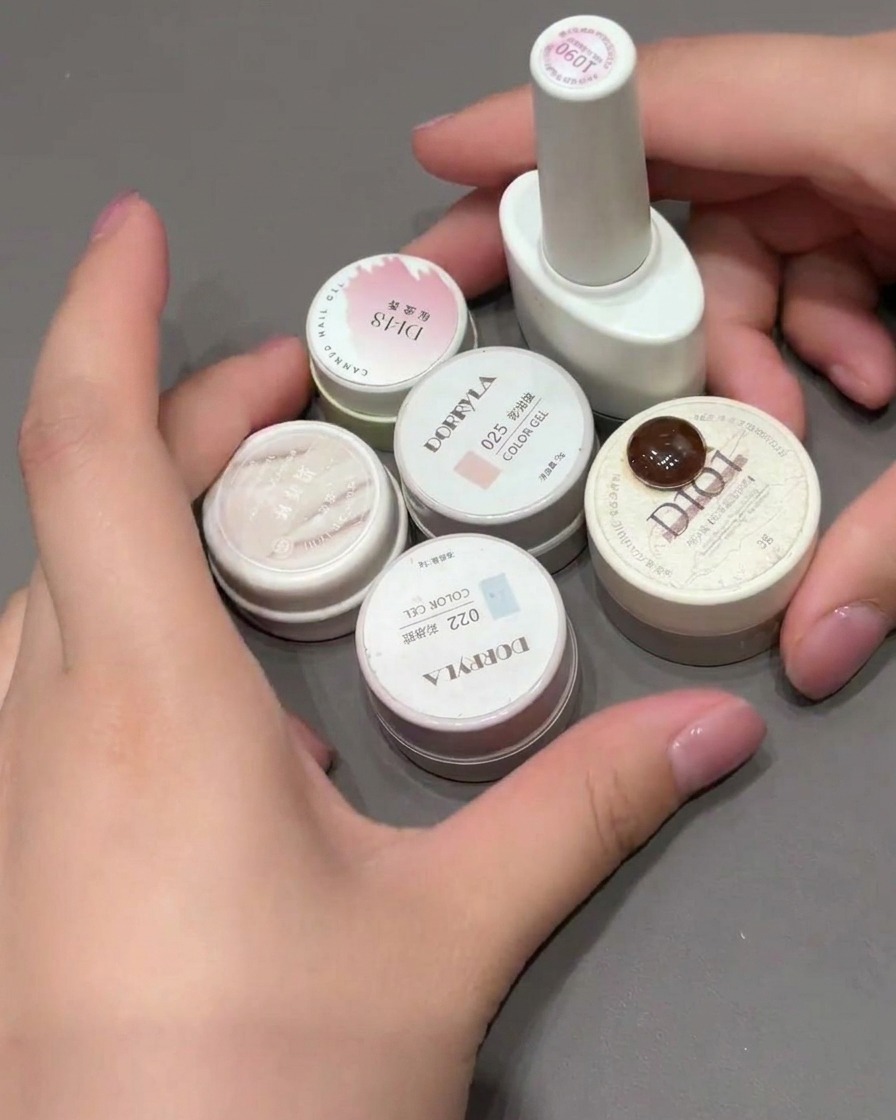
Apply a thin, uniform layer of pink-tinted cat-eye gel over the cured milky base. This layer will create the iridescent, dimensional shimmer characteristic of the cat-eye effect. Do not cure this layer immediately, as you will need it wet to manipulate the magnetic particles.
Tip: Keep the layer thin to ensure the magnetic particles can move freely and create a sharp, well-defined effect. - 3Magnetize and cure
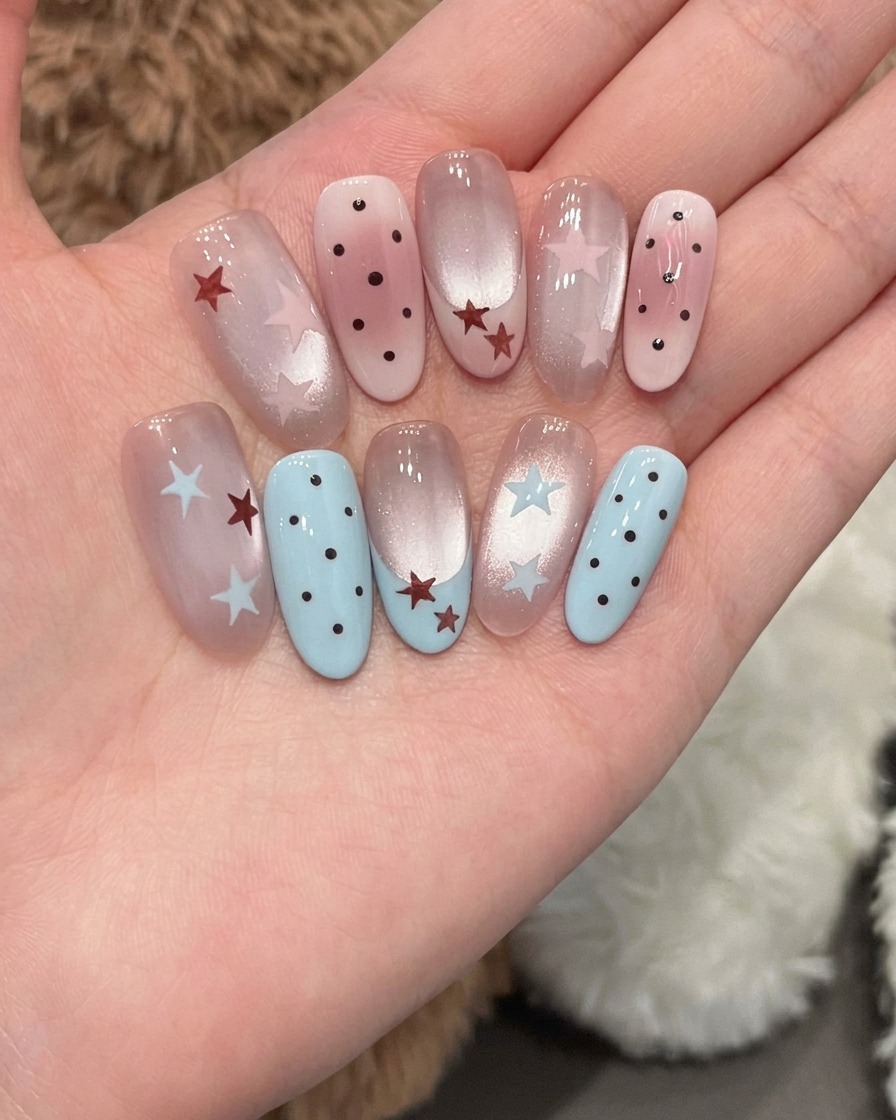
Hold your magnet near the nail surface to attract the magnetic particles in the gel, creating a sharp, glass-like shimmering line or effect. Once you are satisfied with the look, place the nail under the UV/LED lamp to cure the gel completely and lock the design in place.
Tip: Practice moving the magnet at different angles to discover the variety of reflective patterns you can achieve. - 4Paint the first star
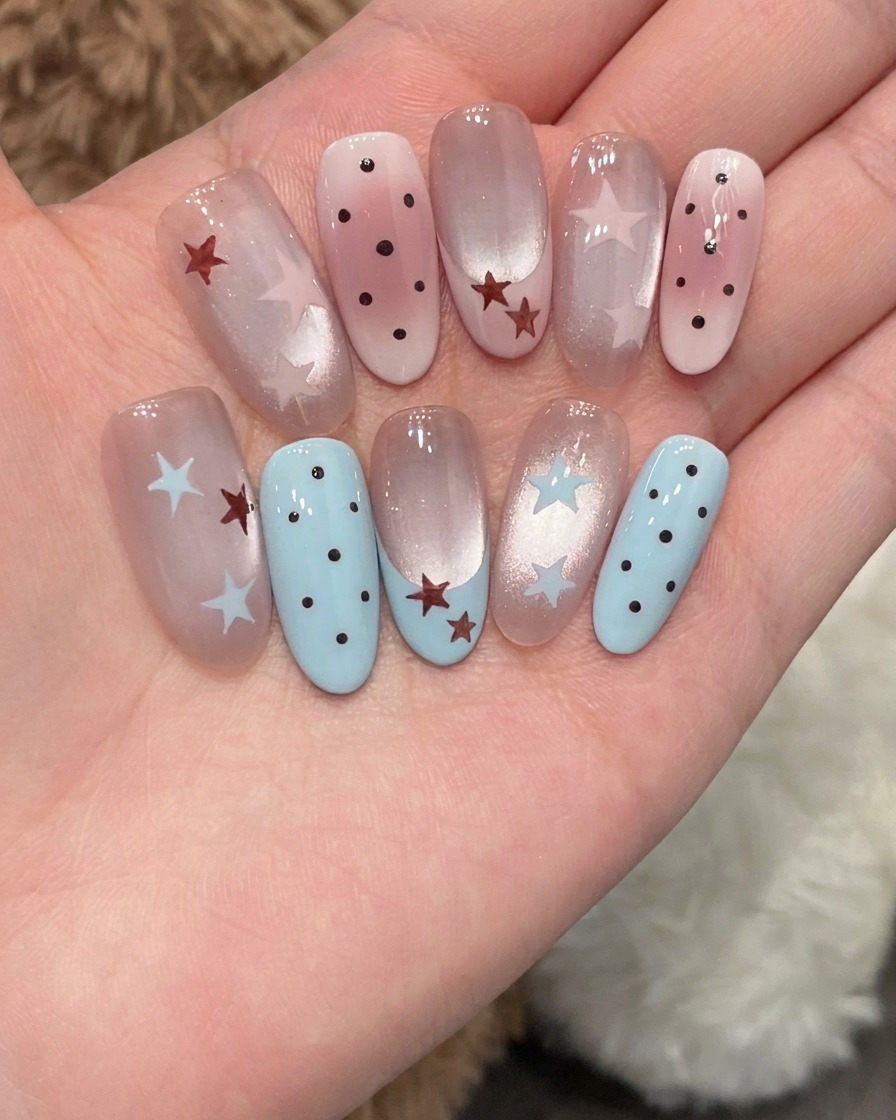
Using a thin liner brush and blue gel, carefully draw a star shape onto the cured cat-eye surface. Start by creating the points and then fill in the center of the star to complete the shape. Take your time to ensure the lines are clean and defined.
Tip: If you find drawing stars difficult, start by making small dots where you want the points to be, then connect them with thin lines. - 5Add a second star
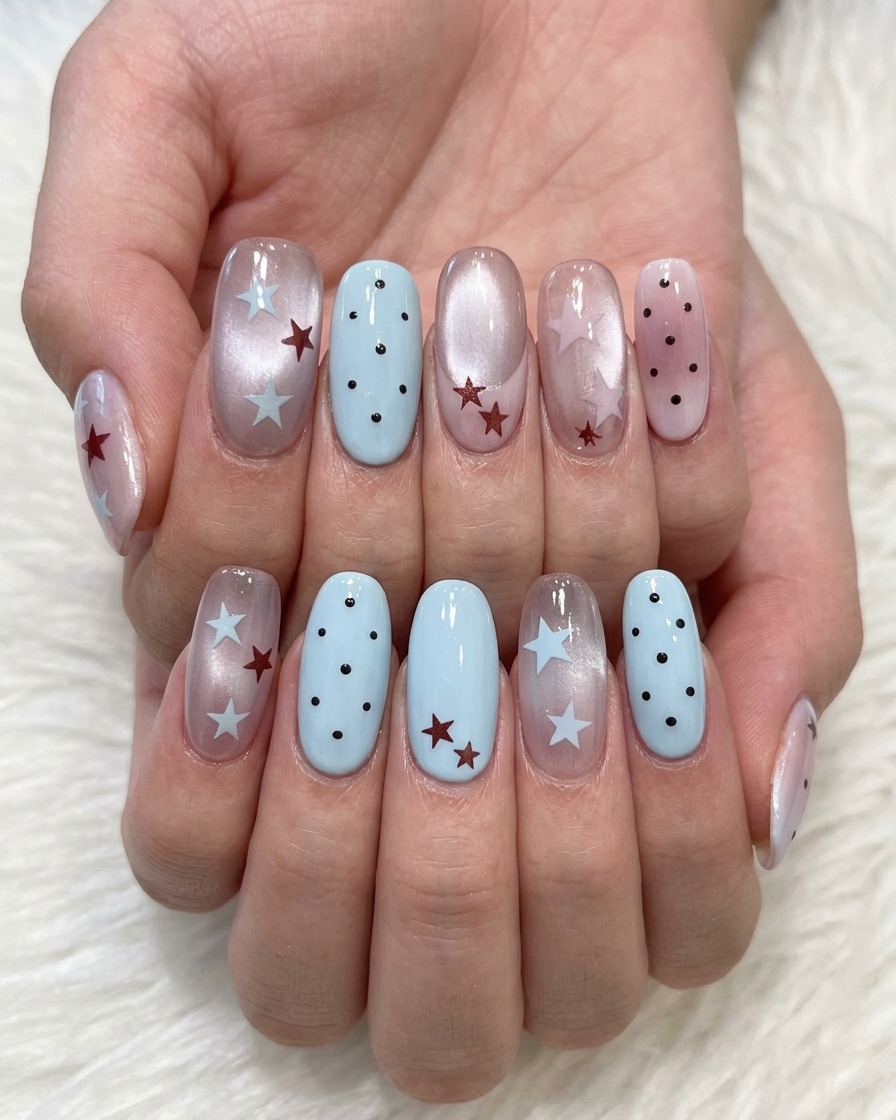
Continue your design by painting a second, smaller star below the first one using the same blue gel. Ensuring consistent sizing and placement will keep the nail art looking balanced and tidy. Once finished, cure this layer under the lamp to set the star details.
Tip: Varying the spacing between the stars can add a more dynamic and organic look to your nail art design. - 6Add brown star accent
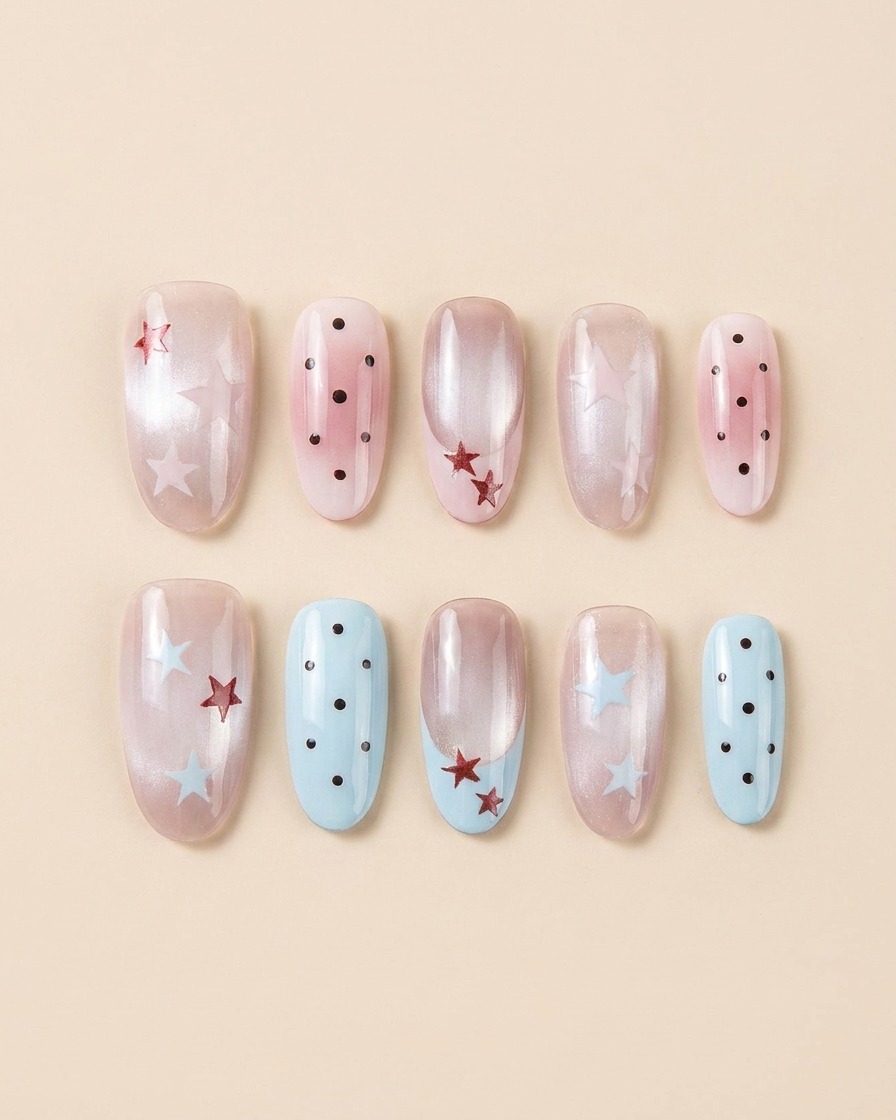
To add a bit of contrast, use a liner brush to paint a smaller star using brown gel. Position this detail carefully within your design to complement the blue stars you have already created. After you are satisfied with the placement, cure the nail under your lamp.
Tip: Using contrasting colors like brown against blue adds depth and a unique artistic touch to the overall manicure. - 7Apply top coat
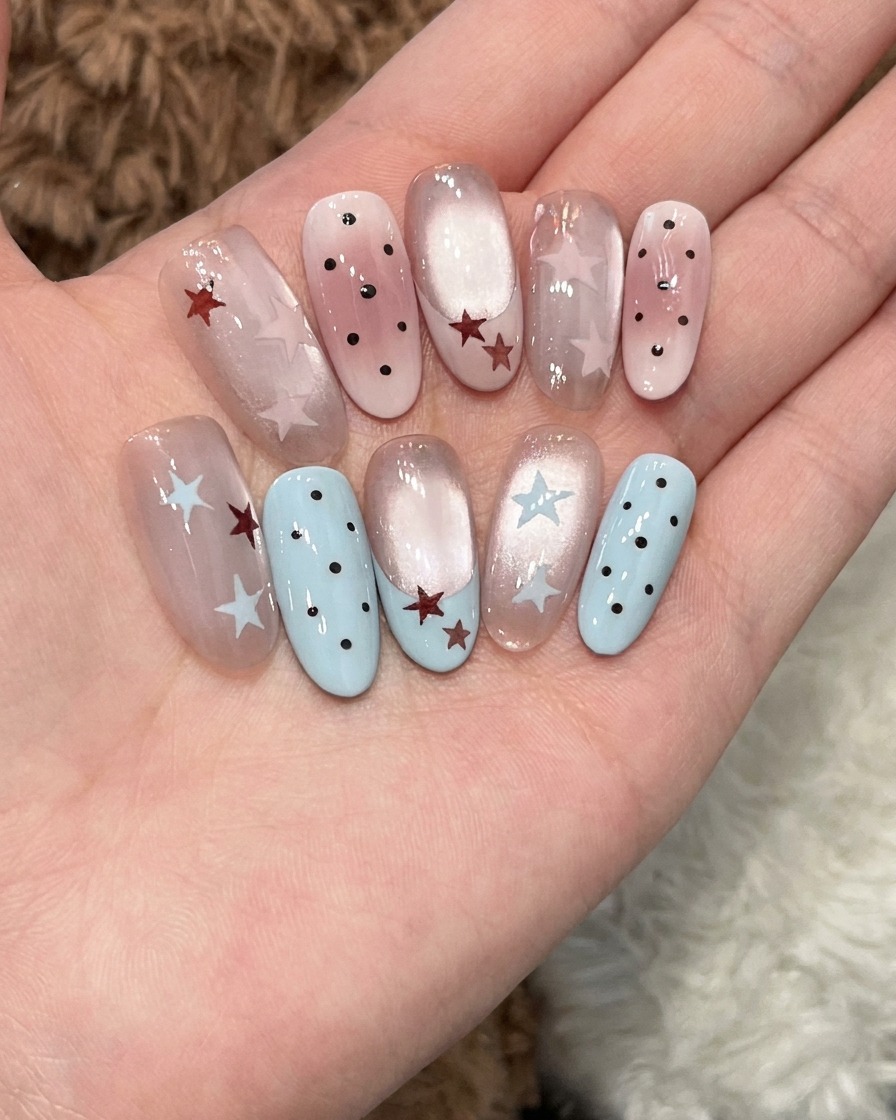
Apply a generous, even layer of glossy top coat over the entire nail to seal in the star nail art and cat-eye design. Ensure the free edge is capped for extra durability and shine. Cure completely under your lamp.
Tip: A high-quality top coat prevents the nail art from chipping and protects the cat-eye effect from daily wear. - 8Apply milky base and pink French tip
Start by applying a milky gel base to the nail for a clean foundation. Then, using a liner brush, paint a precise pink French tip across the free edge of the middle finger. Cure briefly to set the color.
Tip: Keep your French tip line thin and consistent for a clean, professional finish. - 9Fill in the French tip
Using a square-tipped brush, gently fill in the French tip area with your pink gel. The square brush helps maintain crisp, straight lines and ensures the color is applied evenly across the nail tip.
Tip: Patting the gel with the flat side of a square brush helps eliminate streaks in the color. - 10Paint stars on French tip
Using a fine liner brush and brown gel, paint two small, distinct stars onto the pink French tip area. Take your time to ensure the points are sharp. Once satisfied, cure the nails under your UV lamp to set the art.
Tip: If you struggle with free-hand stars, place dots first to guide your brush lines. - 11Create a gradient effect
Apply a small amount of pink gel onto a clean makeup sponge. Gently dab the sponge onto the tip of the nail to create a soft, blended gradient effect. Build the color gradually until you achieve the desired intensity.
Tip: Dabbing lightly ensures the transition between the colors remains smooth and seamless. - 12Apply final top coat
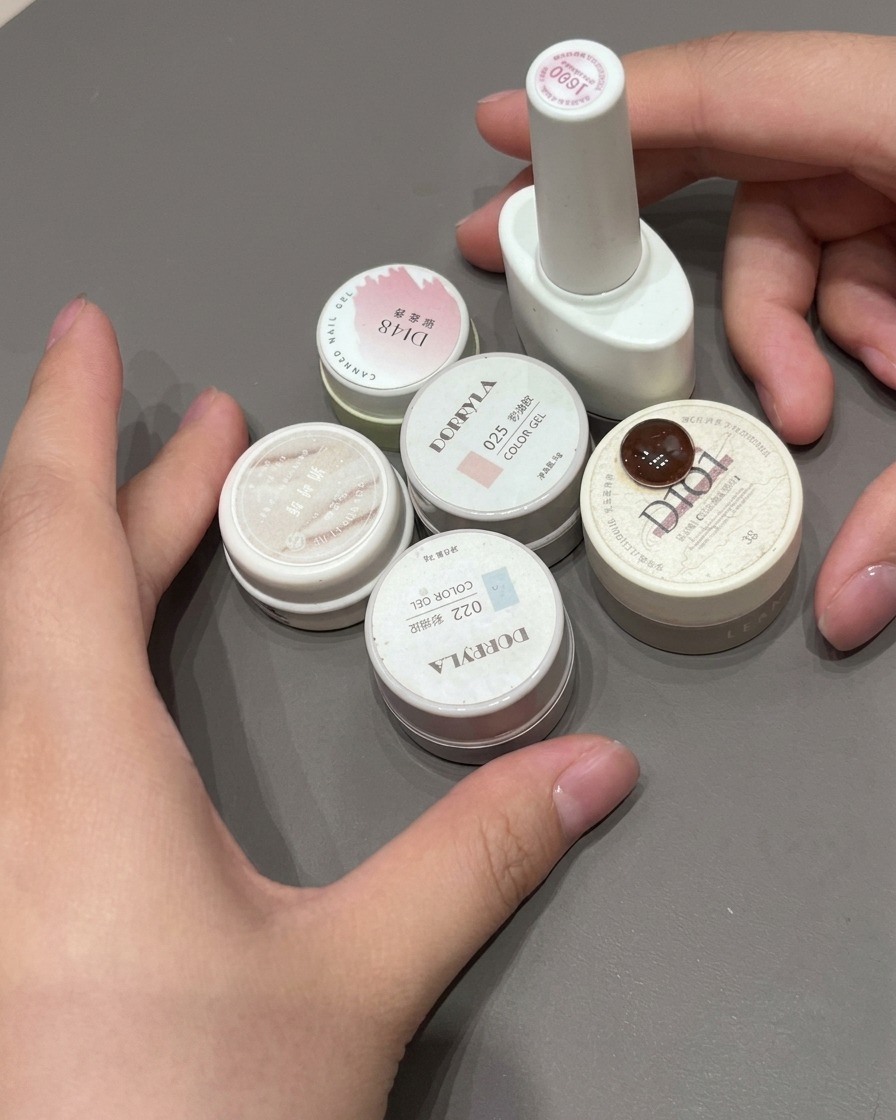
Apply a final, thicker layer of glossy top coat over the gradient French nail to smooth out any texture from the sponge. Ensure full coverage over the gradient area and cure under your lamp to finish.
Tip: A slightly thicker top coat is perfect for leveling out the surface of nail art created with sponges. - 13Create the blush nail effect
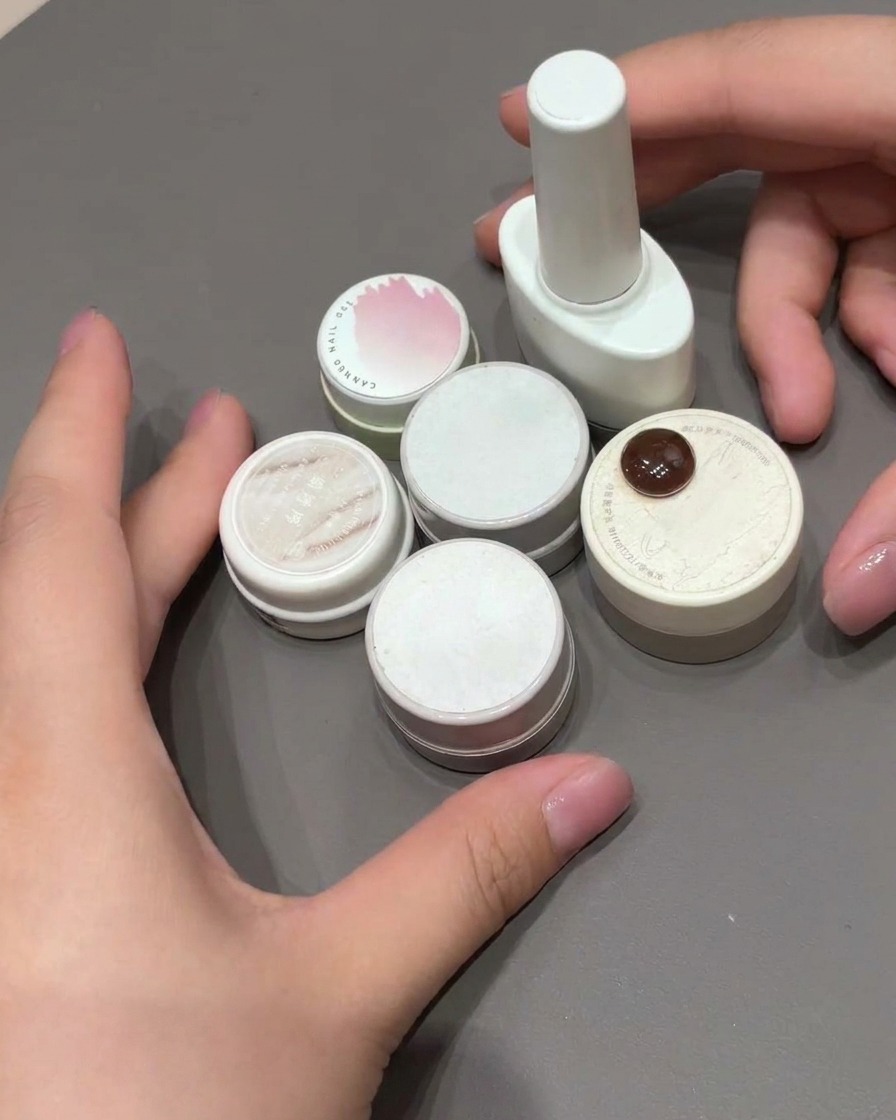
After curing the base layer, apply a small amount of pink gel towards the tip of the nail. Use a sponge or brush to gently dab and blend the color outward to create a soft, diffused blush gradient, then cure.
Tip: Use a light hand when dabbing the gel to ensure the color remains subtle and perfectly blended. - 14Cure the blush nails
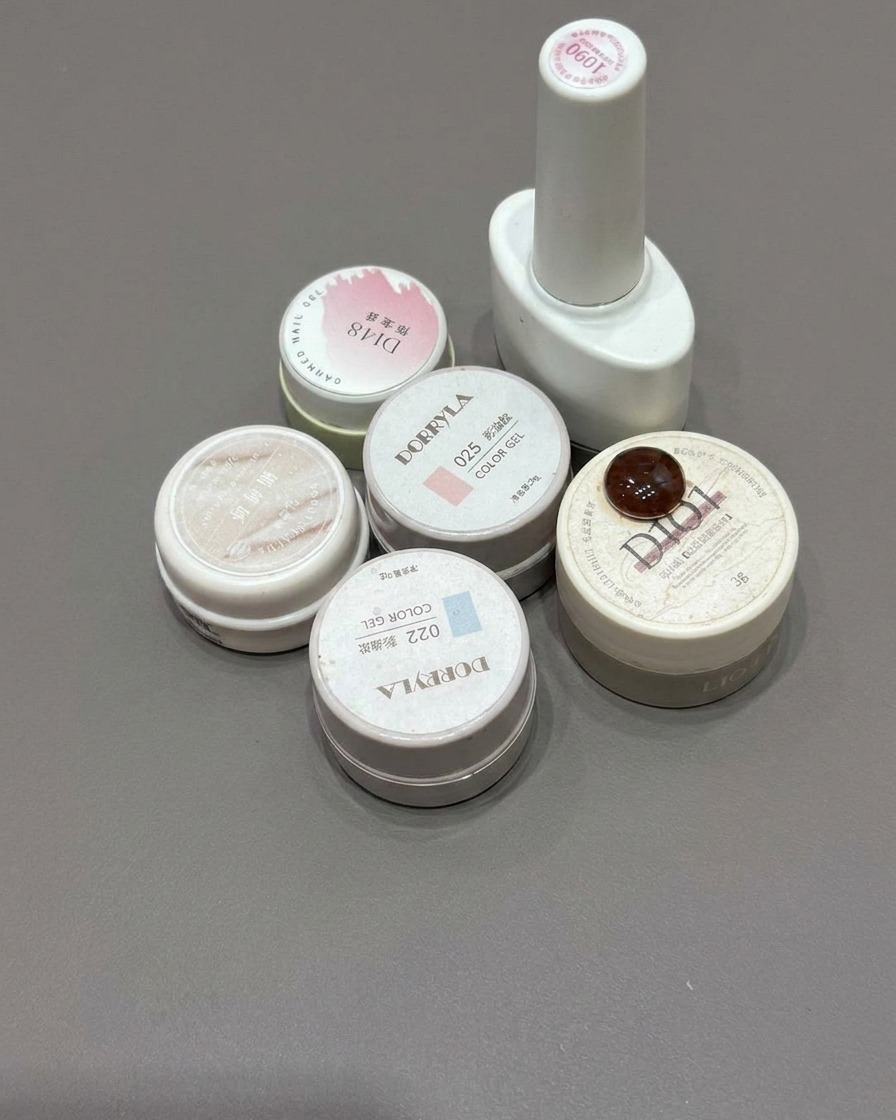
Place your nails under the LED or UV lamp and cure for the full duration recommended by your gel product manufacturer to ensure the blush effect is completely set and durable.
Tip: Ensure your fingers are positioned flat inside the lamp to get even light distribution across all nail surfaces. - 15Add polka dot details
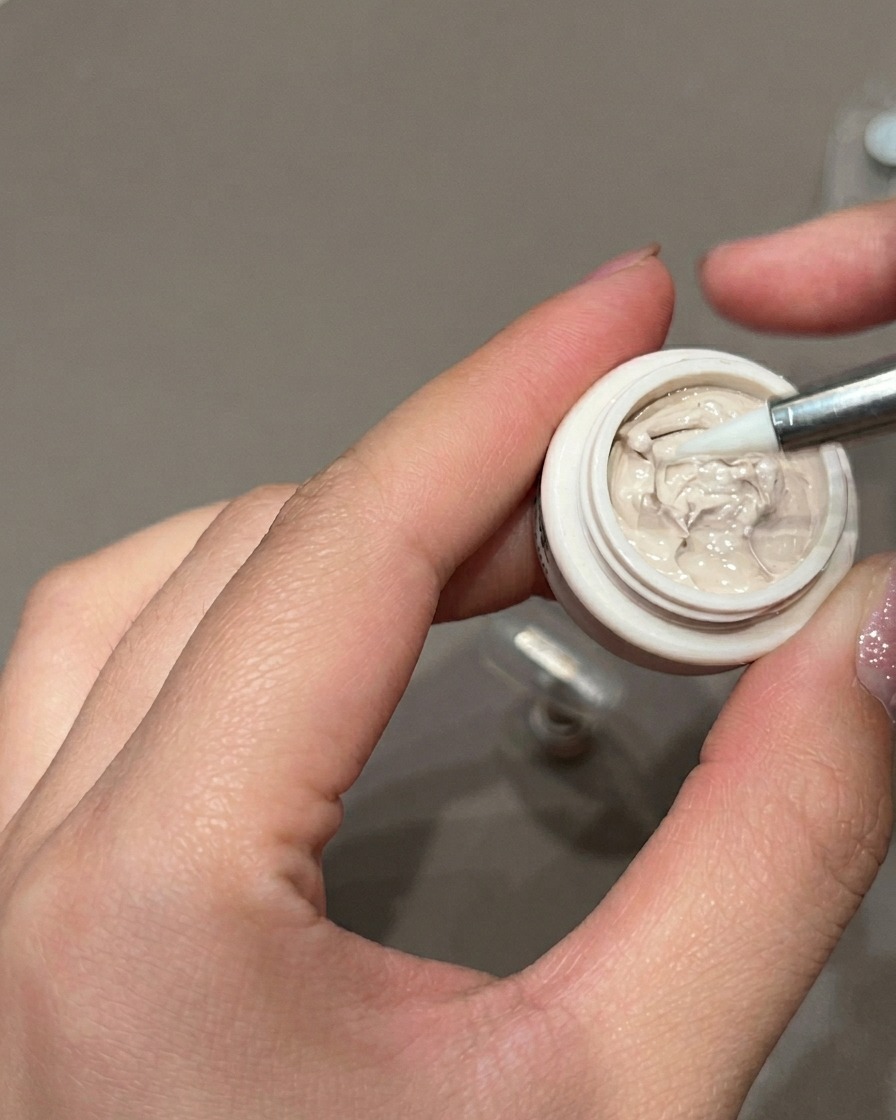
Using a thin liner brush, carefully pick up a small amount of brown gel and dot it onto the surface of the pink and blue nails. Arrange the dots randomly to create a cute, textured polka dot pattern.
Tip: Keep your brush strokes light and brief to create uniform, delicate dots without dragging the color. - 16Apply final top coat
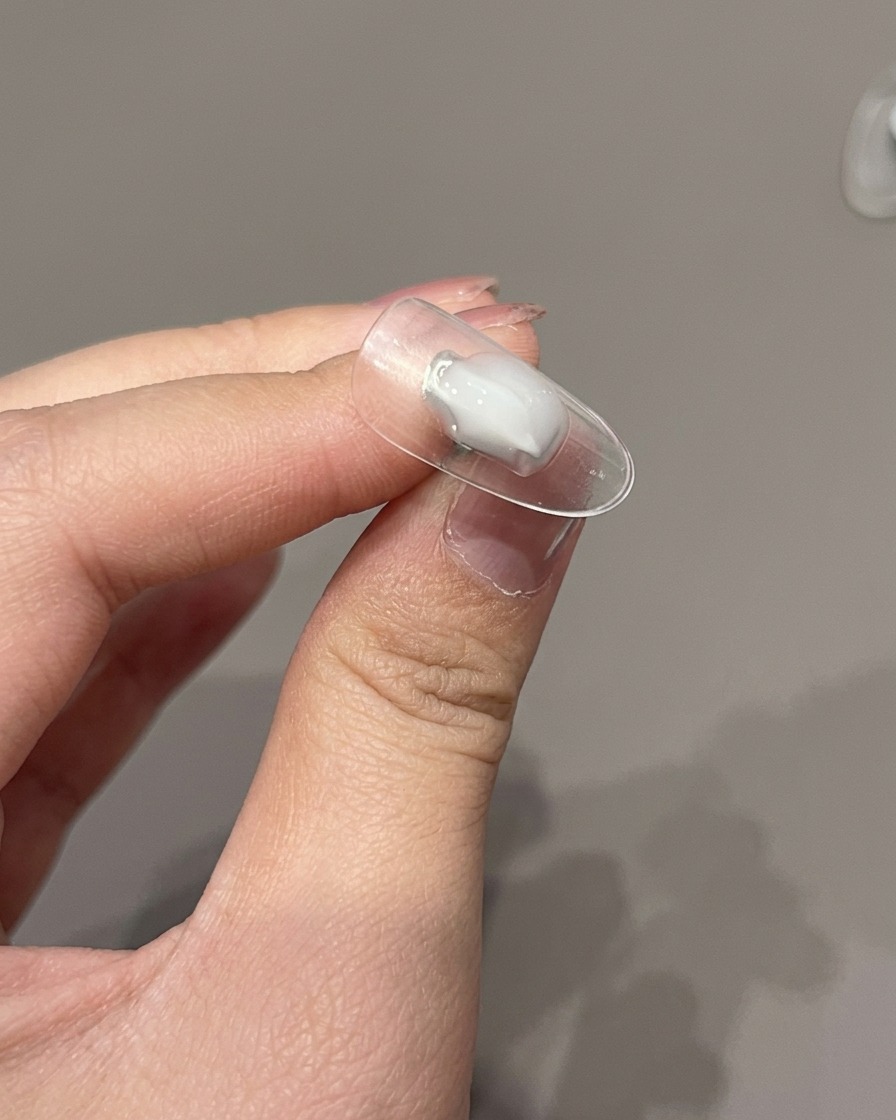
Apply a generous, smooth layer of high-shine top coat over every nail, making sure to cap the free edges. This seals in your nail art, adds a protective layer, and gives the finished set a professional glossy look.
Tip: Check for any bubbles or streaks before curing to ensure a perfectly smooth, glass-like finish.