Cat-Eye Snowflake Gradient Nails — Winter Step-by-Step Tutorial
Create a stunning winter manicure with this cat-eye snowflake gradient tutorial. Master magnetic silver shimmer, blue ombre, and delicate snow effects.
Winter nail art is all about capturing the magic of the season, and this look perfectly embodies a snowy wonderland. By combining a mesmerizing silver cat-eye base with a soft blue gradient, you get incredible depth and movement. The addition of a crisp black snowflake sticker and hand-dotted snow makes this design both intricate and surprisingly easy to achieve at home.
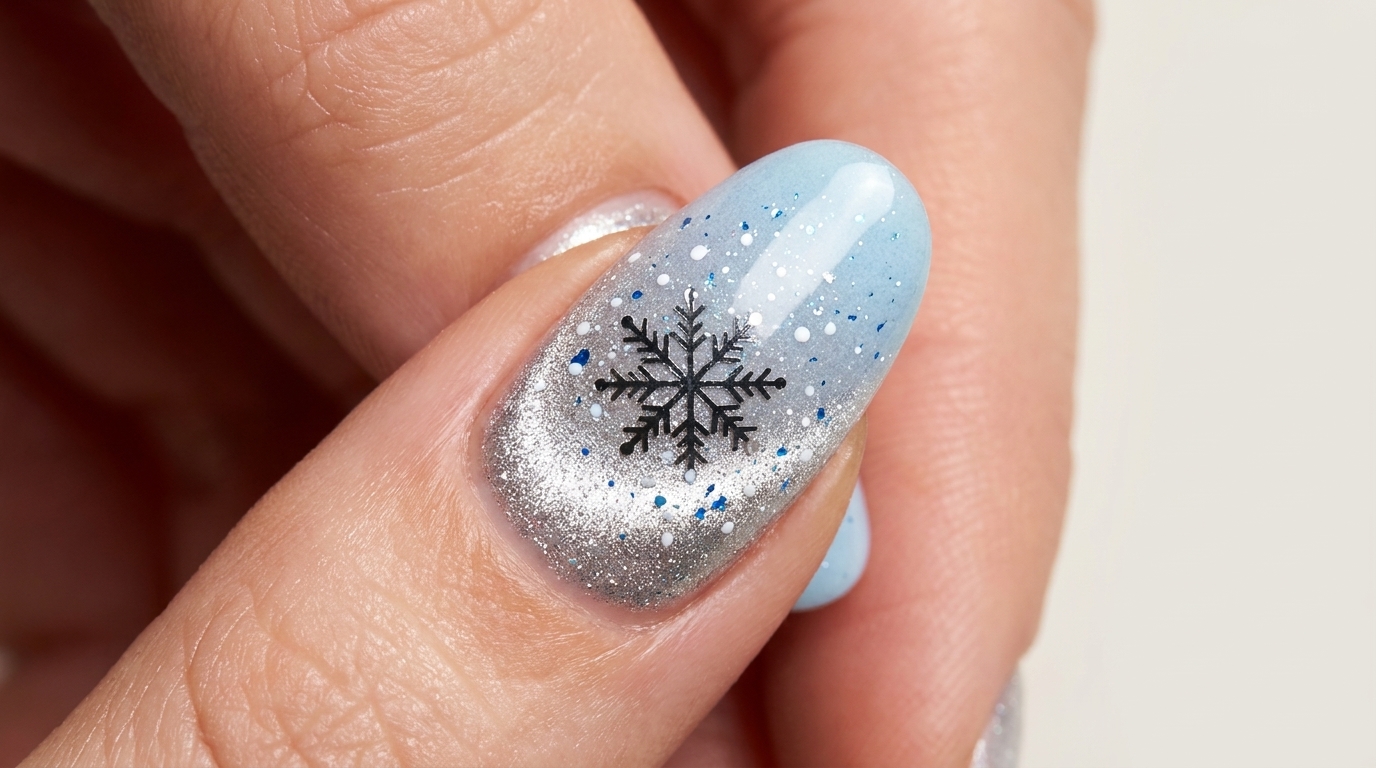
Steps
- 1Apply silver cat-eye gel
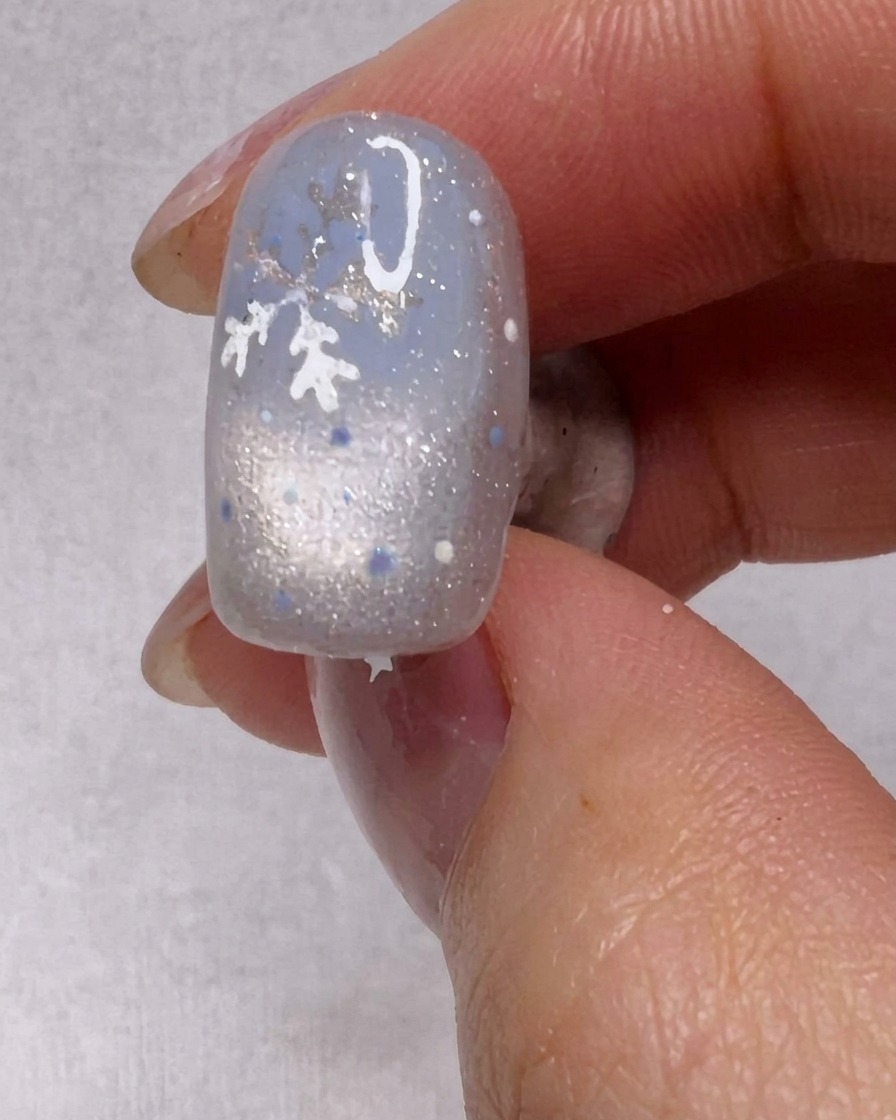
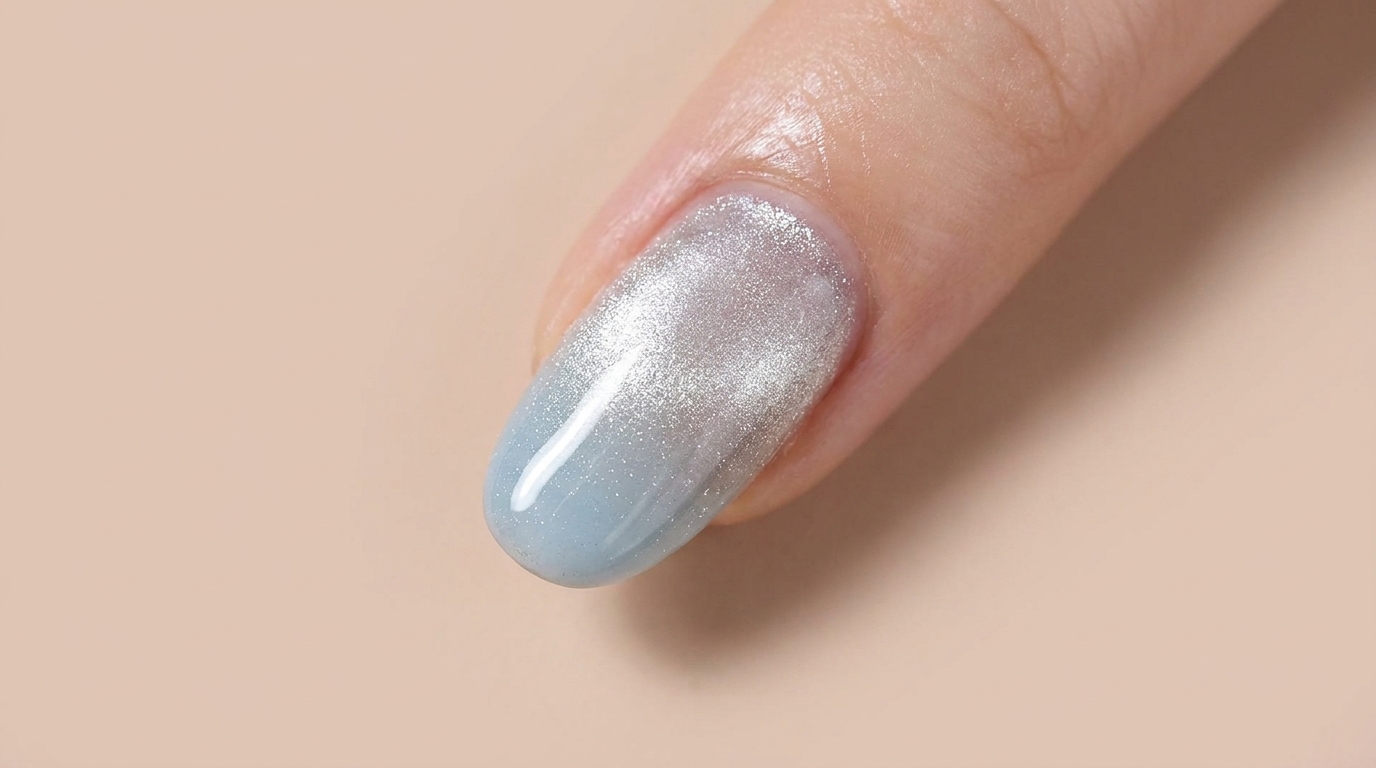
Begin by applying a thin, even layer of silver cat-eye gel polish to the entire nail surface. Ensure the edges are clean and avoid flooding the cuticle. This base provides the magnetic shimmer needed for the finished look.
Tip: Applying a thinner layer helps the magnetic particles move more easily for a sharper highlight effect. - 2Create the magnetic shimmer
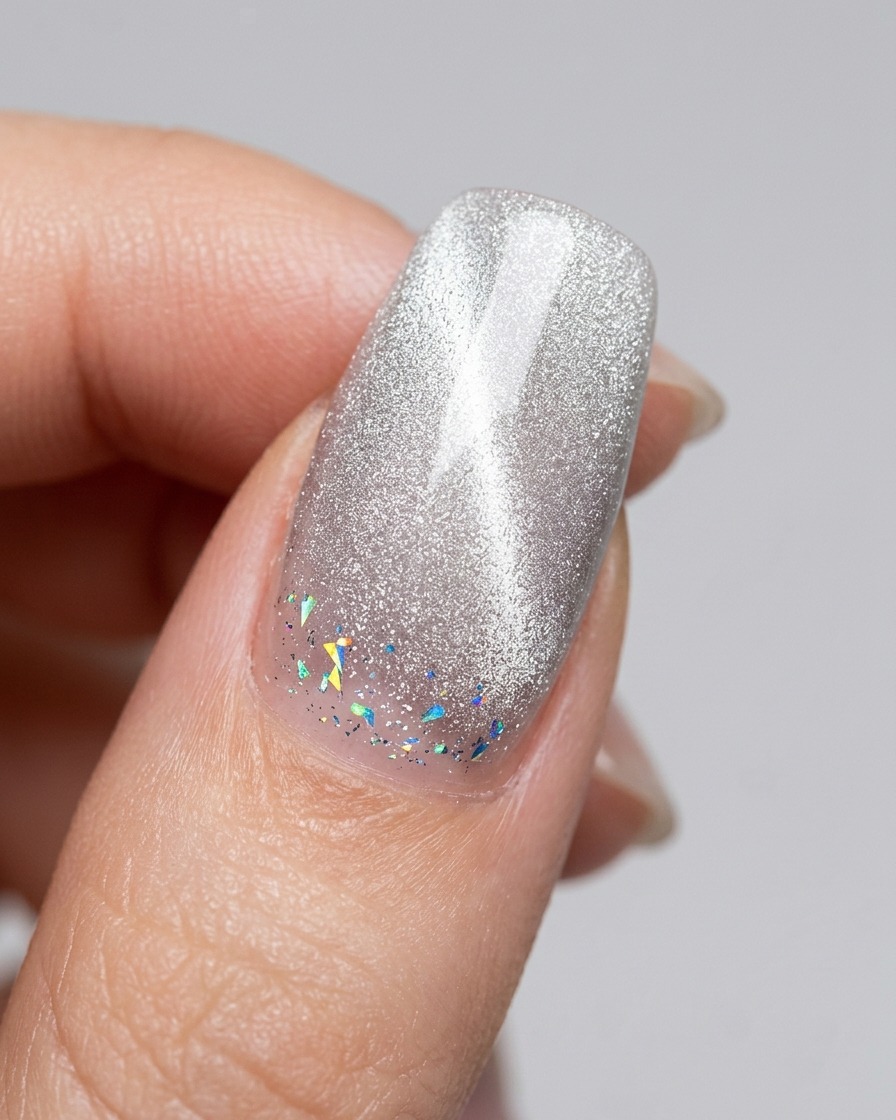
Before curing, hold your nail magnet over the wet cat-eye gel for several seconds. Position it to draw the metallic particles into a centered, sharp highlight. Once satisfied with the shimmer pattern, cure under your lamp.
Tip: Keep the magnet steady and close to the nail without touching the wet surface to get the crispest line possible. - 3Apply snowflake sticker
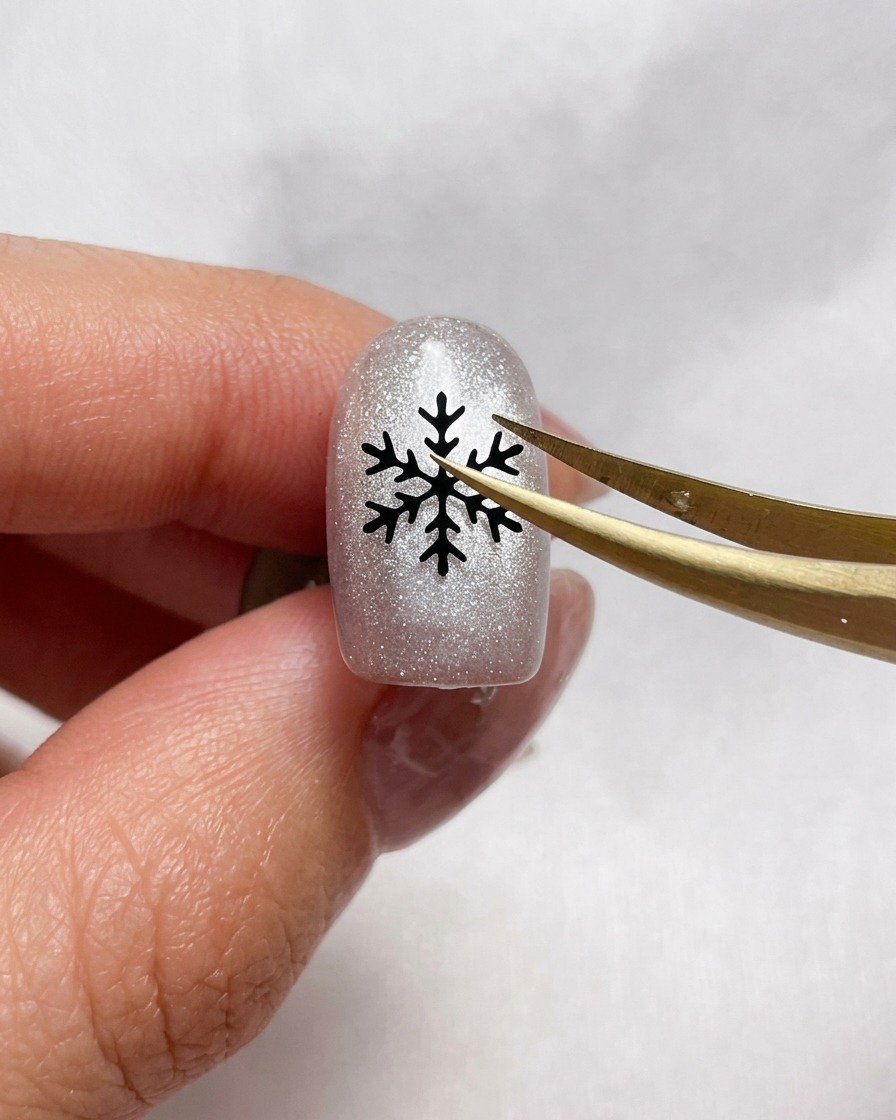
Using precision tweezers, lift your black snowflake sticker and place it carefully onto the center of your cured cat-eye nail. The dark contrast against the silver shimmer makes the snowflake pop.
Tip: Tweezers allow for much better control and placement accuracy than using your fingers. - 4Secure the sticker
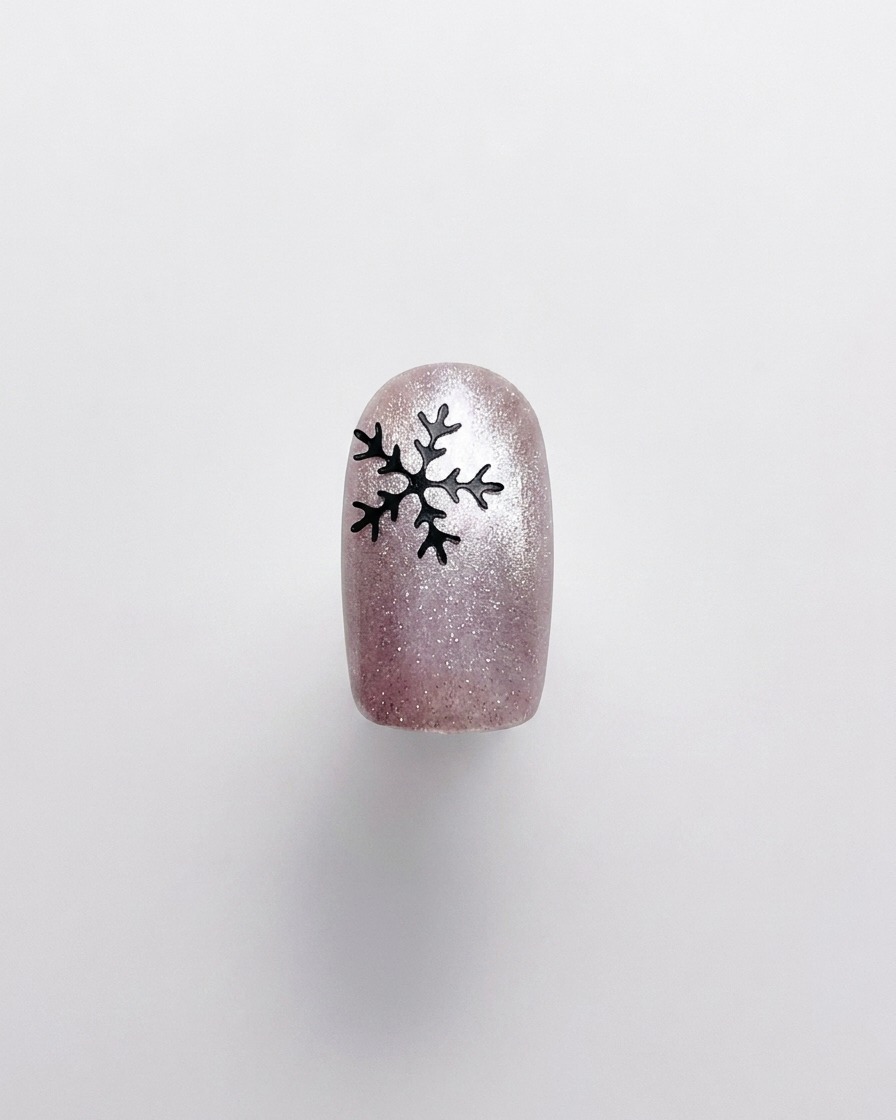
Once the snowflake is positioned, use the side of your tweezers or a silicone tool to gently press the sticker firmly against the nail plate. Ensuring it lies completely flat is essential for a smooth top coat application.
Tip: Press from the center outward to push out any tiny air bubbles trapped under the sticker. - 5Dab light blue polish
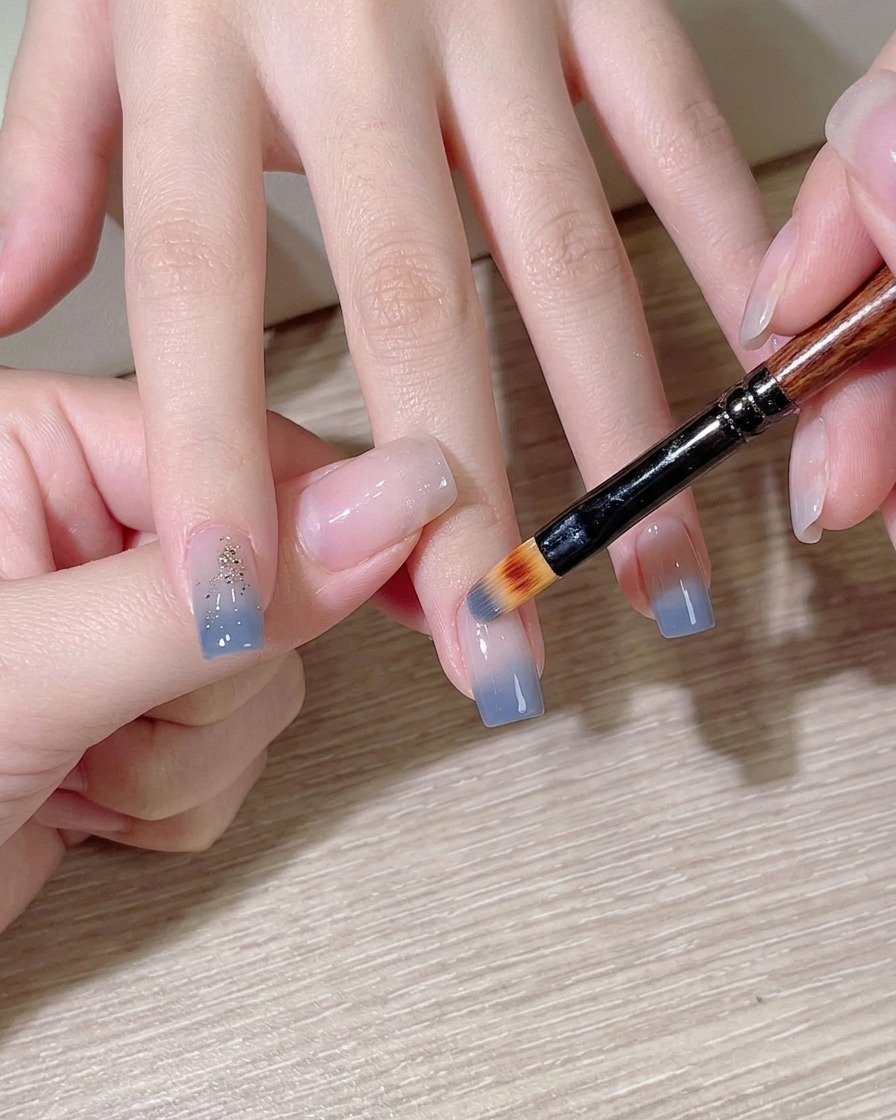
Apply a small amount of light blue gel polish onto a makeup sponge. Gently dab the sponge over the upper portion of the nail to create a soft, snowy color effect over the snowflake sticker.
Tip: Use a light, dabbing motion rather than dragging the sponge to maintain the texture and control the gradient opacity. - 6Blend the gradient
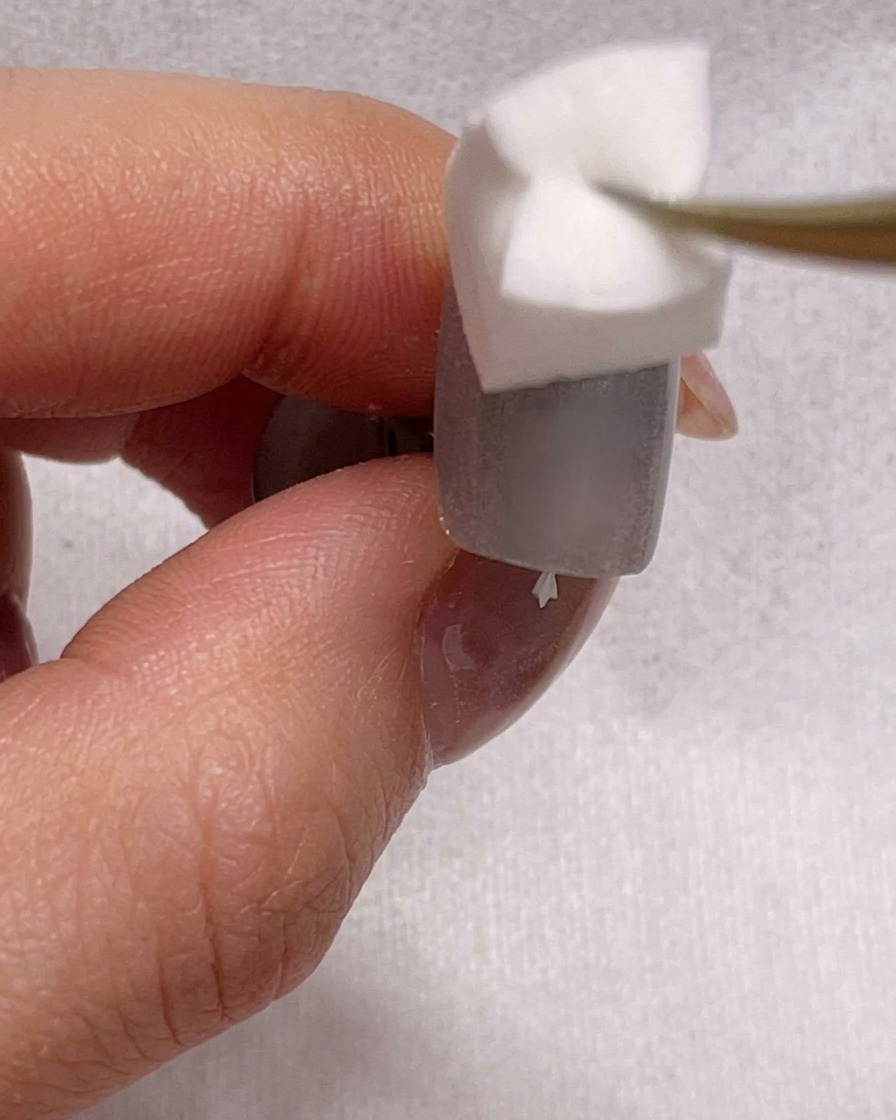
Continue dabbing with the sponge to build up the blue color and blend it downward, creating a soft gradient fade from the tip toward the center of the nail. This layering adds depth to the snowflake design.
Tip: Work in thin layers and cure between sessions if you want to increase the intensity of the blue without flooding the nail. - 7Add falling snow detail
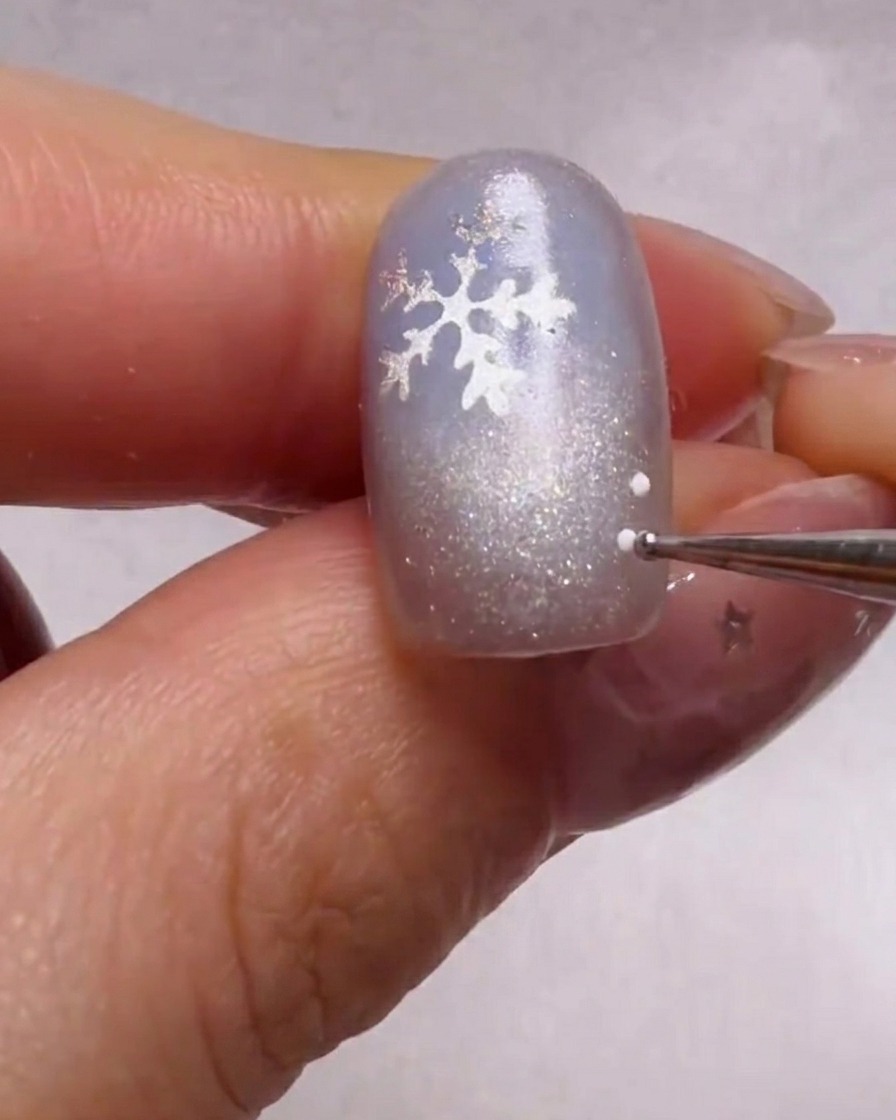
Using a fine dotting tool, carefully place small, irregular dots of white and light blue gel polish around the snowflake design. This creates a textured falling snow effect that adds depth to your winter manicure. Once you are satisfied with the placement of the dots, cure the nail in your lamp.
Tip: Vary the size of your dots by using different tips of your dotting tool to make the snowfall look more natural and dynamic. - 8Refine the snow effect
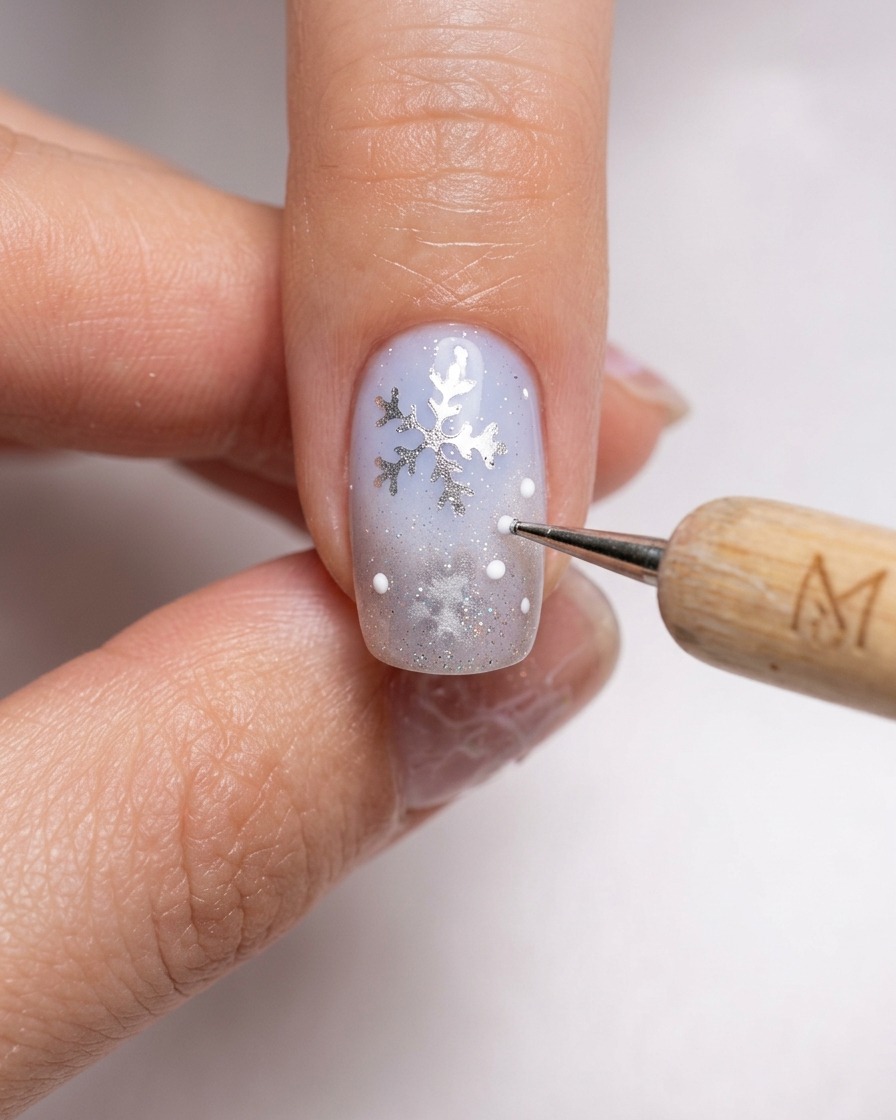
Using the fine tip of a dotting tool, carefully place tiny white dots around the snowflake to build the falling snow effect. Keep a light touch to ensure the dots remain small and delicate, adding subtle dimension to the winter scene.
Tip: Wipe your dotting tool clean occasionally to prevent the gel from pooling and making the dots unintentionally large.