Honey Plum Cat-Eye Gradient Nails — Step-by-Step Tutorial
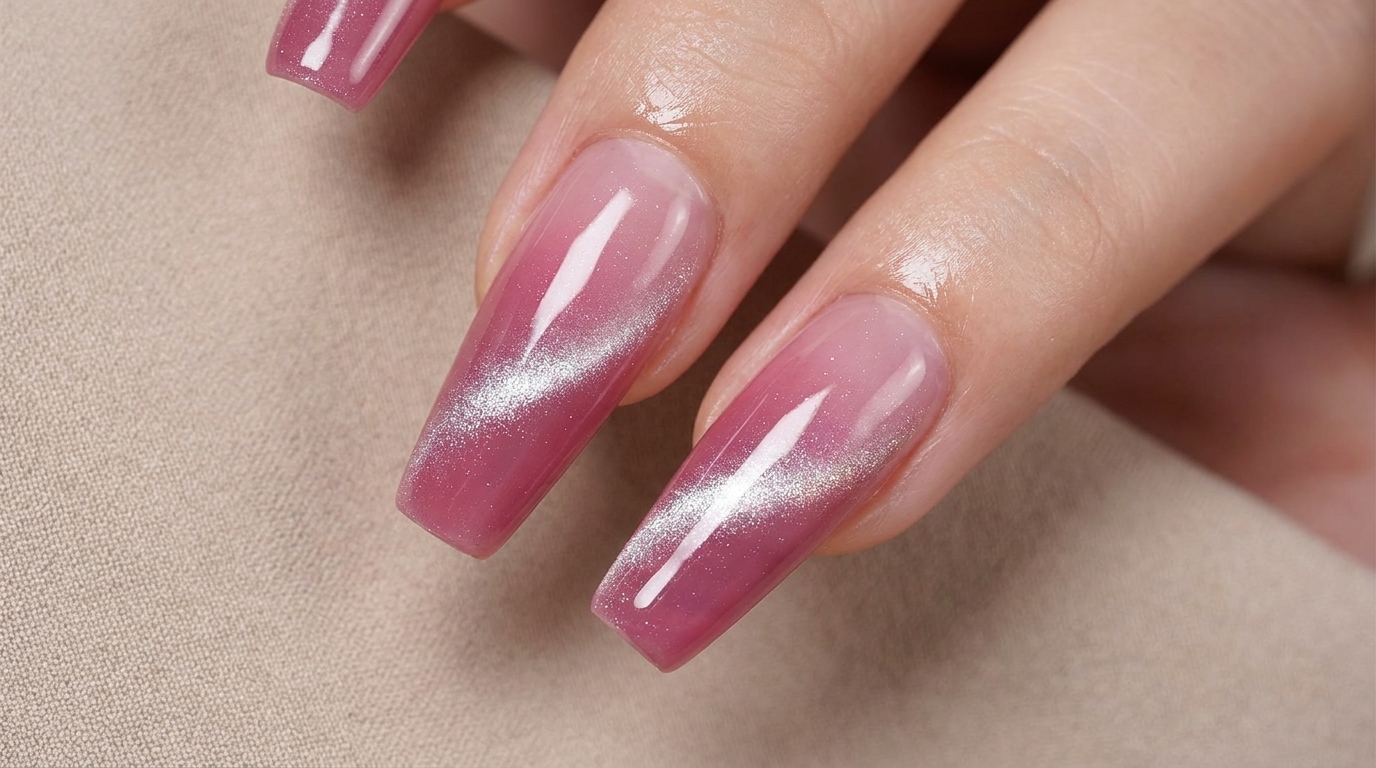
Elevate your manicure with this dreamy Honey Plum gradient look. Learn how to combine soft sponge-blending with a shimmering magnetic cat-eye effect.
The honey plum cat-eye gradient is a sophisticated, multidimensional look that perfectly captures light. By layering a soft color transition with magnetic shimmer, you achieve a depth that is both elegant and eye-catching. This technique is easier than it looks and makes for a stunning, salon-quality finish at home.
Steps
- 1Apply clear base coat
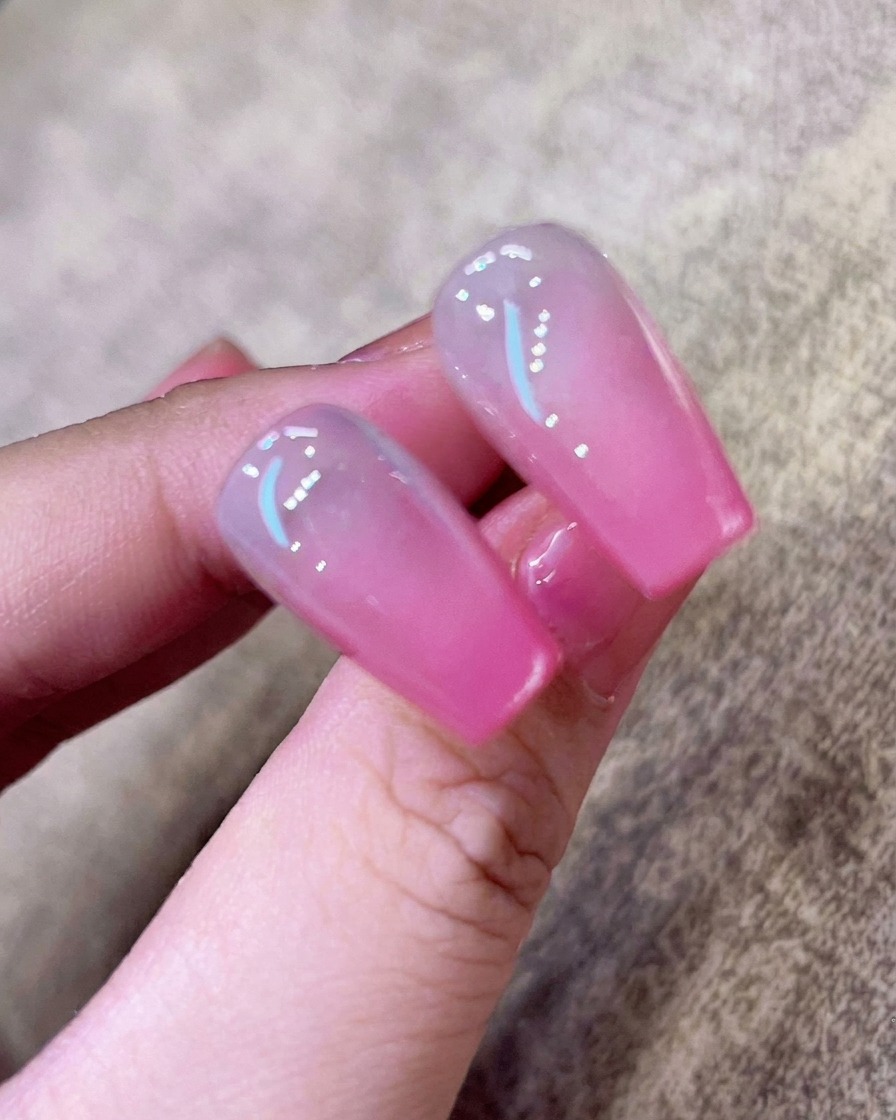
Begin the manicure by applying a thin, even layer of clear base coat to the prepared nail plate. Ensure you cover the entire surface, capping the free edge, to provide a smooth, adhesive foundation for the gel polish. Cure under an LED or UV lamp as directed by your product instructions.
Tip: Applying a thin base layer is crucial to prevent bubbling and ensure the gel adheres properly to the natural nail. - 2Create the pink gradient
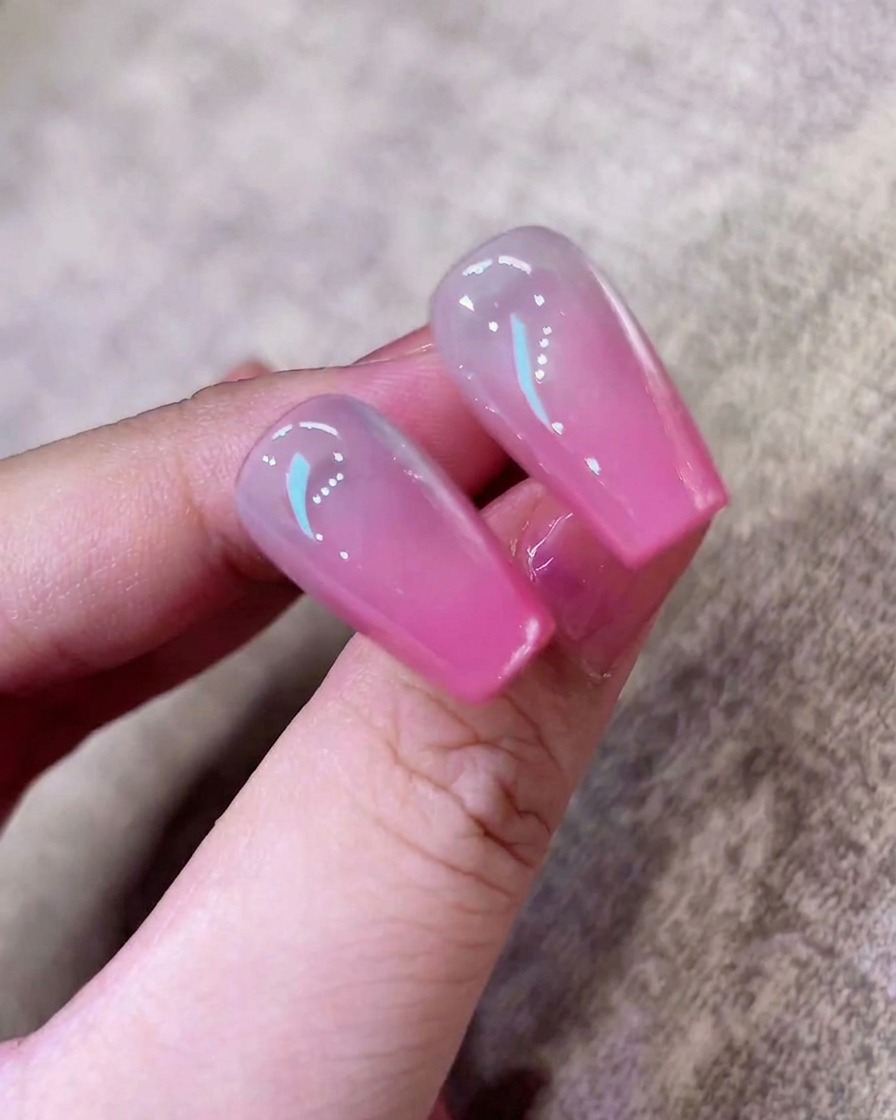
Apply a small amount of pink gel polish to a makeup sponge. Gently dab the sponge onto the tip of the nail to create a soft, blended gradient effect. Repeat this process until you achieve your desired intensity, then cure under your lamp to set the color.
Tip: Dab lightly with the sponge to avoid heavy texture; building up thin layers creates a smoother transition. - 3Apply white cat-eye gel
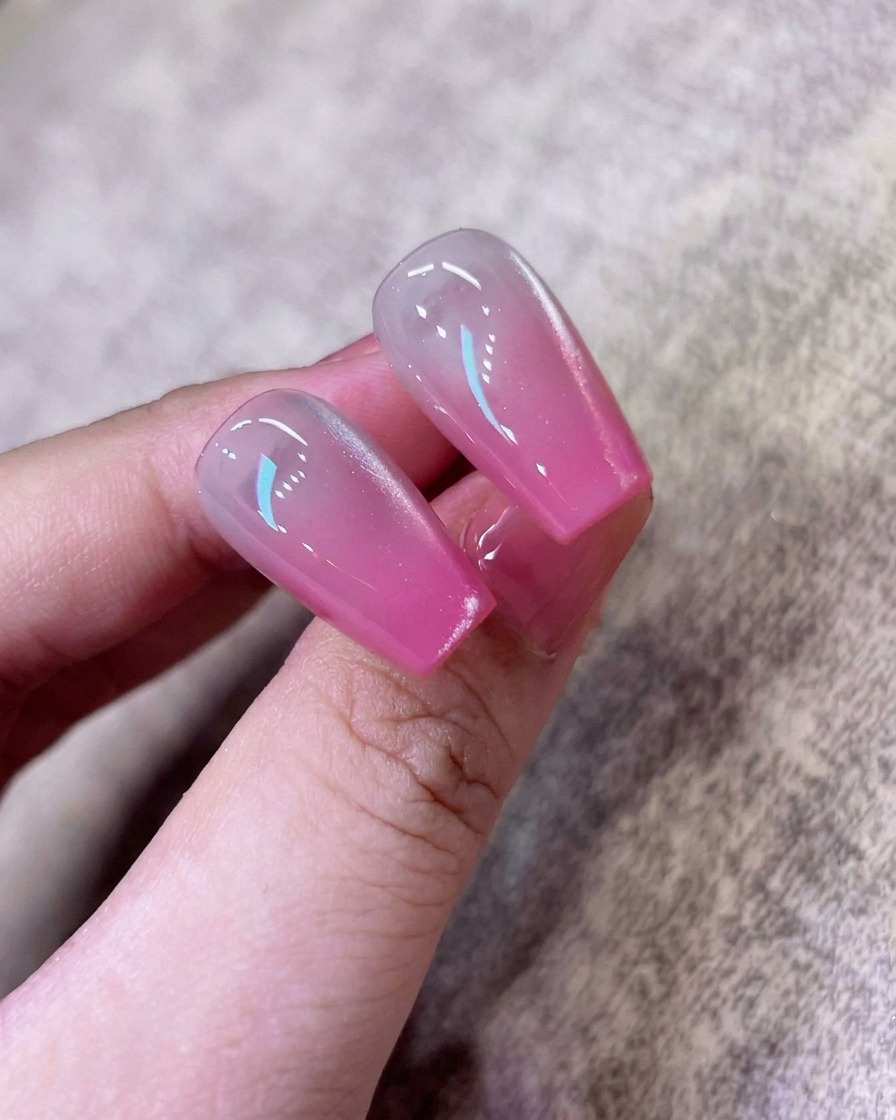
Apply a layer of white shimmering cat-eye gel polish over the pink gradient base. This product contains magnetic particles that will create the signature cat-eye effect. Do not cure the polish yet; keep it wet for the magnetic step.
Tip: Apply a thin, consistent layer to ensure the cat-eye particles move easily and uniformly across the nail surface. - 4Magnetize the cat-eye effect
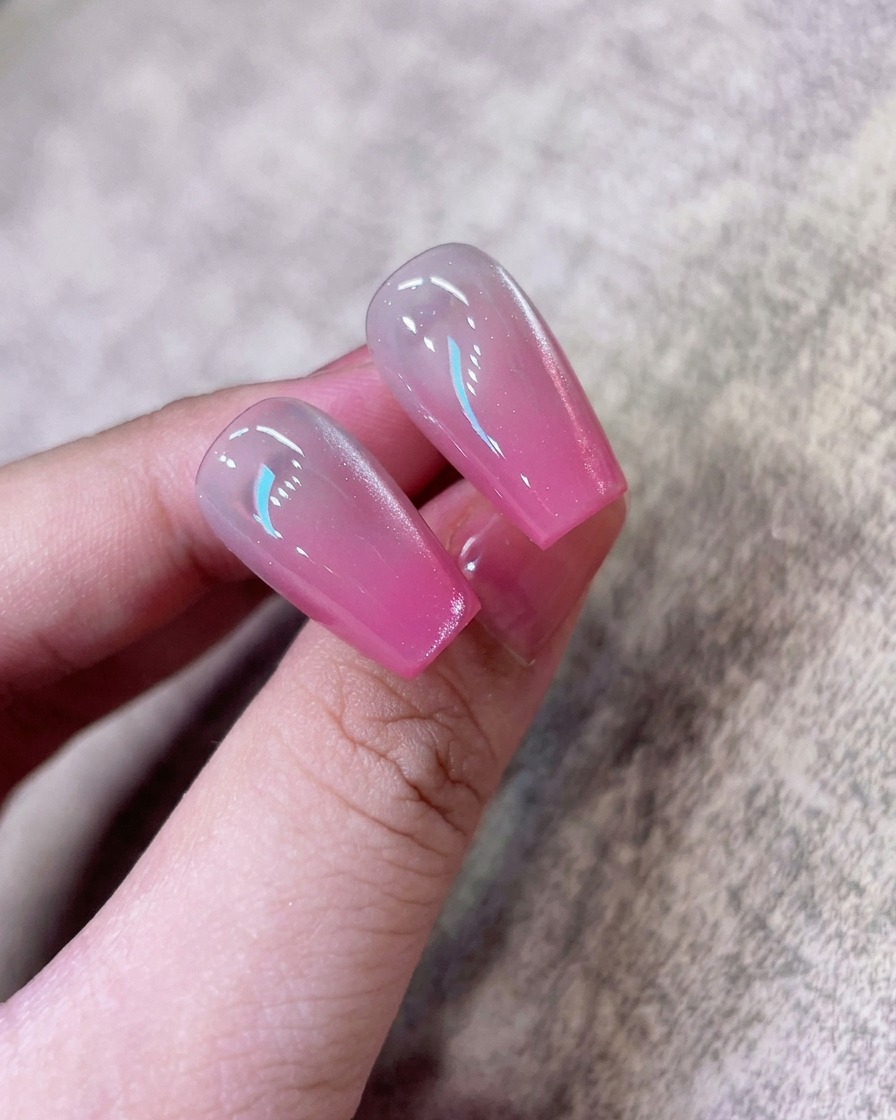
Hold a nail magnet tool close to the nail surface without touching the wet gel polish. Move the magnet to the side of the nail to pull the shimmering particles toward that edge, creating a sleek, diagonal cat-eye line. Once the desired look is achieved, cure immediately.
Tip: Experiment with different magnet angles to change the direction and width of the light reflection. - 5Intensify the gradient
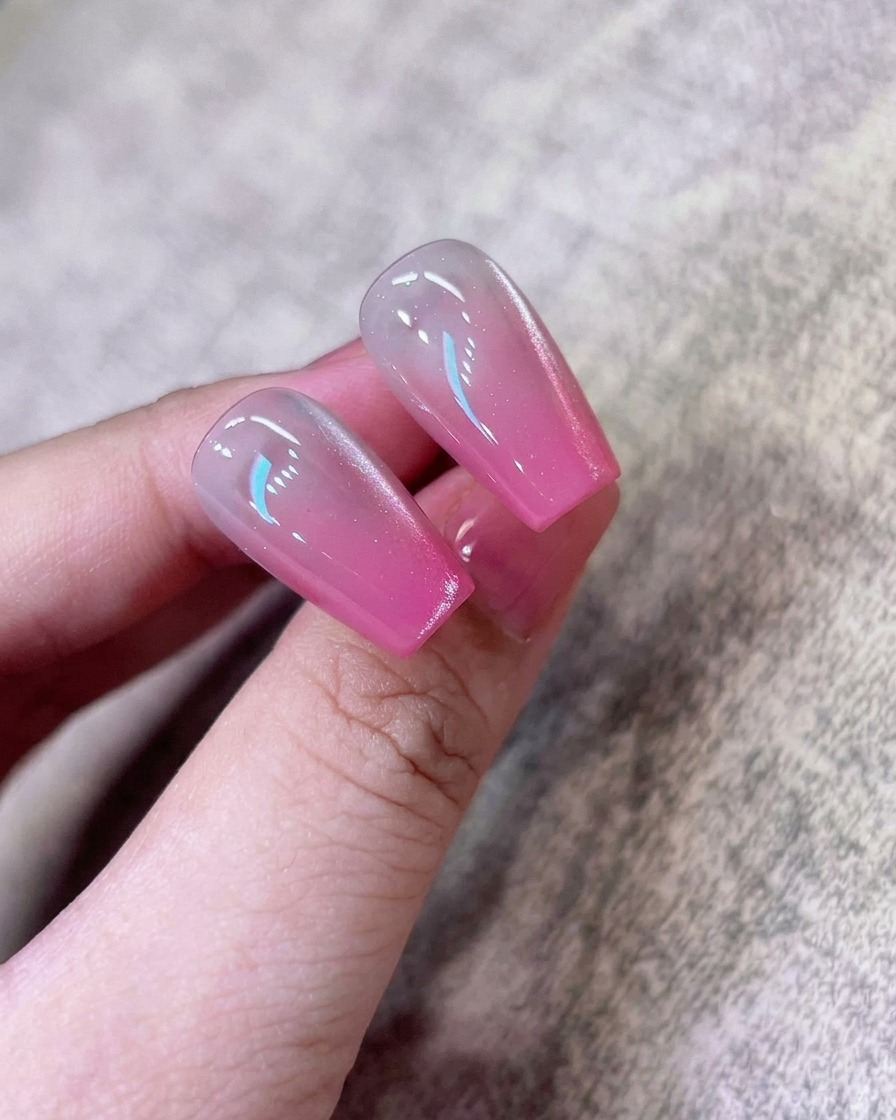
To add depth and richness, use a sponge to dab a bit more pink polish specifically at the very tip of the nail. This reinforces the gradient effect after the cat-eye application. Cure the layer to lock in the color intensity.
Tip: Focusing the extra pigment strictly on the free edge keeps the transition subtle and professional-looking. - 6Refine the cat-eye effect
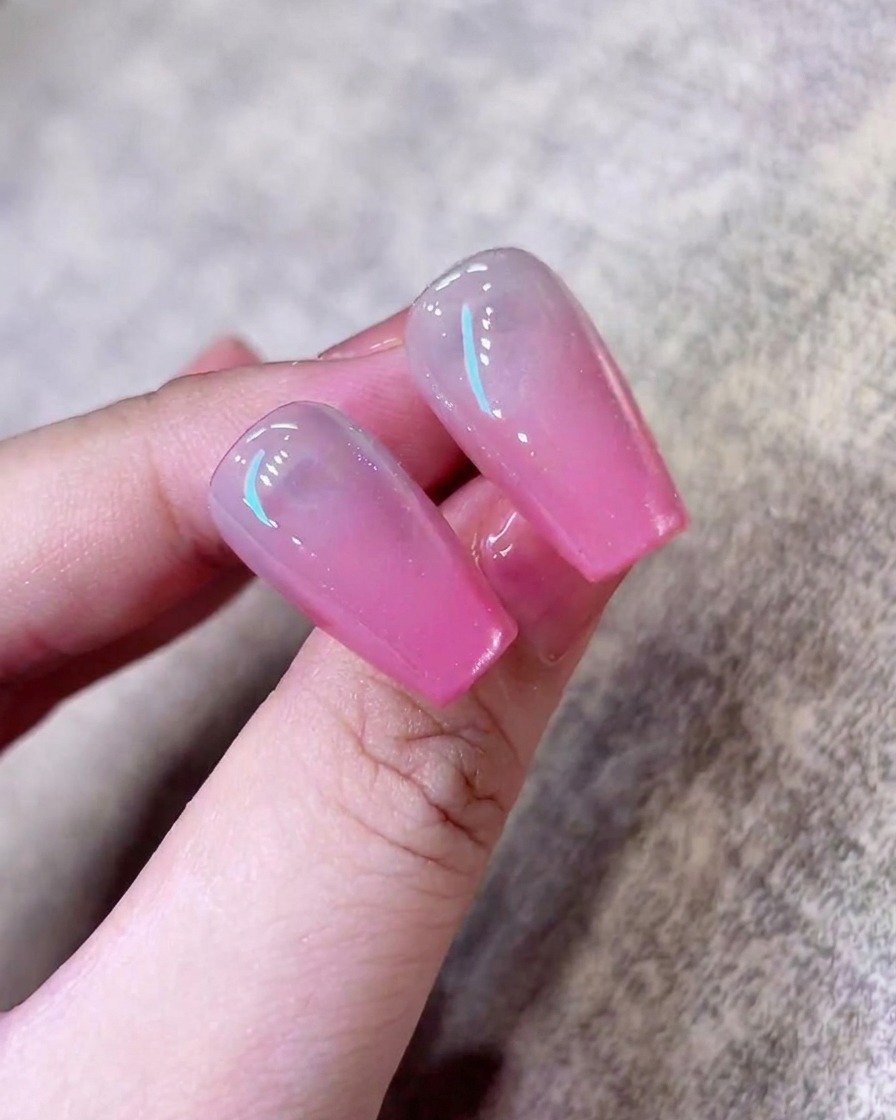
Apply a final, thin layer of the cat-eye gel polish to refine the shimmer and ensure a consistent finish across the nail. Re-magnetize briefly if necessary to keep the light streak sharp, then perform the final cure to complete the nail art.
Tip: A final thin coat helps smooth out any inconsistencies from previous steps for a flawless, reflective look. - 7Apply top coat
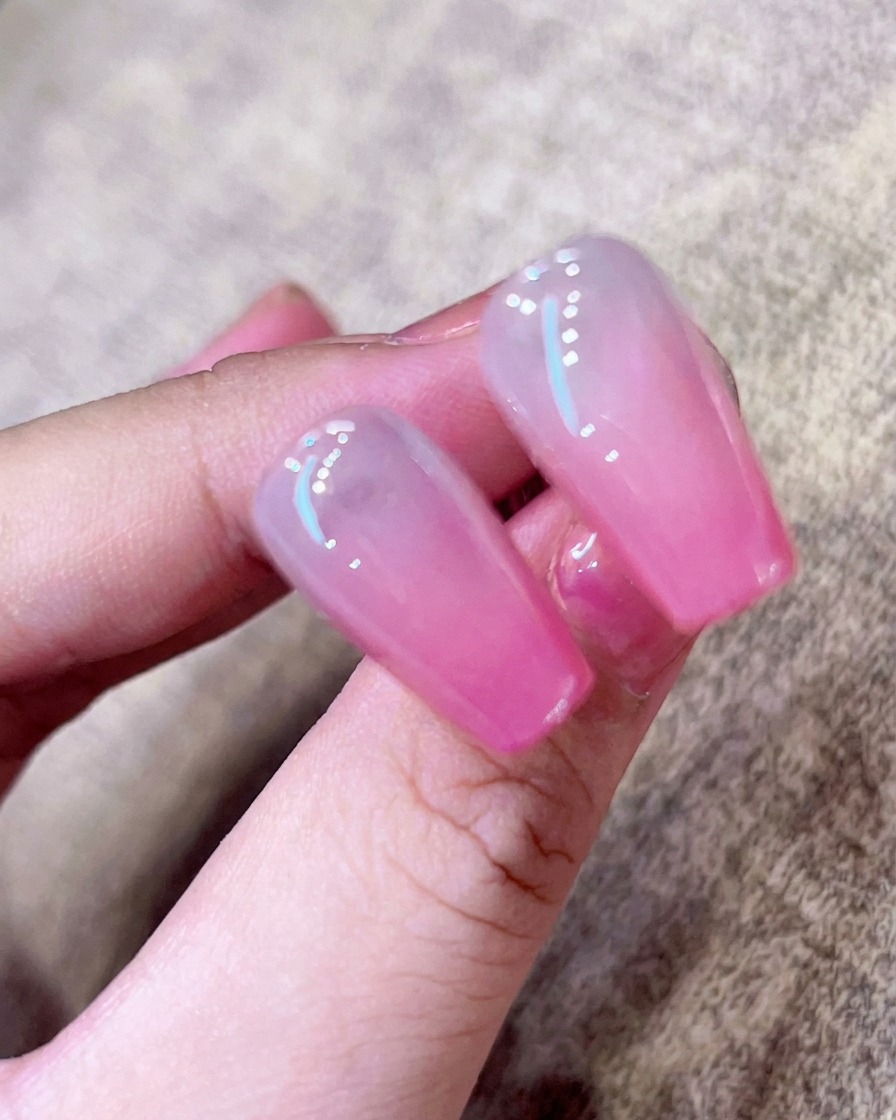
Apply a generous, even layer of high-shine top coat over the entire nail, ensuring you cover the sides and cap the free edge completely. This seals the design, adds durability, and provides a glossy finish that protects your nail art.
Tip: Be careful not to let the top coat pool near the cuticles, as this can cause it to lift after curing. - 8Cure the nails
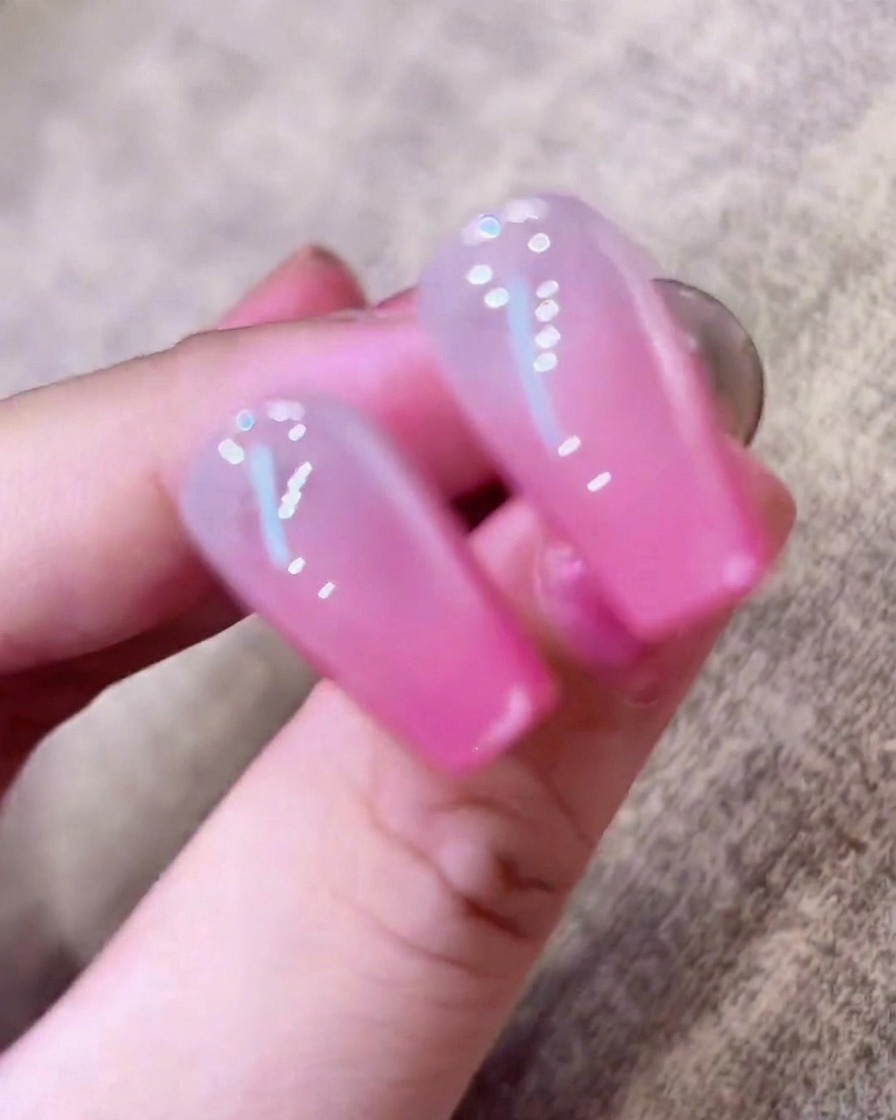
Place your fingers into the UV or LED lamp to cure the final top coat layer. Follow the manufacturers specific time guidelines for your product to ensure the gel is fully hardened and non-tacky.
Tip: Keep your hand flat inside the lamp to ensure even light distribution across all nails for a perfect, long-lasting cure.