Plum Cat-Eye Gradient Nails — Festive Magnetic Nail Tutorial
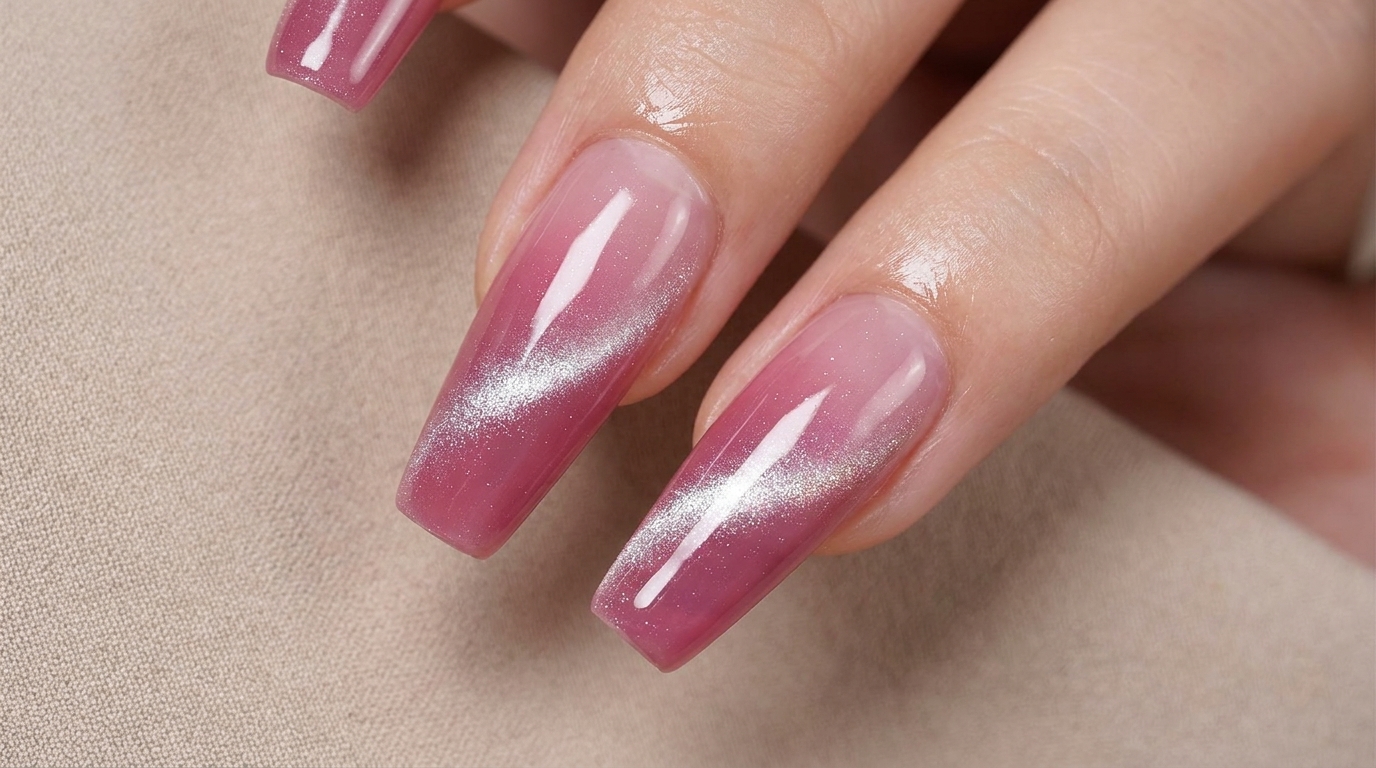
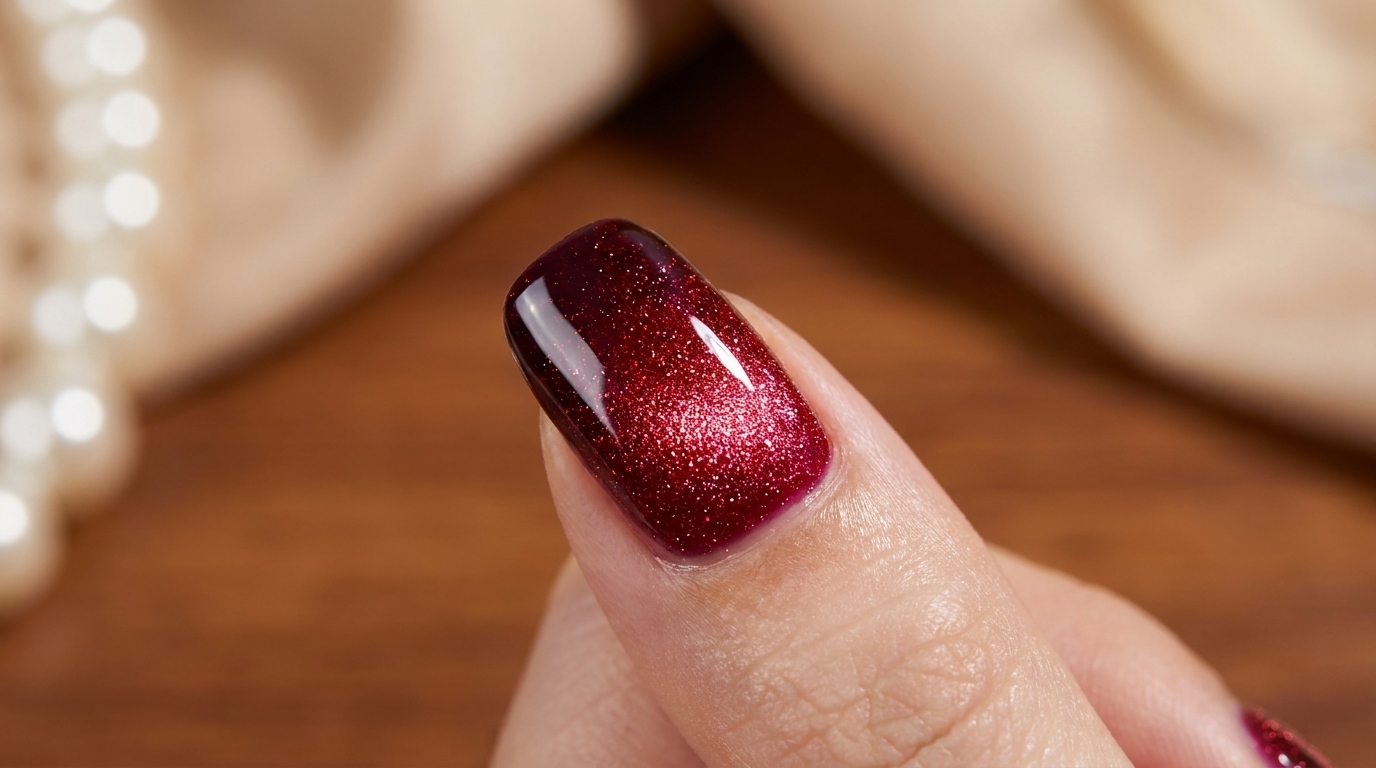
Create an alluring, deep plum gradient with our easy plum cat-eye nail tutorial. This look combines a smooth ombre base with a shimmering magnetic finish.
The cat-eye effect has taken the nail world by storm, and this plum gradient version brings a sophisticated, berry-red allure to your fingertips. By layering a rich purple base with a bright red magnetic polish, you achieve a multi-dimensional look that is both festive and perfect for brightening your complexion. This technique is surprisingly accessible for beginners and offers a stunning, professional-grade finish that catches the light beautifully.
Steps
- 1Apply base coat
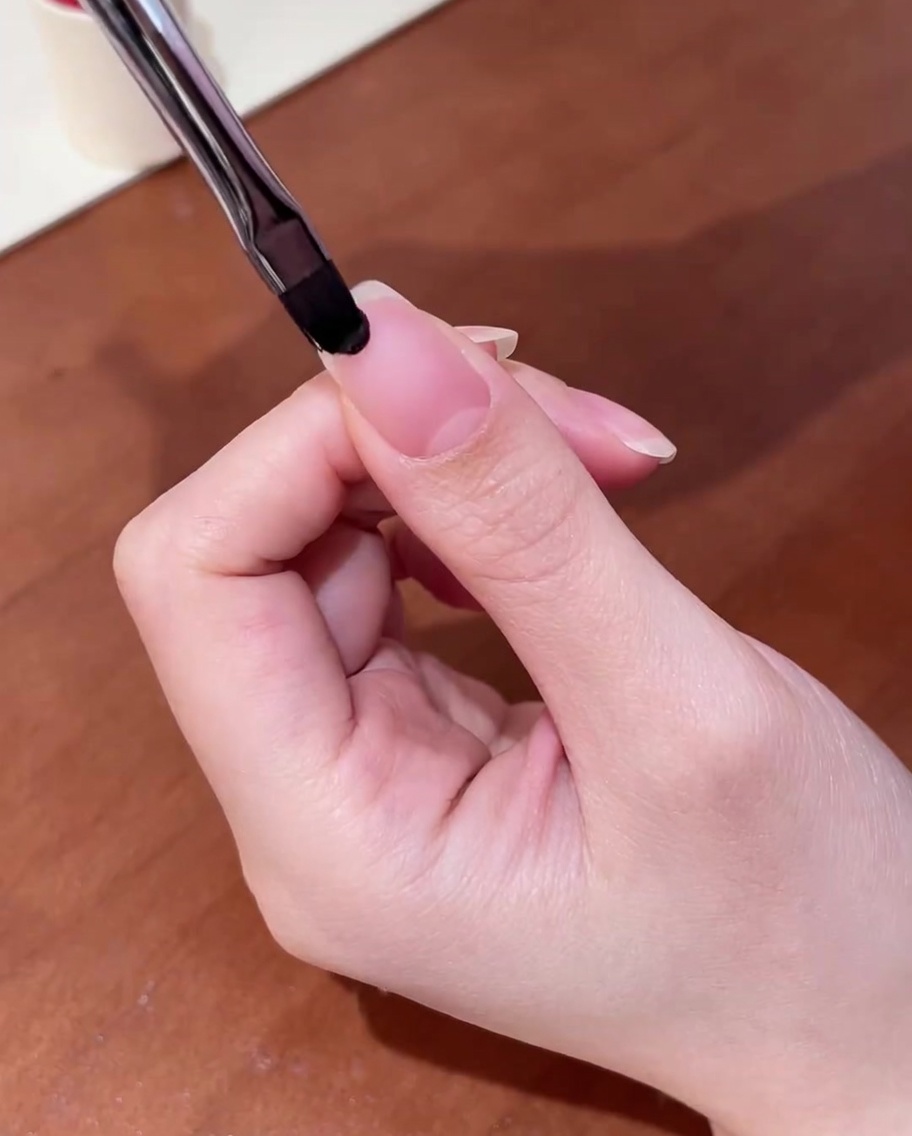
Apply an even layer of clear gel base coat over the entire prepped nail plate. This creates a smooth foundation for the colored gel and ensures long-lasting adhesion without peeling or chipping.
Tip: Keep the base coat layer thin and leave a tiny gap around the cuticle area to prevent the gel from lifting. - 2Apply purple gel to the tip
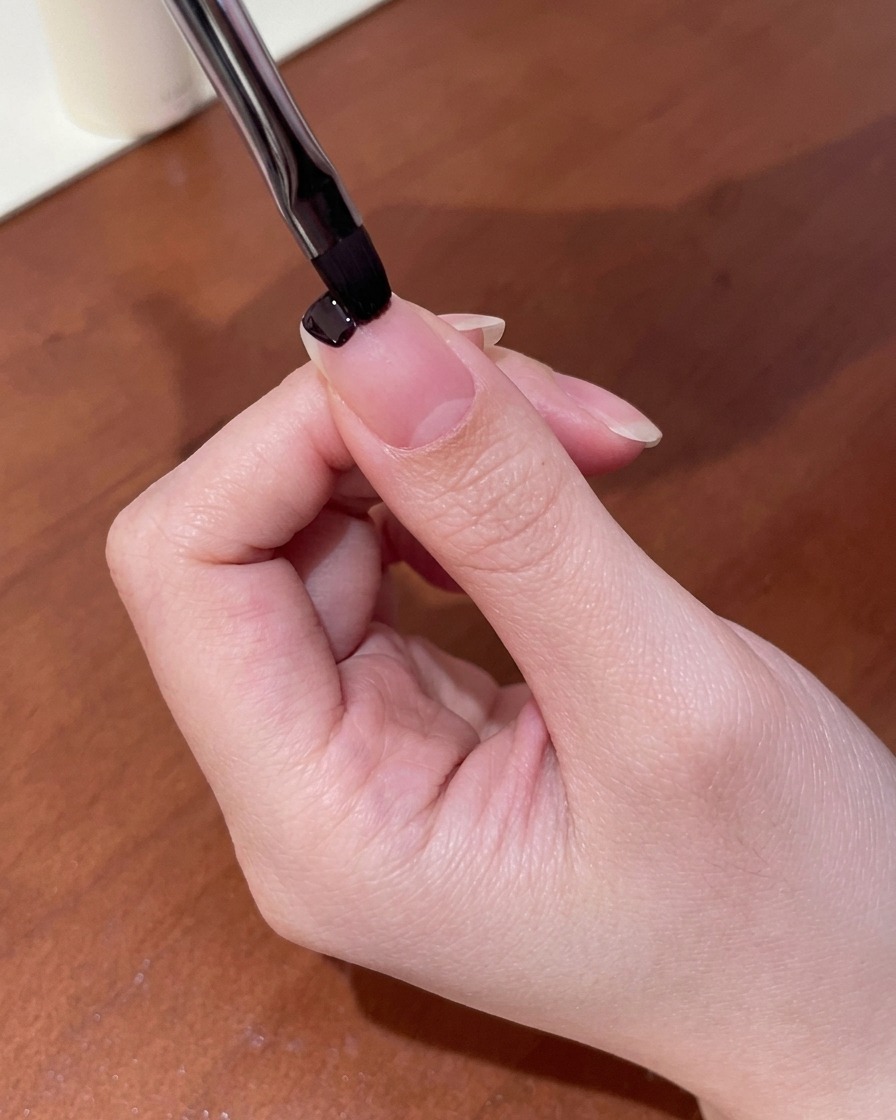
Using a small gel brush, carefully apply the dark purple gel polish exclusively to the free edge of the nail. You only need to concentrate the color at the very tip, as it will be blended out to form the gradient.
Tip: Keep the application relatively thin at the tip to avoid building up unnecessary bulk before blending. - 3Dab and blend the purple gel
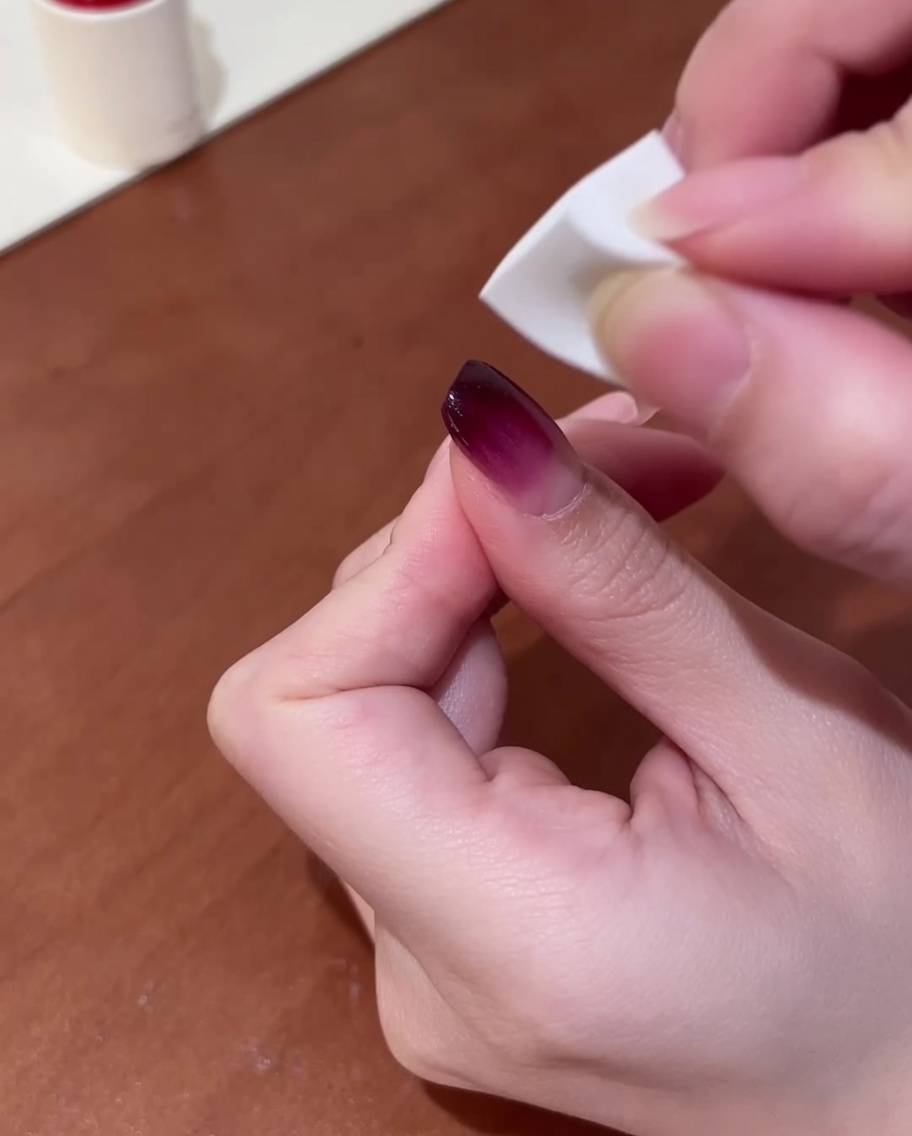
Take a makeup sponge and gently dab the purple gel onto the nail to build a seamless gradient effect. Lightly tap the sponge over the surface to naturally blend the color without leaving harsh lines or lifting the product.
Tip: Using a slightly damp makeup sponge can stop it from absorbing too much polish and helps achieve a much smoother color transition. - 4Cure the gradient base
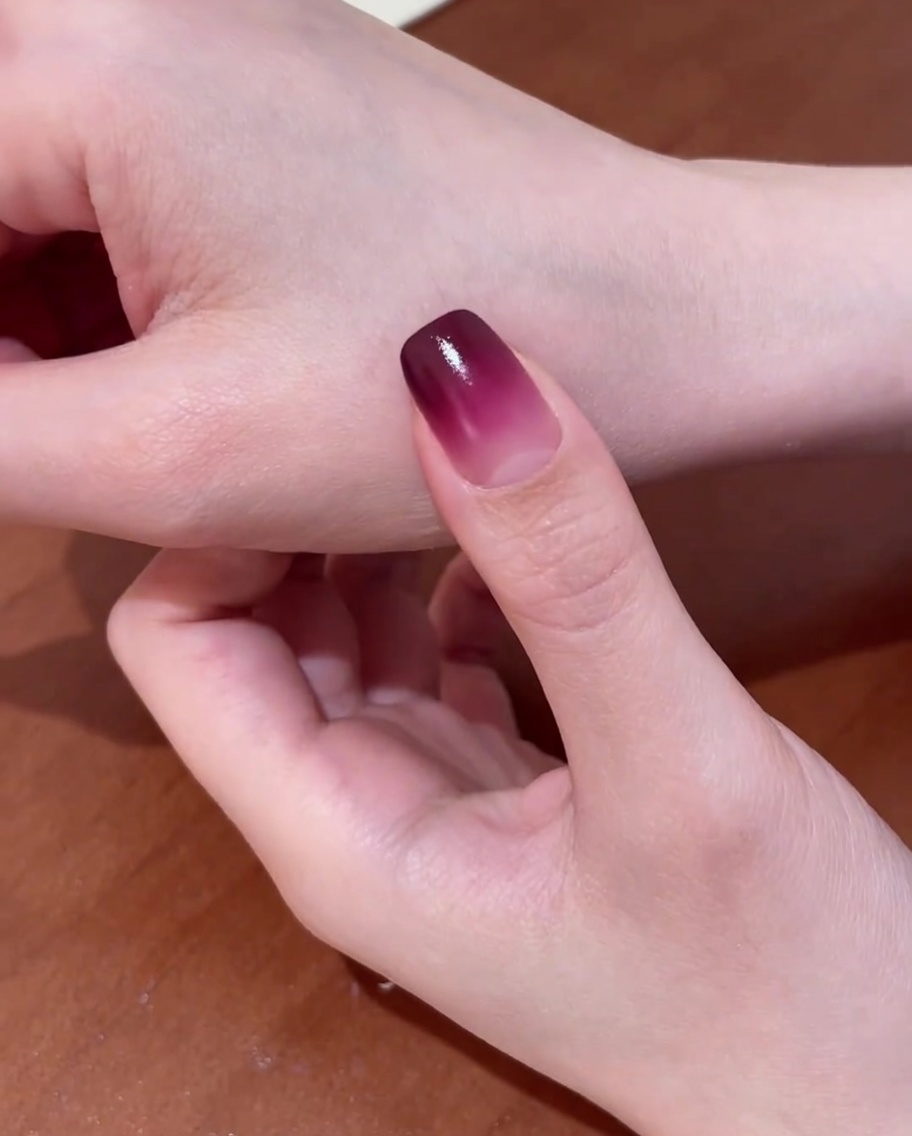
Place your nails under a UV or LED lamp to cure the gradient base layer. Ensure your fingers are positioned correctly so the light reaches all parts of the nail surface evenly to set the gel.
Tip: Keep your hand steady while inside the lamp to prevent the gel from moving before it sets. - 5Apply red cat-eye gel
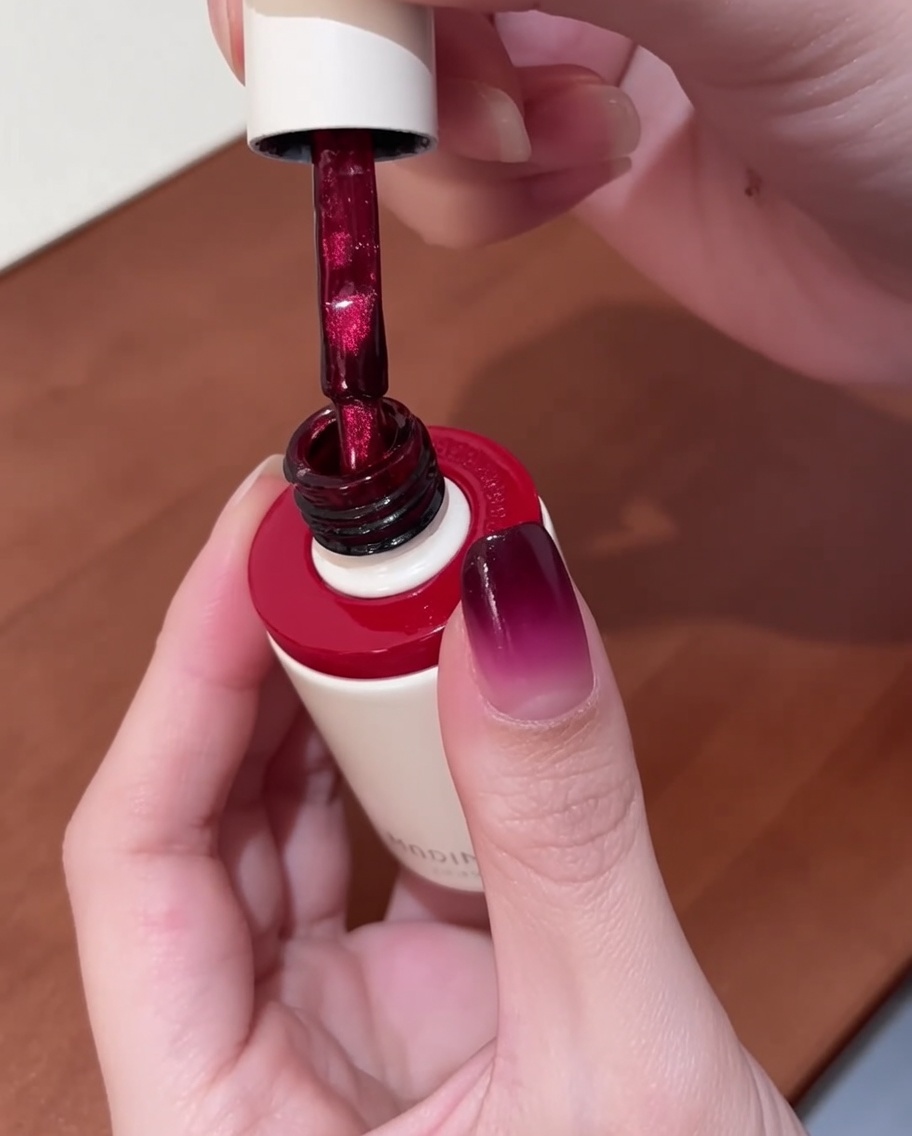
Apply a layer of the bright red cat-eye gel over the previously cured gradient base. Use smooth, even strokes to coat the entire nail surface, ensuring the product is distributed consistently for the magnetic effect.
Tip: Apply a slightly thicker layer than usual to allow enough product for the magnetic particles to move easily. - 6Activate magnetic shimmer
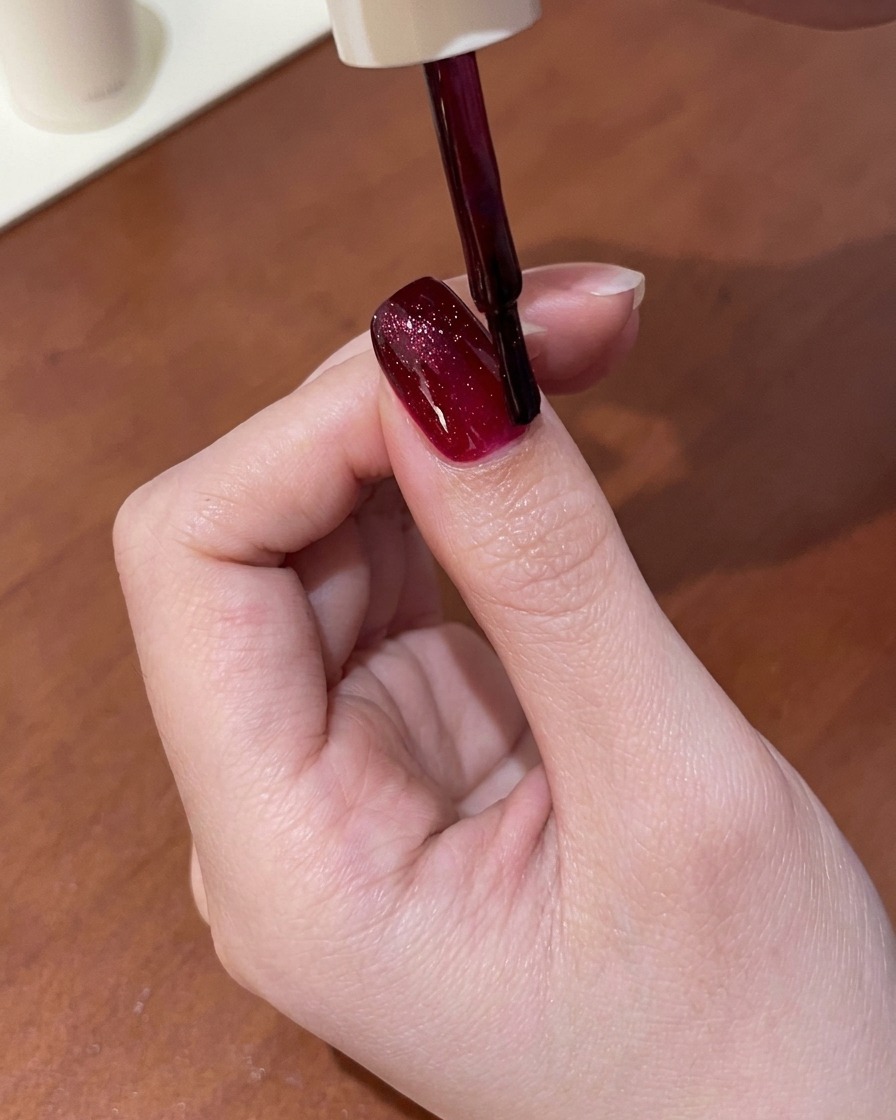
Before curing, hold a magnet close to the surface of the wet cat-eye gel. Move the magnet back and forth over the nail to draw the magnetic particles upward, creating the characteristic shimmering cat-eye effect.
Tip: Avoid touching the wet gel with the magnet; hold it just a few millimeters above the nail surface. - 7Refine the magnetic gradient
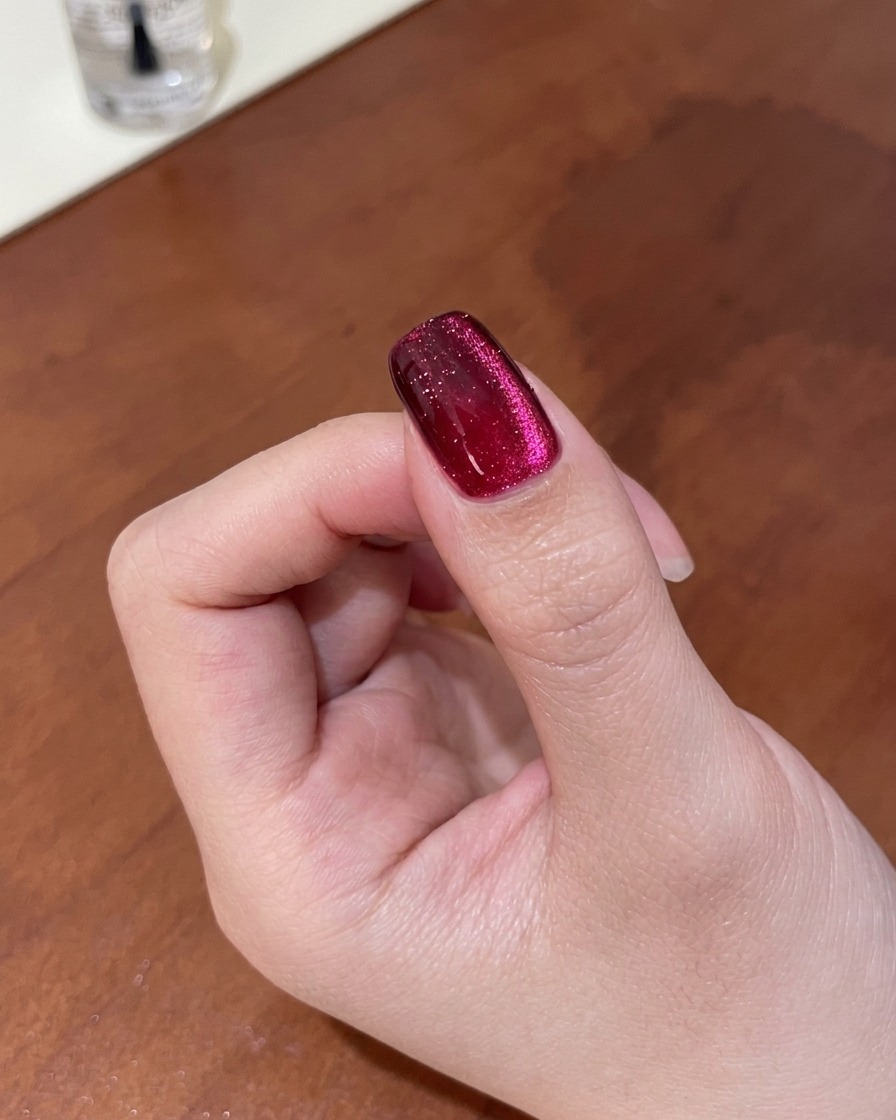
After pulling the initial shimmer, move the magnet backward across the nail surface to soften the line and create a deeper, multi-dimensional gradient cat-eye effect. This technique helps blend the magnetic shimmer with the berry-red base color.
Tip: Consistent, controlled movements with the magnet will result in a more professional and alluring finish. - 8Cure the cat-eye gel
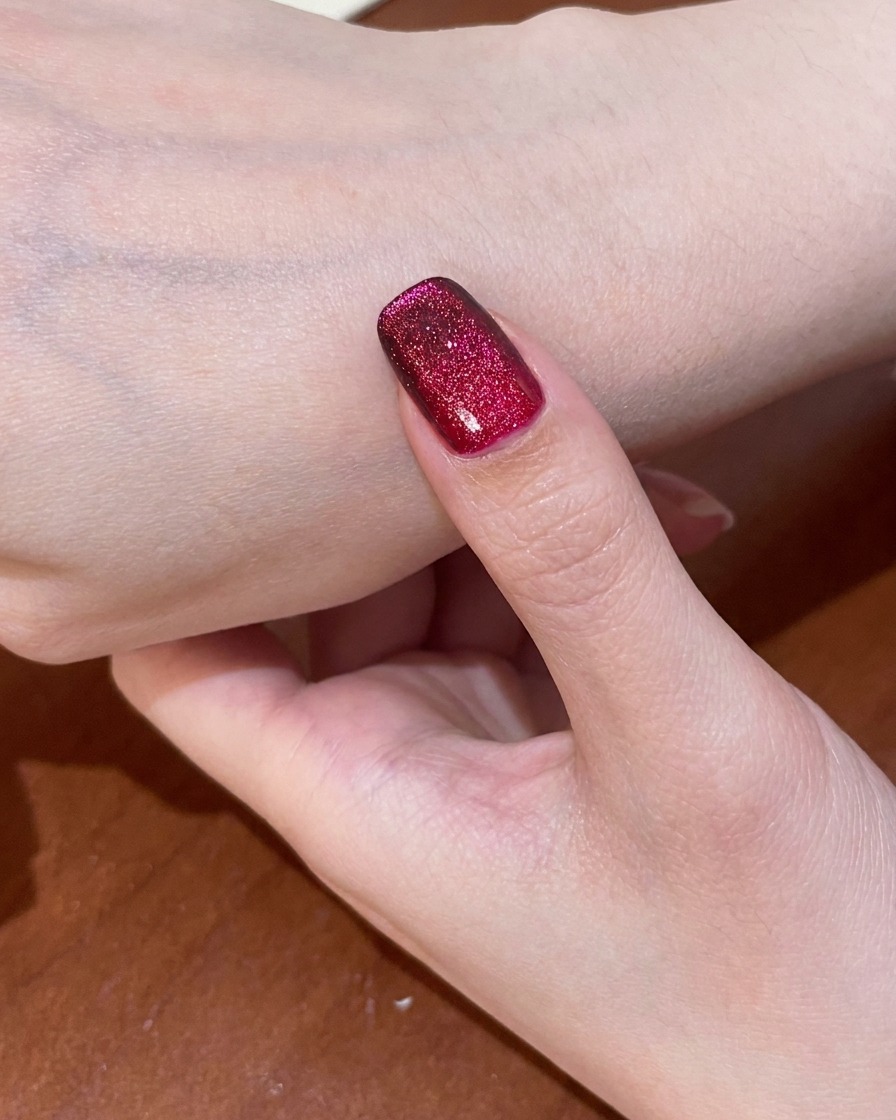
Once you are satisfied with the magnetic effect, place your nails into the UV or LED lamp to fully cure the red cat-eye gel. This locks the magnetic shimmer in place.
Tip: Do not skip the full curing time recommended by the product manufacturer to ensure the finish remains durable. - 9Apply top coat
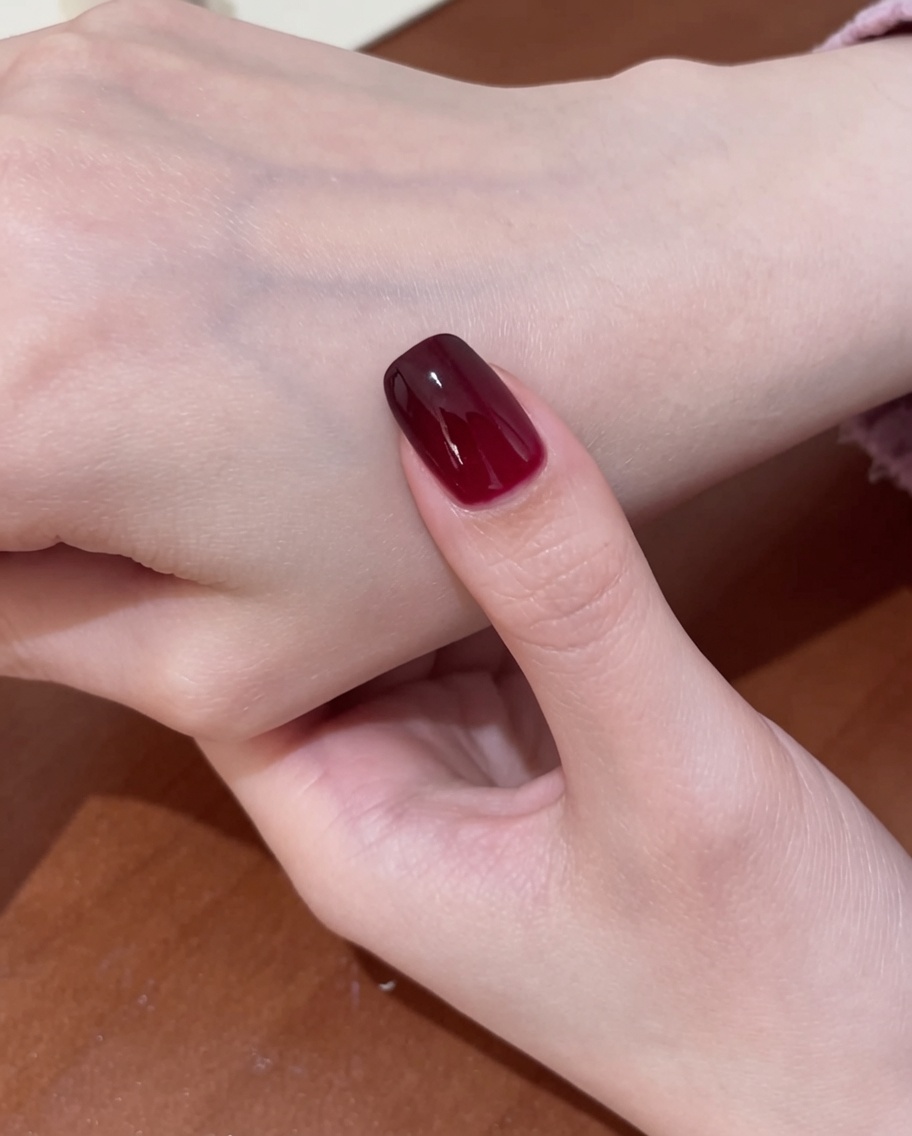
Finish the manicure by applying a clear top coat over the cured cat-eye gel. This adds a high-gloss finish, protects the design from scratches, and enhances the depth of the berry-red magnetic effect.
Tip: Cap the free edge of your nails with the top coat to improve the longevity of your manicure and prevent chipping. - 10Cure the top coat
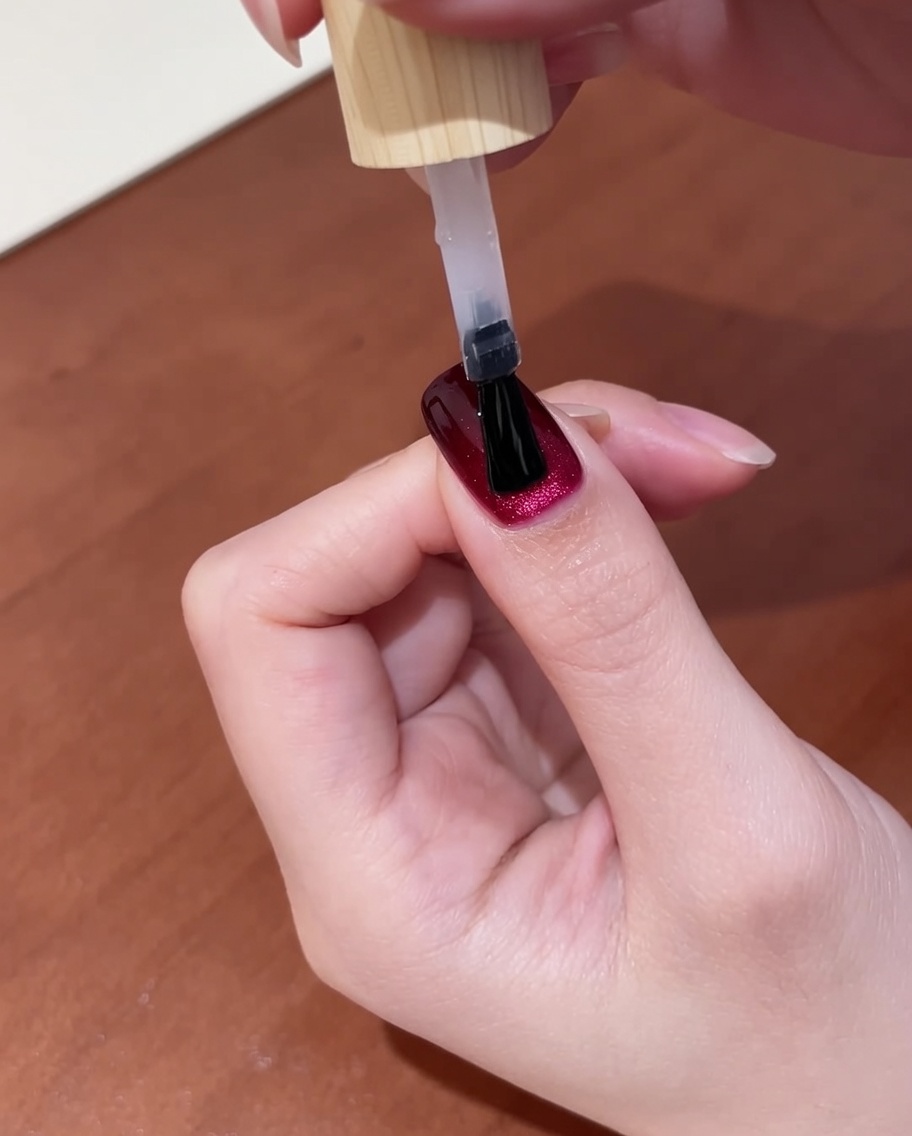
Place your nails under the UV lamp for the final cure. Ensure your hand is positioned comfortably to allow the light to reach all parts of the nail surface, especially the side walls and the free edge, ensuring the gel is fully hardened and high-gloss.
Tip: Do not move your hand during the curing process to avoid smudging the wet top coat.