Watery Blue Gradient Cat Eye Nails — Artistic Step-by-Step Tutorial
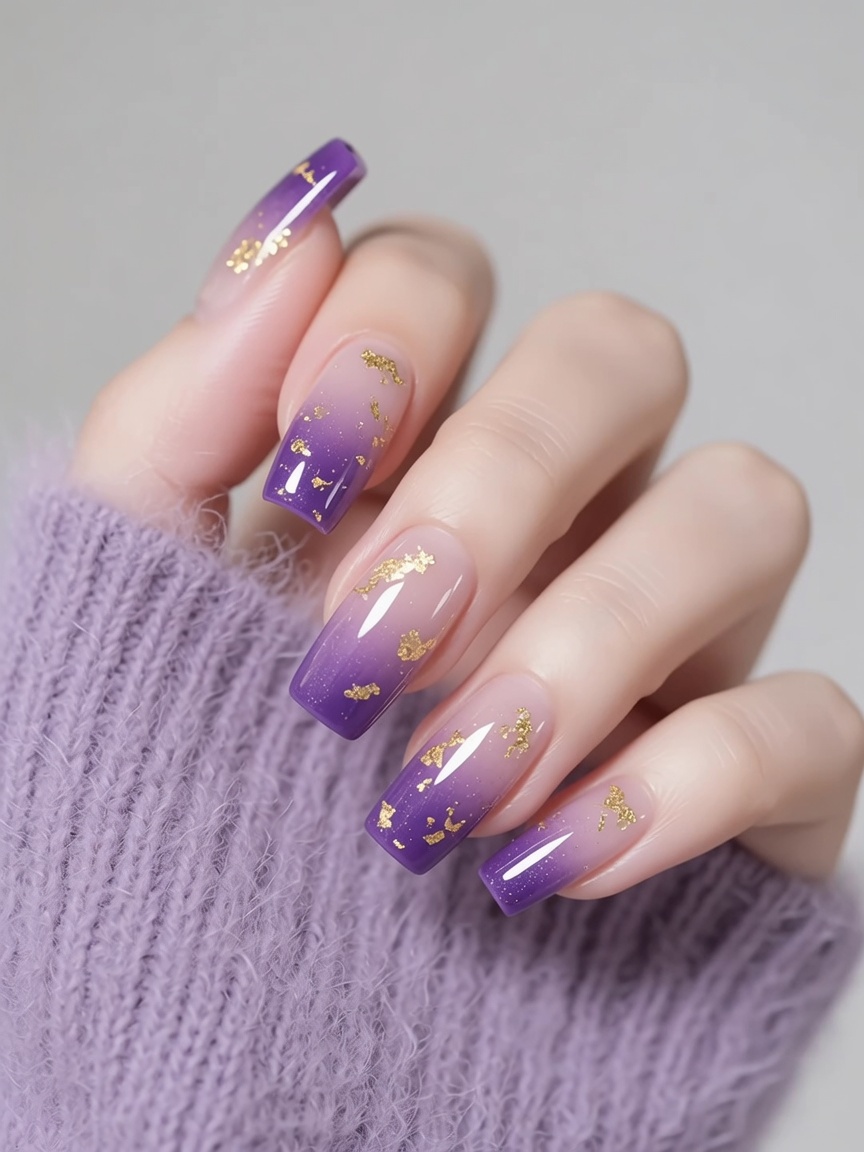
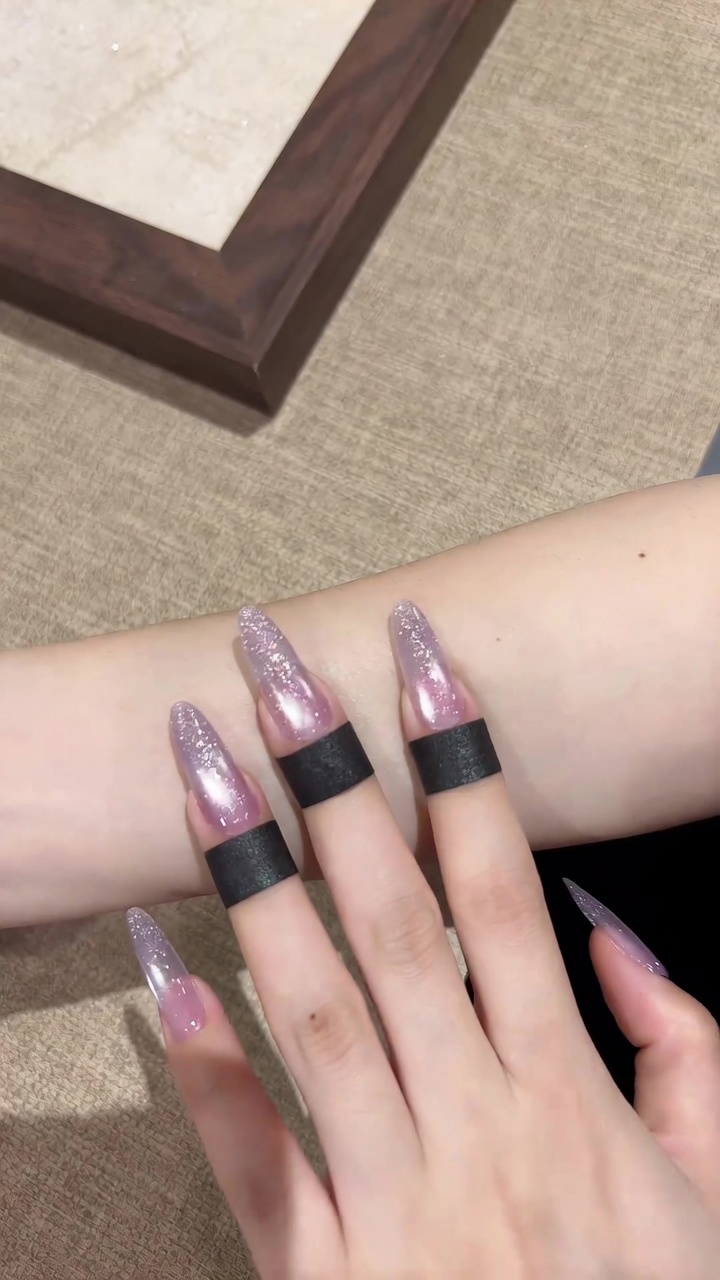
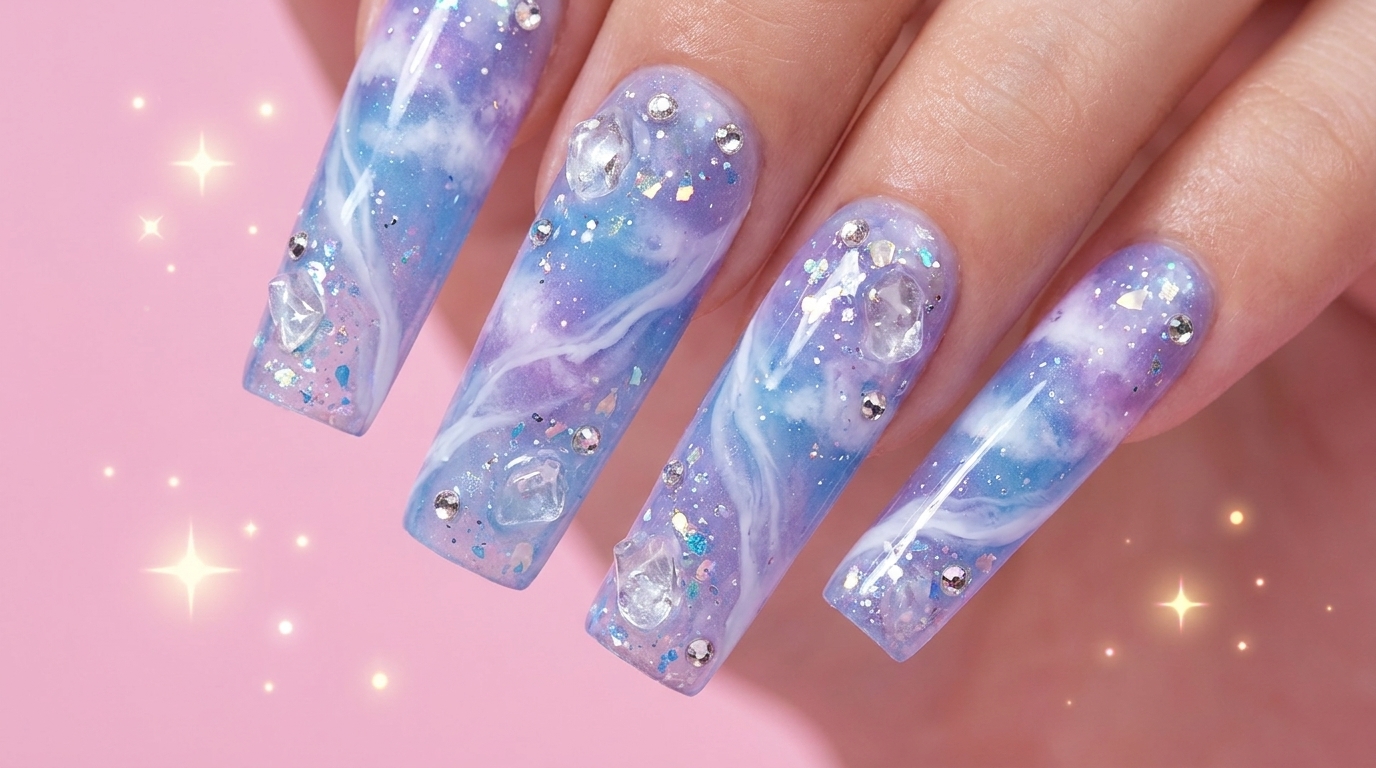
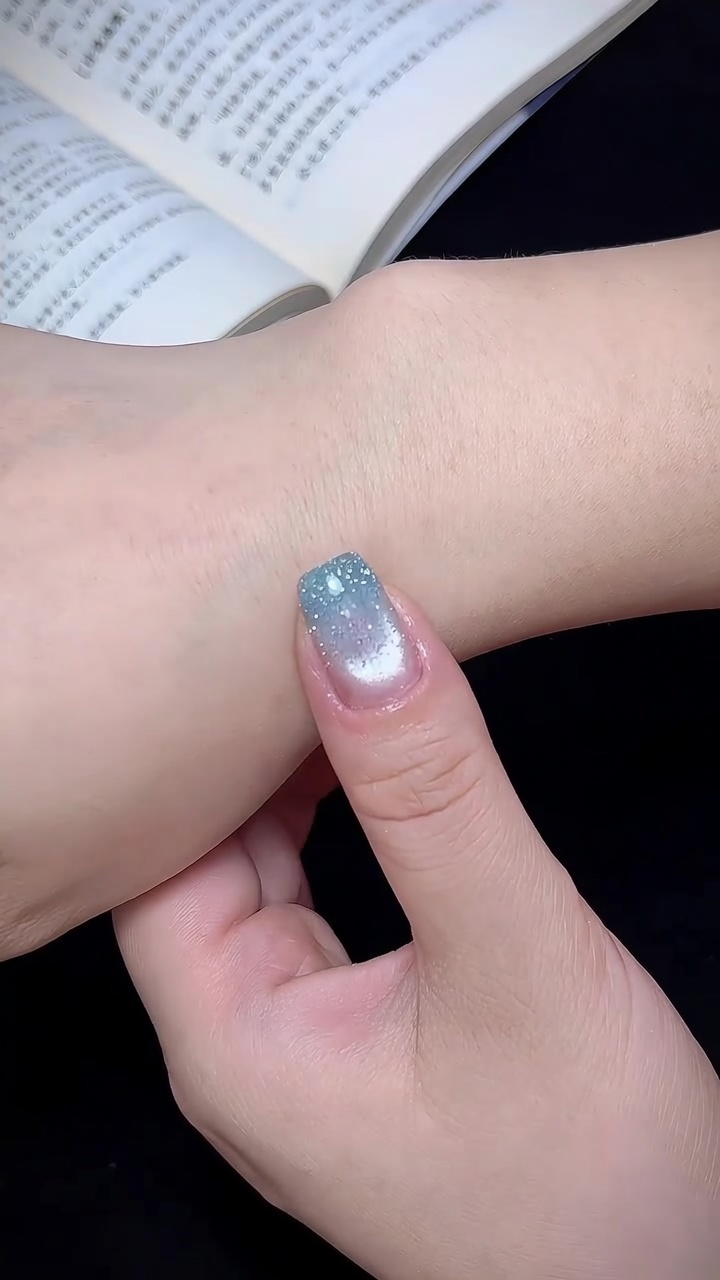
Achieve a mesmerizing, glass-bead effect with this watery blue gradient cat-eye tutorial. Perfect for creating a deep, shimmering look with a clean finish.
The cat-eye technique offers endless possibilities for creating depth and movement within your gel manicure. This look combines the precision of magnetic shimmer with a soft blue gradient and delicate glitter accents, resulting in a design that mimics the ethereal quality of a glass bead. Follow this guide to master the magnetic manipulation and seamless blending required for this striking finish.
Steps
- 1Apply white cat-eye polish
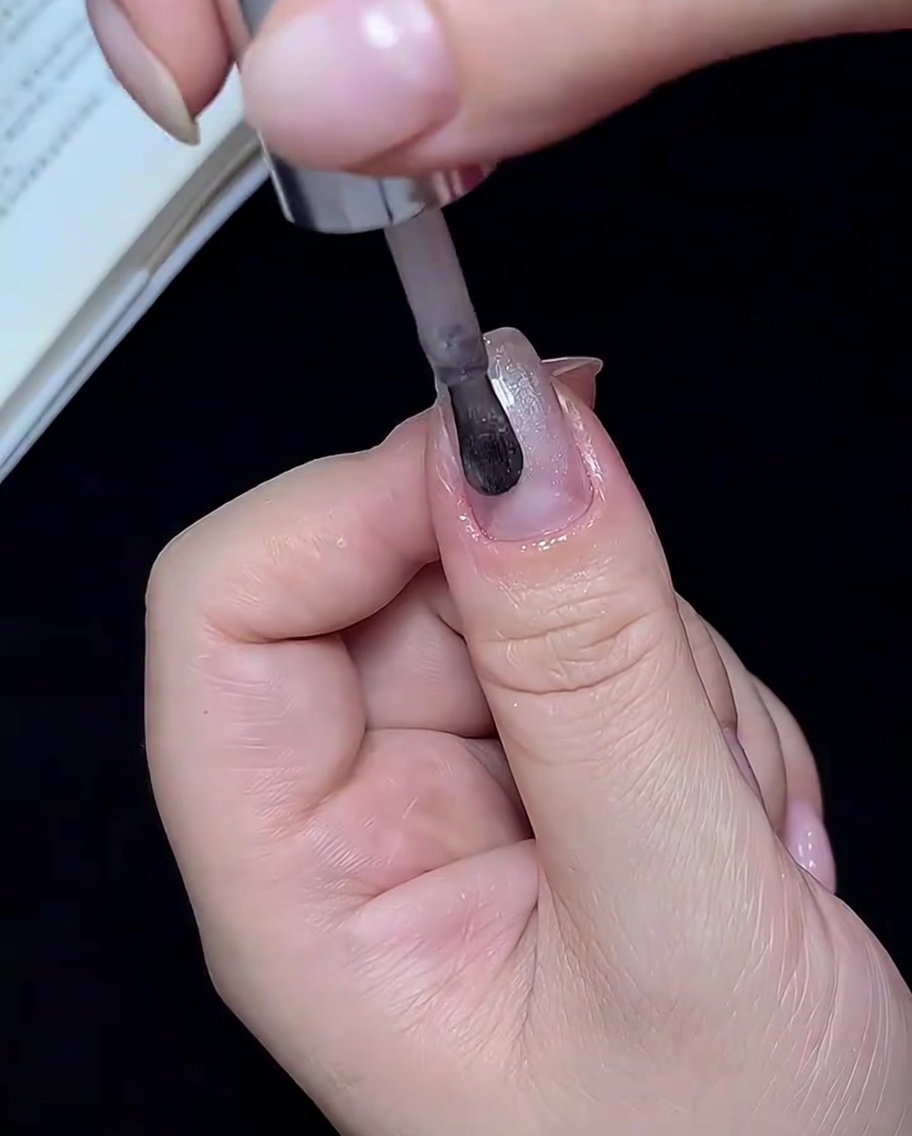
Apply a generous, even coat of white cat-eye gel polish to your prepared nail. Ensure you coat the surface completely without letting the polish flood your cuticles. This layer serves as the base for the magnetic shimmer effect.
Tip: For the best cat-eye effect, use a slightly thicker coat so the metallic particles have enough polish to move around in. - 2Manipulate the magnetic particles
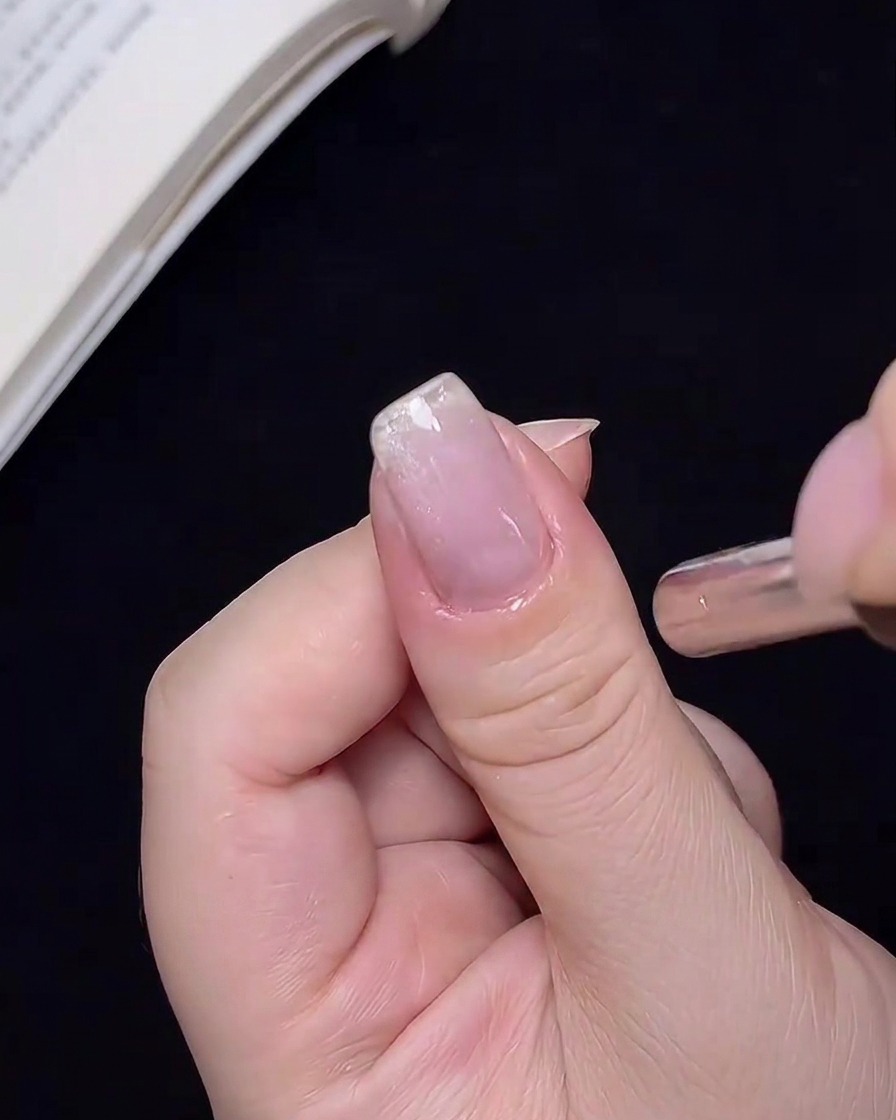
Hold the edge of a strong nail magnet close to the nail surface without touching the wet polish. Move it side to side and up and down to pull the metallic particles through the gel base, preparing them for the circular movement.
Tip: Keep the magnet as close as possible to the nail without touching the wet gel to get the sharpest and most defined shimmer lines. - 3Concentrate the shimmer orb
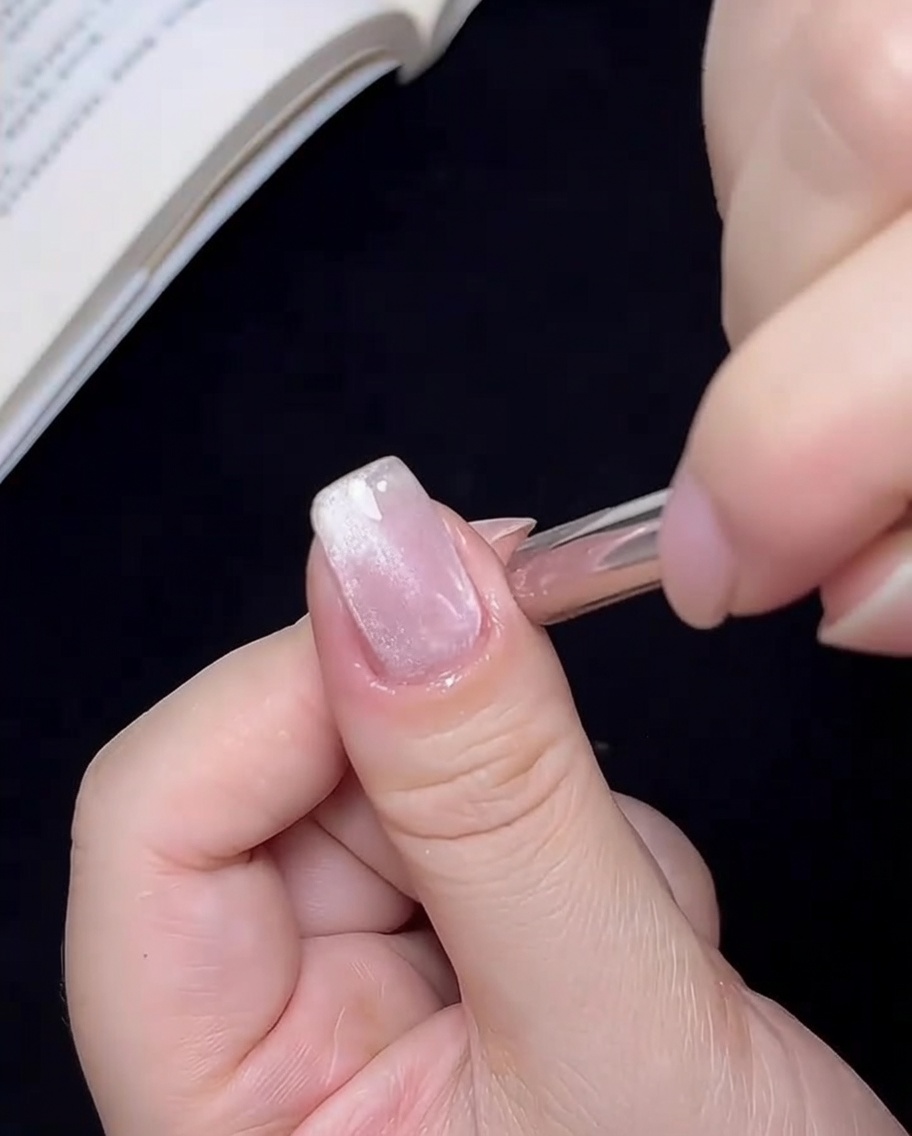
Move your magnet in a deliberate circular motion around the nail. This forces the metallic particles to cluster in the center, creating the bright, focused orb effect that mimics a glass bead.
Tip: Take your time with this step; slow, deliberate circular movements create a more uniform and concentrated orb. - 4Cure the cat-eye layer
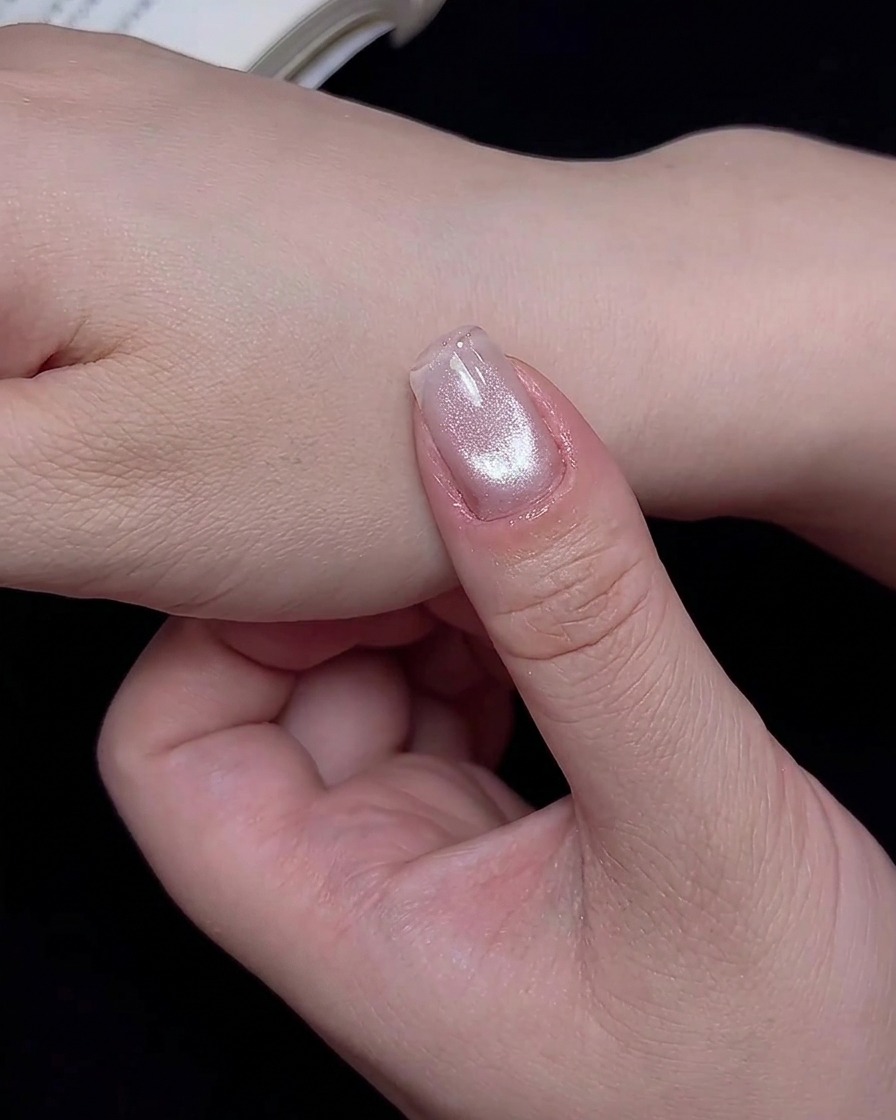
Once you are satisfied with the look of the shimmer orb, place your finger into your UV or LED lamp. Cure for the full duration specified by your gel polish manufacturer to ensure the cat-eye effect is locked in place.
Tip: Keep your finger flat in the lamp to ensure even light distribution and complete curing across the entire nail surface. - 5Apply gradient base color
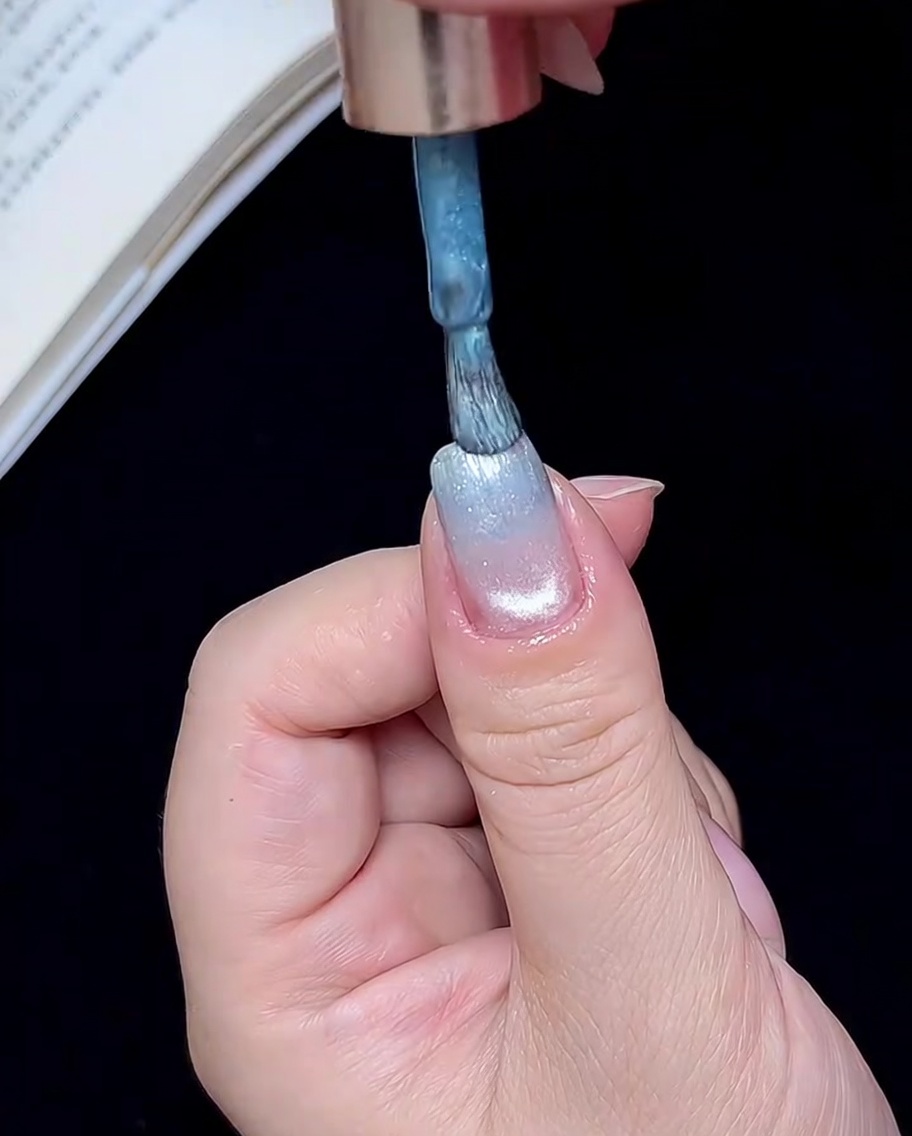
Apply a small amount of blue-tinted gel polish to the free edge of the nail. Working with a small amount of product at the tip makes it much easier to blend the color upward toward the center without overwhelming the base.
Tip: Applying less polish at the tip makes it much easier to blend upwards toward the center without overwhelming the nail. - 6Feather the gradient
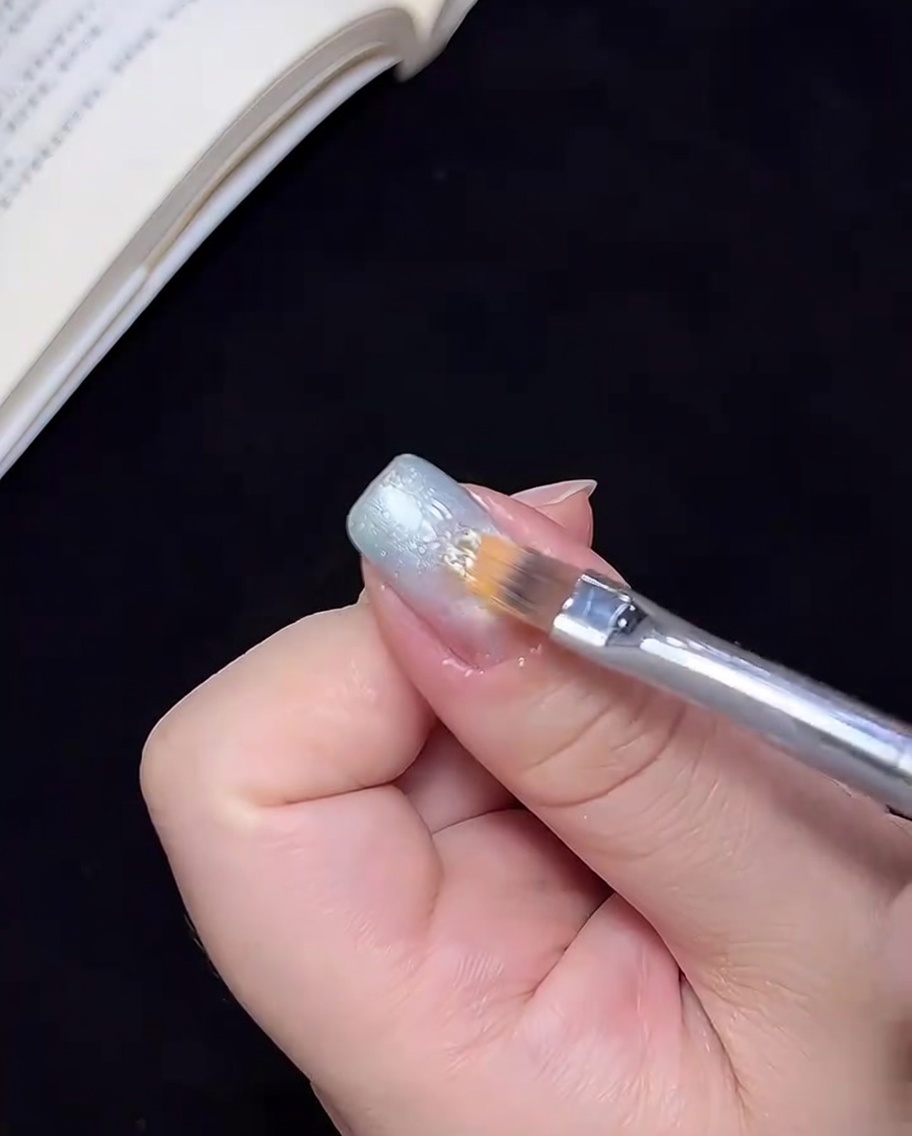
Using a clean, dry brush, gently feather the blue gel from the tip toward the center of the nail. Use soft, light strokes to create a seamless transition, wiping the brush often to avoid dragging too much color.
Tip: Wipe your brush frequently on a lint-free wipe while blending to ensure you dont carry too much color too far up the nail. - 7Cure the blue gradient
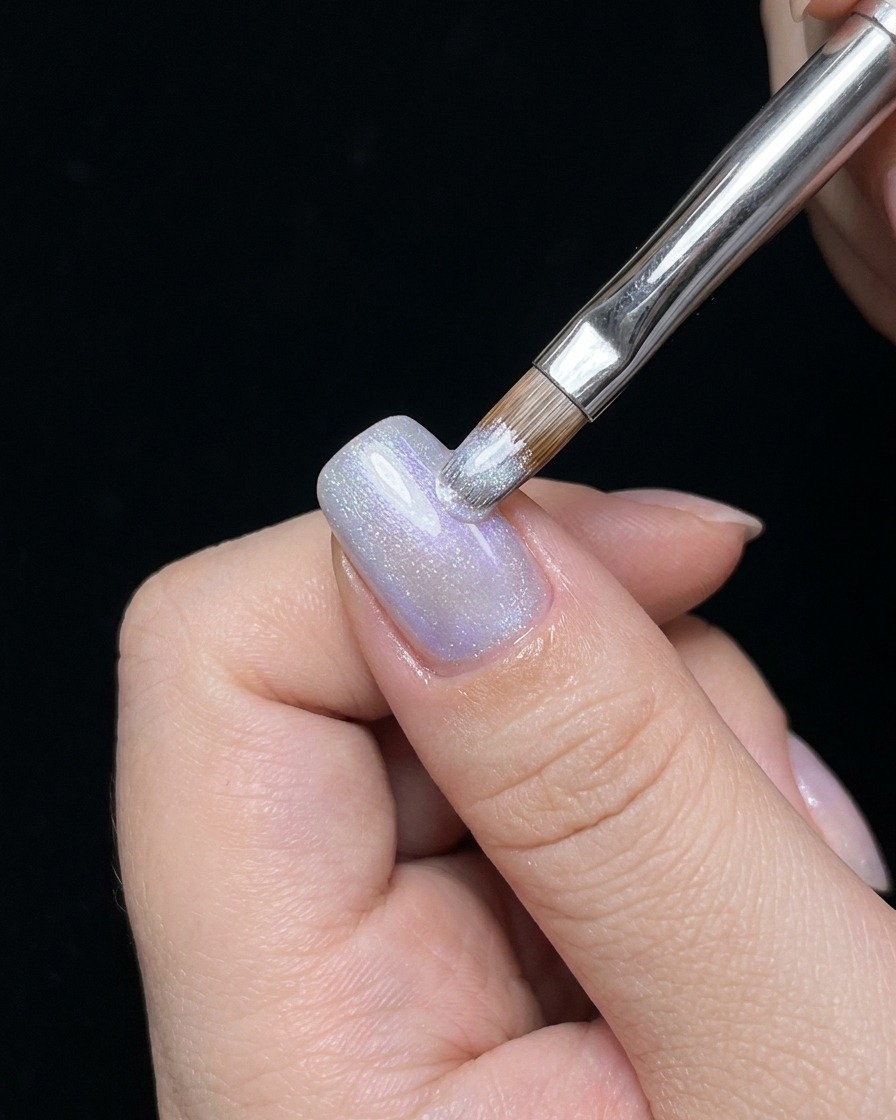
Place your nail into the UV/LED lamp to cure the blue gradient layer you just applied. Ensure your hand is positioned correctly to allow for an even cure, which is essential for the durability of the gel finish and to set the gradient design.
Tip: Keep your hand steady in the lamp to prevent any accidental smudging or shifting of the uncured polish. - 8Apply blue glitter
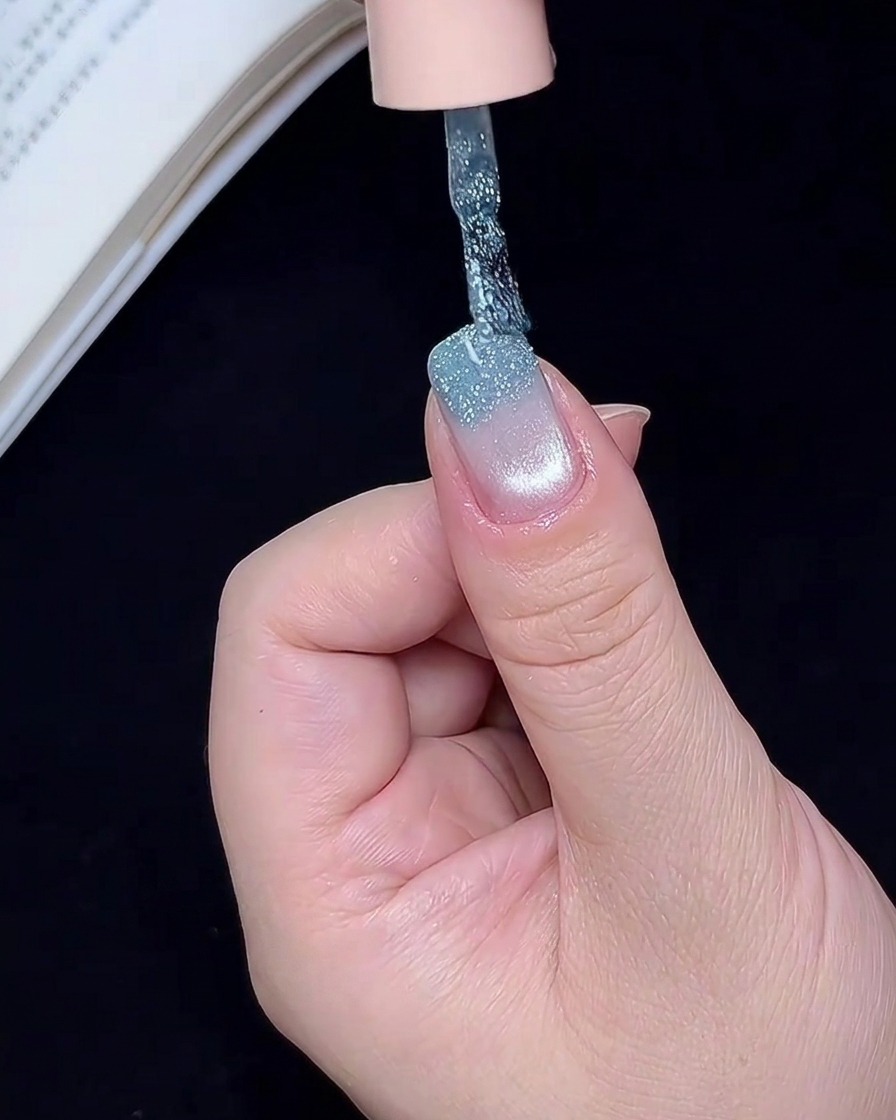
Using a thin brush, carefully apply a layer of blue glitter gel specifically to the tip of the nail. Focus on building up the density of the glitter at the very edge, as this will create the foundation for the blended gradient effect.
Tip: Start with a small amount of glitter gel; you can always add more to build opacity, but too much at once can be harder to blend. - 9Soft-focus glitter blending
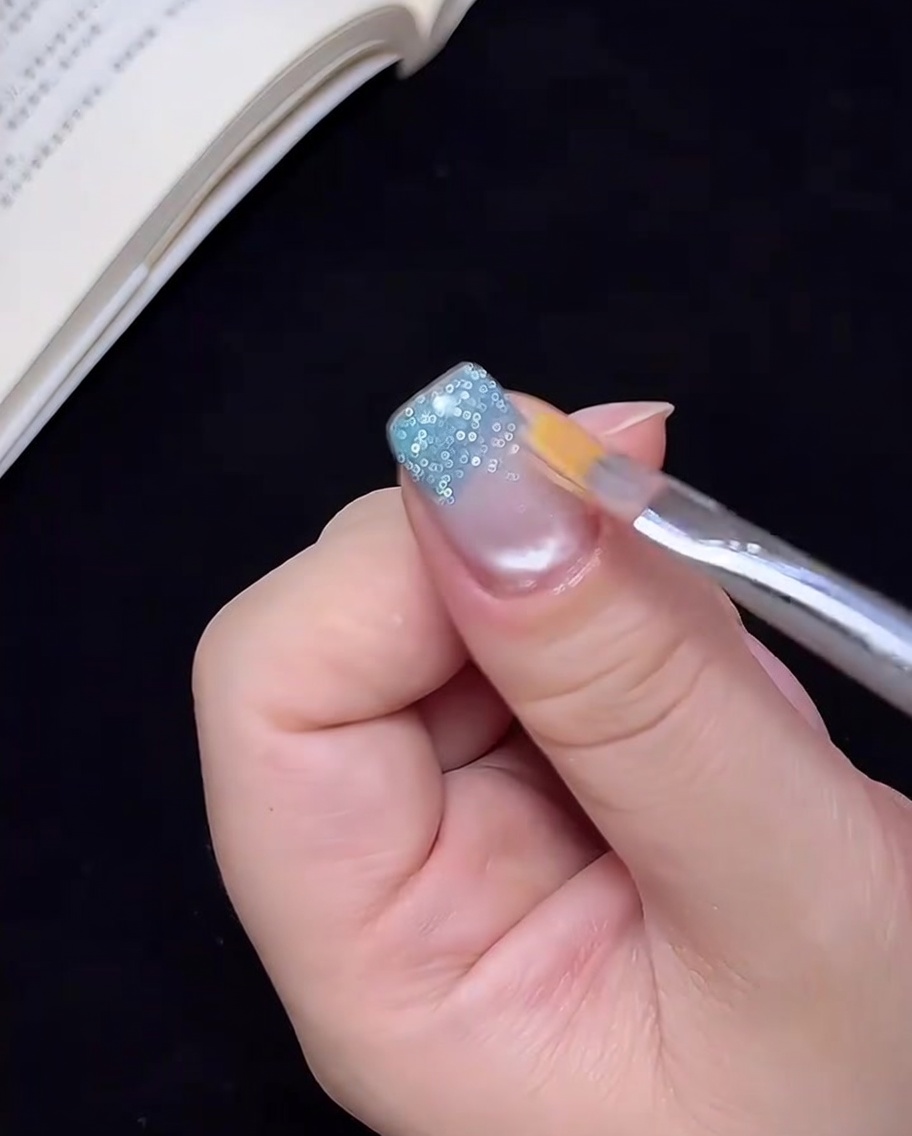
Using a clean, dry brush, lightly drag the blue glitter gel upward toward the middle of the nail. A light touch is essential here to distribute the glitter particles evenly and soften the transition for a professional gradient finish.
Tip: Use a light touch when blending to ensure the glitter particles are distributed evenly without removing too much product. - 10Cure the glitter gradient
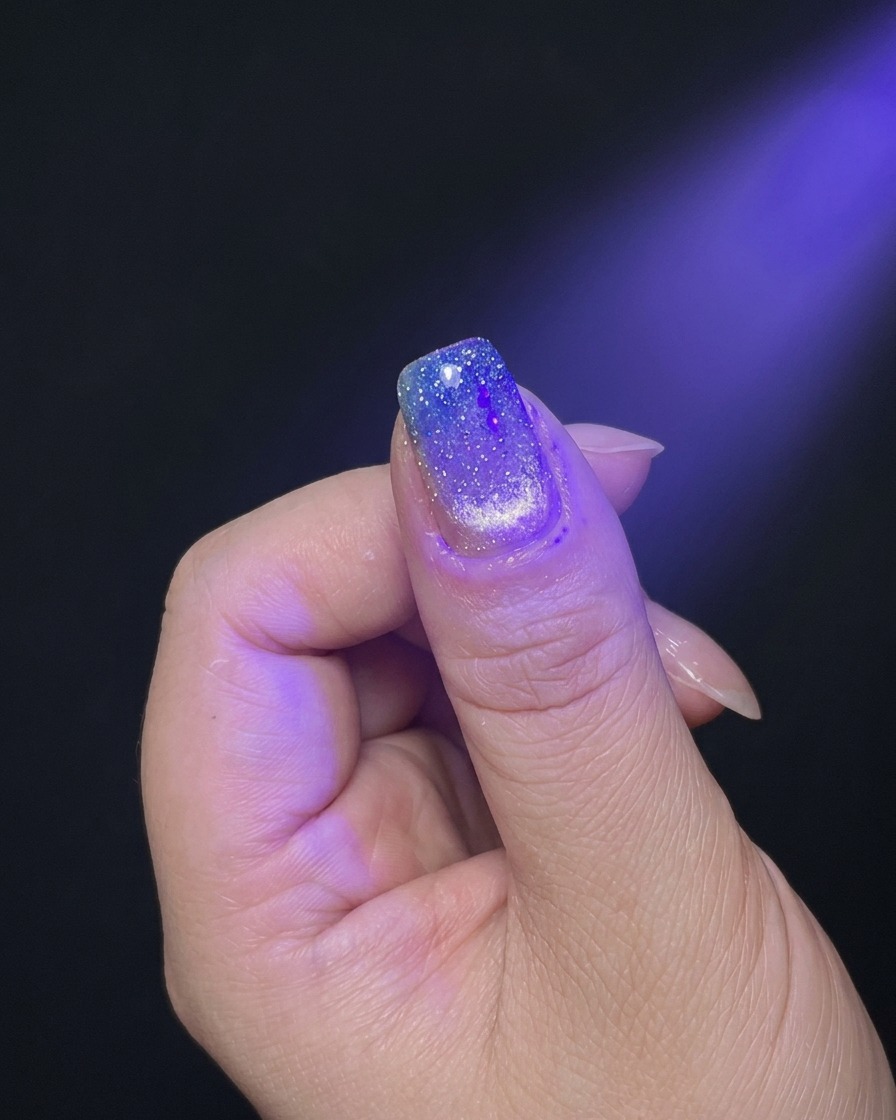
Once you are satisfied with the blended gradient, place your hand into the UV/LED lamp to cure the blue glitter layer. Proper curing ensures the glitter is locked in place and the surface is smooth and ready for the final top coat.
Tip: Follow the specific curing time recommended by your gel polish manufacturer to ensure a complete cure. - 11Apply top coat
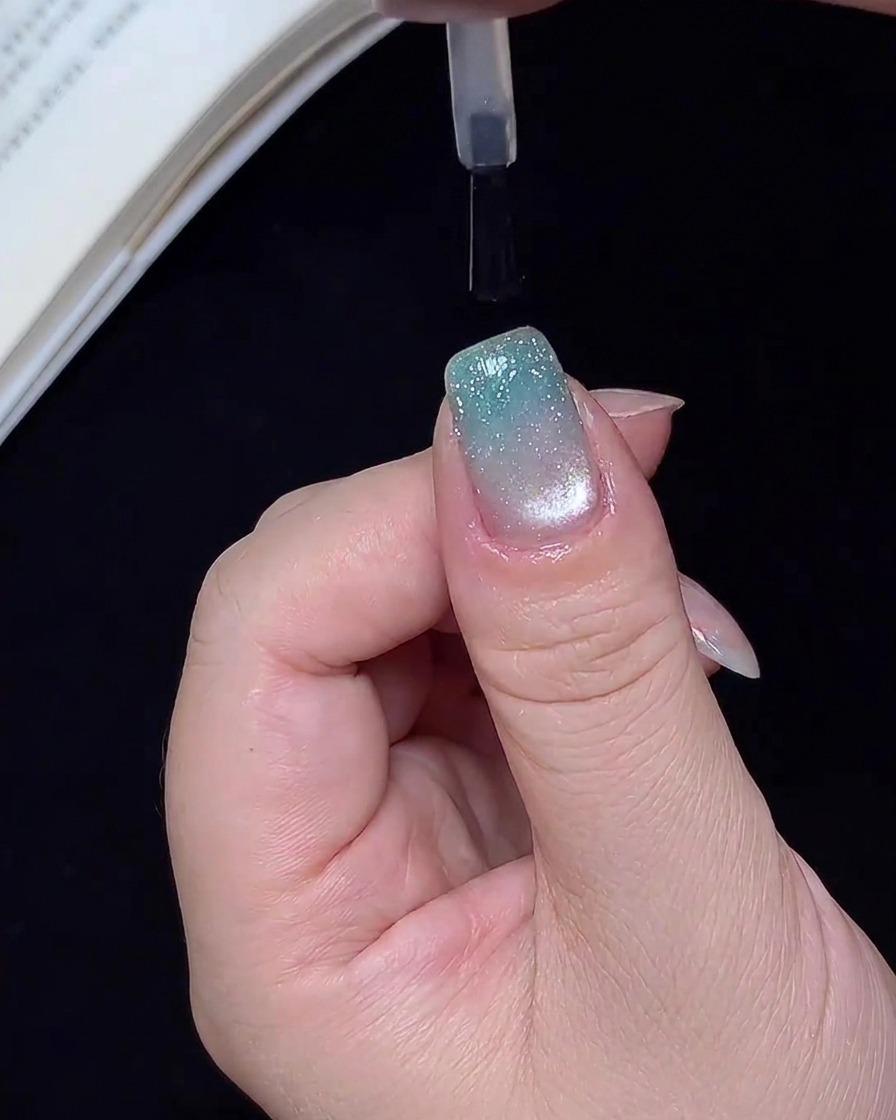
Apply a generous, even layer of clear top coat over the entire surface of the nail. This final layer protects your nail art, adds a brilliant high-gloss finish, and seals everything in for a long-lasting manicure.
Tip: Dont forget to cap the free edge of the nail with the top coat to help prevent chipping. - 12Final cure
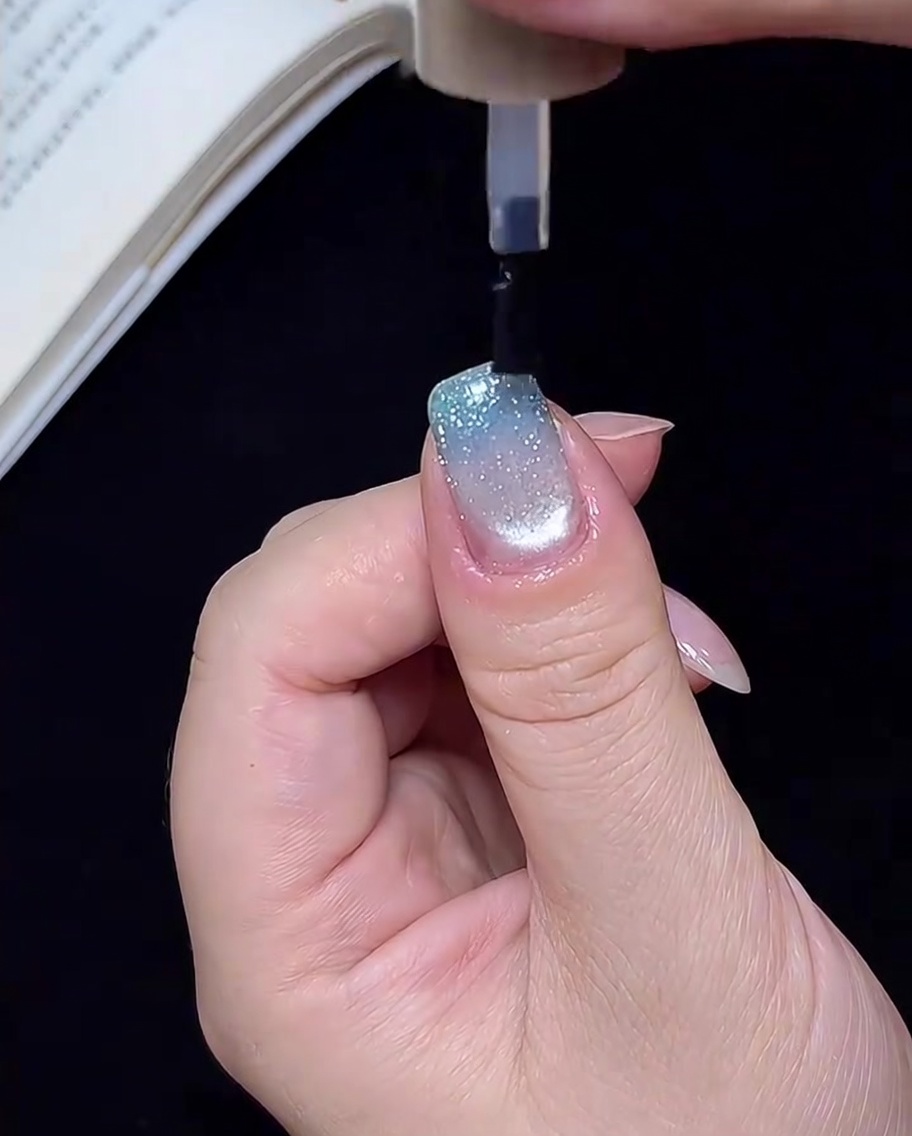
Place your hand into the UV/LED lamp for the final cure to set the top coat. This step is crucial for achieving a durable, chip-resistant, and high-shine finish that completes the look.
Tip: Ensure you leave your nails in the lamp for the full recommended time to ensure a perfect, non-tacky finish.