Atlantis Ocean Style 3D Gel Nail Art — Step-by-Step Tutorial
Dive into this mesmerising Atlantis-inspired gel manicure. This 3D ocean look combines magnetic cat-eye polish, jelly blue tints, and golden sea charms.
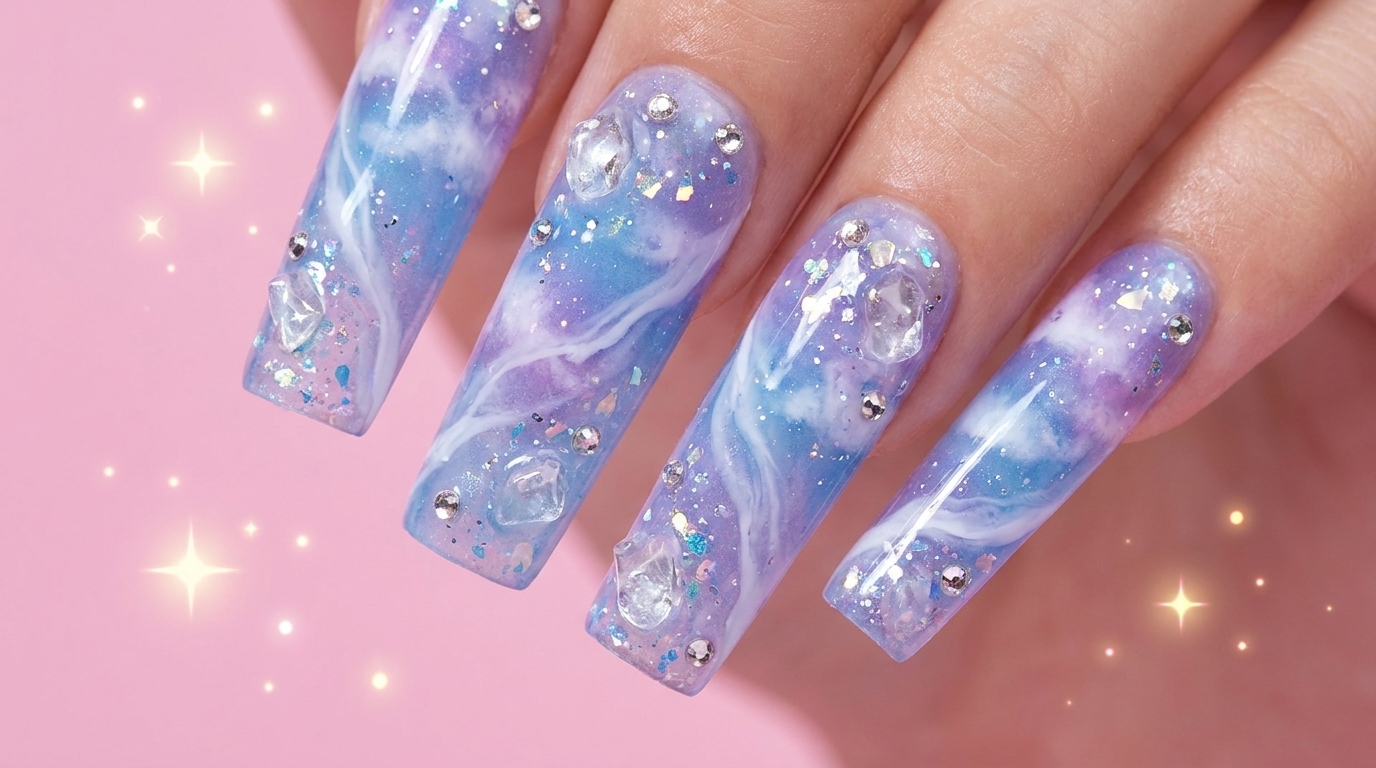
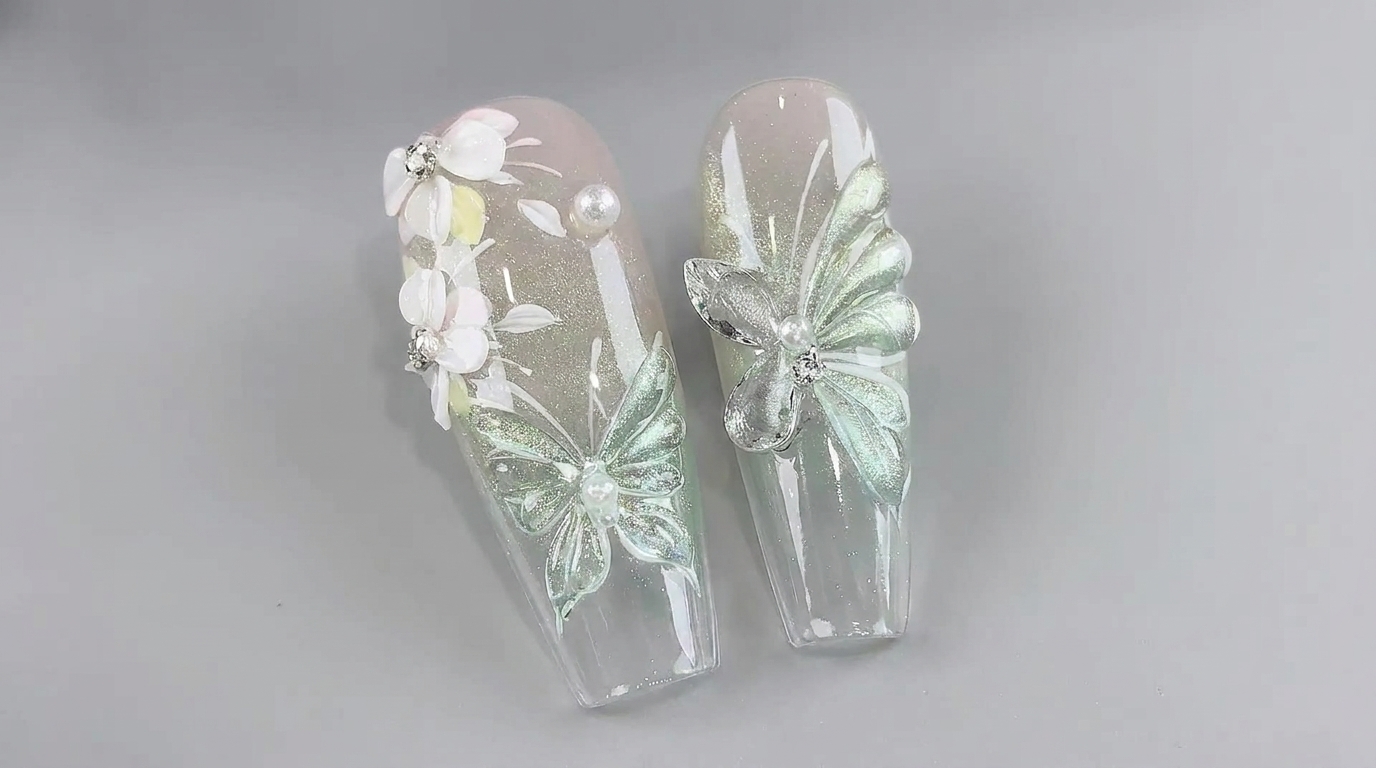
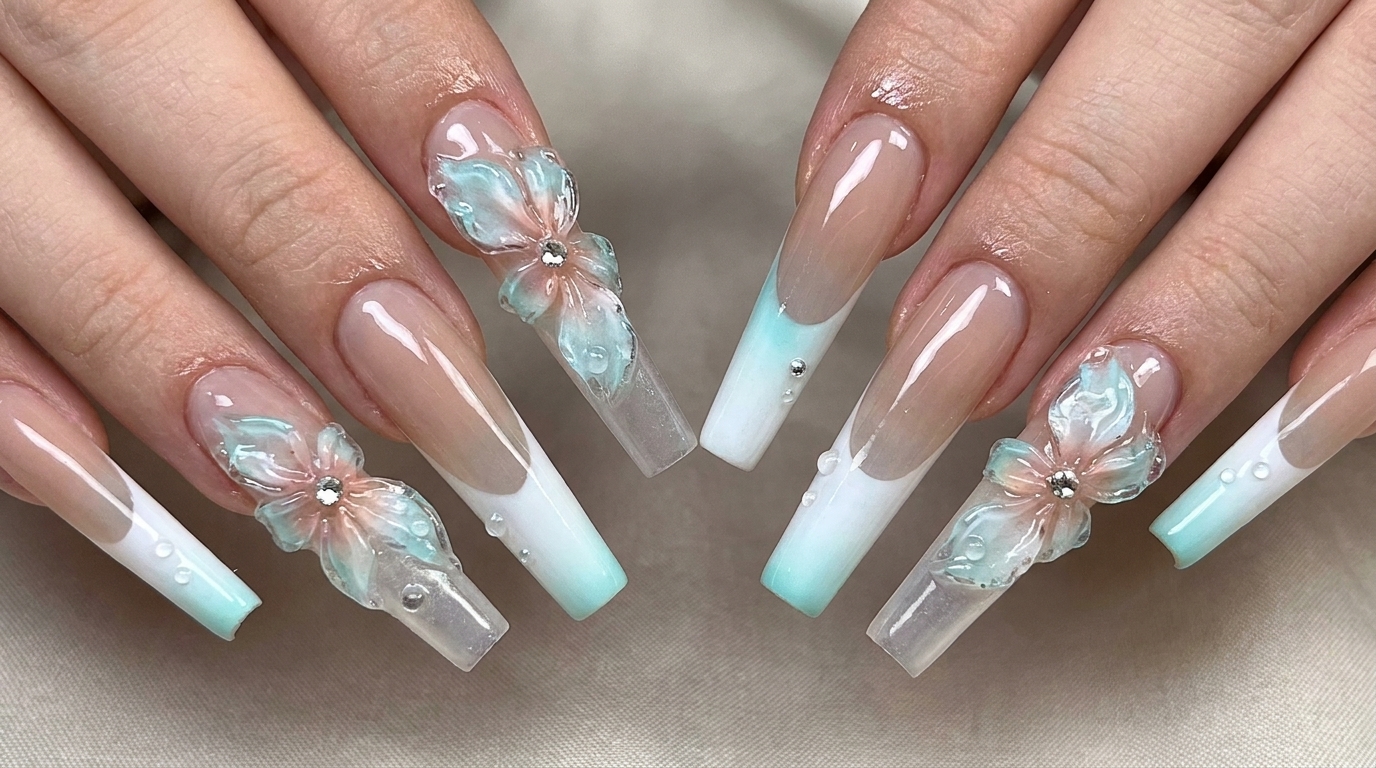
Inspired by the cinematic underwater world of Aquaman, this Atlantis style manicure brings a piece of the mysterious ocean directly to your fingertips. The design layers a brilliant silver magnetic cat-eye base underneath translucent blue jelly gel to mimic the glowing depths of the sea. By using soft candy gel, we can sculpt organic, floating textures that perfectly emulate ocean water, encapsulating tiny gold starfish and seashells within. Framed by a luxurious gold chrome border, this multidimensional look is a stunning tribute to the legendary underwater kingdom.
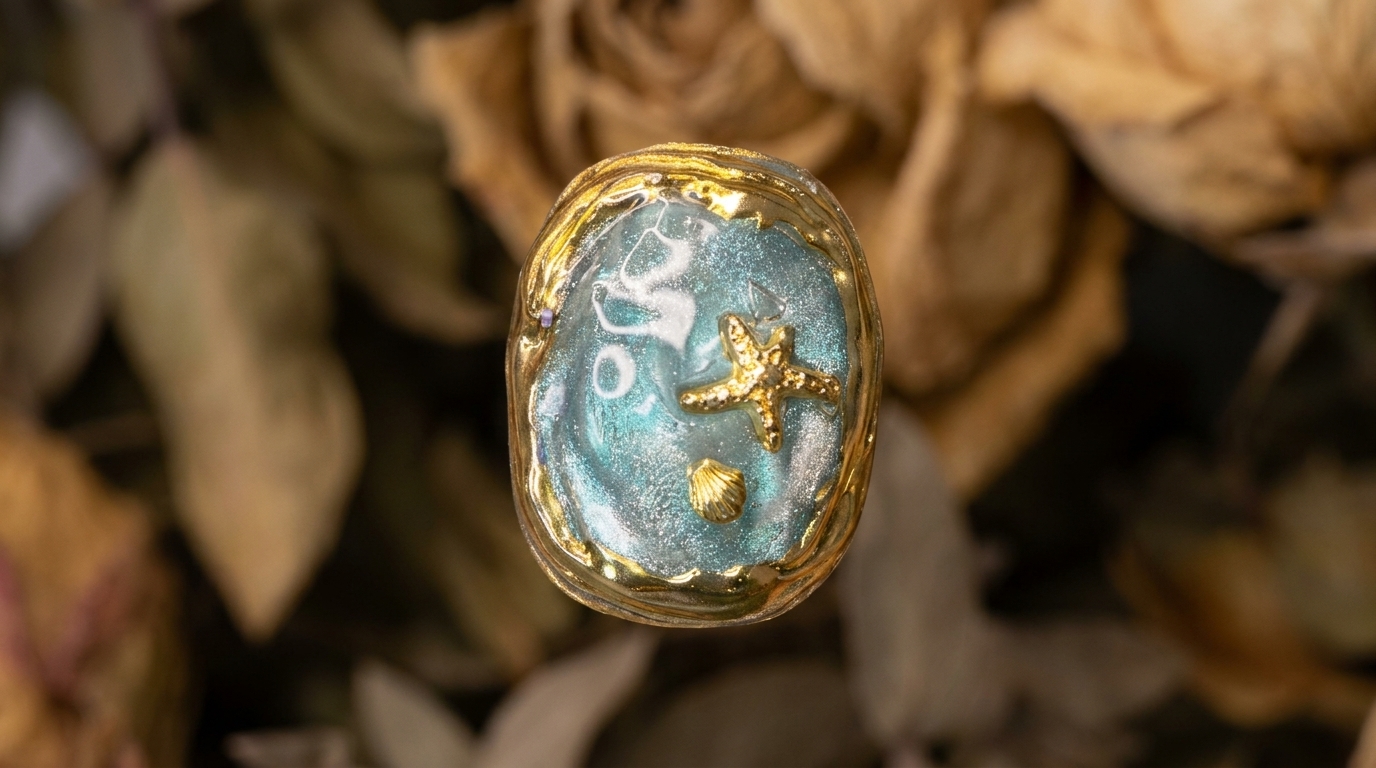
Steps
- 1Apply cat eye gel base
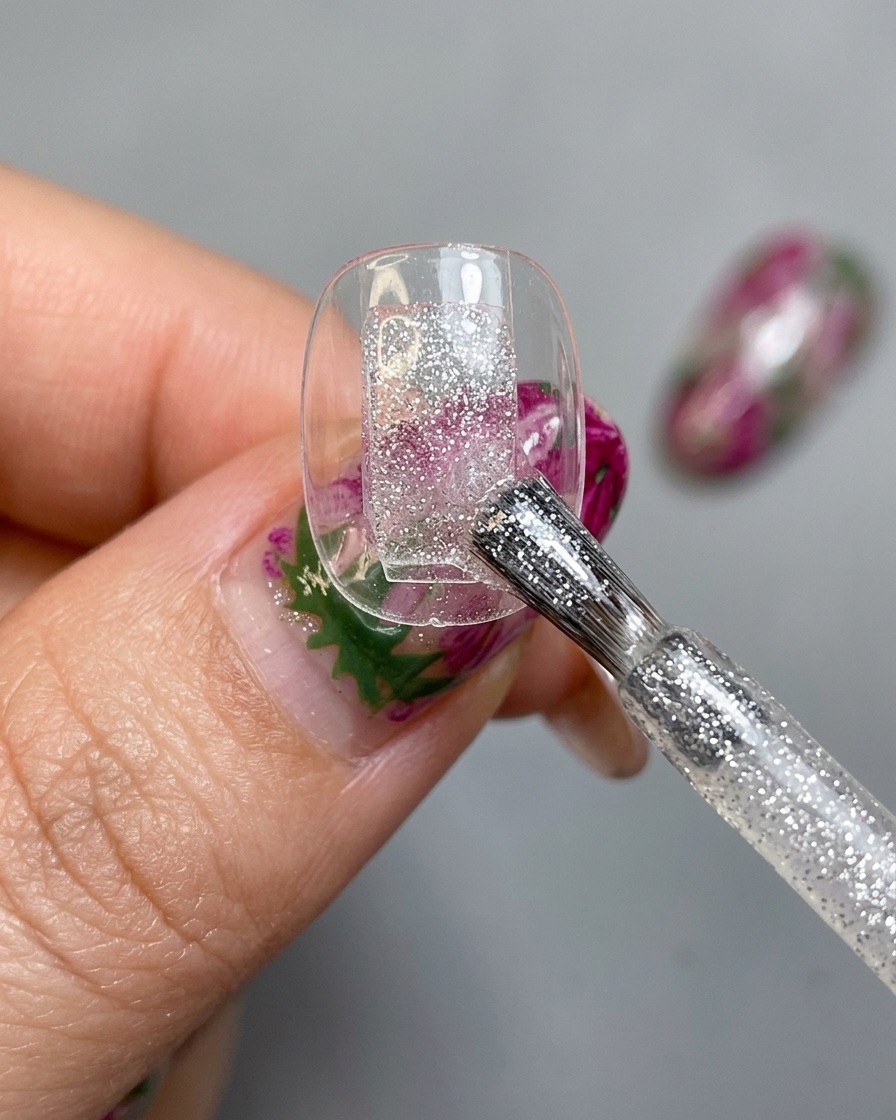
Begin by applying an even layer of a non-grey cat eye gel polish over the entire nail tip. Ensure full coverage to establish a bright, sparkly foundation for the oceanic design.
Tip: A non-grey cat eye gel provides a vibrant and luminous base that enhances the deep water effect when layered with blue. - 2Create irregular magnetic effect
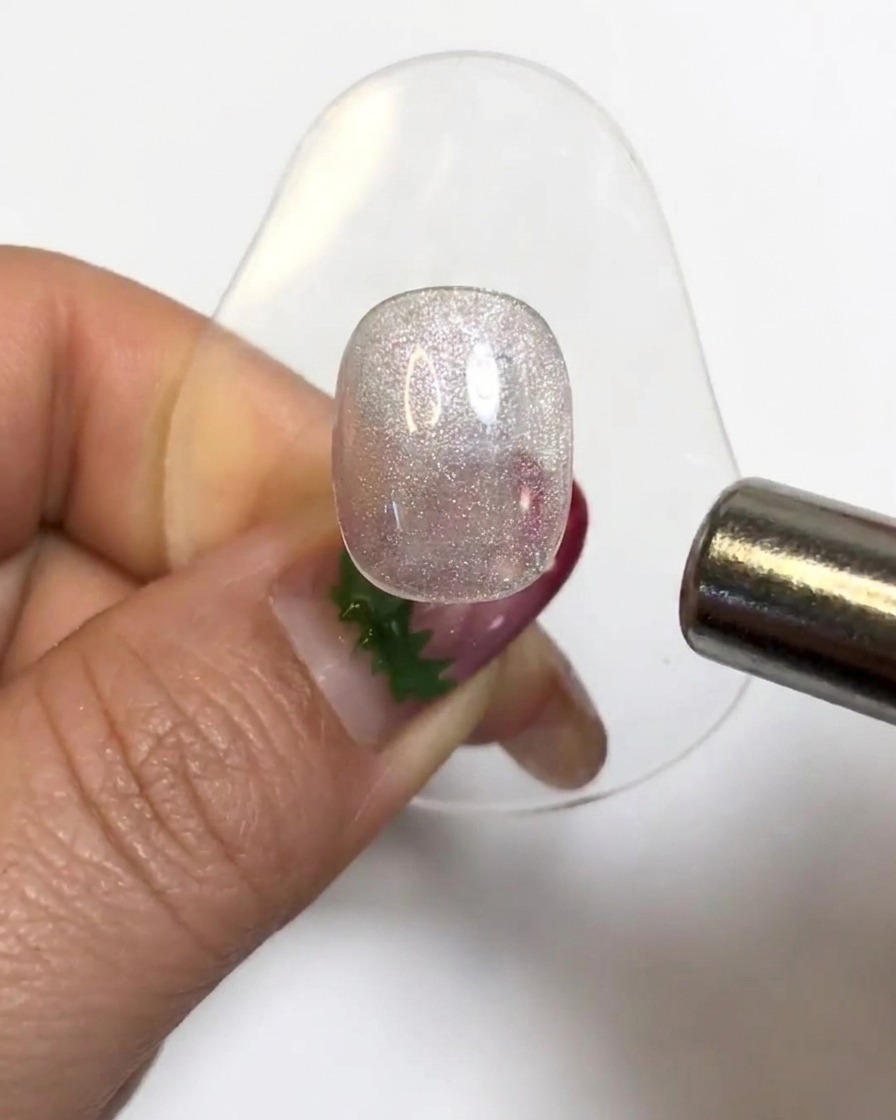
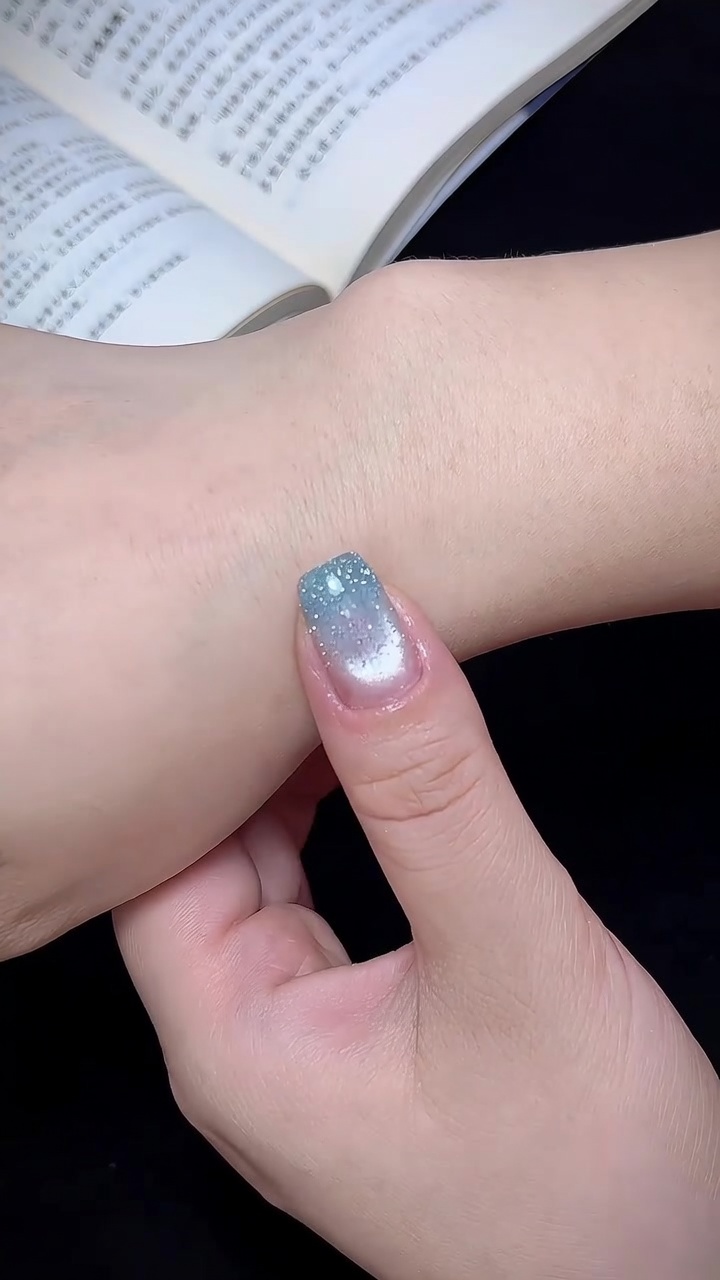
While the gel is still wet, hover a cylindrical magnet closely over the nail surface. Manipulate the magnetic particles to pull out a sweeping, irregular light effect resembling ocean currents.
Tip: Shift the magnet from different angles to create an asymmetrical flow rather than a straight, rigid line. - 3Cure the cat eye gel
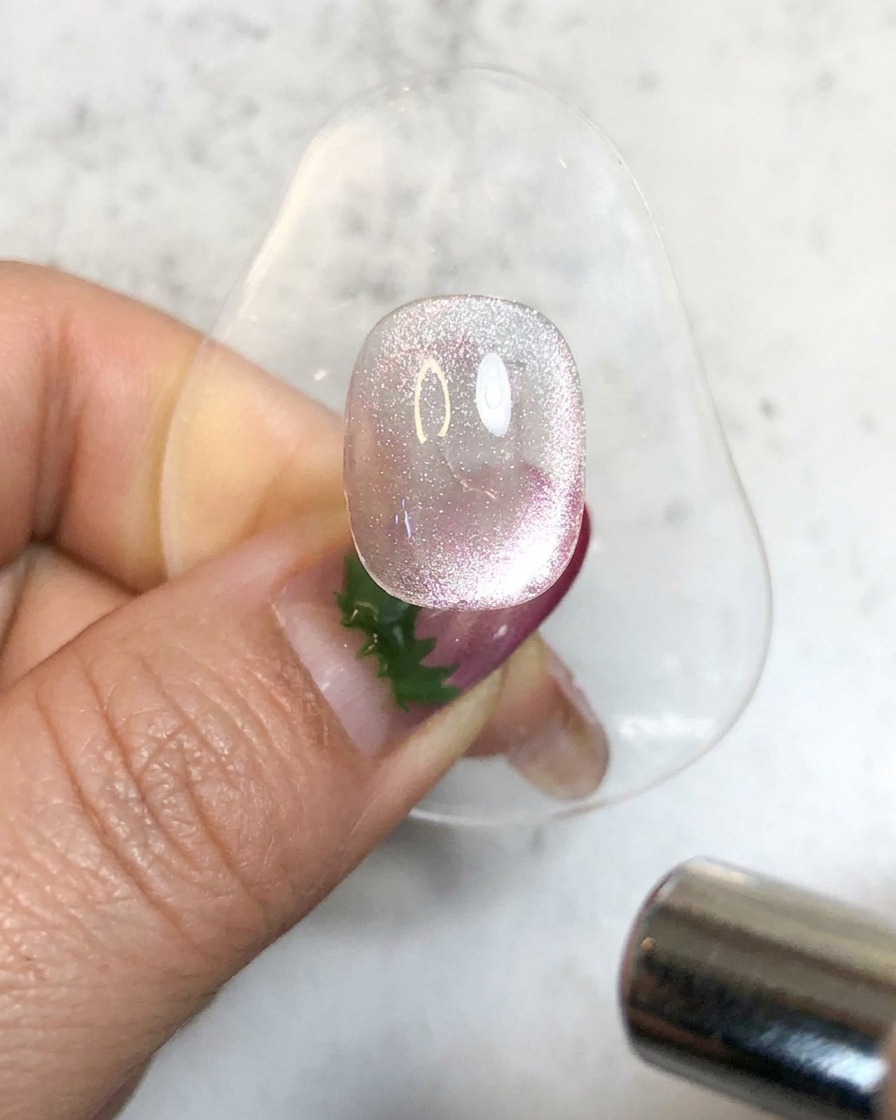
Once the desired magnetic pattern is achieved, immediately cure the nail under a UV or LED lamp to lock the shimmering effect in place.
Tip: Flash cure quickly after using the magnet to prevent the magnetic particles from dispersing back into the gel. - 4Apply translucent blue jelly layer
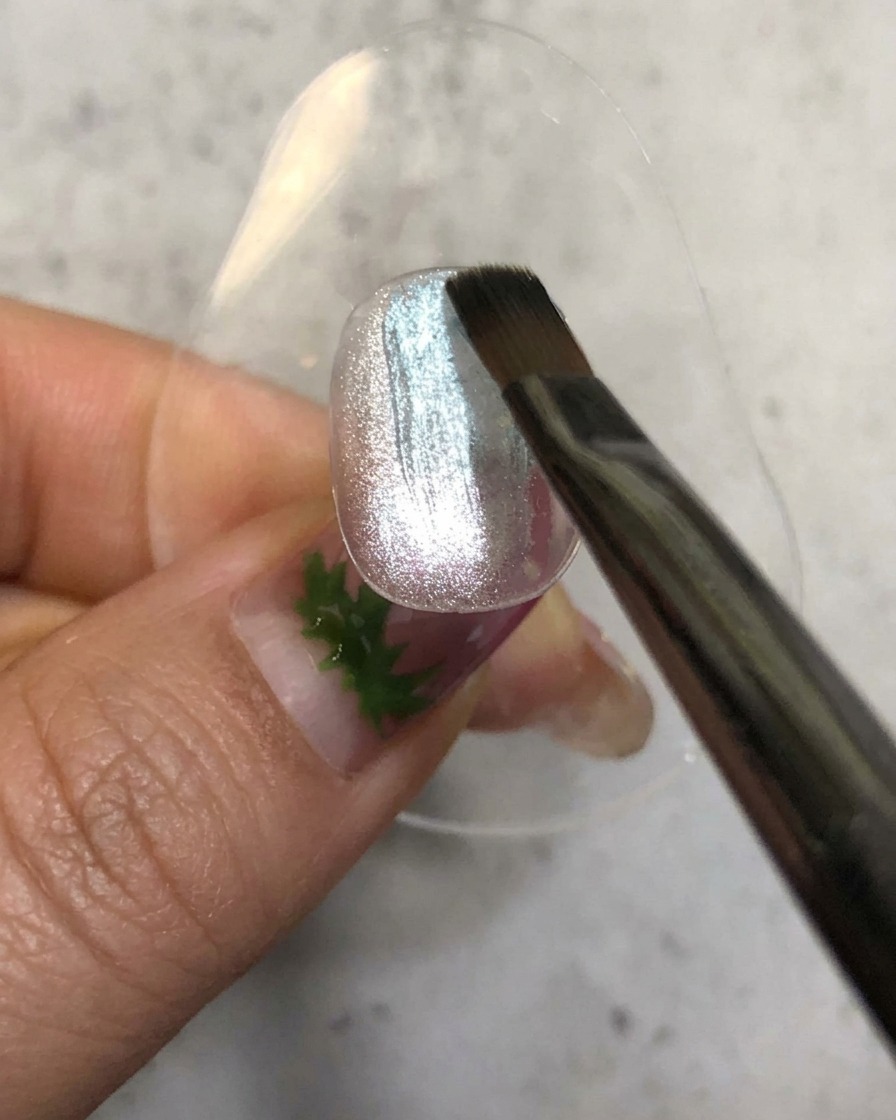
Mix translucent blue gel polish with a bit of reinforcement gel, then brush a random, uneven layer over the cured cat eye base. This gives the nail a deep aquatic tint while letting the silver sparkles shine through.
Tip: Adding reinforcement gel builds slight volume and depth, helping create a realistic 3D ocean water illusion. - 5Cure the translucent blue layer
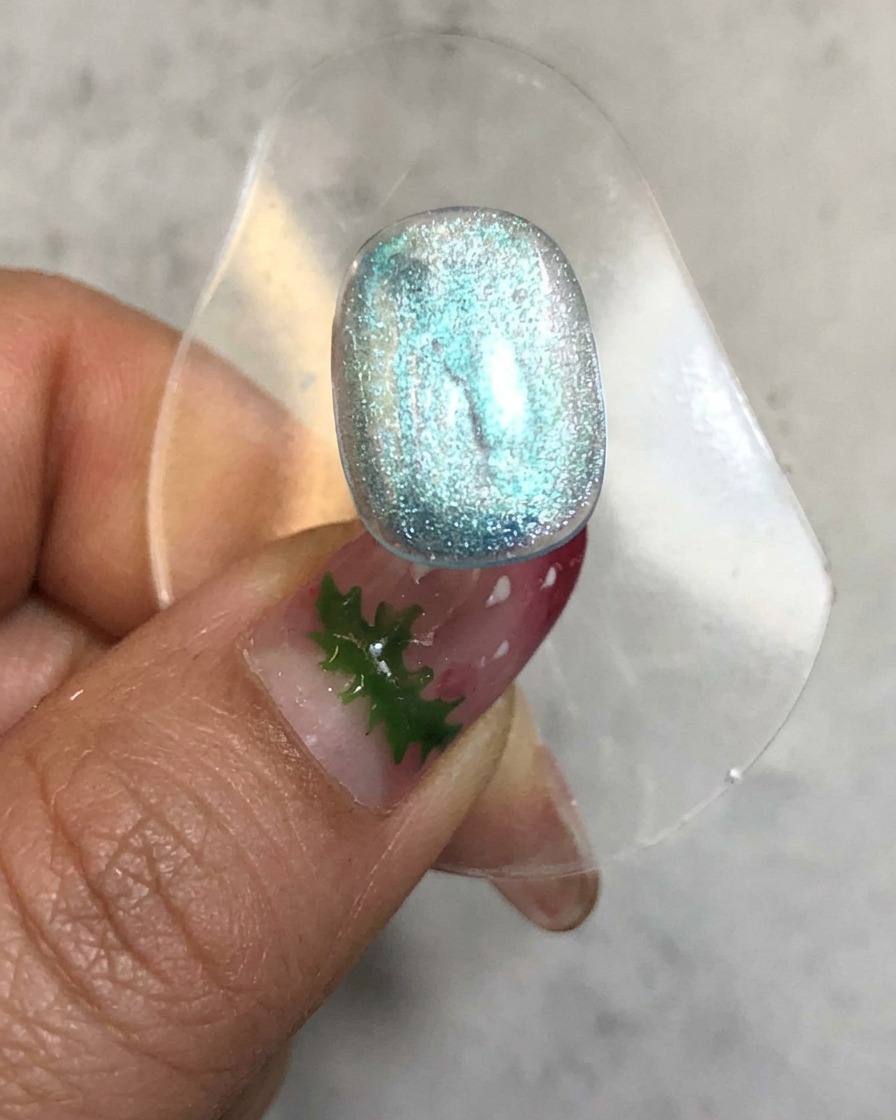
Place the nail under the UV or LED lamp to fully cure the translucent blue gel layer. Ensure the gel is completely set before moving on to the next embellishment step to prevent shifting or distortion.
Tip: Make sure your hand is positioned evenly under the UV/LED light so the edges and center cure simultaneously. - 6Apply reinforcement gel dots
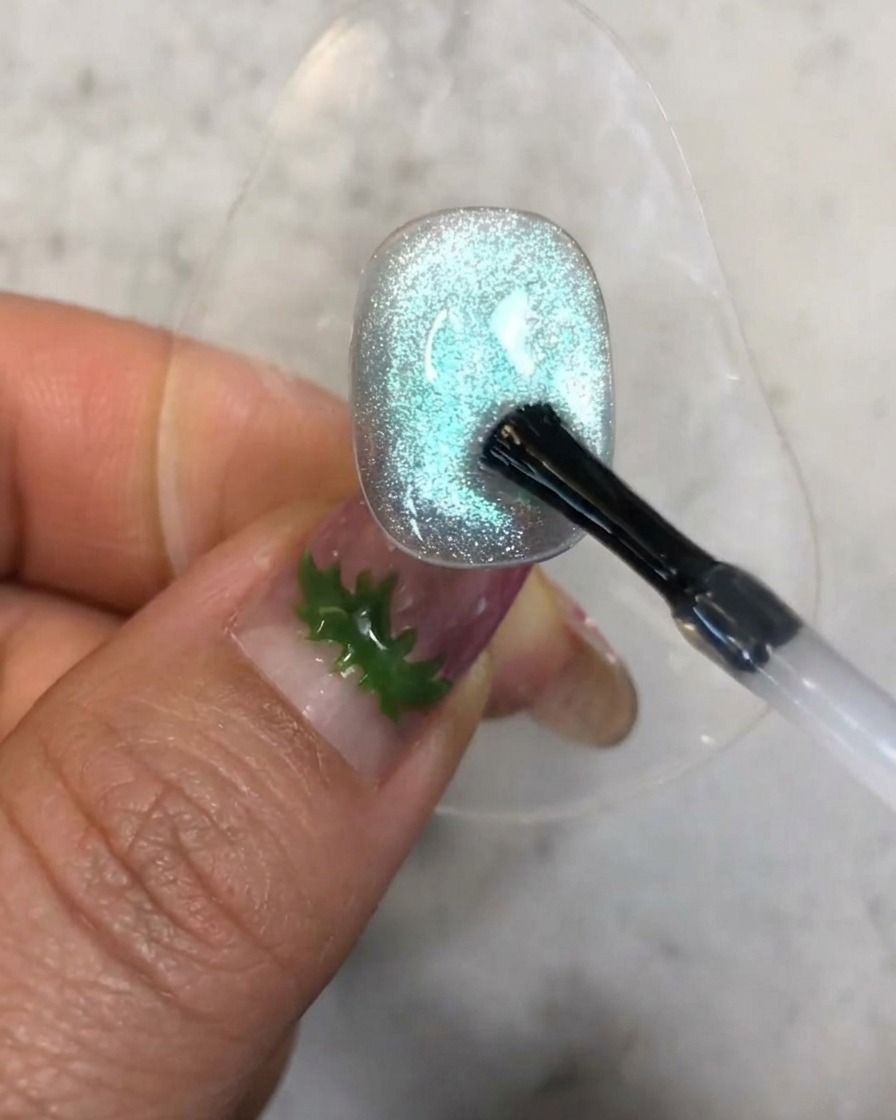
Using a fine brush, dot a small amount of reinforcement gel onto specific areas of the nail surface where you plan to attach charms. This creates a secure adhesive base for placing decorative elements.
Tip: Keep the dots small and controlled so the gel does not overflow when you press the charms down. - 7Place gold charms
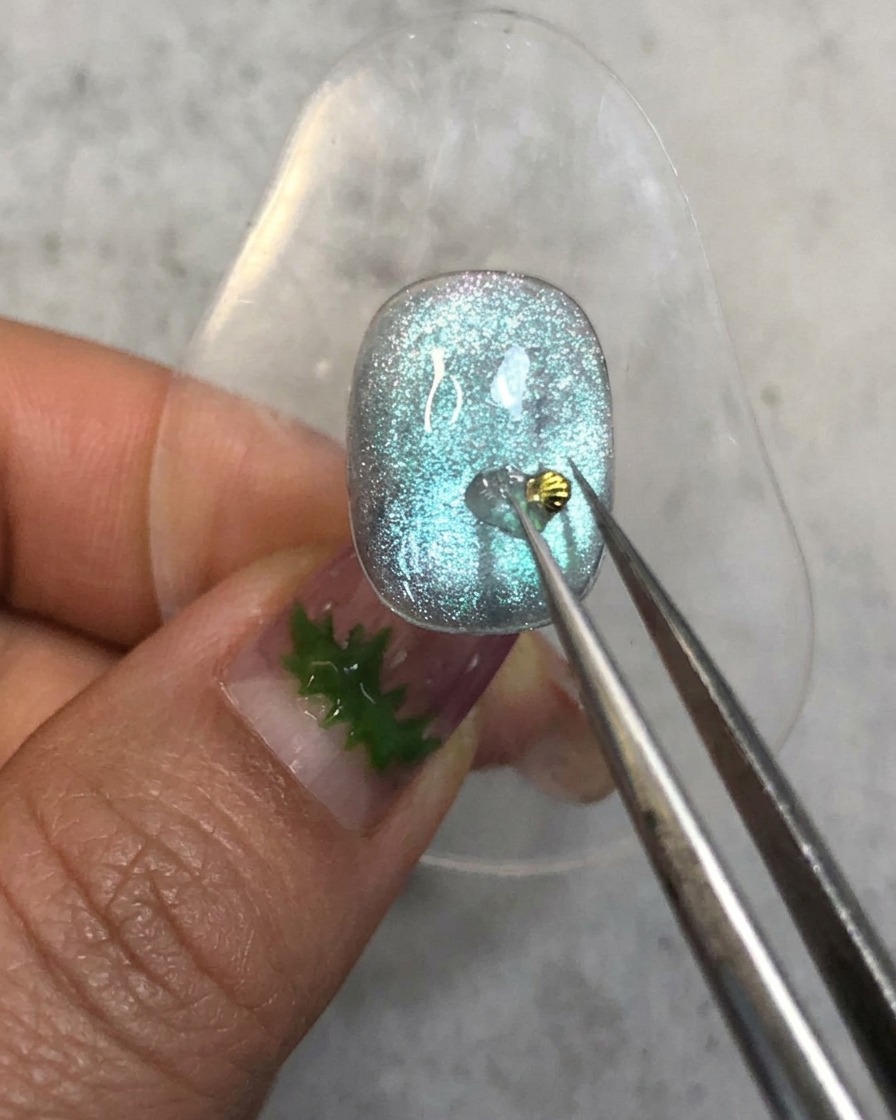
Using a pair of precision tweezers, carefully pick up a gold starfish and a seashell charm and place them onto the dots of reinforcement gel. Press them gently into the gel to secure their position.
Tip: Hold the tweezers steady and place the charms flat against the gel to ensure they stay firmly attached during curing. - 8Cure the charms
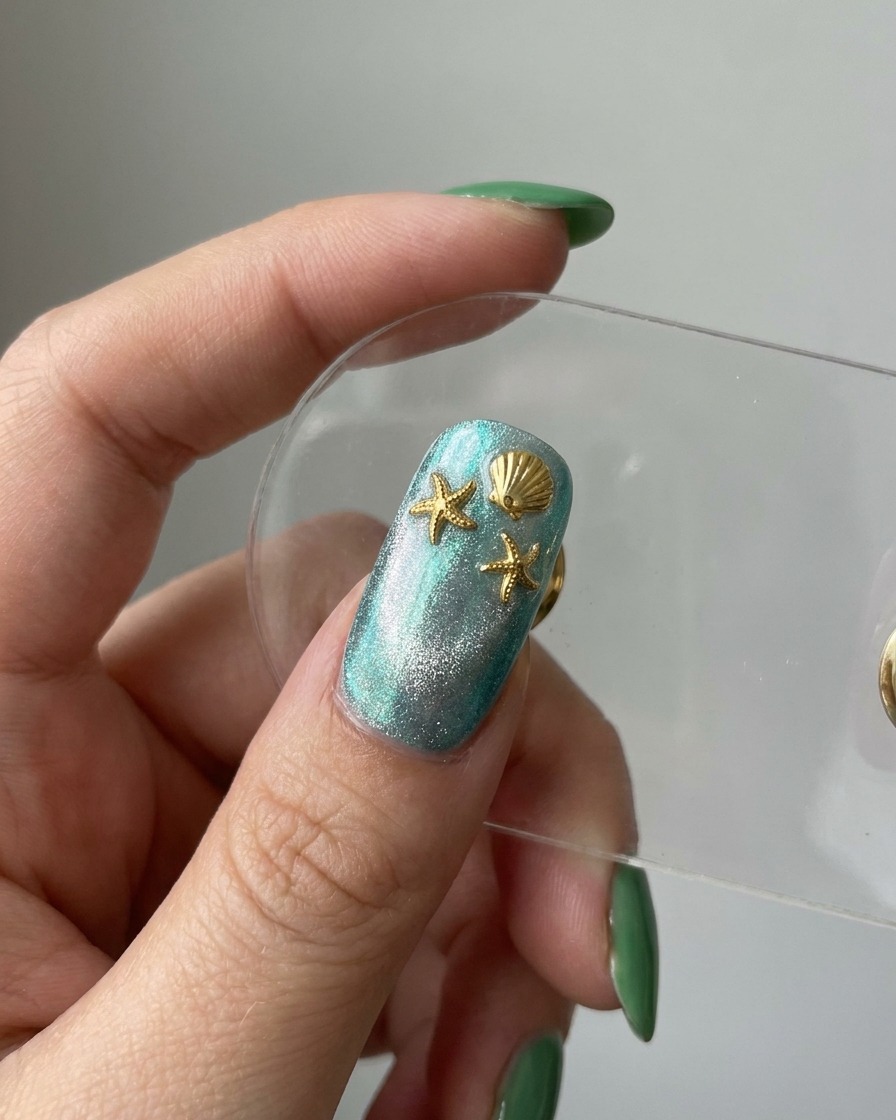
Place the nail under the curing lamp to harden the reinforcement gel holding the starfish and seashell charms. This locks all decorative elements tightly in place.
Tip: Double-check the charm alignment before curing to make sure they are properly positioned. - 9Apply and stir soft candy gel
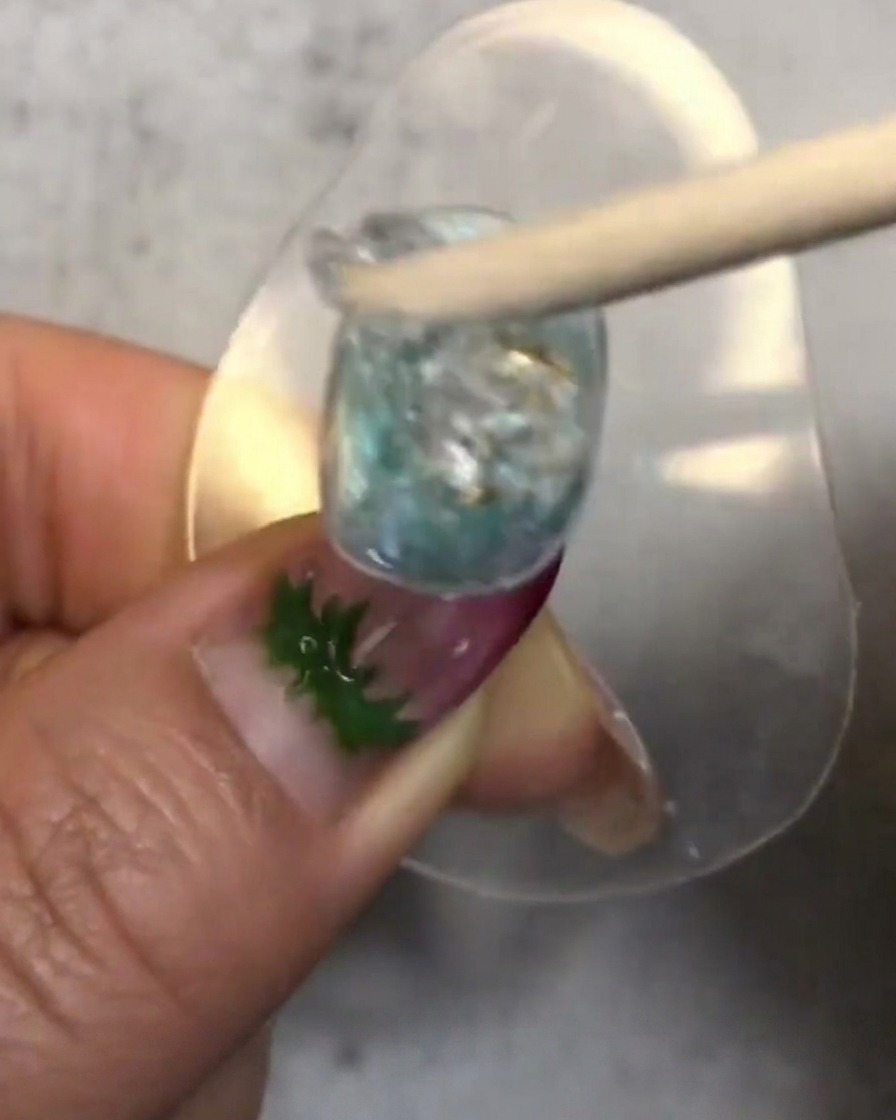
Take a dollop of soft candy gel, use a wooden stick to stir it slightly, and place it directly onto the nail surface. Natural air bubbles are fine as they resemble ocean bubbles.
Tip: Do not over-mix the candy gel; keeping some texture and bubbles enhances the underwater ocean effect. - 10Shape the candy gel with a silicone pen
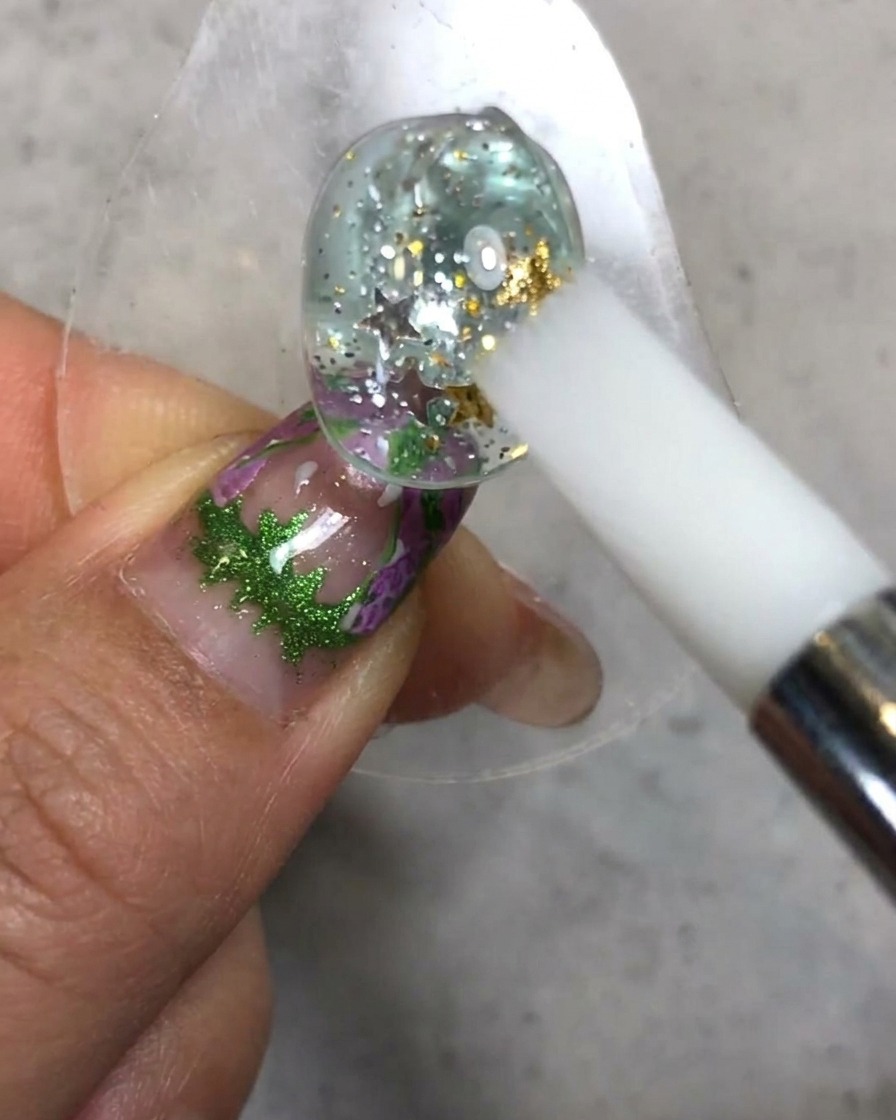
Use a silicone pen to gently tidy up and shape the soft candy gel on the nail surface. Form textures that resemble natural bubbles floating in the ocean before curing.
Tip: Use light, sweeping motions with the silicone pen to smooth the outer edges while preserving the internal bubble details. - 11Cure the soft candy gel
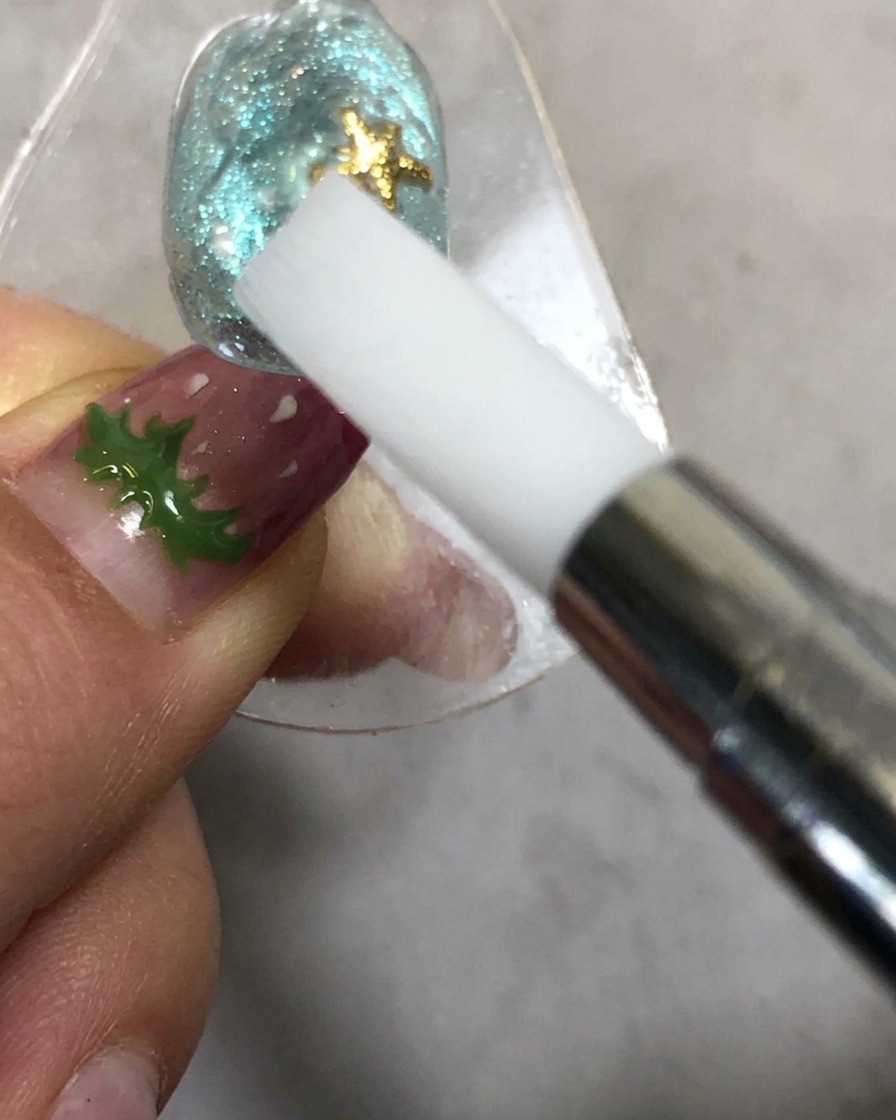
Place the nail under the UV or LED lamp to cure the shaped soft candy gel. Curing hardens the textured gel securely in place, preserving the three-dimensional ocean-inspired design elements we just crafted.
Tip: Ensure your hand is placed evenly under the light source to cure all sides of the 3D texture properly. - 12Apply no-wipe top coat
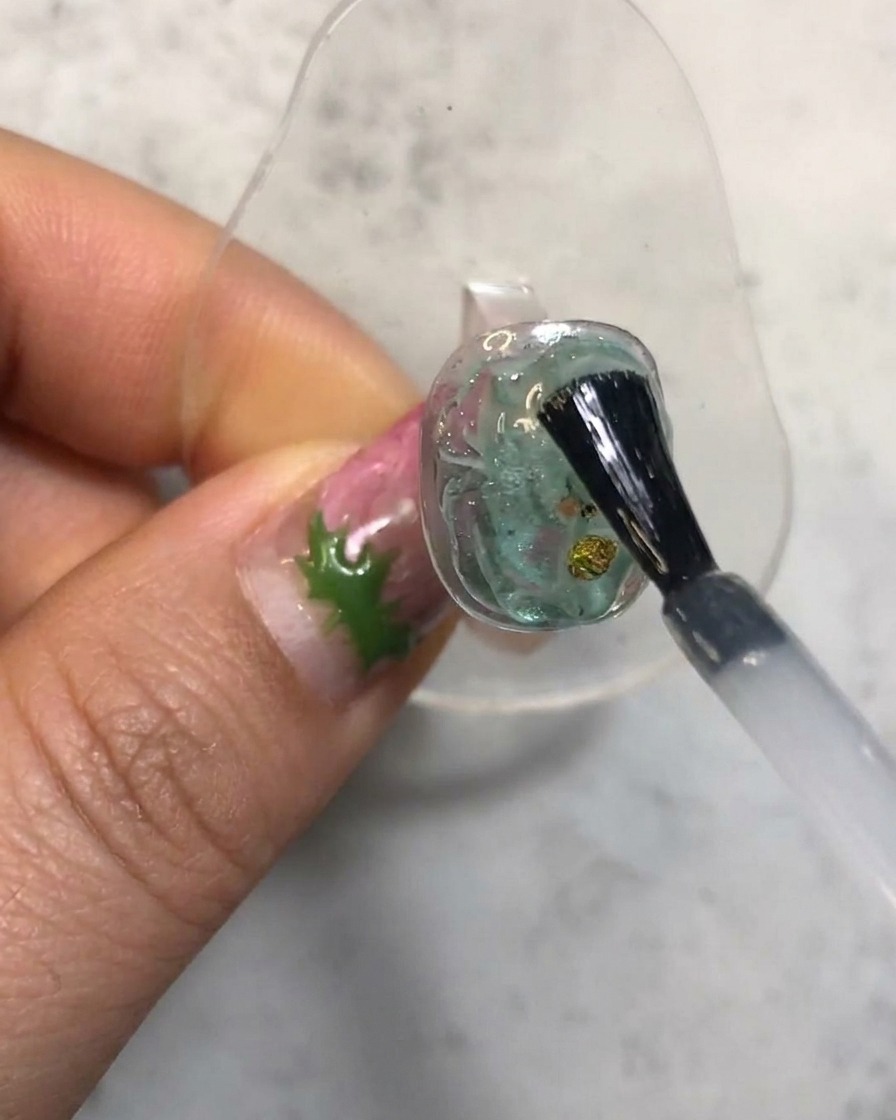
Apply a thin layer of no-wipe top coat directly over the soft candy gel layer. Ensure even coverage across the sculpted texture, then cure under the UV or LED lamp to seal the surface completely.
Tip: Applying a thin coat ensures the top coat doesnt pool in the textured recesses. - 13Cure the top coat layer
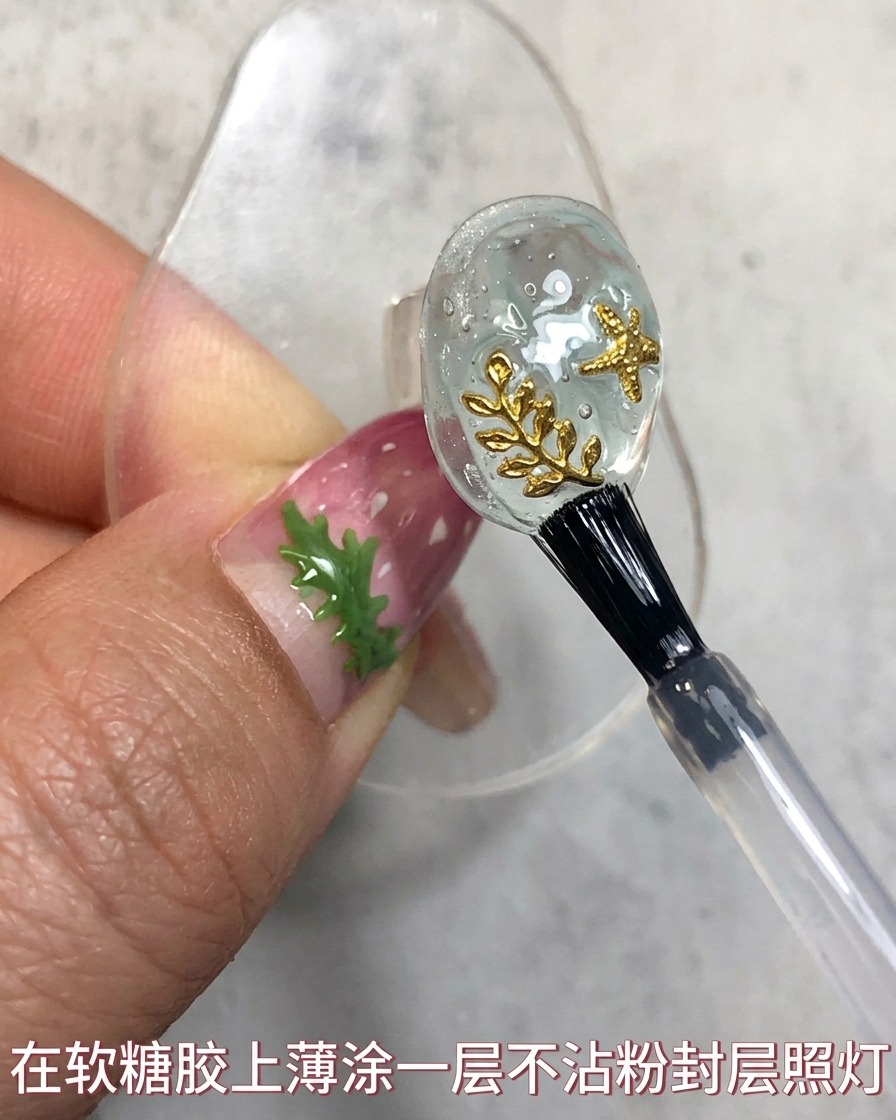
Place the nail back under the UV or LED lamp to fully cure the applied top coat layer. This locks in the shine and prepares the surface for applying metallic powder detailing.
Tip: Always follow your top coat manufacturers specified curing time to ensure a fully hardened, tack-free surface. - 14Outline with styling gel
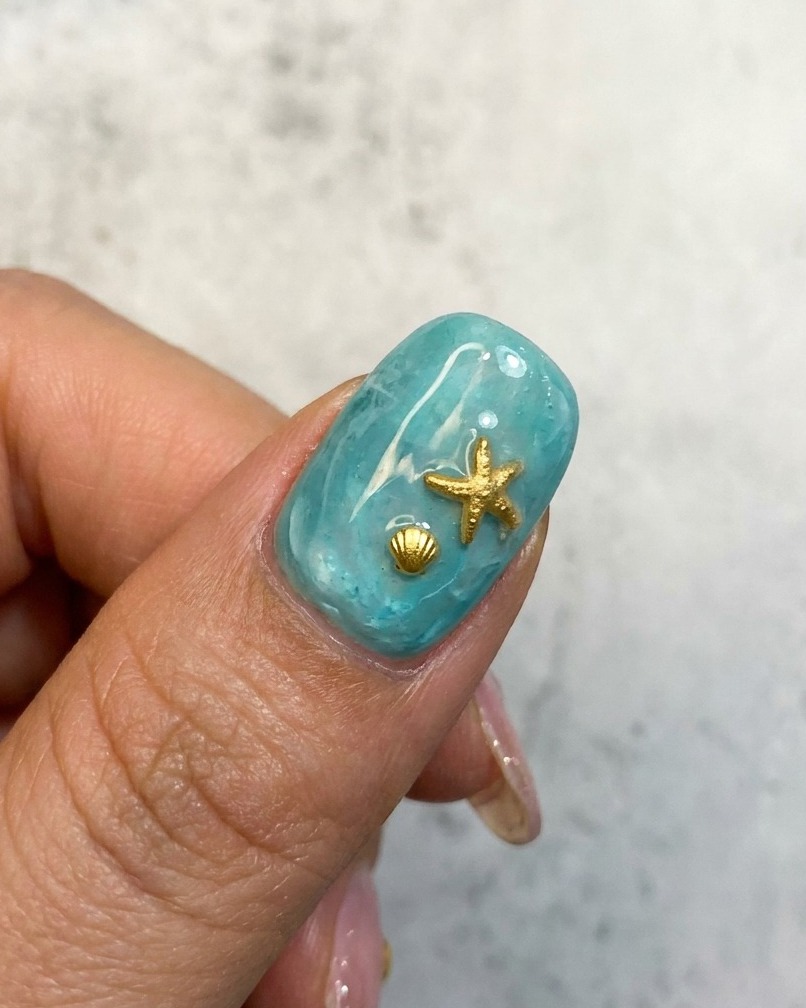
Use a free-wipe styling gel to meticulously outline along the perimeter of the soft candy gel layer. Keep the outline slightly away from the extreme outer edge of the nail to ensure proper powder adhesion and longevity, then cure under the lamp.
Tip: Leaving a microscopic border uncoated prevents the mirror powder from peeling off the edges later. - 15Cure the styling gel outline
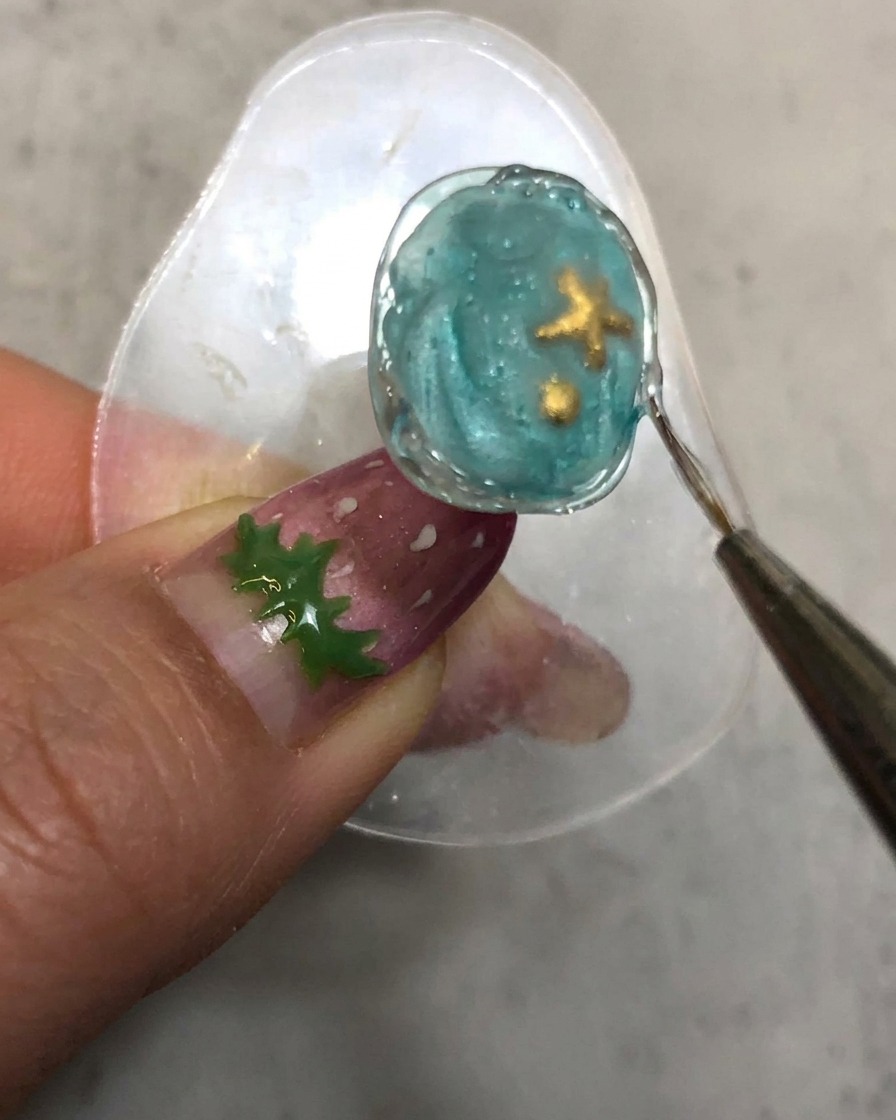
Cure the newly drawn styling gel outline under the UV or LED lamp. Be sure to cure it just enough to set the shape while keeping its raised, textured feel intact for the powder application.
Tip: An under-cured outline can smudge when rubbing powder, while an over-cured one may lose its ability to grip the chrome. - 16Buff nail edges
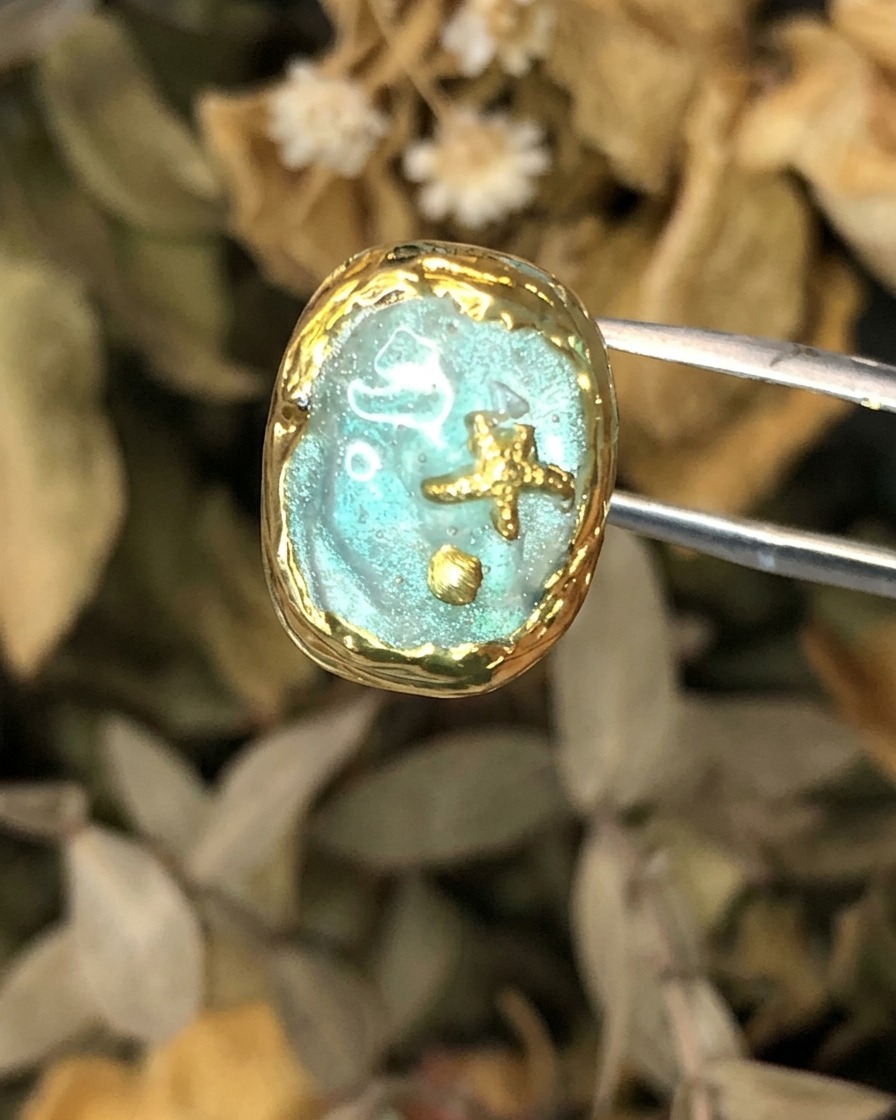
Take a sponge file and gently buff around the edges of the nail to clean up any excess product or stray pigment. This refines the shape and prepares the piece for the final finishing stages.
Tip: Use a gentle touch with the sponge file so you do not damage the metallic outline texture. - 17Apply final base and top coats
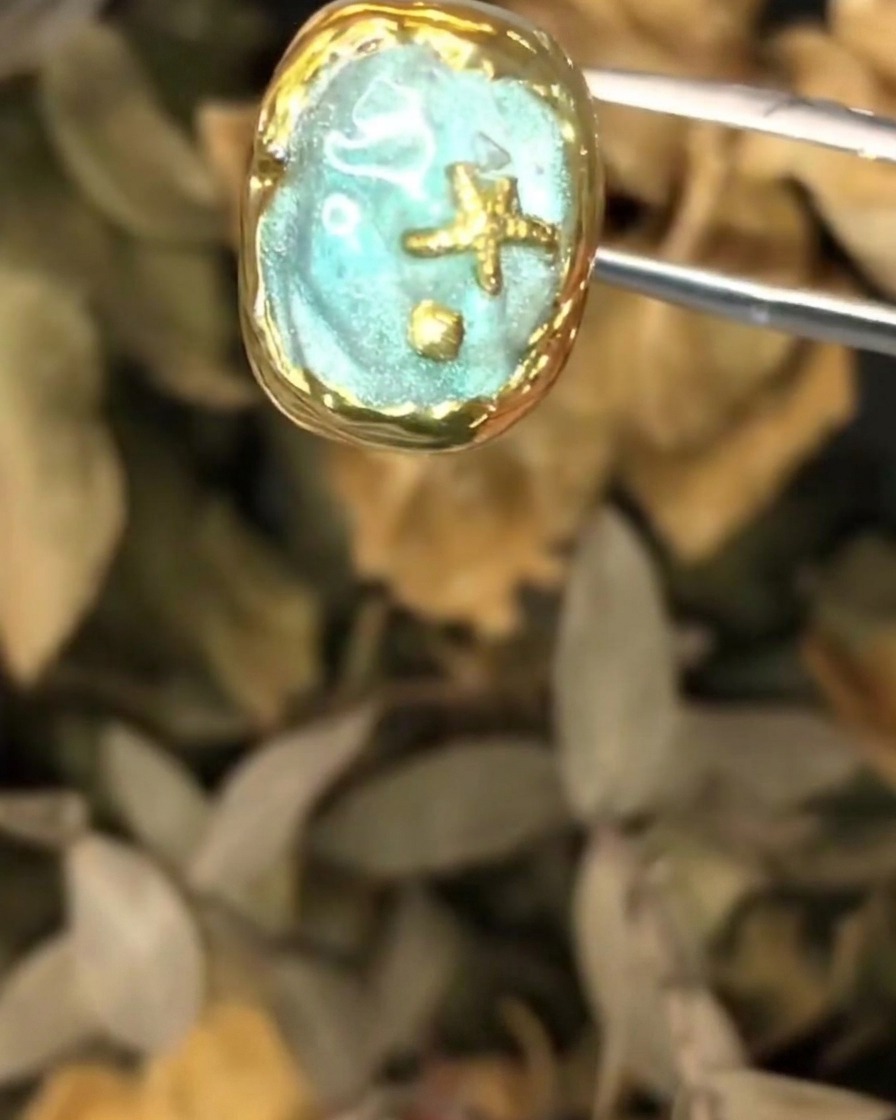
Apply a final layer consisting of base coat and top coat over the entire nail structure to lock everything in. Ensure the application is kept thin, especially over the raised soft candy gel area, and cure under the lamp.
Tip: Keeping the final layers thin maintains the sharp definition of the 3D textures. - 18Cure final top coat
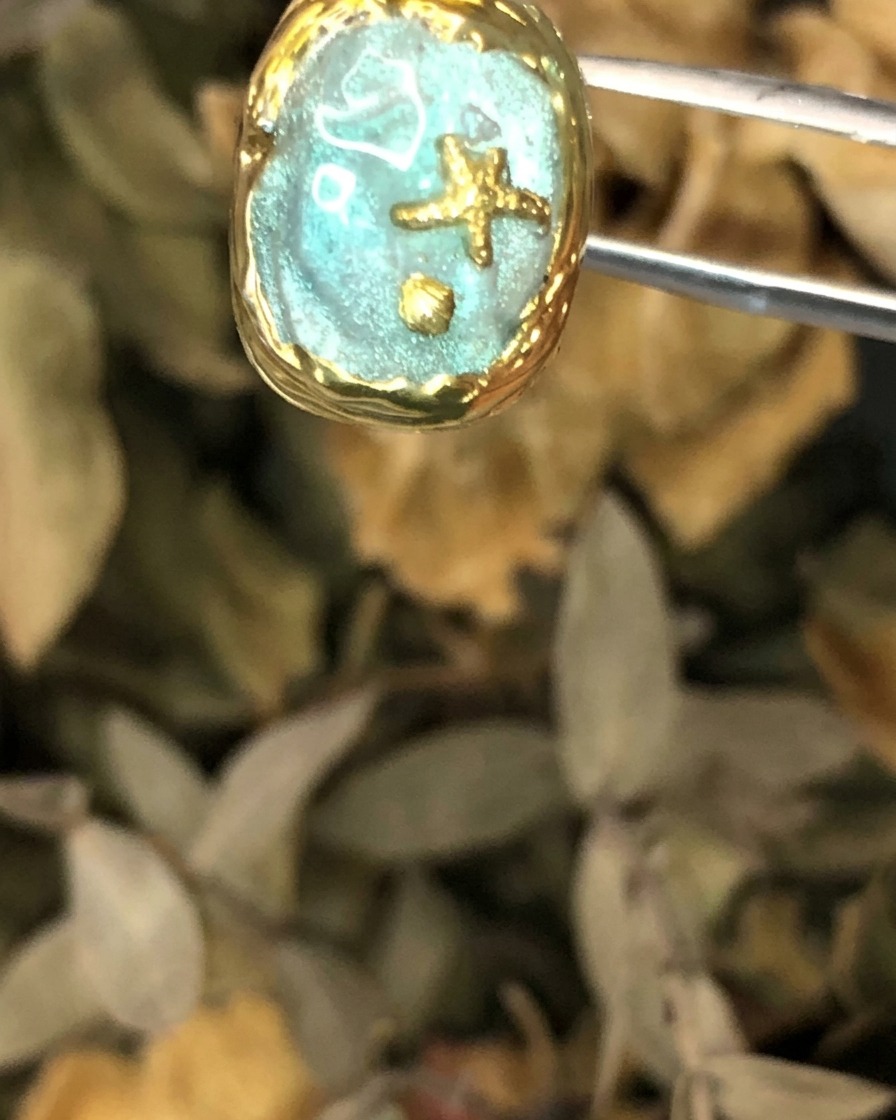
Place the nail under the UV or LED lamp to fully cure the final top coat layer. Once cured, the manicure is complete with a durable, high-gloss, and protected finish.
Tip: A complete full-time cure ensures that no uncured gel remains underneath the protective layers.