Cool Blue Ice Flower French Gradient Nails — Step-by-Step Tutorial
Master stunning ice flower nail art with a milky gradient French tip, silver cat-eye effect, and translucent 3D sculptural floral accents.
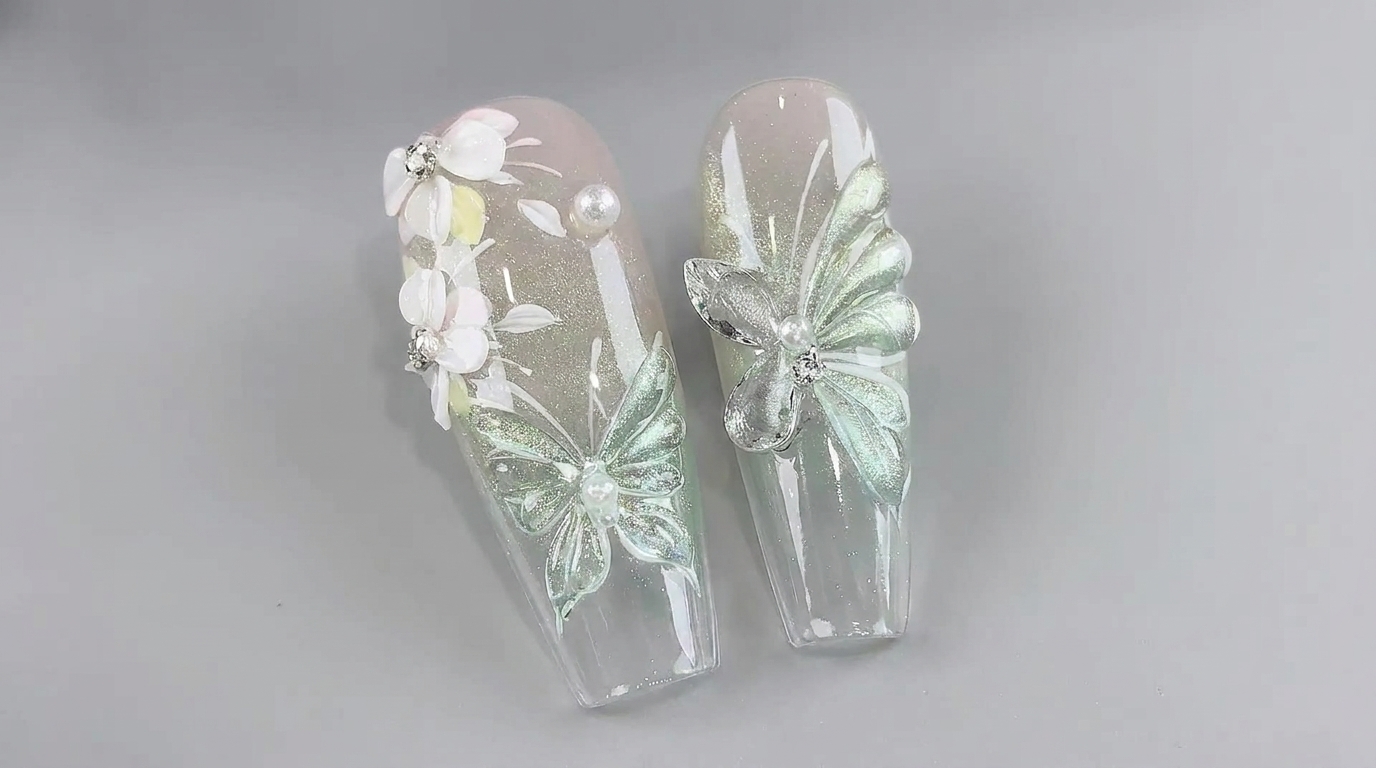
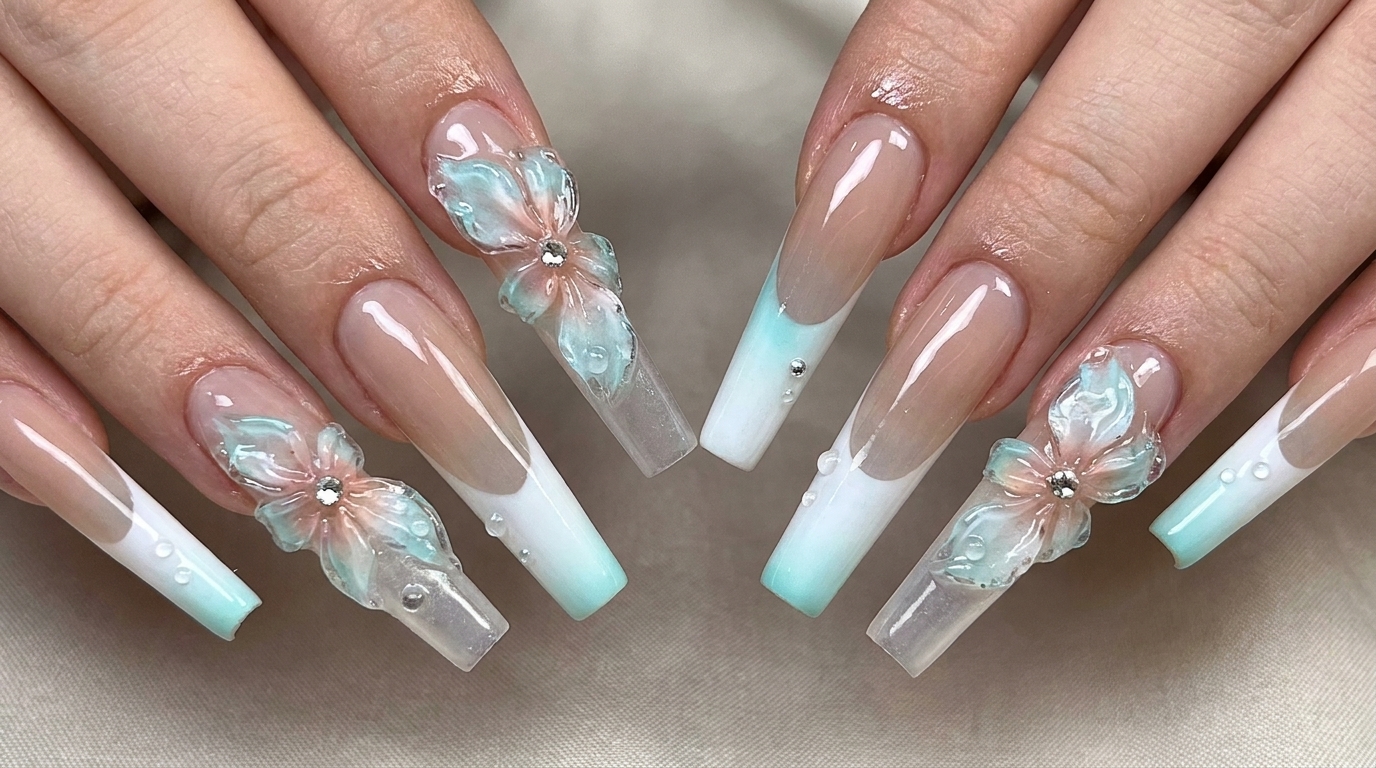
Step into a winter wonderland with this captivating ice flower nail design, blending a soft milk tea and white French gradient with luminous cat-eye shimmer. Hand-sculpted translucent 3D petals enriched with vibrant pink and blue gradients bring these floral masterpieces to life, finished with delicate water droplet accents and crystal details for an enchanting, ethereal look.
Steps
- 1Apply milk tea gel polish near the cuticle
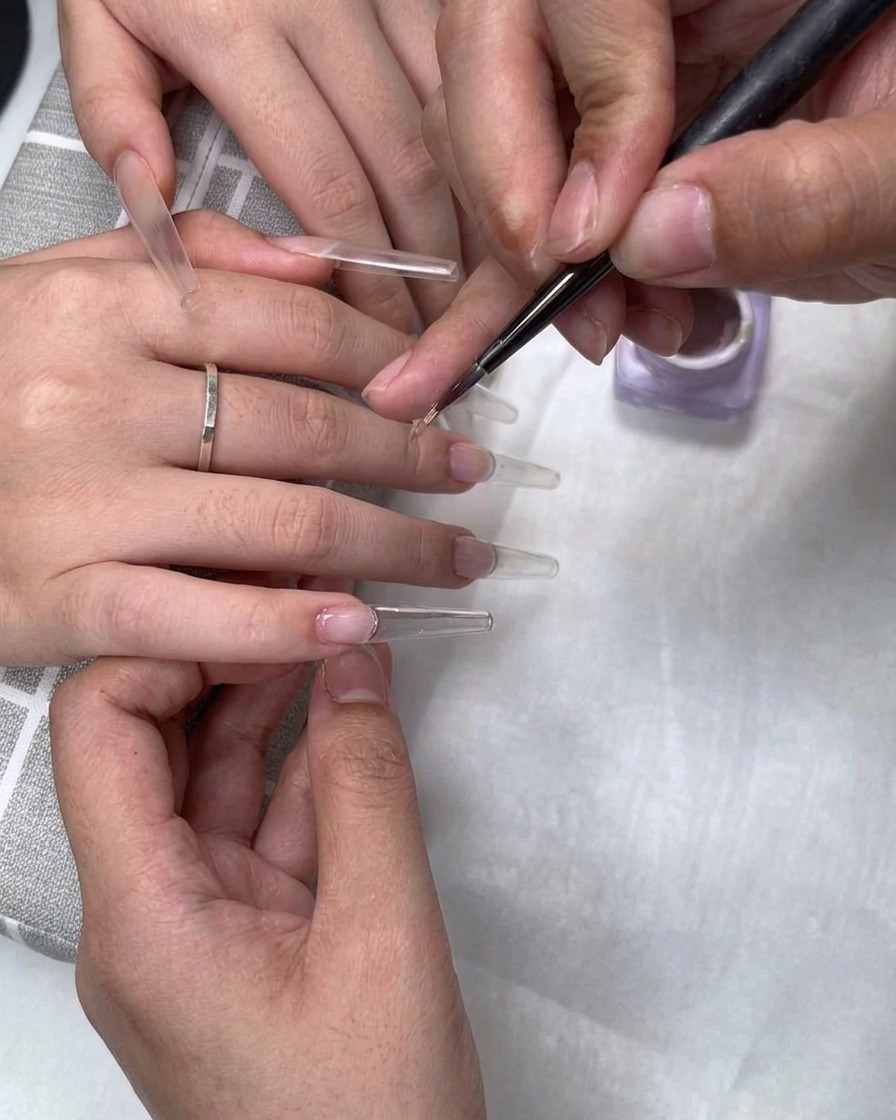
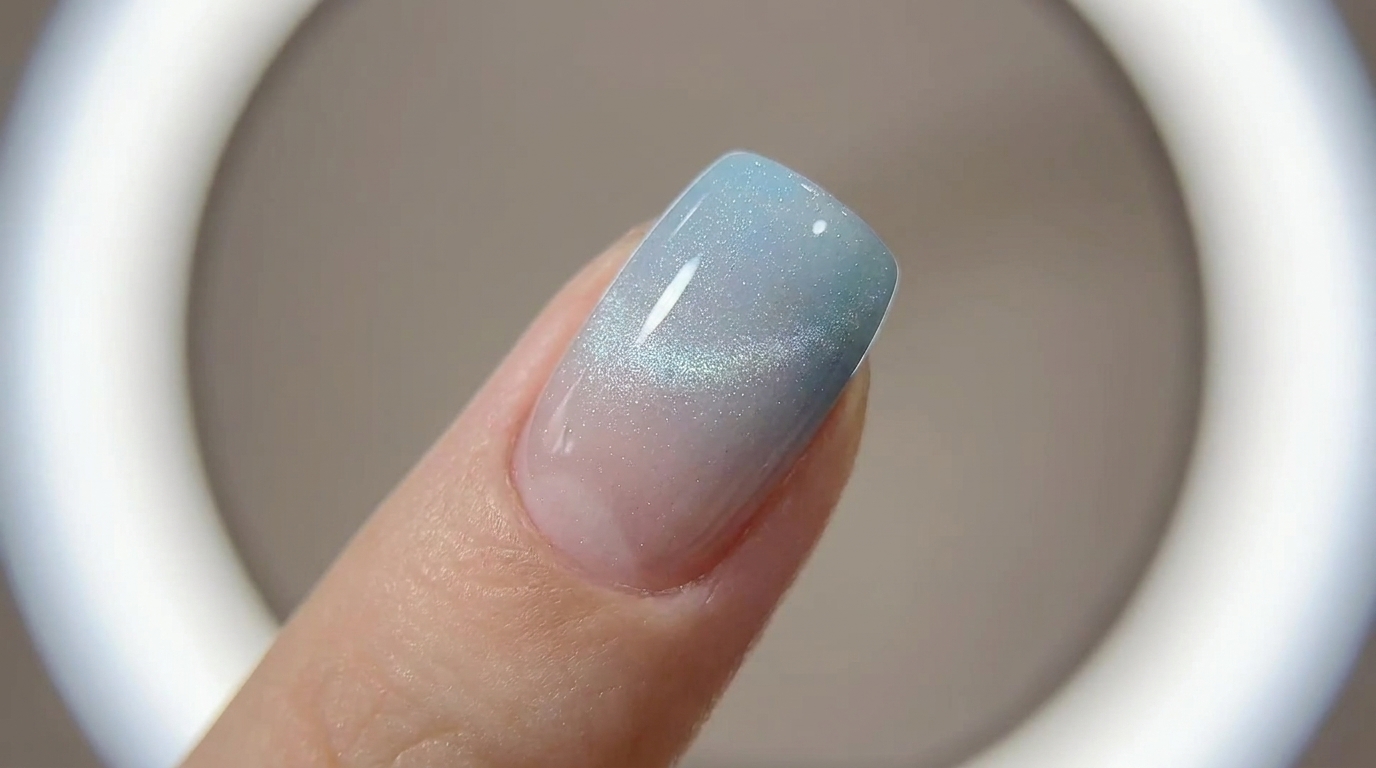
Using a fine detail brush, take milk tea color gel polish and place a small amount precisely at the cuticle area on the clear nail extension. This serves as the foundation for creating a soft, natural gradient effect.
Tip: Apply a very thin amount near the cuticle to avoid flooding the skin and ensure a smooth blend. - 2Blend the gel into a gradient using a sponge
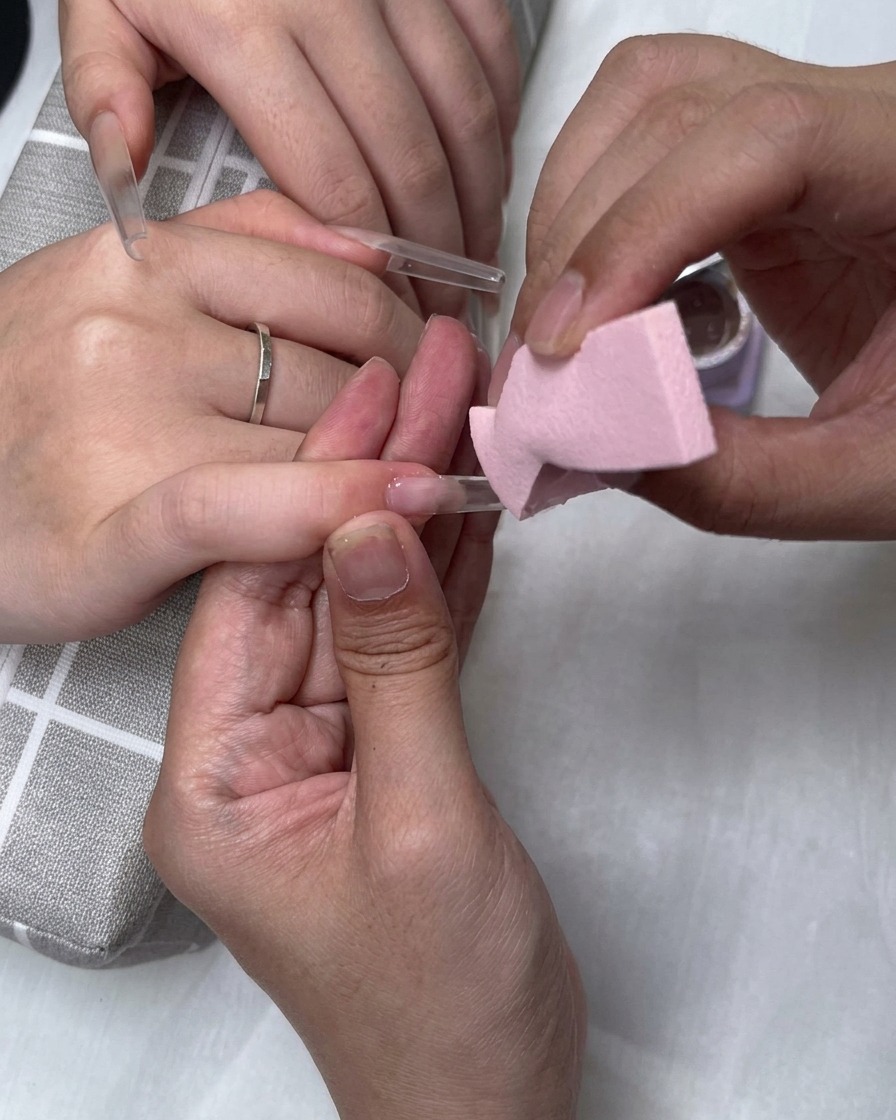
Take a small pink makeup sponge and gently pat the applied gel downwards towards the free edge. Continue patting evenly to diffuse the color and build a seamless gradient effect covering the nail extension.
Tip: Pat lightly rather than pressing hard to keep the gradient soft and free of harsh sponge texture lines. - 3Apply sheer nude polish over the nail
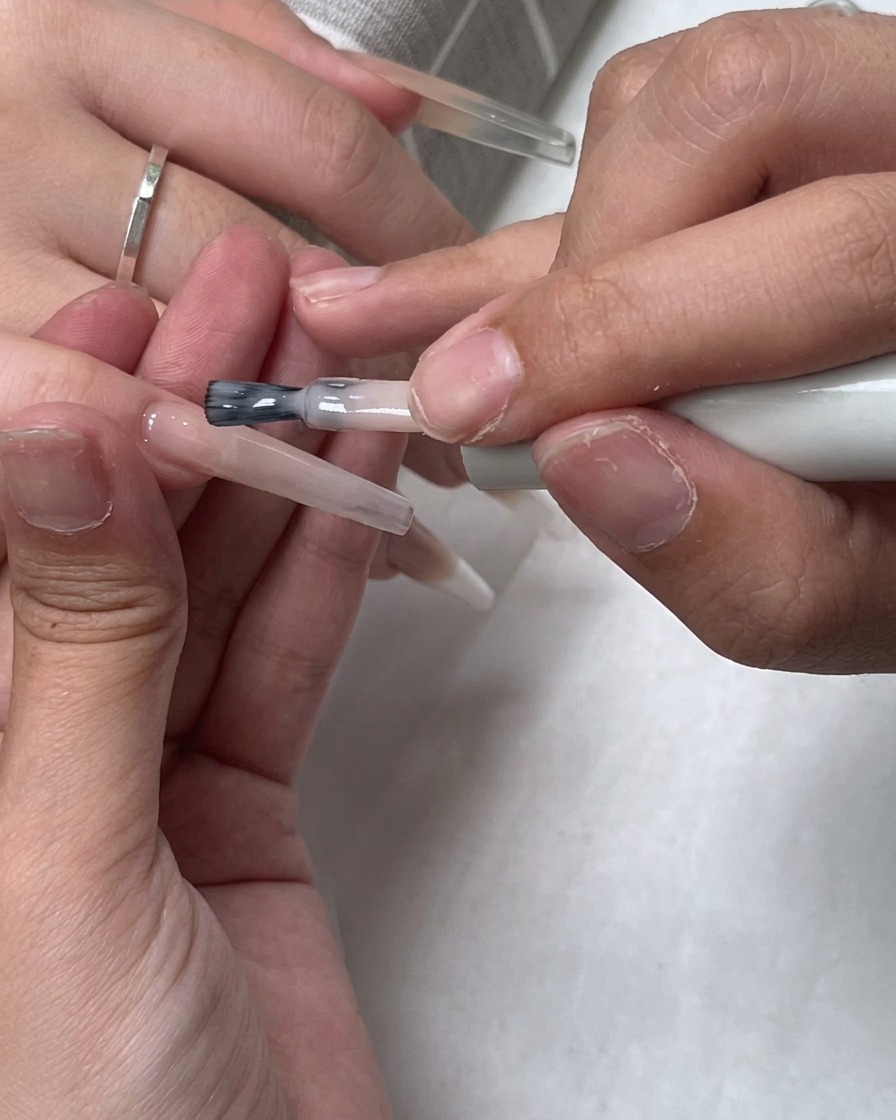
Brush a layer of sheer nude color evenly across the entire surface of the nail. This unifies the layers, smooths out any texture from the sponge, and creates a cohesive base tone.
Tip: Ensure smooth, even strokes so the underlying gradient remains intact and visible through the sheer coat. - 4Coat the nail with silver cat-eye gel
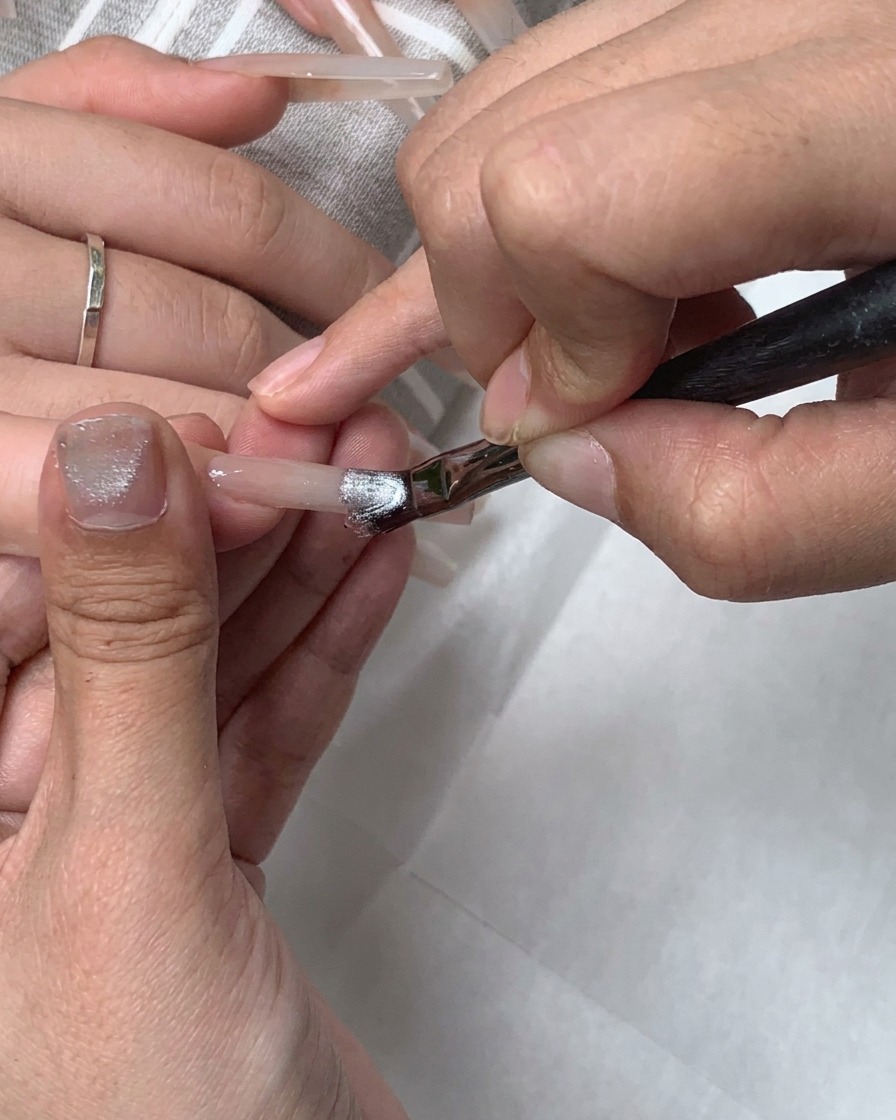
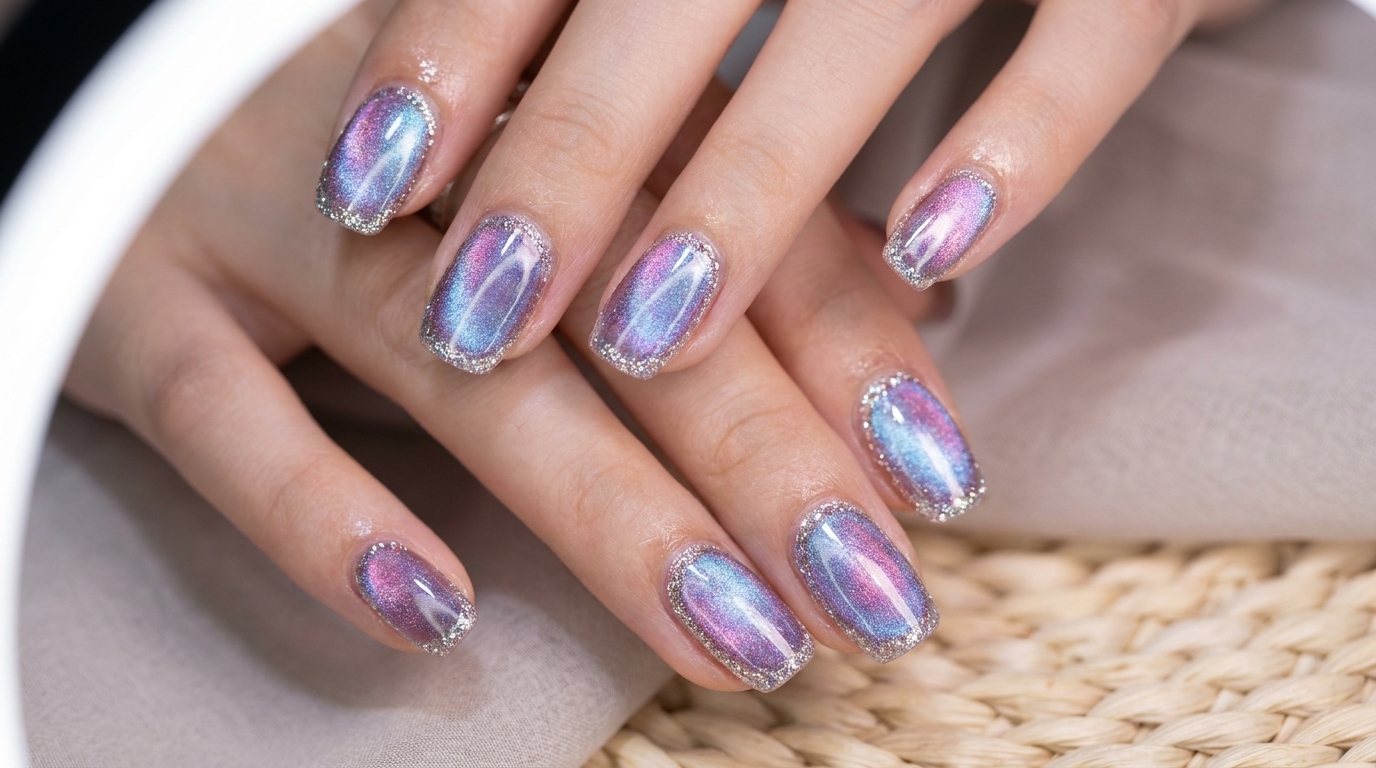
Apply a coat of silver cat-eye gel evenly over the entire nail using a flat gel brush. This reflective magnetic gel will provide the sparkling base for the light band effect.
Tip: Keep the coat uniform so the magnetic particles disperse evenly before using the magnet. - 5Create a glowing light band with a magnet
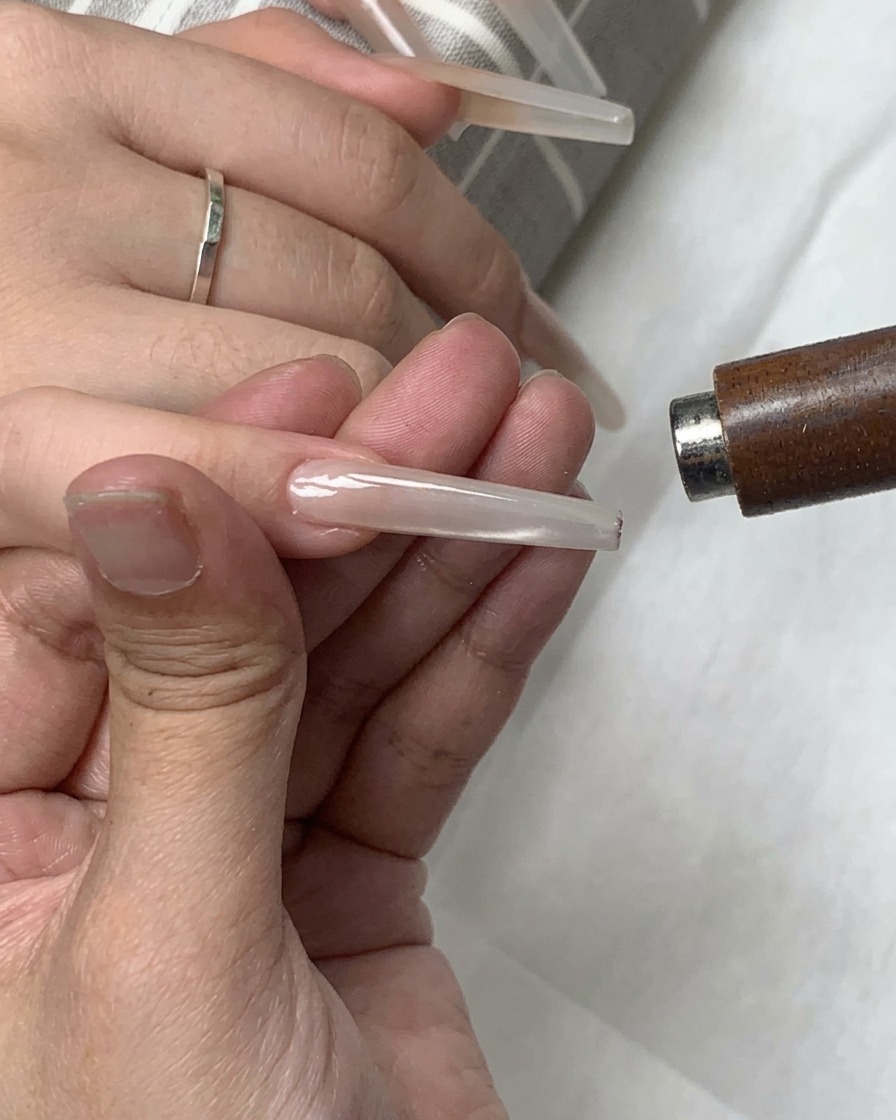
Take a cylindrical magnet and hold it near the uncured cat-eye gel to pull the magnetic particles into a wide, luminous light band. Sweep the magnet left and right, up and down, and in circles until the desired bright light effect is drawn out.
Tip: Hover the magnet closely without touching the wet gel surface to control the width and intensity of the light reflection. - 6Apply French tip guide and white gel
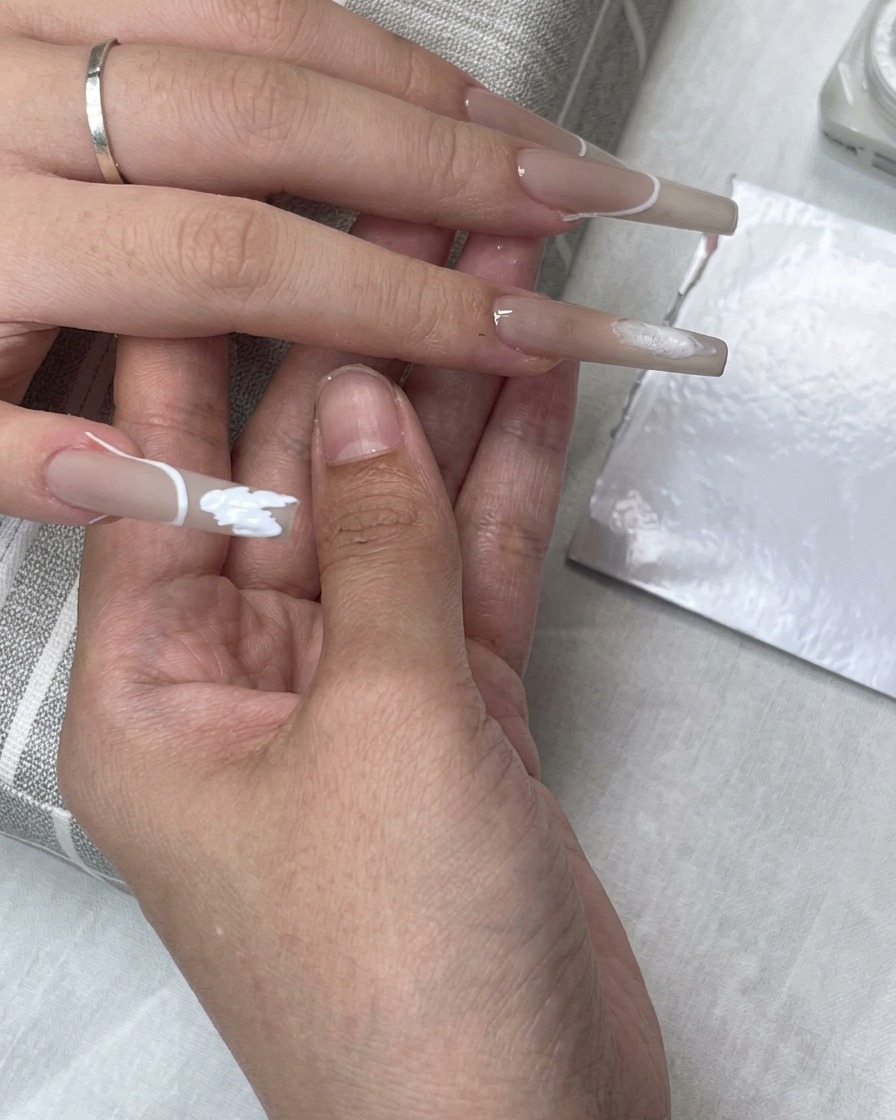
Place a French sticker guide onto the nail to map out the French tip line cleanly. Then, use white painting gel to fill in the free edge area inside the guide.
Tip: Press the edges of the French sticker firmly down to prevent any gel bleeding underneath the guide line. - 7Pat white gel with a sponge
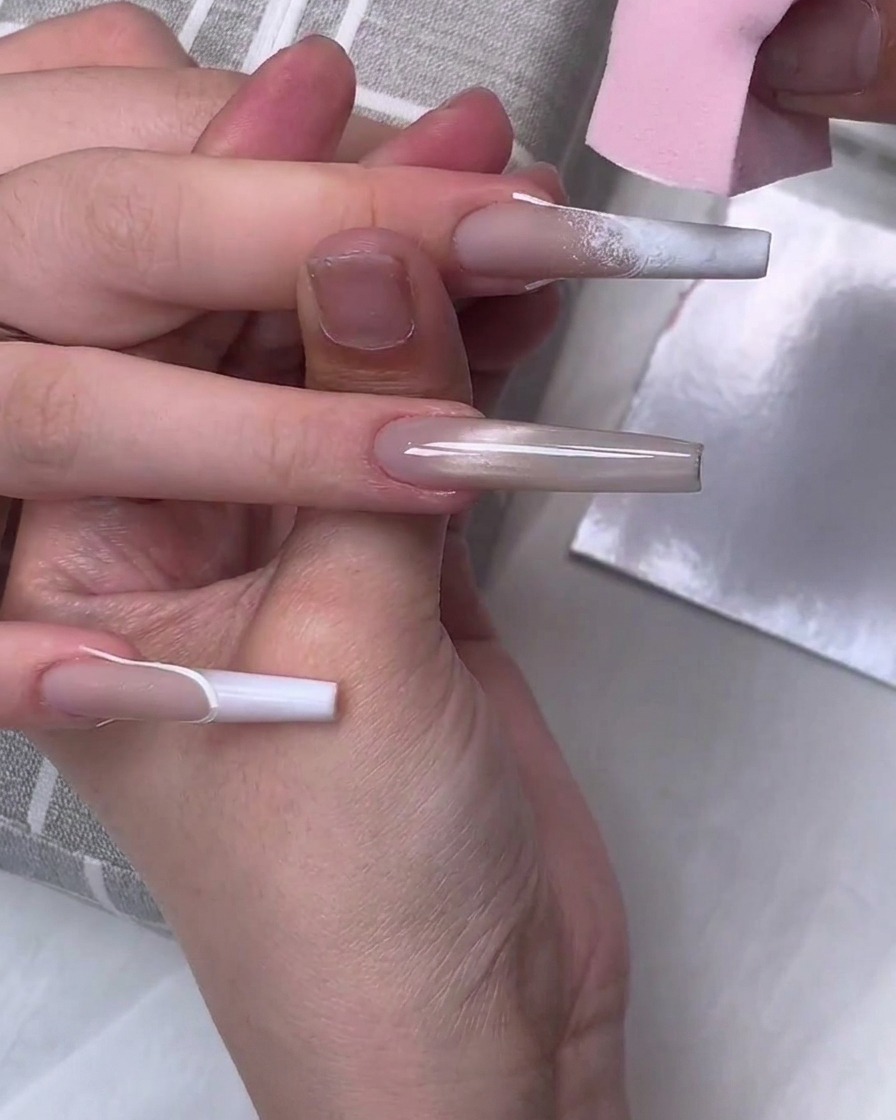
Using a makeup sponge, gently pat the white gel on the nail tip to create a smooth, faded gradient edge. Ensure the transition looks soft and seamless before curing the layer under the lamp.
Tip: Pat lightly and consistently to avoid harsh lines or patchy spots on the gradient. - 8Apply blue gel dots on French tip
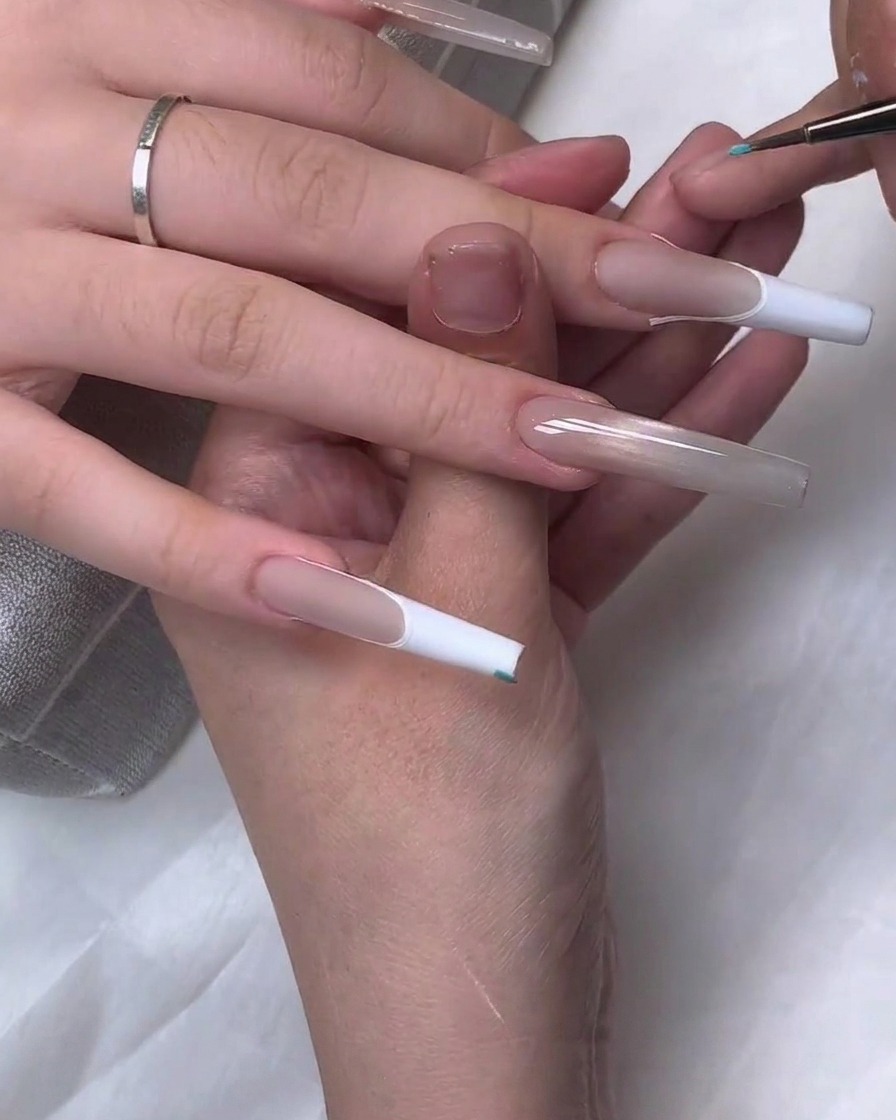
Using a fine detailing brush, apply small dots of blue gel polish directly over the cured white French tip section. These dots will serve as the base for creating a smooth blended gradient in the next step.
Tip: Keep the dots small and spaced evenly to ensure an effortless gradient when blended with the sponge. - 9Blend blue gel with a sponge
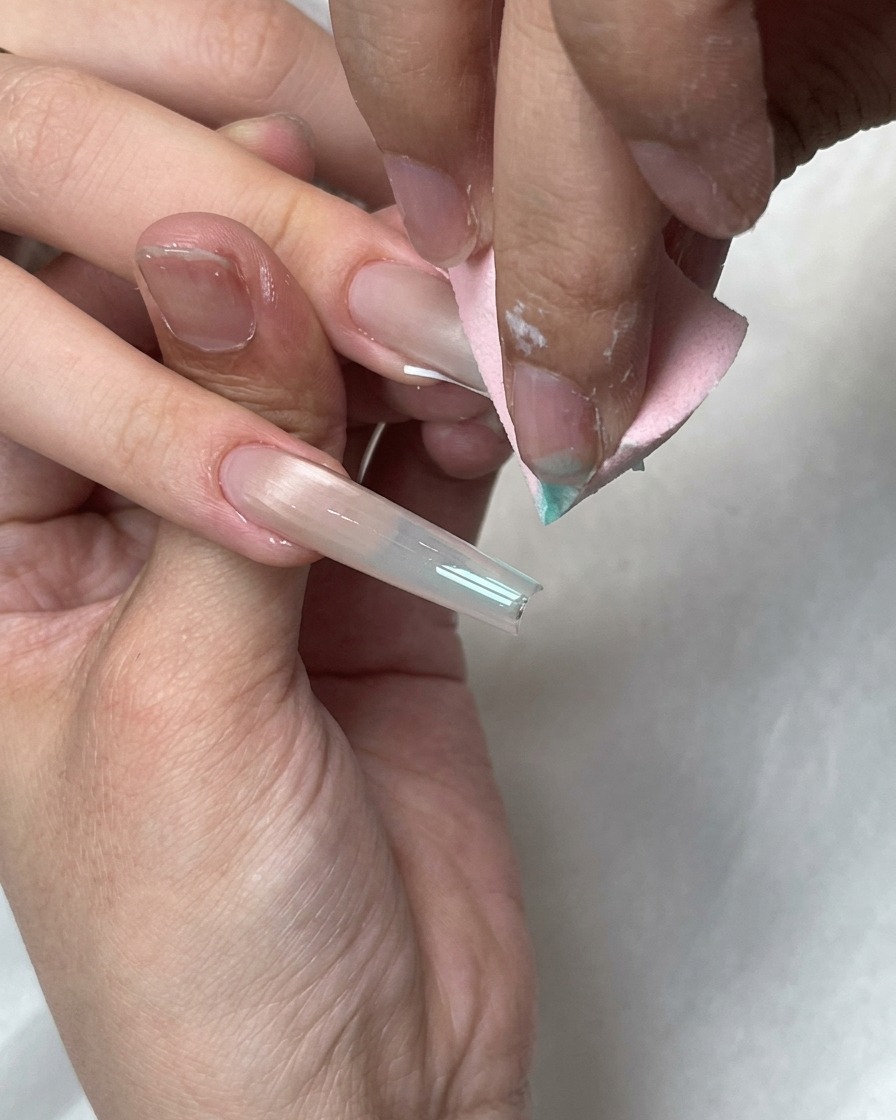
Using a clean sponge, gently blend the blue gel dots into the underlying white French tip section. This creates a soft, hazy blue gradient effect across the tip of the nail.
Tip: Use a light tapping motion to diffuse the color evenly without dragging or smudging. - 10Remove French tip sticker
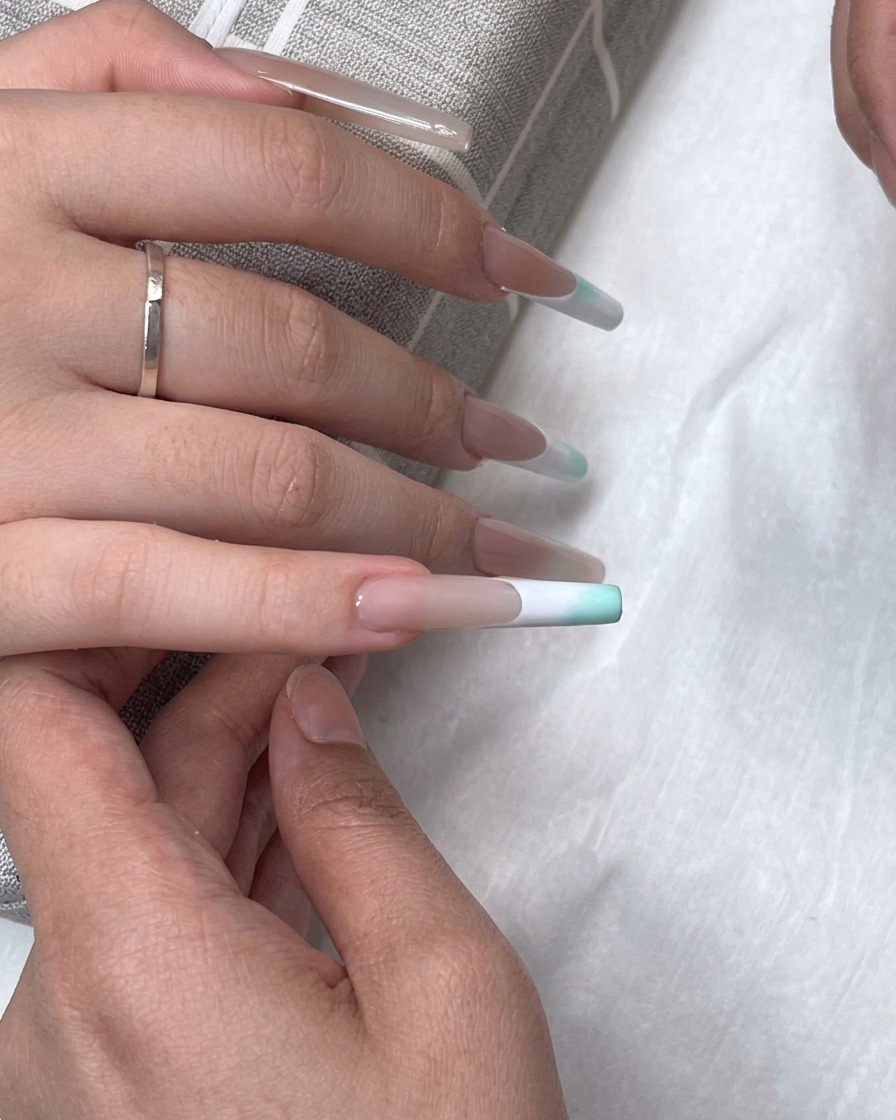
Carefully peel away the French tip guide sticker to reveal a crisp, clean line separating the nail bed from the gradient tip design. Take your time to avoid disturbing the uncured gel edges.
Tip: Pull the sticker back slowly and at a low angle to prevent chipping or lifting the fresh paint. - 11Apply base gel and top coat
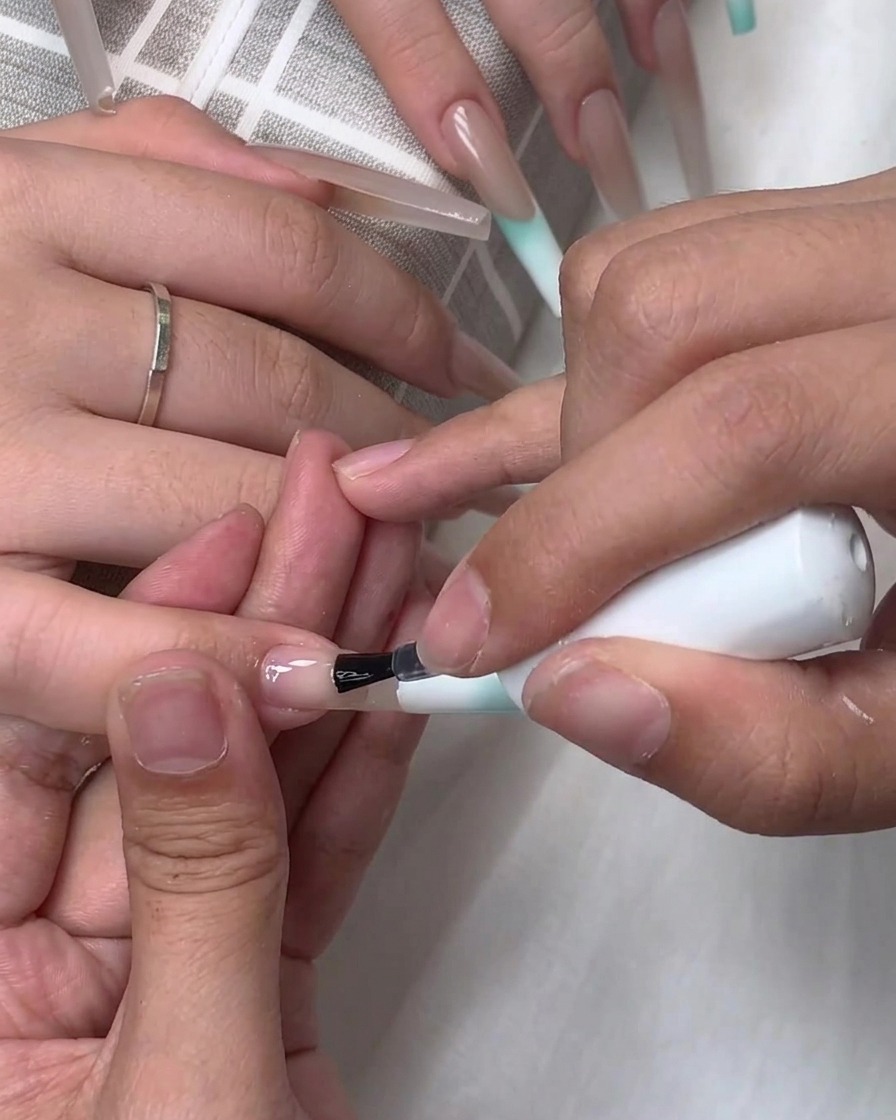
Apply a layer of base gel over the nail to encapsulate the design elements securely. Follow this immediately by applying a smooth layer of no-wipe top coat across the entire nail surface to lock in the shine.
Tip: Cap the free edge carefully with both the base and top coat to prevent premature chipping and wear. - 12Shape 3D carving gel petal
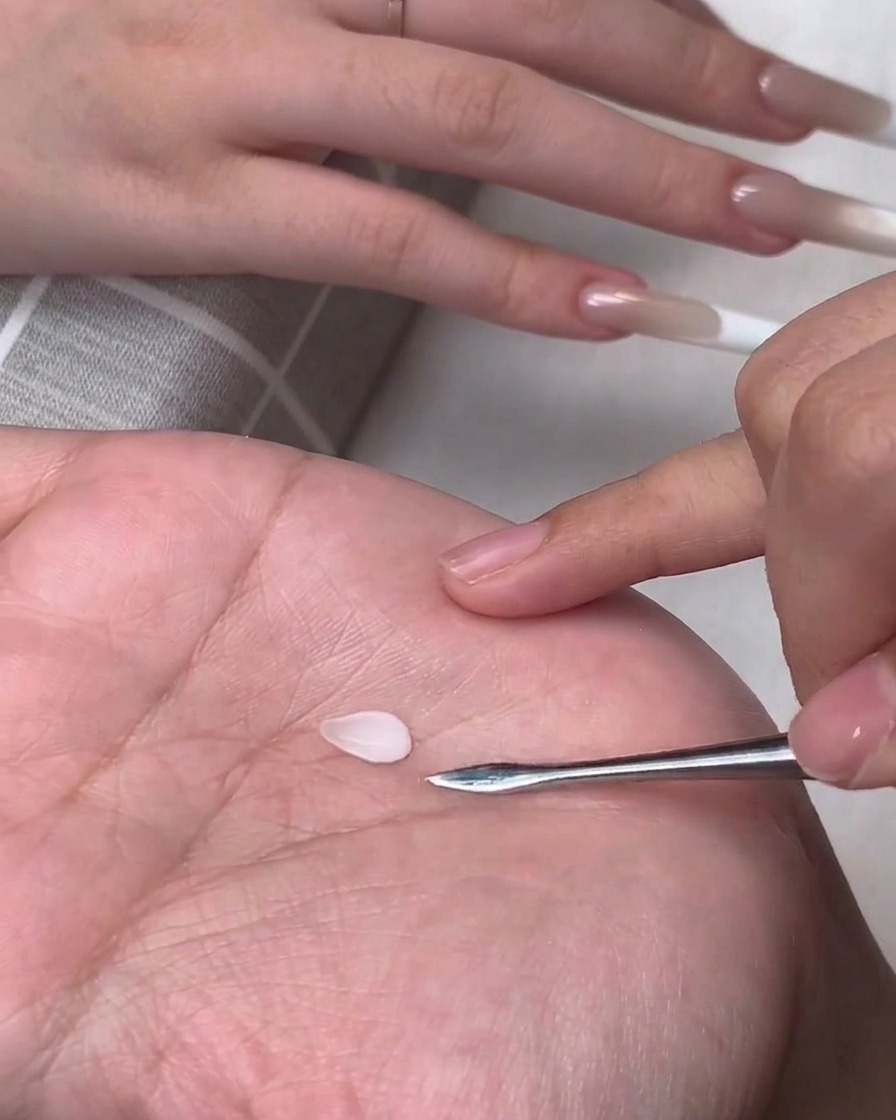
Take a small bead of white 3D carving gel and place it on your hand or a palette. Use a silicone tool to flatten and shape the material into an individual petal structure.
Tip: Keep your silicone tool slightly moistened or clean to prevent the 3D gel from sticking to the tool surface. - 13Place and shape the carved petal
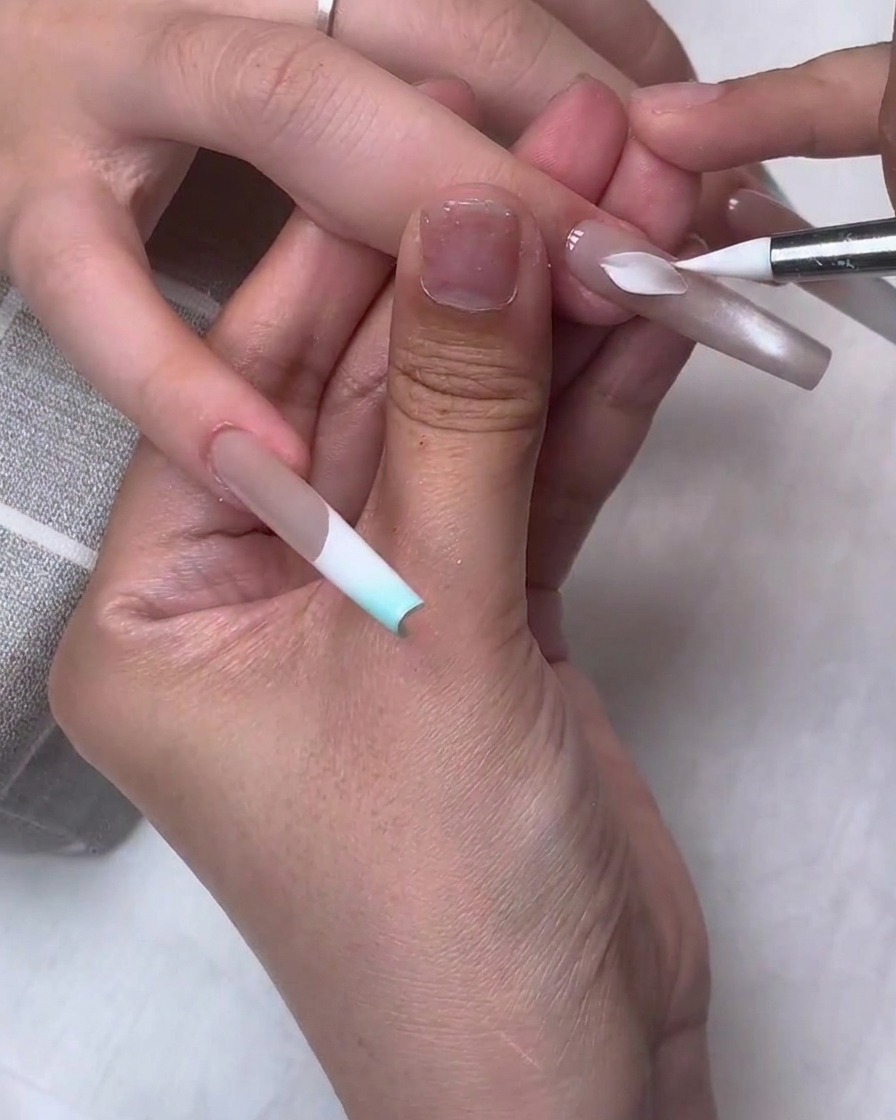
Carefully pick up the pre-pressed white 3D petal and position it onto the nail surface. Use a silicone tool to gently adjust its placement, flatten the base, and smooth out the edges to secure it properly before curing.
Tip: Position the base of the petal close to the center of the flower design so all petals anchor neatly together. - 14Sculpt a complete five-petal flower
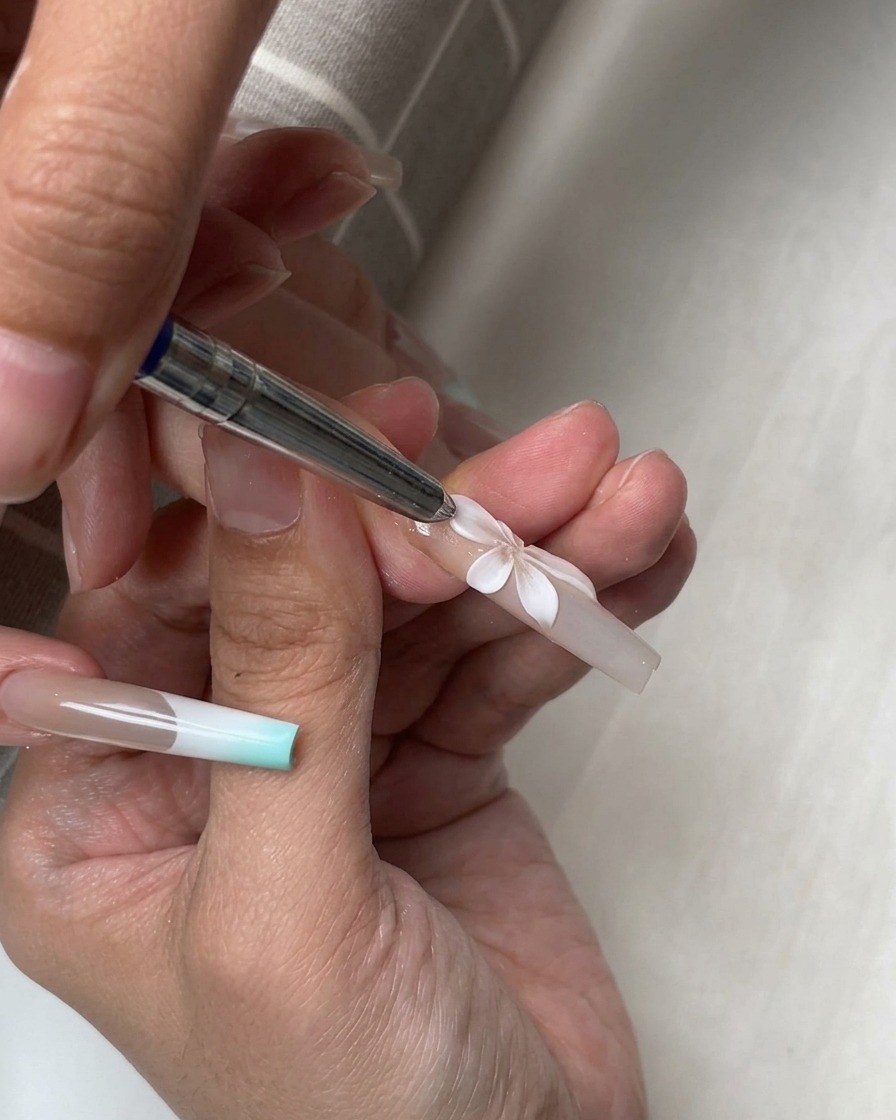
Repeat the carving and placement process to build out a complete five-petal flower on the nail surface. Ensure the petals overlap slightly and are arranged harmoniously around a central point.
Tip: Vary the length and slight angle of each petal slightly to give the floral design a more natural, dynamic appearance. - 15Add pink gradient to flower center
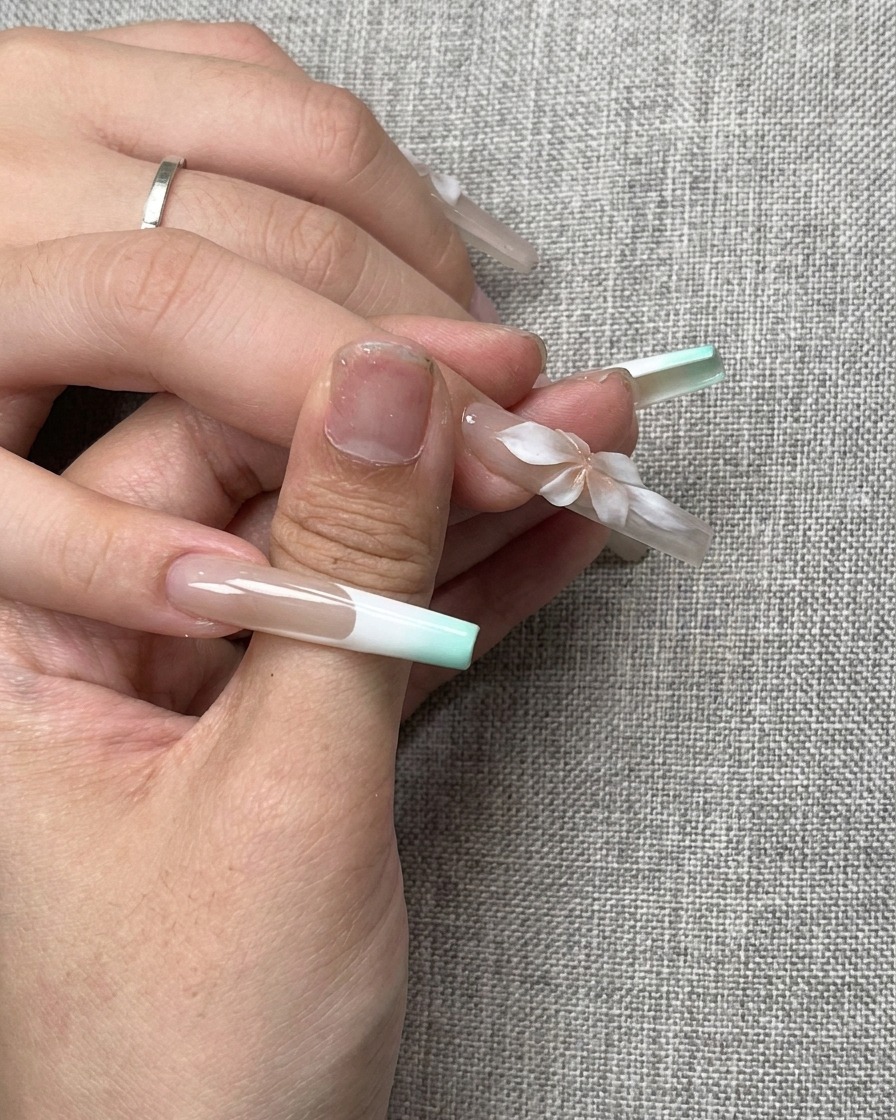
Take a small makeup sponge and gently dab pink gel polish right into the center of the 3D flower. This adds a soft, colorful dimension, creating a lovely pink-to-white gradient effect at the flowers core.
Tip: Tap lightly with a clean edge of the sponge to control the pigment spread and avoid overwhelming the white petals. - 16Apply blue gradient to petal edges
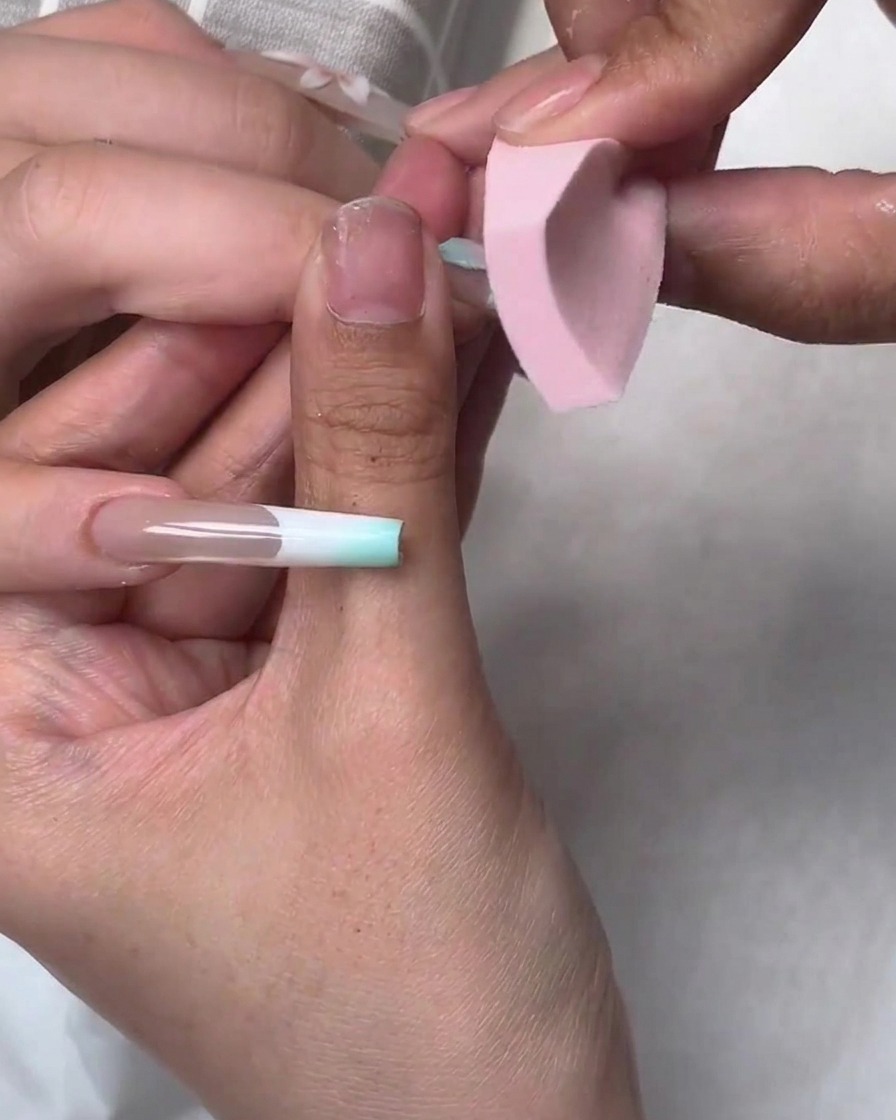
Using a small sponge, dab blue gel polish lightly along the outer edges and tips of the flower petals. This creates a striking icy contrast that enhances the translucent depth of the design.
Tip: Build the blue color gradually by dabbing lightly so the transition remains soft and airy. - 17Layer transparent soft gel petals
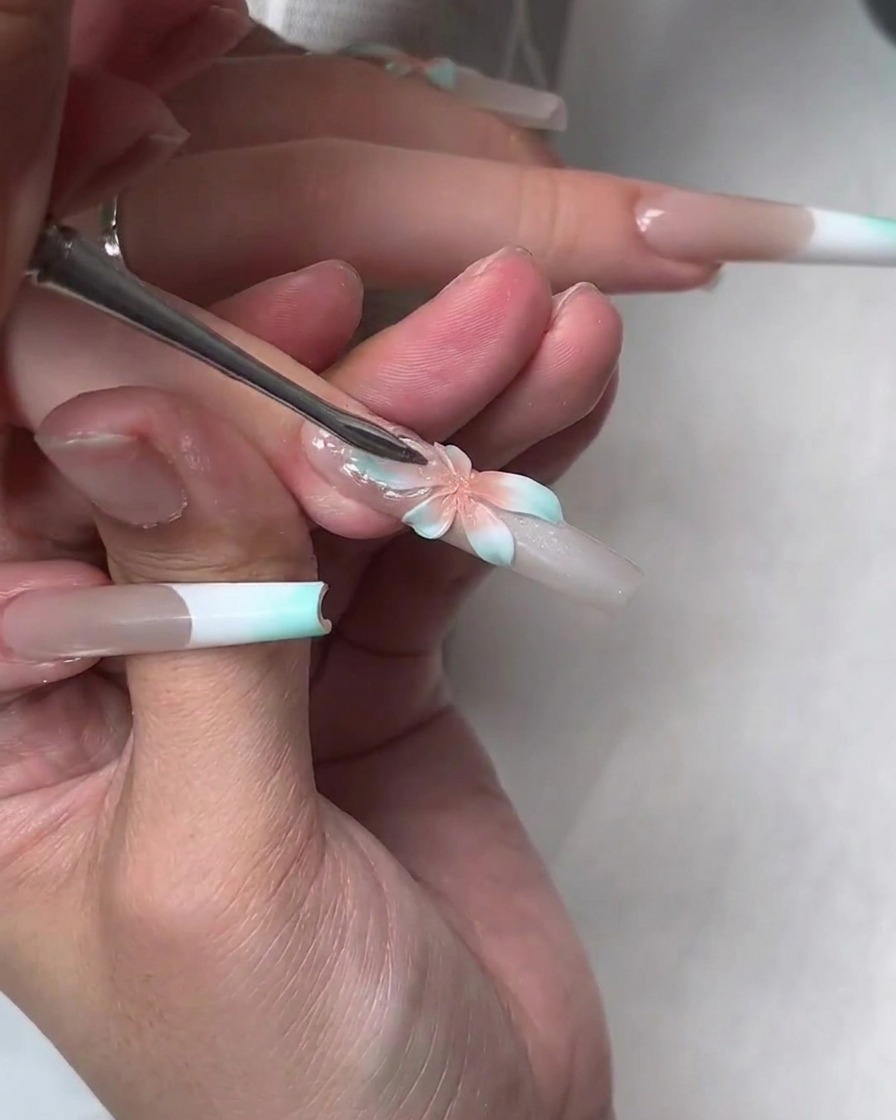
Take a suitable amount of soft gummy builder gel and place it over the first layer of painted flowers. Press out a second set of slightly larger petals on top to encapsulate the design, making the overall flower look more icy, layered, and translucent.
Tip: Make sure the top layer of soft gel fully covers the underlying colors to seal the gradient safely beneath a glass-like finish. - 18Attach the center jewelry
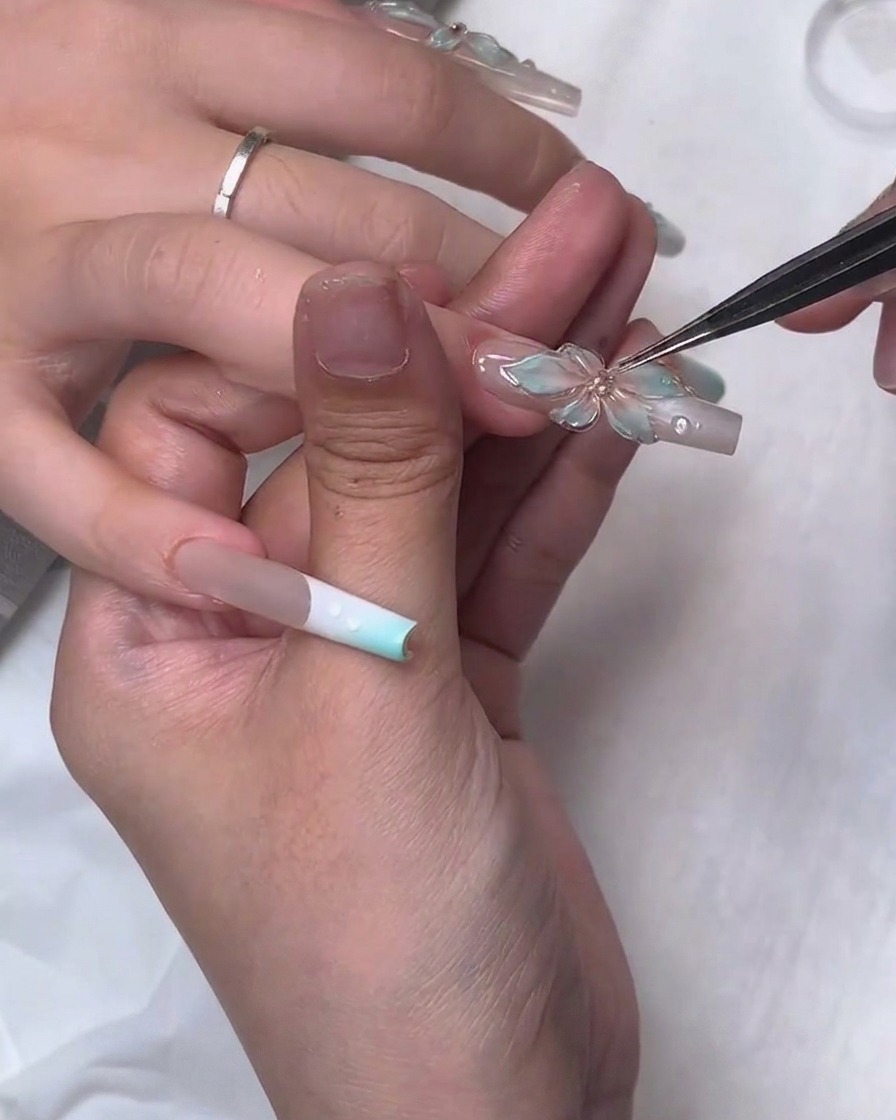
Using a pair of fine-tipped tweezers, carefully place a small metal and rhinestone jewelry piece directly into the center of your sculpted 3D flower. Gently press the jewel to ensure it is seated securely, then give the nail a final full cure under the lamp to lock all decorations in place.
Tip: Apply a tiny dot of thick builder gel or dedicated jewelry gel to the center of the flower before placing the rhinestone to guarantee it stays firmly attached.